 32
Arctic Liquid Freezer III Pro 360 A-RGB Review
Finished Looks »Installation
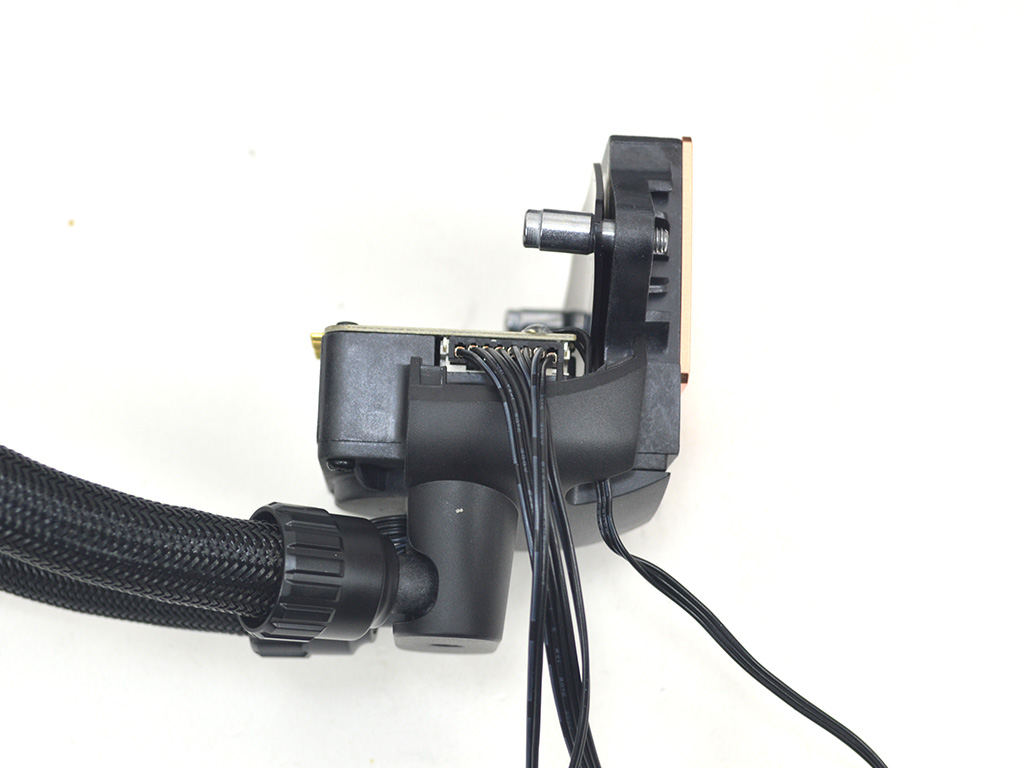
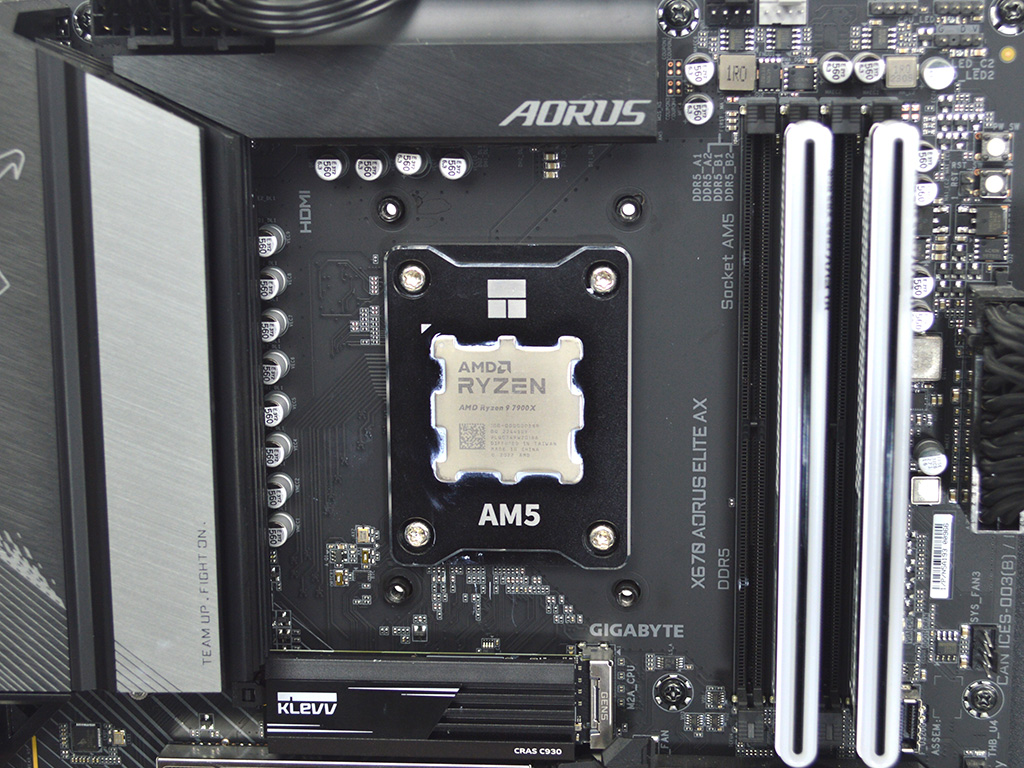
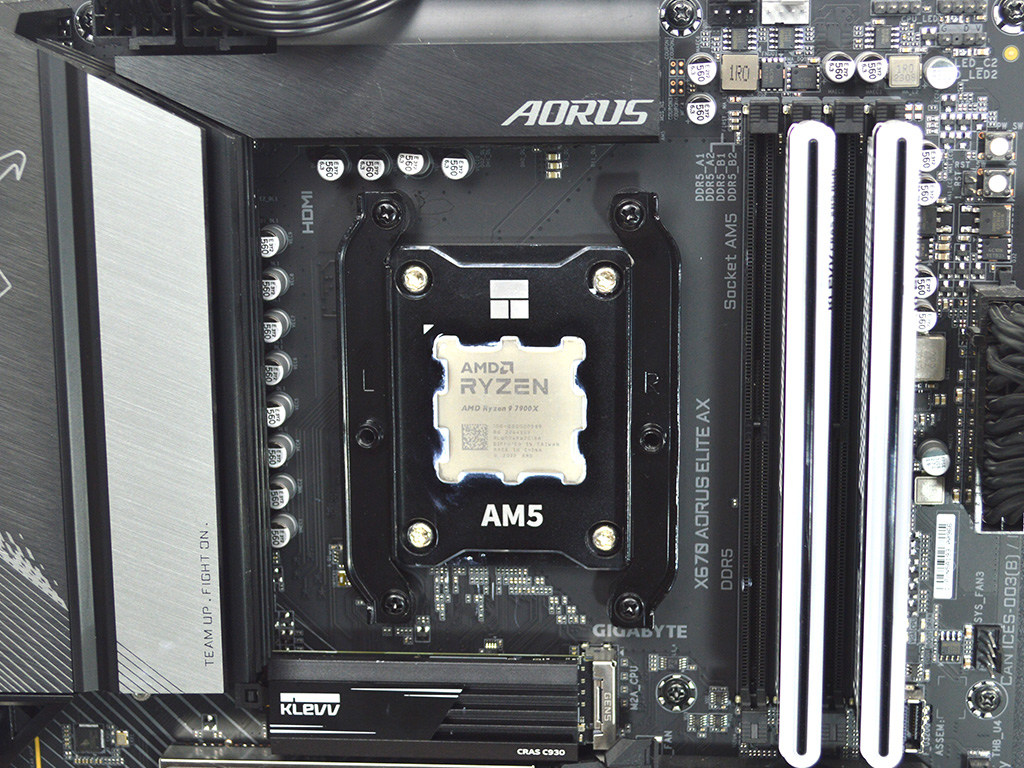
To install the cooler on AMD's Socket AM5, you first need to prepare the pump by connecting either the all-in-one PWM cable or the separate control cable (VRM FAN / PUMP / RAD FANS have individual connectors). Once you have that sorted, plug the cable into the header on the pump. Next, remove the plastic AMD motherboard cooler brackets and install the Arctic AMD brackets using the provided screws and spacers. Keep in mind that the brackets are labeled L for left and R for right.
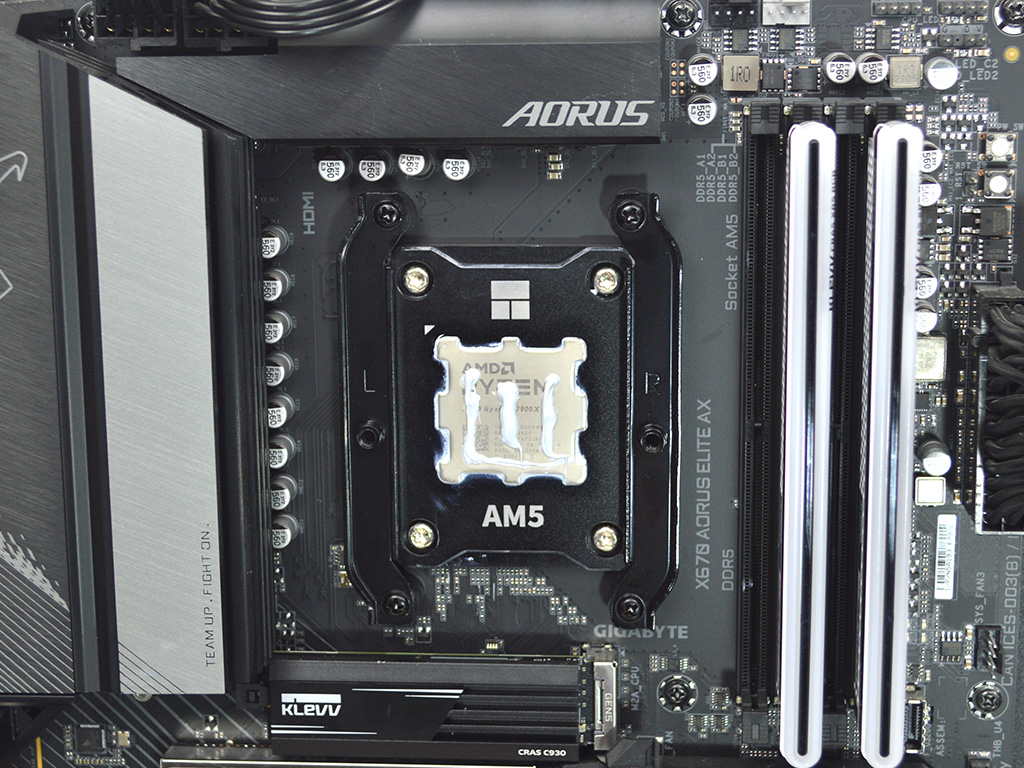
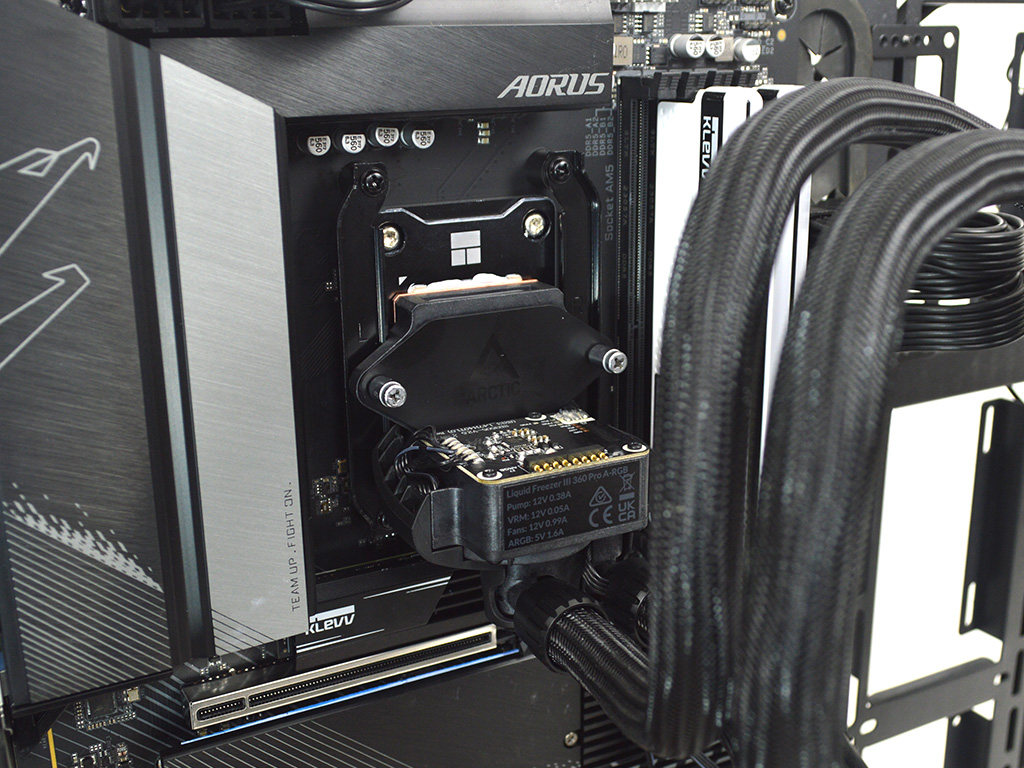
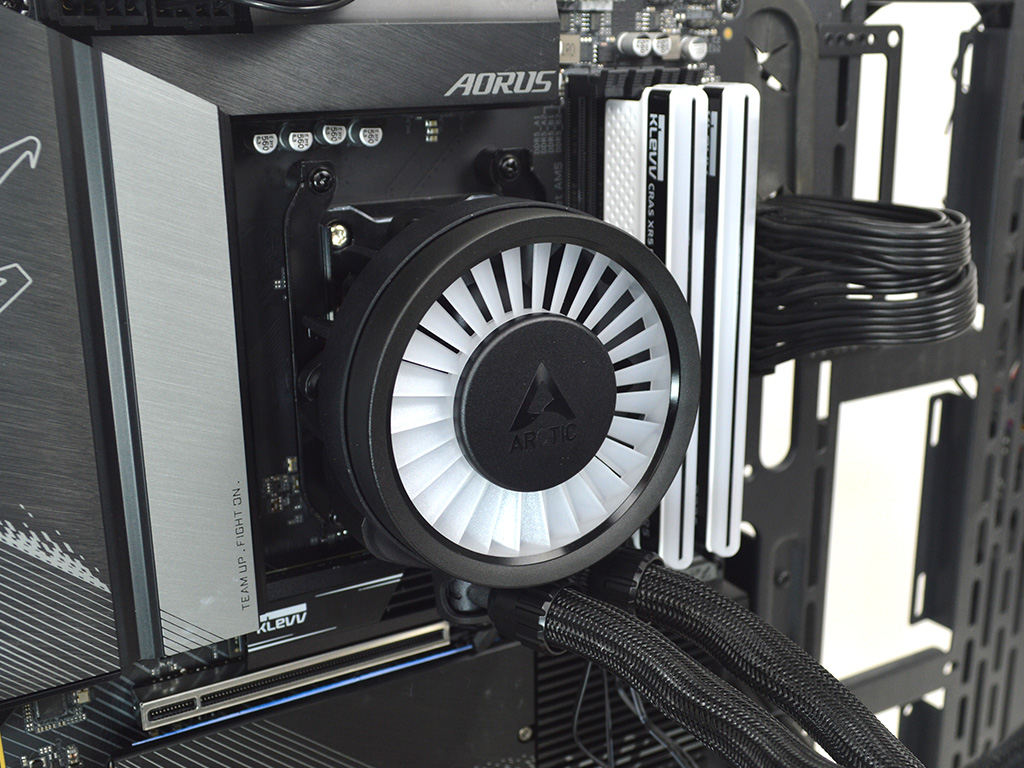
Next, apply thermal paste, which for my testing purposes was Arctic MX-6, and mount the pump to the mounting brackets. Once fully secured, slide the VRM fan into place on the pump. You will know it's fully seated when it makes a noise as the magnets pull it down and keep it firmly in place.
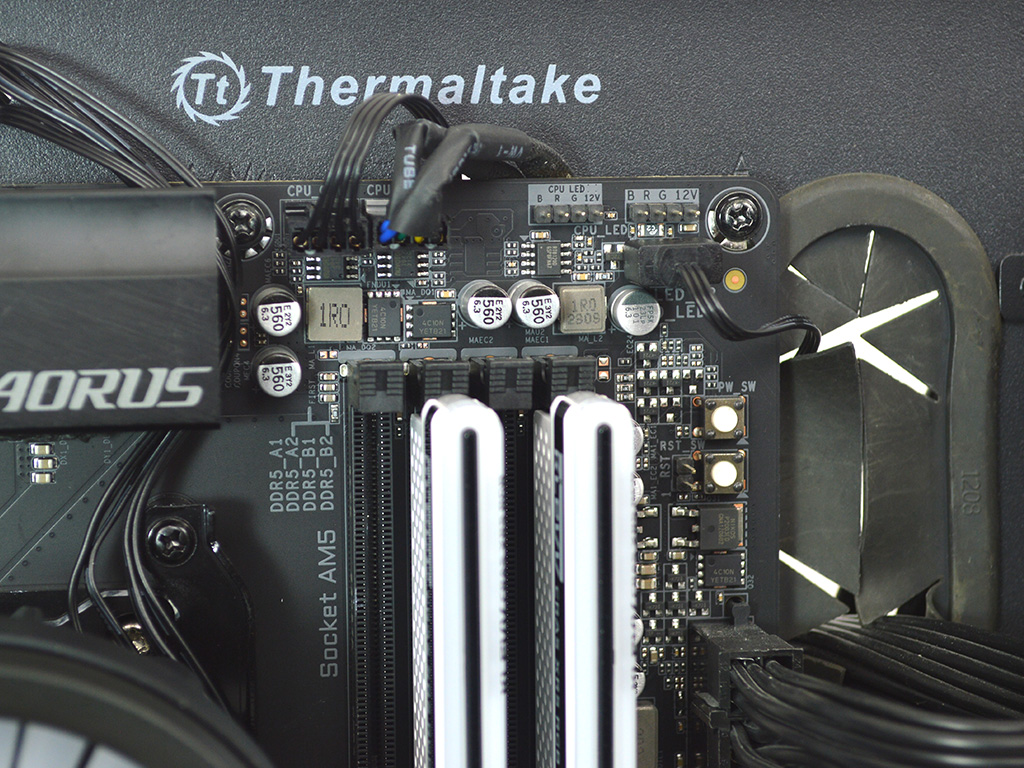
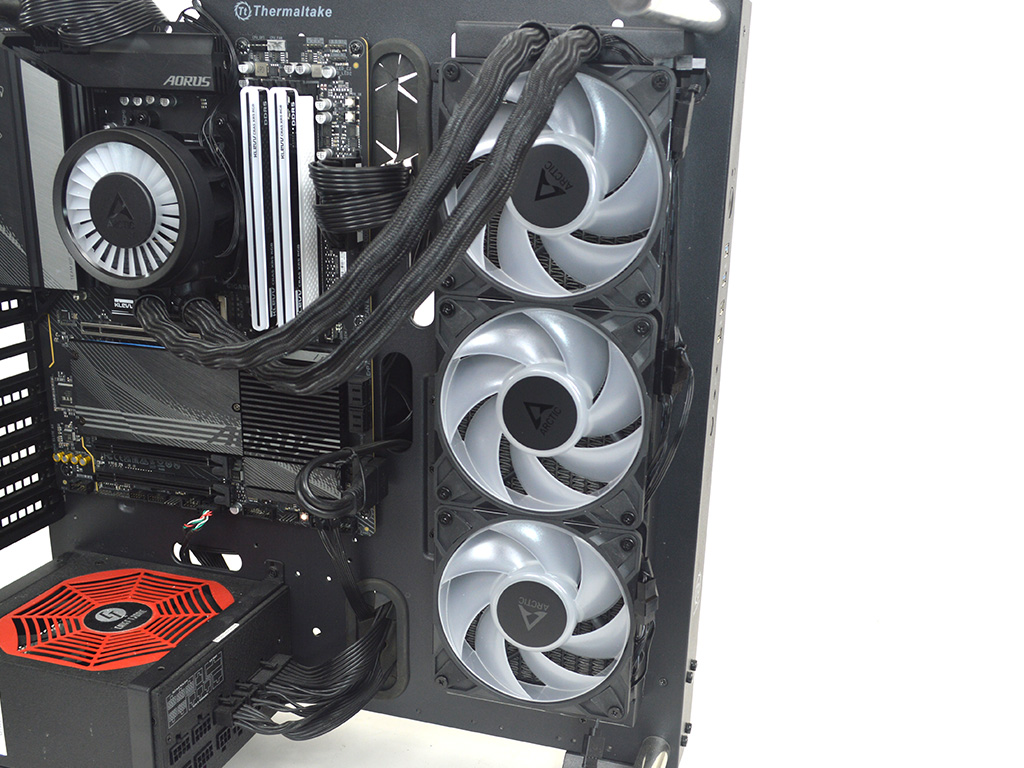
With that out of the way, you can mount the radiator to the chassis without too much fuss, as the radiator fans come preinstalled. Once secure, route your wiring and plug everything in.
Overall, the installation is pretty straightforward on AMD with no real issues on my end. I know previously the design of the mounting hardware was a bit controversial, however, once again on AM5 I had no problems.
Intel Installation / Contact Frame
However, when it comes to Intel, I wasn't impressed with the mounting solution, though not for the reasons you might expect. As shown below, Arctic has chosen to use a custom contact frame that takes the place of Intel's standard retention mechanism, doubling as the mounting bracket. While it performs adequately, it doesn't offer the ease of use found in more conventional solutions, and it could be more daunting for novice builders, the kind who would buy an AIO instead of using a custom loop, where a contact frame would be more common. So, despite having no other complaints, it's not as attractive as simpler installation options. In fact, a general purpose contact frame paired with more prototypical mounting hardware would likely have been a better option since users could opt to use the contact frame or not based on their comfort level.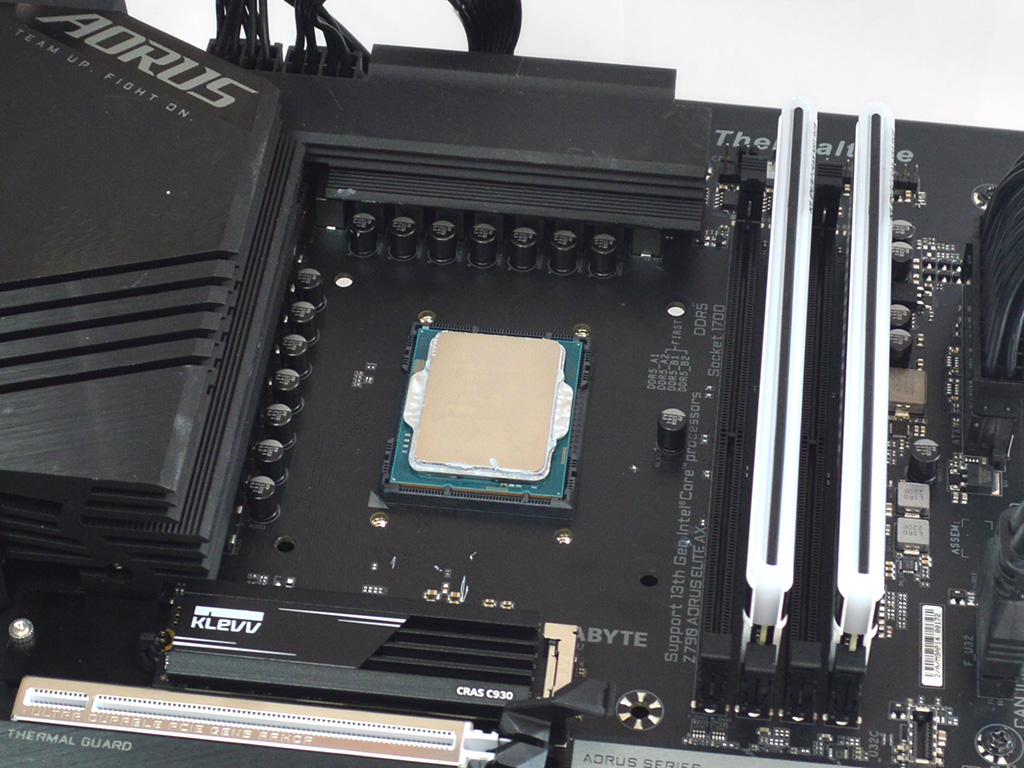
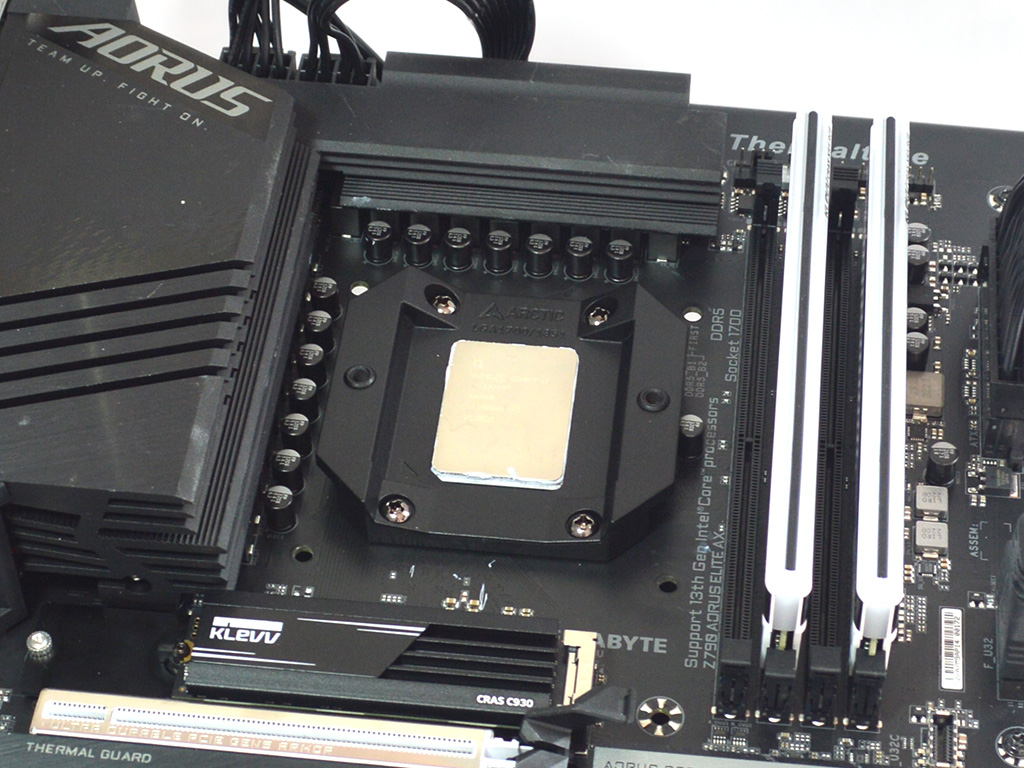
I strongly suggest taking the motherboard out of the case before preparing the cooler for installation. Once you've attached the contact frame, you can put the motherboard back in. This makes installing the cooler much simpler, especially for those who are not very experienced with building PCs. Installing the contact frame in an already assembled system is a bit trickier. Arctic recommends using painter's tape to keep everything in place, but from my experience, that's not the best solution. While it does work, it doesn't provide much reassurance and could lead to some issues and unhappy customers in the future. These problems can be avoided by using standard mounting hardware. If someone is concerned about bending, they can, as mentioned previously, always purchase a contact frame if they feel it's necessary. But this particular setup makes the Arctic Liquid Freezer III Pro 360 A-RGB more suitable for an entirely new build over a drop in upgrade.
Nov 21st, 2026 06:50 PST
change timezone
Latest GPU Drivers
New Forum Posts
- What's your latest tech Freebie? (87)
- UPS what one to get? (3)
- Differences i might've missed between these ultrawides to decide which to buy during BF. (0)
- Honestly, do you care about GTA VI? (220)
- Anthrophics IPO (31)
- Without Jensen, PC gaming will be (53)
- WarpCoreBench scores! (88)
- TPU's Nostalgic Hardware Club (22179)
- [Poll] 12V-2x6 Connector Protection: What Are You Using? (WireView / Ampinel / Equalizer / Other / Nothing) (50)
- Windows 11 General Discussion (7743)
Popular Reviews
- Microsoft Surface Laptop Ultra Review - The Next-gen Arm Laptop
- Ugreen NASync DXP4800 GT Review
- Corsair RM1200e (Second Generation) Review
- Pulsar Office Tour & First Look at P1 Dual-Sensor Mouse
- Upcoming Hardware Launches 2027 (Updated Nov 2026)
- Acemagic Retro X3 Review
- Biwin Black Opal NV7400 2 TB Review
- AMD Ryzen 7 9800X3D Review - The Best Gaming Processor
- AMD Zen 6 Technical Deep Dive
- Chieftec Iceberg PRO 360 DARK Review
TPU on YouTube
Controversial News Posts
- NVIDIA Co-Founder and CEO Jensen Huang Officially Resigns (491)
- Report: Jensen Huang Eyes NVIDIA Comeback (258)
- Open Letter Asking NVIDIA to Reinstate Jensen Huang Passes 115,000 Signatures (184)
- OpenAI CEO Argues Home PCs Waste the World's Limited DRAM Supply (152)
- NVIDIA Launches Investigation Into Jensen Huang's Relationship With Suspected Chinese Spy (136)
- Intel "Raptor Lake Next" 16-Core and 20-Core CPUs Surface (130)
- Legendary Game Studio BioWare Shuts Down Following EA Layoffs (104)
- NVIDIA GeForce RTX 50-Series Scheduled for up to $500 Price Hike This Week (89)