 9
ASRock Challenger 360 Digital Review
Finished Looks »Installation
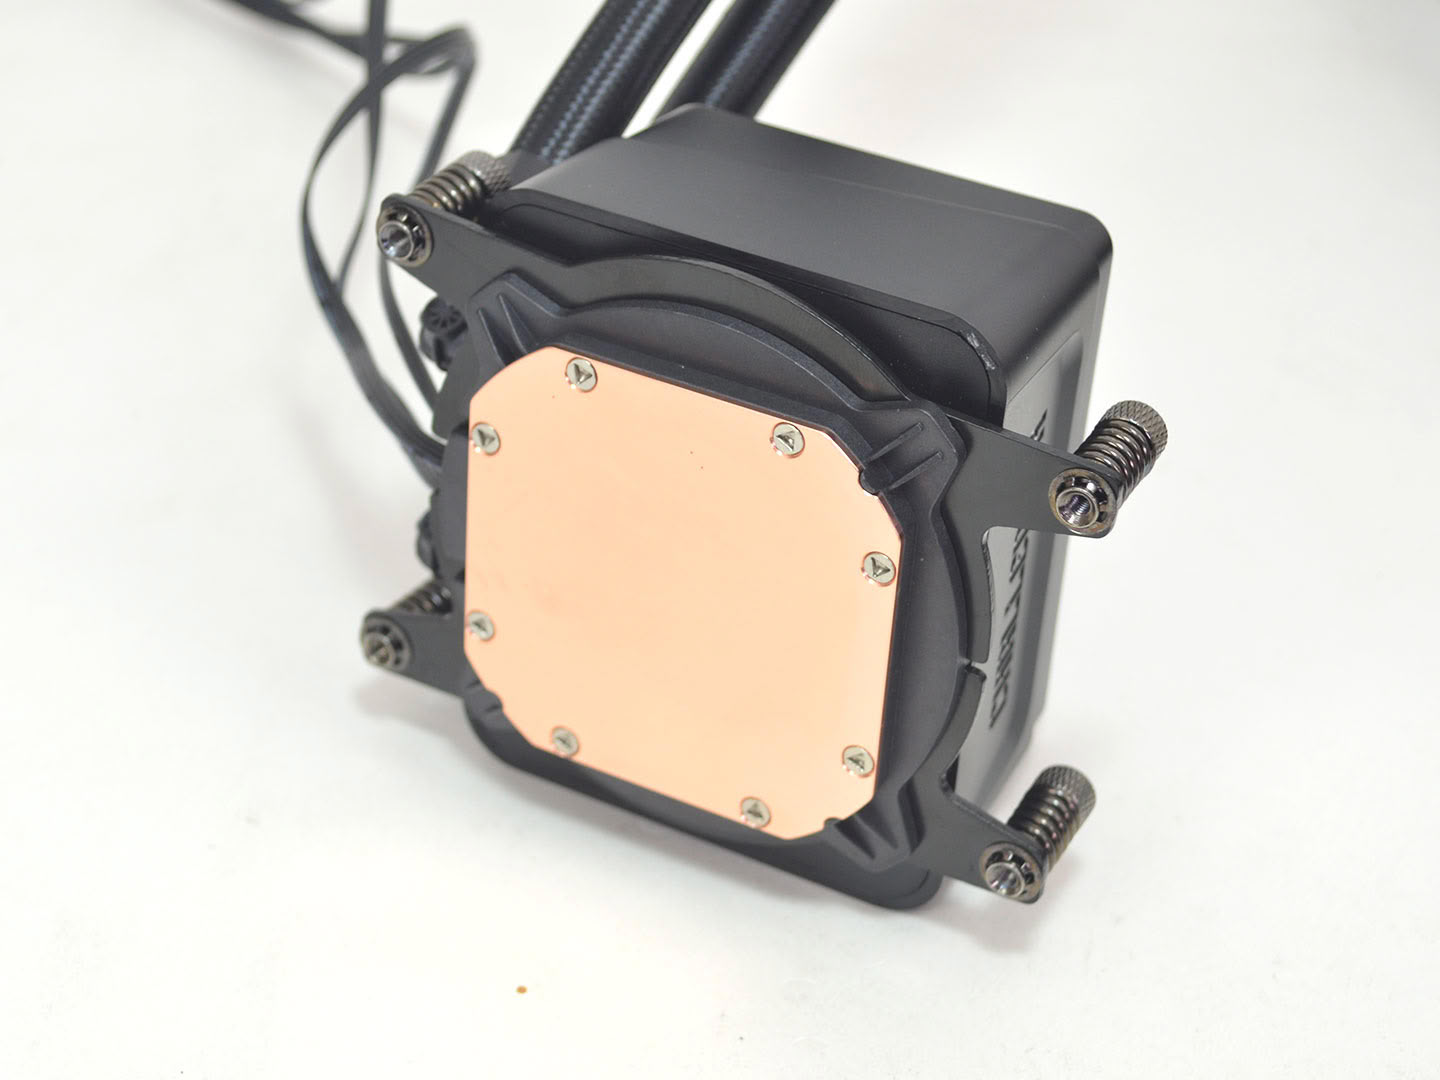
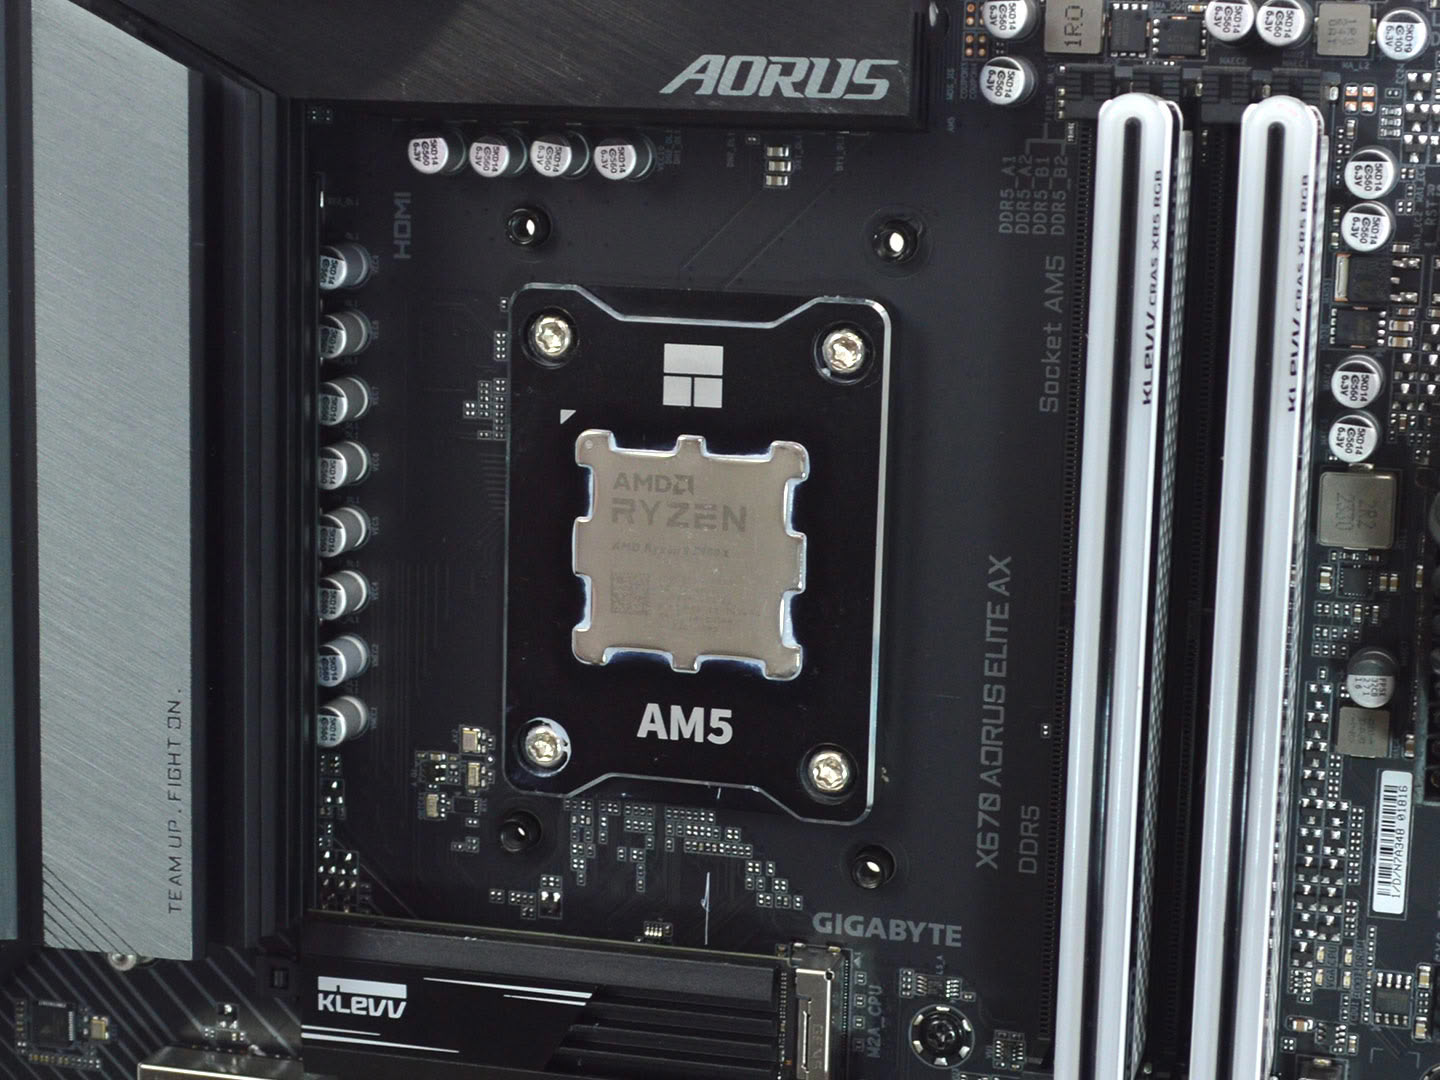
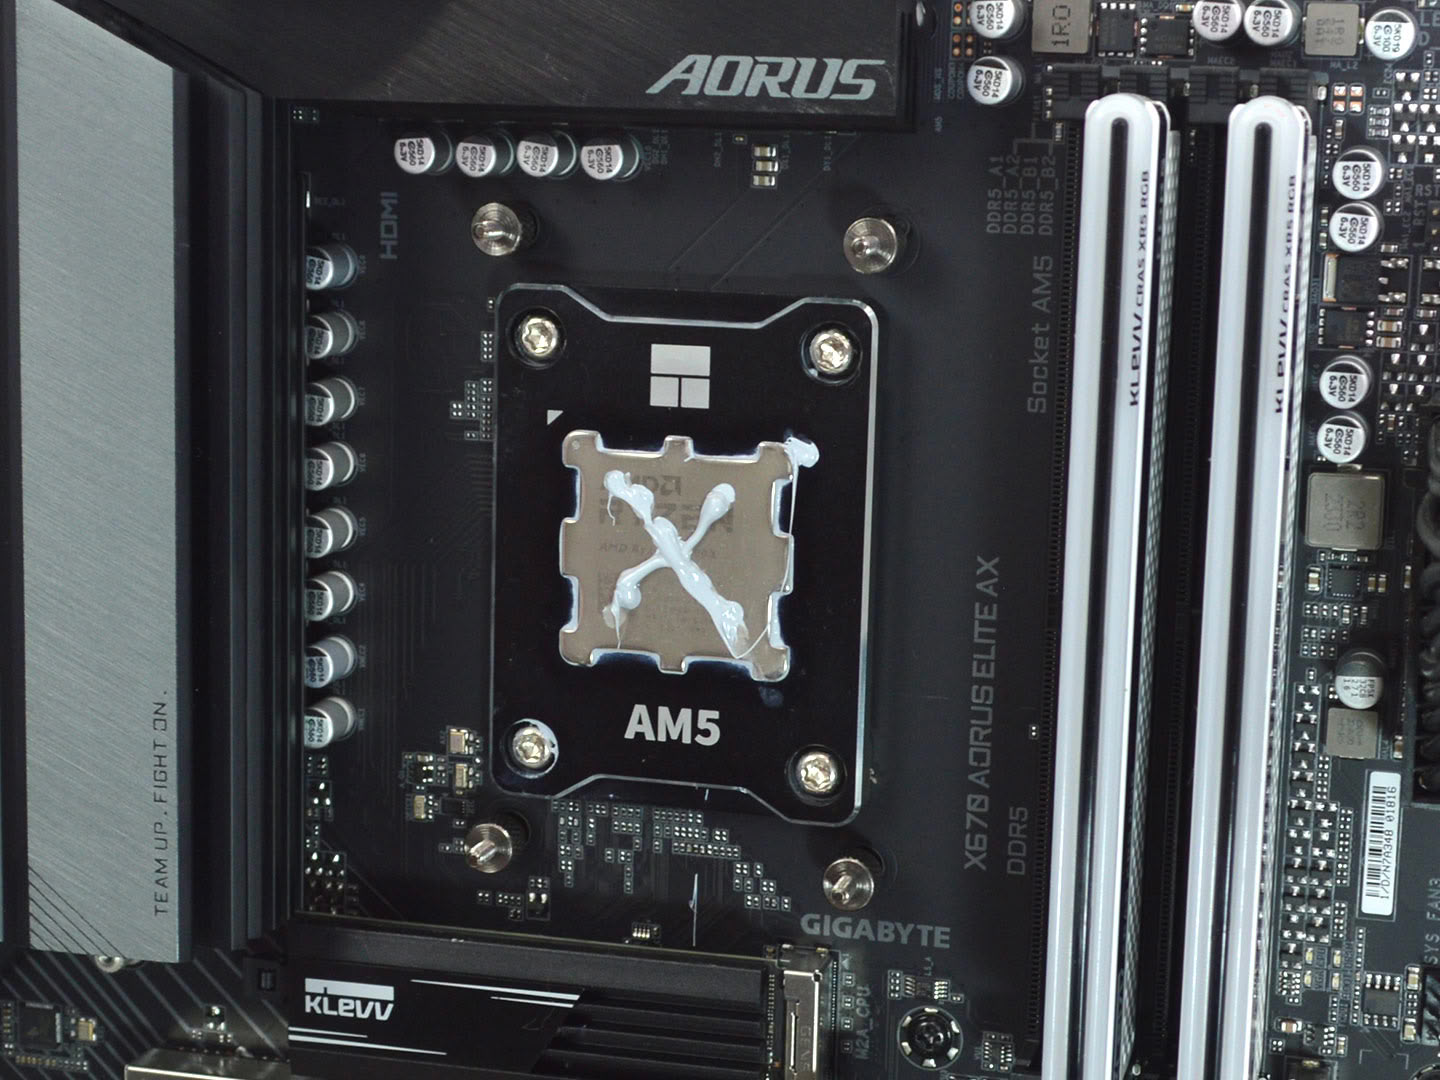
To install the ASRock Challenger 360 Digital you will need to attach the proper brackets for your CPU socket. As can be seen in the first image, it is easy to have them not fully seated, so make sure you get them properly into place. It can take some force, but they will click in so make sure they are fully seated. Next, on AMD's Socket AM5, you need to remove the motherboard's plastic brackets and install the ASRock provided standoffs, at which point you can also apply thermal paste. For testing, I use Arctic's MX-6.
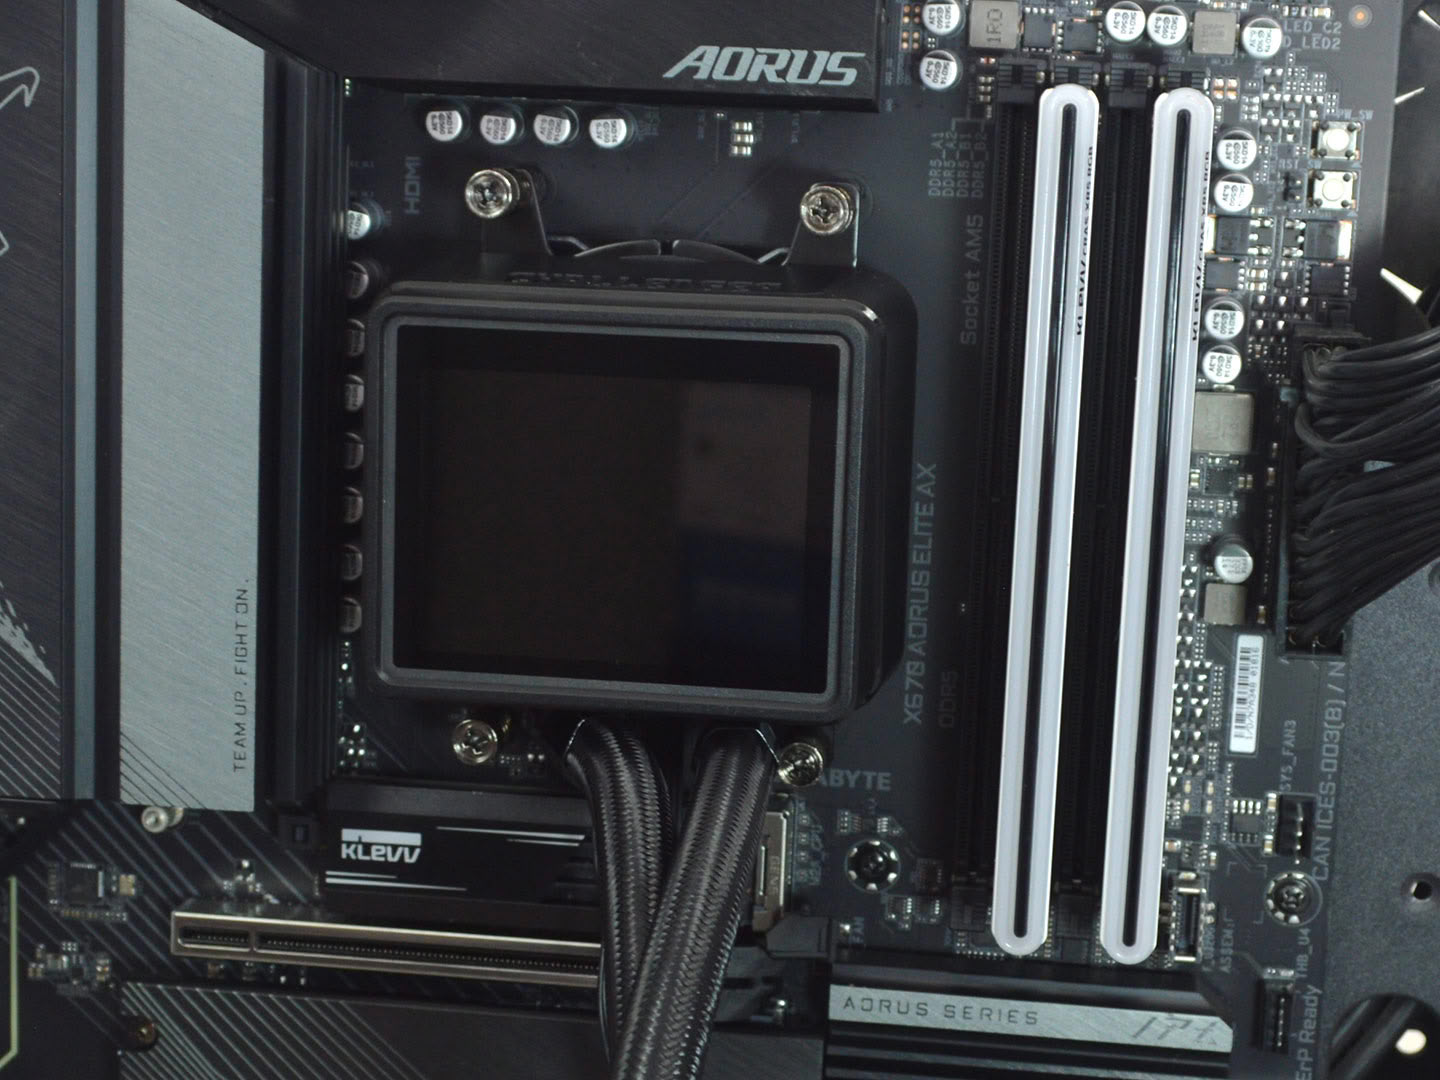
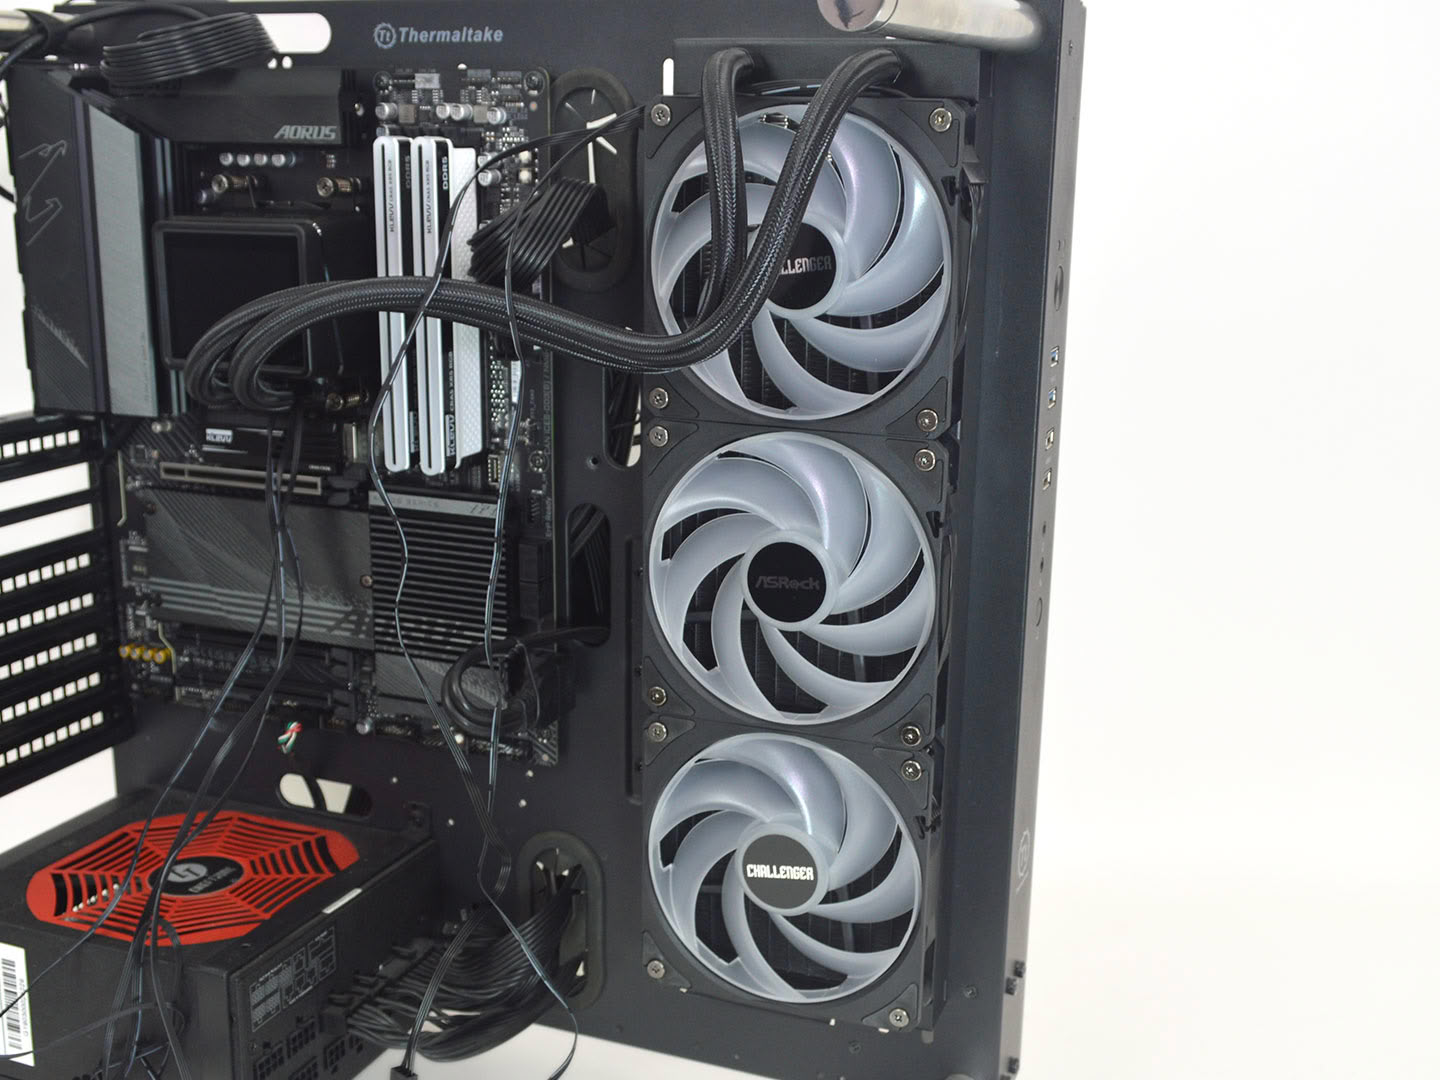
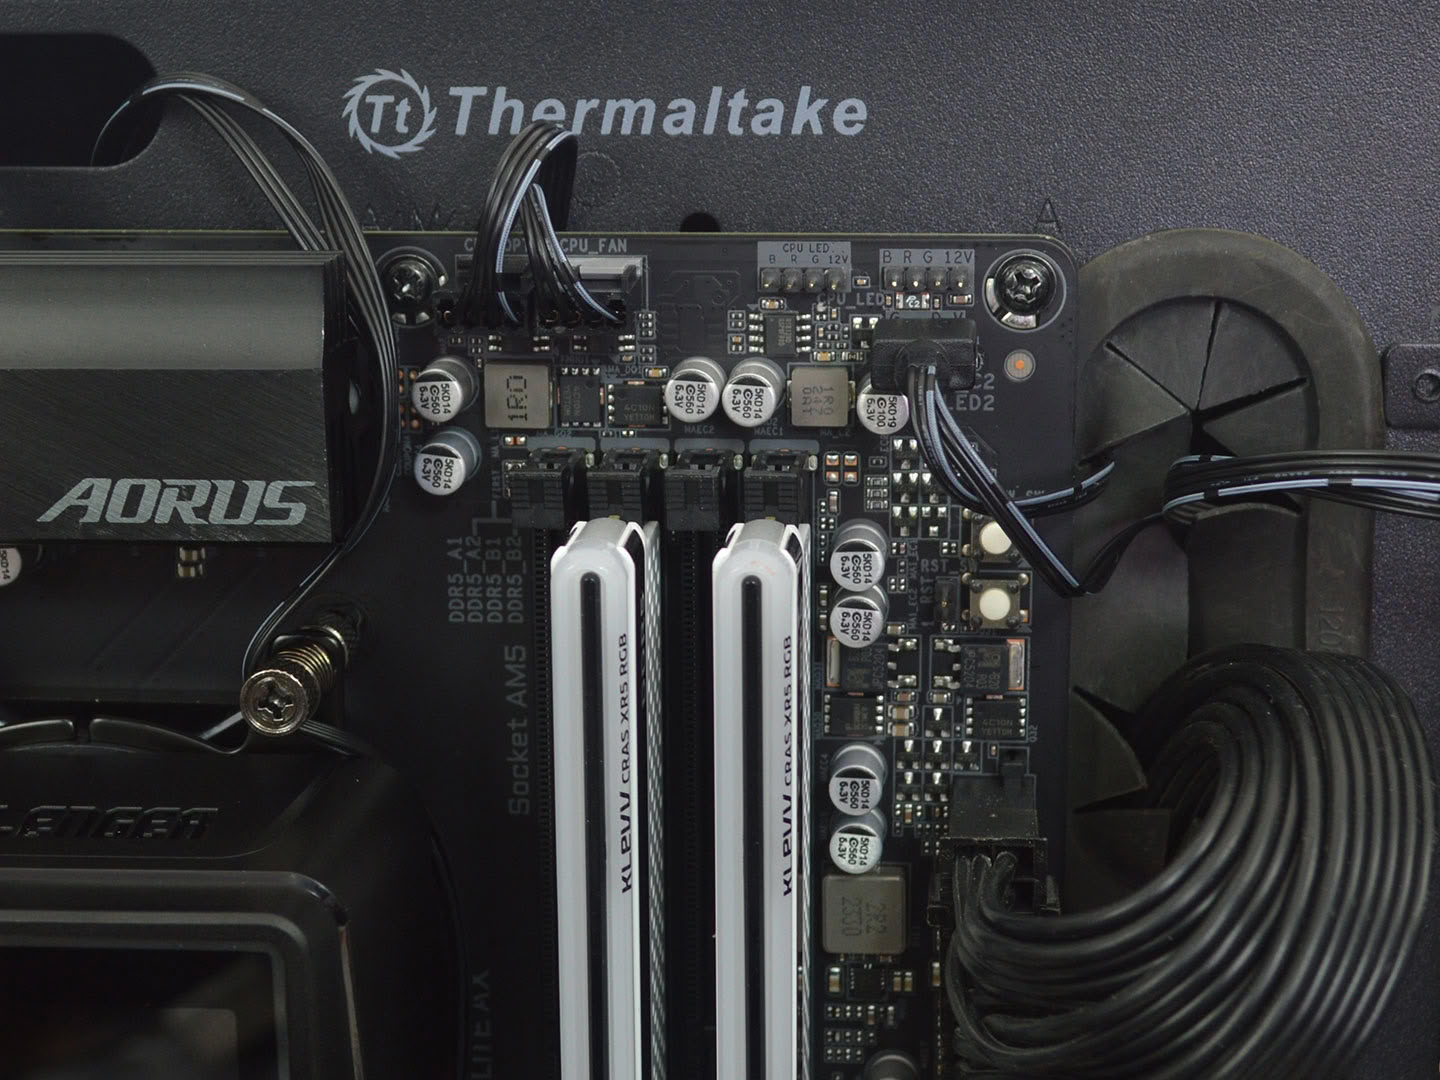
Secure the pump block onto the CPU, ensuring you tighten it down using an alternating crisscross pattern. This method helps apply even pressure across the surface. Once the block is in place, proceed to mount the fans and radiator to the chassis, and connect all necessary cables. Don't overlook the USB cable for the display, which depending on your setup, may be a bit short. On our testing systems, the typical routing was not possible, and instead I had to run it along the motherboard and down to the USB header. Hopefully, ASRock addresses this issue in future models as I am seeing this problem appear more and more often lately. That said, with everything mounted, and cable management sorted, the final step is to install the display software. It's lightweight and functions perfectly without any issues.
Overall, installation is very easy on AMD and Intel with no real complications to speak of. The software worked as intended and I noticed no odd behaviors or issues during setup. But again, make sure those mounting brackets are fully seated on the pump.
Nov 19th, 2026 01:21 PST
change timezone
Latest GPU Drivers
New Forum Posts
- Without Jensen, PC gaming will be (48)
- Time to upgrade CPU and MOBO (43)
- 3DMARK "LEGENDARY" (475)
- [Poll] 12V-2x6 Connector Protection: What Are You Using? (WireView / Ampinel / Equalizer / Other / Nothing) (43)
- Windows HDR on = Tinted colors (5)
- WarpCoreBench scores! (68)
- Honestly, do you care about GTA VI? (155)
- Very unusual two gaming-pc scenarios. (13)
- TPU's Nostalgic Hardware Club (22168)
- Dual B70 or Dual R9700 Pro on Linux (7)
Popular Reviews
- Acemagic Retro X3 Review
- Ugreen NASync DXP4800 GT Review
- Upcoming Hardware Launches 2027 (Updated Nov 2026)
- AMD Zen 6 Technical Deep Dive
- Pulsar Office Tour & First Look at P1 Dual-Sensor Mouse
- Biwin Black Opal NV7400 2 TB Review
- Sapphire Radeon RX 7700 XT Pure Review
- Sapphire Radeon RX 7700 XT Pulse Review
- Chieftec Iceberg PRO 360 DARK Review
- AMD Ryzen 7 9800X3D Review - The Best Gaming Processor
TPU on YouTube
Controversial News Posts
- NVIDIA Co-Founder and CEO Jensen Huang Officially Resigns (483)
- Report: Jensen Huang Eyes NVIDIA Comeback (196)
- Open Letter Asking NVIDIA to Reinstate Jensen Huang Passes 115,000 Signatures (184)
- OpenAI CEO Argues Home PCs Waste the World's Limited DRAM Supply (152)
- NVIDIA Launches Investigation Into Jensen Huang's Relationship With Suspected Chinese Spy (136)
- Intel "Raptor Lake Next" 16-Core and 20-Core CPUs Surface (130)
- Legendary Game Studio BioWare Shuts Down Following EA Layoffs (104)
- Dell CEO Says the Memory Shortage Will Get Worse in 2027 (95)