 19
ASUS ProArt PA401 Wood Edition Review
Thermal Stress Test »Assembly


Installing a motherboard inside the ASUS ProArt PA401 is straightforward, and while it fit well overall, there are openings on all three sides for cable management that are not equipped with any grommets and don't line up well. The ones on the side are too far away and the right area of the bottom and top edge of the board have no openings. As our usual 330 mm long GeForce RTX 4080 does not fit inside the PA401, we had to resort to the shorter GeForce RTX 4070 instead. The cable management hole for GPU power is a bit far to the right, as most GPU PCBs are actually rather short these days. As such our cable also leans to the left a bit.
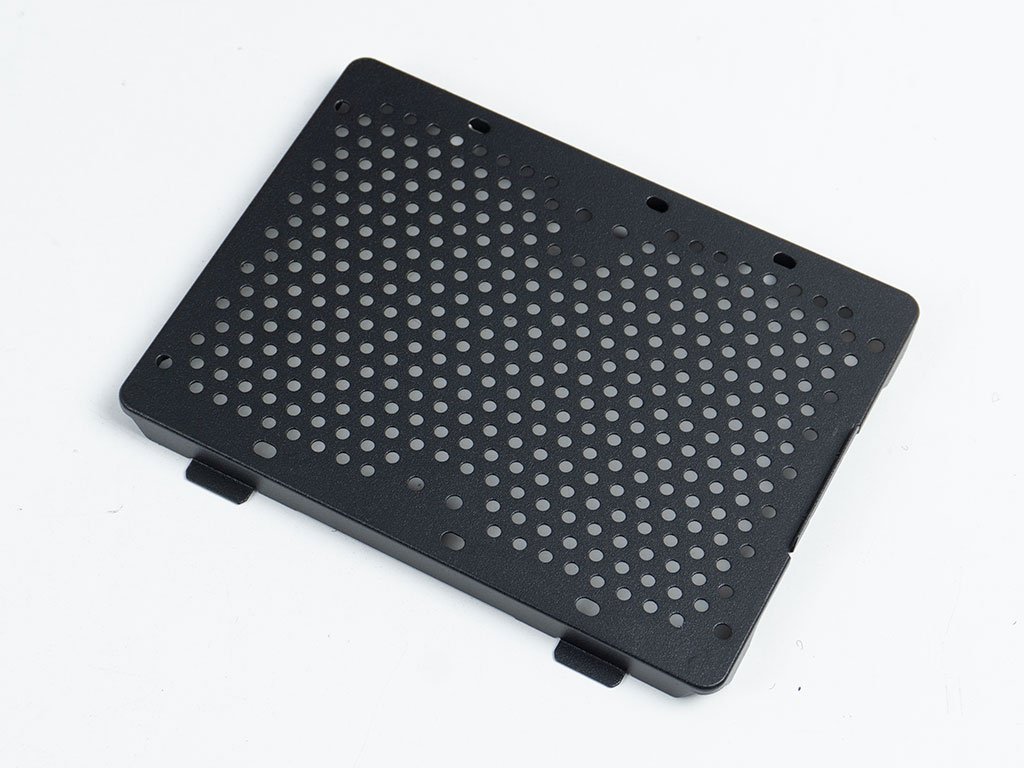
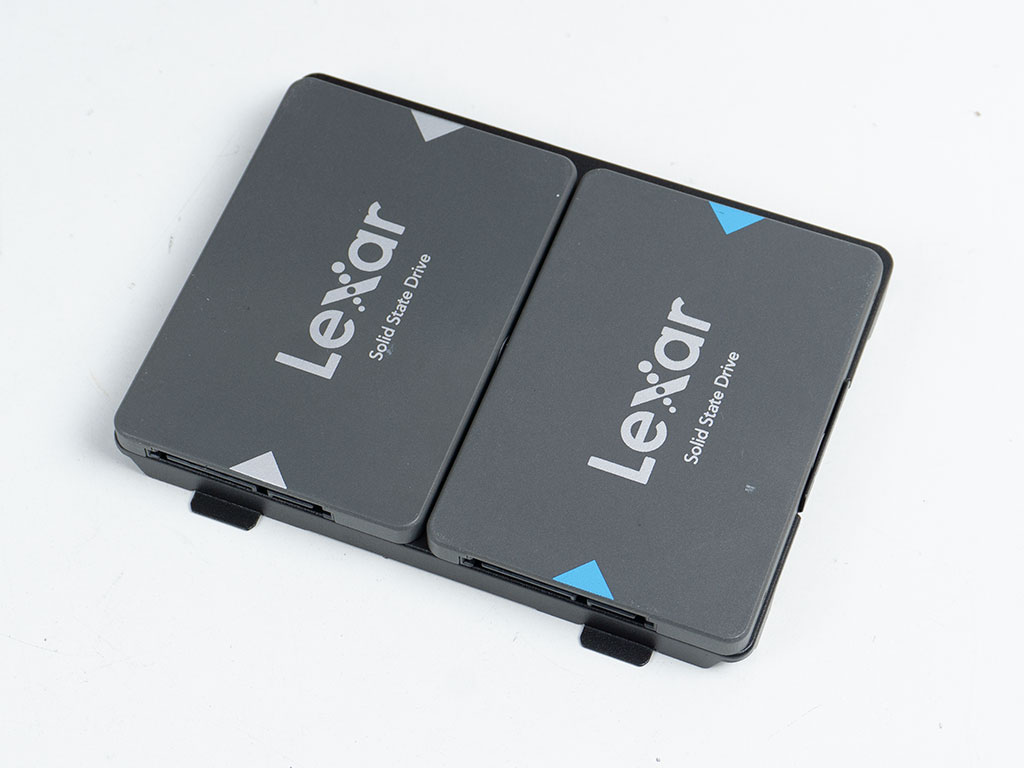
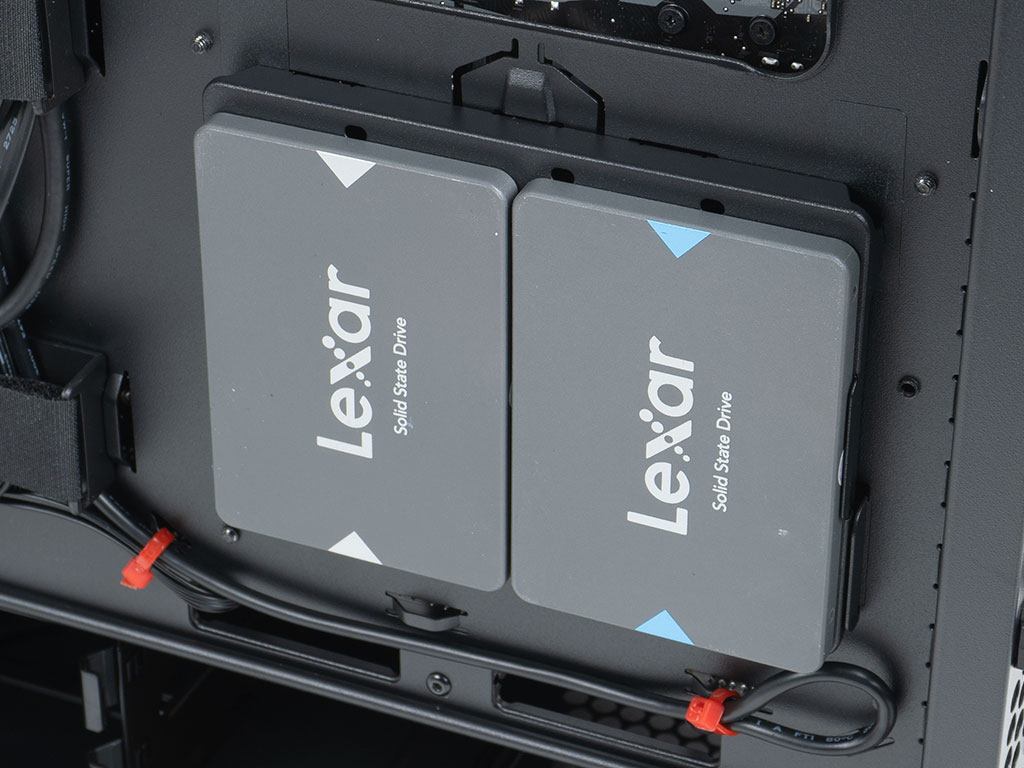
The metal mounting plate for drives is engineered with simplicity and functionality in mind. You will have to use the included screws to mount drives to it. Once filled you can securely clip it back into place onto the motherboard tray.
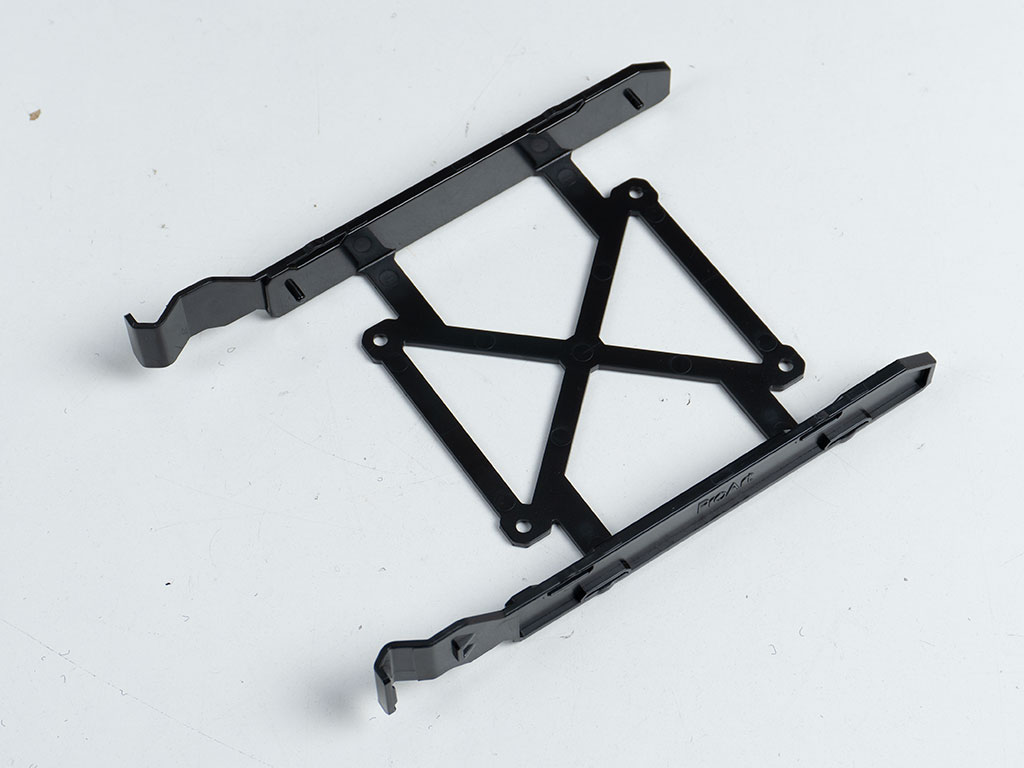
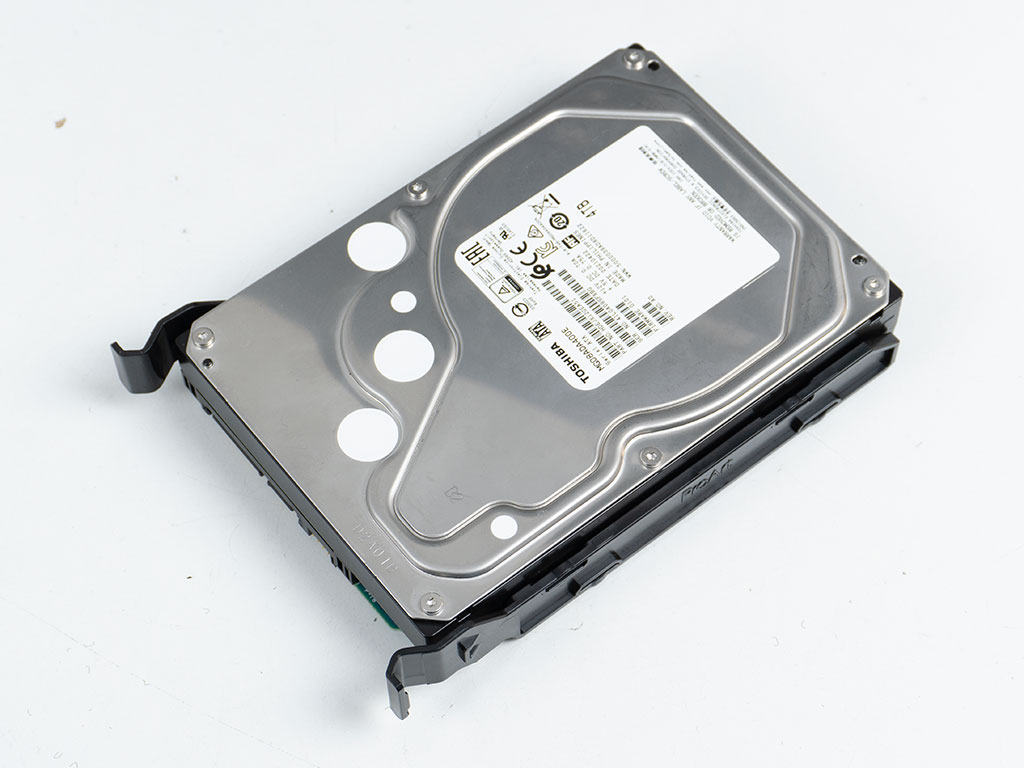
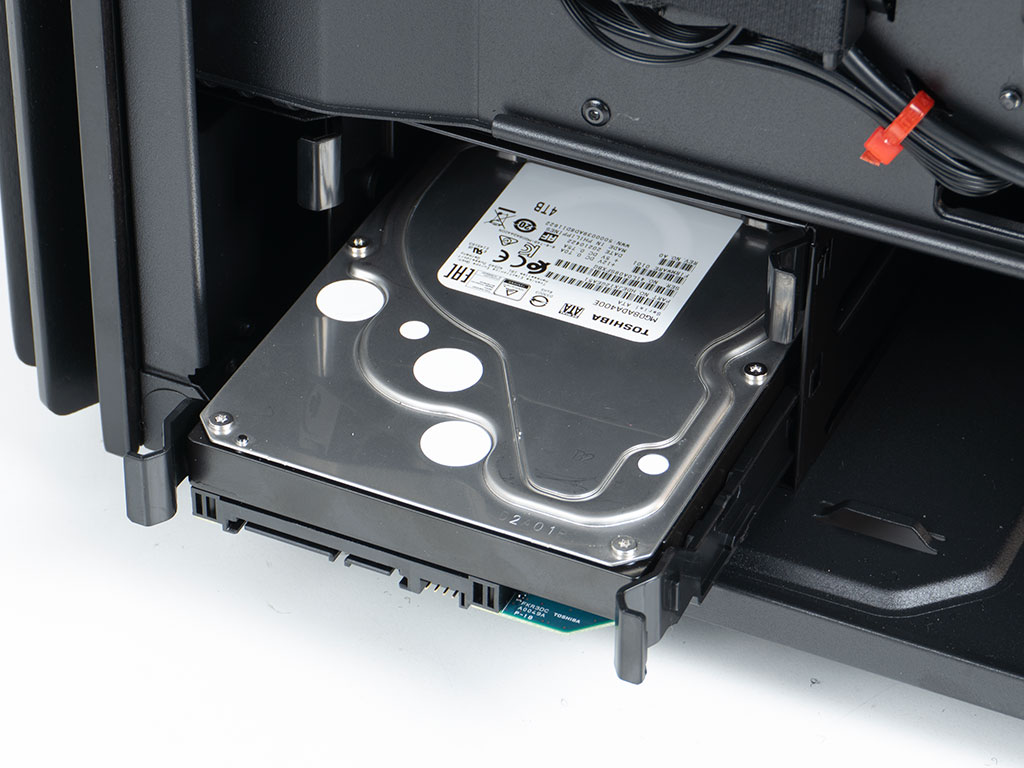

Using the plastic hard drive trays will allow you to add 3.5" drives without the need for any tools or screws as the flexible tray just pinches the drive securely. There are mounting holes for a 2.5" drive at the center of each tray, so you could use the usual screws to fill these cages with such a drive instead. The utilized tray may then be slid straight back into the metal cage, and snaps into place firmly.
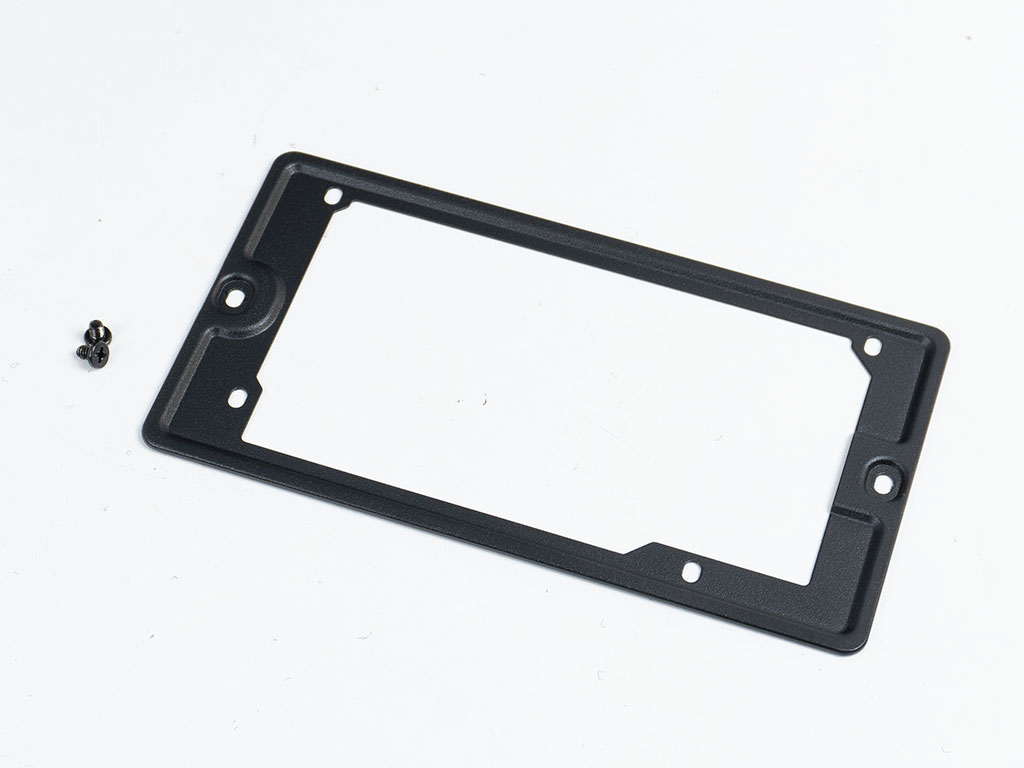
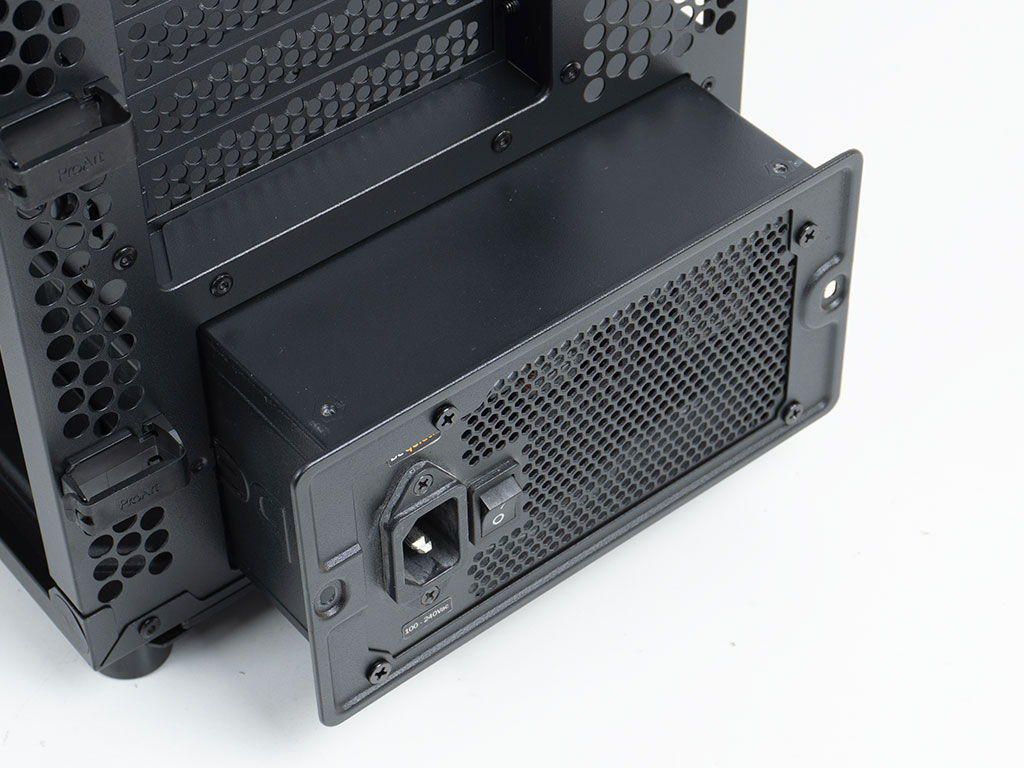
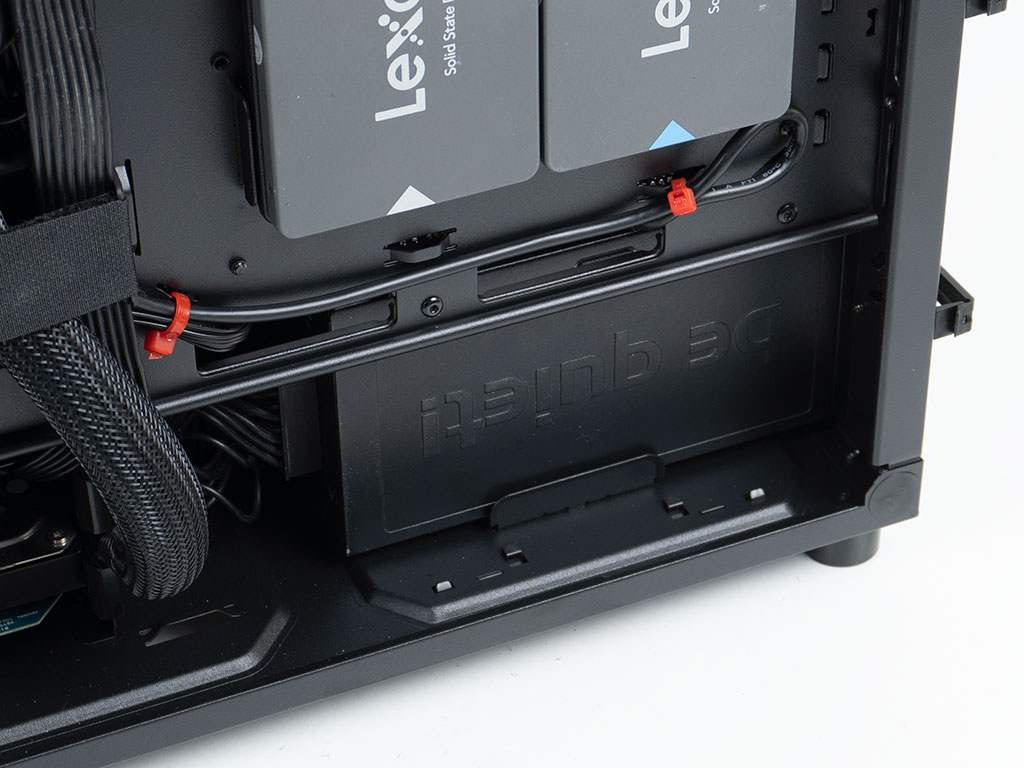
As the PA401 does not provide enough room to insert a PSU from the backside of the shroud, you are meant to attach the mounting frame first and then slide it into the chassis from the rear. Once all the way in, the two screws are utilized to secure the frame to the case body. We used a PSU with a 160 mm long body and it fit fine. Those going for that maximum advertised 170 mm will be fine too, but things may be tight in terms of cable storage between the unit and the HDD cage.
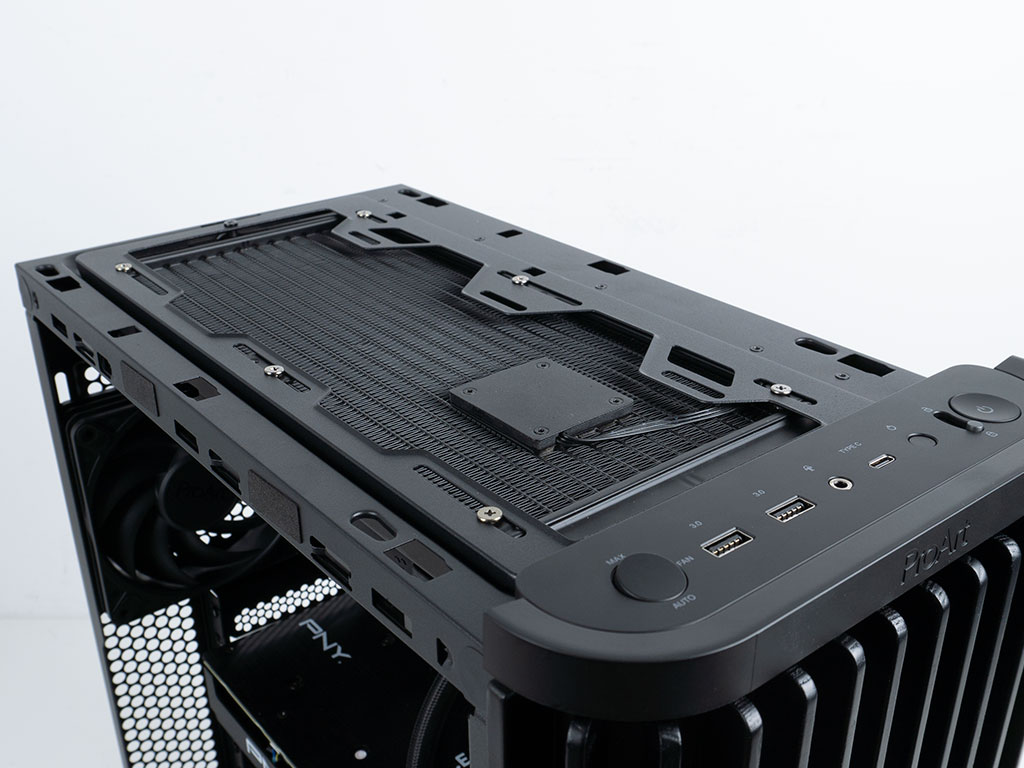
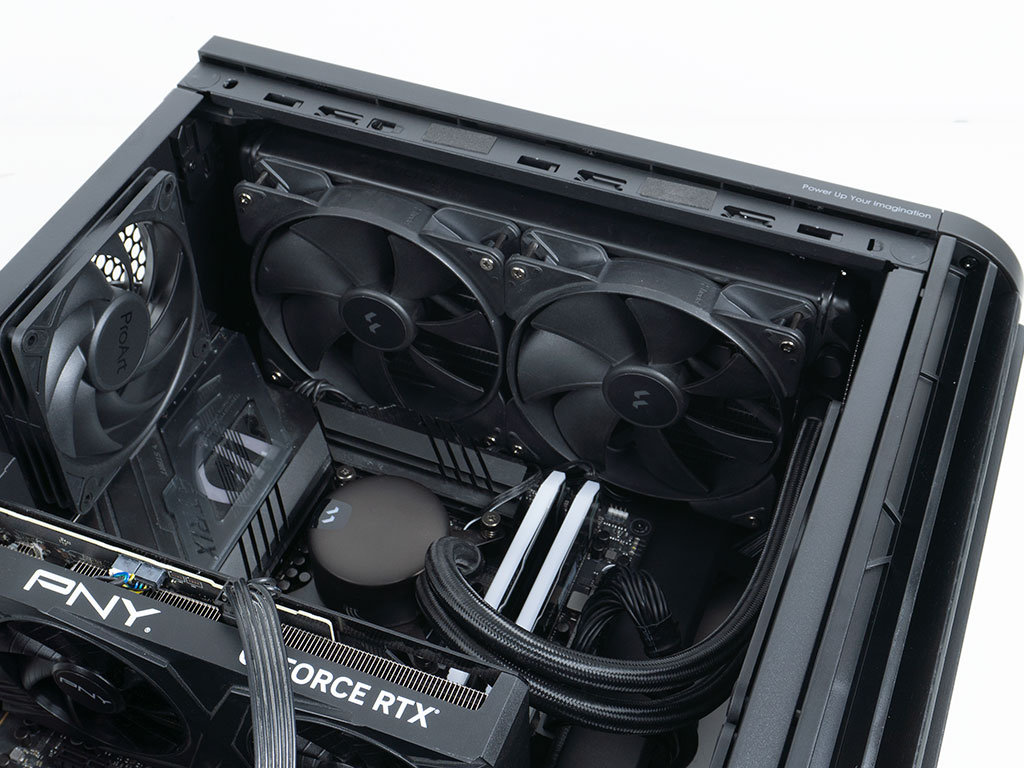
Adding a 280 mm AIO in the ceiling can easily be done thanks to the removable mounting frame, but we even managed to skip that step and secure it within the confines of the case. The unit does clear all the motherboard components and there is still ample room for tall memory, but you will need to connect all the wiring to the top edge of the motherboard beforehand.

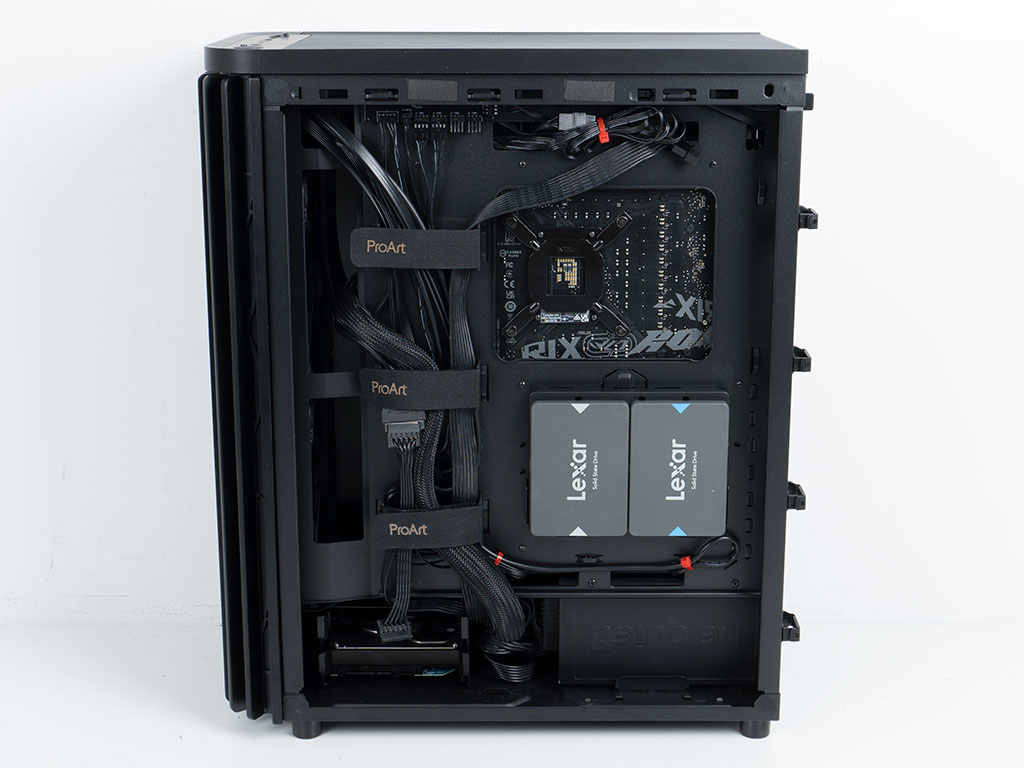
With everything installed, the interior of the ASUS ProArt PA401 looks alright. Due to the lack of grommets or additional routing holes, more wiring than necessary is visible, but it doesn't look messy. On the backside of all of this, the three large Velcro strips form a spacious channel which allowed us to route all the wiring in that central position really easily. The only zip ties we had to use were at the top and bottom edges, to secure the AIO cables and audio wire respectively.
Finished Looks

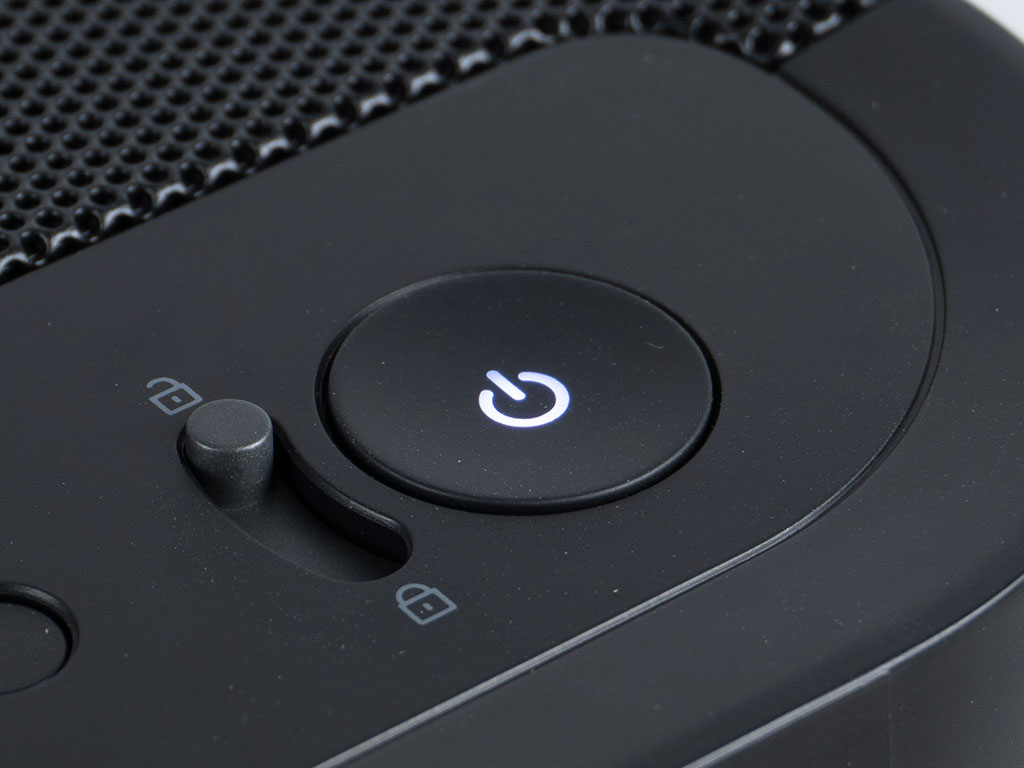
Turning the system on, a clean and bright white LED element underneath the power button will let you know that your system is powered up. While that may be obvious in our scenario as we have the glass equipped variant of the PA401, it is not the case for the SKU with a metal panel.
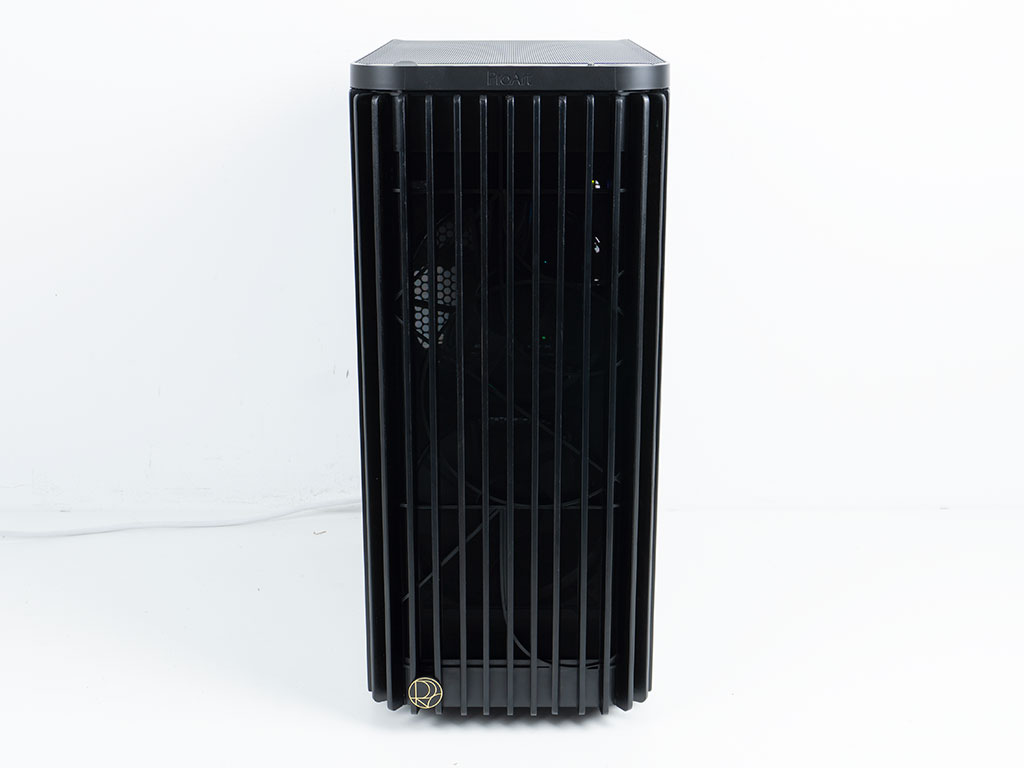

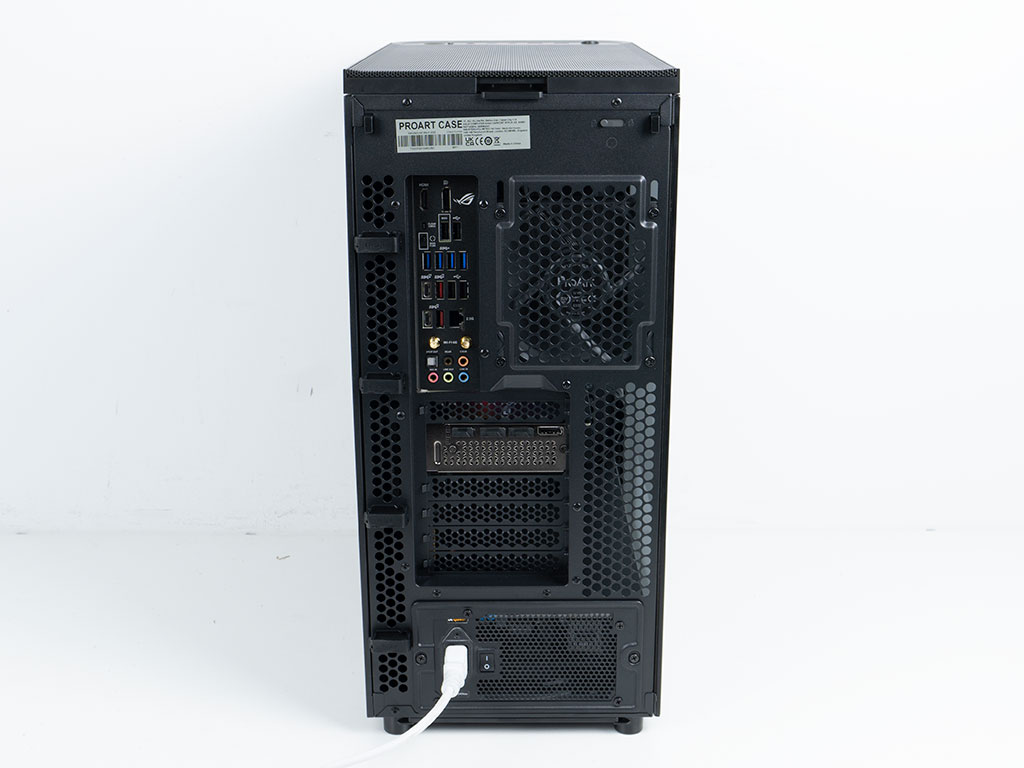
As the fans are all black, you can't see them through the front, but thanks to the clear glass panel there is plenty look at within the chassis, with all the component ARGB elements shining through. In the rear, we did not get to use the cable management clips, as there is just the power button, but they look well-placed with the very top one at the right height to include all leads plugged into the motherboard backplate.
Nov 22nd, 2026 09:45 CST
change timezone
Latest GPU Drivers
New Forum Posts
- Intel D270 (0)
- How to prevent OLED burn damage due to PC freezes or power outtages? (55)
- Making a game in Godot engine (16)
- Gigabyte AORUS RTX 5080 MASTER – Up to 30°C GPU Hotspot Delta! Is This Normal, a Cooling Defect, or Should I RMA? (13)
- [Intel AX1xx/AX2xx/AX4xx/AX16xx/BE2xx/BE17xx] Intel Modded Wi-Fi Driver with Intel® Killer™ Features (634)
- Ryzen or Intel system (19)
- Your PC ATM (36450)
- Mysteries of the Sun (306)
- The TPU UK Clubhouse (27290)
- TPU's Nostalgic Hardware Club (22196)
Popular Reviews
- Microsoft Surface Laptop Ultra Review - The Next-gen Arm Laptop
- Corsair RM1200e (Second Generation) Review
- Pulsar Office Tour & First Look at P1 Dual-Sensor Mouse
- Upcoming Hardware Launches 2027 (Updated Nov 2026)
- Ugreen NASync DXP4800 GT Review
- AMD Ryzen 7 9800X3D Review - The Best Gaming Processor
- Biwin Black Opal NV7400 2 TB Review
- AMD Zen 6 Technical Deep Dive
- Phantom Blade Zero Performance Benchmark Review - 35 GPUs Tested
- AMD Ryzen 7 5800X3D 10th Anniversary Review
TPU on YouTube
Controversial News Posts
- NVIDIA Co-Founder and CEO Jensen Huang Officially Resigns (492)
- Report: Jensen Huang Eyes NVIDIA Comeback (262)
- Open Letter Asking NVIDIA to Reinstate Jensen Huang Passes 115,000 Signatures (184)
- OpenAI CEO Argues Home PCs Waste the World's Limited DRAM Supply (152)
- NVIDIA Launches Investigation Into Jensen Huang's Relationship With Suspected Chinese Spy (136)
- Intel "Raptor Lake Next" 16-Core and 20-Core CPUs Surface (130)
- NVIDIA GeForce RTX 50-Series Scheduled for up to $500 Price Hike This Week (89)
- Intel Razor Lake Gets a 12 P-Core bLLC Chip With No E-Cores, Per Leak (86)