 47
ASUS ROG Swift OLED PG27UCDM Review - 4K OLED Brilliance
Software »Controls and OSD


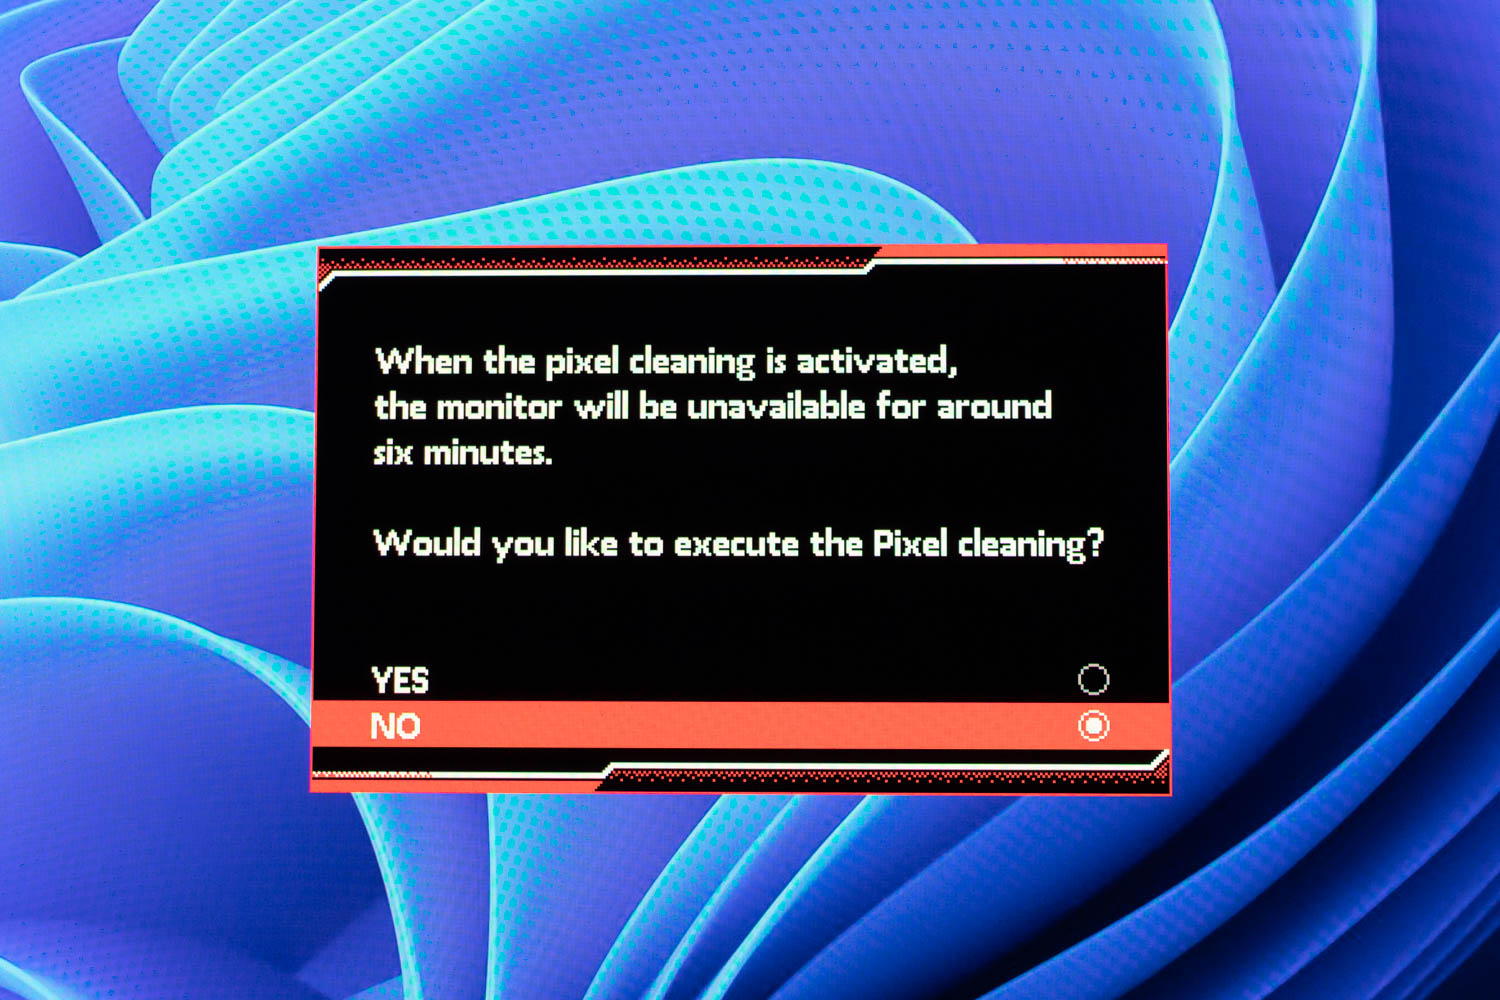
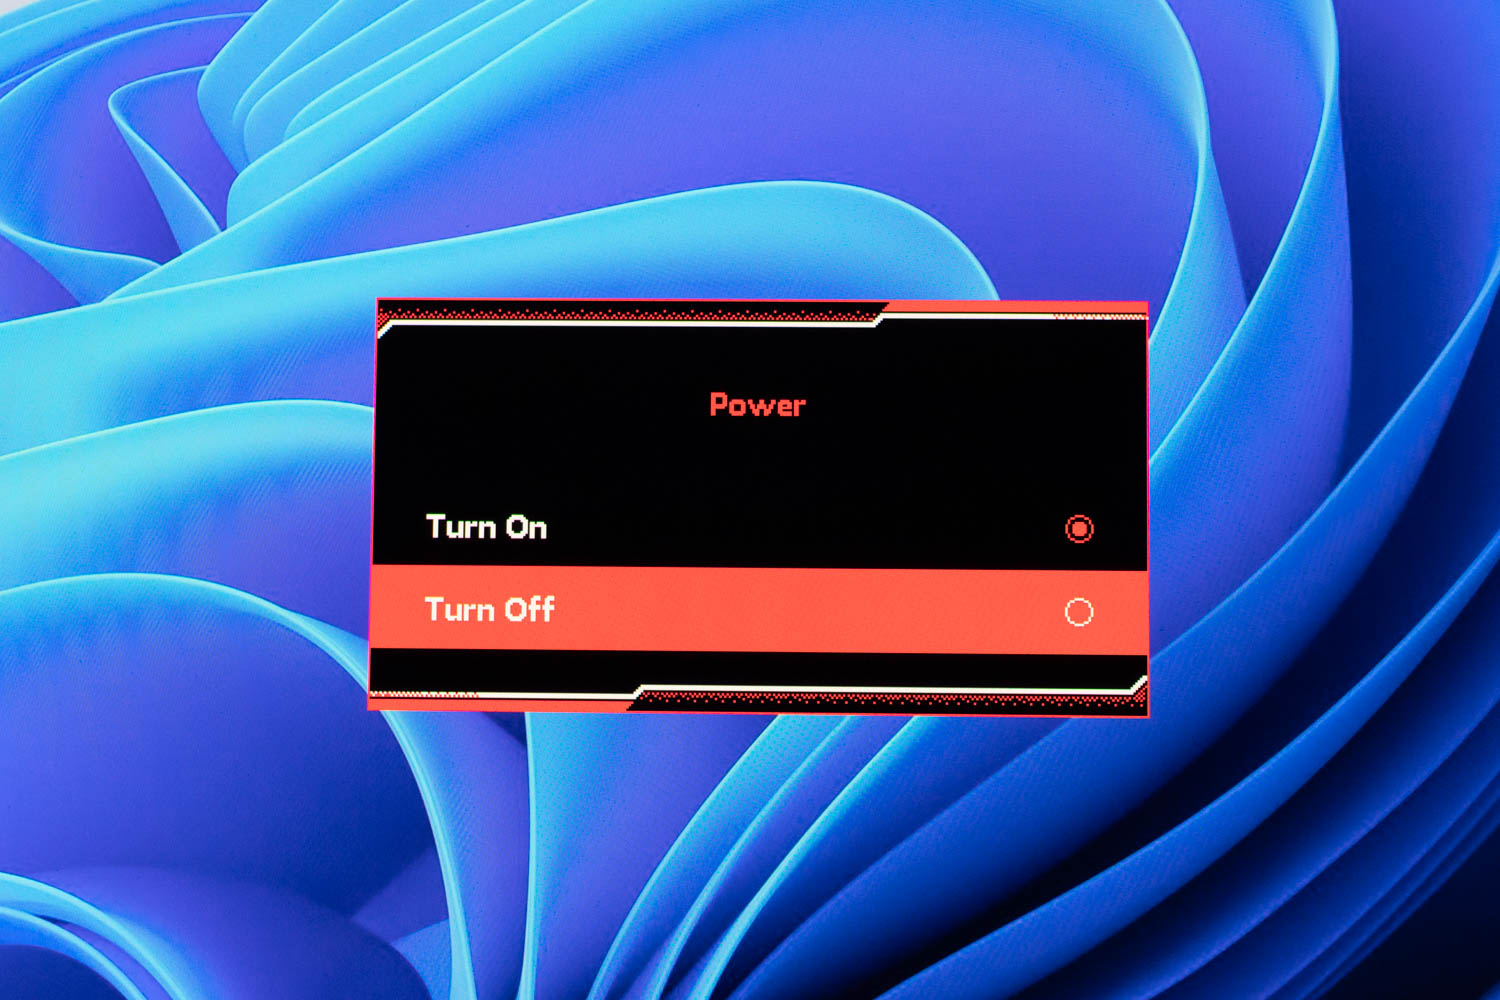
Hidden behind the monitor's bottom bezel ("chin"), the ASUS ROG Swift OLED PG27UCDM features two buttons and a four-way joystick, which also functions as a clickable third button. By default, the left button opens the Pixel Cleaning quick menu, while the right button serves as the power switch, but this can be changed to something else you find preferable.
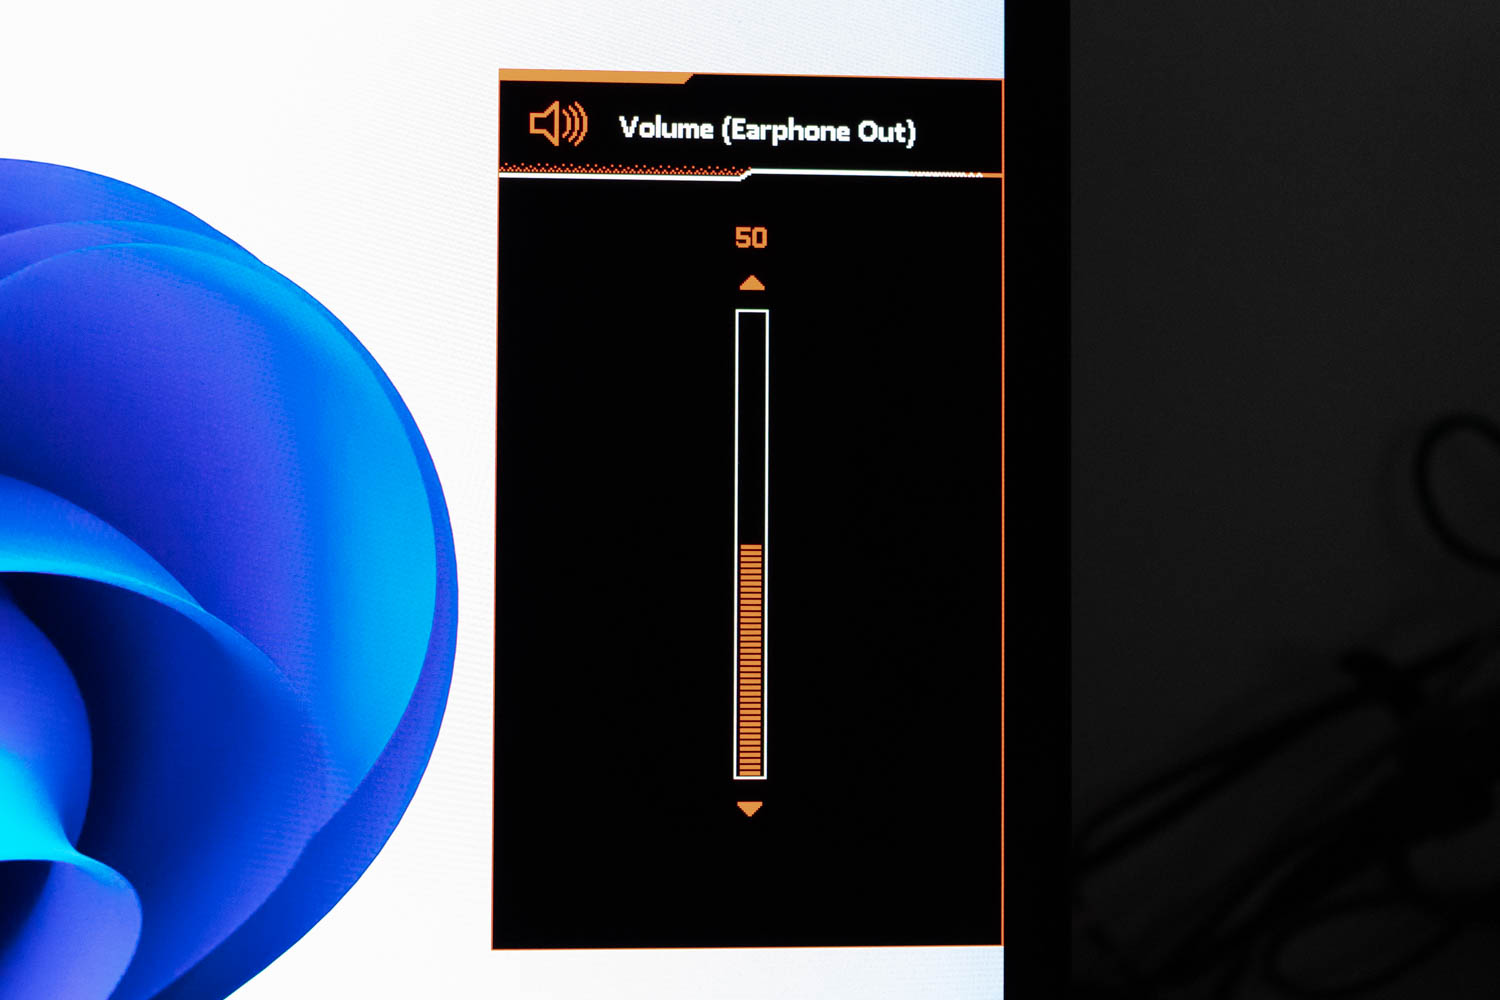
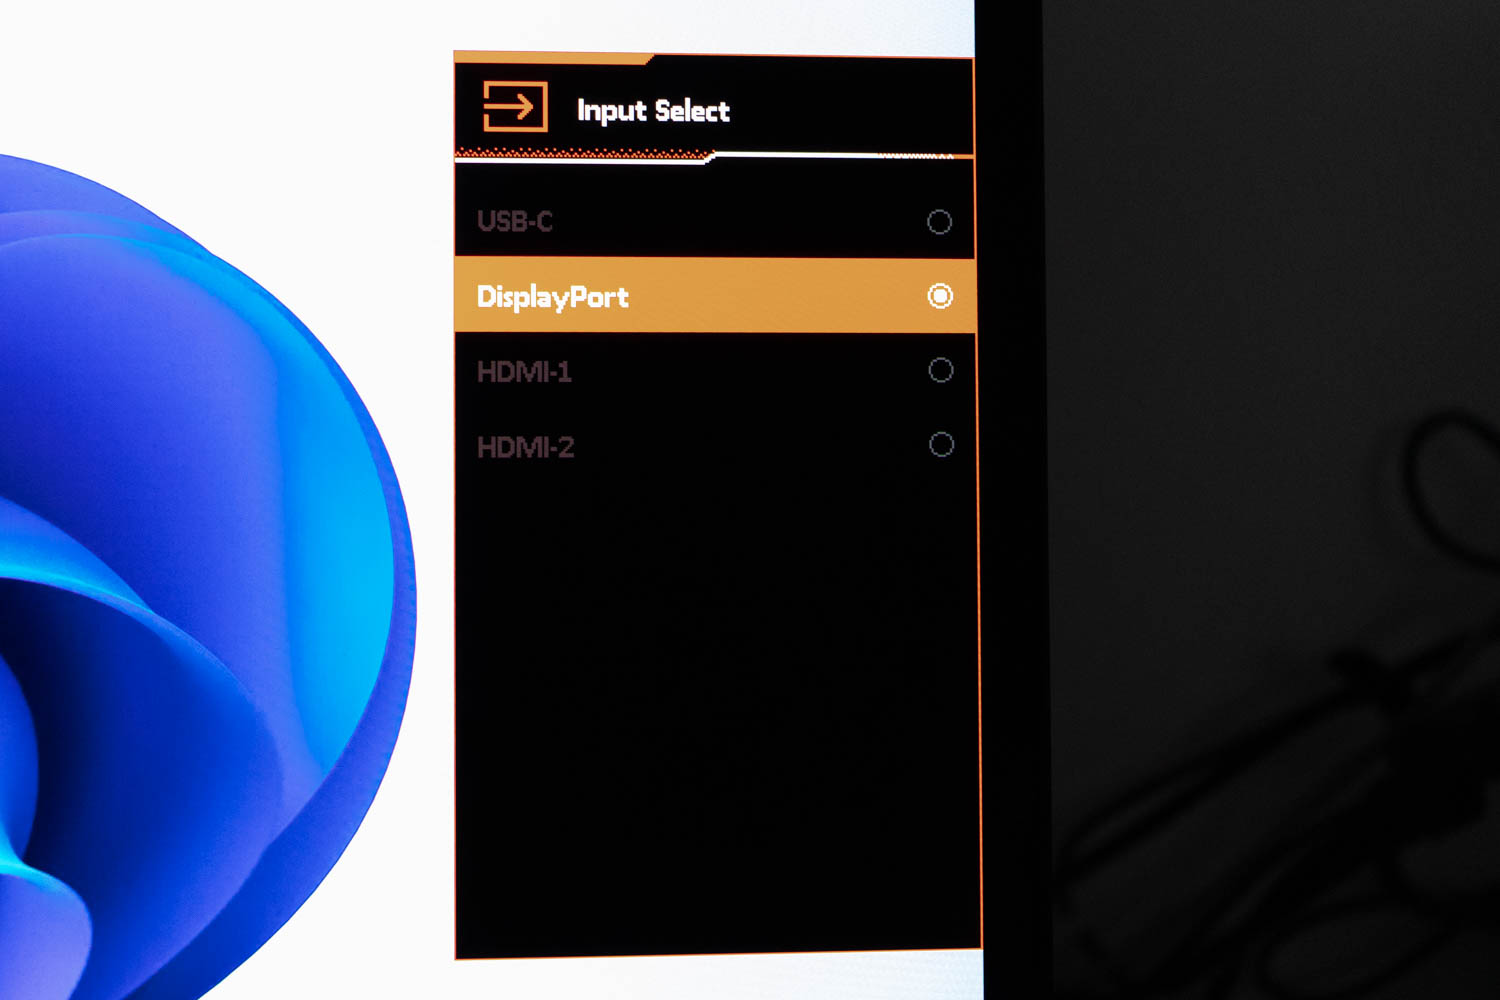
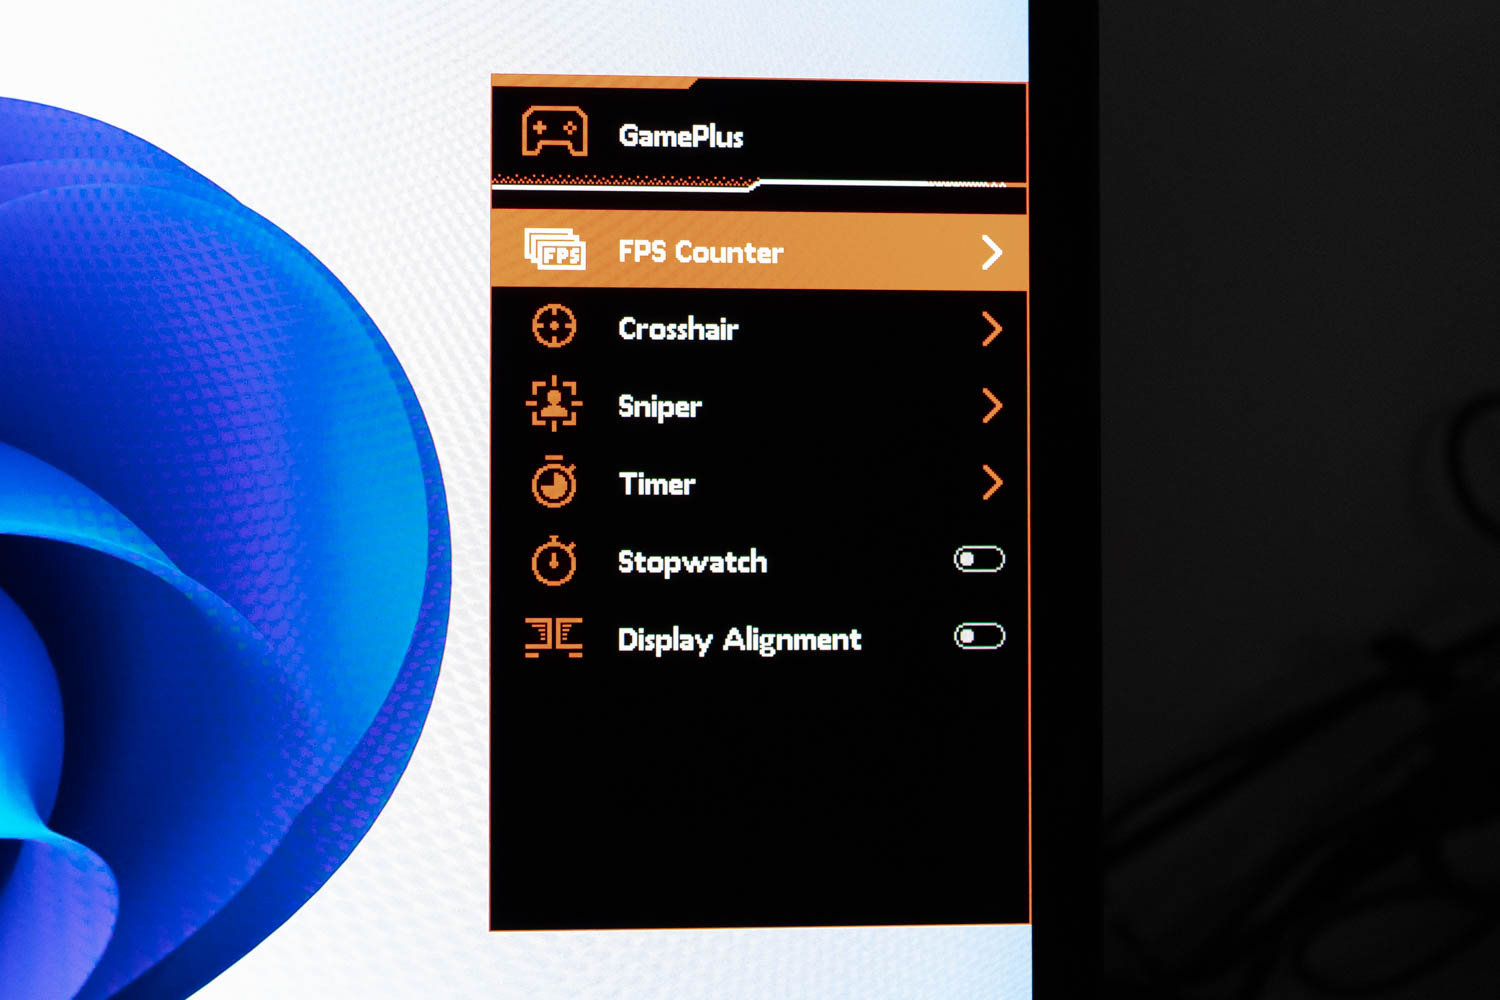
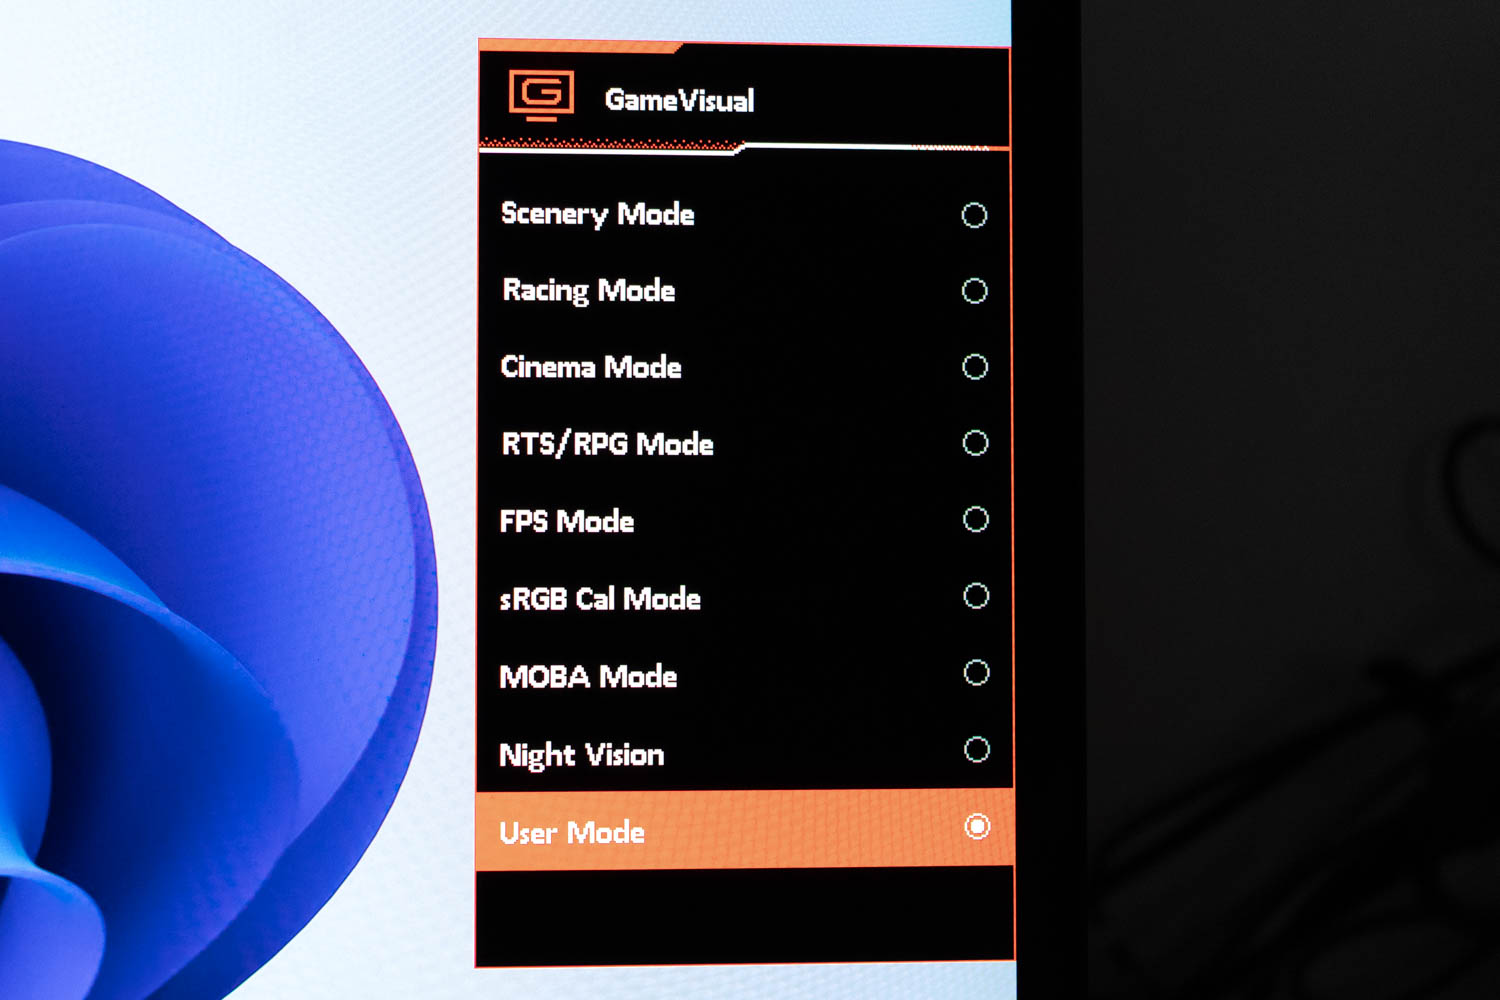
You can assign four additional quick menus to the four-way joystick, each triggered by simply moving the joystick in one of the four directions, without pressing it first. Combined with the two fixed-function buttons, that gives the ROG Swift OLED PG27UCDM a total of six instantly accessible quick menus—two more than what most monitors typically offer.
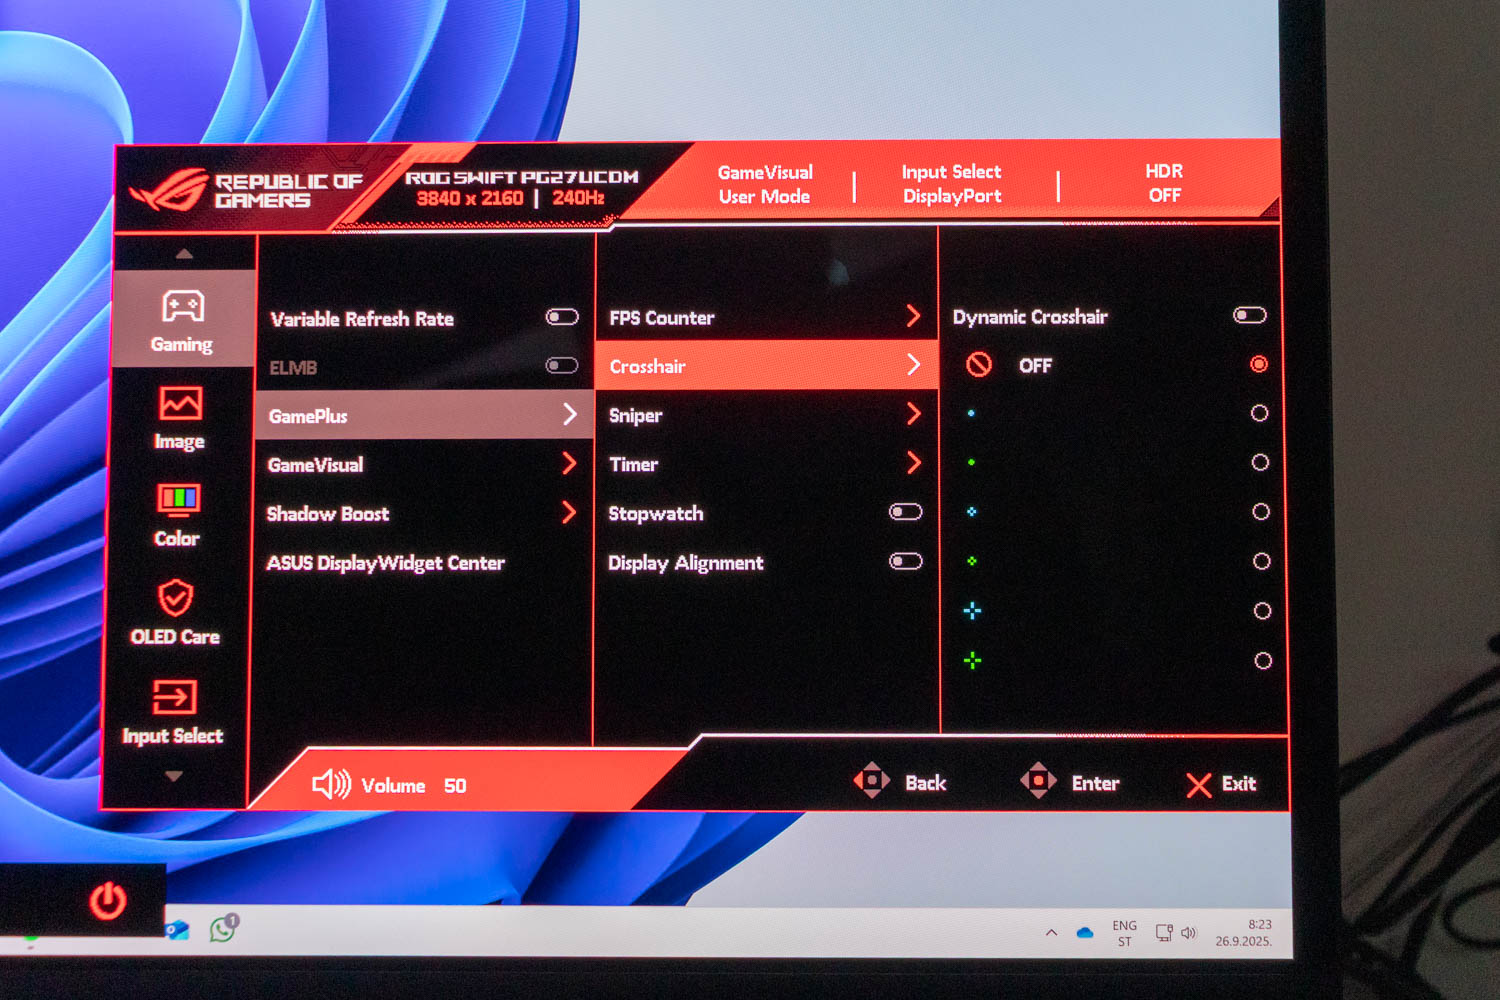

The ASUS ROG Swift OLED PG27UCDM has an elaborate on-screen display (OSD) with a bunch of options, starting with the Gaming menu, where we can toggle adaptive synchronization and activate various gaming-related assistants, such as virtual crosshair, timer, stopwatch, 1.2-2x zoom of the center of the screen, and shadow boost. Somewhat surprisingly, all picture profiles are also located here, under the "GameVisual" submenu.
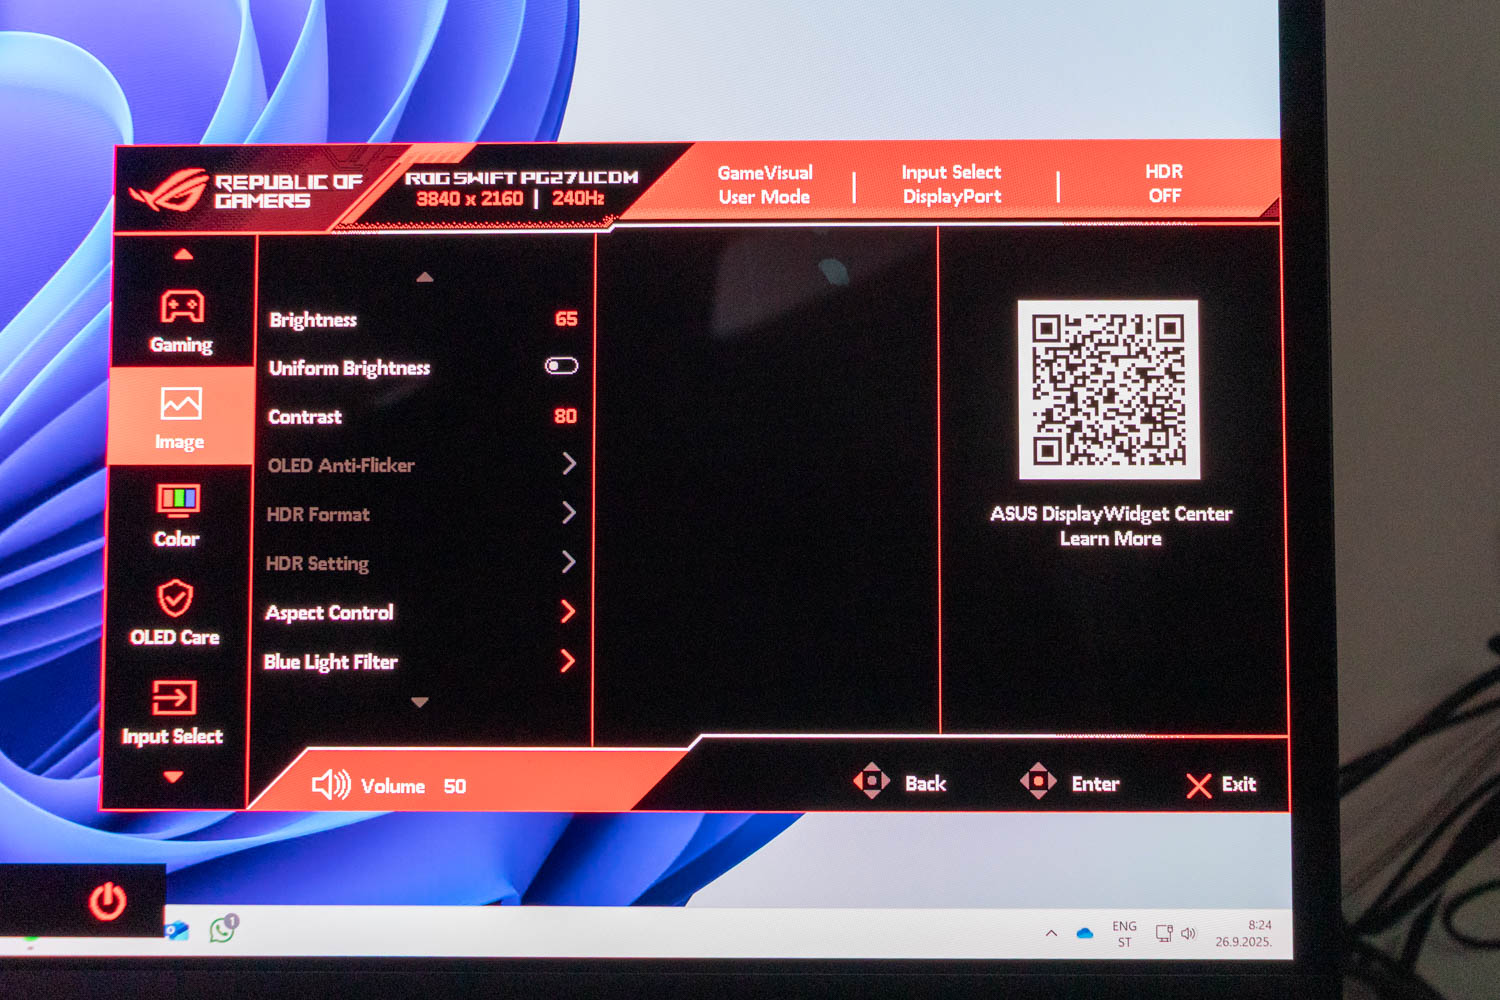
The "Image" menu is where you can adjust the brightness of the panel, toggle Auto Brightness Limiter (ABL)—called "Uniform Brightness" in the OSD—activate OLED Anti-Flicker technology and blue light filtering, and so on.
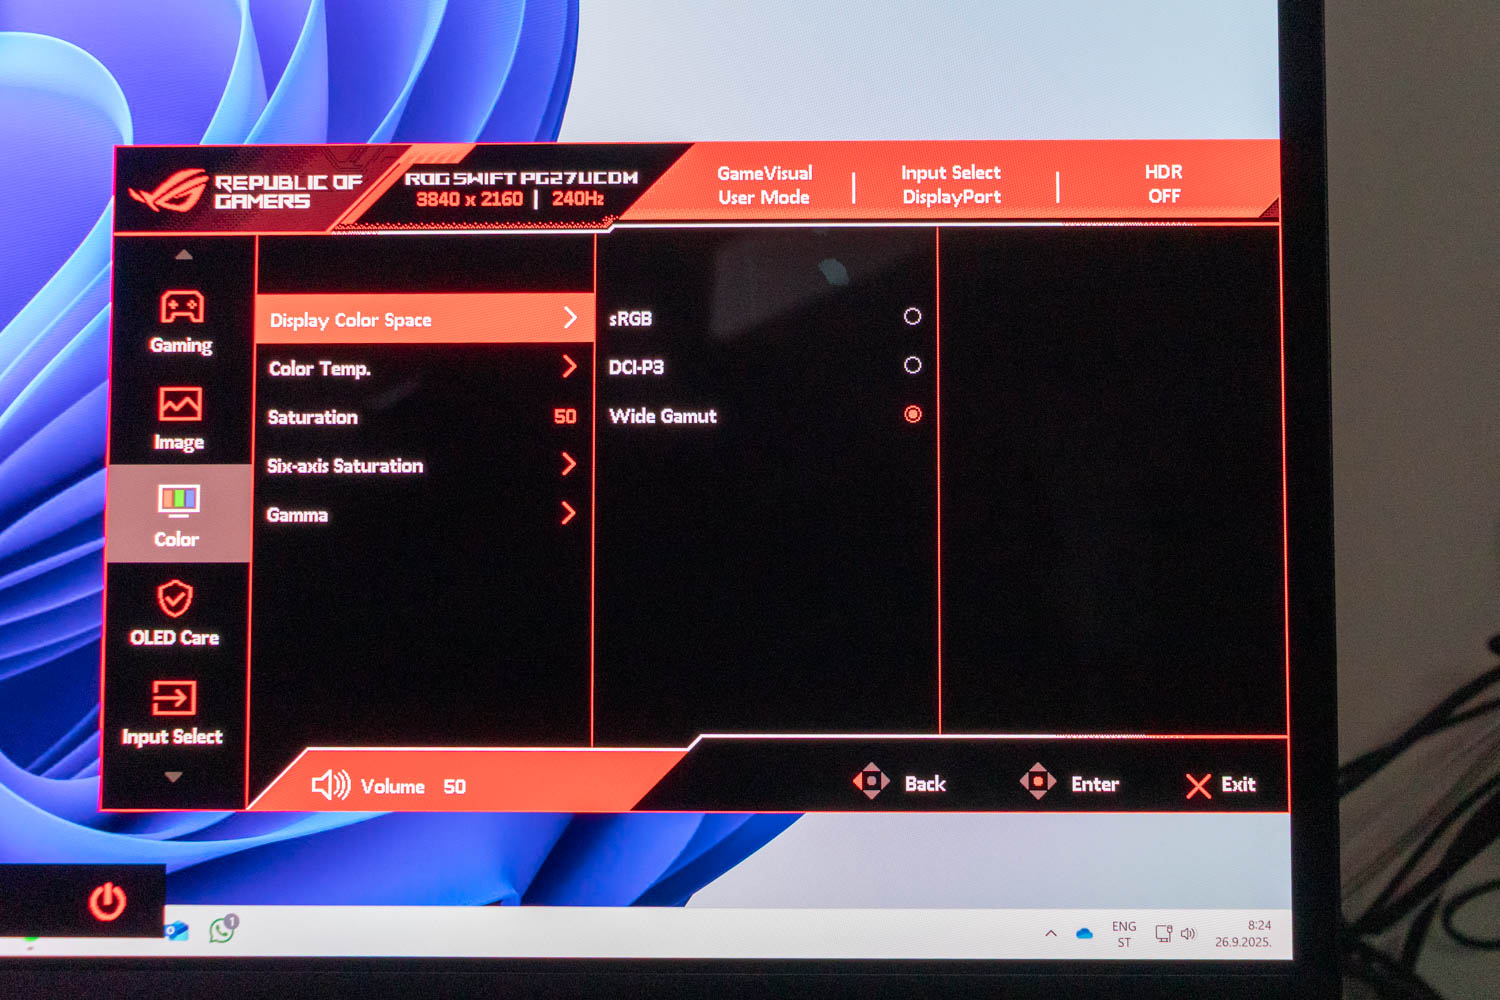
The "Color" menu contains everything needed for a more granular control of the monitor's color performance. This is where you'll clamp it to the sRGB or DCI-P3 color space, select the desired color temperature (or fine-tune it) and gamma, and adjust the six-axis color channel saturation (RGB and CMY).
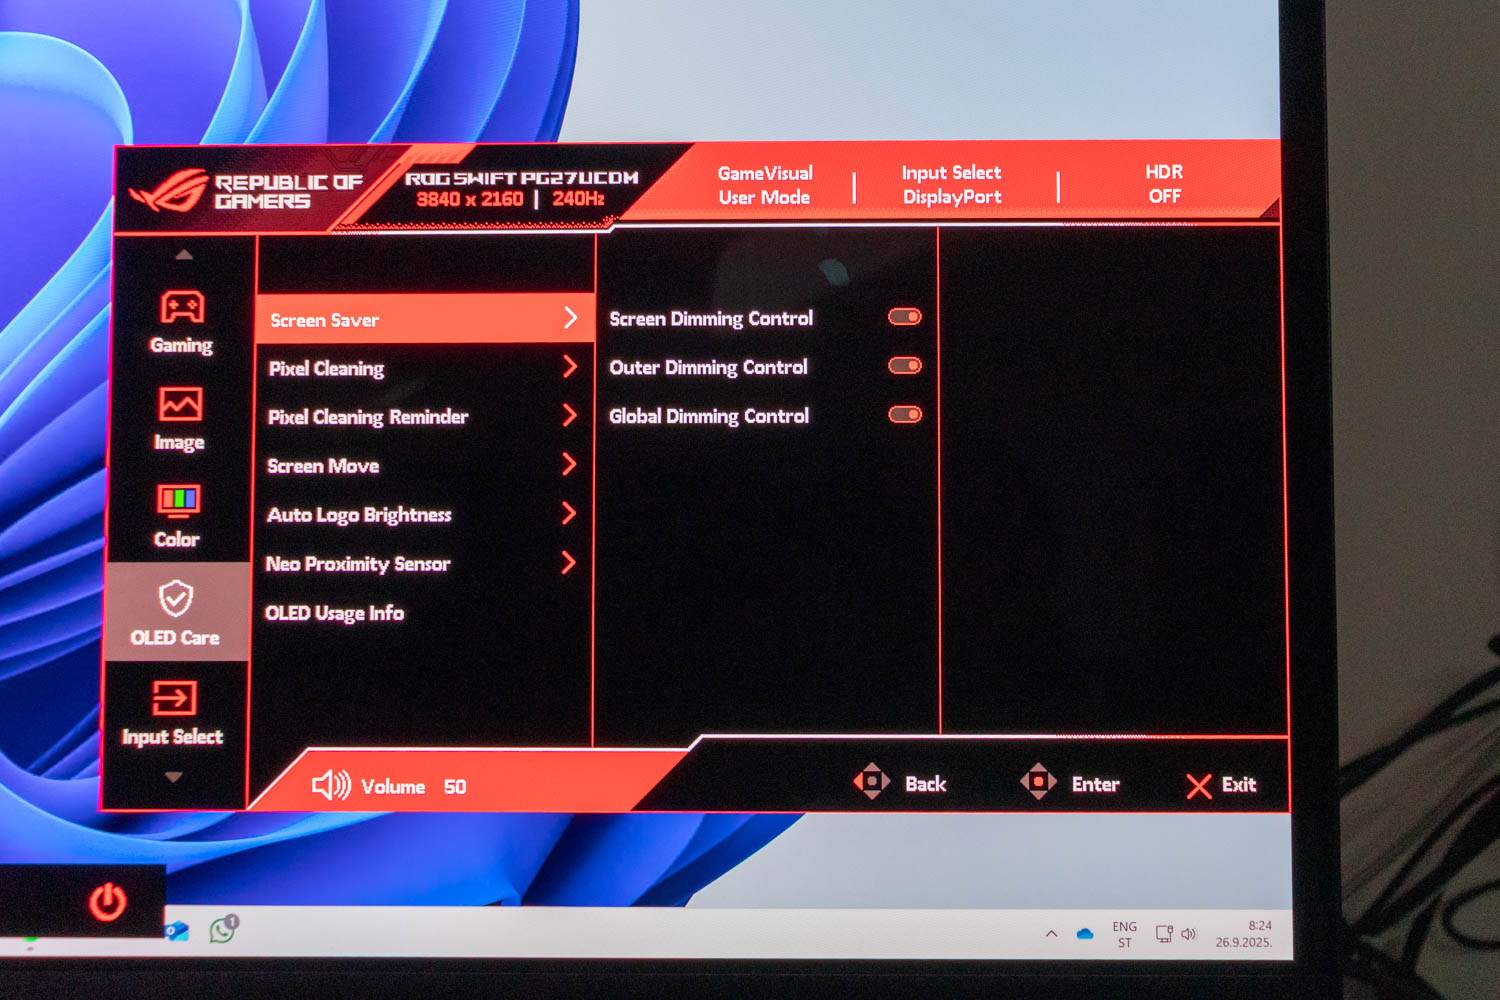
The "OLED Care" menu is filled with various burn-in prevention technologies and algorithms, such as pixel orbiting and automatic static image dimming (logos, taskbar). Here you can also initiate pixel cleaning and set how often you want to be reminded about it.
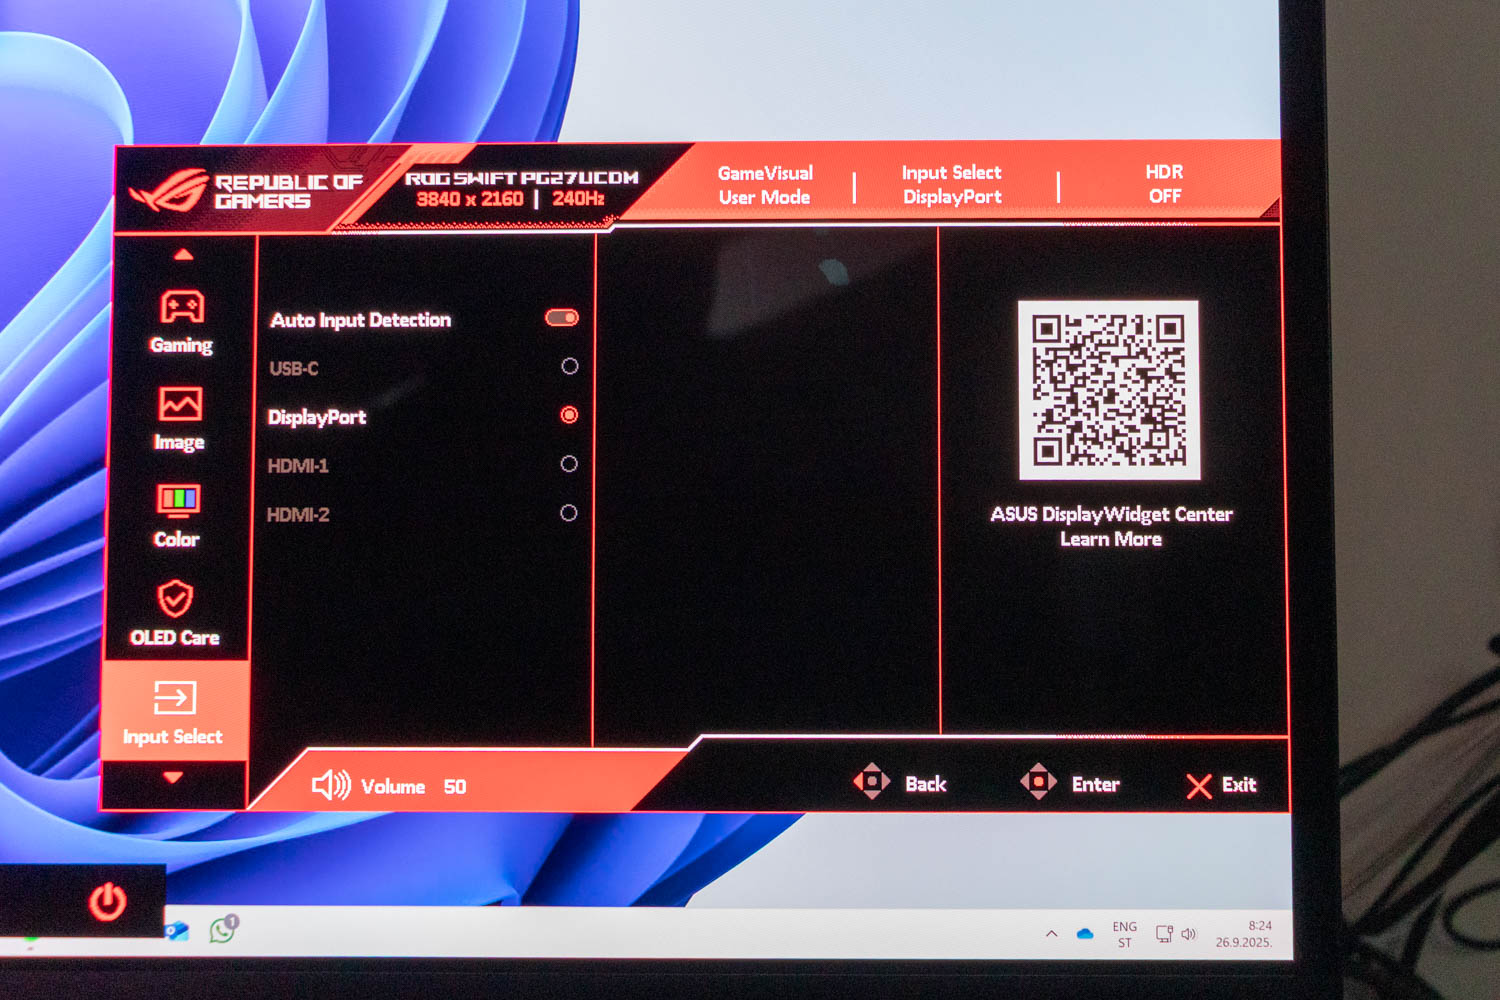
The "Input Select" menu is self-explanatory.
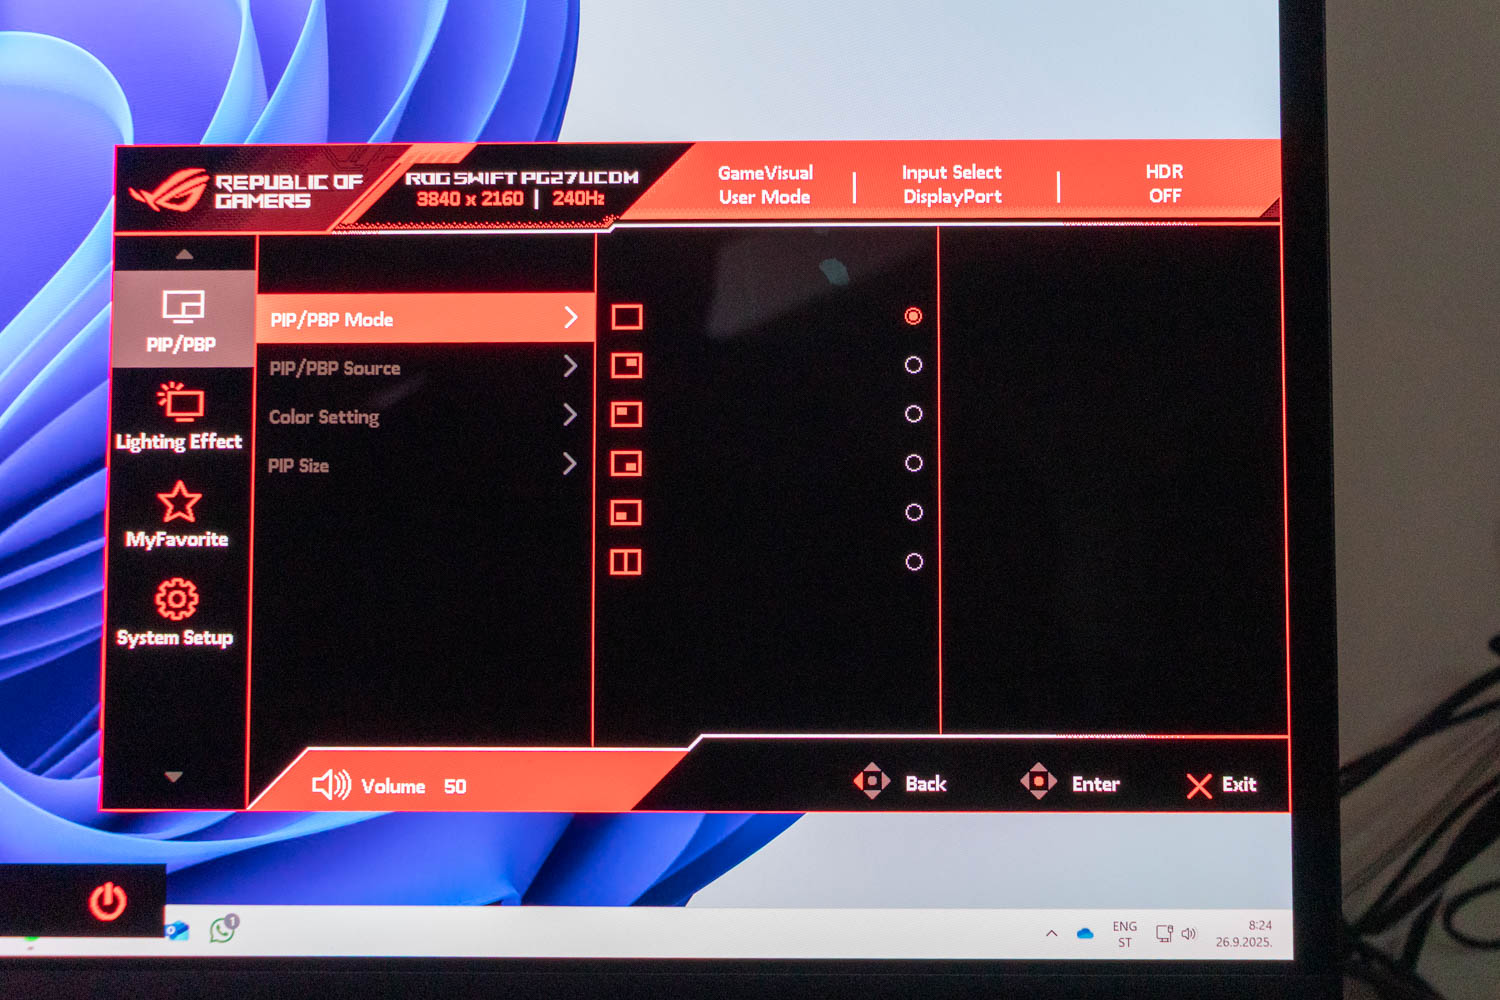
The "PIP/PBP" menu isn't one that you'll often use on a 27-inch monitor, but it's worth mentioning that the feature is implemented well, and that you can select different picture profiles for both connected sources.
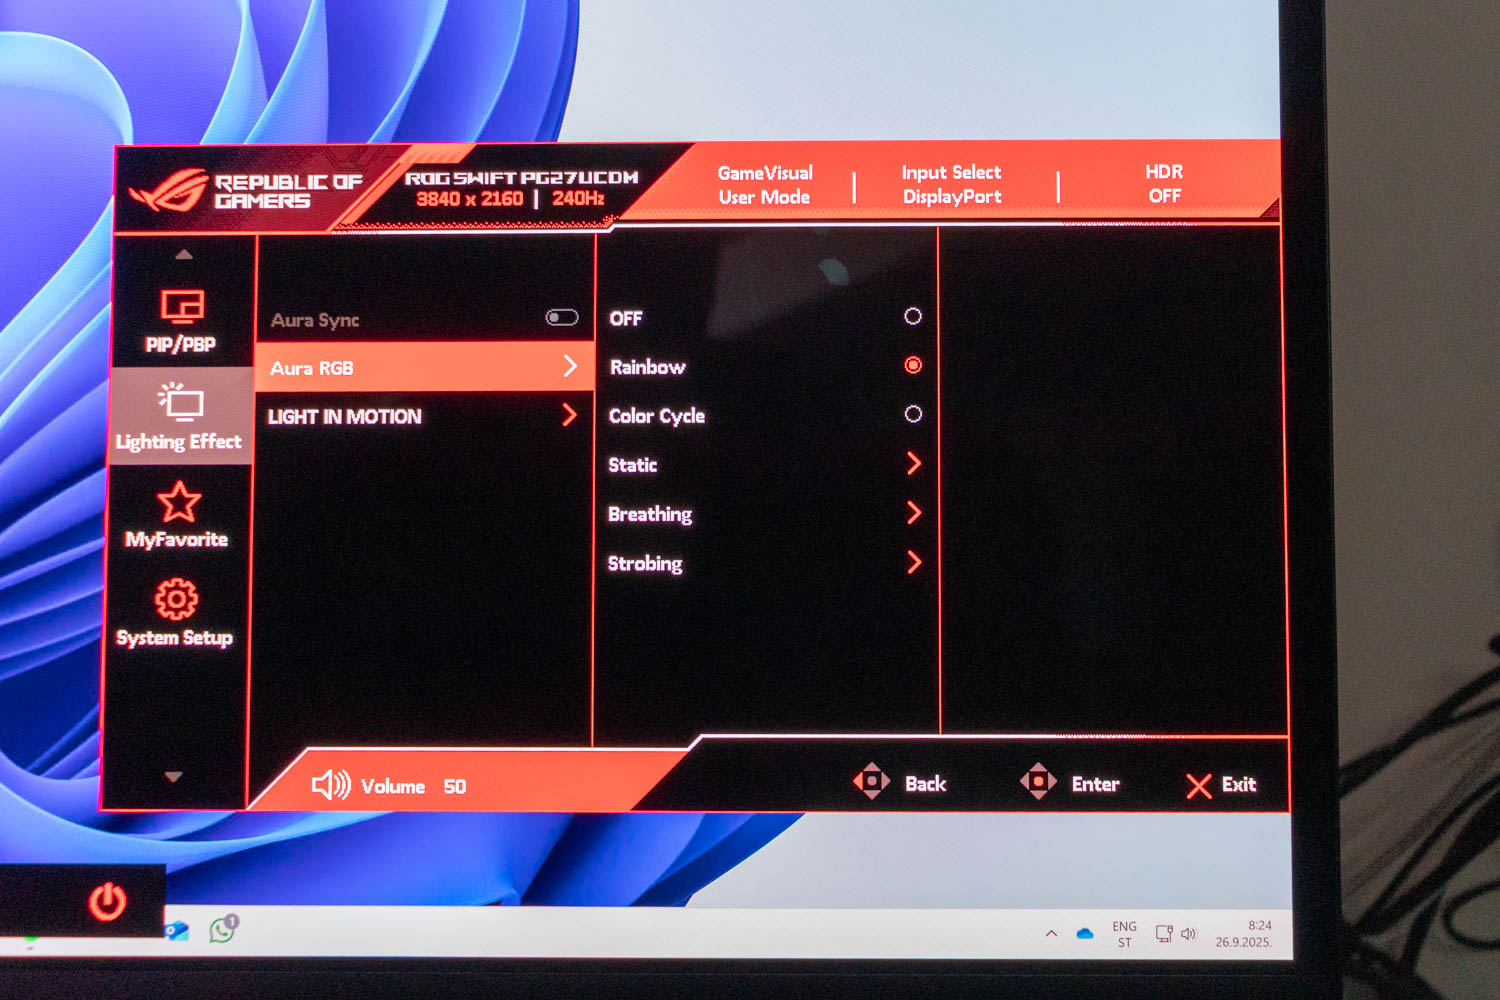
The "Lightning Effect" menu lets you manually adjust the color and effect of the huge ROG logo found on the monitor's rear. Alternatively, you can use the dreaded Armoury Crate to activate Aura Sync and have it synchronized with other Aura Sync peripherals. Here's also where you can adjust the brightness of the Light In Motion lighting system, integrated into the stand, and/or disable it.
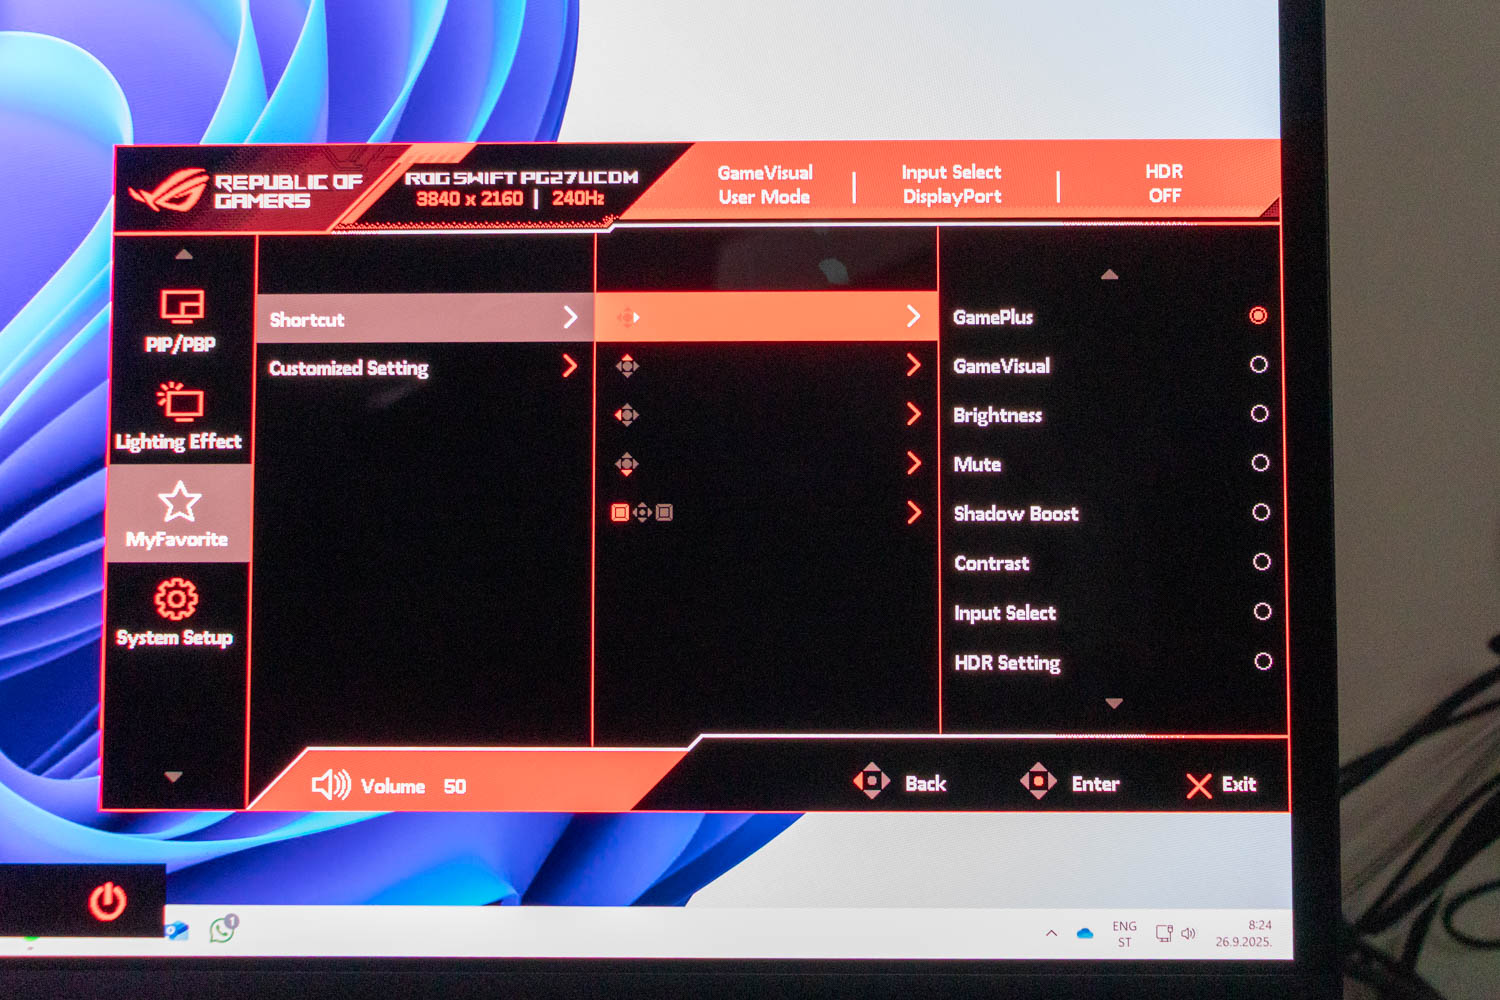
The "MyFavorite" menu lets you assign various quick menus to the 4-way joystick and two buttons flanking it, and save all monitor settings to two user profiles.

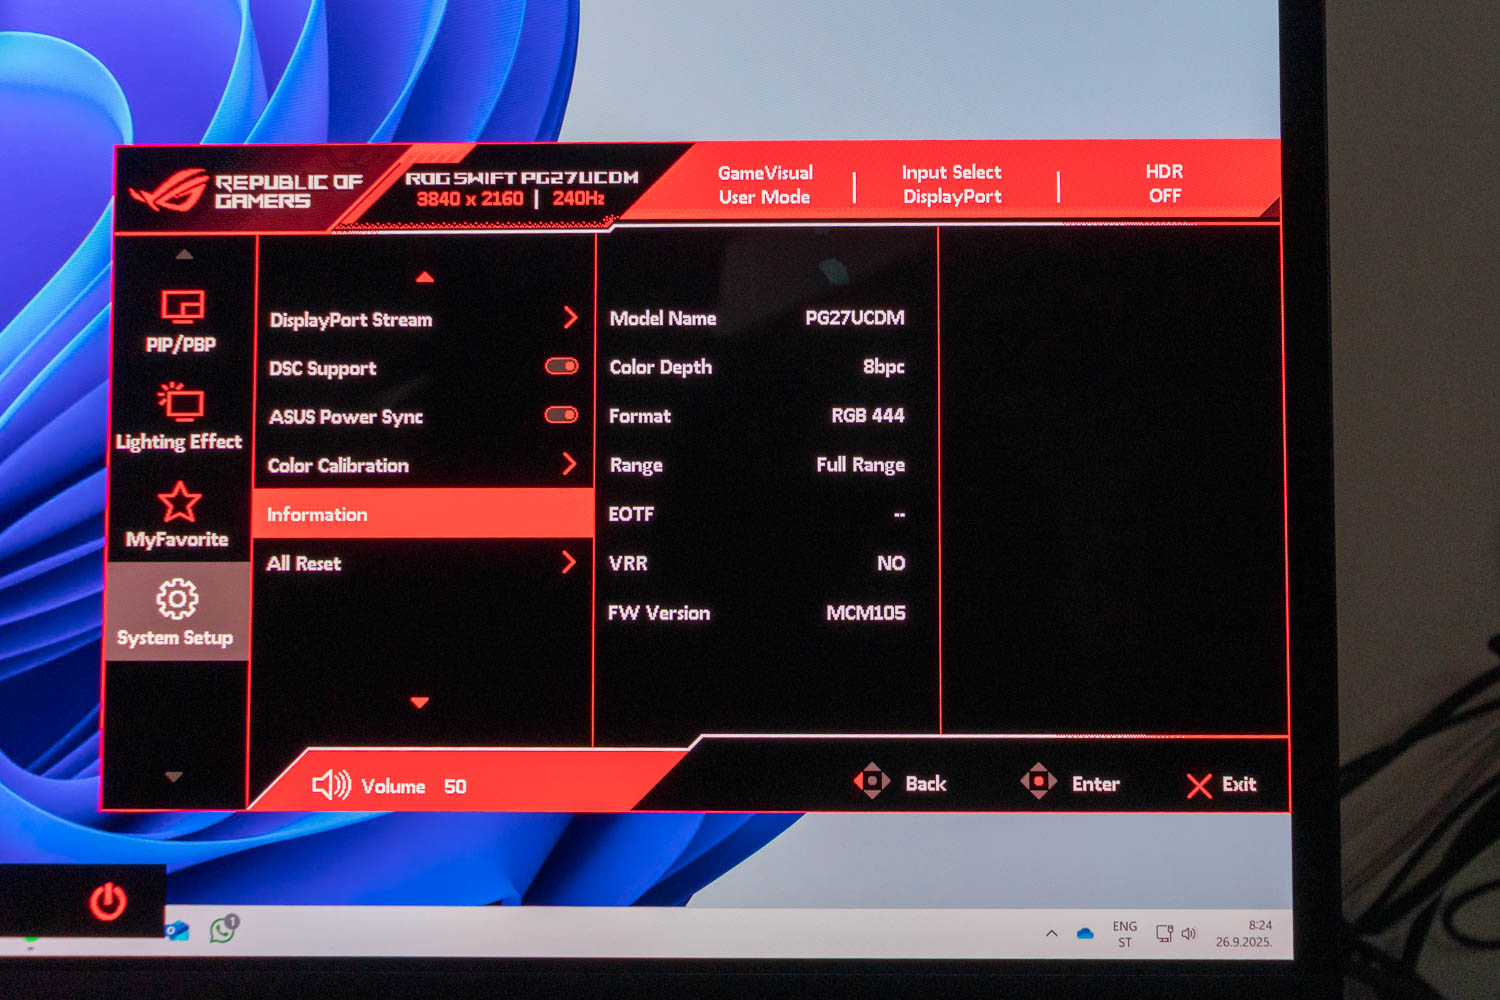
The "System Setup" menu is where ASUS put everything else, including language selection, KVM switch and OSD setup, USB-C and DisplayPort bandwidth selection, toggles for Display Stream Compression (switching DSC off limits the monitor's refresh rate to 120 Hz), power indicator, and key lock, and so on. This is also where you can reset all settings to their factory defaults.
Nov 17th, 2026 18:15 CST
change timezone
Latest GPU Drivers
New Forum Posts
- Honestly, do you care about GTA VI? (134)
- [testers wanted] Qsurfer My own QNAP Nas explorer/Search tool (7)
- Local LLM General Discussion (693)
- ProArt X870E-CREATOR WIFI - Bifurcation~Complication (14)
- Asus ProArt P14 (RTX Spark) linux so far (4)
- Without Jensen, PC gaming will be (34)
- 9070 GRE 3.9ghz validation reached. (18)
- Help with fixing Overclock (7)
- [Poll] 12V-2x6 Connector Protection: What Are You Using? (WireView / Ampinel / Equalizer / Other / Nothing) (27)
- What is the latest game you finished or 100% (204)
Popular Reviews
- Acemagic Retro X3 Review
- Upcoming Hardware Launches 2027 (Updated Nov 2026)
- AMD Zen 6 Technical Deep Dive
- ASUS ROG Strix B850-I Gaming Wi-Fi7 W Review
- Corsair HX1000i Shift Crystal Review
- Chieftec Iceberg PRO 360 DARK Review
- AMD Ryzen 7 9800X3D Review - The Best Gaming Processor
- Phantom Blade Zero Performance Benchmark Review - 35 GPUs Tested
- Montech King 95 3D PRO Review
- NZXT C1200 Platinum Review
TPU on YouTube
Controversial News Posts
- NVIDIA Co-Founder and CEO Jensen Huang Officially Resigns (458)
- Open Letter Asking NVIDIA to Reinstate Jensen Huang Passes 115,000 Signatures (184)
- OpenAI CEO Argues Home PCs Waste the World's Limited DRAM Supply (152)
- NVIDIA Launches Investigation Into Jensen Huang's Relationship With Suspected Chinese Spy (136)
- Report: Jensen Huang Eyes NVIDIA Comeback (135)
- Intel "Raptor Lake Next" 16-Core and 20-Core CPUs Surface (130)
- Legendary Game Studio BioWare Shuts Down Following EA Layoffs (104)
- Dell CEO Says the Memory Shortage Will Get Worse in 2027 (95)