 13
ASUS Zenbook A16 (UX3607OA) Review - Snapdragon Laptops are Getting Better and Better
Display Testing »Disassembly and Teardown
The ASUS Zenbook A16 (UX3607) is a super-light 16-incher, and I'll show you how to open it without breaking a sweat.
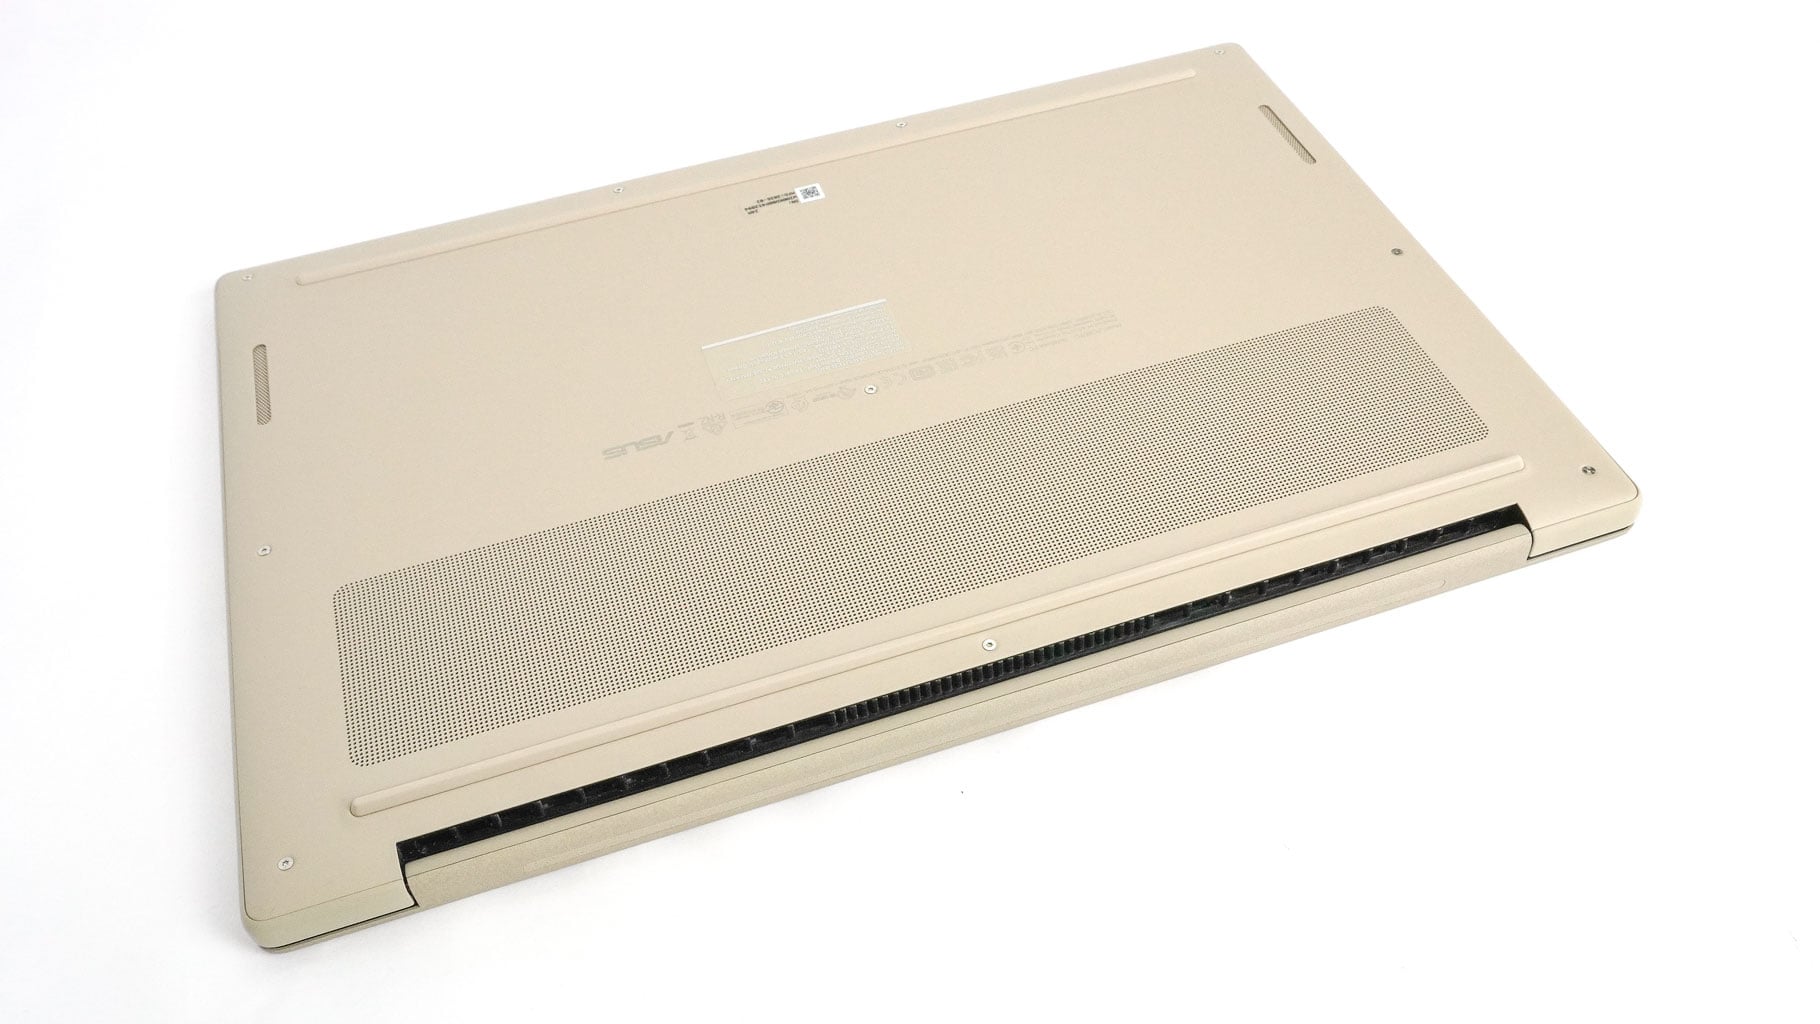
Ten Torx head screws hold the bottom cover in place. Use a pry tool to pop the areas behind the hinge cover near the edges. Then, work your way around all sides, starting from one of the corners you've already lifted. Fully release the rear with the lever tool; just keep in mind that the back exhaust vents are attached directly to the bottom panel.

Inside, the bottom plate features soft padding above the battery and dust filters for the fans.

This premium device relies on a 70 Wh battery with a classic ASUS connector design.

To remove it, slide up the metal cap on top and lift the sides of the connector to fully loosen it. Then, undo the five screws securing the battery.
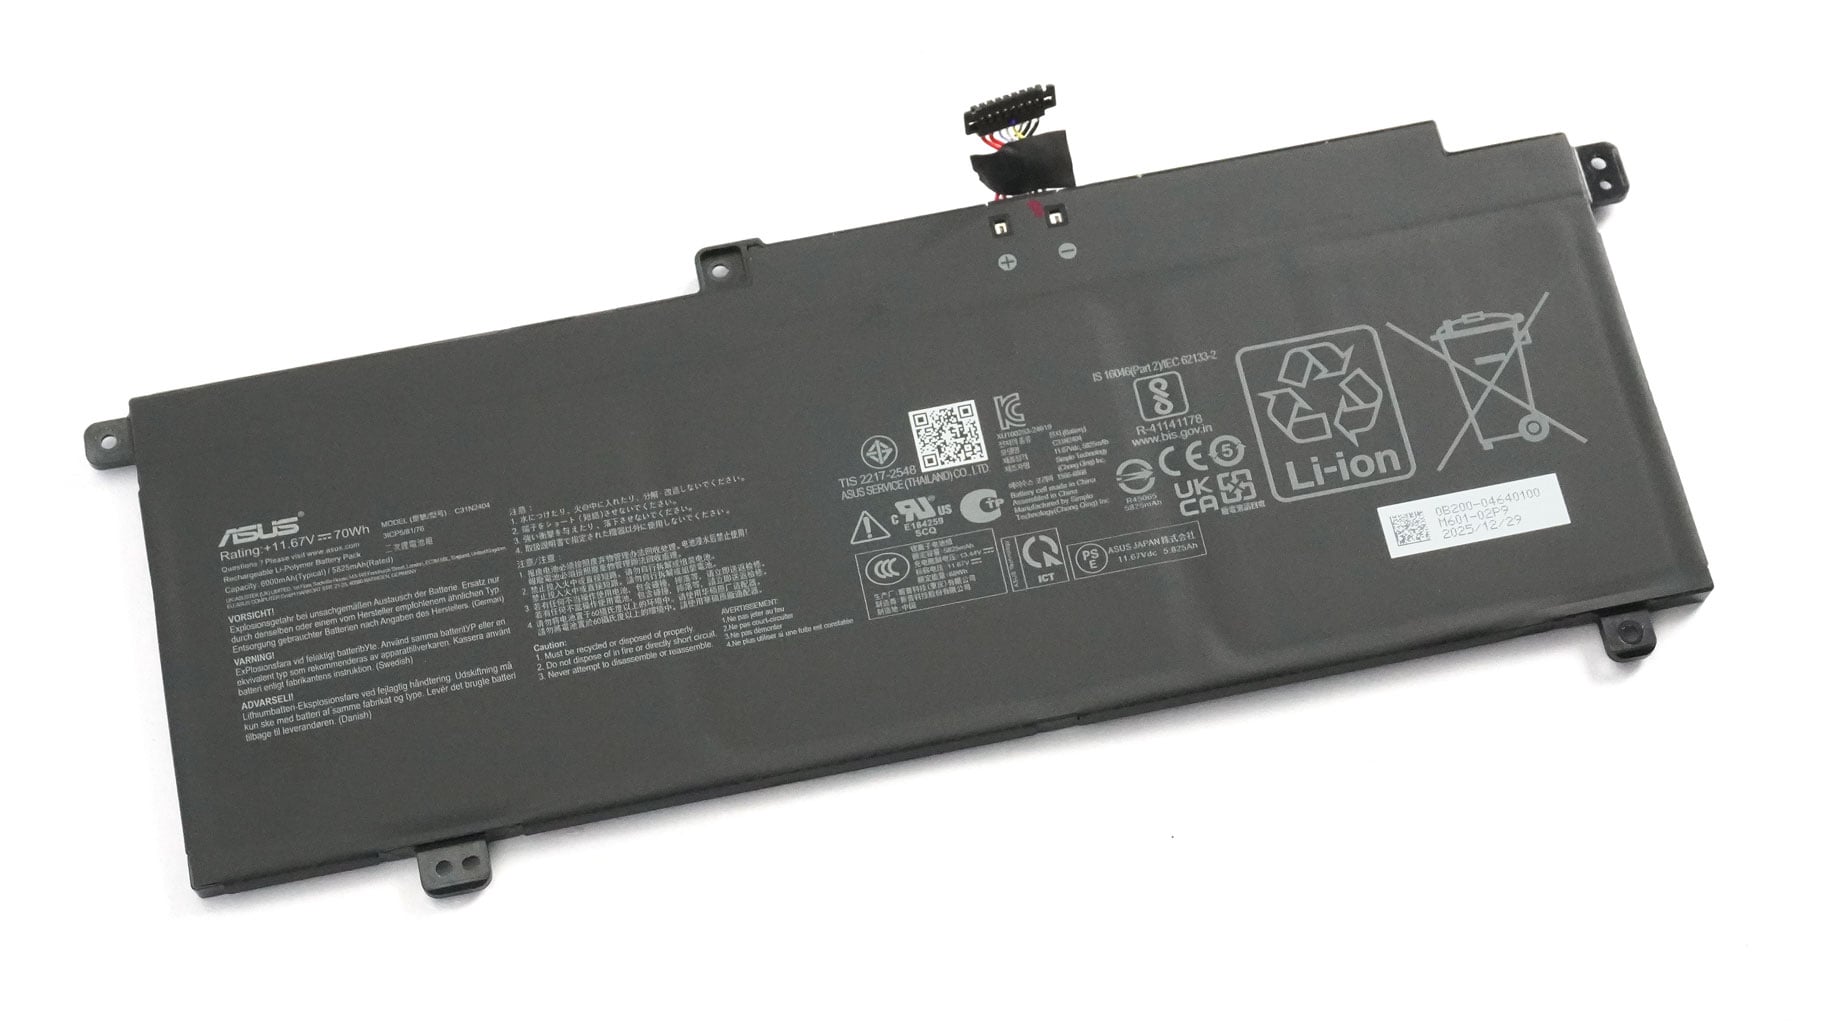
The capacity is good for a bit over 11 hours of 4K YouTube video playback on a single charge - a great result considering the gorgeous 120 Hz 3K OLED screen.

For storage upgrades, you get a single M.2 slot for 2280 Gen 4 SSDs.
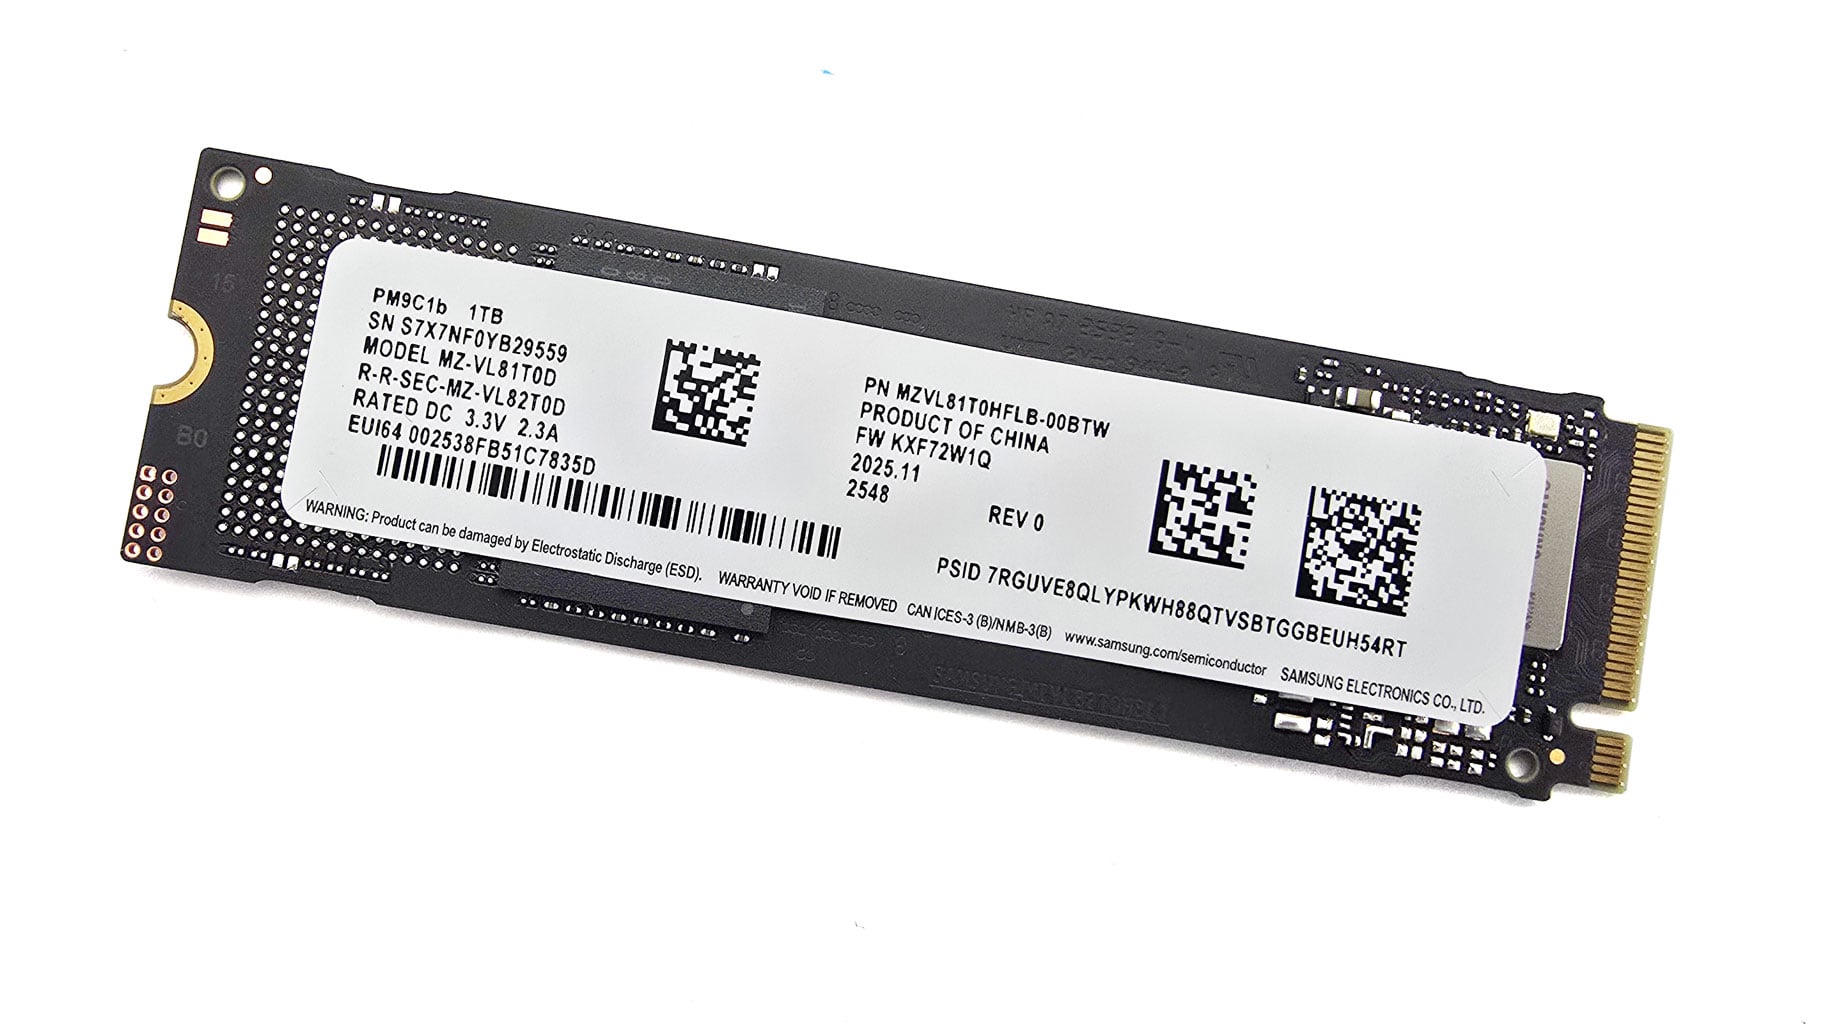
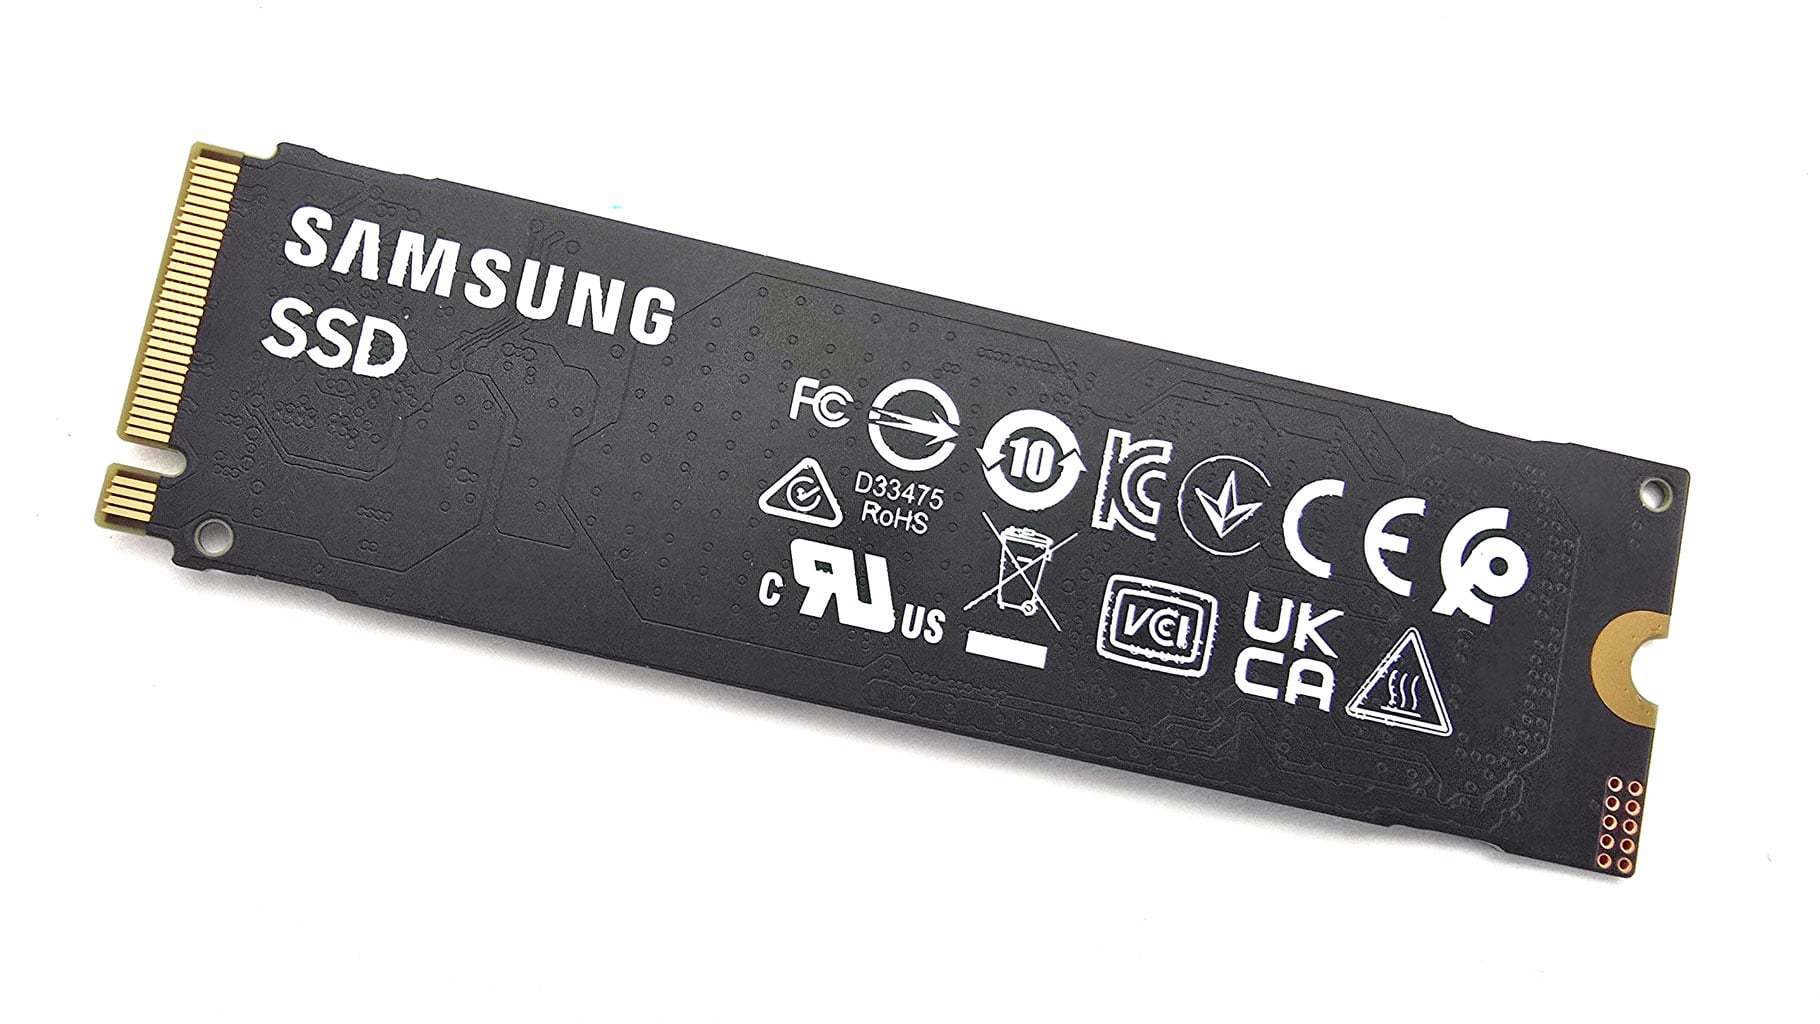
Here are some stills of the system NVMe.
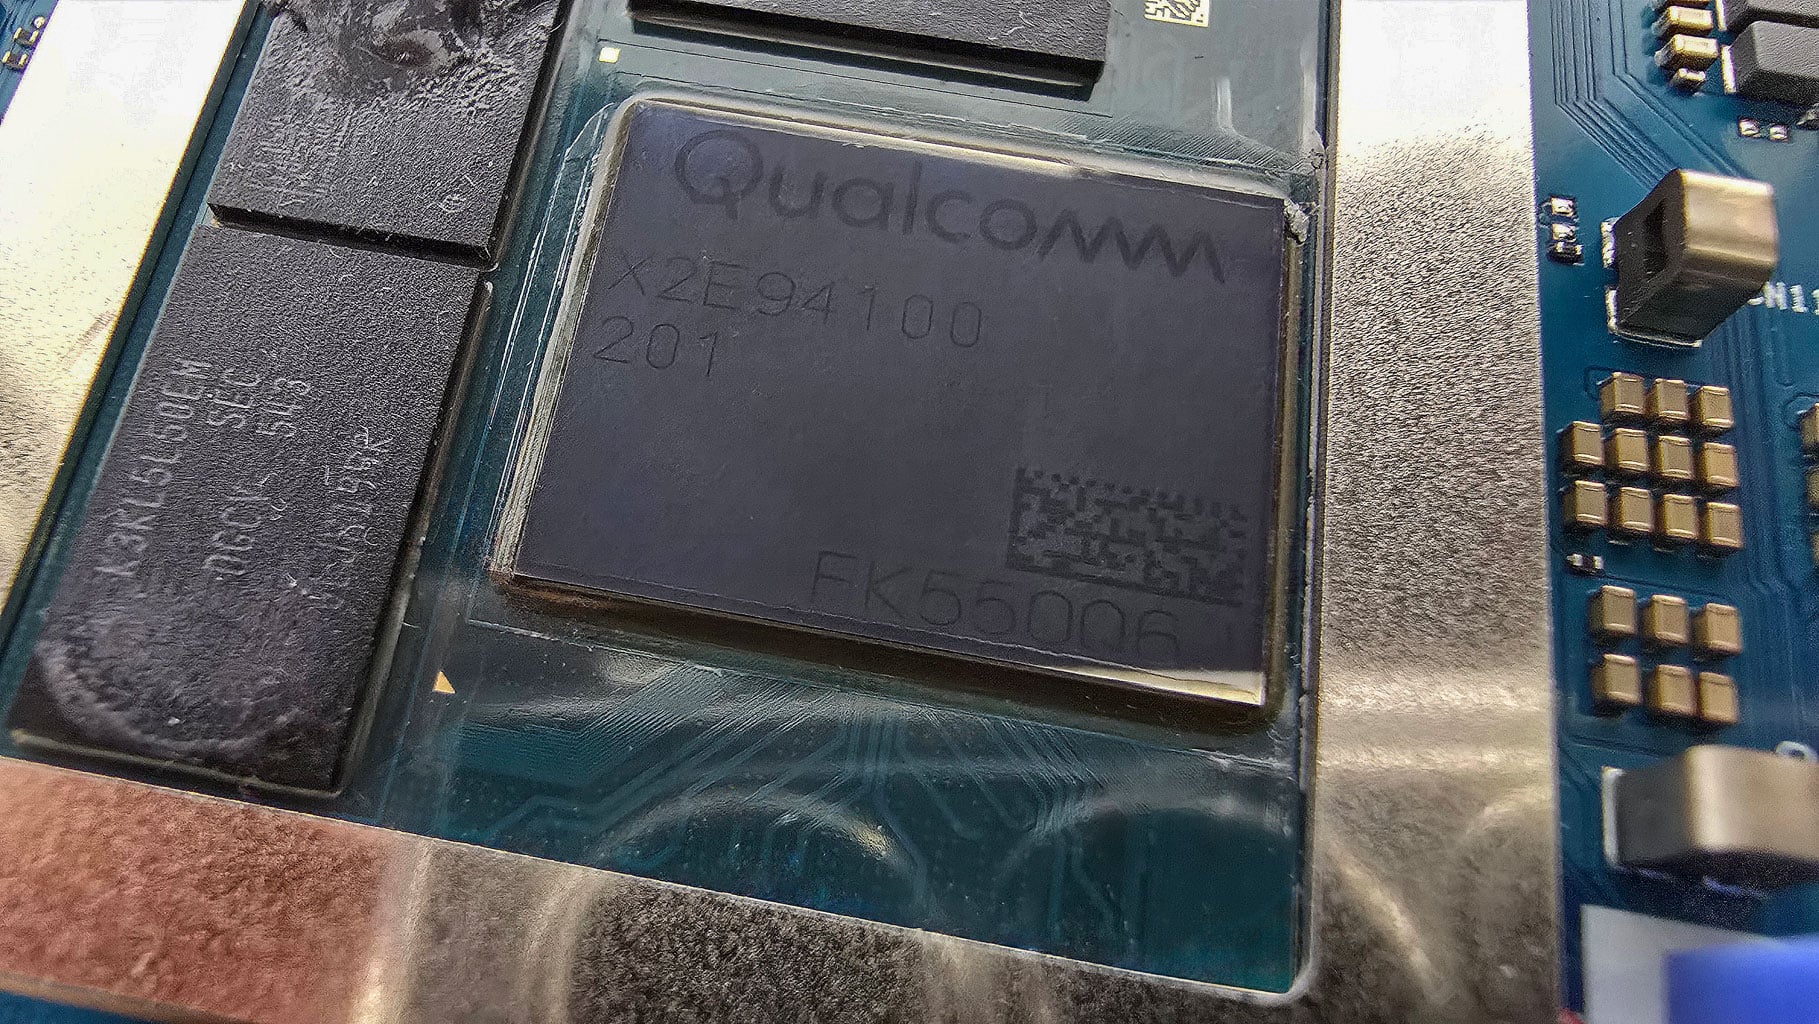
Because this machine is powered by a Snapdragon SoC, the memory is soldered down. Still, you can order this lightweight beast with up to 48 GB of fast LPDDR5X-9523 RAM, which should be more than enough for most users.
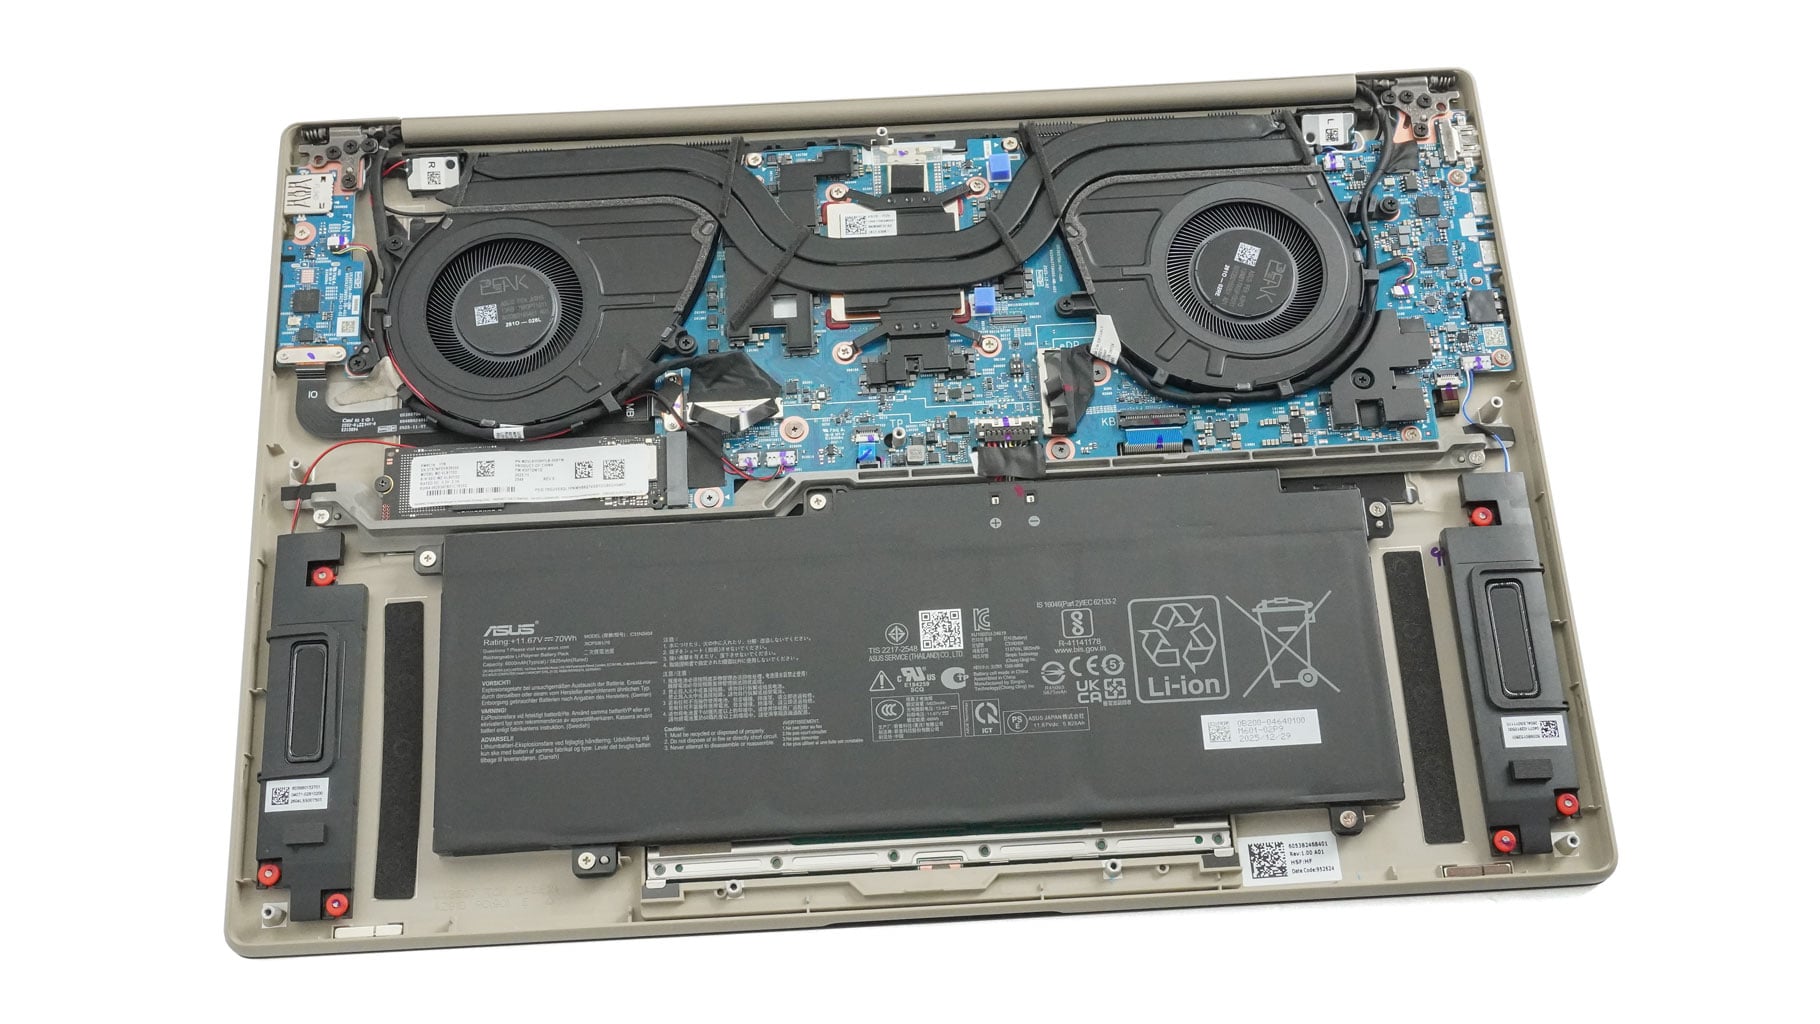
The cooling looks pretty beefy for this kind of hardware configuration. It boasts two fans, a pair of long heat pipes shared between the top fin stacks, and heatspreaders for the processor and the VRM section.
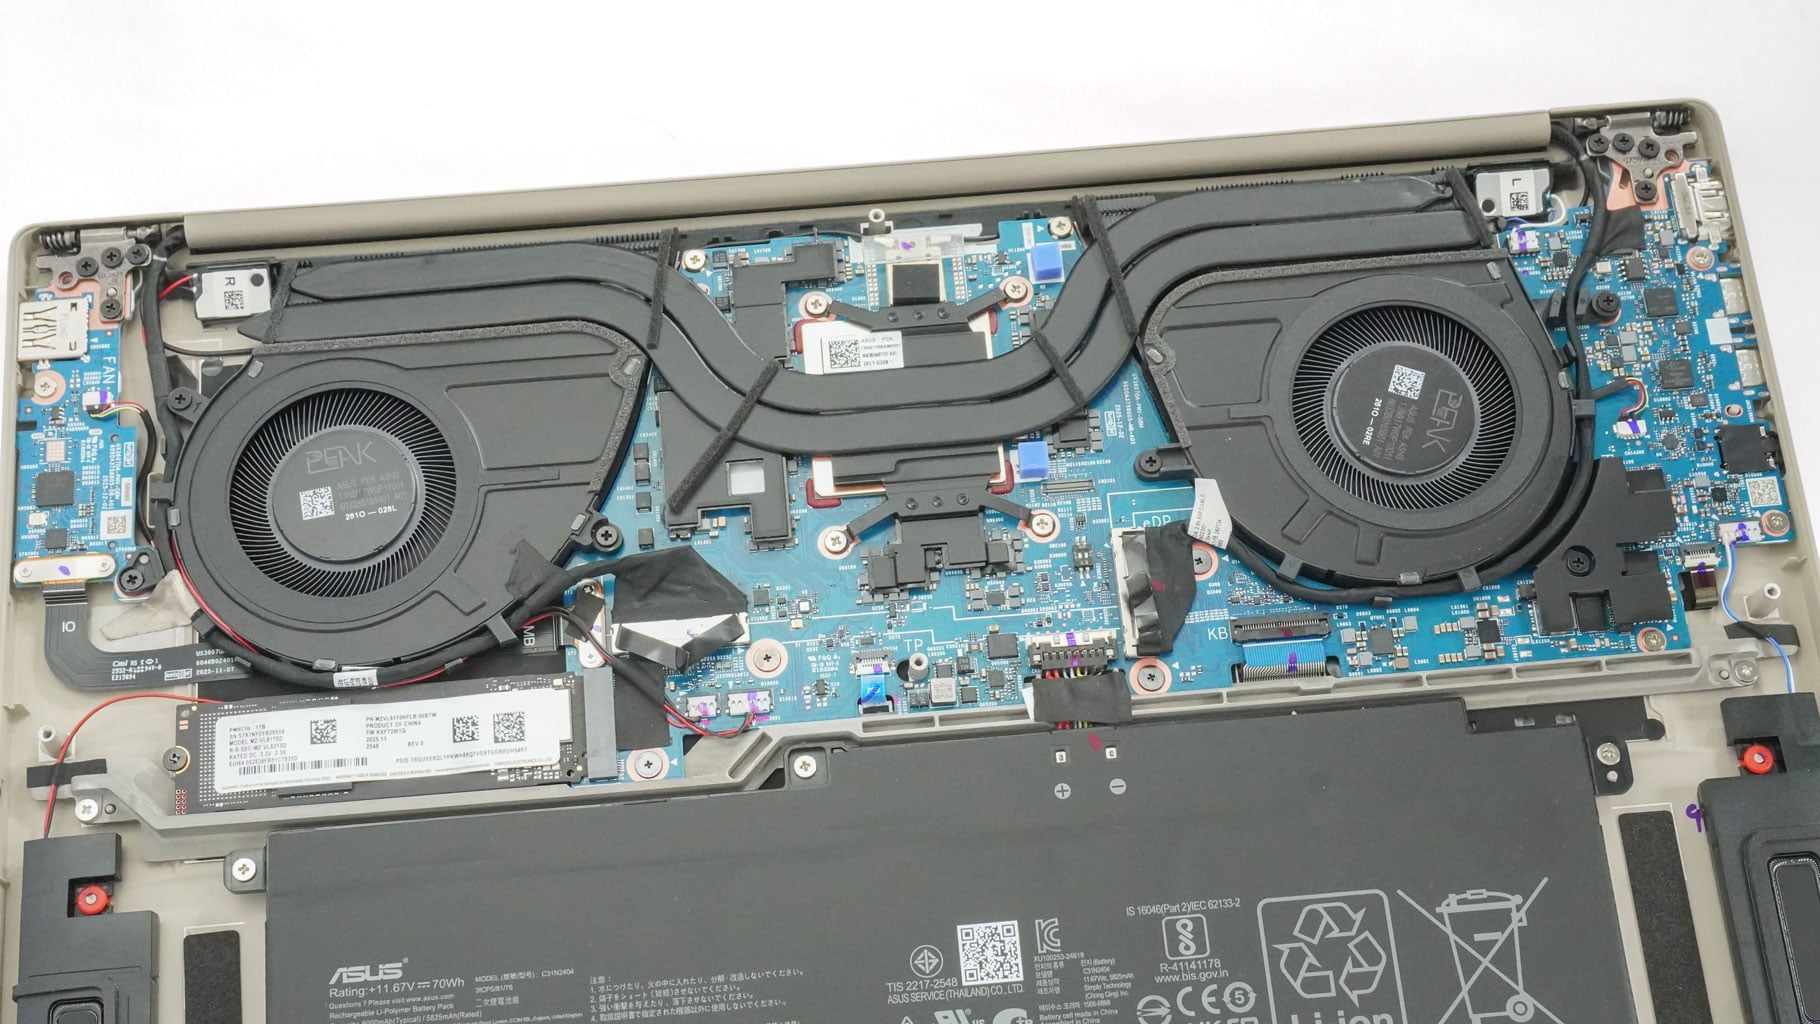
Let's start removing the cooling by pulling out the fan connectors. Next, remove the six screws around the fans, then untangle a few cables and pieces of tape around the housings. The fans can be pulled out individually, which is great news if you just want to clean them. Finally, undo the four screws securing the CPU heat spreader and carefully pry up the heat pipes.

One thing that catches the eye is the three rubber feet around the chip that provide better internal structural rigidity. That's perfectly fine. What isn't great, though, is placing that black rubber foot right on top of the Wi-Fi 7 card.

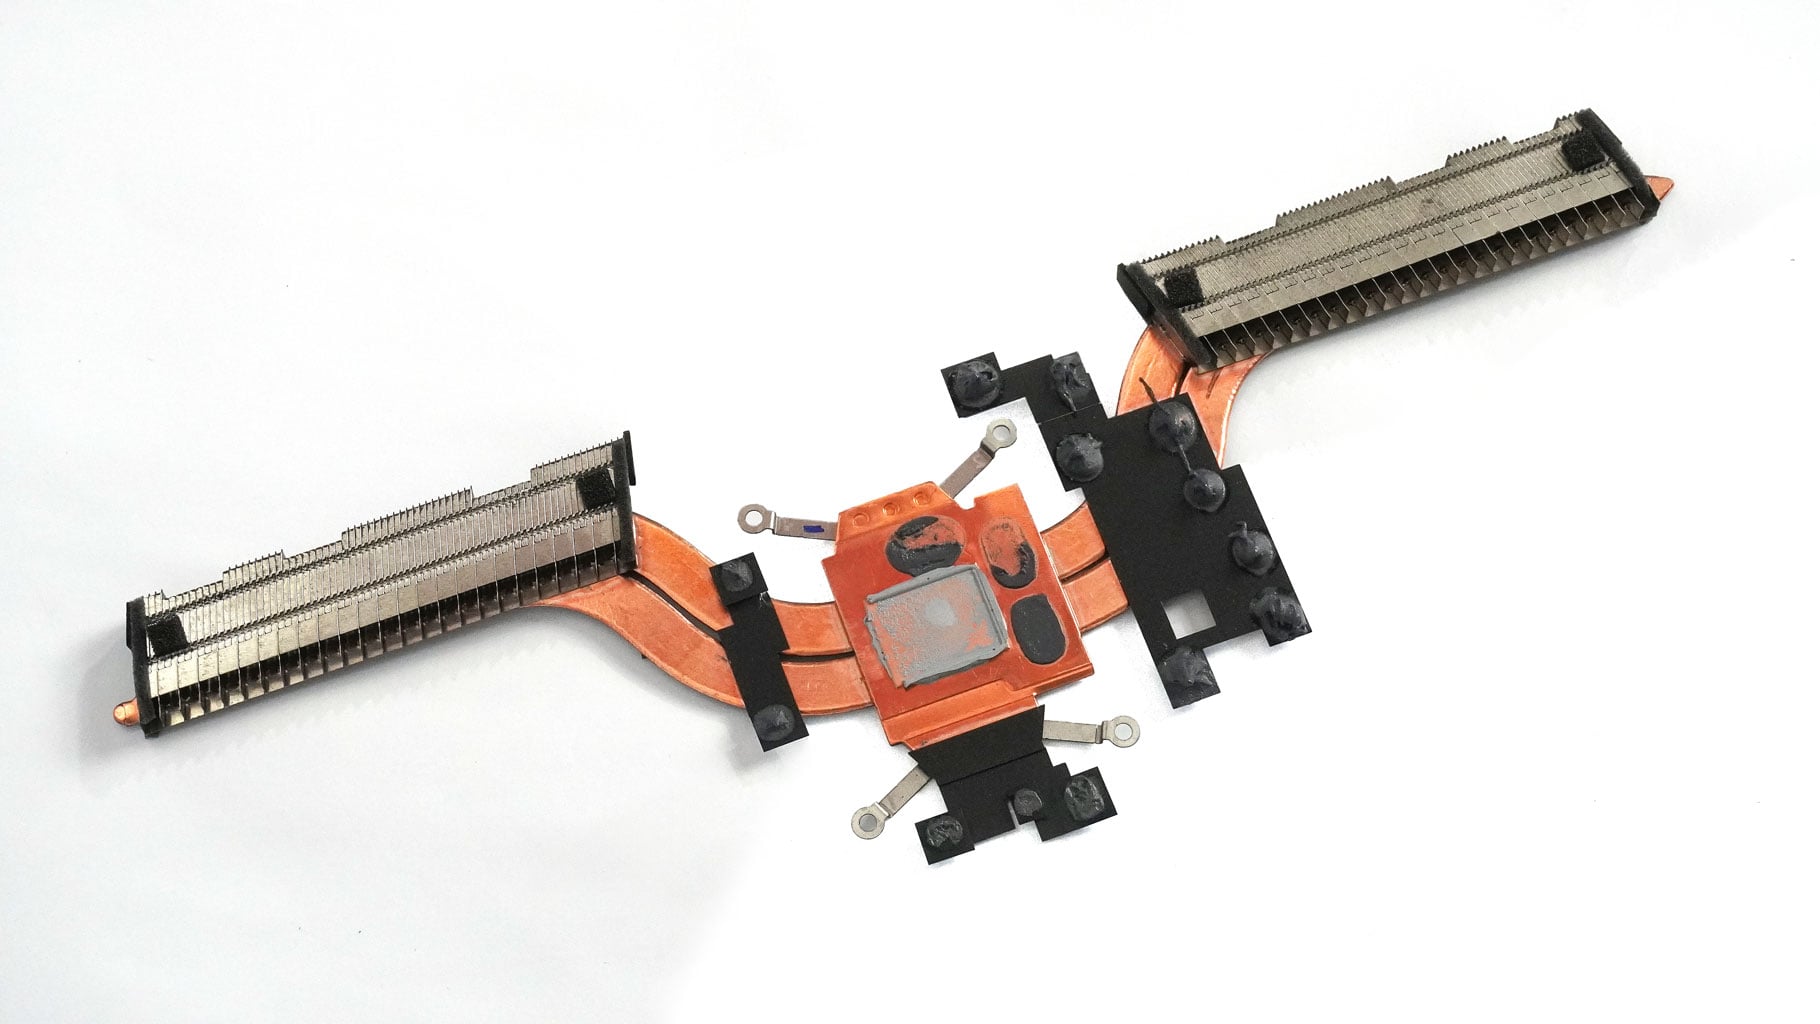
And there you go! Now we can see the underside of the cooling setup.
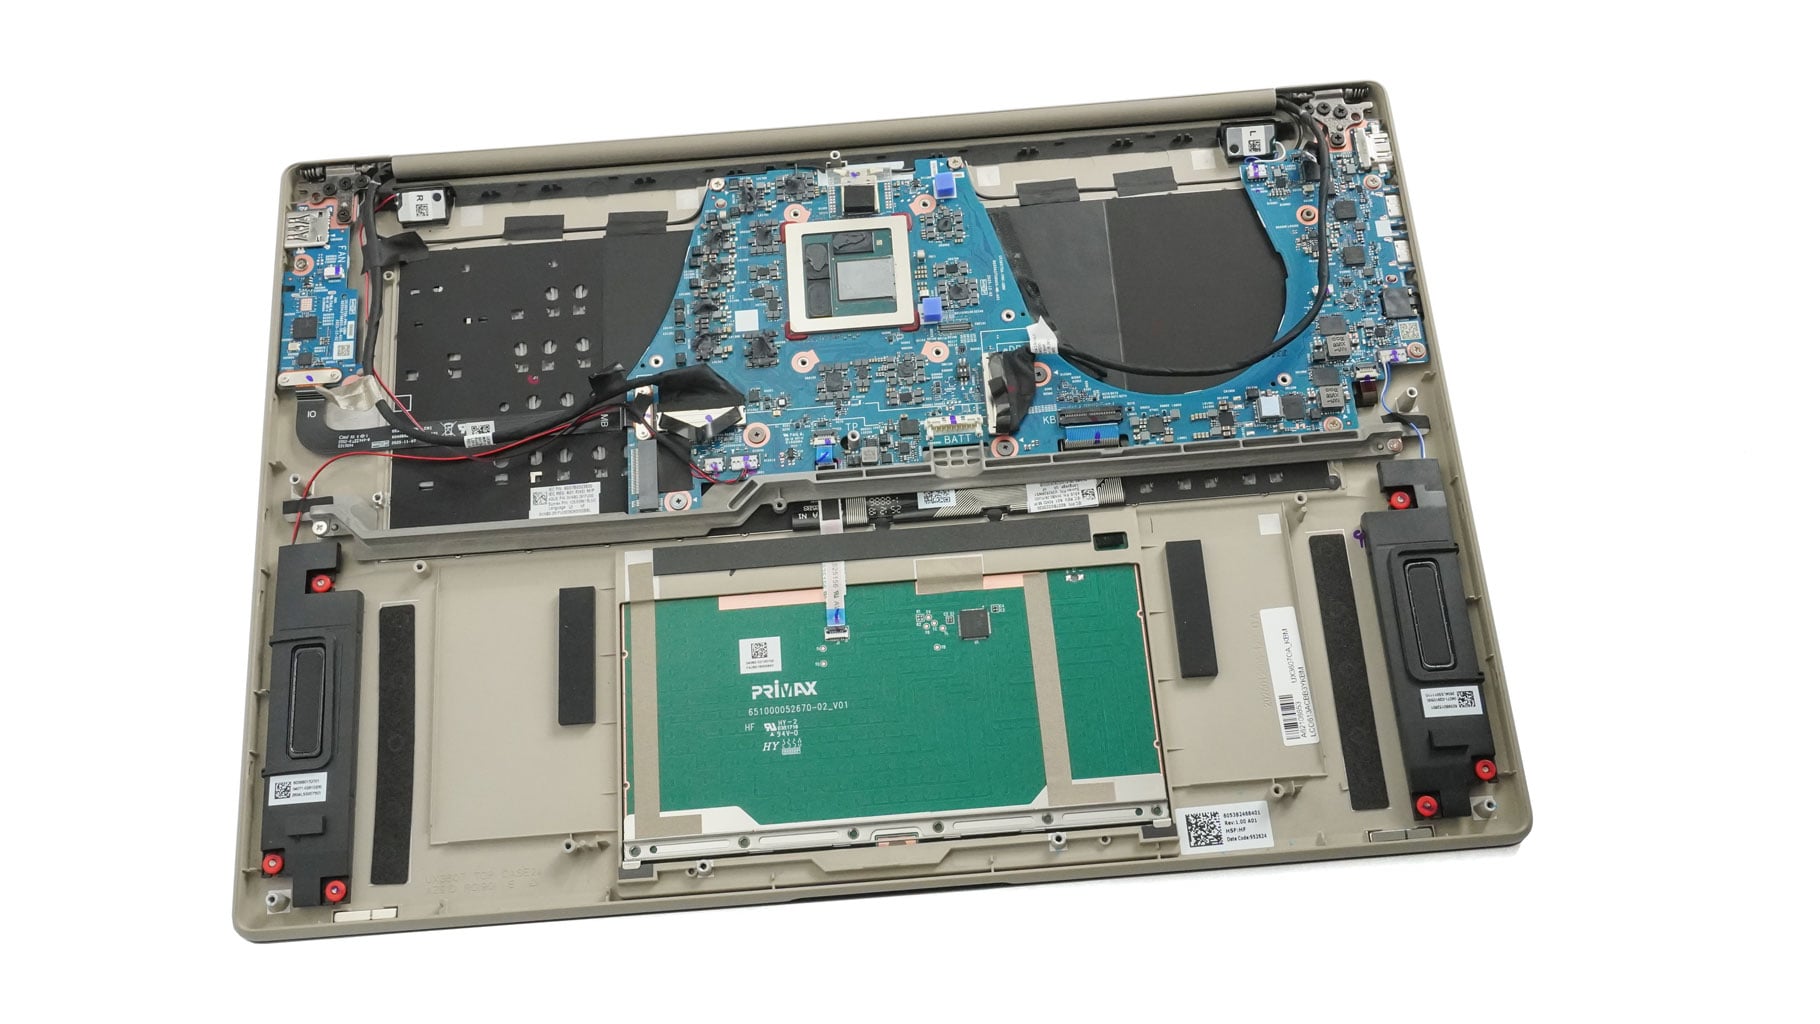
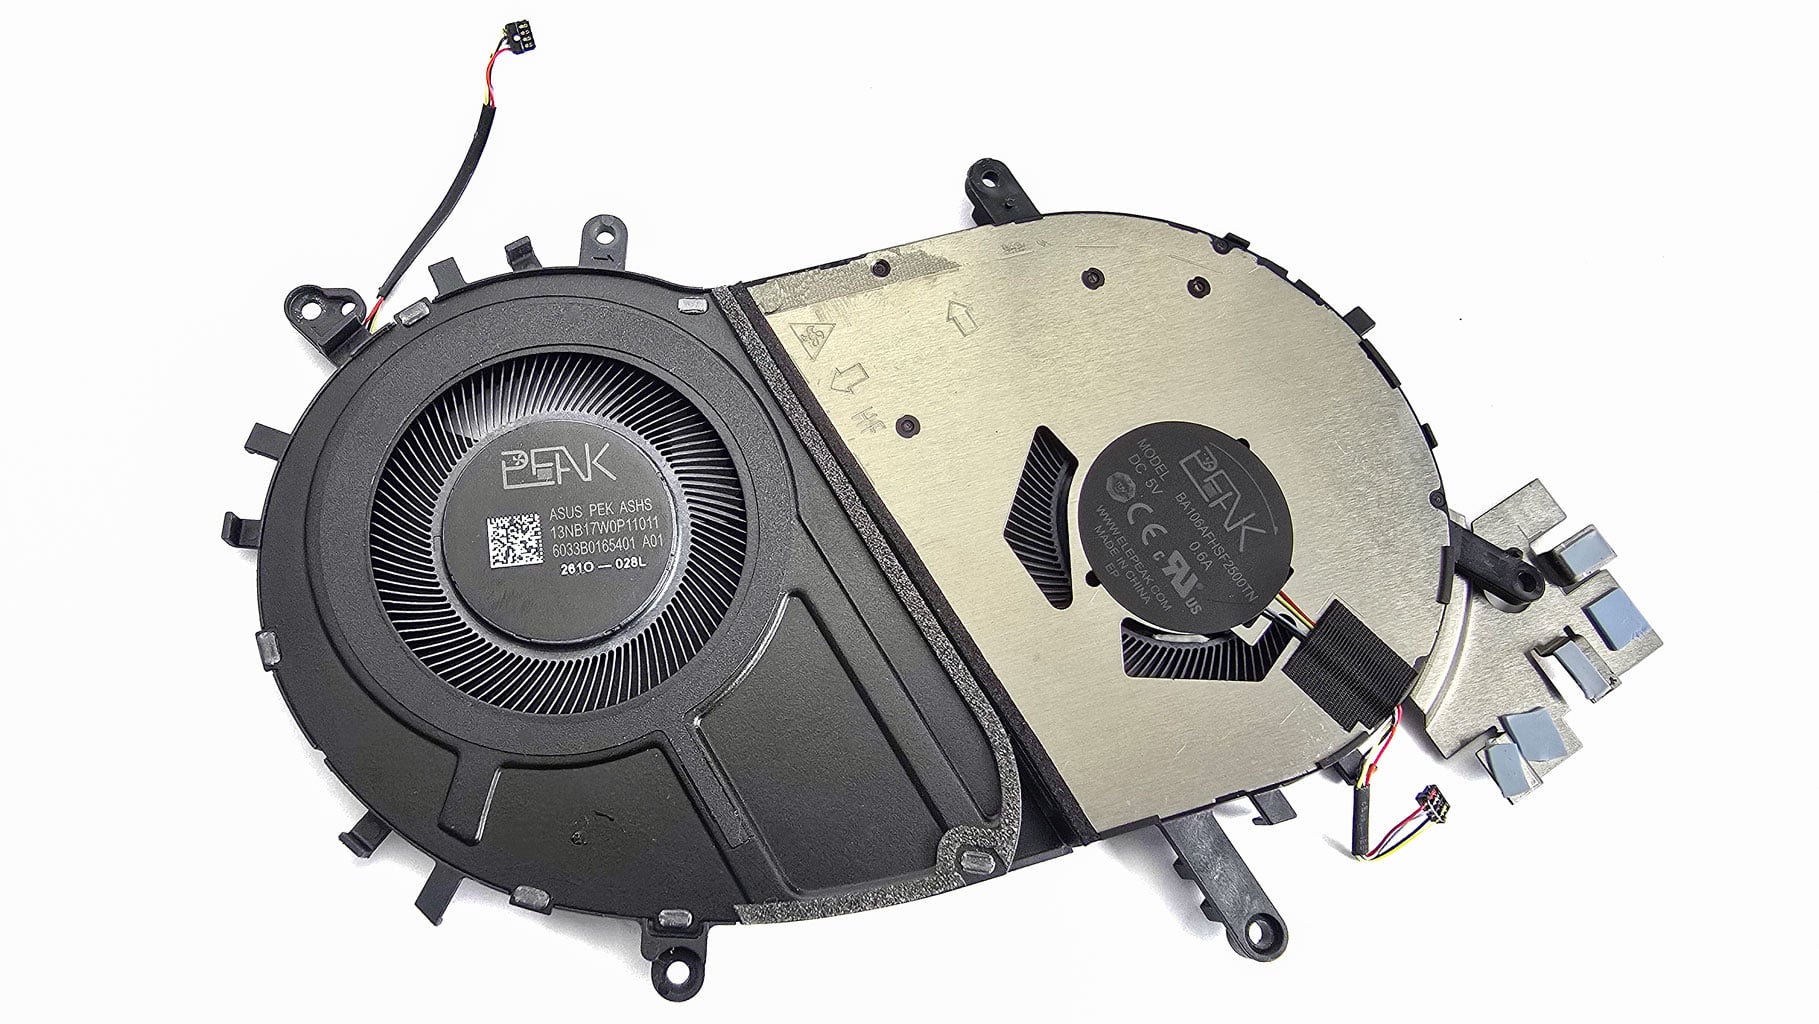
Here's how the chassis looks when it lacks a thermal system. The fans aren't directly attached to the main cooling assembly.
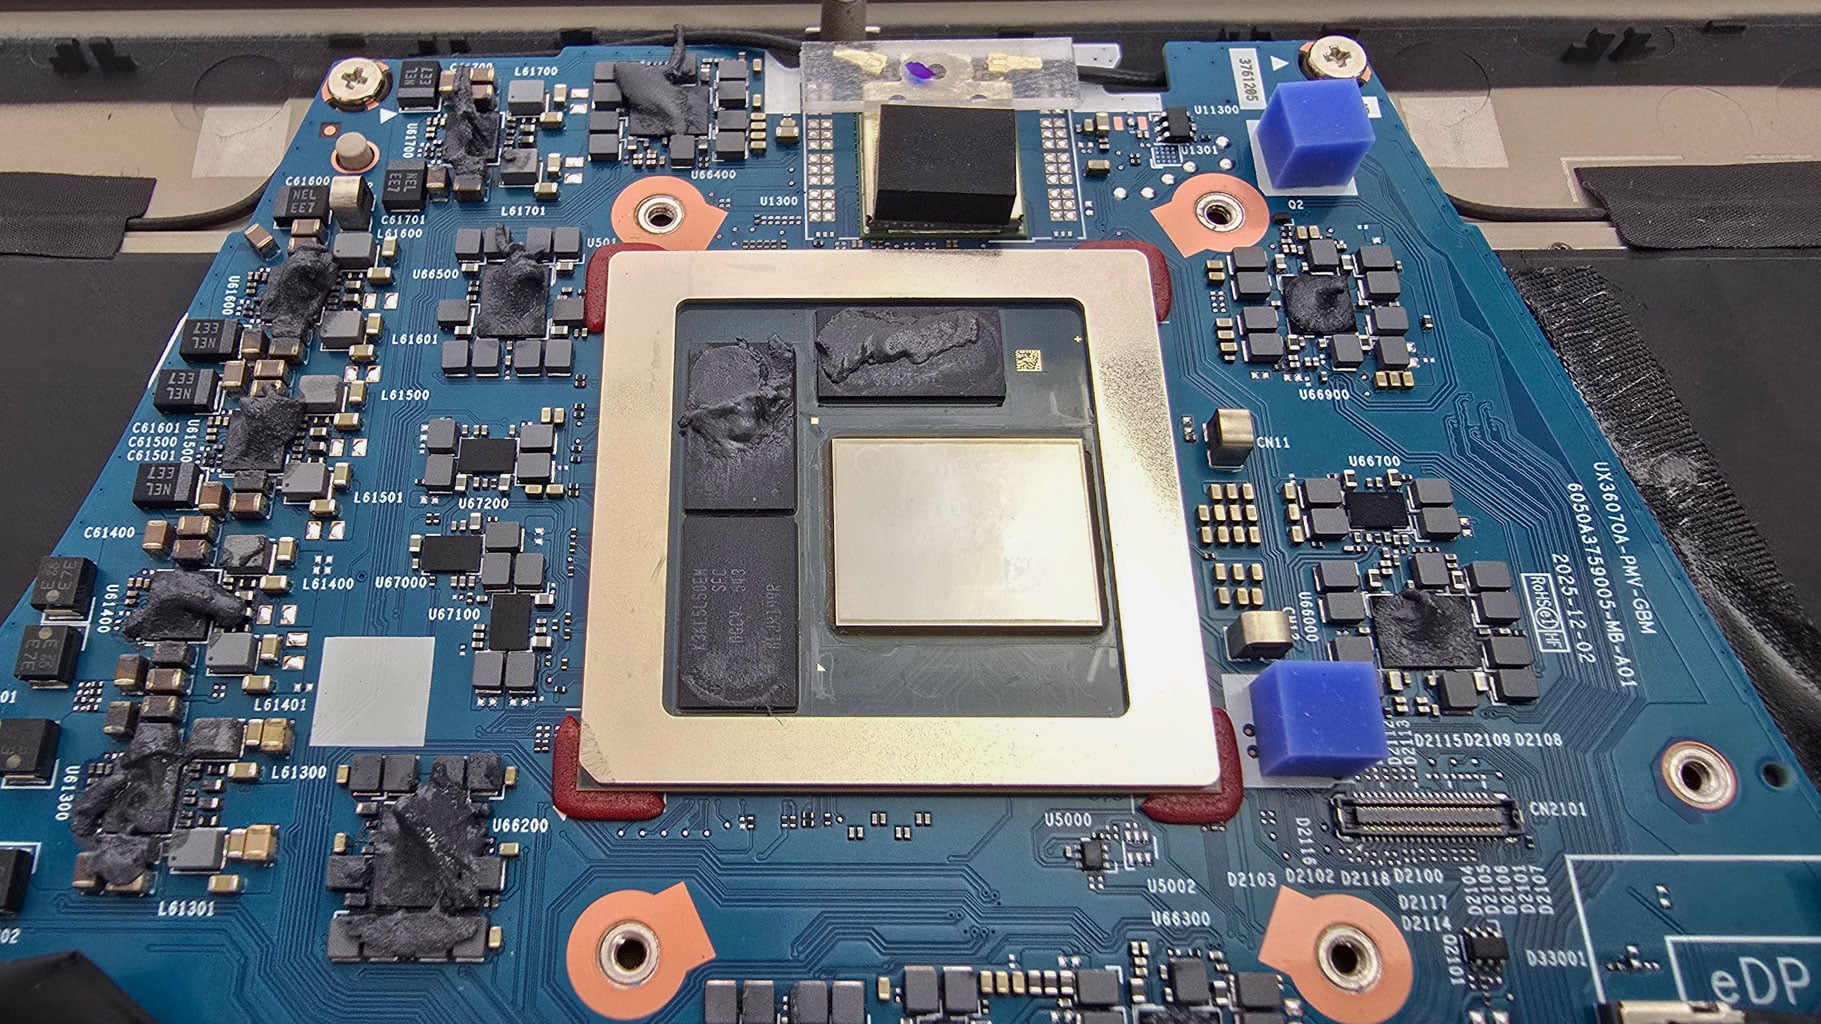
You can also take a look at the Snapdragon SoC.
Nov 17th, 2026 20:59 CST
change timezone
Latest GPU Drivers
New Forum Posts
- 9070 GRE 3.9ghz validation reached. (19)
- [testers wanted] Qsurfer My own QNAP Nas explorer/Search tool (8)
- Lenovo Legion Pro 5 Audio Nightmare: Fan Noise, Harsh Voice & Massive DPC Latency (Help!) (2)
- Help with fixing Overclock (8)
- Will zen 6 mobos have anything extra vs current ones? (51)
- WarpCoreBench scores! (56)
- Slow SSD read speeds - help! (15)
- Ryzen 7 8700G OC (9)
- Without Jensen, PC gaming will be (35)
- Honestly, do you care about GTA VI? (134)
Popular Reviews
- Acemagic Retro X3 Review
- Upcoming Hardware Launches 2027 (Updated Nov 2026)
- AMD Zen 6 Technical Deep Dive
- ASUS ROG Strix B850-I Gaming Wi-Fi7 W Review
- Corsair HX1000i Shift Crystal Review
- Chieftec Iceberg PRO 360 DARK Review
- AMD Ryzen 7 9800X3D Review - The Best Gaming Processor
- Phantom Blade Zero Performance Benchmark Review - 35 GPUs Tested
- Montech King 95 3D PRO Review
- Biwin Black Opal NV7400 2 TB Review
TPU on YouTube
Controversial News Posts
- NVIDIA Co-Founder and CEO Jensen Huang Officially Resigns (464)
- Open Letter Asking NVIDIA to Reinstate Jensen Huang Passes 115,000 Signatures (184)
- OpenAI CEO Argues Home PCs Waste the World's Limited DRAM Supply (152)
- Report: Jensen Huang Eyes NVIDIA Comeback (137)
- NVIDIA Launches Investigation Into Jensen Huang's Relationship With Suspected Chinese Spy (136)
- Intel "Raptor Lake Next" 16-Core and 20-Core CPUs Surface (130)
- Legendary Game Studio BioWare Shuts Down Following EA Layoffs (104)
- Dell CEO Says the Memory Shortage Will Get Worse in 2027 (95)