 21
Asustor AS-302T Review
(21 Comments) »Introduction

We would like to thank Asustor for supplying the review sample.
We reviewed one of Asustor's first NAS servers, the AS-606T, a model for business environments, much earlier this year, and Asustor has now decided to cater to home and SOHO users by releasing the 3 Series. Featuring multimedia functions, units of the series come with a bundled HDMI port and an audio-out port, though all classical NAS features are included as well. This is actually the first time we see a NAS with an audio-out port, but we do expect the competition to follow suit in the near future. Most NAS server will probably have full multimedia capabilities soon, replacing outdated media players or even HTPCs (Home Theater PCs).
The AS-302T of the new 3 Series will be the test subject of today’s review. It can host up to two HDDs and is capable of easily handling every task by utilizing a dual-core Atom processor clocked at 1.6 GHz. Other NAS servers of this category usually have single-core Marvel CPUs which show their weakness during demanding tasks, so we are very happy to see Asustor equip their 3 Series with an Atom, an ideal CPU for the needs of a NAS.
The AS-302T has a single Ethernet port, features two USB 3.0 ports of which one is located at the front, has an HDMI port, and an audio/line-out port. Its optional accessories include a remote control you can use to fully exploit the AS-302T's multimedia capabilities, and you can easily install dozens of applications from App Central to enhance this NAS server's usability, including XBMX, the best multimedia player around.

Specifications
| Asustor AS-302T Specifications | |
|---|---|
| Processor | Intel® Atom™ SoC CE5335 1.6GHz Dual-Core Processor |
| Operating System | Embedded Linux |
| Memory | 1 GB DDR3 |
| Storage | 2x 3.5"/2.5" SATA II |
| RAID Levels: | Single Disk, JBOD, RAID 0, 1 |
| Capacity | up to 8 TB (disks not included) |
| iSCSI | Target & Initiator |
| Hot-Swap | 2x |
| Networking | 1x 10/100/1000 Mbit Ethernet |
| Additional Connectors | 2x USB 2.0, 2x USB 3.0, 1x HDMI, 3.5mm Audio Jack |
| Dimensions | 163.5(H) x 108(W) x 230(D) mm |
| Weight | 1.87 kg |
| Power Consumption | Sleep: 13.4 W In operation: 19.9 W (with 2 x WD Red 3 TB installed) |
| Power Supply | External, 60 W, 100-240 V |
| Fan | 1x 70 mm |
| Warranty | 2 years |
| Price excluding VAT (at the time of the review) | $339.99 |
The competition at this price range uses weak single-core Marvel CPUs that struggle to cope with heavy tasks, but Asustor's NAS sticks out of the crowd by using a dual-core Atom CPU (four cores with Hyper-Threading), which will easily allow it to handle all NAS-specific tasks. 1 GB of DDR3 RAM is also more than enough for the custom-tailored Linux operating system Asustor designed.
Up to two HDDs can be installed into the AS-302T, with their maximum combined capacity reaching 8 TB. However, we are pretty sure that this NAS will fully support larger HDDs once they hit the market, extending its maximum capacity. To avoid compatibility problems, make sure to check Asustor's HDD compatibility list before buying any HDDs for the NAS.
Asustor found the second Ethernet port to be useless in home or SOHO environments, so they decided to only offer one, but we think two such ports would be much better since users could then combine both for double the transfer speed if a compatible switch is used. The other I/O ports include two USB 3.0 ports, with one of them located at the front, which makes using it easier, two USB 2.0 ports, an HDMI port to connect the NAS to a TV or monitor, and a 3.5mm port for audio output. This is the first time we come across a NAS with an audio port, and we are very pleased that Asustor was so thoughtful as to include audio capabilities without the use of compatible USB devices. We would now want to see S/PDIF or TOSLINK ports, but the only real downside here is the lack of eSATA ports.
Weight and dimensions of the AS-302T were kept low, so you won't have a problem finding a suitable spot for it in your office or living room. Its power consumption is also minimal, only reaching 20 W while the NAS is operating normally, which allows you to have it operate continuously (24/7) without worrying about high electricity bills. This particular unit is powered by a power brick that can deliver up to 60 W.
Like most of its competition, the AS-302T only comes with a two-year warranty, and Asustor's price looks fair, even low, for the capabilities and features this NAS provides.
Packaging


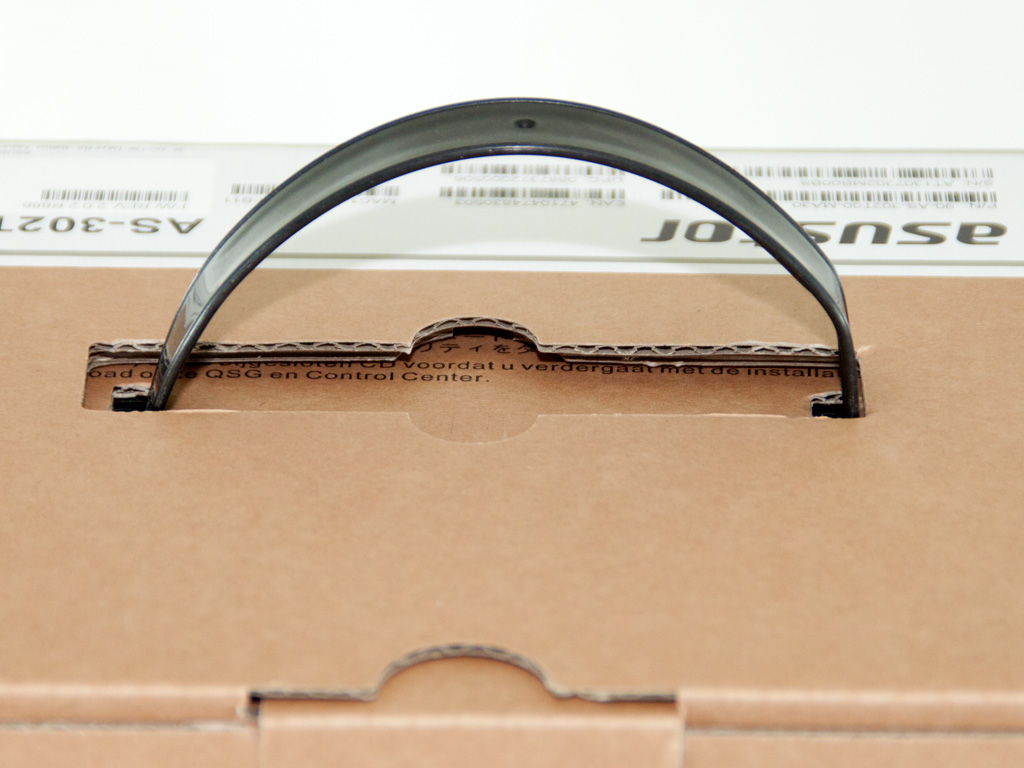
The NAS comes in a plain cardboard box lacking fancy graphics and an impressive design. The box is sturdy enough to effectively protect this product and features a carrying handle on top to help you move it around.
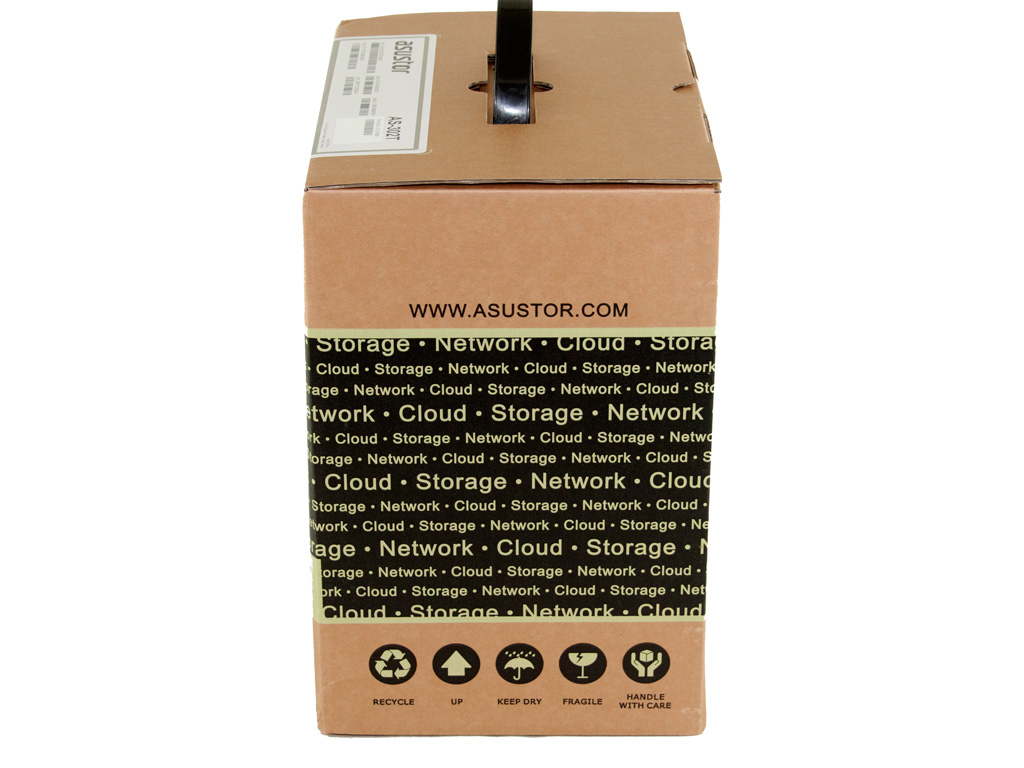

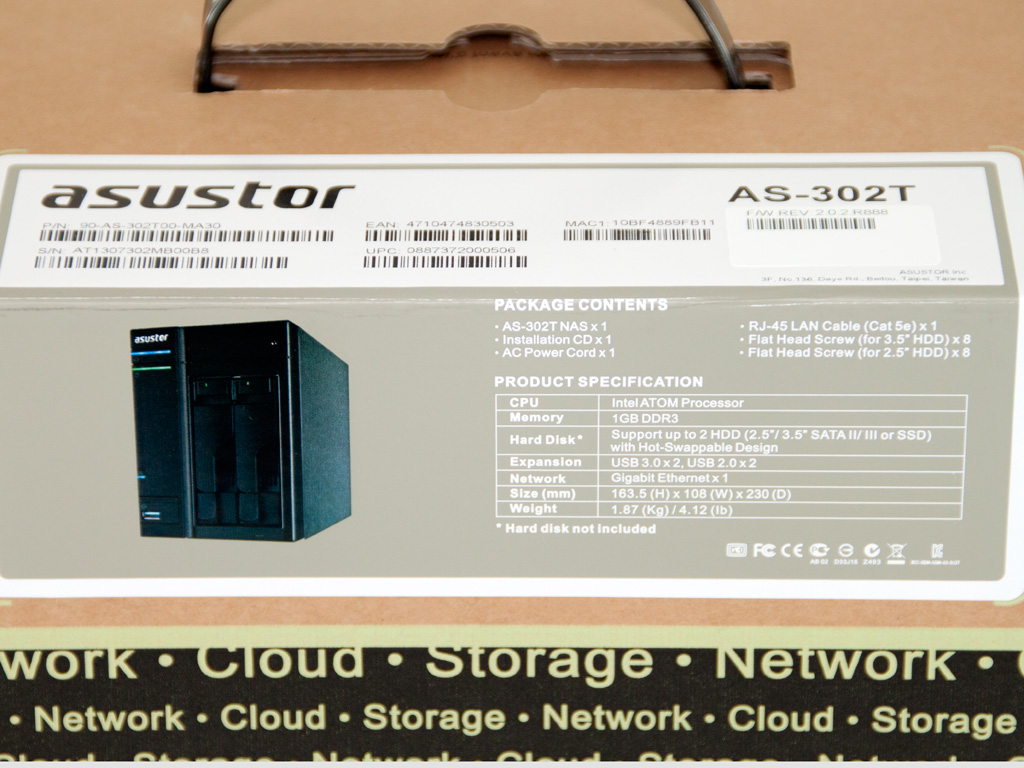
There is nothing worth describing on the sides, but the rear has a label with specifications and a snapshot of the unit.
Contents & Bundle
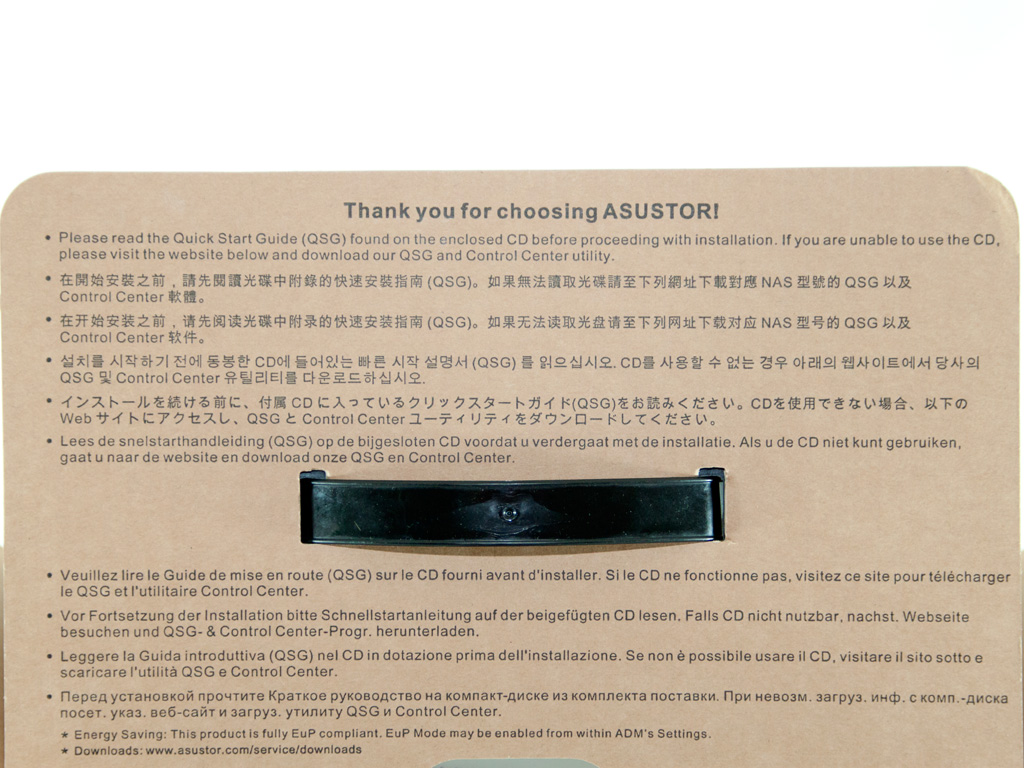
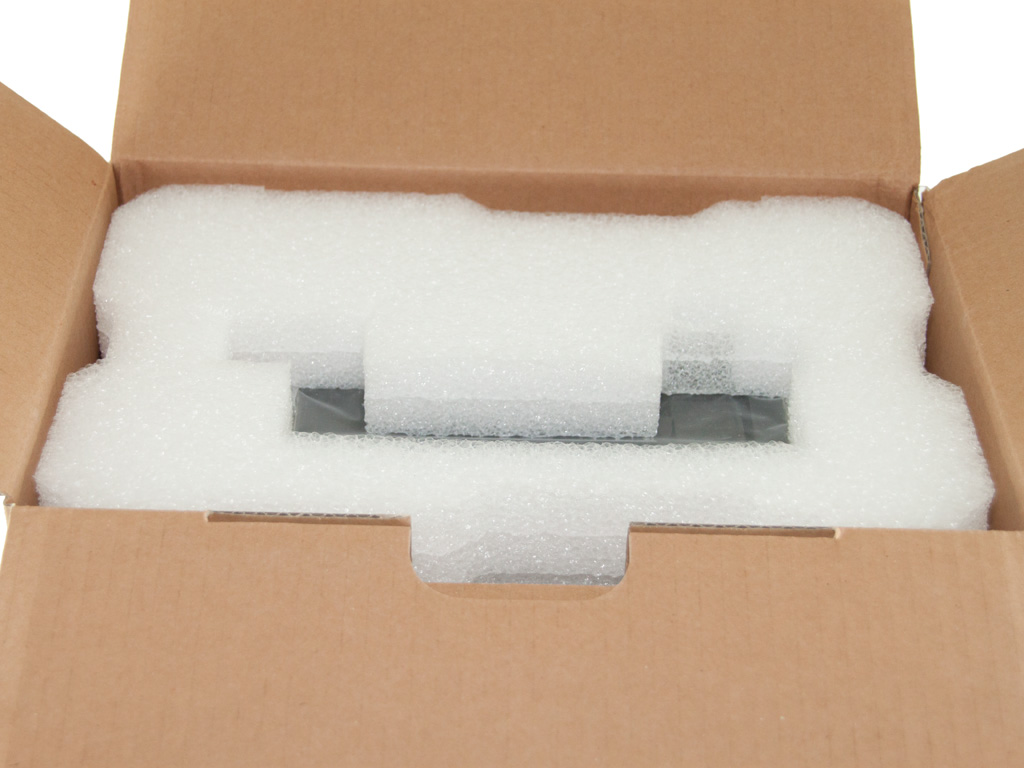
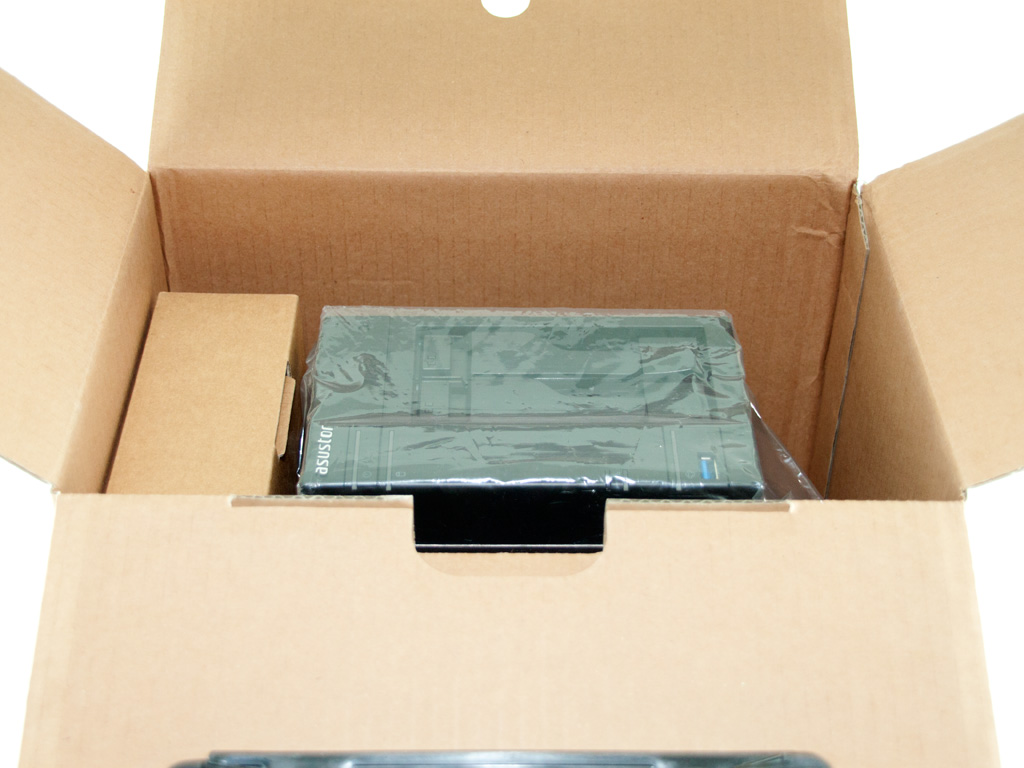
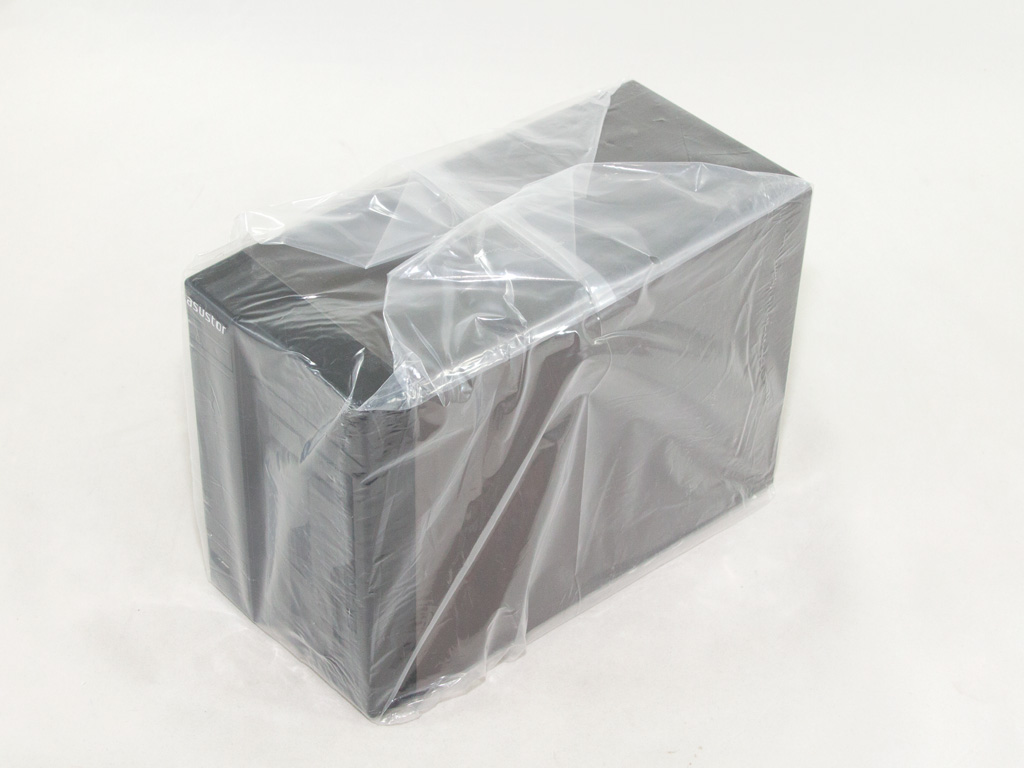
Once we opened the top flap of the box, a multilingual message greeted us, asking us to read the Quick Start Guide found on the software disc accompanying the NAS. Protected by foam spacers, the NAS inside the box is also wrapped in plastic, so the provided protection is adequate.
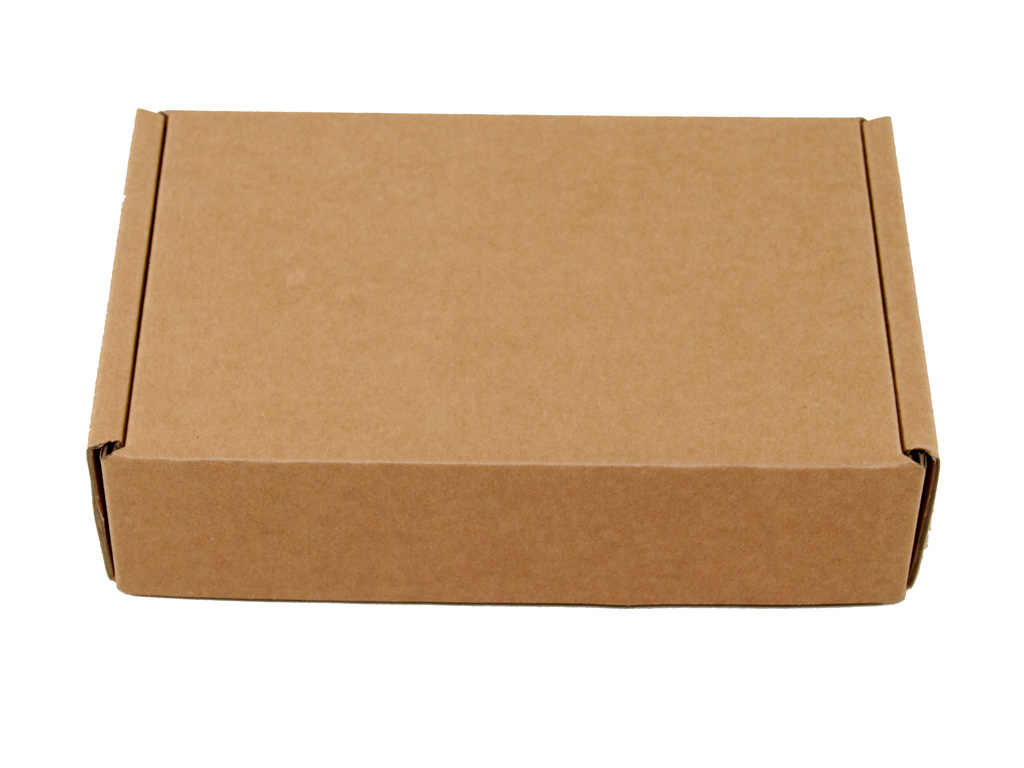

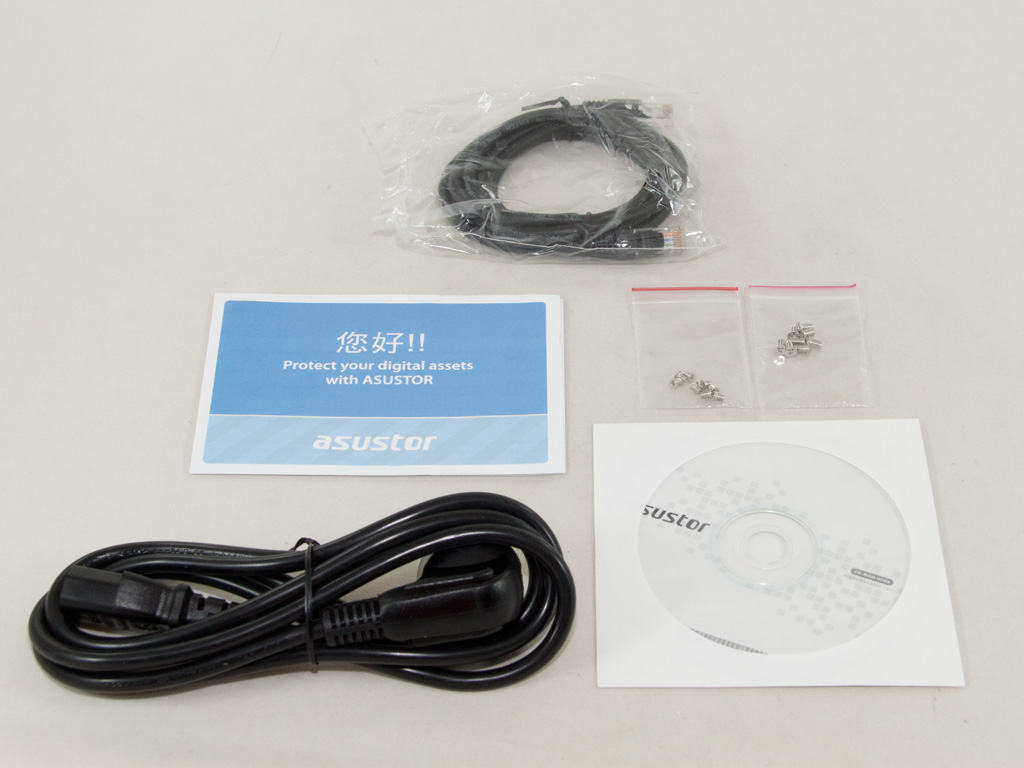
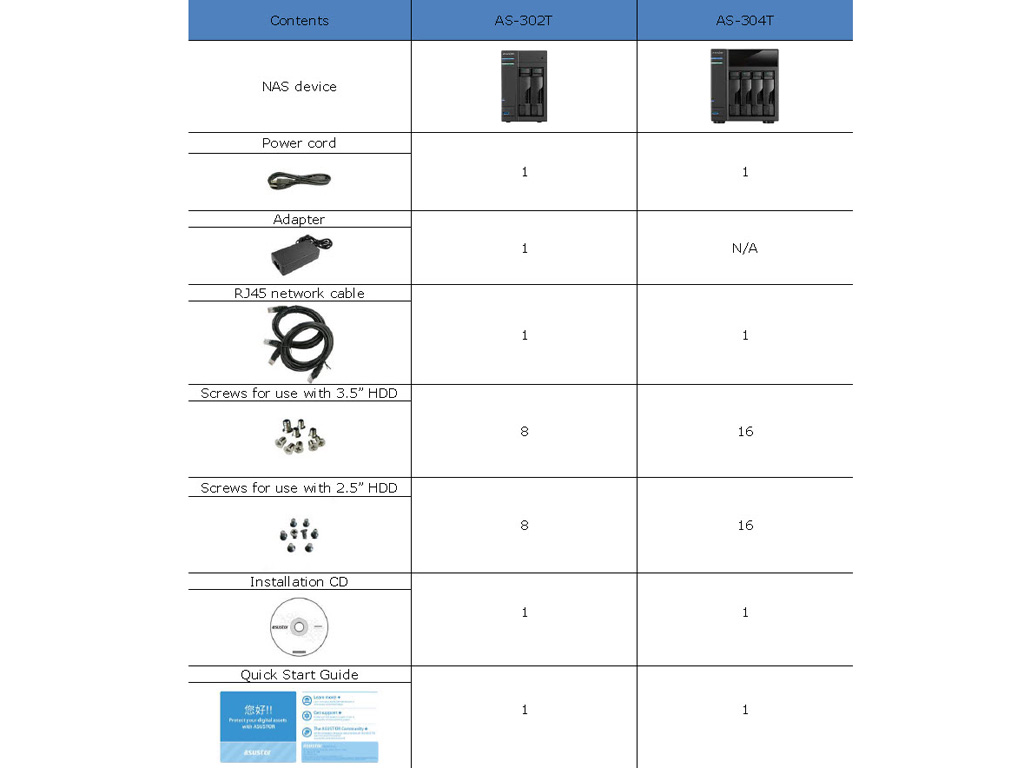
A smaller box stores all accessories. These include two sets of fixing bolts for HDD mounting on the trays, the software CD, an Ethernet cable, leaflet, and the power brick along with its AC cord.
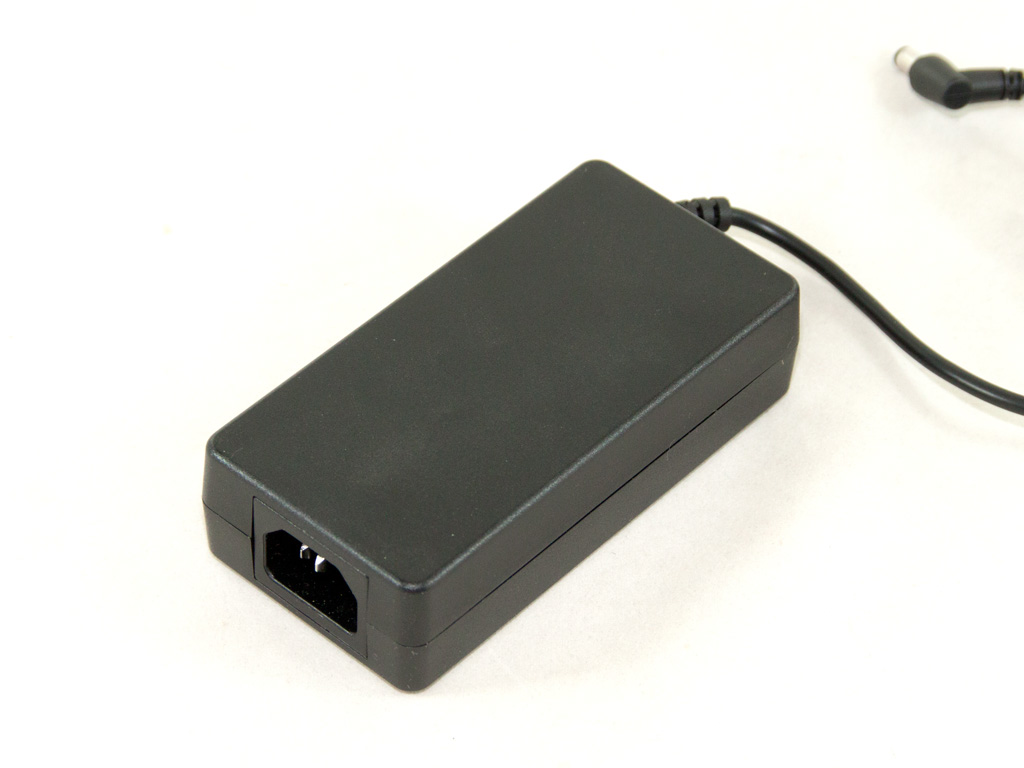


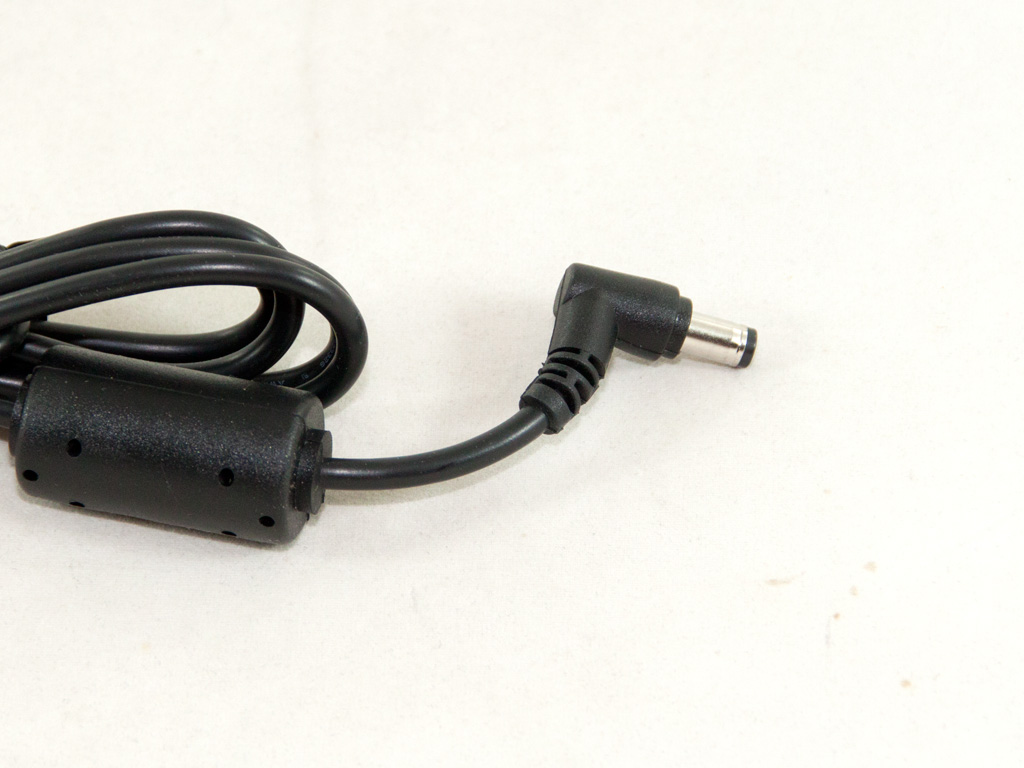
By Delta, one of the best PSU OEMs, the external PSU powering the unit is of very high quality. It can deliver up to 60 W of power, which is more than enough to cover the needs of the AS-302T.

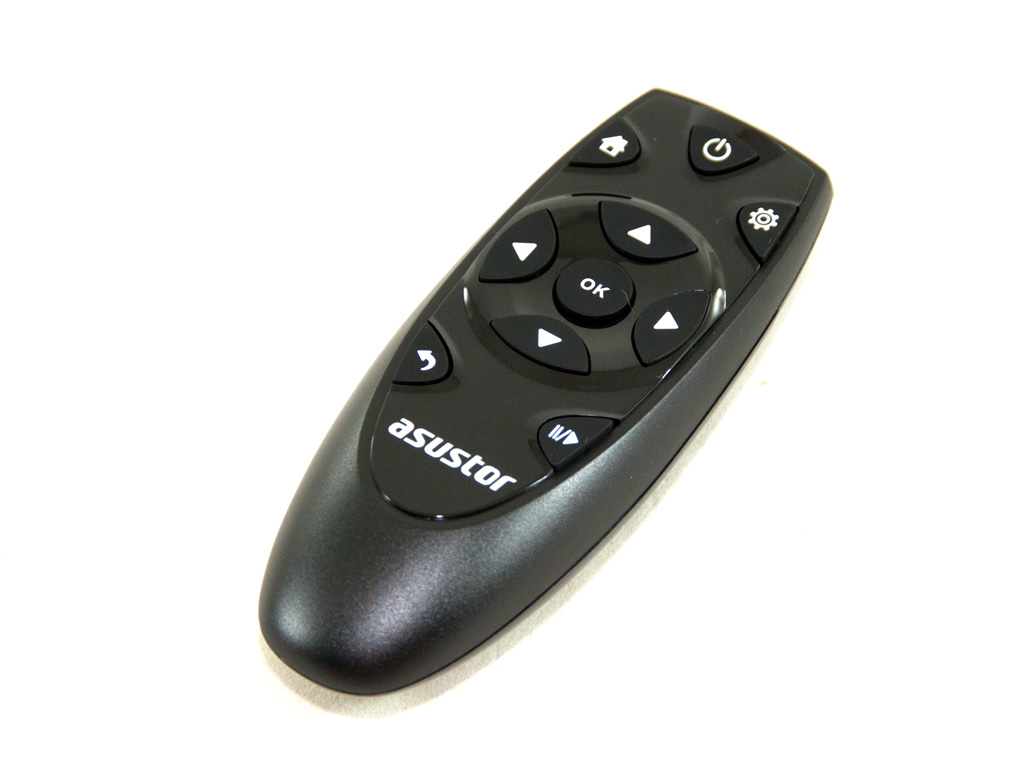
Asustor was kind enough to send us a remote control for the NAS, which will prove most helpful with XBMC. As you can see, its small size makes it very practical.
Exterior


The AS-302T features a metallic chassis with a dark gray finish. This model doesn't feature an LCD screen like the 6 Series because it is of the mainstream category, but such perk are also pretty expensive.
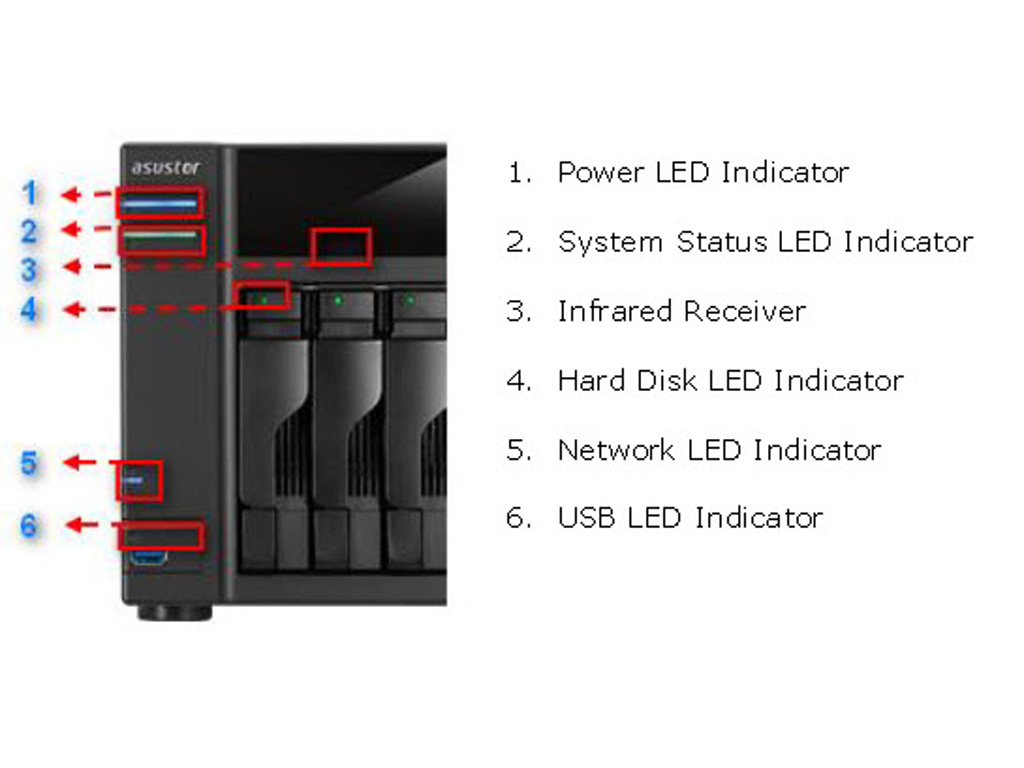

The manual has an interesting description of the front LED indicators, which is why we borrowed it.
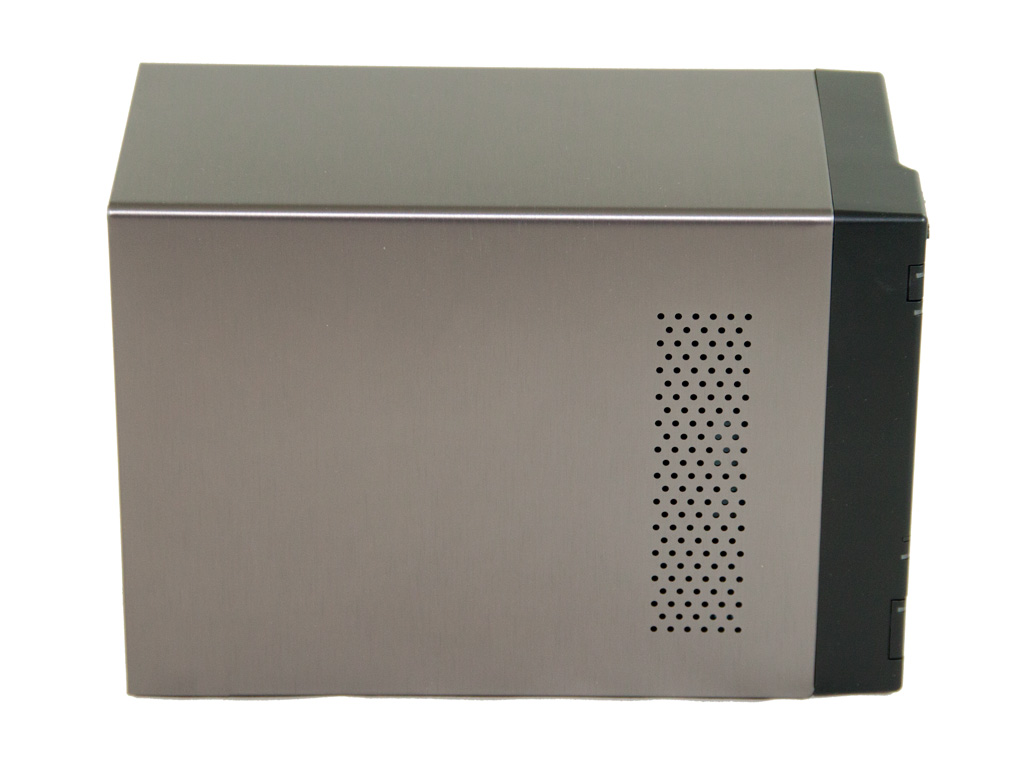
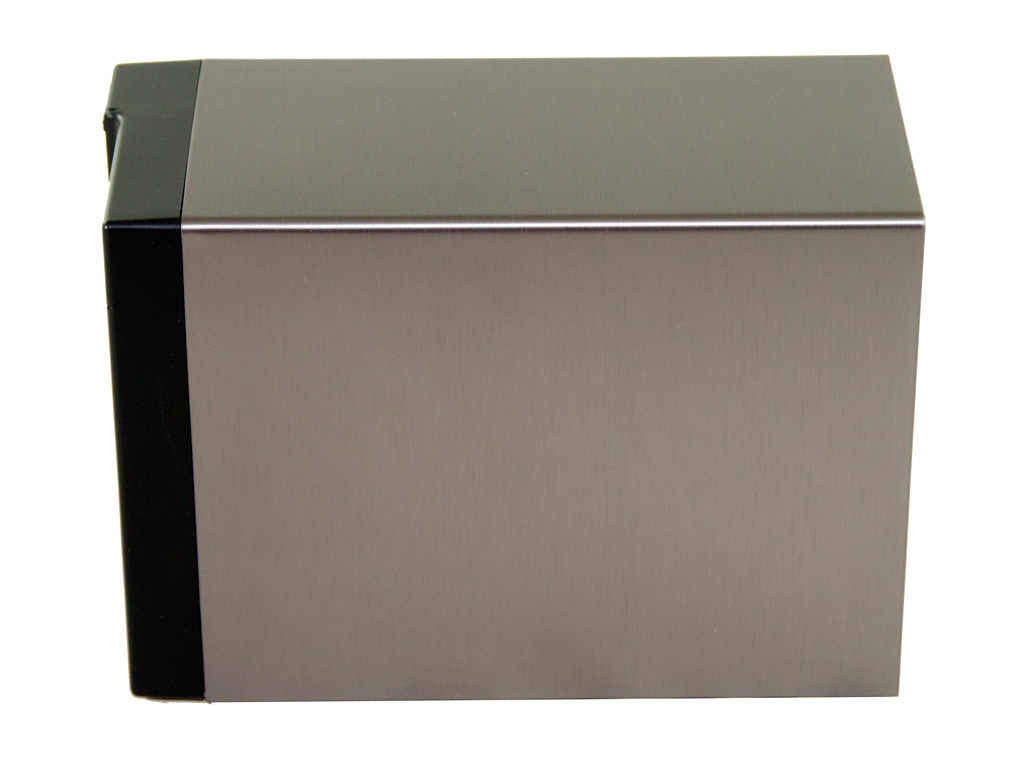
Only one of the two sides features ventilation holes. We came across exactly the same design on QNAP cases.
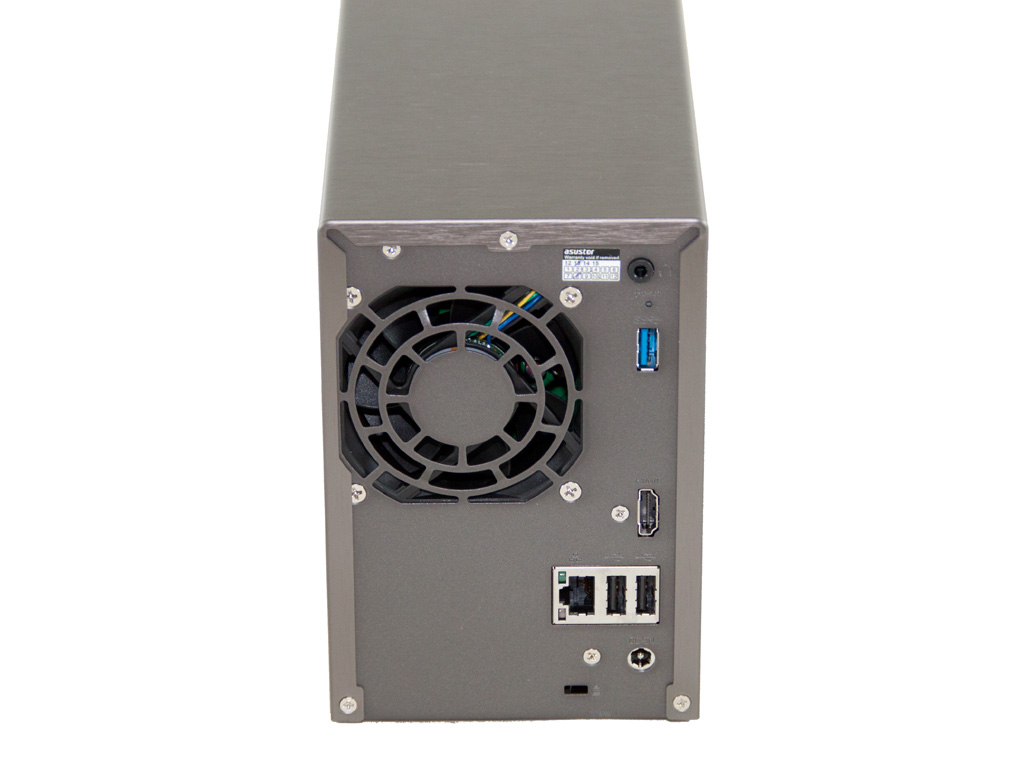
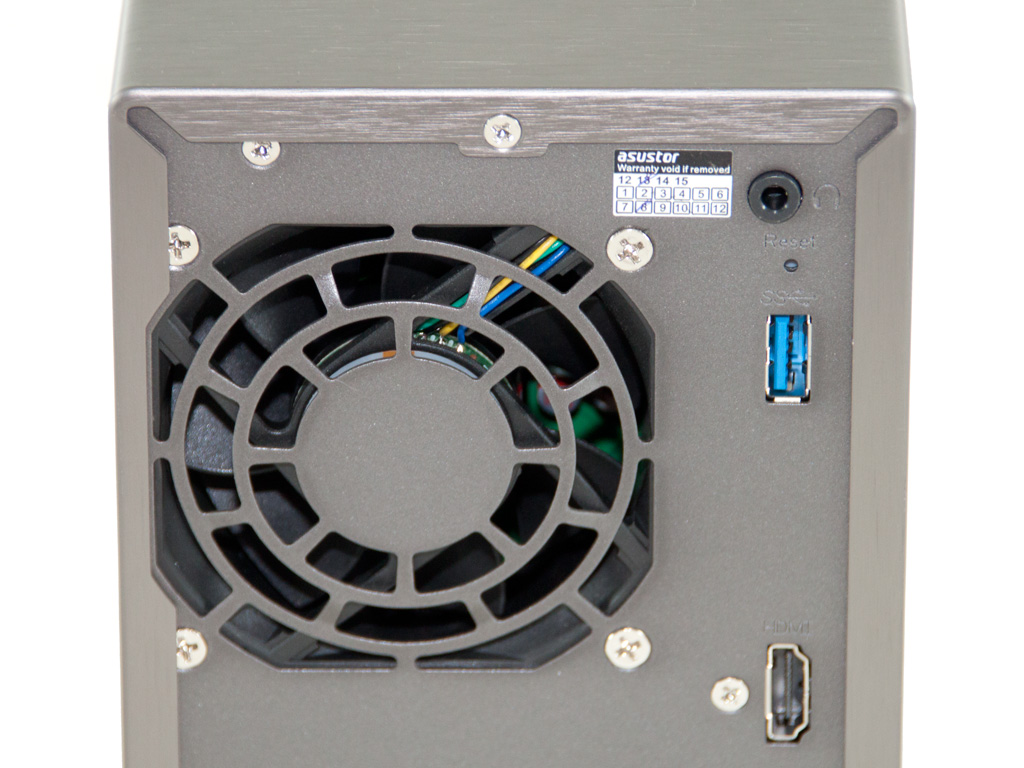
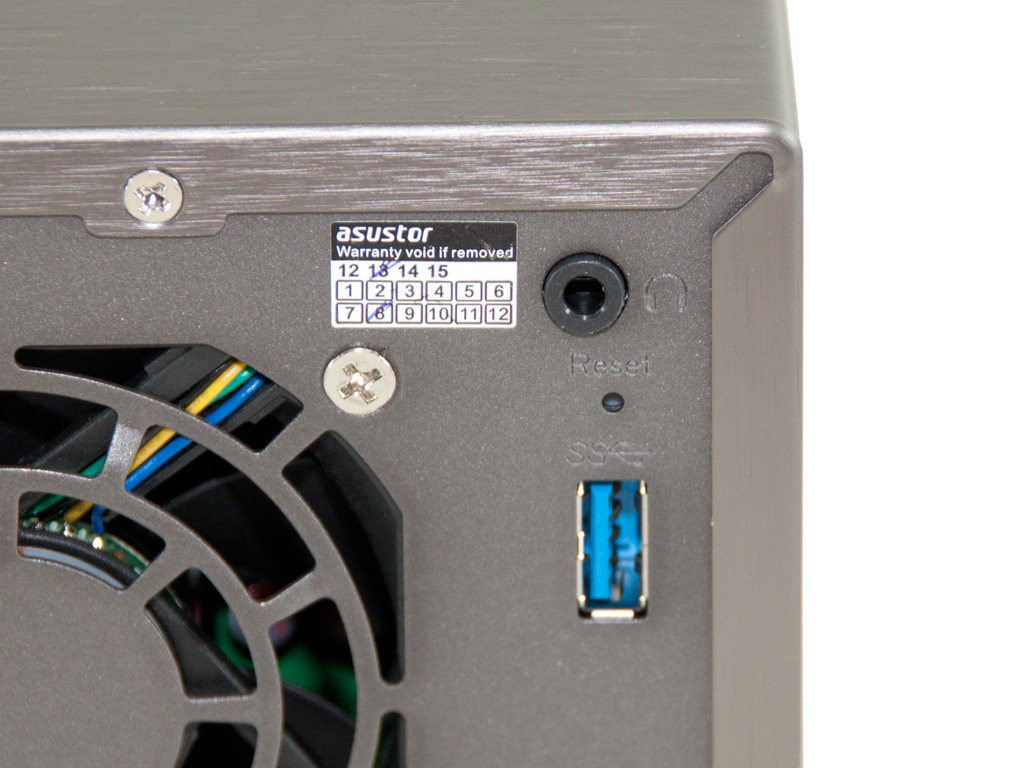
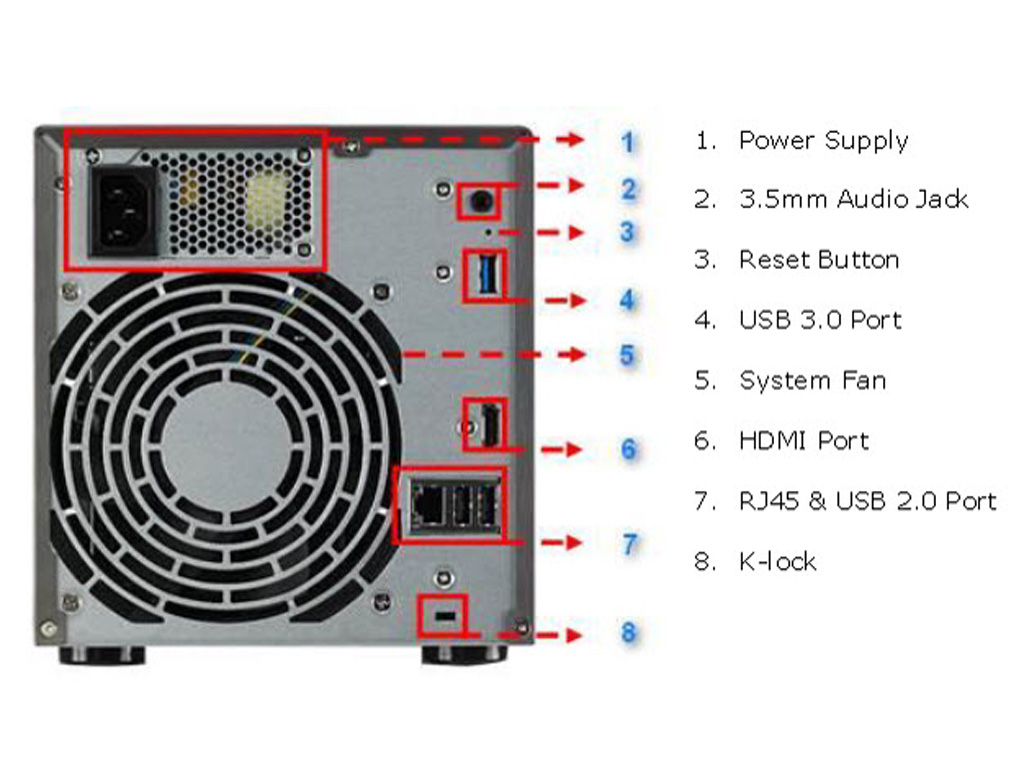
The rear has the 70 mm cooling fan and all I/O ports. The ports include three USB ports (one is USB 3.0), an Ethernet and HDMI port, the Kesigton lock, and line-out and DC-in socket. The AS-302T doesn't include any eSATA ports, which is a great shame.
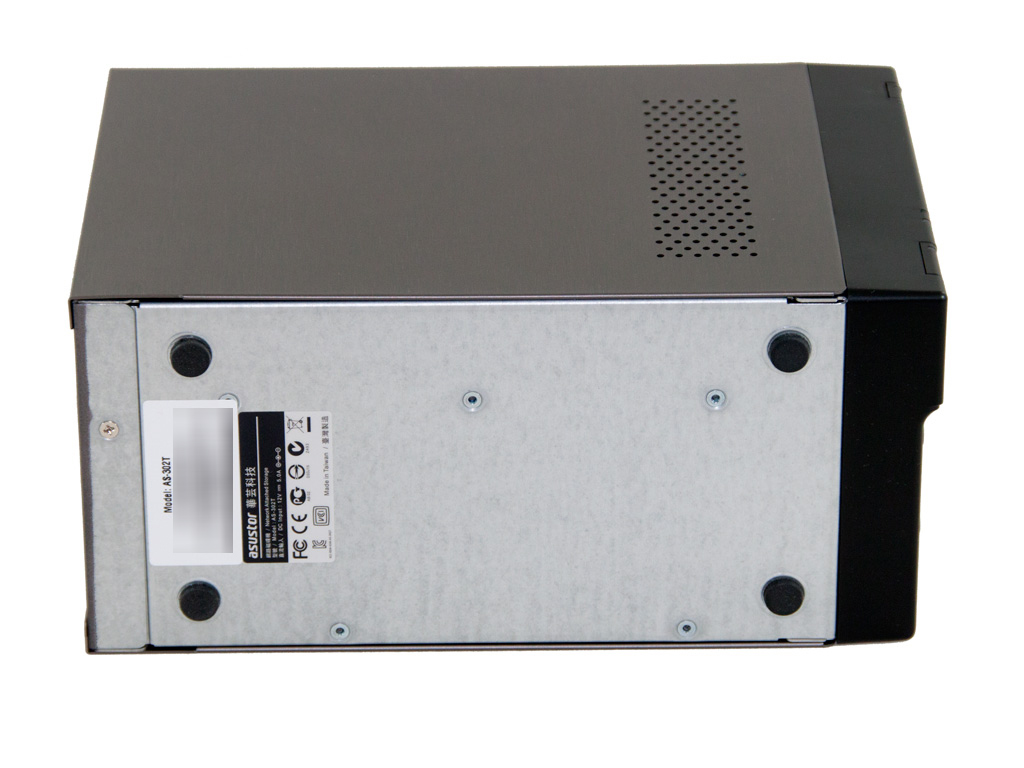
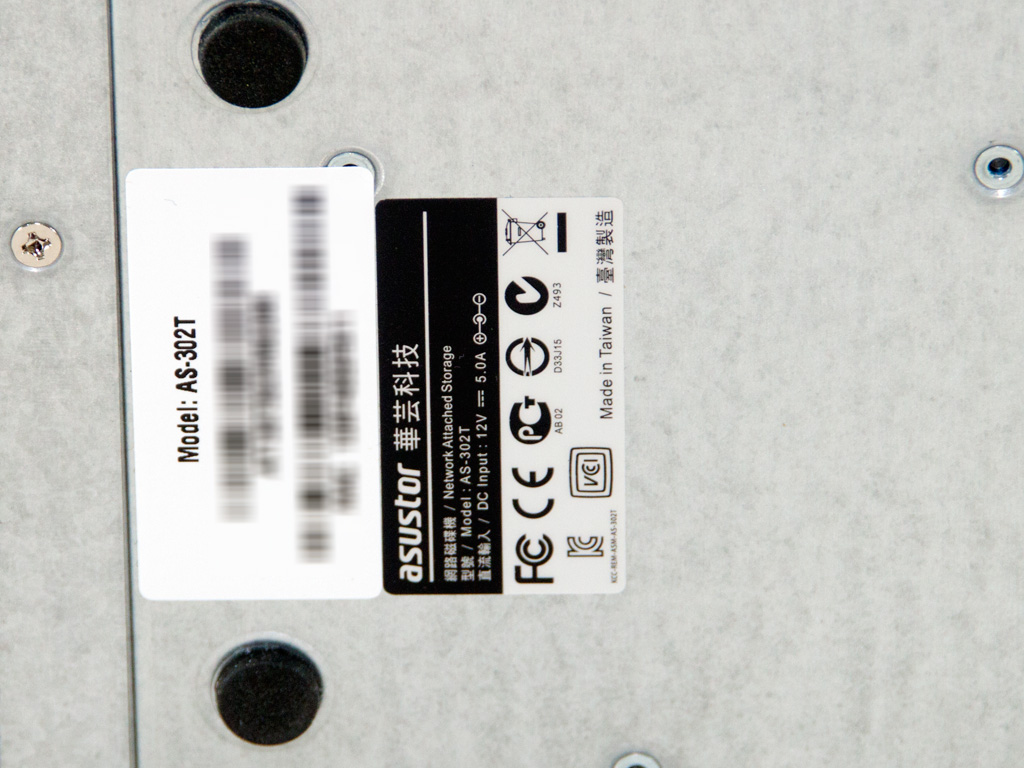
The bottom has four plastic feet and two labels.
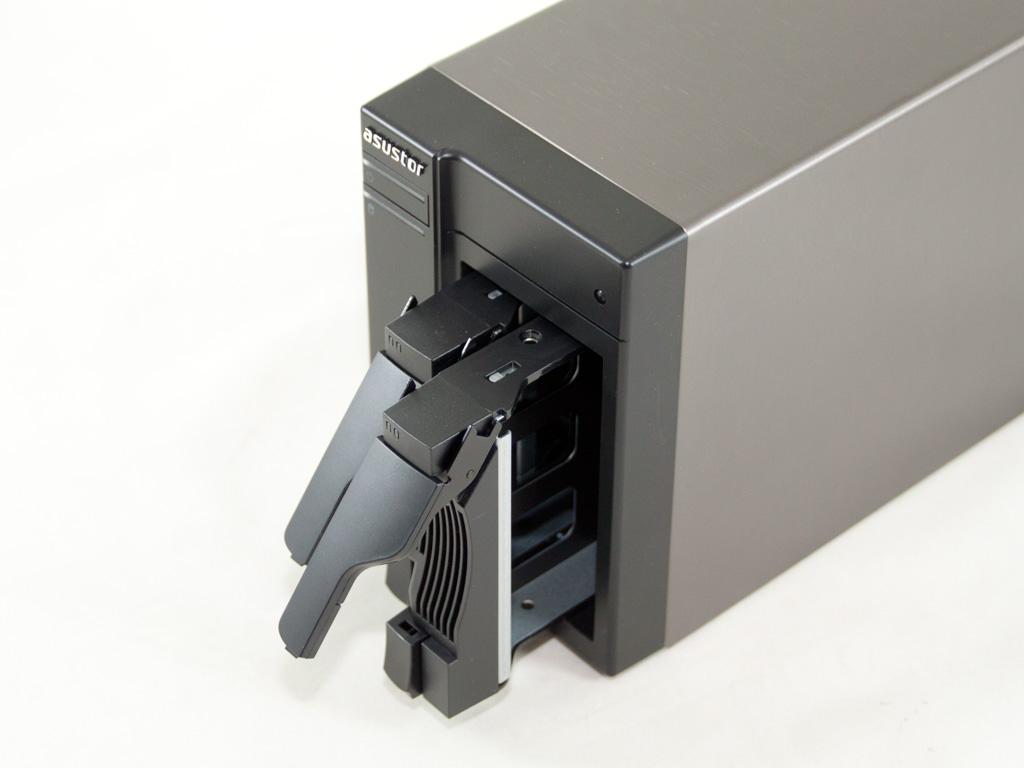
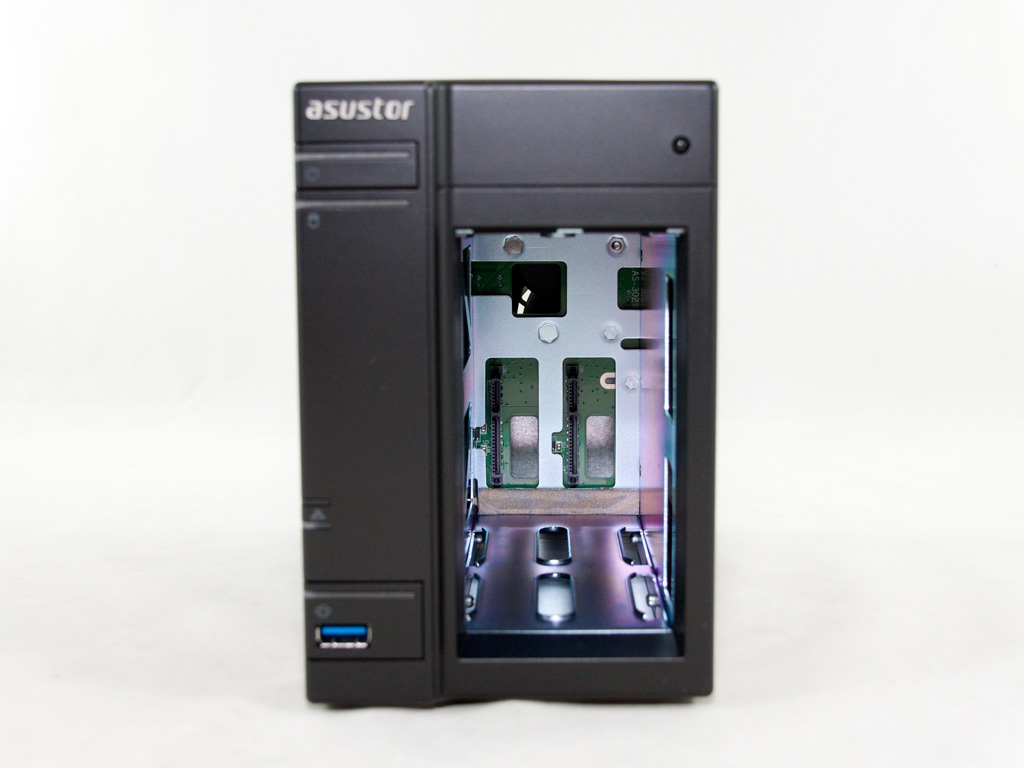
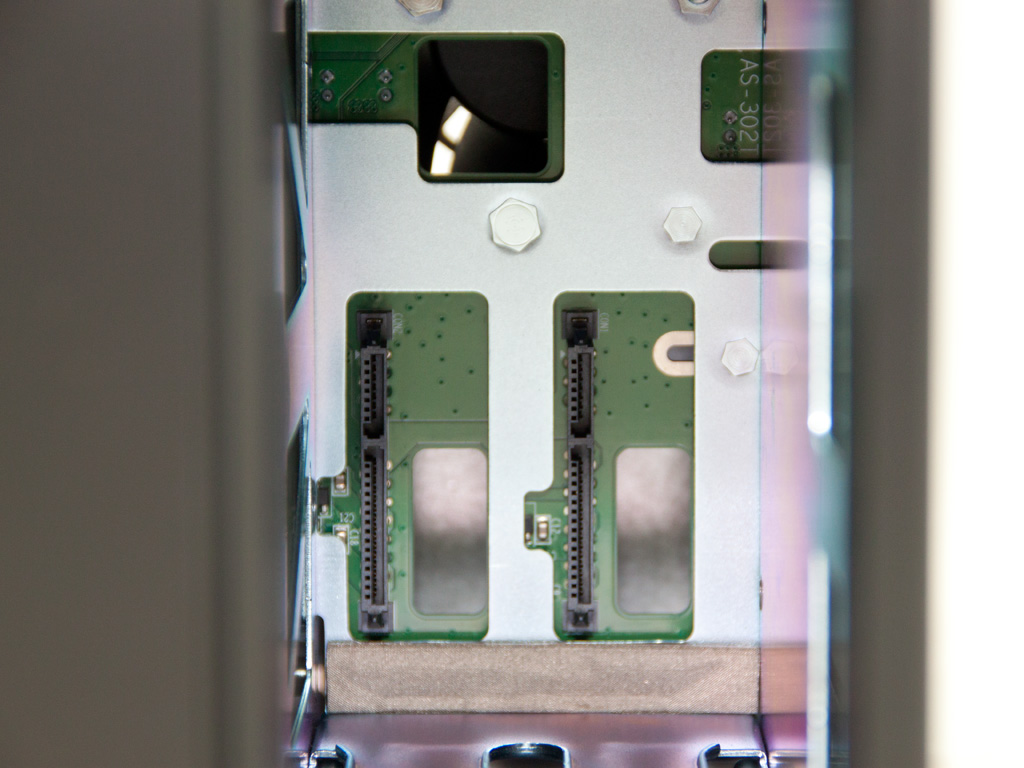
We removed the caddies to shoot some photos of the unit's internals, but will shortly also fully dismantle this poor NAS.
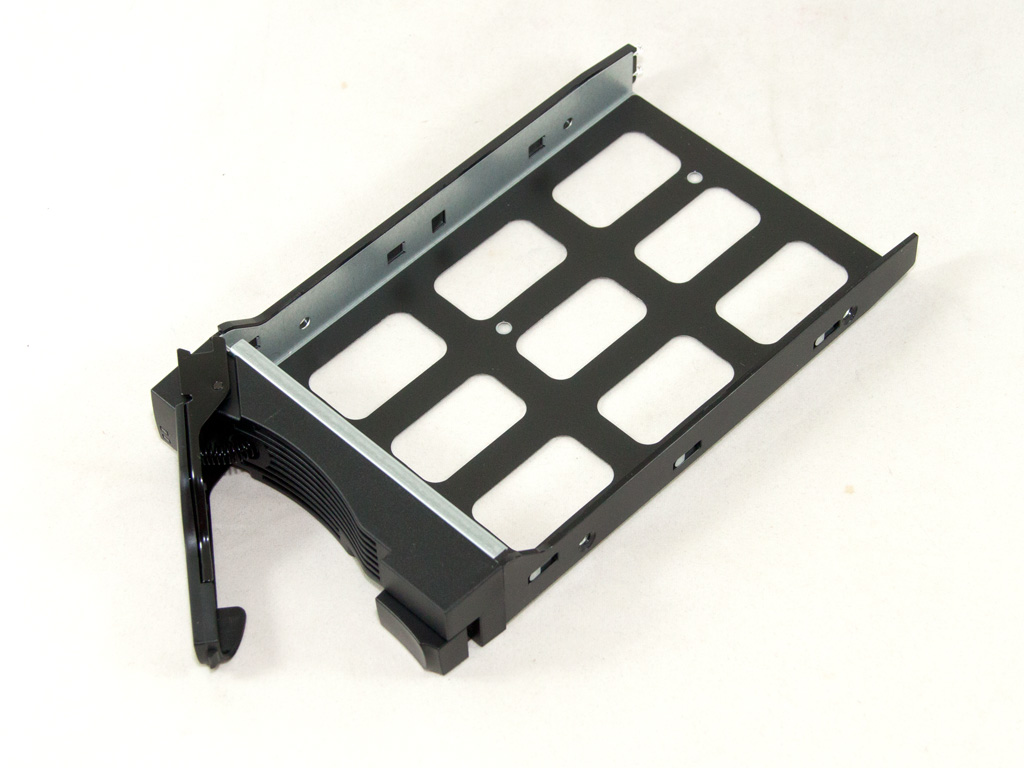
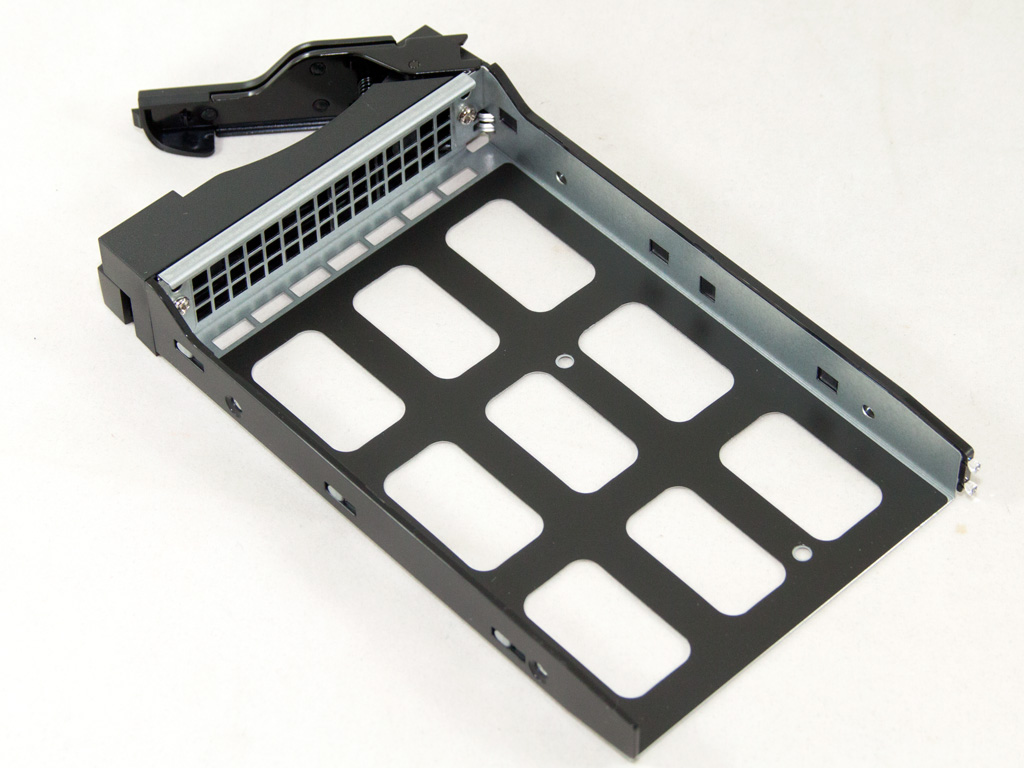
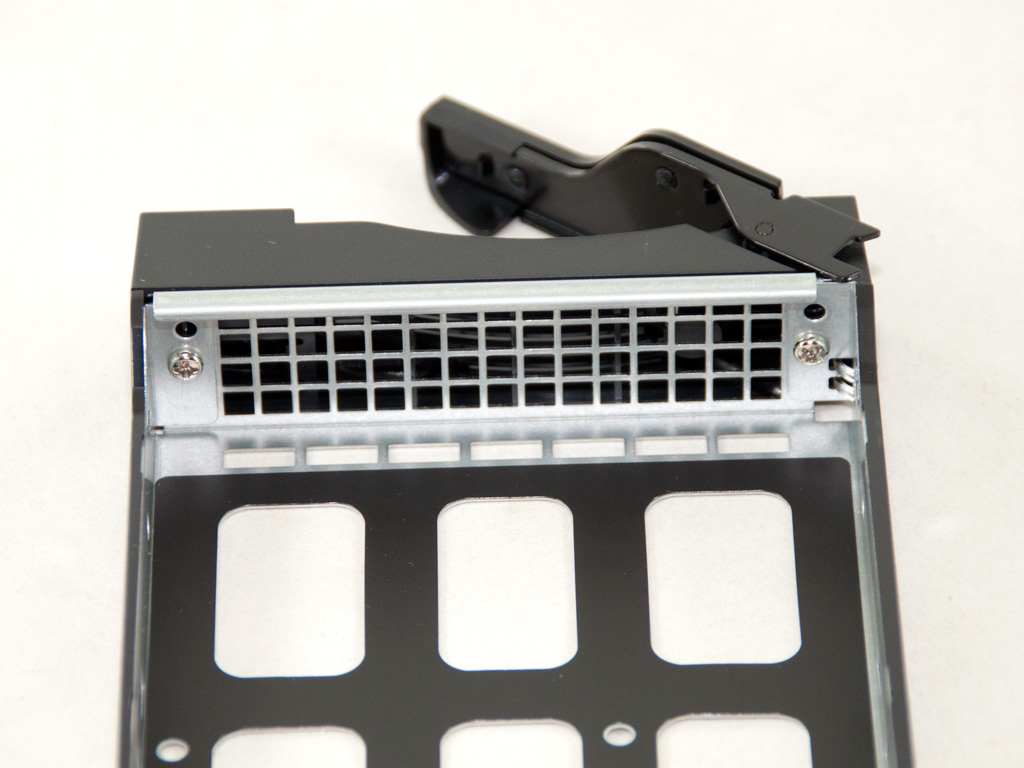
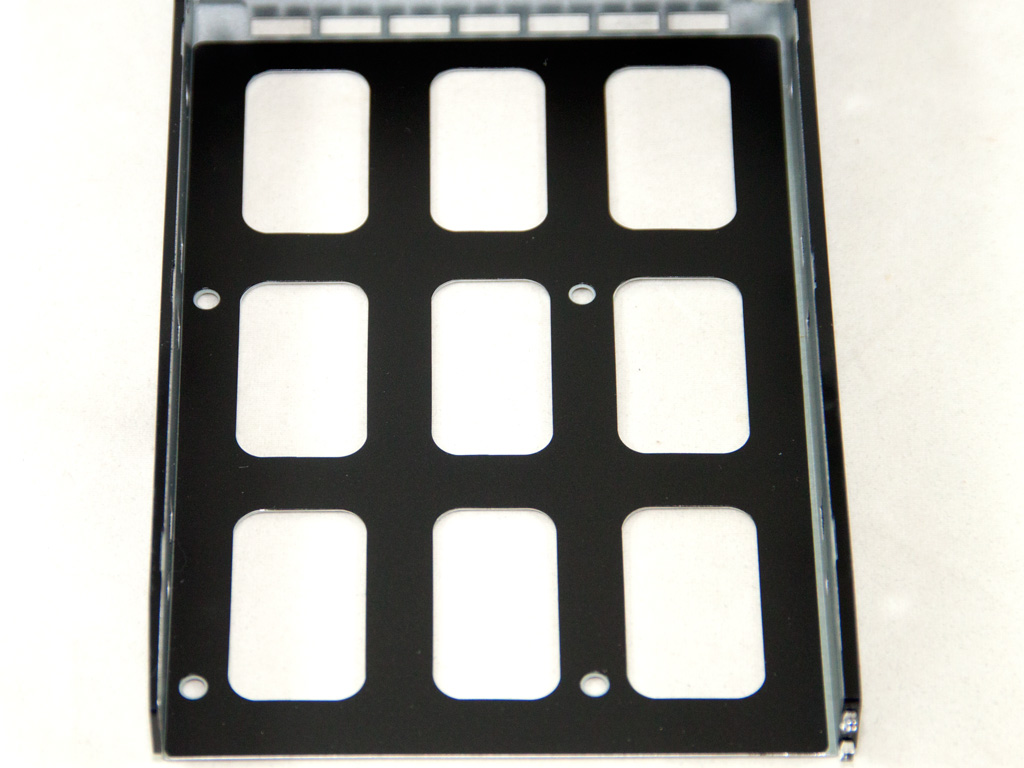
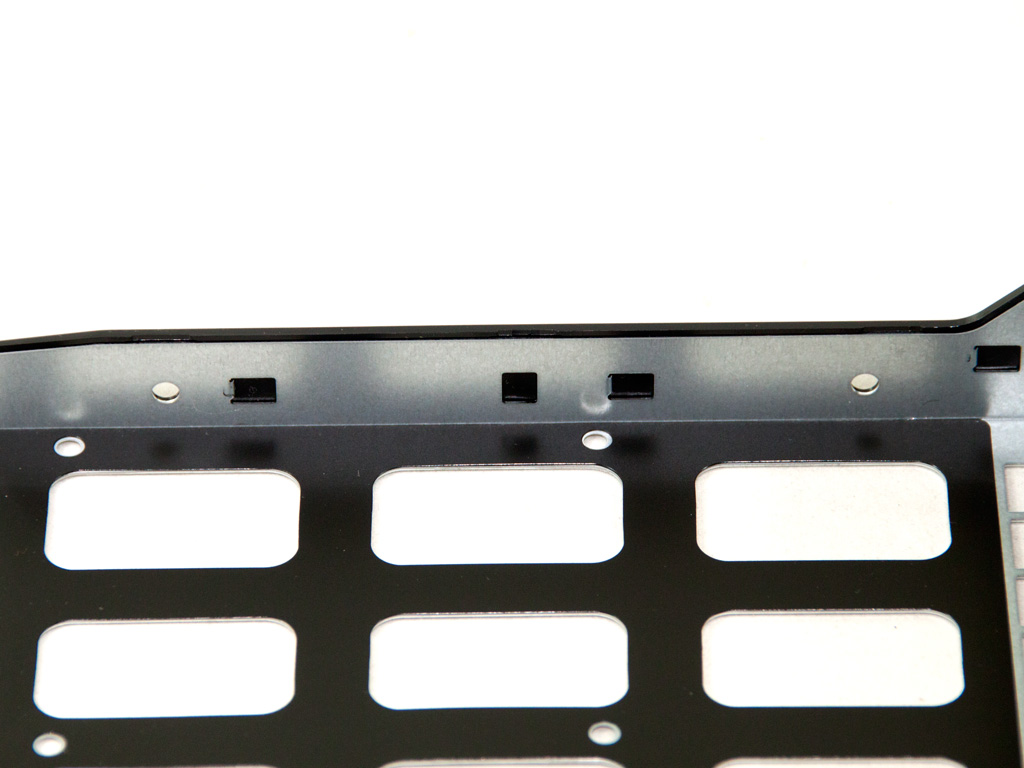
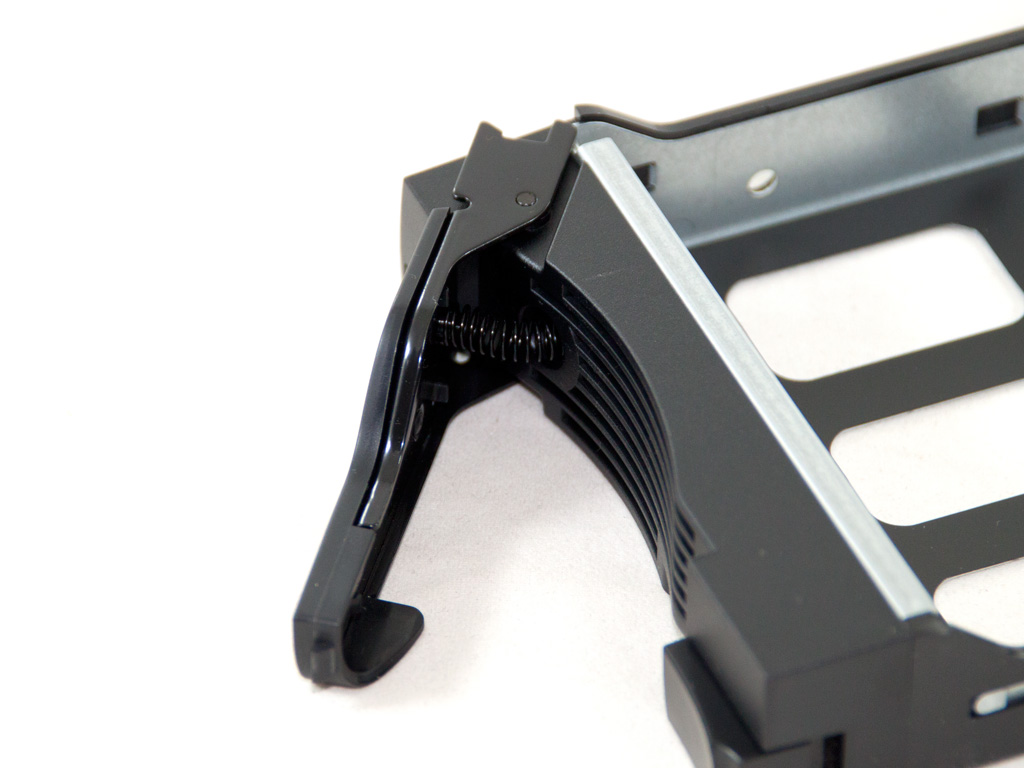
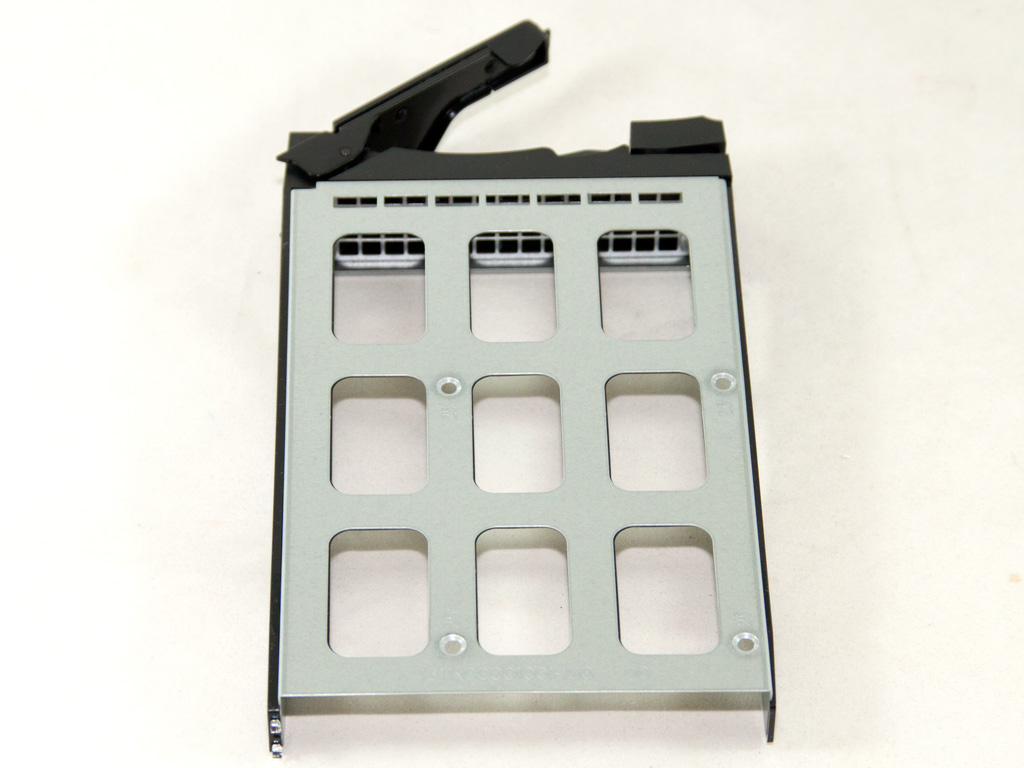
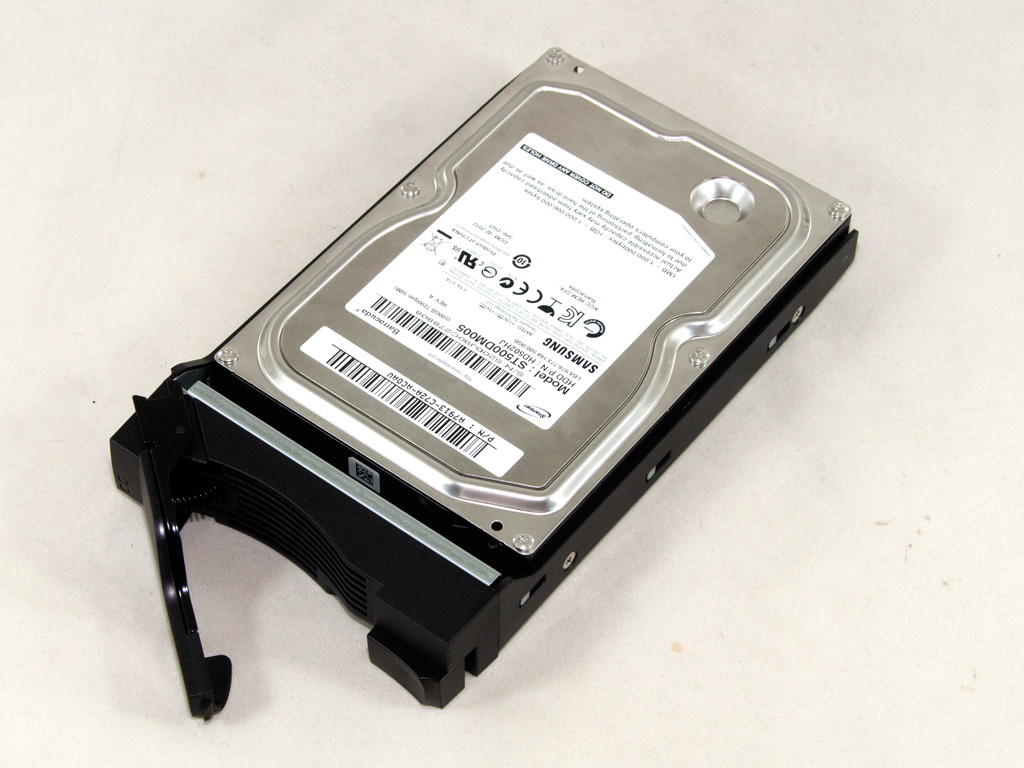
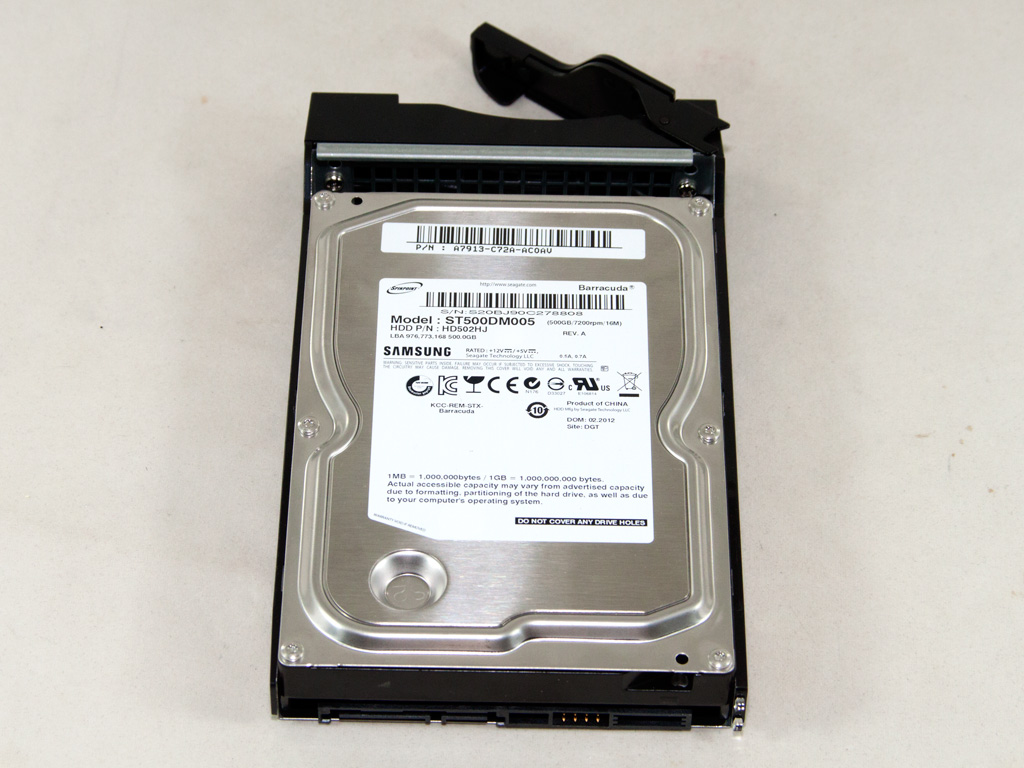
The trays are of high quality and can accommodate both 3.5" and 2.5" disks in case you want to use SSDs instead of mechanical drives. You won't notice a significant speed differences with SSDs since the NAS doesn't support the faster SATA III protocol, and using SSDs will also significantly reduce the NAS server's storage capacity, but SSDs are far more reliable and heat resistant. The caddies are unfortunately not numbered, and there are no locks since the NAS isn't meant for business environments.
A Look Inside
It's time now to strip the NAS down to discover what components it hides inside the casing.


Dismantling the NAS wasn't an easy procedure, but our experience in doing so allowed us to finish the procedure quickly and without any problems, and we only had to remove screws instead of fighting with weird locking mechanisms that break easily.


Two small PCBs are installed to the front of the case. The first hosts the USB 3.0 port, LED indicators, and two push buttons, while the second features the IR receiver.


The mainboard is really small, but houses all the necessary components a NAS needs. Well, all but eSATA ports.

The solder side of the mainboard is protected by a plastic shield we removed to provide a clear view to the components installed on this side.


The NAS is equipped with Intel's fresh Atom SoC CE5335 dual-core processor clocked at 1.6 GHz. This processor is actually a SoC (System on a Chip) and was initially codenamed Berryville but is now called Evansport. It supports Hyper-Threading, has a PowerVR SGX545 IGP (Integrated Graphics Processor) and a hardware H264 trans-coder along with hardware AES encryption. It also supports HDMI 1.4a, USB 3.0, PCI Express 2.0, and Gigabit Ethernet. As you can see, the CPU is cooled passively by a large enough heatsink, thanks to its low TDP.

The DDR3 modules are directly soldered to the mainboard, so you cannot upgrade the RAM. Four K4B2G1646E-BCK0 Samsung ICs total up to 1 GB of RAM.

For additional USB 3.0 ports, an Entrontech EJ188H controller is used.

This is a TPS54426 synchronous buck (or step-down) converter that takes 4.5 V to 18 VDC input voltage and outputs -0.1 V to 5.7 VDC.

The single PCIe port of the mainboard. It is occupied by the PCIe expansion card that holds both SATA connectors.

The battery of the mainboard is installed vertically.

Polymer caps by CapXon filter the voltages on the mainboard.


The PCIe expansion card with its SATA connectors.

On the solder side of the main board is a Realtek RTL8211E Gigabit Ethernet Transceiver, which is weird since the Atom SoC includes a Gigabit Ethernet controller.

The flash memory of the NAS is located on the solder side of the mainboard. It is an FL128SA1F00 IC.

The fan is provided by YS Tech and is powerful despite its small dimensions, since it can spin at up to 4400 RPM if need be. Its model number is FD127025HB. This particular fan uses double ball-bearings to ensure it lasts a long time.
Software
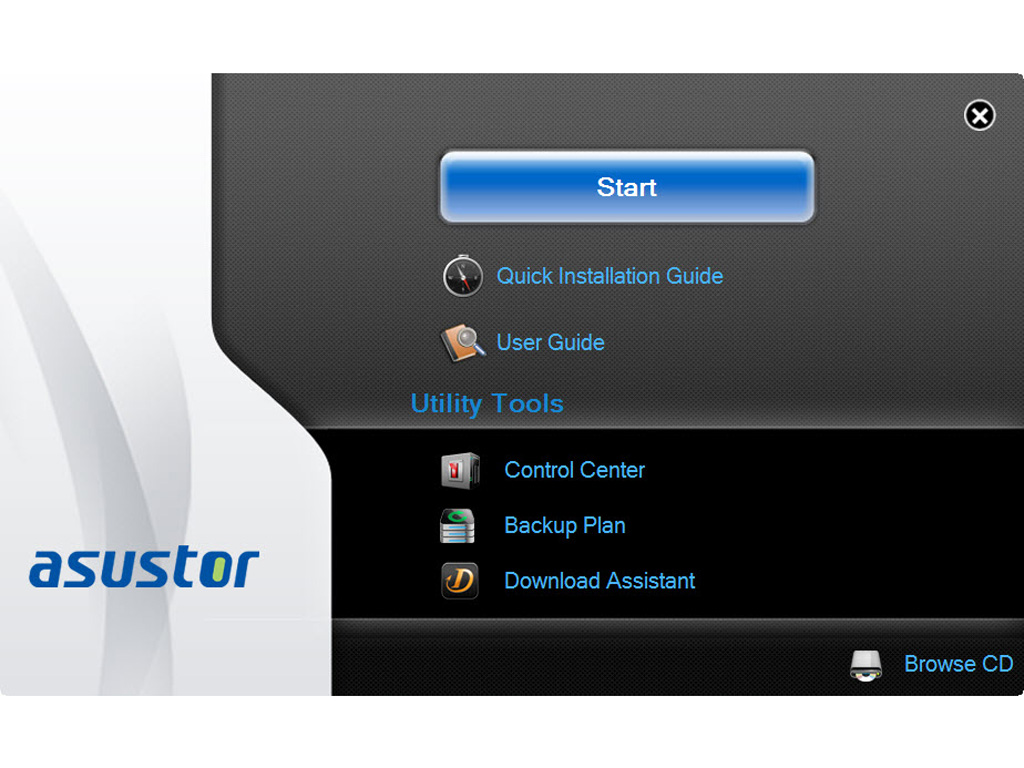
You will have to load the bundled software disc into the drive of a client PC after installing the HDDs into the NAS and connecting all cables (power and network). Asustor suggests reading through the Quick Start Guide first, and we agree with them. You will also find the complete User Guide on the same disc, so feel free to take a look at it as well.


We decided to include a couple screenshots of the Backup Plan application before moving on to the Control Center application. It does as its name suggests, allowing you to create a backup plan or restore from a backup file.
Initial Setup


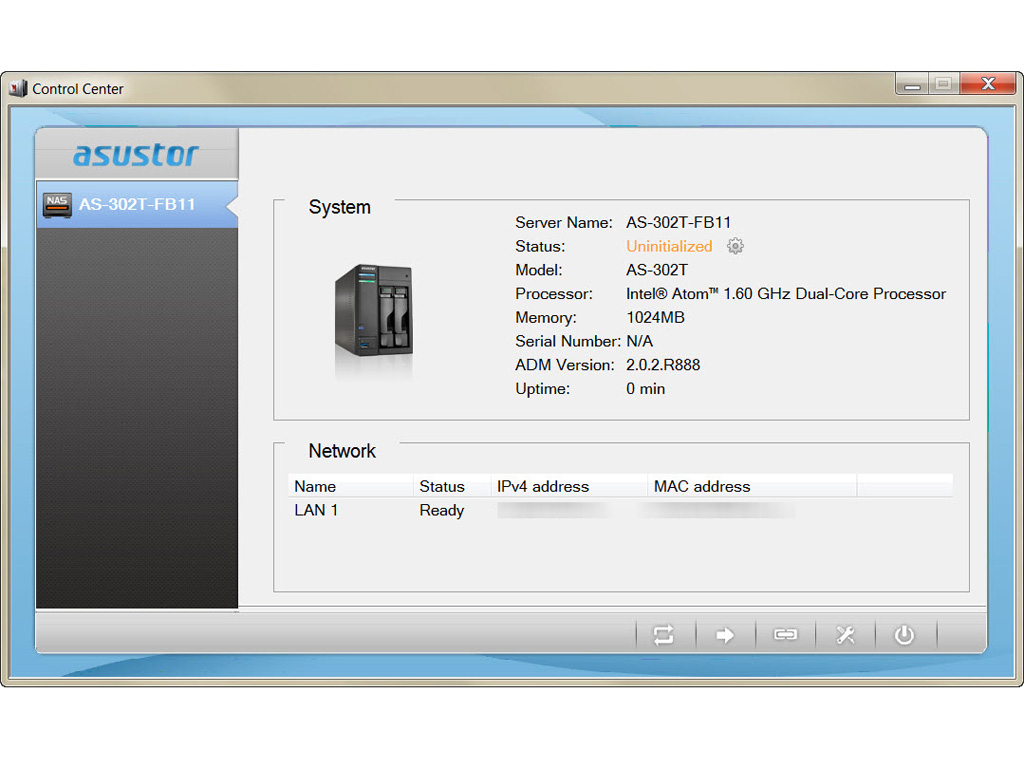
The time has come for Asustor's Control Center to be installed. This application will not only find the NAS on your network, but will also allow for its effortless and quick configuration. We highly recommend picking the Custom Setup option since it allows you set the RAID level that suits your needs best. We were also prompted to download and install the newest version of this program since the version on the bundled disc wasn't the most recent one.

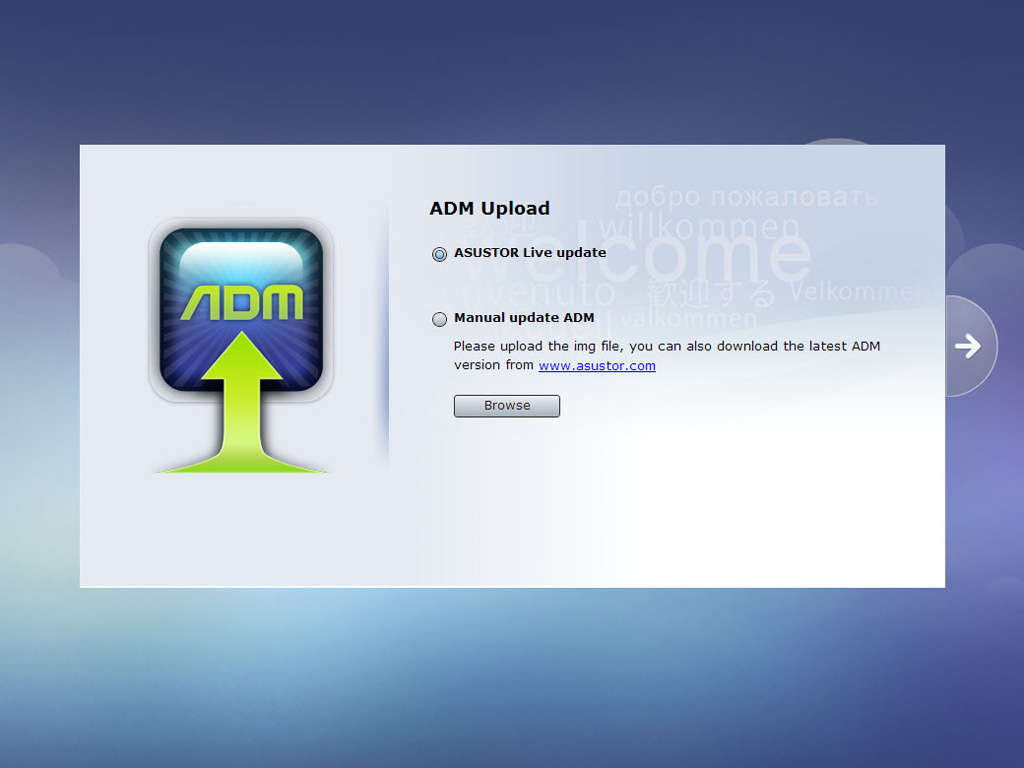


The first step of the initialization process asks you to make sure each tray has an HDD installed, and not to power the NAS down or remove the aforementioned disk. You will then be prompted to download a fresh version of ADM off the net, or manually install one you already have. If you have access to the internet, we highly recommend installing ADM off the net. The initial configuration begins after you have done so, and you will be asked whether you'd like to one-click setup everything instead of doing so manually. We chose the manually setup option since we like to be in control of everything.


You will now be asked to pick an admin password. You will then configure the time and network settings and pick the RAID configuration that suit your needs. There are RAID levels, but you can also configure your disks in JBOD (Just a Bunch of Disks) or pick to run everything off a single disk.


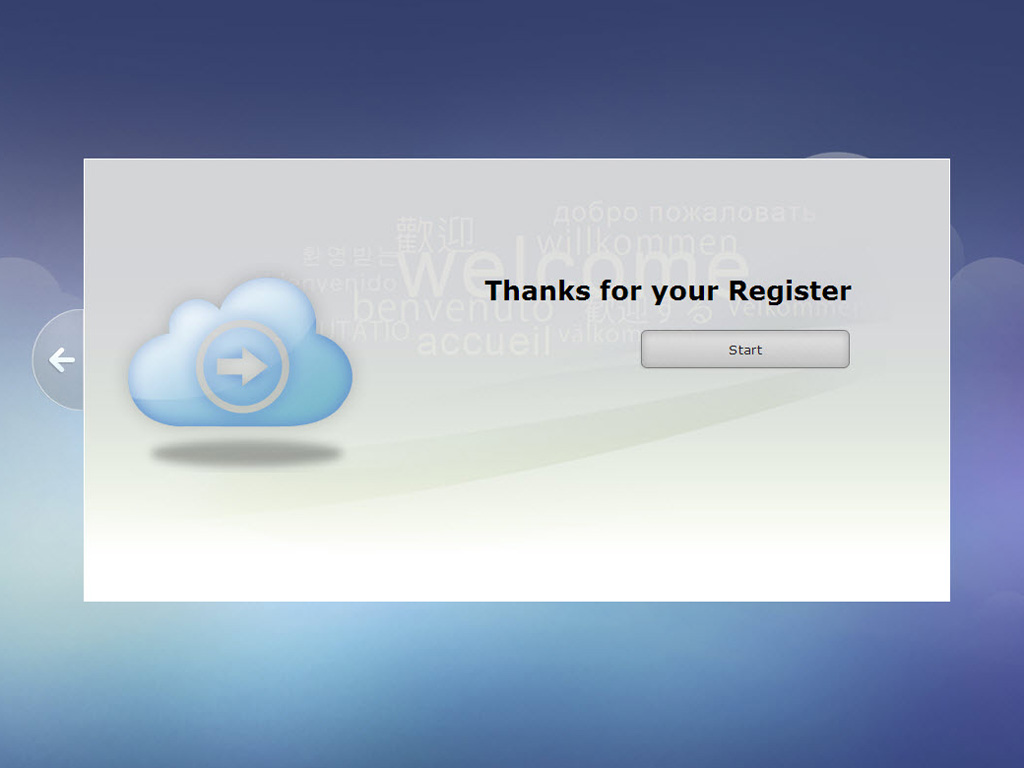
We started the second part of the initialization process after setting the RAID level. Configuring RAID didn't take long, and we were then quickly prompted to register our NAS to obtain an Asustor ID, which allows us to download additional applications for the device.

You will now be redirected to the login page, where you have to input your credentials to proceed to the administration interface.
Our Patreon Silver Supporters can read articles in single-page format.
Nov 14th, 2026 00:38 CST
change timezone
Latest GPU Drivers
New Forum Posts
- Requesting original VBIOS for Gigabyte RX 5700 XT GAMING OC 8G Rev 2.0 (Micron) (1)
- Tell me about your favourite graphics card (35)
- What are you playing? (26216)
- no "PhysX" workable (9)
- AI generated images... (224)
- Crimson Desert (31)
- RenoDX HDR - how to view the differnce Before&After in game? (0)
- Displayport DP80 3M (10ft) cable that can achieve 80gbps stable? (5)
- I'll flash a ASUS ROG Strix RX480 O8G in Cause of Code 43, as a Newbie (1)
- Opinion on Monitor Replacement (6)
Popular Reviews
- AMD Zen 6 Technical Deep Dive
- Corsair HX1000i Shift Crystal Review
- NZXT C1200 Platinum Review
- Upcoming Hardware Launches 2027 (Updated Nov 2026)
- ASUS ROG Strix B850-I Gaming Wi-Fi7 W Review
- Montech King 95 3D PRO Review
- NZXT H7 RGB+ Review
- NZXT H5 Review
- Phantom Blade Zero Performance Benchmark Review - 35 GPUs Tested
- XPG NIMBUS PLUS Review - Mid-range Chair With Strong Competitors
TPU on YouTube
Controversial News Posts
- NVIDIA Co-Founder and CEO Jensen Huang Officially Resigns (380)
- OpenAI CEO Argues Home PCs Waste the World's Limited DRAM Supply (152)
- NVIDIA Launches Investigation Into Jensen Huang's Relationship With Suspected Chinese Spy (136)
- Intel "Raptor Lake Next" 16-Core and 20-Core CPUs Surface (130)
- Legendary Game Studio BioWare Shuts Down Following EA Layoffs (104)
- Dell CEO Says the Memory Shortage Will Get Worse in 2027 (95)
- NVIDIA GeForce RTX 50-Series Scheduled for up to $500 Price Hike This Week (89)
- Modder Fits RTX 5090 With Four 8-Pin Connectors, Halving Current per Wire (80)