 36
36
be quiet! Dark Rock Pro 4 Review
Finished Looks »Installation
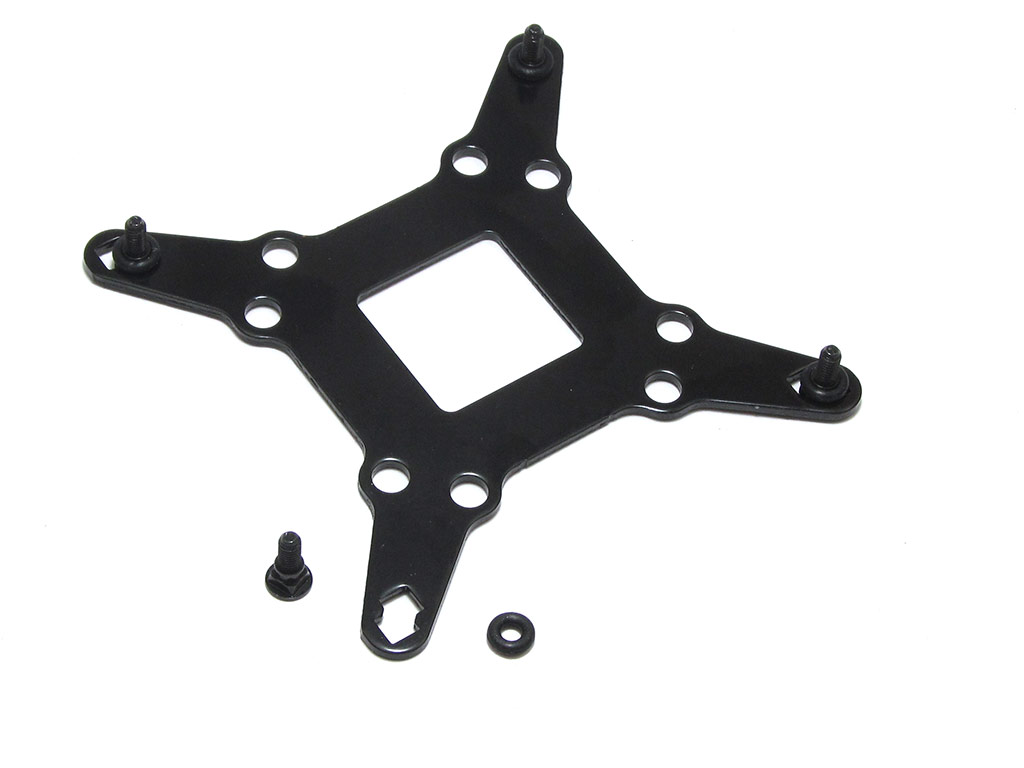
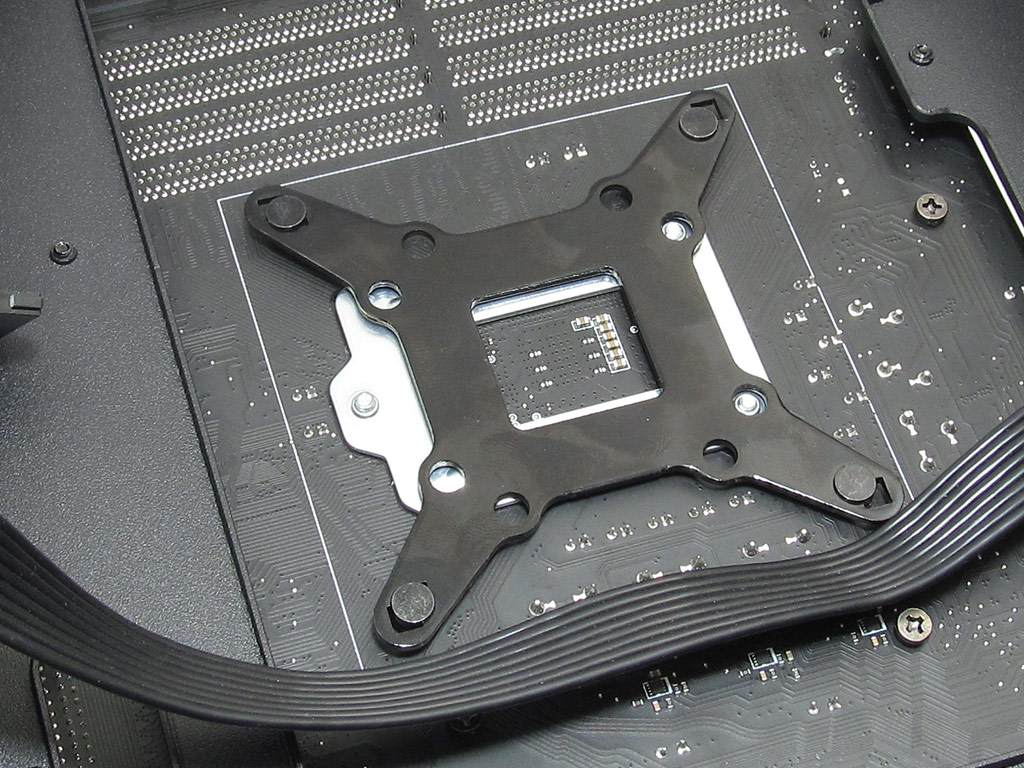
When installing the be quiet! Dark Rock Pro 4, users will need to first prepare the backplate. Slide the screws into the right slot on the backplate to then use the rubber o-rings to secure them. At this point, you can position the backplate on the motherboard.
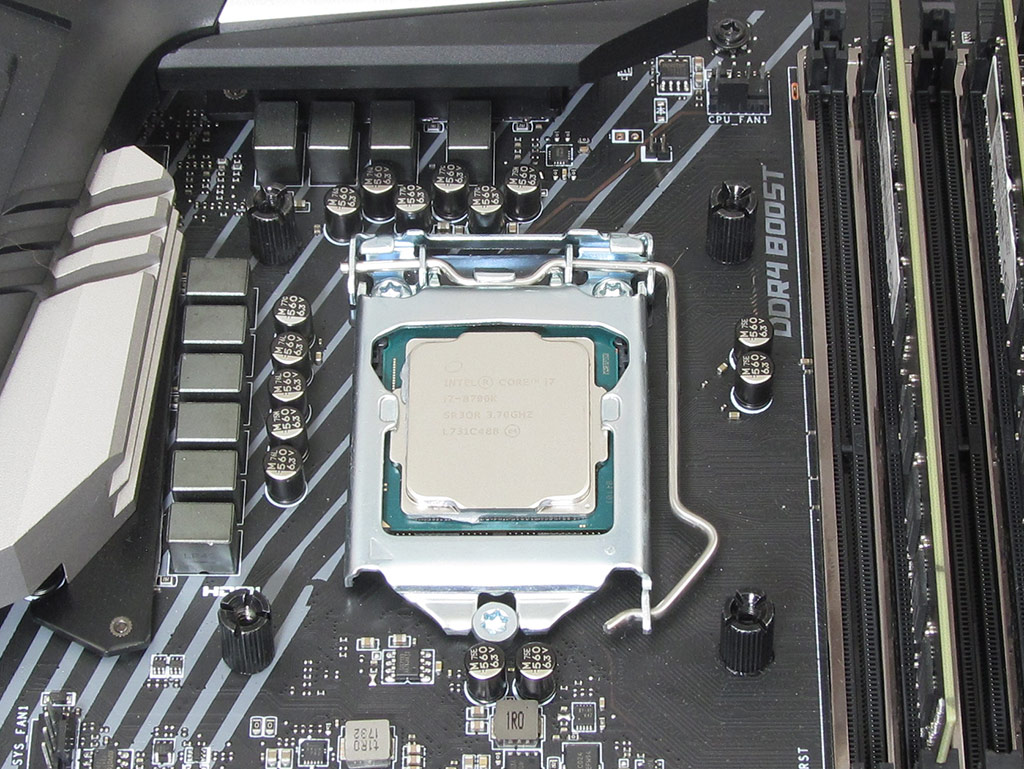


Next, use the standoffs to secure the backplate to the motherboard to then secure the mounting arms to the standoffs. At this point, you can apply some thermal compound in preparation for mounting the heatsink.


You next need to prepare the heatsink for installation by removing the caps on top. Now, place the heatsink in its proper position to then slide the screwdriver down the hole and tighten the mounting screws. With this, the heatsink itself is now properly secured.
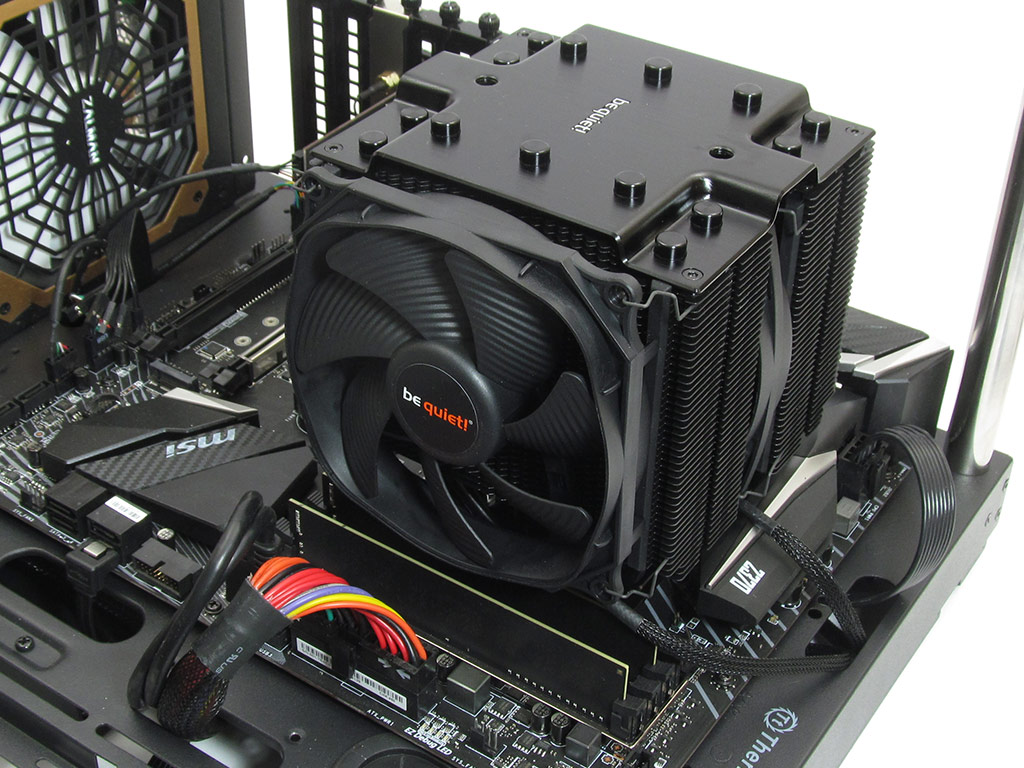

The final and easy bit is to attach the fans and plug them into the fan header. That's it, all done.
To be blunt, it's nice to see be quiet! revise the mounting hardware as I have been complaining about it for so many reviews. Great coolers tarnished by terrible mounting systems are now a thing of the past. The new system works extremely well and is very straightforward. In terms of difficulty, I would rate its installation a 9 on a scale of 1 (hardest) to 10 (easiest).
May 30th, 2024 06:11 EDT
change timezone
Latest GPU Drivers
New Forum Posts
- be quiet! Customer Service - so far is absolutely awesome. (18)
- Core counting (40)
- Why are there so few OS,s for the PI5? (6)
- Bright flashing lights in 3Dmark Port Royal (7900XT) (5)
- GPU choice : GeForce RTX™ 4070 SUPER AERO OC 12G or AORUS GeForce RTX™ 4070 Ti XTREME WATERFORCE , worth the price difference ? (9)
- Youtube, Discord, Visual Studio Code are flickering with black checkered squares/vertical lines. Partial solutions to this issue. (411)
- FX AMD Radeon RX 580 2048SP BIOS ROM required ?? Please help me (7)
- What phone you use as your daily driver? And, a discussion of them. (1539)
- iphone to iphone direct transfer not showing up (2)
- hdd-led/reset-sw/power/-quick connector adapter? (10)
Popular Reviews
- ID-Cooling FX360 PRO Review - Shots Fired @ Arctic
- Senua’s Saga: Hellblade II: DLSS vs. FSR vs. XeSS Comparison Review
- Montech Titan Gold 1000 W Review
- Upcoming Hardware Launches 2024 (Updated May 2024)
- Waizowl OGM Cloud Review
- Lian Li O11 Dynamic EVO XL Review
- NuPhy Air96 V2 Low Profile Wireless Mechanical Keyboard Review
- Senua's Saga: Hellblade II Performance Benchmark Review
- Ghost of Tsushima Performance Benchmark Review - 35 GPUs Tested
- Montech HyperFlow ARGB 240 AIO Review
Controversial News Posts
- AMD to Redesign Ray Tracing Hardware on RDNA 4 (227)
- NVIDIA to Only Launch the Flagship GeForce RTX 5090 in 2024, Rest of the Series in 2025 (154)
- AMD Hits Highest-Ever x86 CPU Market Share in Q1 2024 Across Desktop and Server (140)
- AMD RDNA 5 a "Clean Sheet" Graphics Architecture, RDNA 4 Merely Corrects a Bug Over RDNA 3 (139)
- NVIDIA RTX 5090 "Blackwell" Founders Edition to Implement the "RTX 4090 Ti" Cinderblock Design (109)
- AMD Ryzen 9 7900X3D Now at a Mouth-watering $329 (104)
- Core Configurations of Intel Core Ultra 200 "Arrow Lake-S" Desktop Processors Surface (101)
- Biden Administration to Revive Trump-Era Tariffs on China-made GPUs and Motherboards (95)