 0
0
be quiet! Silent Base 600 Review
Value & Conclusion »Test System
| System Parts for Case Reviews | |
|---|---|
| Processor: | Intel Core i5-6600K |
| Motherboards: | ATX: Fatal1ty Z170 Gaming K6+ mATX: ASRock Z170M Pro4S mini-ITX: ASRock Z170M-ITX/ac Provided by: ASRock |
| Graphic Card: | Long: NVIDIA GeForce GTX 280 OEM Short: HIS Radeon 5350 HD |
| Memory: | KLEVV Cras 8GB (2x4GB) DDR4 @ 3200MHz 16-18-18 @ 1.35V Provided by: Essencore |
| HDD: | Western Digital 320 GB 7200 RPM |
| SSD: | Crucial MX100 256GB SATA 6Gbps Provided by: Crucial |
| Power Supply: | Seasonic Platinum Series 660W ATX 2.3 Provided by: Seasonic |
| Cooling: | Air Cooling Mini-ITX: Thermalright AXP-100R Air Cooling mATX: Thermalright Macho 90 Air Cooling ATX: Thermalright Macho 120 Provided by: PC-COOLING.de |
Assembly
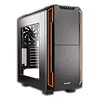
Installing the motherboard is done by traditional means, with the use of "bumps" on the motherboard tray and screws. If you want to make sure that there is absolutely no chance of shorting your board out on these bumps, tape them up before putting it into place. Luckily, there is plenty of space for a large cooler, but you have to watch its height as be quiet! mentions a healthy 170 mm limit.
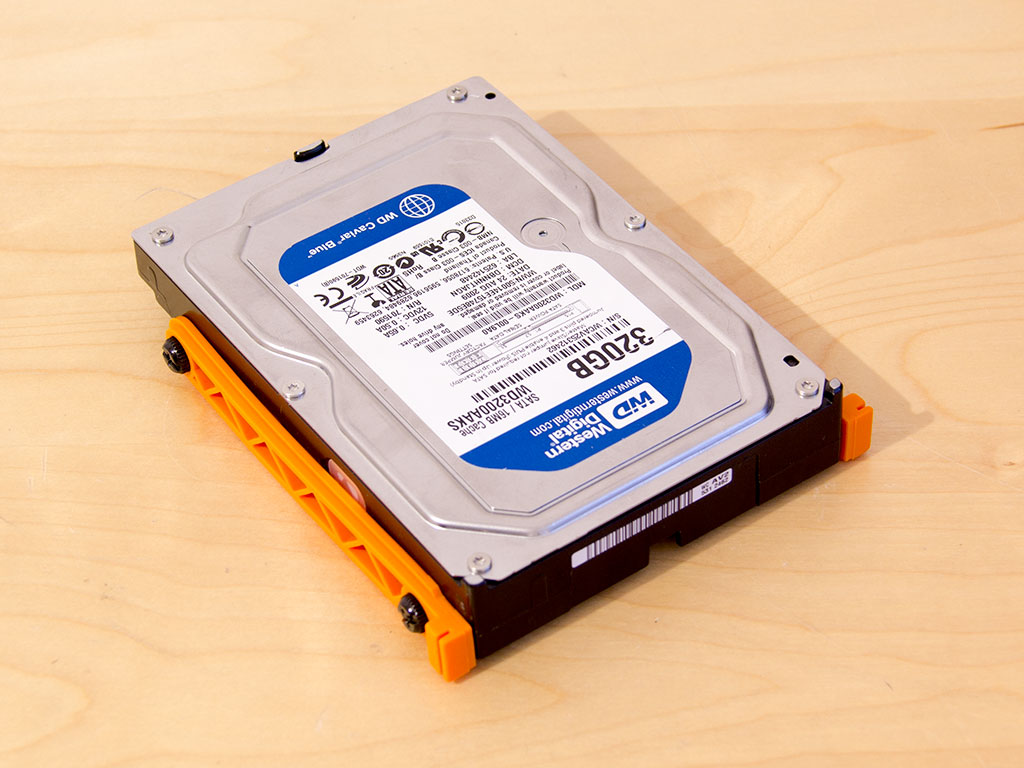

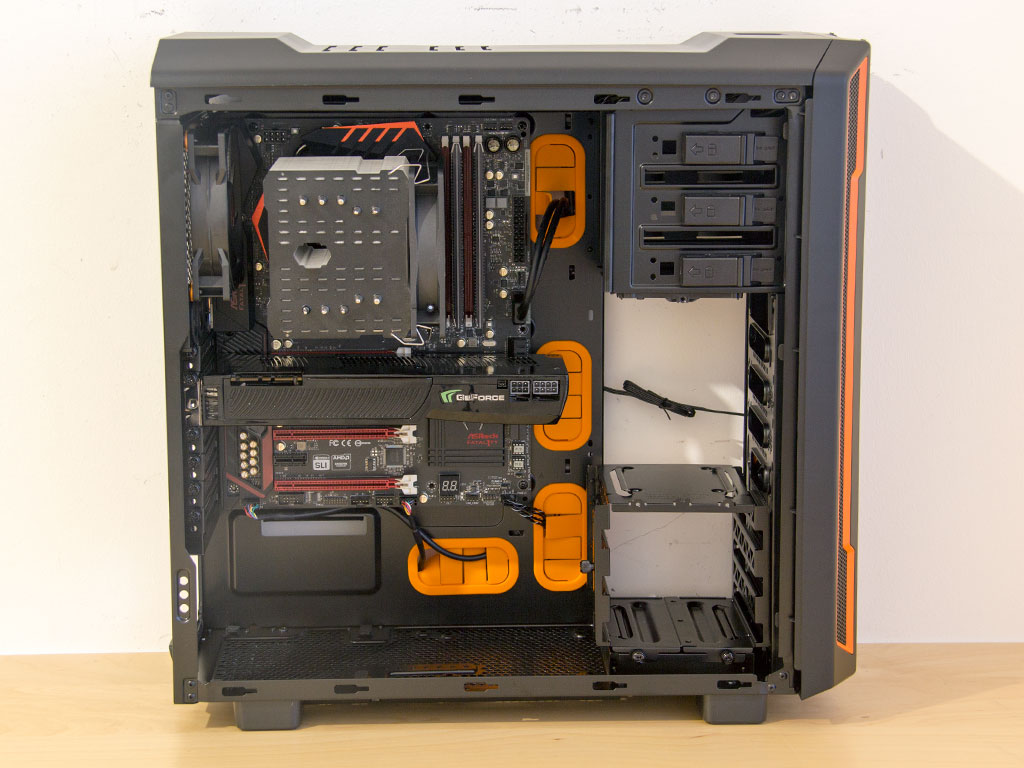
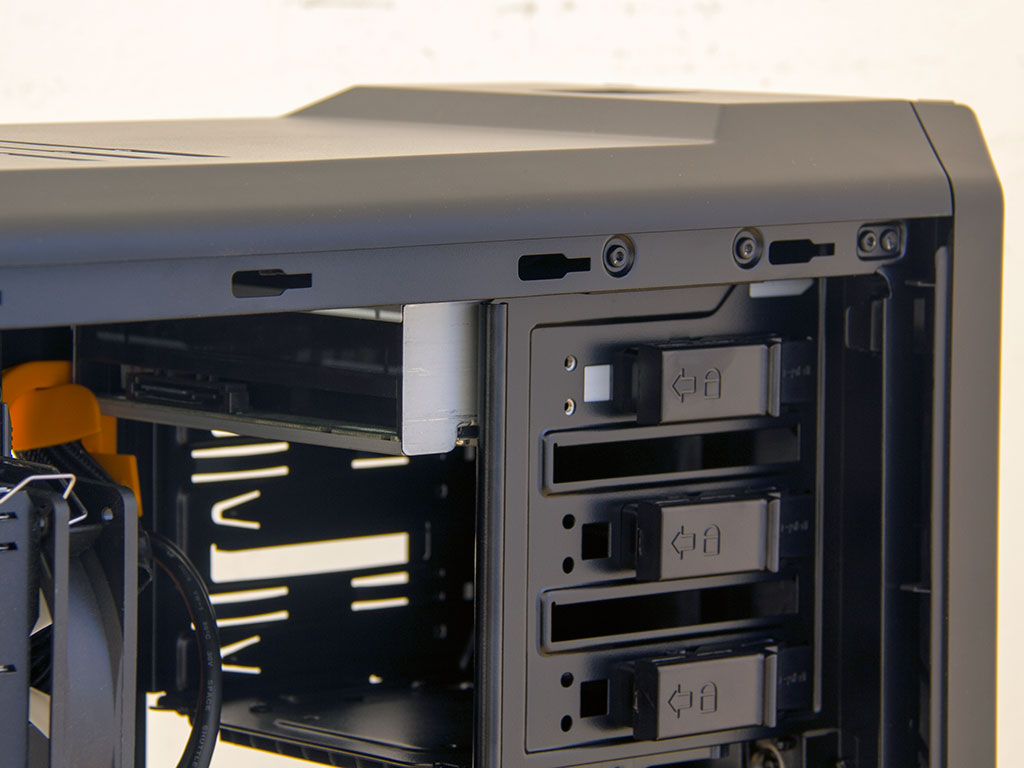
be quiet! designed their own way to install hard drives into the chassis. While the Silent Base 600 uses the same rail-and-lock method as some other cases by other manufacturers, be quiet! replaced the plastic rail with a silicone strip two thumbscrews hold in place, which makes sliding the drive into place once two of those have been attached possible. Once done, move the lock down to hold the contraption in place. As you can see, the silicone strips are rather soft, but everything, once locked, holds in place surprisingly well.
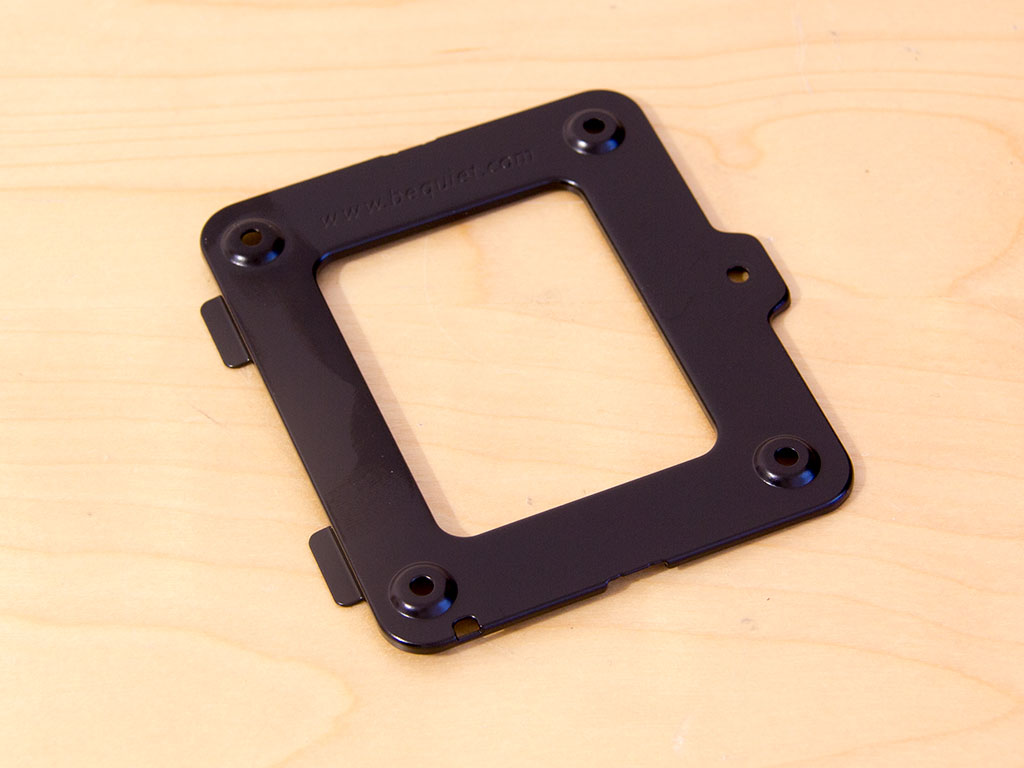
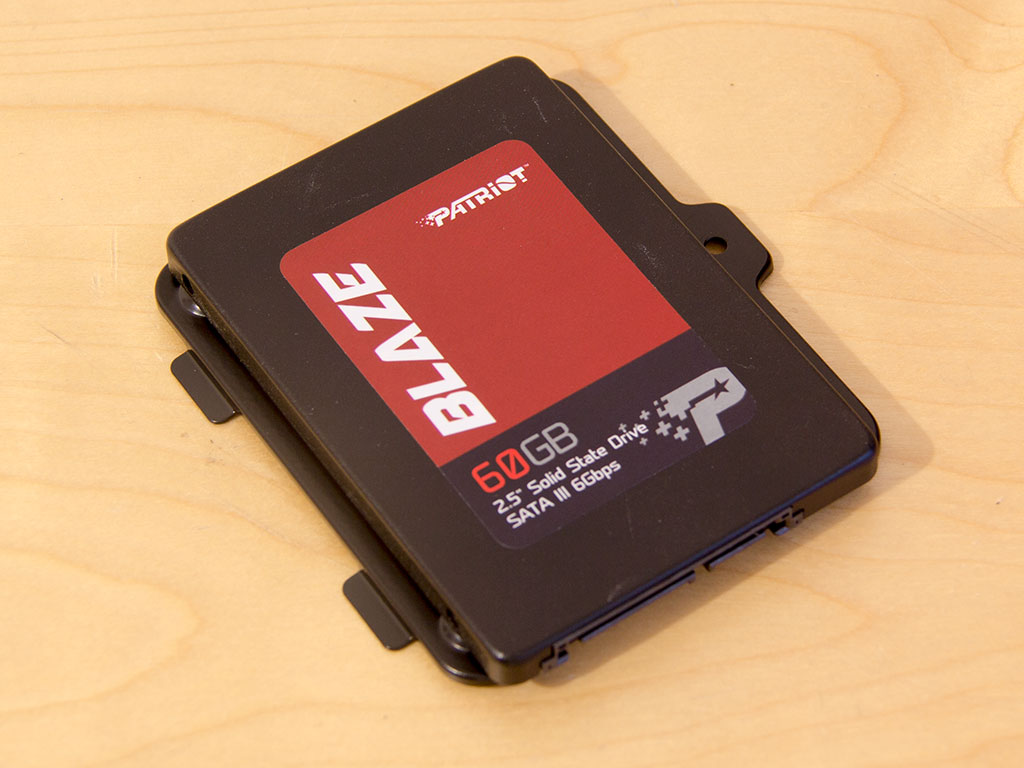
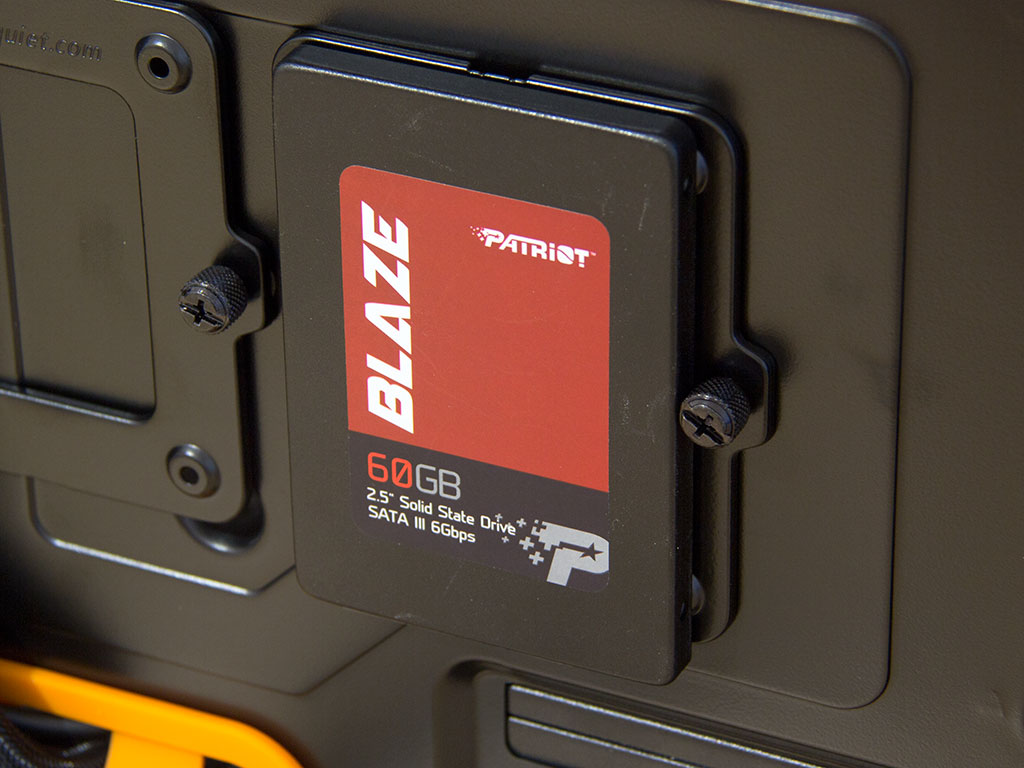
To install an SSD, put it into its individual tray. Each drive is held in place by screws, so you need tools at this point. The single thumbscrew holds the tray in place flawlessly, but is quite close to the actual drive itself, making it a bit difficult to tighten without a screwdriver once the tray has been filled.
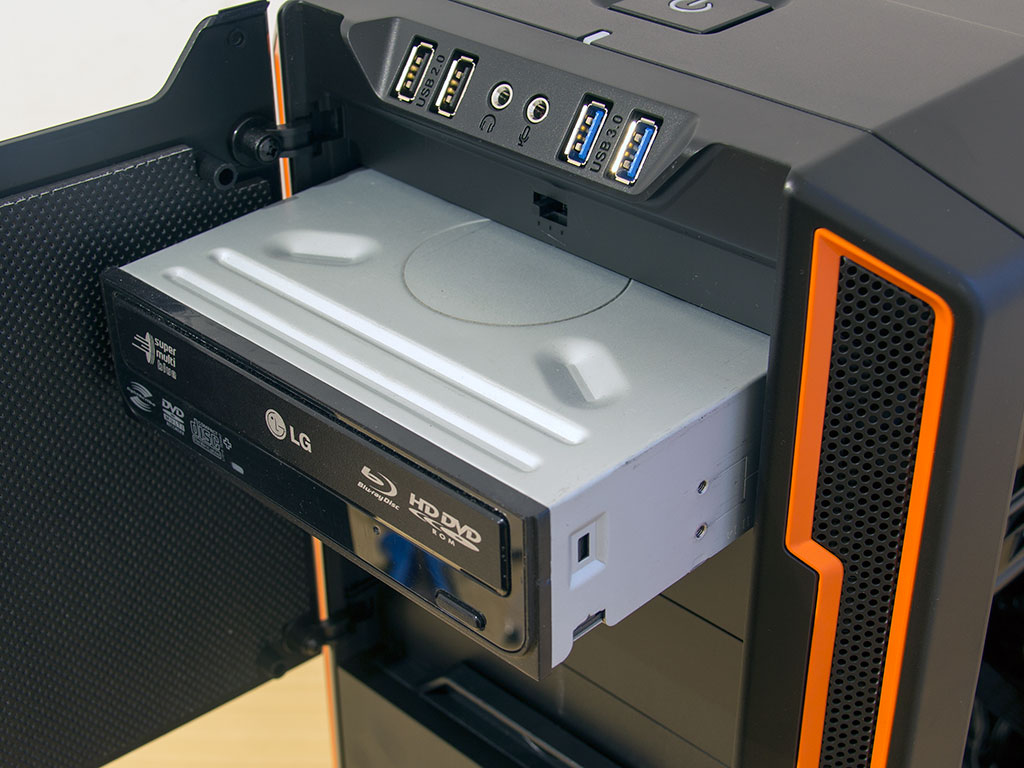
Inserting an optical drive is quite quick since taking out the cover of your choice to free a bay up is a breeze. Now, simply slide the drive in and lock it down. be quiet!'s locking mechanism actually works quite well, but you may also want to sink additional screws into the drive if need be.
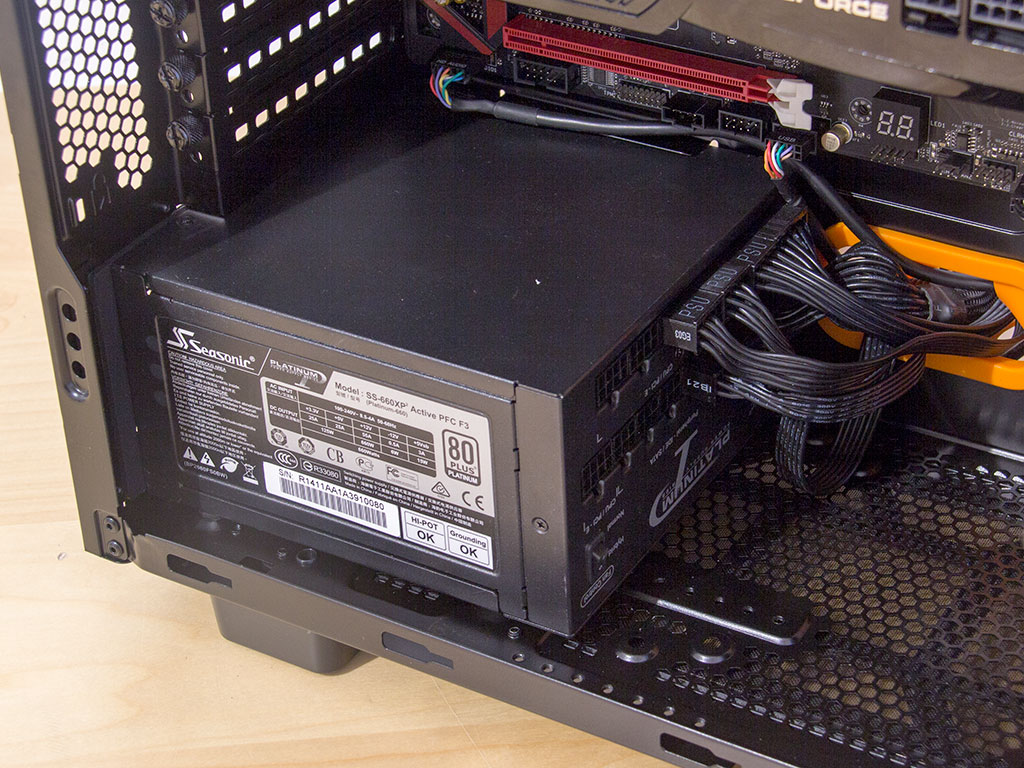
Installing the PSU is done by traditional means as it only takes screws and a screwdriver. be quiet!'s well-placed grommet-covered opening allows you to route all the cables out of sight quite nicely.

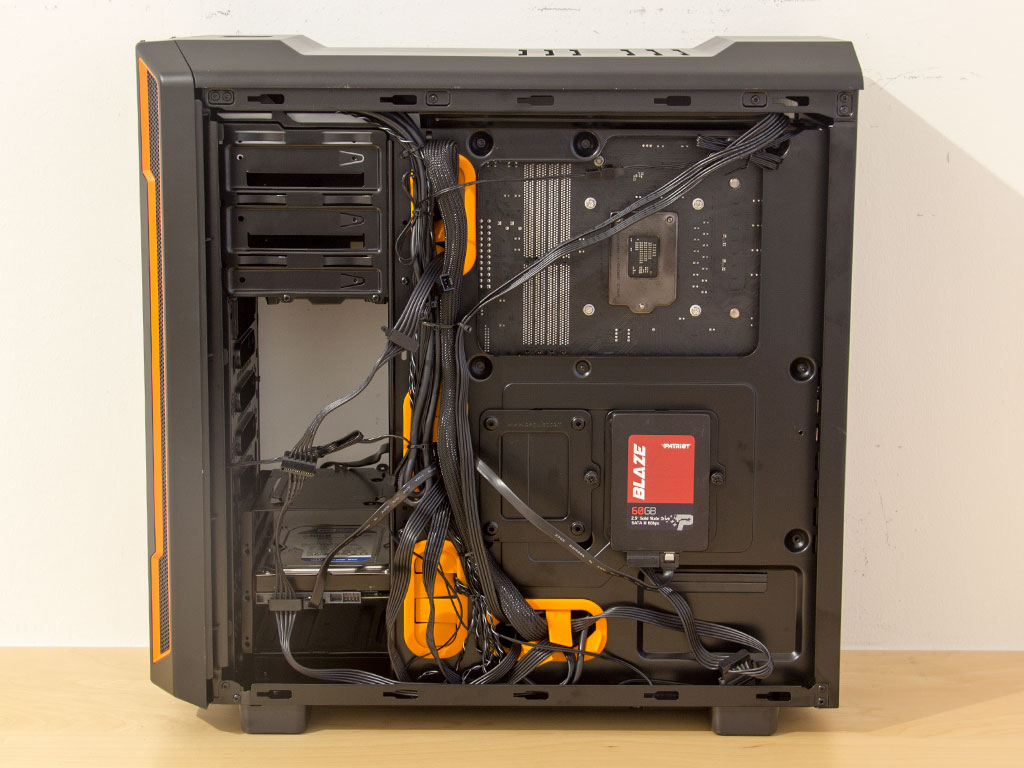
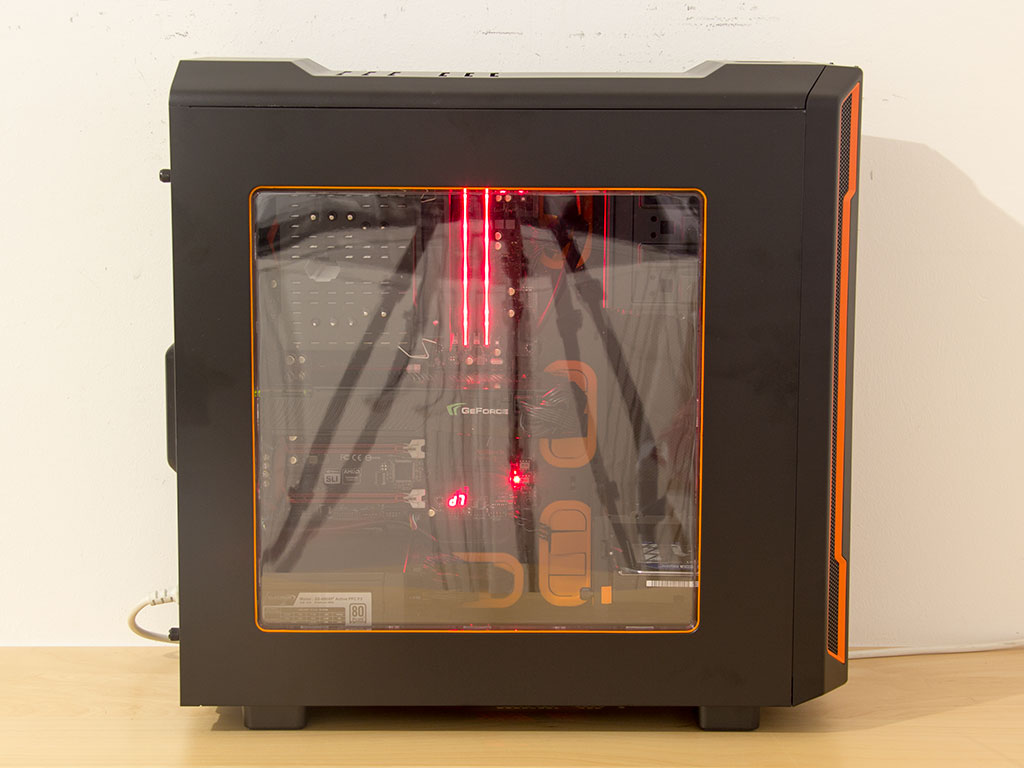
With everything installed, the Silent Base 600's main side makes an excellent, clean impression. With the exception of the fan's cable at the front, the entire cable mess is hidden away nicely behind the motherboard tray. You could hide the fan's cable behind the hard-drive tray as well as it is long enough, but its black sleeving makes it blend in nicely anyways.
Finished Looks
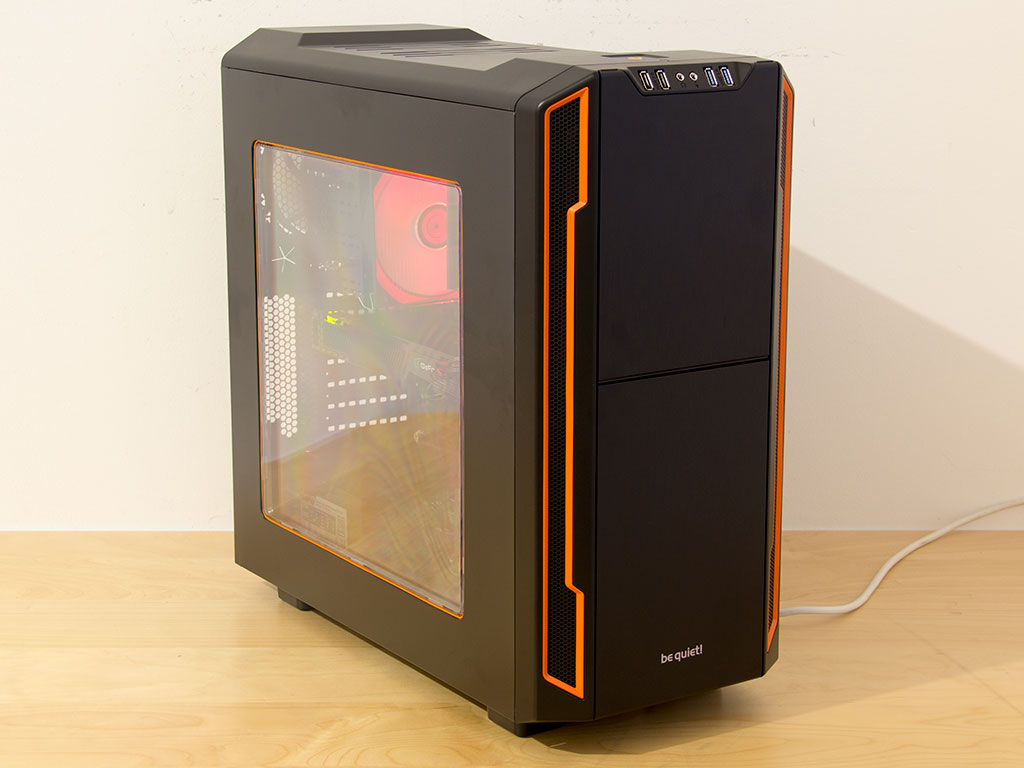
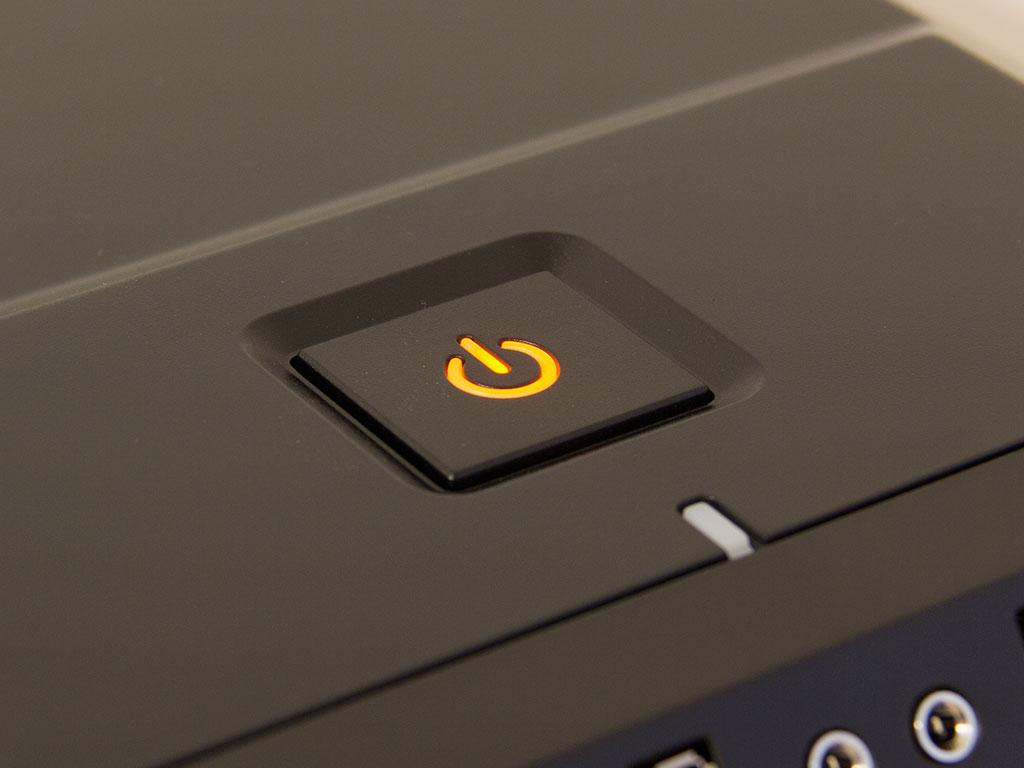
With everything installed and the system turned on, you can clearly see the KLEVV memory glow through the large window. be quiet! went with an orange power LED it embedded into the main button, which goes nicely with the company's brand and - in this case - the enclosure's colored elements.
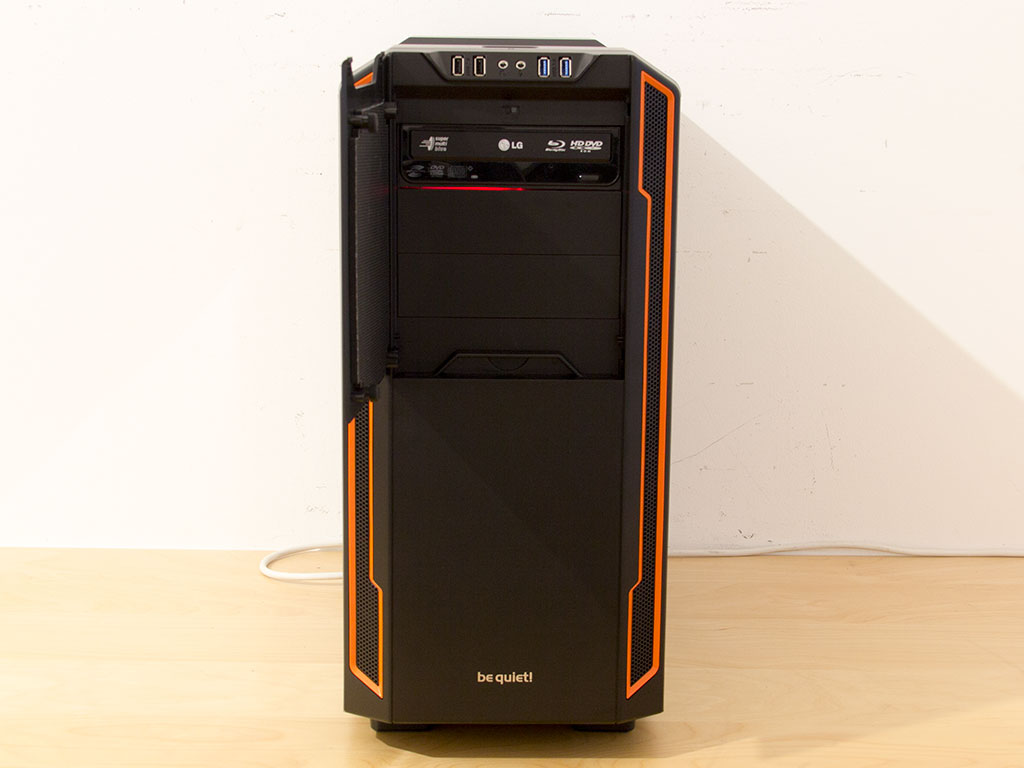
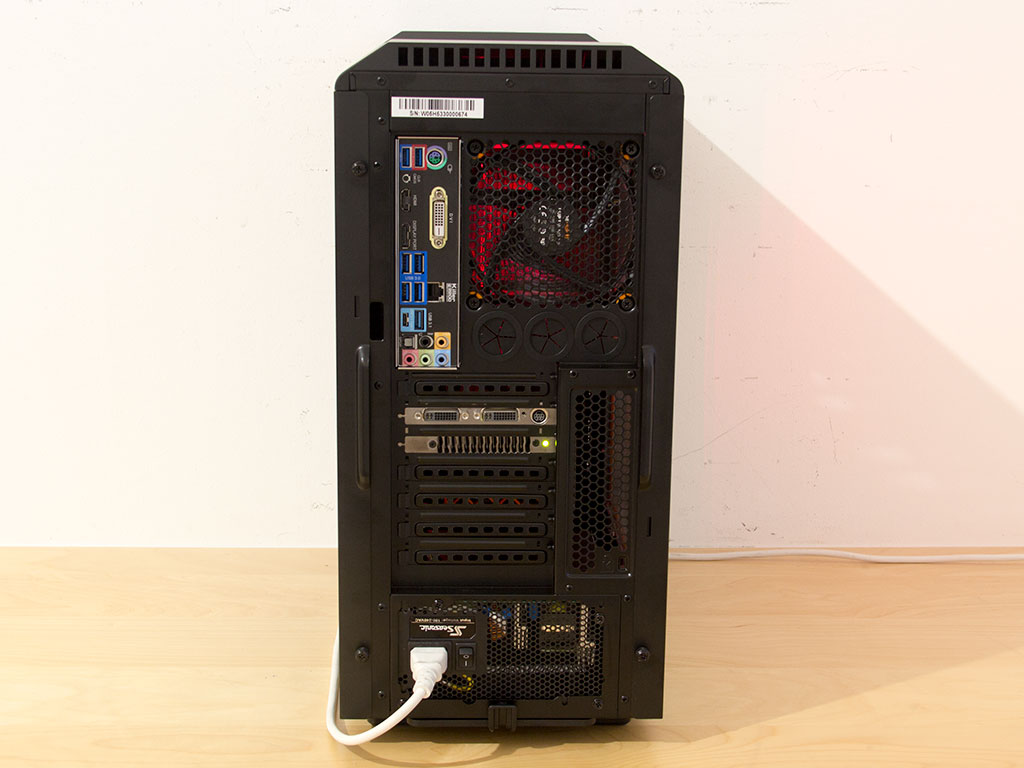
The door hides the optical drive in front well, and the rear gives you readily available access to every connector. As the fan has been recessed into the rear, finding the plugs is even easier, although it somewhat cuts down on how much room there is inside.
Apr 30th, 2024 02:27 EDT
change timezone
Latest GPU Drivers
New Forum Posts
- 7900 XTX Seriously lacking (52)
- Throttlestop I7-9750H is there a risk with raising PL1 and PL2? (12)
- Ghetto Mods (4327)
- Asus Crosshair X670E - CPU Package temps (13)
- Help me identify rx 580 card ? (9)
- All I want is 2 monitors + 1 PC - Help! (3)
- Share your AIDA 64 cache and memory benchmark here (2923)
- Current Sales, Bundles, Giveaways (10211)
- Realtek Modded Audio Driver for Windows 10/11 - Only for HDAUDIO (5693)
- (Anti) SFF fun house (356)
Popular Reviews
- Team Group T-Force Vulcan ECO DDR5-6000 32 GB CL38 Review
- HYTE THICC Q60 240 mm AIO Review
- Ugreen NASync DXP4800 Plus Review
- MOONDROP x Crinacle DUSK In-Ear Monitors Review - The Last 5%
- Upcoming Hardware Launches 2023 (Updated Feb 2024)
- Sapphire Radeon RX 7900 GRE Pulse Review
- AMD Ryzen 7 7800X3D Review - The Best Gaming CPU
- Thermalright Phantom Spirit 120 EVO Review
- ASUS Radeon RX 7900 GRE TUF OC Review
- FiiO K19 Desktop DAC/Headphone Amplifier Review
Controversial News Posts
- Intel Statement on Stability Issues: "Motherboard Makers to Blame" (163)
- Windows 11 Now Officially Adware as Microsoft Embeds Ads in the Start Menu (156)
- Sony PlayStation 5 Pro Specifications Confirmed, Console Arrives Before Holidays (117)
- AMD's RDNA 4 GPUs Could Stick with 18 Gbps GDDR6 Memory (108)
- NVIDIA Points Intel Raptor Lake CPU Users to Get Help from Intel Amid System Instability Issues (106)
- AMD "Strix Halo" Zen 5 Mobile Processor Pictured: Chiplet-based, Uses 256-bit LPDDR5X (103)
- US Government Wants Nuclear Plants to Offload AI Data Center Expansion (98)
- TechPowerUp Hiring: Reviewers Wanted for Motherboards, Laptops, Gaming Handhelds and Prebuilt Desktops (90)