 11
11
be quiet! Silent Base 802 Review - An Evolution of the 801
Assembly & Finished Looks »A Closer Look - Inside
Before we dive into the interior of the chassis, you may pop off the side panels with a push of the button, where you will find 10-mm-thick sound-dampening panels on all major panels, while thinner ones, like the cover on top, are 3 mm variants.

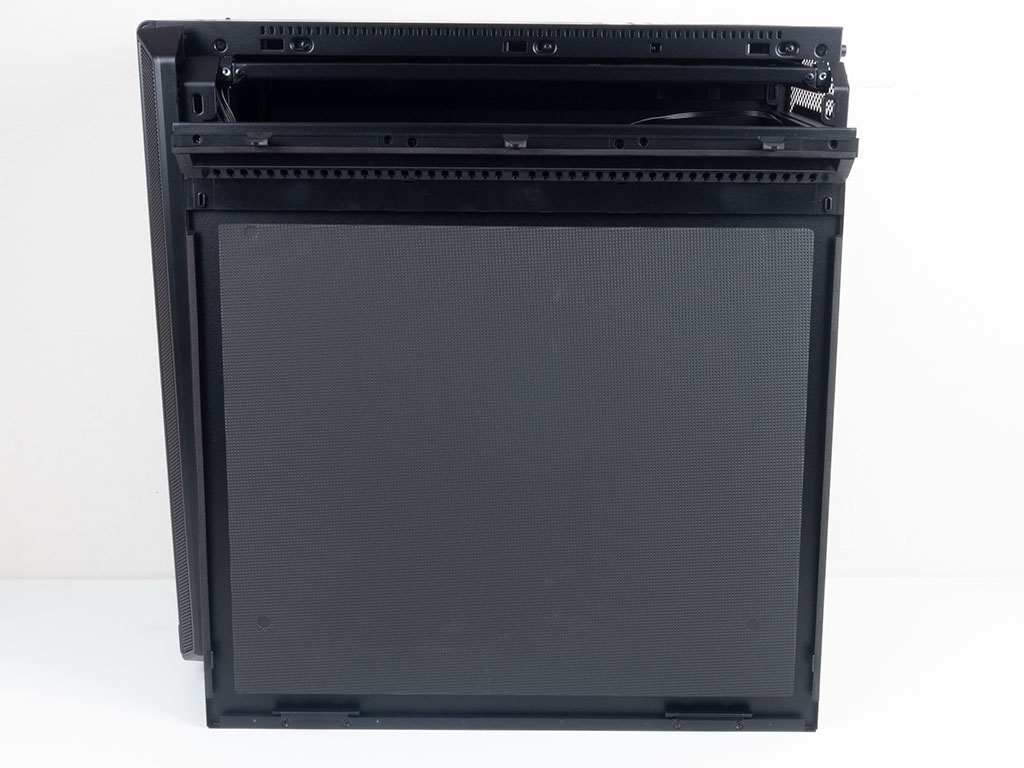
The interior of the Silent Base 802 looks very much like the one within the 801. You will find a metal divider covered in plastic elements you may remove for fans and, thus, additional airflow.
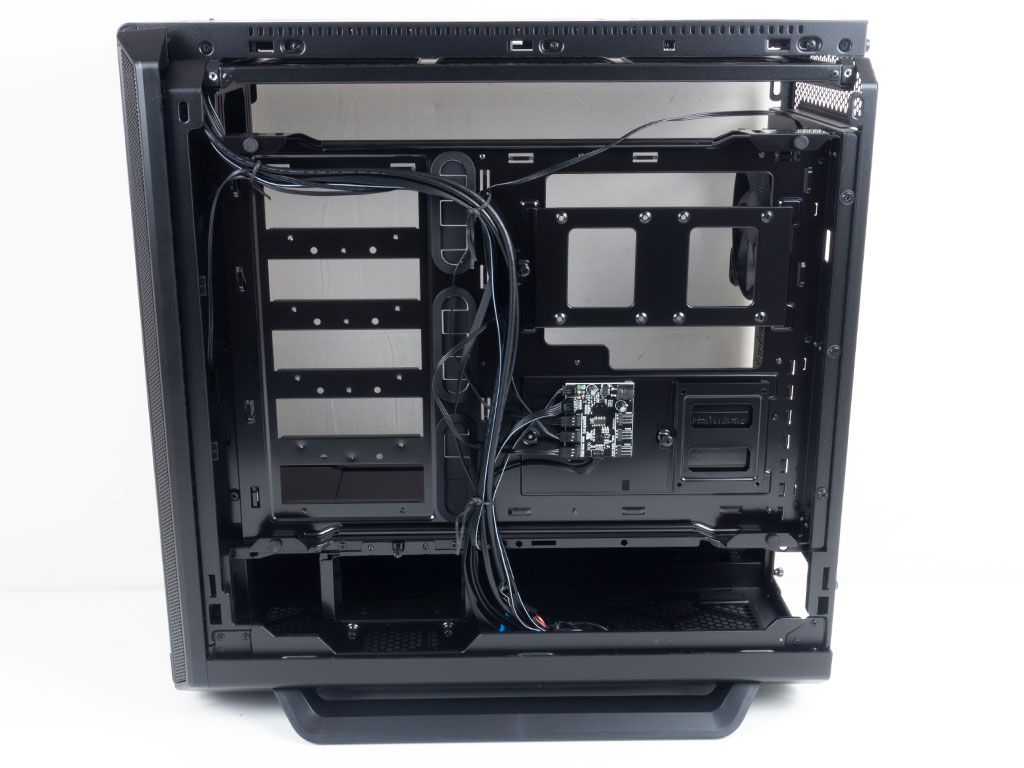


On the opposite side, you can clearly see exposed openings for HDD cages. While up to five of these may be installed, be quiet! only provides one out of the box—you have to spend a little bit of additional money if you require more 3.5" storage. That said, a decent three may already be installed in the default configuration. On top of this are three 2.5" slots for a total of six possible drives within.

Next to one of these mounting plates is a fan controller with two separate rails for three fans each. It comes with an RPM signal cable connector for your motherboard and a SATA connector to provide the necessary power.


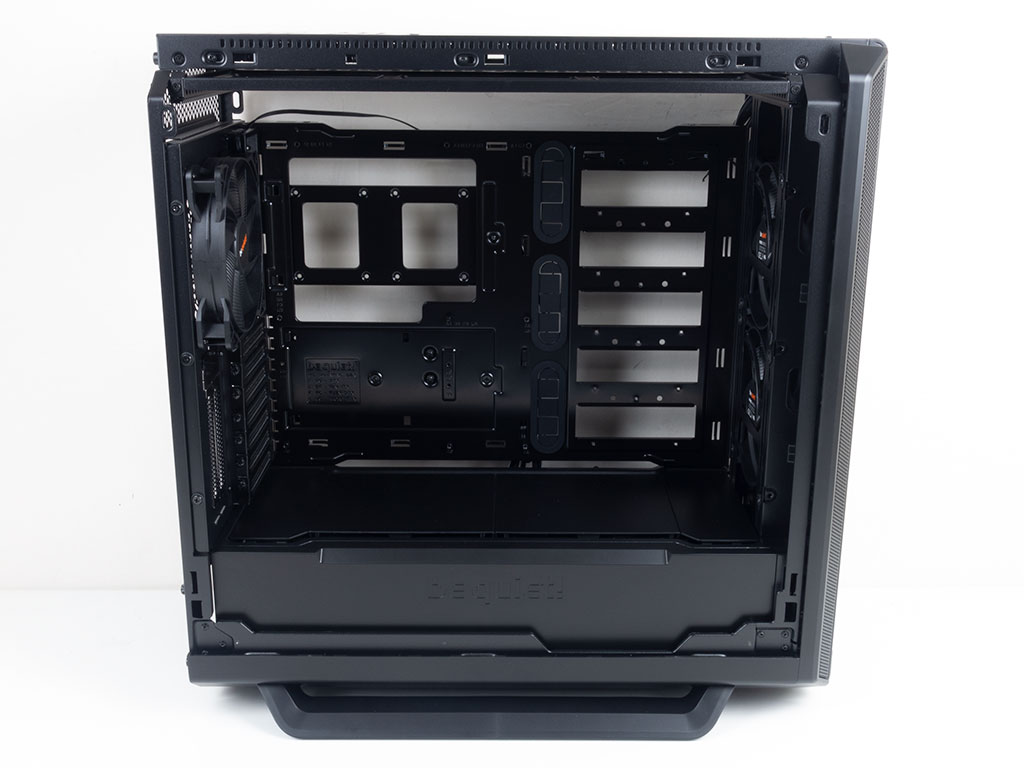
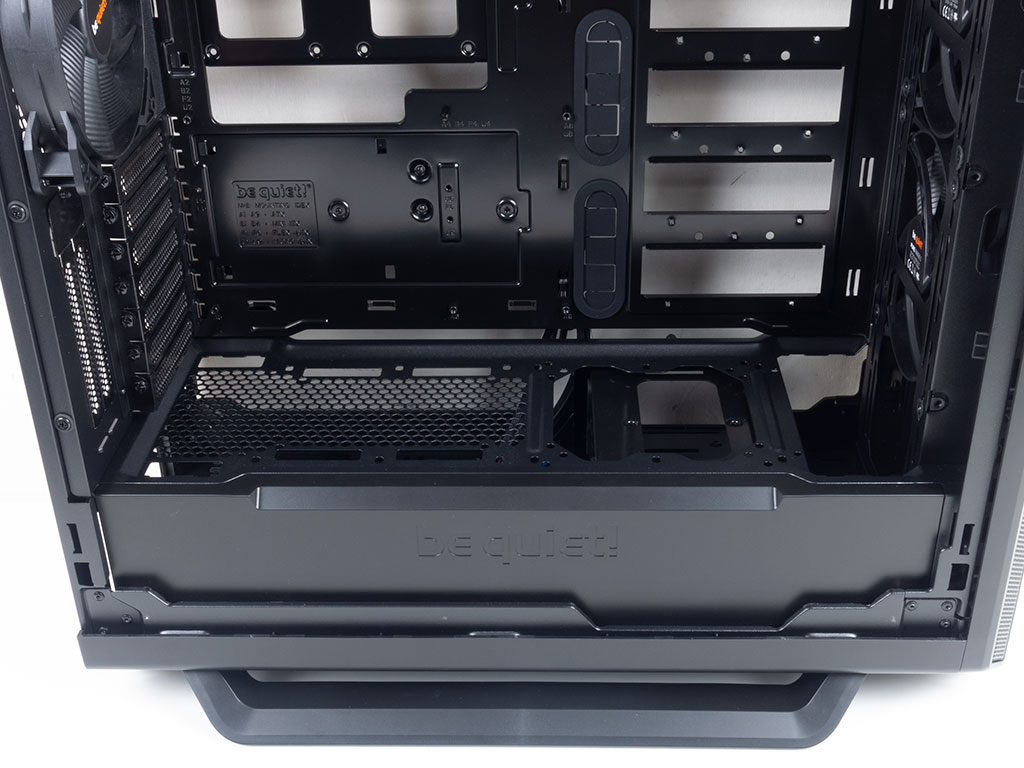
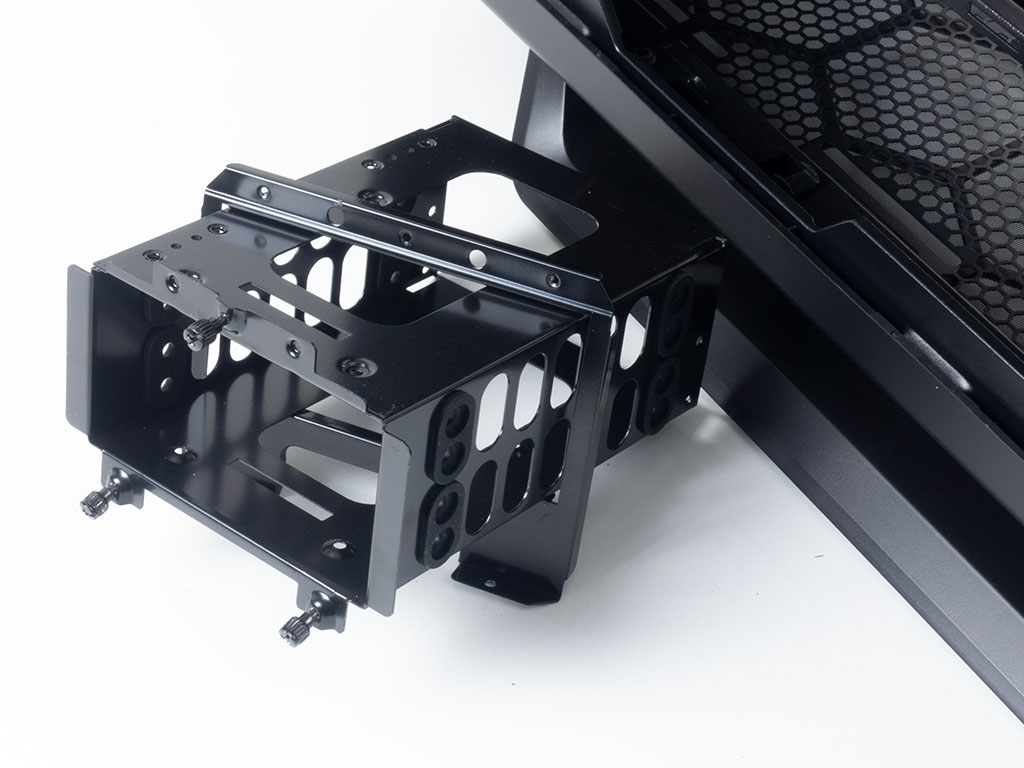
Looking into the front, there is that dual-HDD cage for two 3.5" drives, in the same fashion as the individual one in the top. Above that are the intake fans and hard-drive openings.
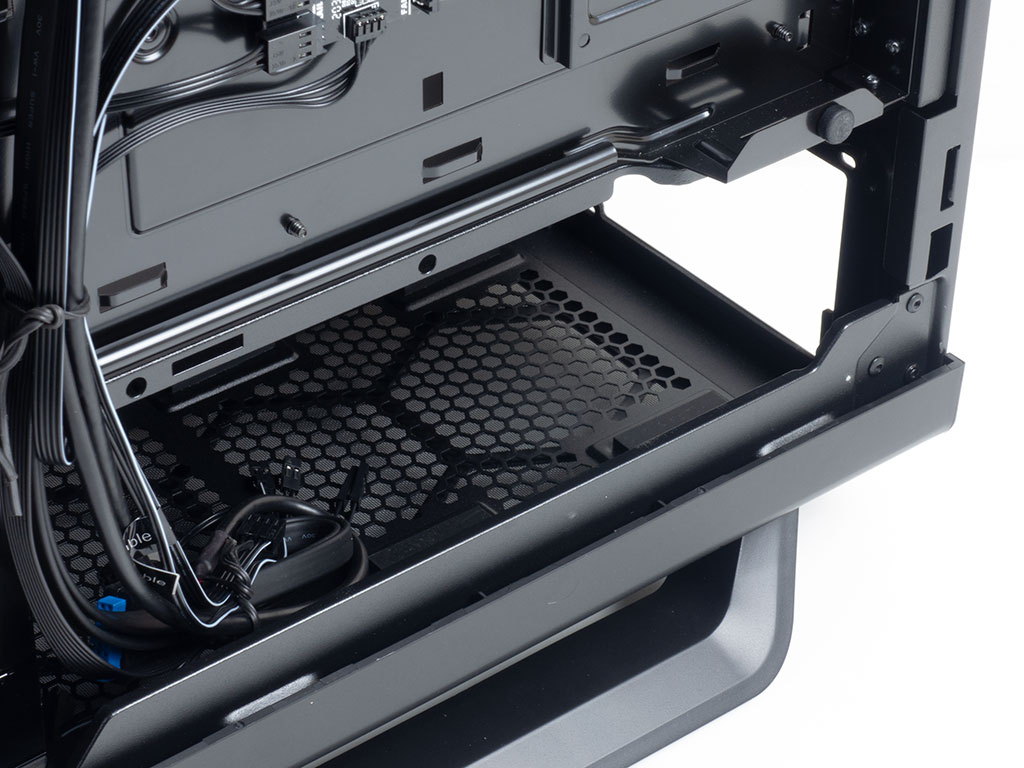


The PSU bay in the rear is hidden underneath the shroud and comes with four thick foam spacers on which such a unit will rest. Above that are the seven horizontal expansion slots with reusable covers and thumb screws. Next to these are two vertical slots in the same setup, which you may use to mount your GPU vertically with an optional flex cable. In the very top is that third 140 mm, 3-pin retail-grade fan—it pushes hot air out the back.


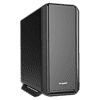
Looking at the ceiling, the top cover looks pretty slim once both side panels are removed as only the part above the fan/radiator bracket remains. It may be pulled out by removing two screws, which means you can easily mount anything here outside the confines of the chassis frame.


All the cables within the be quiet! Silent Base 802 are of the default variety and sleeved black. Some brands have started employing flat cables for USB 3.0 and USB-C leads, which makes things a little easier to route, but this is me just being picky.
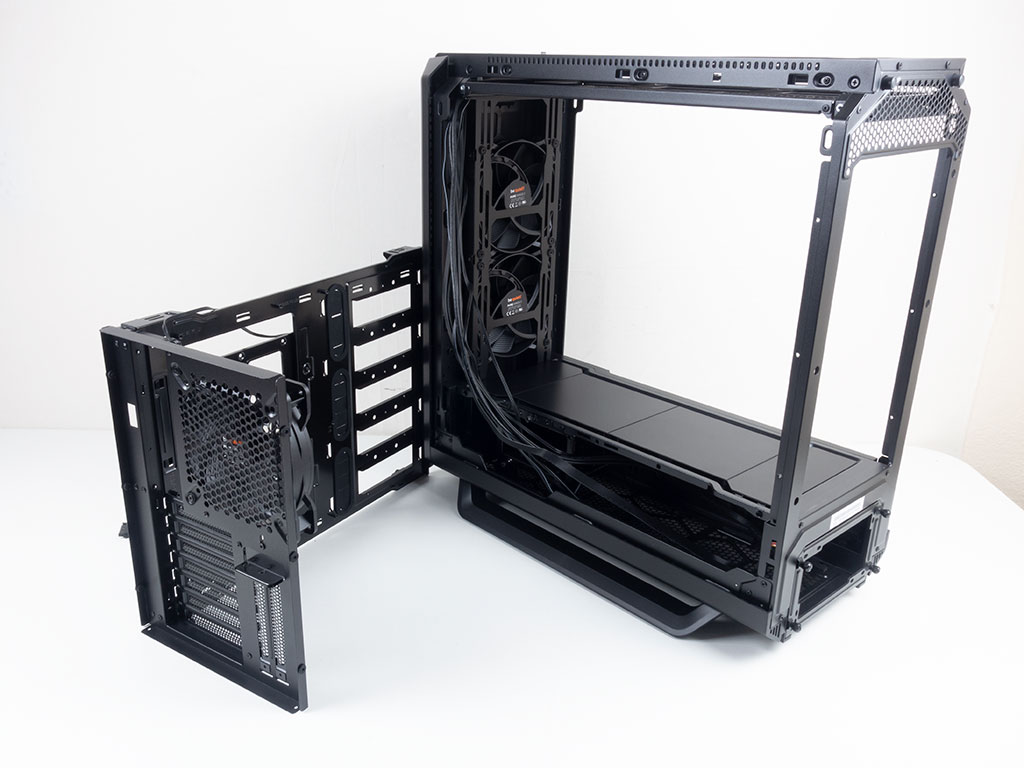

Unique to the chassis is that you may remove the motherboard tray for either complicated assembly scenarios or to flip it upside down. To do so, you have to remove several screws to detach it from the chassis frame. With that done, detach the dual-HDD cage underneath the shroud and pull that side panel off as well. This allows you to re-attach these parts on the opposite side—clip the plastic side cover of the PSU shroud onto the other side as the last step.
Apr 27th, 2024 03:03 EDT
change timezone
Latest GPU Drivers
New Forum Posts
- rx 6500 xt anisotropic filtering not working (1)
- What phone you use as your daily driver? And, a discussion of them. (1497)
- Alphacool CORE 1 CPU block - bulging with danger of splitting? (35)
- Should I install Windows 10 or 11 for my new device (0)
- What are you playing? (20541)
- Safe memory overclock for the rtx 4050? (8)
- Help me identify rx 580 card ? (1)
- Your PC ATM (34511)
- RX 580 VBIOS related functionality not supported for Device: 0x67df (10)
- Strange system crashes out of nowhere, help (14)
Popular Reviews
- Ugreen NASync DXP4800 Plus Review
- HYTE THICC Q60 240 mm AIO Review
- MOONDROP x Crinacle DUSK In-Ear Monitors Review - The Last 5%
- Upcoming Hardware Launches 2023 (Updated Feb 2024)
- Thermalright Phantom Spirit 120 EVO Review
- Quick Look: MOONDROP CHU 2 Budget In-Ear Monitors
- FiiO K19 Desktop DAC/Headphone Amplifier Review
- Asus Prime AP201 Review
- Alienware Pro Wireless Gaming Keyboard Review
- AMD Ryzen 7 7800X3D Review - The Best Gaming CPU
Controversial News Posts
- Windows 11 Now Officially Adware as Microsoft Embeds Ads in the Start Menu (136)
- Sony PlayStation 5 Pro Specifications Confirmed, Console Arrives Before Holidays (117)
- NVIDIA Points Intel Raptor Lake CPU Users to Get Help from Intel Amid System Instability Issues (106)
- AMD "Strix Halo" Zen 5 Mobile Processor Pictured: Chiplet-based, Uses 256-bit LPDDR5X (103)
- US Government Wants Nuclear Plants to Offload AI Data Center Expansion (98)
- AMD's RDNA 4 GPUs Could Stick with 18 Gbps GDDR6 Memory (95)
- Developers of Outpost Infinity Siege Recommend Underclocking i9-13900K and i9-14900K for Stability on Machines with RTX 4090 (85)
- Windows 10 Security Updates to Cost $61 After 2025, $427 by 2028 (84)