 9
9
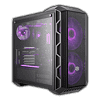
Cooler Master Mastercase H500 Review
Assembly & Finished Looks »A Closer Look - Inside

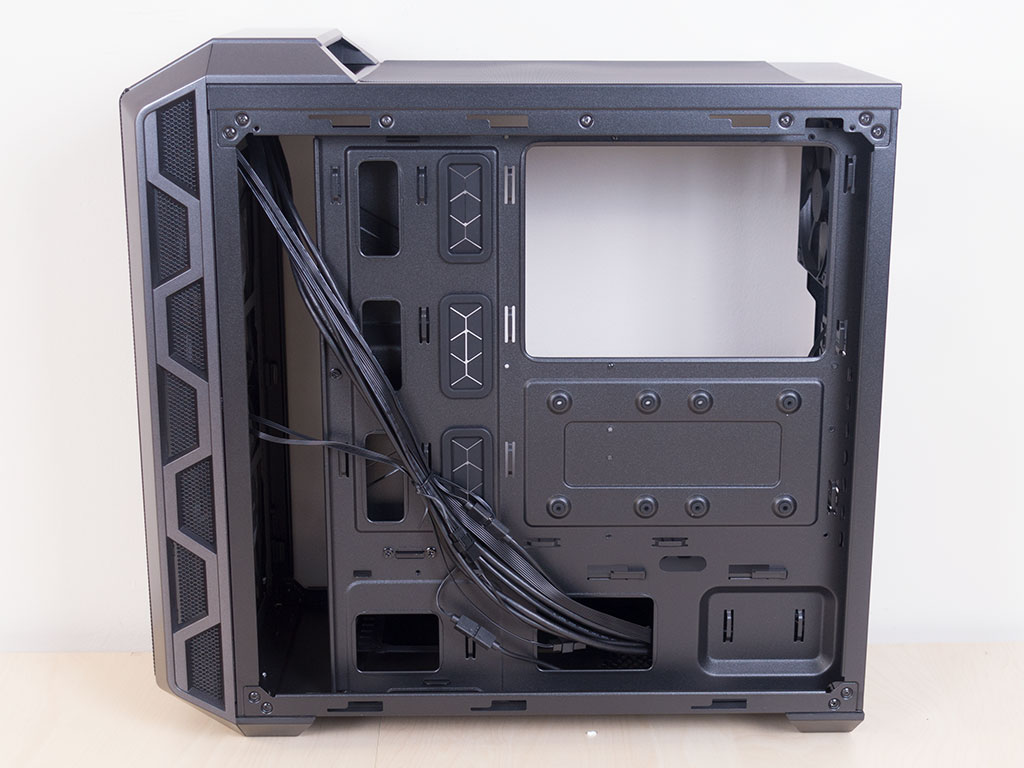
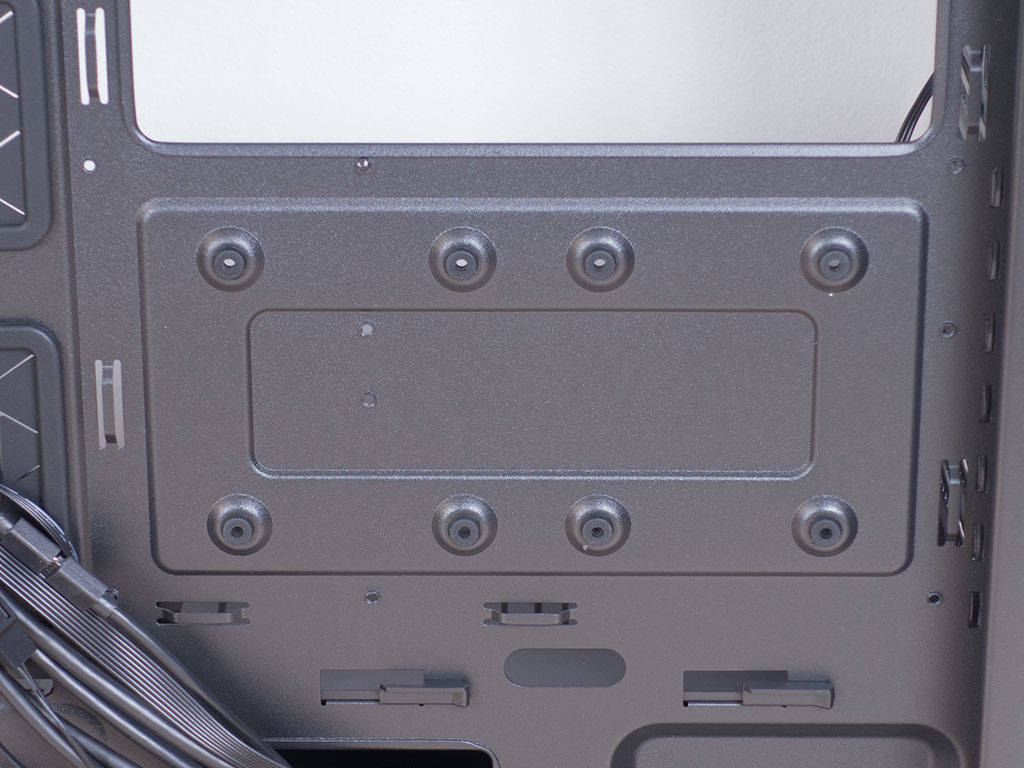
To access the interior, simply turn the silver screws to allow for the glass panels to be removed. Looking into the Mastercase H500, it becomes apparent that the classic version focuses on the real necessities as it lacks covers on the back and only offers a shroud that covers the PSU. There is no need for any covers on the back of the motherboard tray as it will be hidden by the solid cover anyways. You will find two 2.5" drive bays on the backside of the tray and ample cable-routing holes to keep things nice and tidy within.


In the rear, the PSU bay is covered by a shroud you need to remove access the area itself. The power supply rests on foam bumps as an anti-vibration measure. Above the shroud, the 7+1 expansion slots utilize standard screws on all the covers except the vertical one. However, considering Cooler Master only includes a single vertical slot, it will be of limited use anyways. While this is just fine, thumbscrews would have been a nice touch, especially as they are usually found in most cases these days.
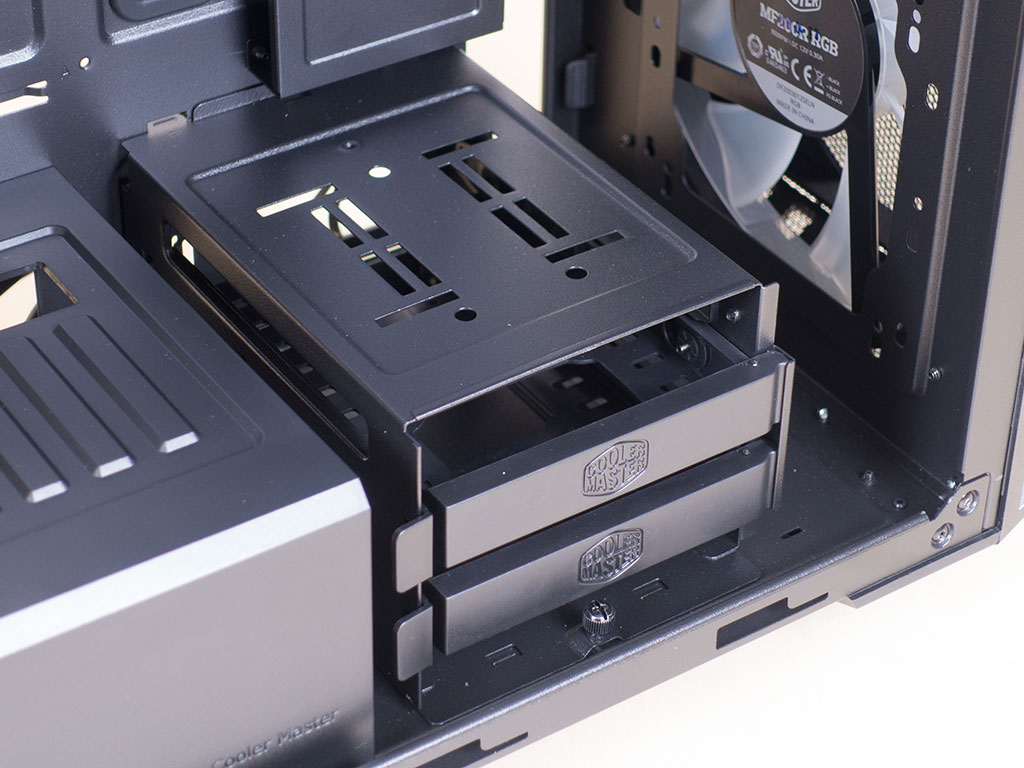
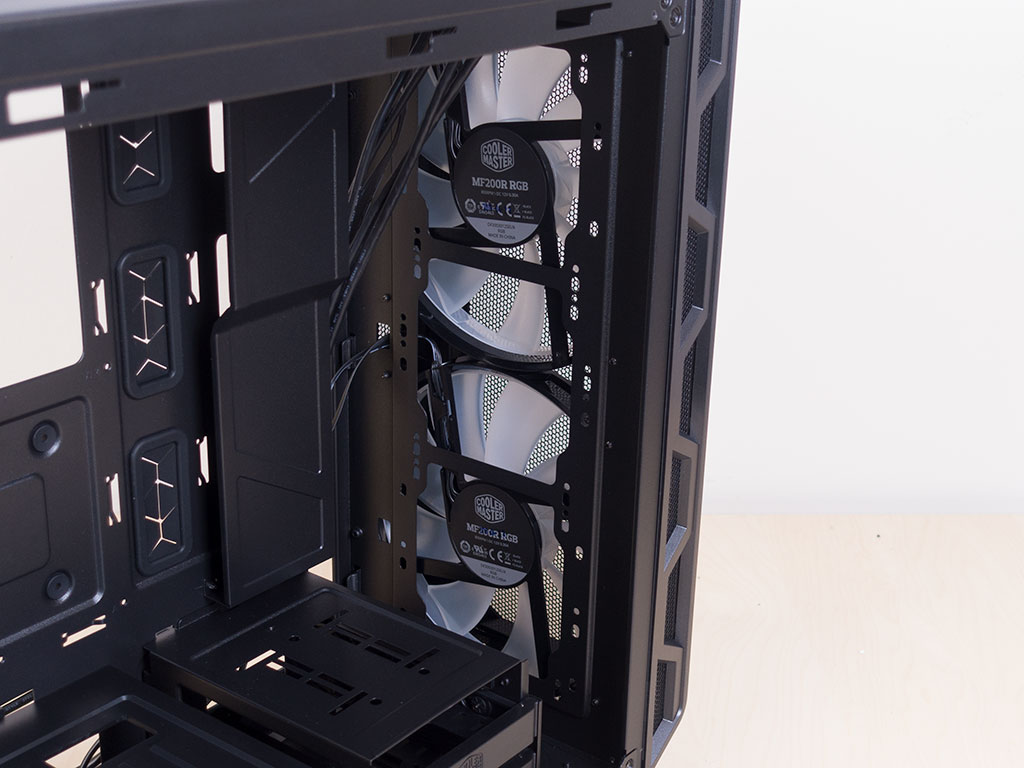
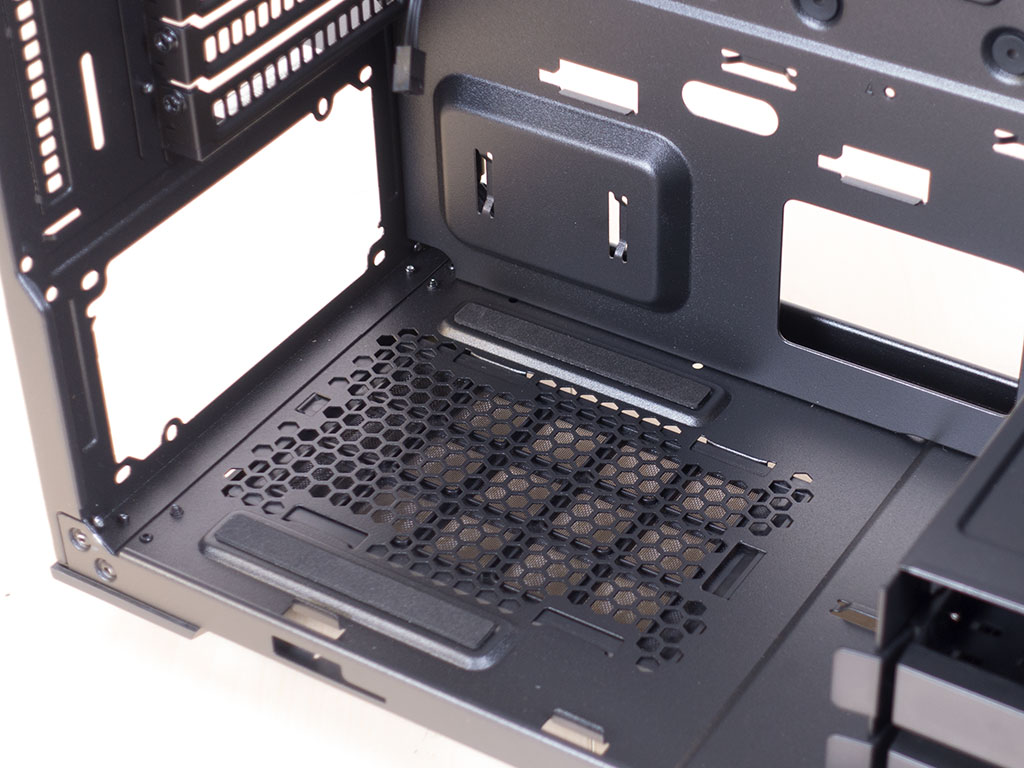
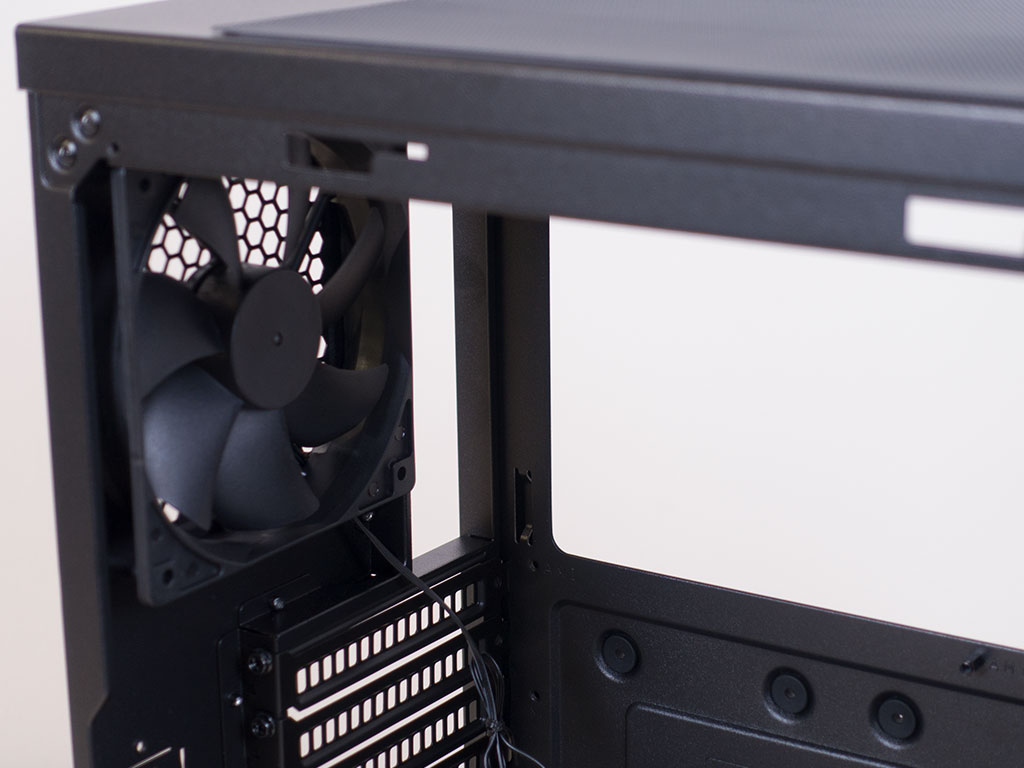
The two massive 200 mm fans in front are set to push air across the interior and towards the rear. Due to numerous mounting holes and plenty of room, you can easily add radiators of up to 360 mm in size here. You will find two 3.5" hard-drive trays in a cage as well, which is exposed by default. Cooler Master still includes a cable cover in the front, next to the motherboard area, just like with the H500M, but it is a bit simpler without the ability to mount any other objects to it.

Taking a look at the ceiling, you can also clearly see the mounting options for air or liquid cooling through the metal-mesh filter. From this angle, just how far the 240 (or 280) mm radiator will sit from the motherboard also becomes apparent, so you should have no issues with colliding components.


All the cables within the Mastercase H500 are of the standard variety. On top of that, the PCB offers you 4-pin RGB connections, which are partially used by the fans as the cooling units are equipped with addressable RGB LEDs. To adjust fan speed and power, they feature a second cable with a 3-pin header. Cooler Master includes a 3 to 1 cable that allows you to plug up to three fans in through one motherboard header, which is a nice touch as most boards max out at 4–5 plugs. This means you have plenty left to add more units or go for liquid cooling.
May 21st, 2024 07:30 EDT
change timezone
Latest GPU Drivers
New Forum Posts
- Does a faster NVMe make any difference? (14)
- Dell 5400 TPL Help (5)
- EK seems to be having major issues (126)
- My anti budget PC (58)
- Would you pay more for hardware with AI capabilities? (50)
- Lenovo Workstations Owners Club (29)
- Looking to get a new GPU for the next year. (4)
- SunSpider 1.0 JavaScript benchmark results (31)
- Cooling 7800X3D with Thermalright Phantom Spirit EVO and idle temp is around 60c. Is this normal? (8)
- 20 Years? (51)
Popular Reviews
- Ghost of Tsushima Performance Benchmark Review - 35 GPUs Tested
- Ghost of Tsushima: DLSS vs. FSR vs. XeSS Comparison Review
- PNY XLR8 Gaming EPIC-X RGB DDR5-6400 CL32 32 GB Review
- TerraMaster D8 Hybrid Review
- Silverstone Shark Force 120 mm Fan Review
- Homeworld 3 Performance Benchmark Review - 35 GPUs Tested
- Upcoming Hardware Launches 2023 (Updated Feb 2024)
- Lofree Edge Ultra-Low Profile Wireless Mechanical Keyboard Review
- AMD Ryzen 7 7800X3D Review - The Best Gaming CPU
- AMD Ryzen 7 7700 Review - Affordable Zen 4 Powerhouse
Controversial News Posts
- Intel Statement on Stability Issues: "Motherboard Makers to Blame" (269)
- AMD to Redesign Ray Tracing Hardware on RDNA 4 (227)
- Windows 11 Now Officially Adware as Microsoft Embeds Ads in the Start Menu (173)
- NVIDIA to Only Launch the Flagship GeForce RTX 5090 in 2024, Rest of the Series in 2025 (154)
- AMD Hits Highest-Ever x86 CPU Market Share in Q1 2024 Across Desktop and Server (140)
- AMD RDNA 5 a "Clean Sheet" Graphics Architecture, RDNA 4 Merely Corrects a Bug Over RDNA 3 (139)
- AMD's RDNA 4 GPUs Could Stick with 18 Gbps GDDR6 Memory (114)
- AMD Ryzen 9 7900X3D Now at a Mouth-watering $329 (104)