 6
6
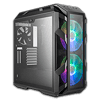
Cooler Master Mastercase H500M Review
Value & Conclusion »Test System
| System Parts for Case Reviews | |
|---|---|
| Processor: | Intel Core i7-8600K |
| Motherboards: | ATX: MSI Z370 GAMING PRO CARBON AC MATX: Z370M GAMING PRO CARBON Mini-ITX: MSI Z370i GAMING PRO CARBON Provided by: MSI |
| Graphics Card: | Long: NVIDIA GeForce GTX 280 OEM Short: HIS Radeon 5350 HD |
| Memory: | 16 GB XPG Dazzle DDR4 2800 MHz CL17-17-17 1.25 V 32 GB GB XPG SPECTRIX D40 3000 MHz. CL16-18-18 1.35 V 16 GB XPG GAMMIX D10 DDR4 2400 MHz CL16-16-16 1.20 V Provided by: ADATA |
| HDD: | Western Digital 320 GB 7200 RPM |
| SSD: | ADATA Ultimate SU900 TLC 256 GB ADATA Ultimate SU800 3D TLC 256 GB ADATA Ultimate SU700 TLC 240 GB Provided by: ADATA |
| Power Supply: | Fractal Design Integra M 450 W Provided by: Fractal Design |
| Cooling: | be quiet! Pure Rock be quiet! Pure Slim be quiet! Shadow Rock 2 be quiet! Shadow Rock LP Provided by: be quiet! |
Assembly
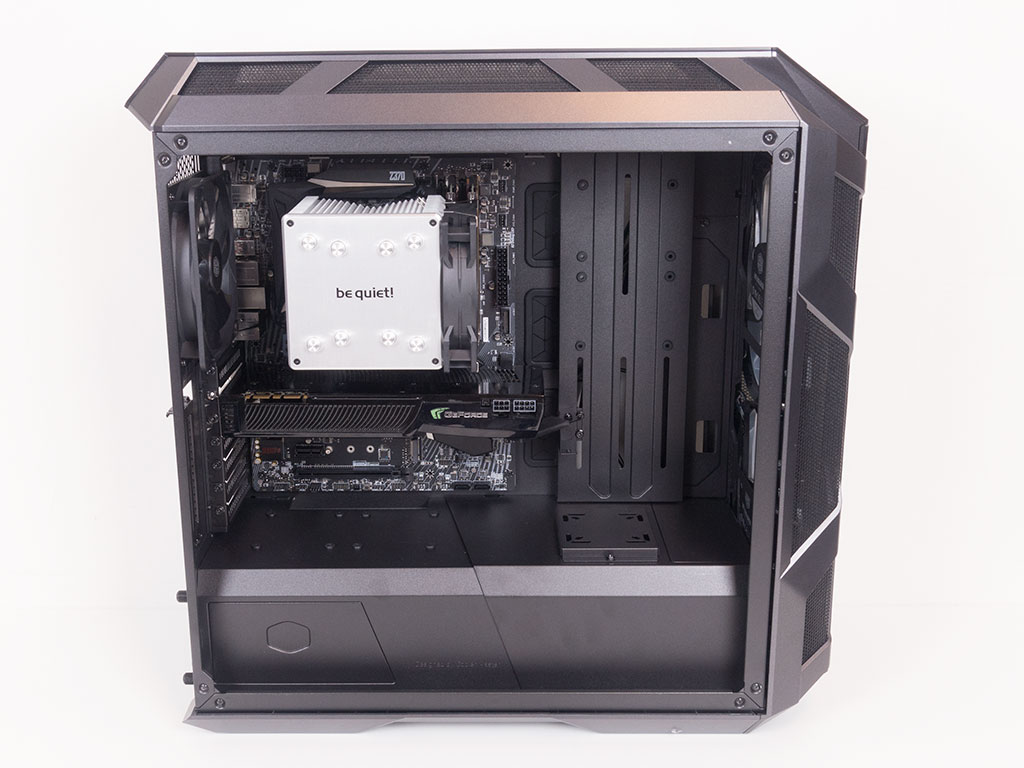

Installing a motherboard inside the Mastercase H500M is done by traditional means, with the use of spacers and screws. There is loads of space alongside the top and front edges, which should make connecting everything possible.


To get to the 3.5" drives, users will still have to remove both side panels and the large cable cover behind the motherboard tray to then take off the screws that hold the shroud in place on both sides, which means this particular drawback is still present in the H500M. The upside now is that the design has been updated to ensure it still looks good if you choose not to put it back in place when assembling your system.


Once accessible, simply take one of the plastic trays, put the drive in, and slide it back into the chassis—no tools are required for this step.


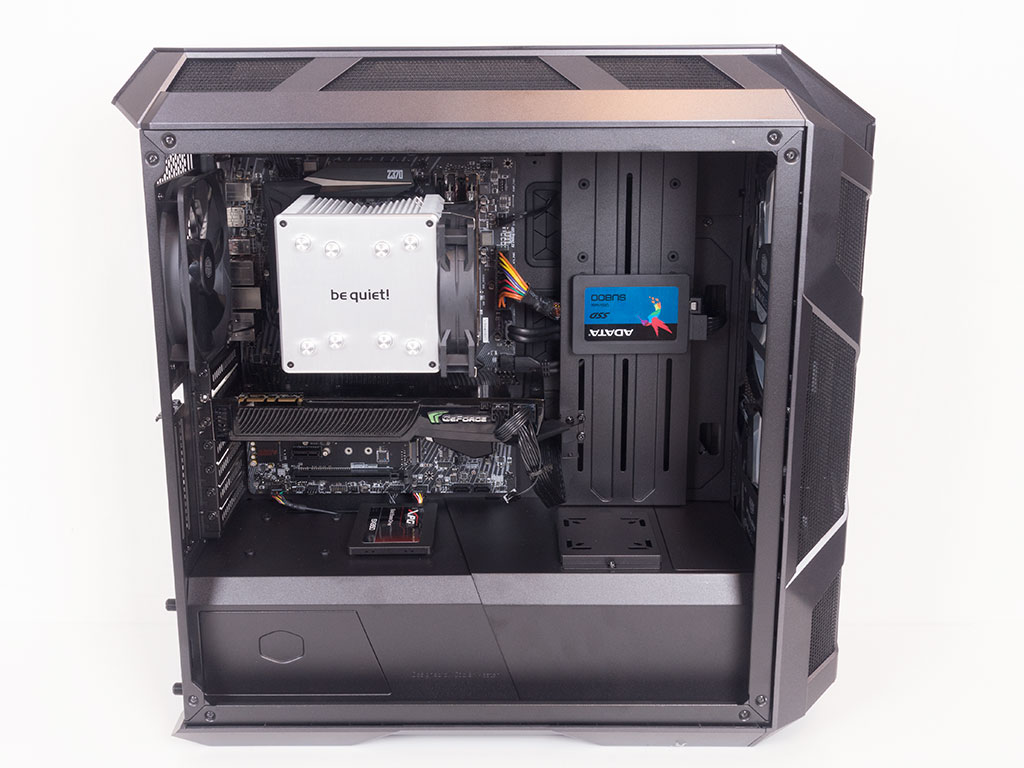
Cooler Master has done away with the simple SSD trays found in the P variant and Cosmos C700P. Instead, you are now meant to use thin pins that are screwed into the drives. Once installed, you may simply push them into one of six available spots. While this is a very convenient way to enable the addition of 2.5" drives, you should take care when transporting your system as there is a realistic chance of them falling off their mounting holes. I installed three different ADATA SSDs in three possible locations: on the plate in the front, the shroud, and the back of the motherboard tray.


We took issue with the PSU bay in the H500M as well, as its shroud presented a similar problem. Luckily, Cooler Master has eliminated this nuisance by allowing you to slide the power supply in via the back of the chassis thanks to a mounting frame. There is plenty of space for long units as well, giving you all the freedom to max out your system (and kill your wallet in the process).

With everything installed, the Cooler Master Mastercase H500M makes an incredibly clean impression. Not only the interior of the case has essentially no visible cables with the exception of the necessary GPU PCIe leads. In the rear, the covers hide all but a few leads. That is even more impressive if you consider the fact that I did not use a single cable tie and simply hid the entire cable mess behind the covers. The only cable you can see is the 8-pin CPU power cord.
Finished Looks


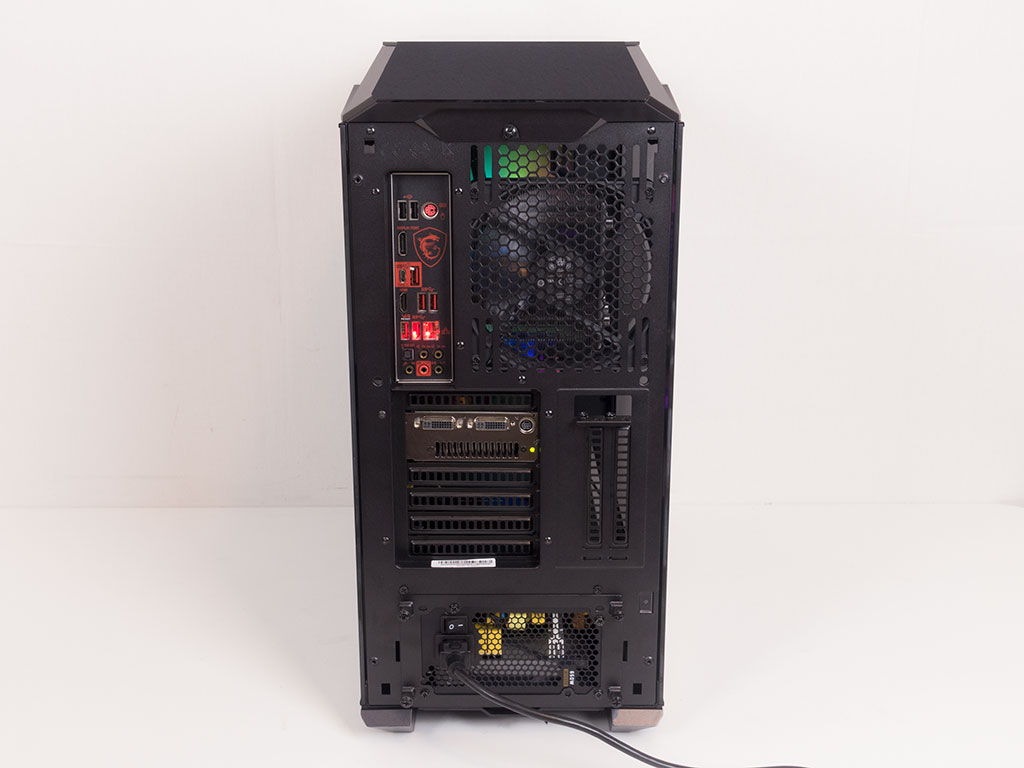
Once the system is fully assembled and turned on, you will see the Cooler Master logo shaped button light up with a white glow. In the rear, things look quite traditional and very similar to the H500P.


However, both sides of the Cooler Master H500M look really sexy. When viewing the main side, you can clearly see all the cool hardware, while the backside of the motherboard is essentially just a giant "why not?" as Cooler Master has managed to make the backside of the motherboard tray look so cool that it warrants a window as well.
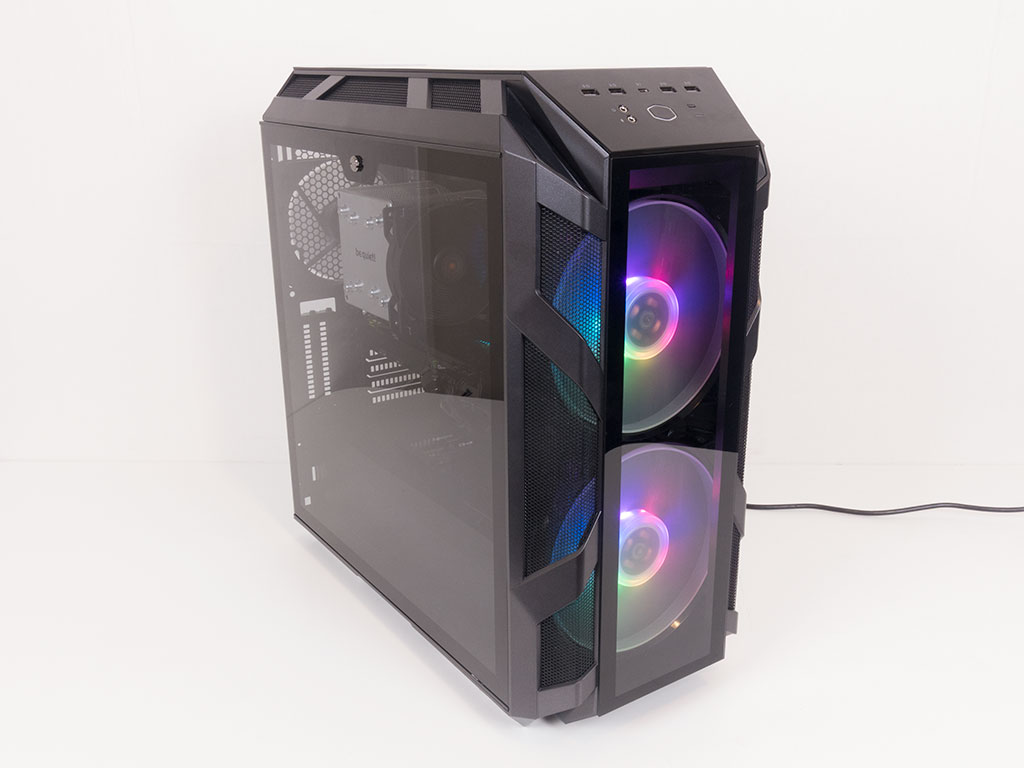
Colors and Glass Front


Thanks to the addressable RGB LEDs in the front fans, things light up in a very nice and colorful fashion. You may press the reset button to toggle to a whole bunch of different animations which utilize single colors and individual RGB LEDs to achieve such effects. On top of that, there are three main colors you can toggle through with the button in the front of the case.


Last but certainly not least, there is the additional glass front panel. To swap it out for the default mesh piece, you will have to pull the front of the chassis off and remove eight screws holding it in place. Once swapped, the Cooler Master Mastercase H500M looks even nicer as it now offers glass on three panels of the chassis.
Jun 9th, 2024 12:09 EDT
change timezone
Latest GPU Drivers
New Forum Posts
- my computer hit a wall and cant move data (42)
- Where are the drives supposed to go? (44)
- PlayStation VR2 Adapter Releases on August 7 (0)
- 9900X3D - Will AMD solve the split CCD issue (150)
- New Acer Helios 18 i9-14900hx constant throttle @ 94-100c (15)
- not impressed - nvme vs ssd (162)
- What are the missing variables that demonstrate the actual causation between cooling and results? (12)
- How to quickly & easily fix coil-whine(coil choke noise) (870)
- Linpack Xtreme Released (462)
- Windows 11 General Discussion (5072)
Popular Reviews
- Intel Lunar Lake Technical Deep Dive - So many Revolutions in One Chip
- Pulsar Xlite V3 Review
- AQIRYS HYDRA 360 AIO Review
- NZXT H6 Flow RGB Review
- Upcoming Hardware Launches 2024 (Updated May 2024)
- Senua's Saga: Hellblade II Performance Benchmark Review
- AMD Ryzen 7 7800X3D Review - The Best Gaming CPU
- Kioxia Exceria Plus G3 2 TB Review
- Thermal Grizzly KryoSheet Review - Tested on RX 7900 XTX with 475 W
- Corsair iCUE XC7 RGB Elite LCD CPU Water Block Review
Controversial News Posts
- AMD RDNA 5 a "Clean Sheet" Graphics Architecture, RDNA 4 Merely Corrects a Bug Over RDNA 3 (144)
- AMD Hits Highest-Ever x86 CPU Market Share in Q1 2024 Across Desktop and Server (140)
- NVIDIA RTX 5090 "Blackwell" Founders Edition to Implement the "RTX 4090 Ti" Cinderblock Design (118)
- AMD Zen 5 Storms into Gaming Desktops with Ryzen 9000 "Granite Ridge" Processors (97)
- Biden Administration to Revive Trump-Era Tariffs on China-made GPUs and Motherboards (95)
- ASRock Innovates First AMD Radeon RX 7000 Graphics Card with 12V-2x6 Power Connector (94)
- AMD Ryzen 9000 Zen 5 Single Thread Performance at 5.80 GHz Found 19% Over Zen 4 (90)
- AMD Ryzen 9000 Zen 5 "Granite Ridge" Desktop Processors Launch Late-July (82)