 7
Corsair Air 5400 RS-R ARGB Review
Thermal Stress Test »Assembly
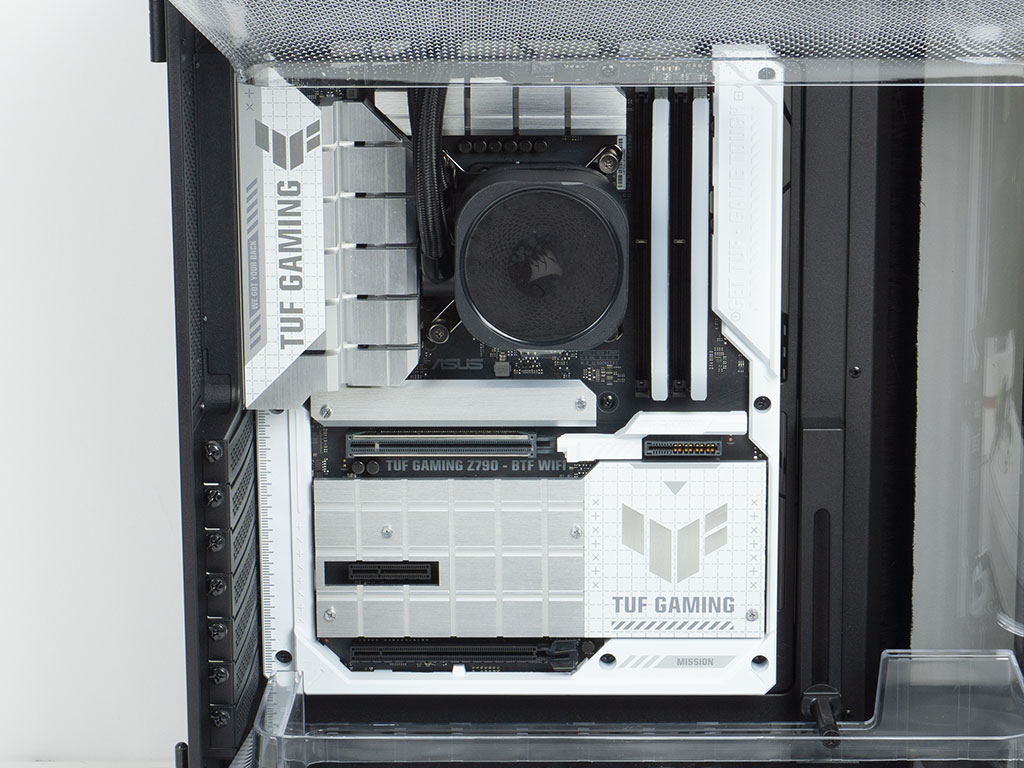
As our build uses a BTF equipped board, we did not end up taking out the motherboard tray. Getting the bottom row of screws into place was a bit tricky as the bottom shroud does get in the way. So, it seems the intended method is to take out the motherboard tray regardless, or to unclip the shroud temporarily.
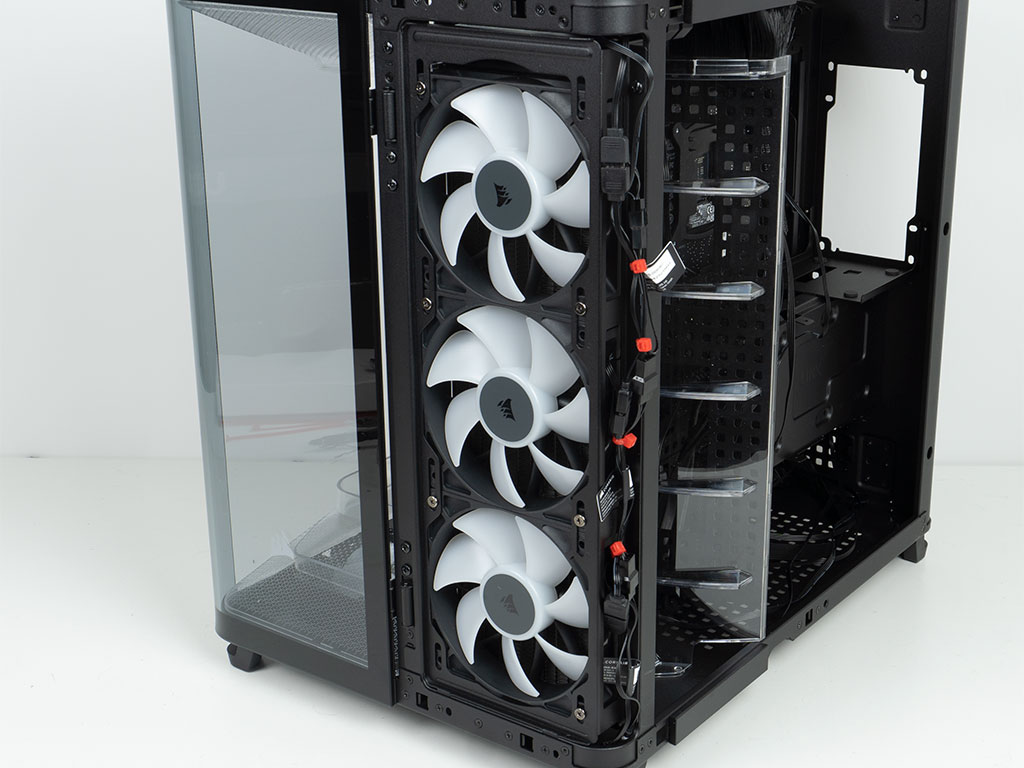
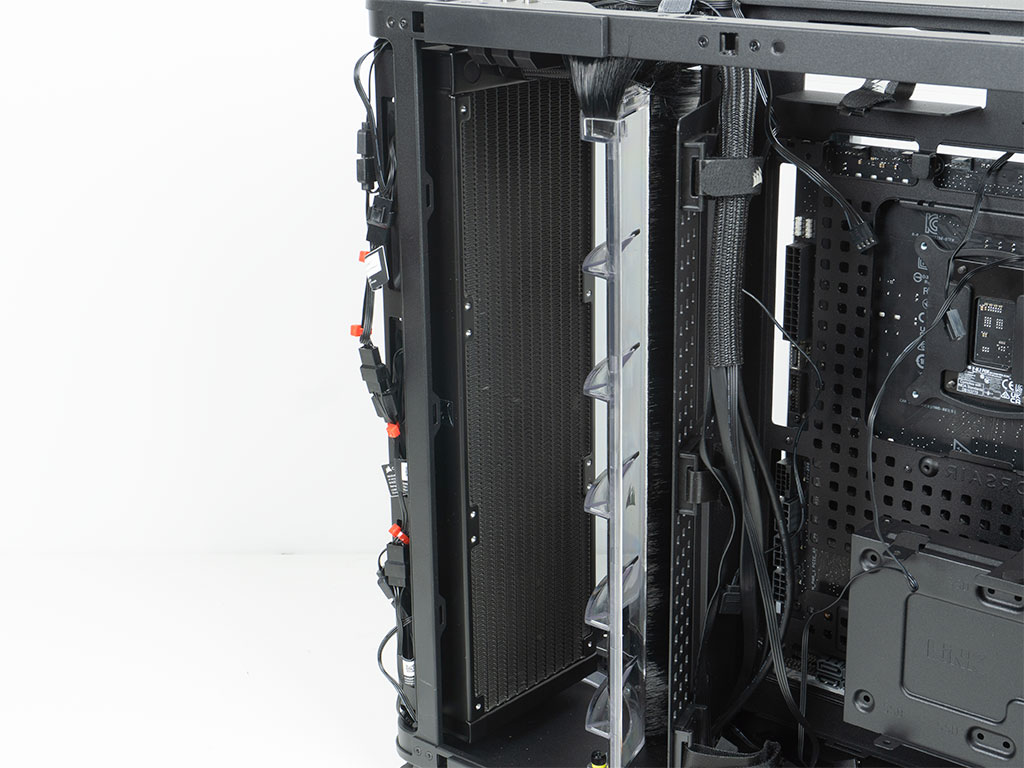
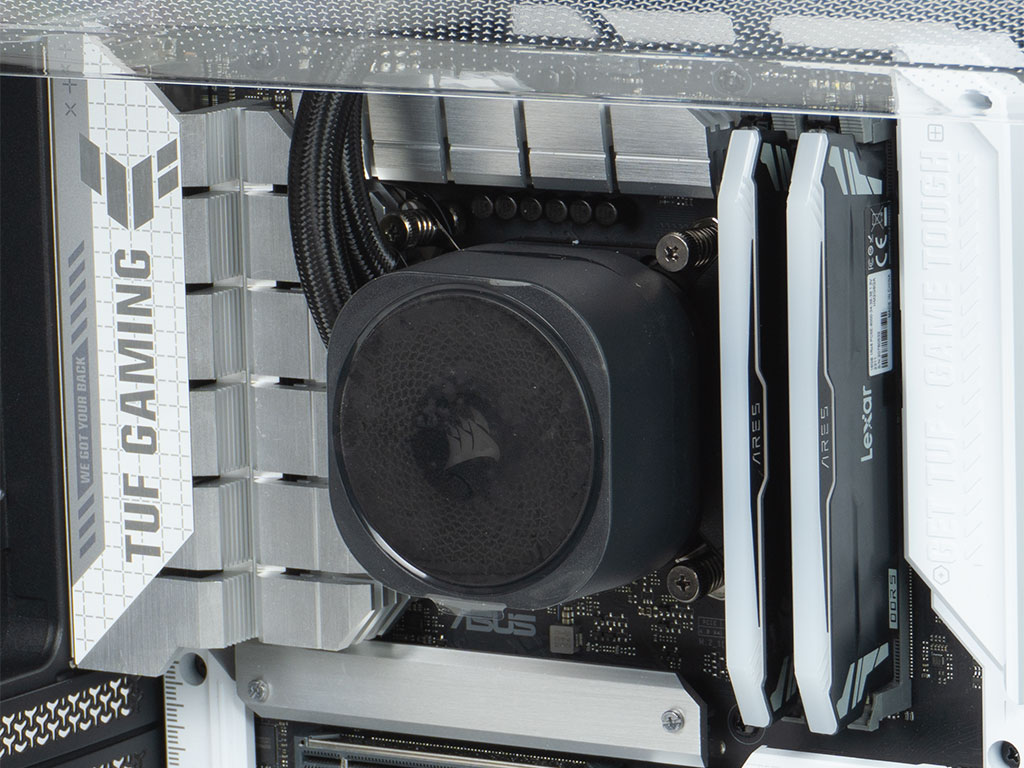
As a next step, the Corsair 360 mm AIO was added, which was quite easy thanks to the removable frame. There is plenty of clearance in this third chamber should you want to go for a push/pull configuration or thicker radiator. The only unusual step was the routing of the pump head and its tubing, as there is a specific setup that is best for the Air 5400 RS-R ARGB. This results in the tubing being hidden from view, which is pretty cool. One thing worth mentioning is the fact that the air diverter is naturally made of clear plastic, so make sure you don't scratch it with your tools or components during assembly.
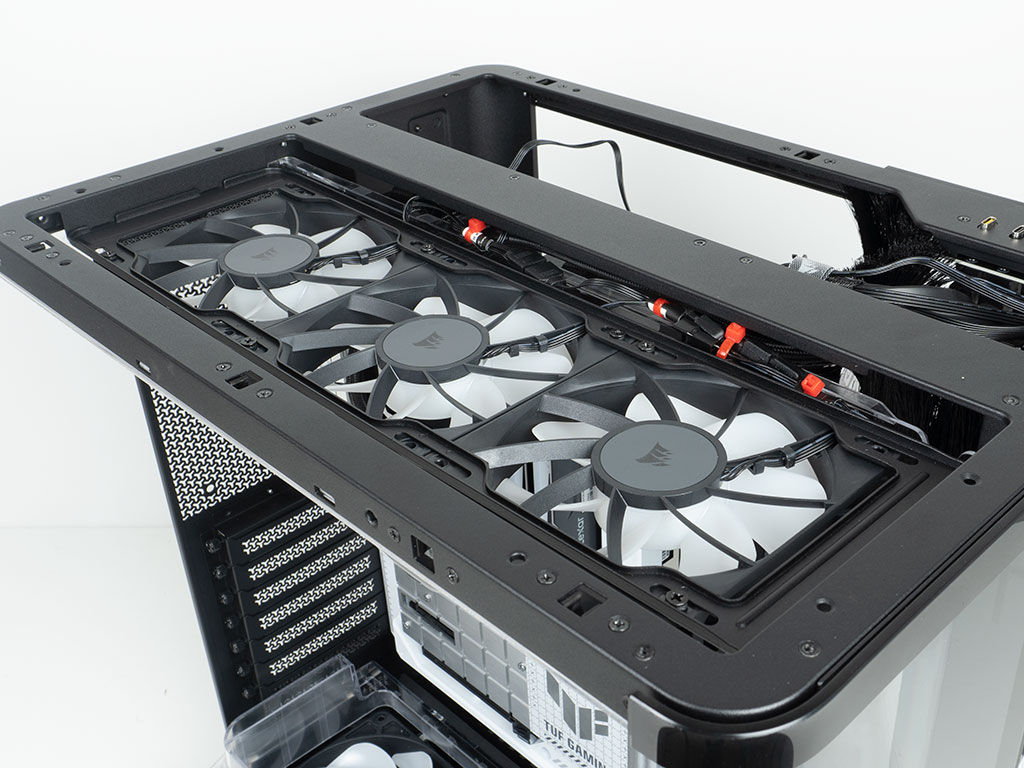
As we also got some ARGB fans to go with the build, we went ahead and installed them in the ceiling as well. As you can see in the image above, routing the cables away from view is not hard at all, but was made even simpler by the fact that these fans have very short wires and can be daisy-chained.
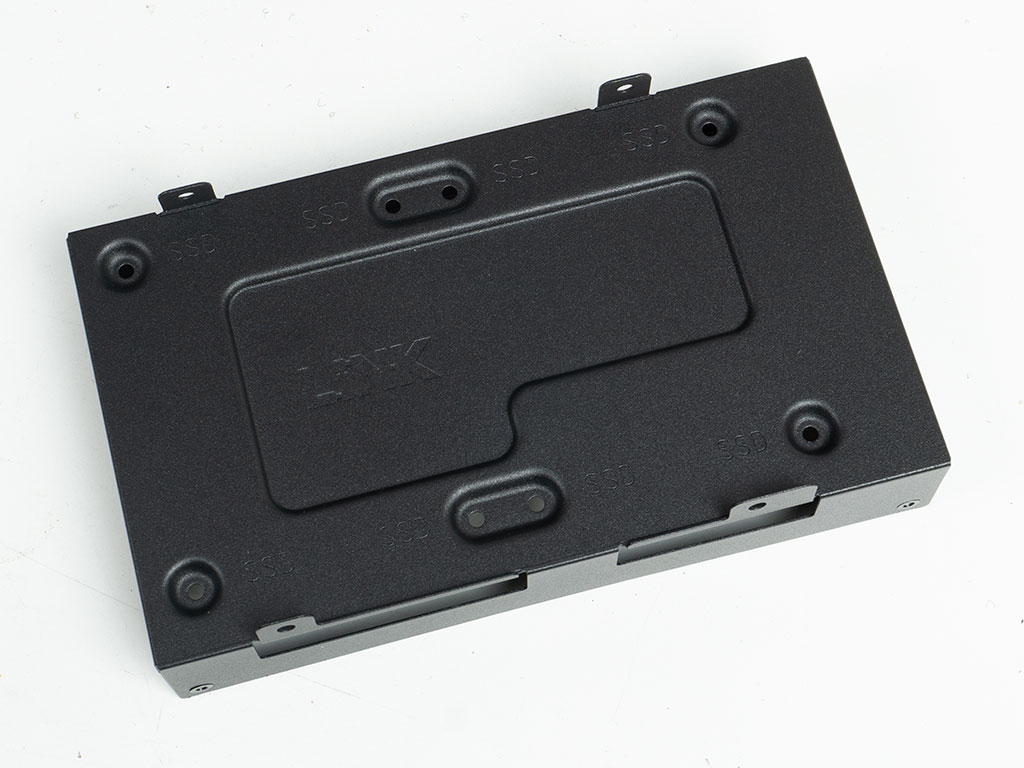
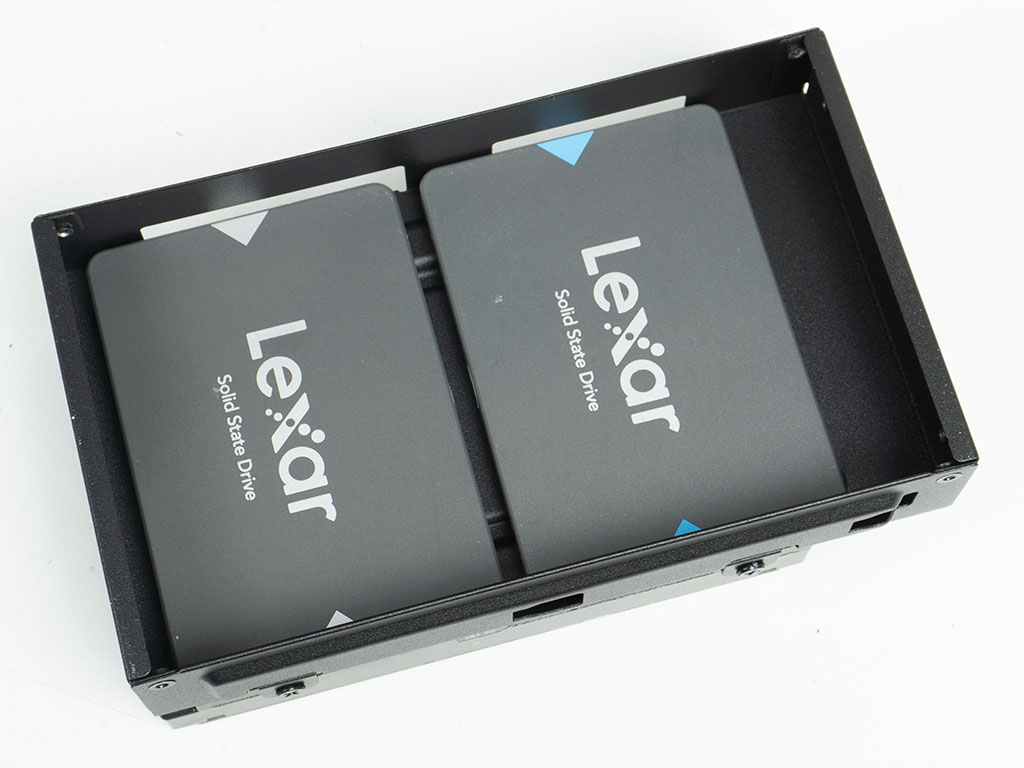
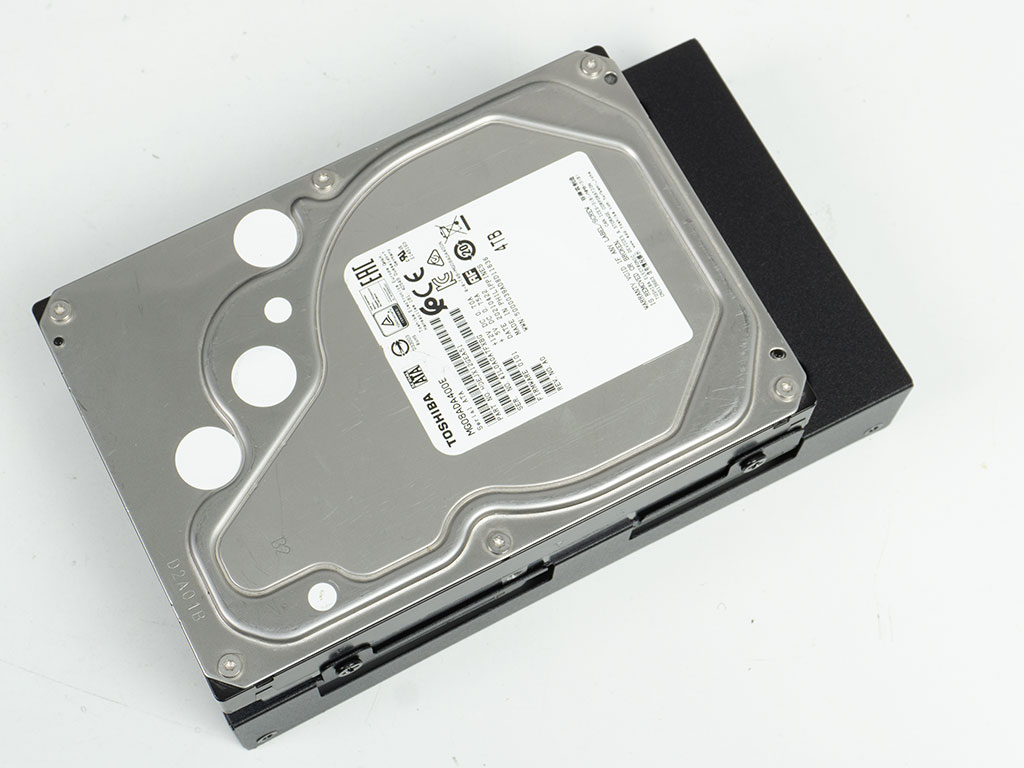
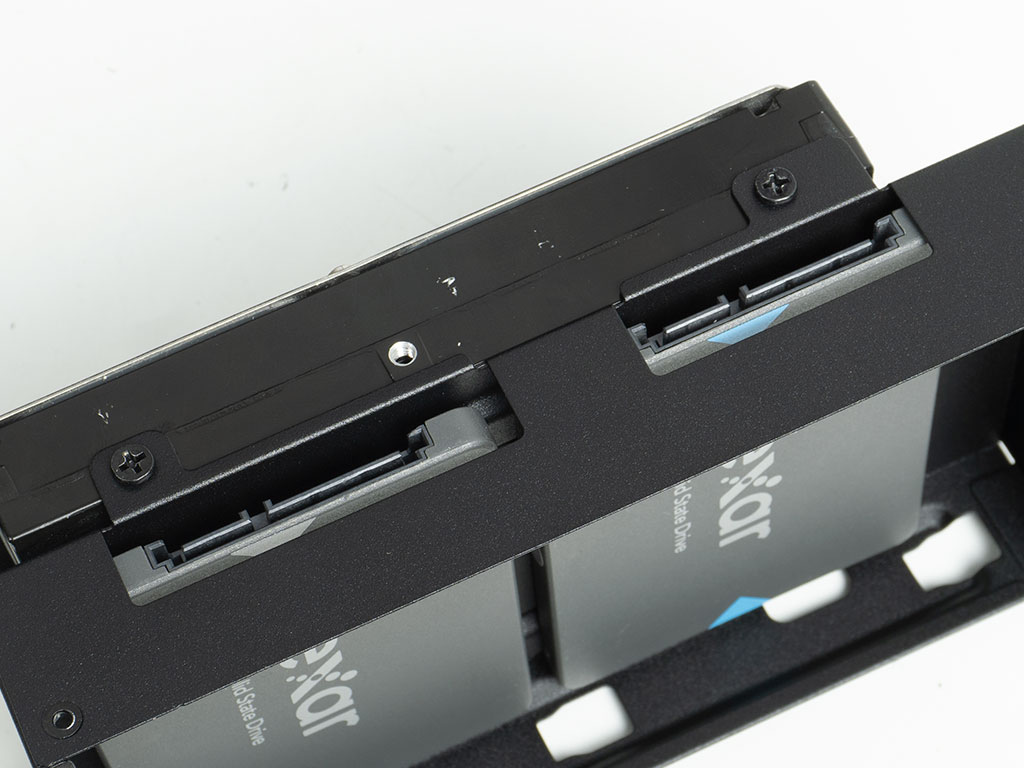
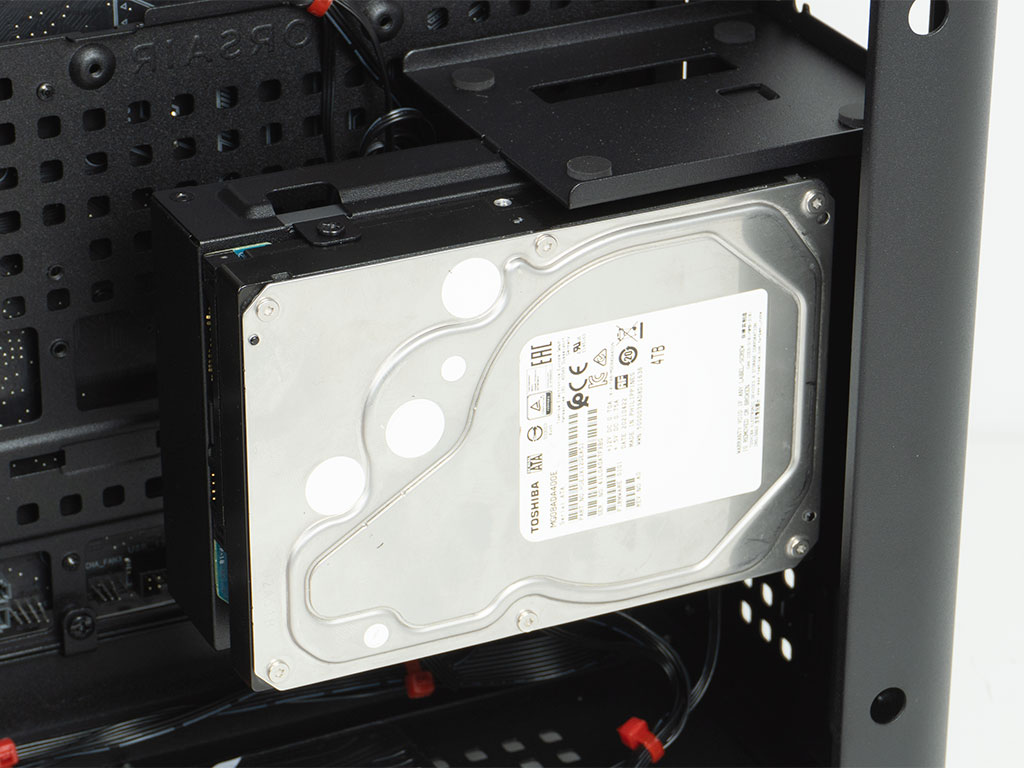
Adding storage units to the Air 5400 RS-R ARGB is pretty straightforward as well, as you can easily remove the tray by loosening the two thumb screws in the backside of the chassis. You will have to install the 2.5" drives first and then go for the 3.5" unit as it will cover the mounting holes for the smaller storage units. The cage is set up so that the two 2.5" drives face downward when installed. This works fine, as you can easily reach them even with all other wires of your system in place.
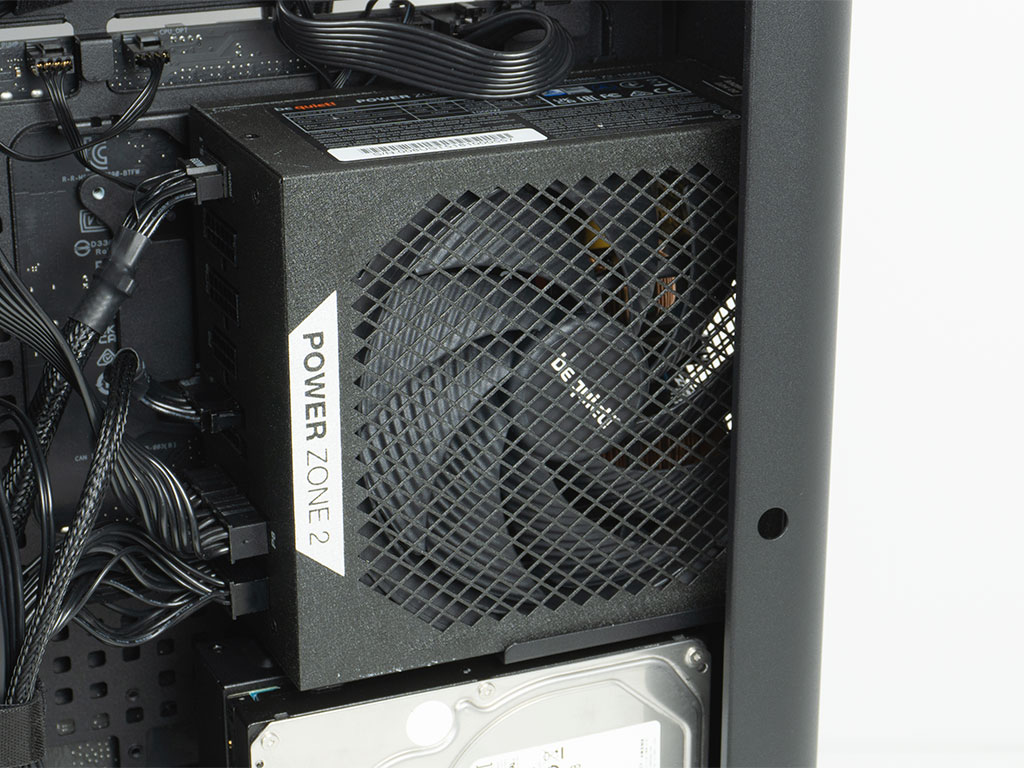
Adding a PSU is just as simple, as it is secured traditionally through the back of the case. Due to the curved corners, the fan is partially covered by structural elements, but in reality this should not really make any tangible difference to your day-to-day temperatures.
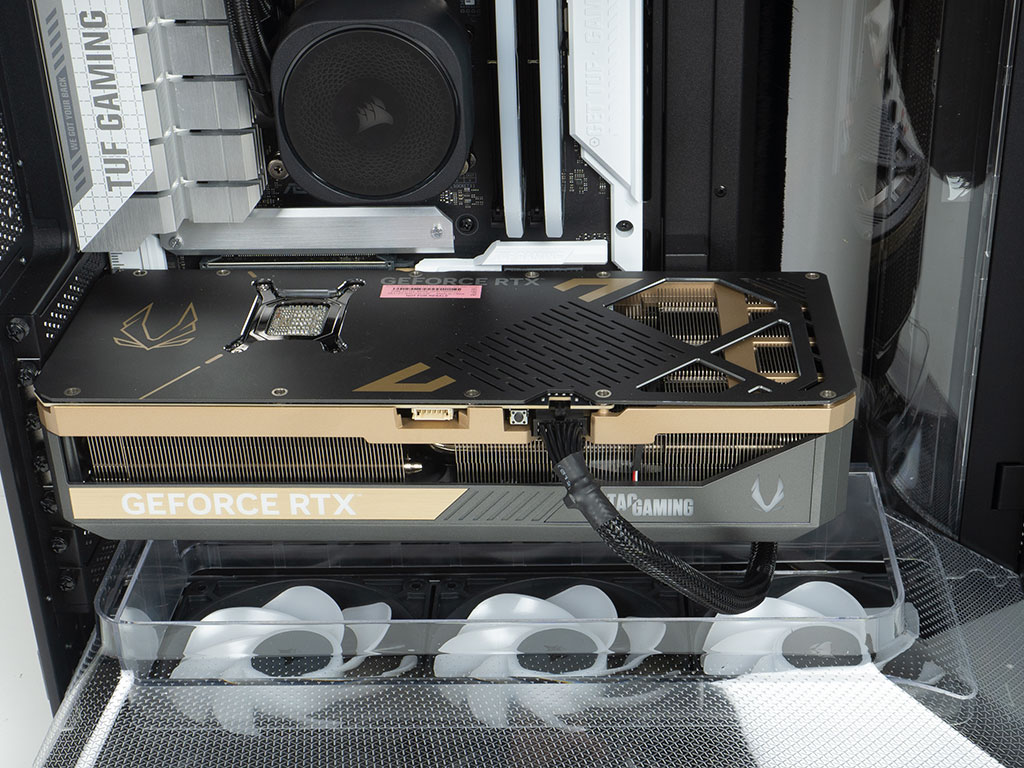
Lastly, adding the GPU, it is easy to wire the power cable through the brush equipped opening and as you can see, there is lots of room for big and powerful pixel pushers.
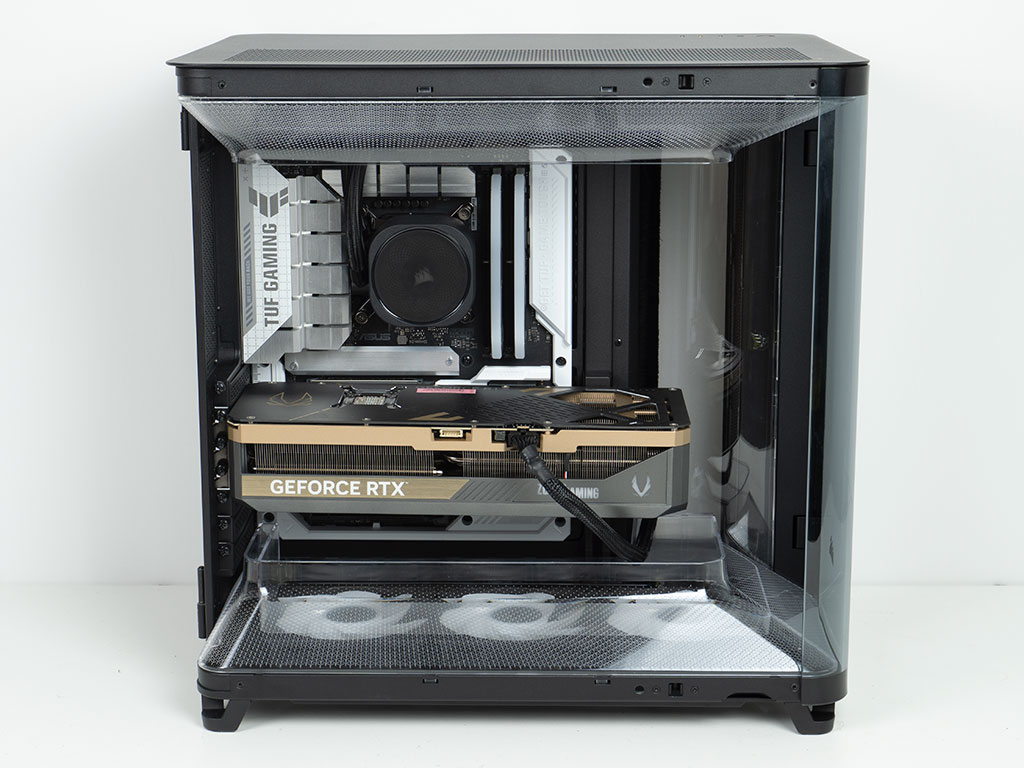
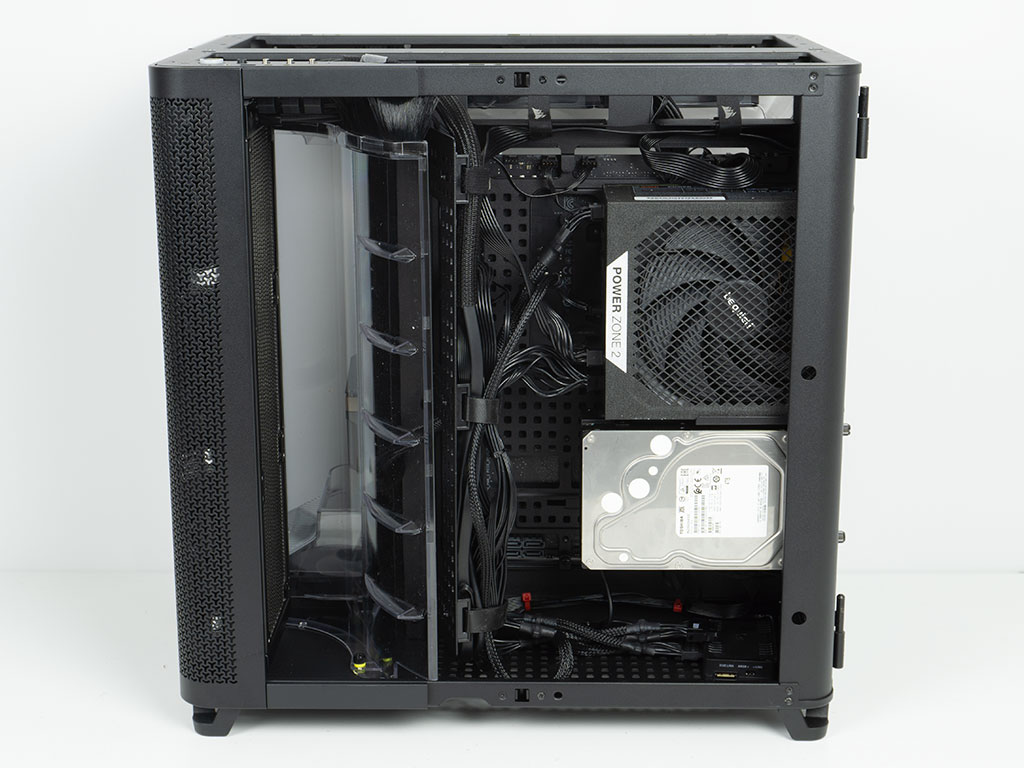
With everything installed, the Corsair Air 5400 RS-R ARGB looks incredibly clean on the main chamber. The fact that the AIO is routed so well is a big reason for this, but the BTF board is the other part of that equation. Behind the scenes the wiring can be handled pretty well thanks to the well-placed Velcro straps. As such, only a few of our signature red zip ties had to be used to keep things wired up.
Finished Looks

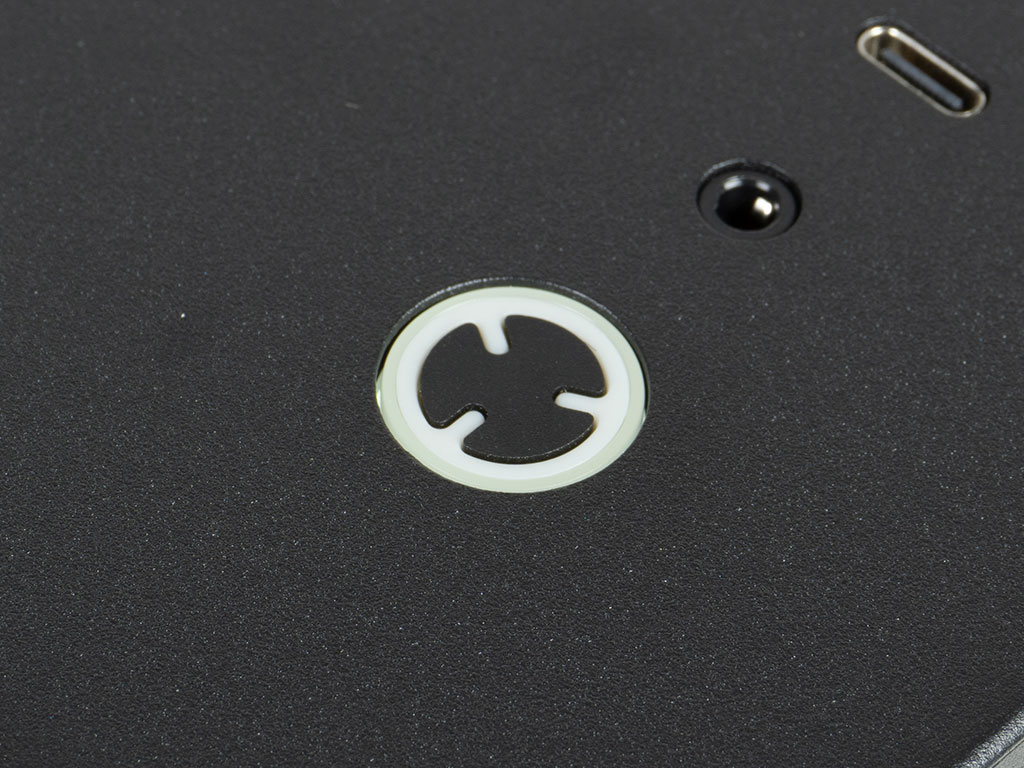
With everything installed, the Corsair Air 5400 RS-R ARGB really manages to show off the ARGB elements of the case. This is certainly the kind of enclosure that benefits from as much lighting as you can throw at it. As such, it makes sense that Corsair is not offering the case bare, without any ARGB equipped fans. The power button at the top also lights up in white to let you know your system is on.
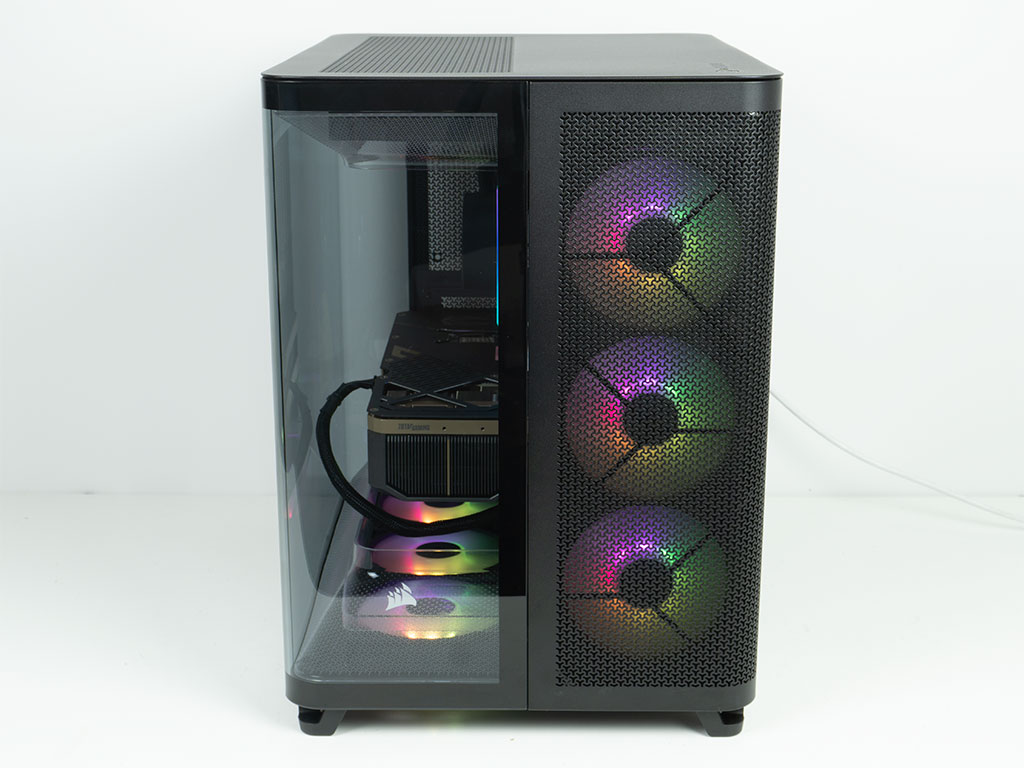
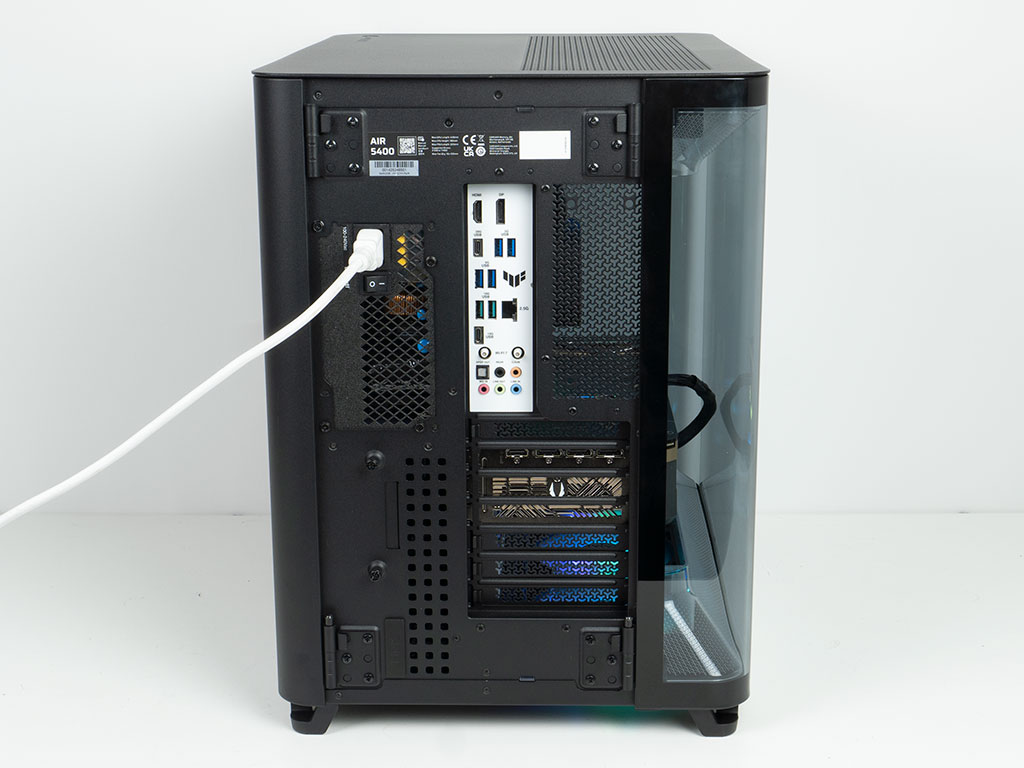
In the front the three fans from the AIO can clearly be seen as well. Having the third chamber dedicated to your CPU exclusively is certainly going to be somewhat beneficial to the processor temperatures. But overall it won't be massively less than if you had front to back airflow and the AIO in the ceiling. In the rear, everything is accessible, and you can even see the GPU peeking out past the metal from this angle.
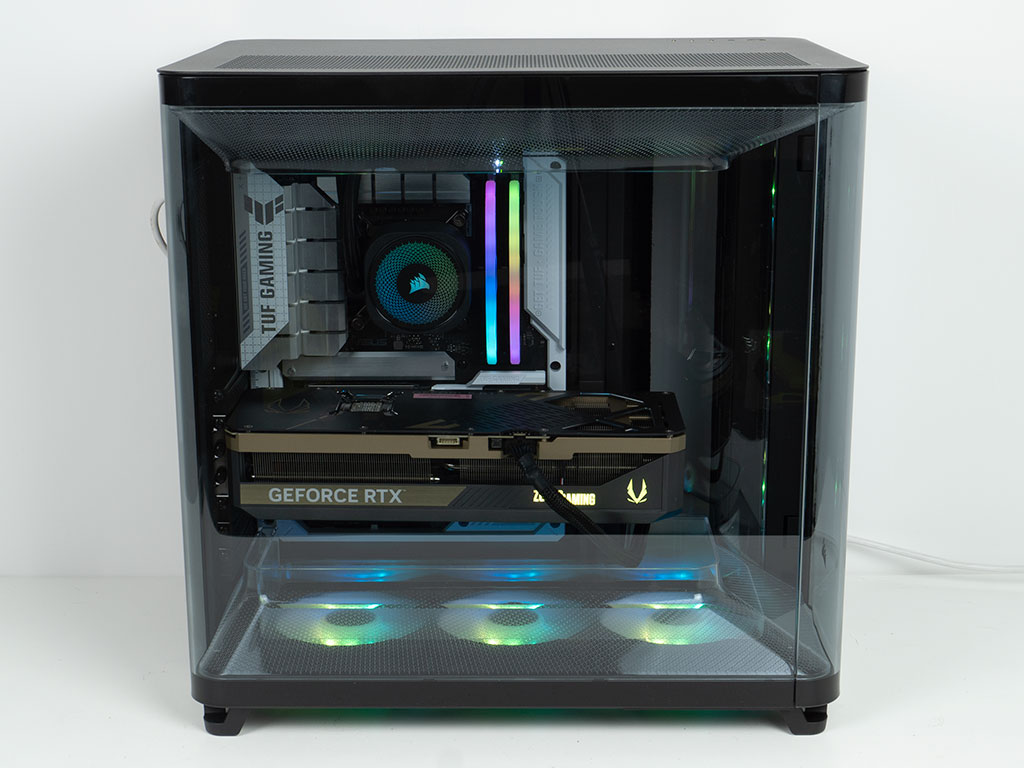
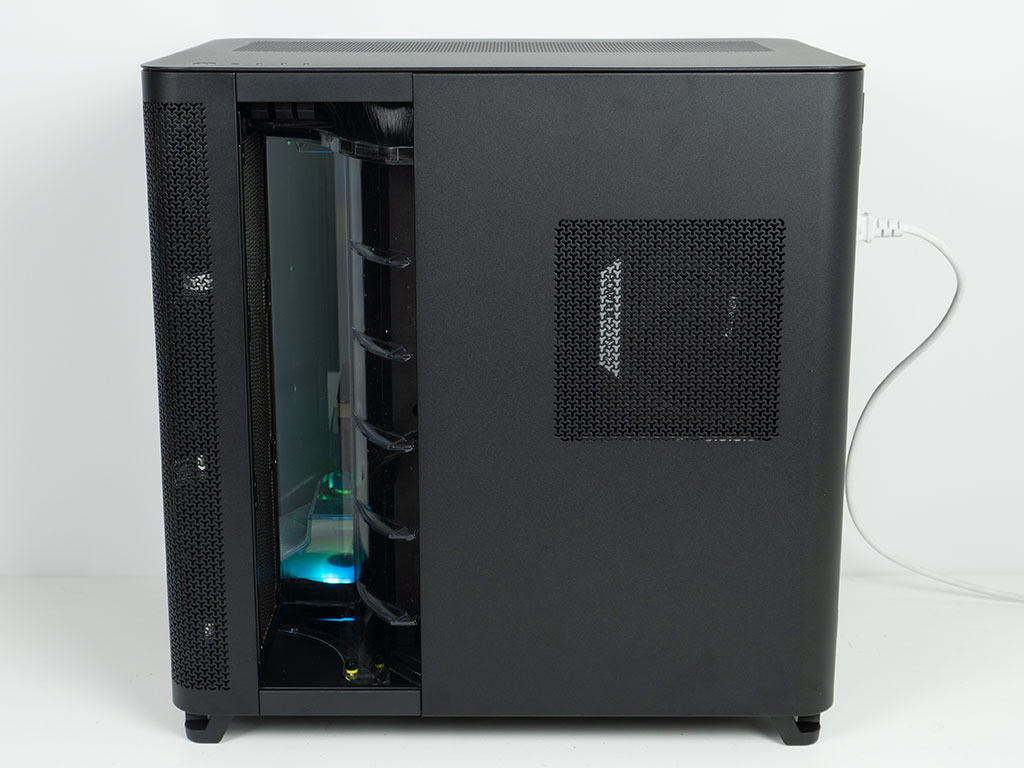
Being able to look at the system with two rounded glass corners is pretty cool. Too bad you can't install your GPU vertically to really show it off from all those angles. On the other side, you can also see the label of the PSU through the vented section of the metal panel.
Nov 13th, 2026 21:36 CST
change timezone
Latest GPU Drivers
New Forum Posts
- Tell me about your favourite graphics card (26)
- Crimson Desert (31)
- RenoDX HDR - how to view the differnce Before&After in game? (0)
- Displayport DP80 3M (10ft) cable that can achieve 80gbps stable? (5)
- I'll flash a ASUS ROG Strix RX480 O8G in Cause of Code 43, as a Newbie (1)
- Opinion on Monitor Replacement (6)
- TMOG - post your benchmark results here (16)
- no "PhysX" workable (7)
- Microsoft Exchange/365 outages? (61)
- Unallocated space in ssd , is it normal? (18)
Popular Reviews
- AMD Zen 6 Technical Deep Dive
- Corsair HX1000i Shift Crystal Review
- NZXT C1200 Platinum Review
- Upcoming Hardware Launches 2027 (Updated Nov 2026)
- ASUS ROG Strix B850-I Gaming Wi-Fi7 W Review
- Montech King 95 3D PRO Review
- NZXT H7 RGB+ Review
- NZXT H5 Review
- Phantom Blade Zero Performance Benchmark Review - 35 GPUs Tested
- XPG NIMBUS PLUS Review - Mid-range Chair With Strong Competitors
TPU on YouTube
Controversial News Posts
- NVIDIA Co-Founder and CEO Jensen Huang Officially Resigns (379)
- OpenAI CEO Argues Home PCs Waste the World's Limited DRAM Supply (152)
- NVIDIA Launches Investigation Into Jensen Huang's Relationship With Suspected Chinese Spy (136)
- Intel "Raptor Lake Next" 16-Core and 20-Core CPUs Surface (130)
- Legendary Game Studio BioWare Shuts Down Following EA Layoffs (104)
- Dell CEO Says the Memory Shortage Will Get Worse in 2027 (95)
- NVIDIA GeForce RTX 50-Series Scheduled for up to $500 Price Hike This Week (89)
- Modder Fits RTX 5090 With Four 8-Pin Connectors, Halving Current per Wire (80)