 22
CORSAIR and EKWB Water Blocks Tested on GeForce RTX 2080
(22 Comments) »Introduction

Remember this? It happened as a result of my having access to an aftermarket GPU and two GPU blocks, which was not enough to do a series of water block reviews as I usually do, but interesting enough to directly compare two offerings from different brands that were being discussed in the same circles. Many were not sure if the two brands were even working together, which was not the case, and most simply wanted to see if it was worth paying for the known brand compared to the then relatively unknown brand from Asia. Today, we do the same, of sorts, with two more GPU water blocks, and thanks to CORSAIR and EKWB for sending us the samples!

Before you think there is a ulterior motive in my comparing only these two brands, especially given the colored history between the two that led to the creation of the CORSAIR Hydro X business unit in the first place, let me state that their shared history is of course a small contributor to this article happening. People, myself included, have wondered if the EKWB brand was more than just a few people, who had in turn joined CORSAIR. Are the two GPU blocks comparable in design? Is one a value proposition over the other? I was also looking for a reason to test an EK-Vector GPU block, my first since the launch of their Quantum design philosophy that gave us the EK-Velocity CPU block. So here we are then, and let's read on to answer these questions.
CORSAIR Hydro XG7 RGB 20-Series


We did a complete review of the CORSAIR Hydro X Series XG7 RGB 10-Series GPU water block already, and typing those long product names will just make it worse each time. So I am going to take the liberty of shortening the Hydro X Series XG7 RGB 20-Series (2080 FE) to the Hydro XG7 RGB 20-Series in this article, since I am shortening the general contents as well. We see the same style of black-and-yellow product packaging for consistency. On the front is the company and product name, a printed render of the block with the LEDs in action, and the GPU compatibility to ensure no buyer's regret on that front. More renders, marketing features, and specifications greet us on the back and sides, and in multiple languages. The two-part packaging has an inner cardboard box that is more bare in design, with the CORSAIR logo on the front and the certification on the back.

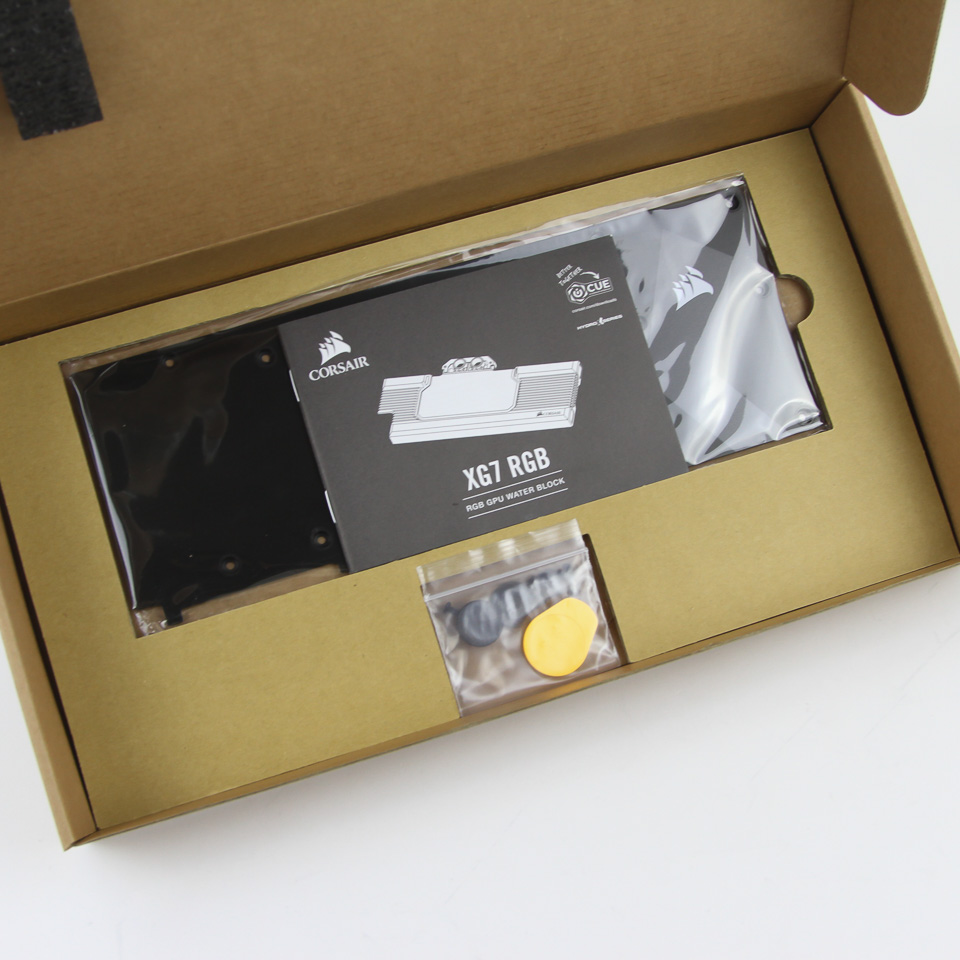
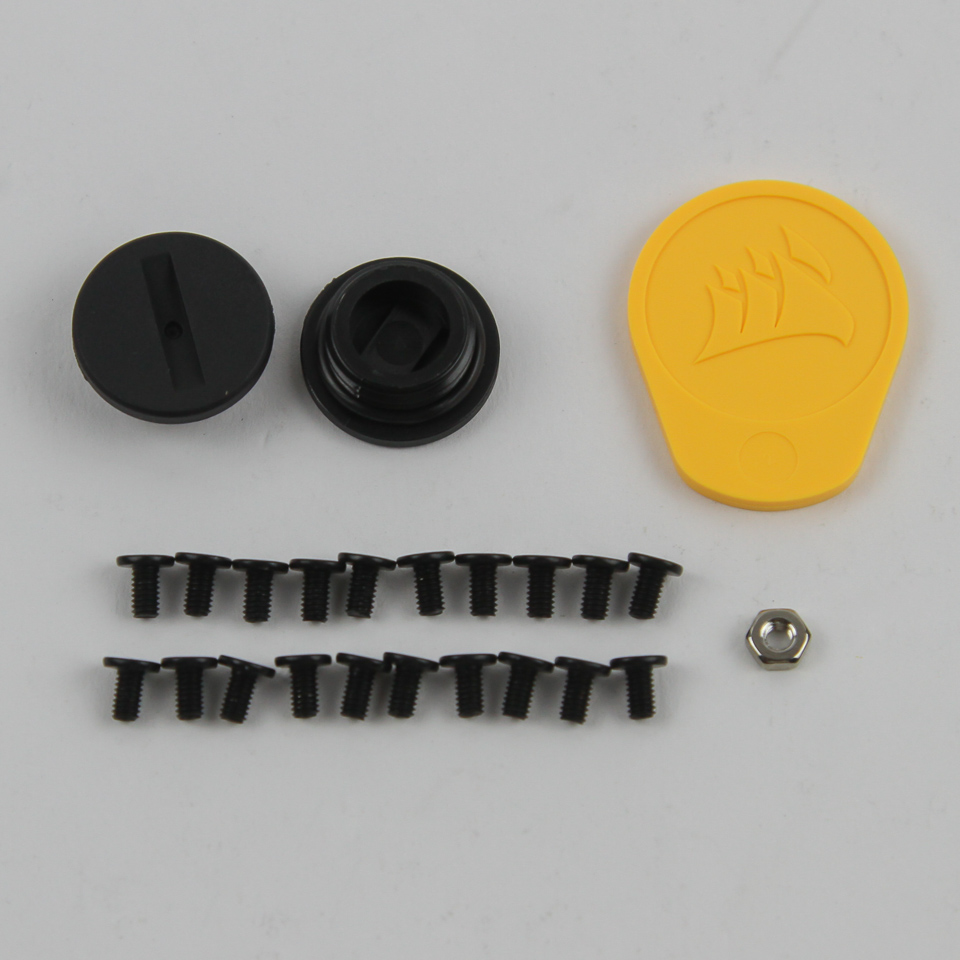

Opening the box, we see the GPU block packaged snugly between a shaped piece of thick foam, and the accessories are all underneath to ensure the block is not hit by anything either. CORSAIR includes a handy quick-start guide (online copy here), again in multiple languages. Do go through the guide if this is your first time with a custom watercooling loop since CORSAIR has done a good job of keeping it user friendly. There are also two acetal BSP G1/4" threaded stop plugs, installation hardware involving 20 metal mounting screws, a metal locking nut, and a plastic plug tool to help install the stop plugs. The low-profile nature of the included stop plugs means there is not a lot of grip, but you may still want to try finger-tightening them first before resorting to the plug tool. As with the previous XG7 review, we see an included aluminium backplate, which is also full cover and more for aesthetics (and PCB protection from falling hazards) than cooling given it does not directly touch the PCB.

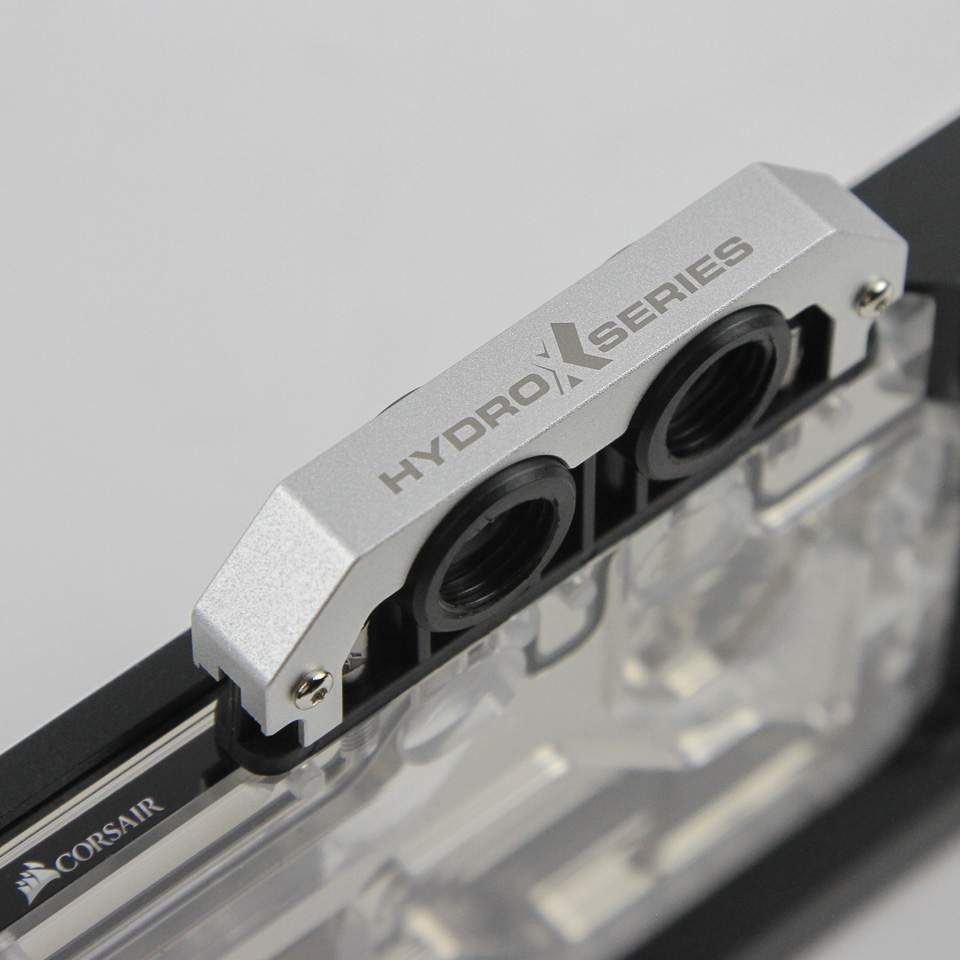

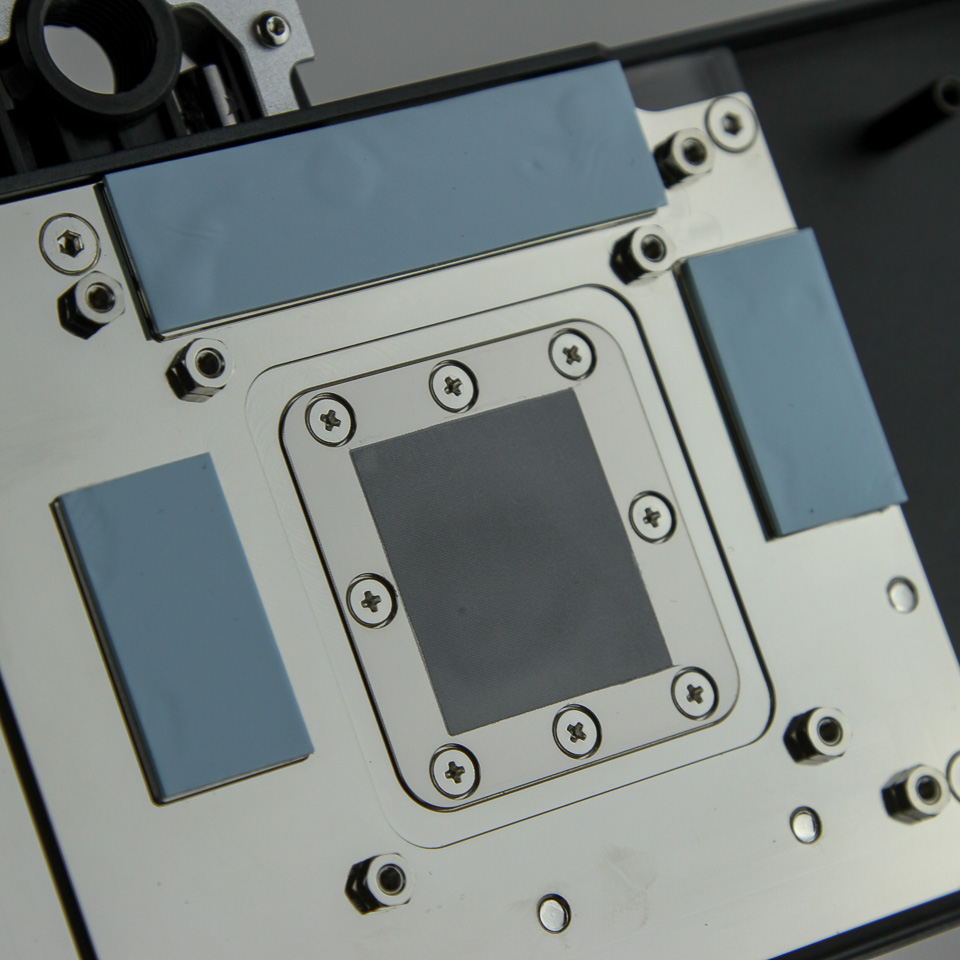
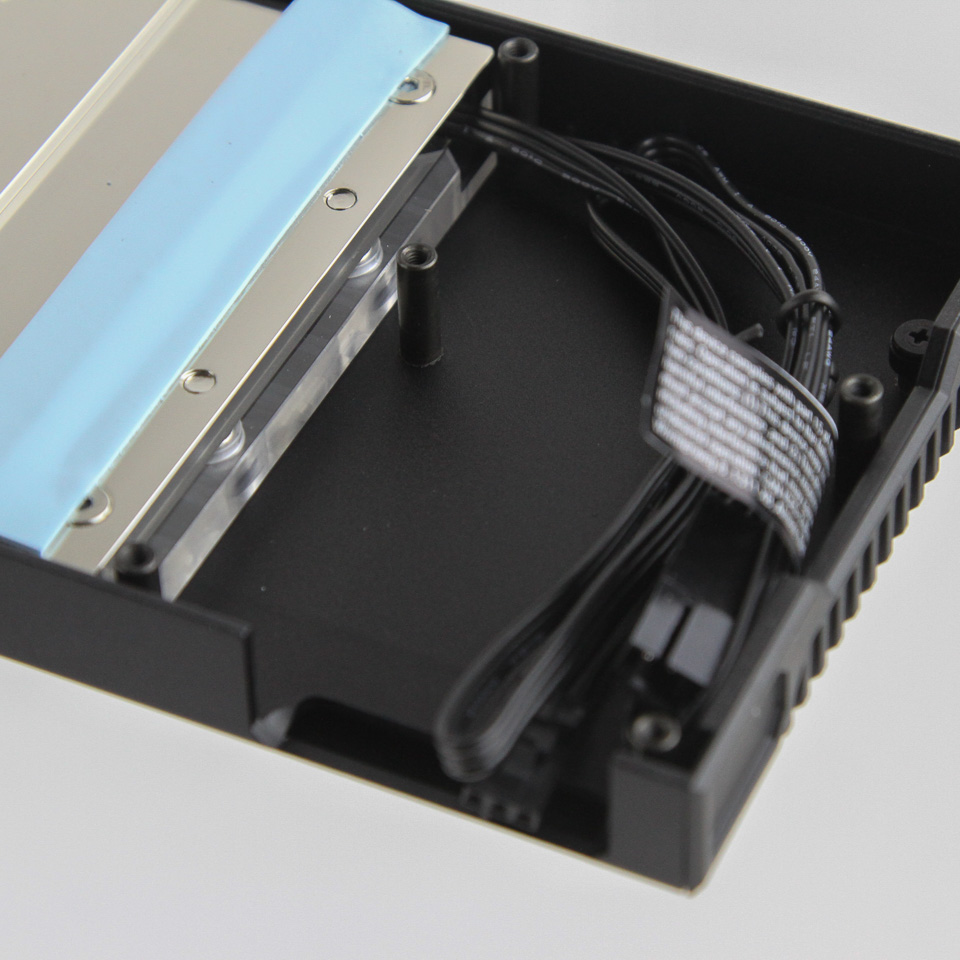
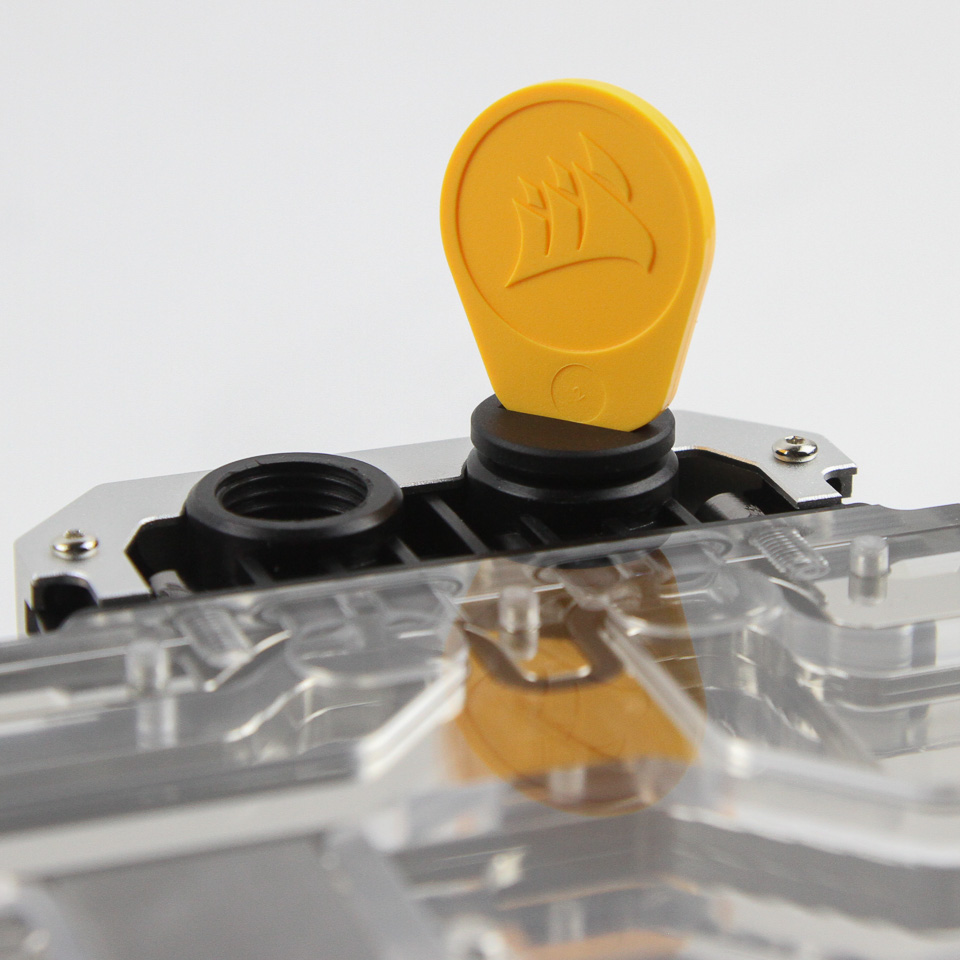
The form factor and design is clearly consistent across the board when it comes to CORSAIR's GPU block offerings, which is as it should be, with a look that is inspired by their popular Dominator Platinum memory on the I/O terminal. Four BSP G1/4" threaded ports are here, which is where the accessories come in as only two are needed for the block to be plumbed in. There is an aluminium cover plate around the acrylic top, and plenty of branding throughout. CORSAIR has gone with a serial flow route where the coolant ideally enters from the left and through the VRAM section before going through the microfins over the GPU core, rest of the VRAM, VRM section, a handily placed flow-indicator wheel, and up and out the other port on the I/O terminal. A nickel-plated copper cold plate is also present, and we see pre-applied thermal pads as well as thermal paste with a protective plastic cover, which simplifies installation considerably, and a small inset on the side allows the two RGB cables (one pass-through) to come through when installed without adversely affecting contact with the GPU. A coolant flow-indicator wheel has also been put along the pathway, as well as 16 addressable RGB LEDs controlled via iCUE for the lighting.


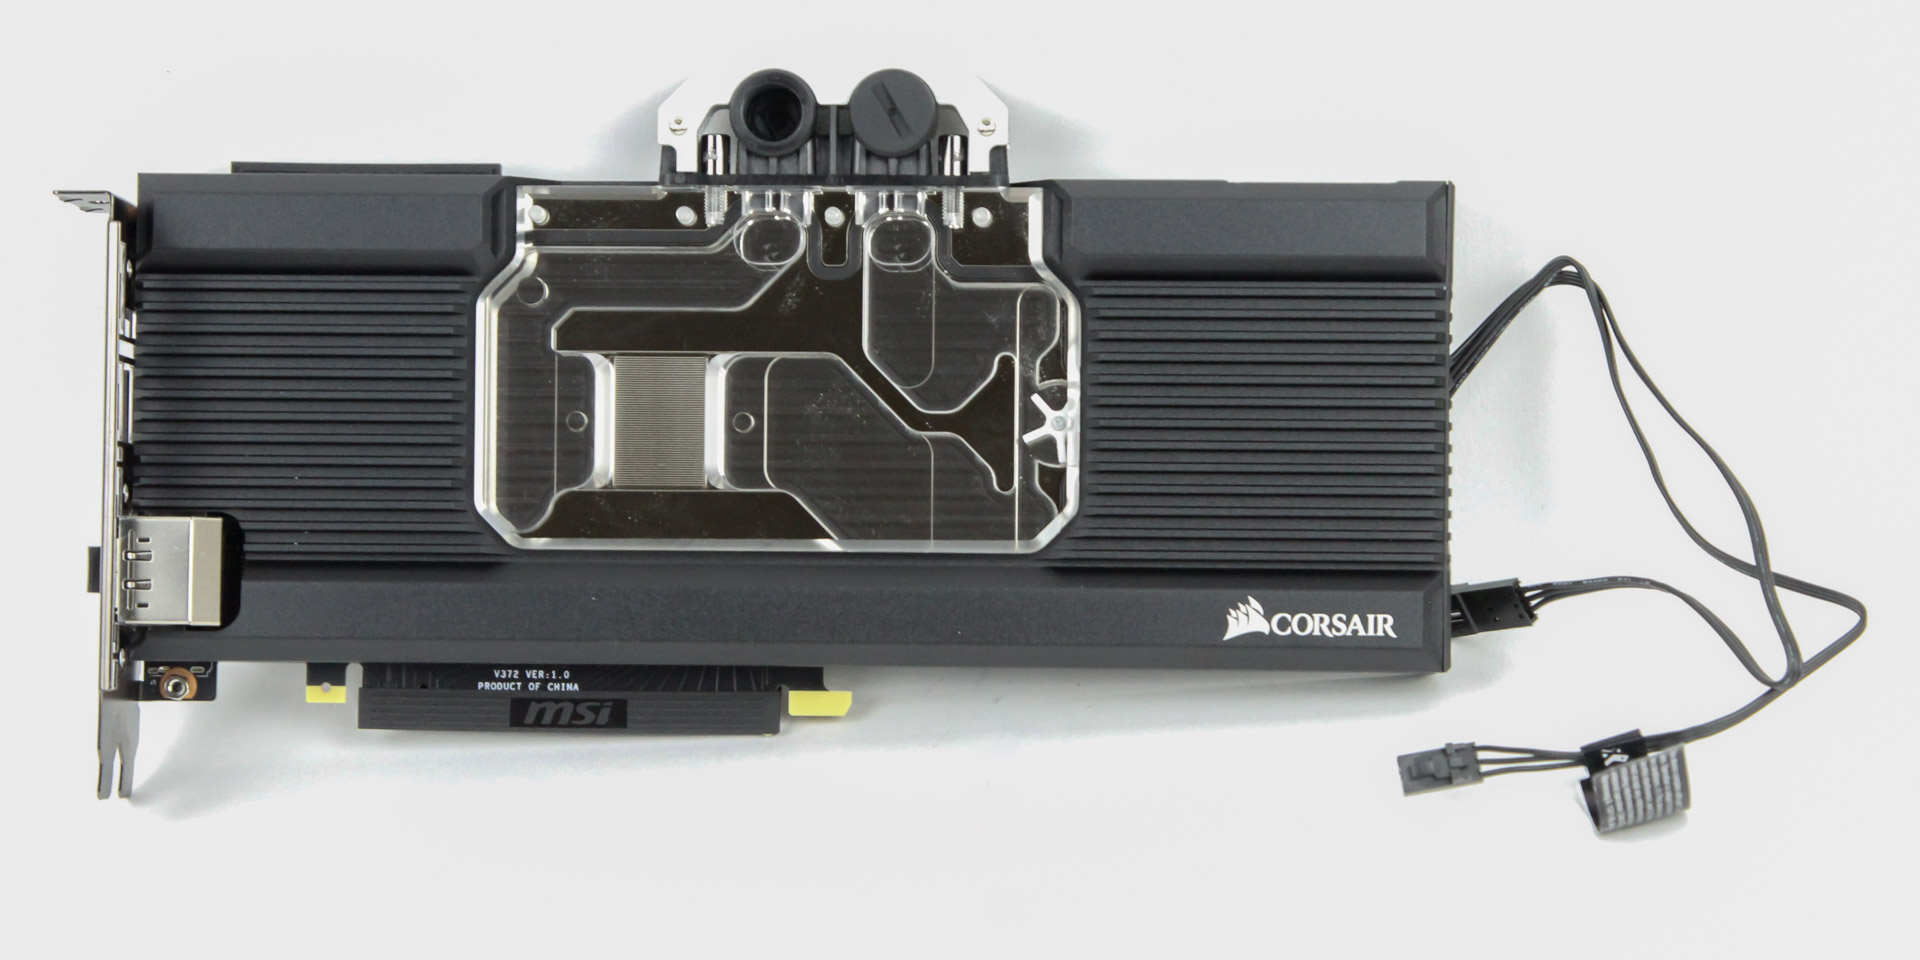
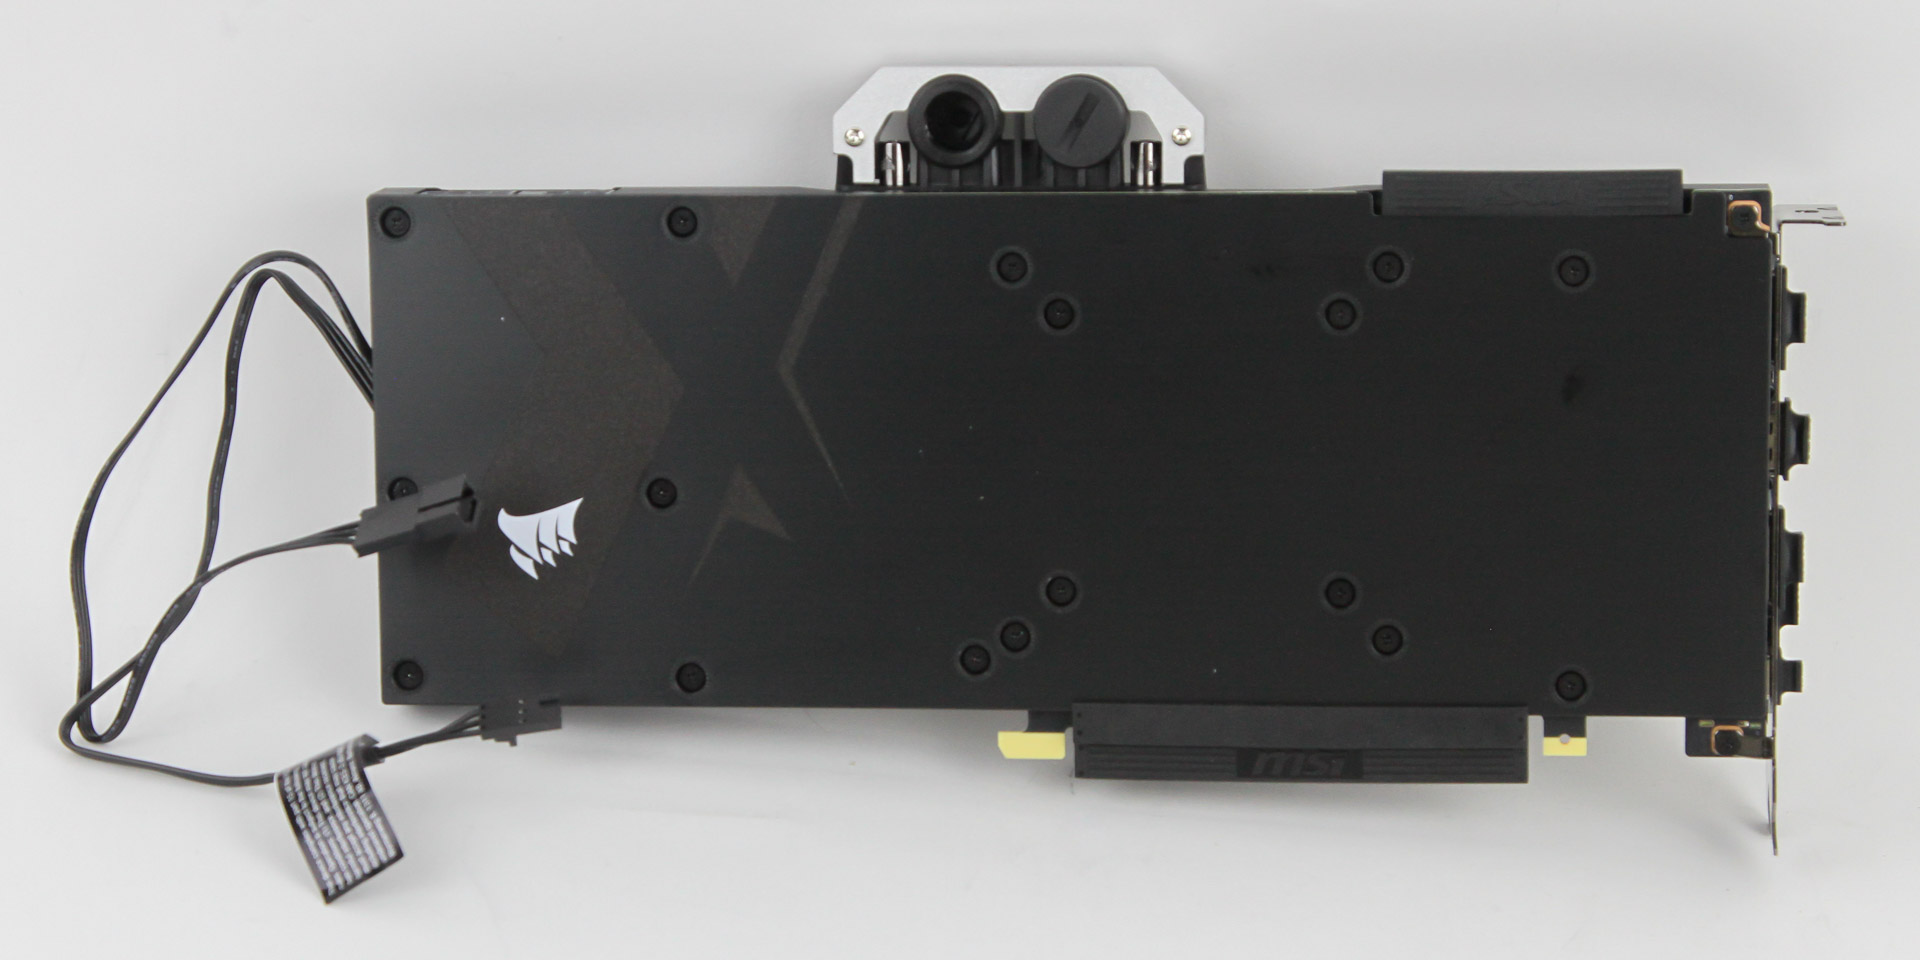
As with the Hydro XG7 RGB 10-Series, installation of the 20-series version is also a piece of cake. Unlike the 10-Series, there are different versions of the 20-Series based on whether you have an RTX 2070, RTX 2080, or RTX 2080 Ti/Titan RTX reference PCB card. I have an RTX 2080 here, so I have the 2080 FE version. Assuming the stock cooler has been removed, installation begins with cleaning of the PCB to remove remaining thermal pads and paste before placing the block and backplate, sandwiching the PCB as seen above. With that done, put the provided screws through the backplate on the back as outlined in the manual; the entire process takes less than five minutes. Make sure you route the RGB cables out the side as seen above, and connect the cables to a compatible controller/pass-through if you have other such iCUE-controllable devices.


Here is a look at some of the various lighting options, be it static or dynamic. I was impressed with the fairly true to color white these LEDs were able to reproduce, and the upward-facing LEDs with the light diffusion from the acrylic and redirection from the aluminium make for smooth lighting without harsh, discrete light sources when seen straight through or even at most angles inside a case. As with anything compatible with iCUE, the lighting can be configured to sync with other products.
EK-Vector RTX RE RGB


As with the CORSAIR block, the EK-Vector RTX RE RGB is a name more complicated than it has to be. This is especially the case when you realize that there are not only multiple combinations based on the top (acetal and plexi being the common ones) and cold plate (copper or nickel-plated copper), but also whether RGB is included or not, and even then there are versions with and without addressable digital LEDs. The version I have here is the nickel+plexi RGB, which is actually now EOL with the introduction of a D-RGB model at the same price. Everything else is identical, so keep that in mind.
Packaging is similar to that of other recent EK products, with a white outer sleeve that has a render of the block and tech specs on the back and an inner cardboard box that houses the actual product. Opening the box, we see two plastic pouches with the installation accessories, including thermal pads, two hex keys, a tube of thermal paste, two metal stop plugs, plastic washers, and metal screws and nuts. Keep in mind that this is a more universal block as it works with the reference RTX 2080/2080 Ti/Titan RTX PCB, so there is more hardware included here than just for the RTX 2080. Underneath, in another compartment and between two sheets of thin foam, is the block itself in a plastic wrap.


The EK-Vector and its replacement, the EK-Quantum Vector, are part of their newer Quantum design philosophy, which is itself an updated take on their older design post-CSQ. The I/O terminal has a cover that is more sloping and allows for lighting support if needed, which is why we see a cable coming from the underside of that terminal, as well as another going to the RGB LED PCB off the side. The side is where we have another piece of acetal that has the product referenced. This nickel+plexi version has a plexi top for a clear look at the cooling engine, which employs a split central-inlet flow at the GPU core and a nickel-plated copper cold plate. There is an EK logo in the bottom-right corner on the front, and the product name is on the cold plate, in the recess where it does not touch the PCB. The terminal has four BSP G1/4" threaded ports, and here too is where the provided stop plugs and thicker hex wrench are useful.


There is no installation manual included; instead, a QR code takes you to the online copy hosted on the product page. I would have much preferred a paper copy of the manual, as I have maintained before. Installation on the RTX 2080 is simple, but does require more work because of the higher number of supported PCBs. Even so, EK has never had pre-installed thermal paste and/or pads, but the pads that go over the VRAM modules are at least pre-cut. You will still have to take a pair of scissors to the longer thermal pads meant to go over the VRMs. With that done, apply some thermal paste, place the block over, and flip the assembly over to screw it in place using the provided screws, nuts, and washers. EK does not provide a backplate with the block, and while some stock backplates are compatible with the block, with stock screws or aftermarket ones, they would much rather you buy an EK backplate instead.


Here is a look at some of the various lighting options, be it static or dynamic. There are fewer LEDs here, and most point inward from the side as opposed to the bottom with the CORSAIR block, so the lighting is not as uniform. This version is also the non-digital/addressable LED variant, so it uses a 4-pin, 12 V connector whereas the newer version adopts the 3-pin, 5 V connector compatible with most addressable RGB LED headers on motherboards today.
Our Patreon Silver Supporters can read articles in single-page format.
Nov 20th, 2026 10:44 PST
change timezone
Latest GPU Drivers
New Forum Posts
- Very unusual two gaming-pc scenarios. (29)
- Zen 3 IF/IMC degradation (238)
- What's your latest tech Freebie? (79)
- Tell me about your favourite graphics card (85)
- Windows 11 General Discussion (7742)
- GTA VI (19)
- Anthrophics IPO (13)
- How to prevent OLED burn damage due to PC freezes or power outtages? (42)
- RX 7600 + Ryzen 5 5600GT getting the same FPS as my old RX 6500 XT – What am I missing? (19)
- RX 9000 series GPU Owners Club (2244)
Popular Reviews
- AMD Zen 6 Technical Deep Dive
- Ugreen NASync DXP4800 GT Review
- Corsair RM1200e (Second Generation) Review
- Acemagic Retro X3 Review
- Upcoming Hardware Launches 2027 (Updated Nov 2026)
- Pulsar Office Tour & First Look at P1 Dual-Sensor Mouse
- Microsoft Surface Laptop Ultra Review - The Next-gen Arm Laptop
- Biwin Black Opal NV7400 2 TB Review
- AMD Ryzen 7 9800X3D Memory Performance Scaling
- AMD Ryzen 7 9800X3D Review - The Best Gaming Processor
TPU on YouTube
Controversial News Posts
- NVIDIA Co-Founder and CEO Jensen Huang Officially Resigns (490)
- Report: Jensen Huang Eyes NVIDIA Comeback (245)
- Open Letter Asking NVIDIA to Reinstate Jensen Huang Passes 115,000 Signatures (184)
- OpenAI CEO Argues Home PCs Waste the World's Limited DRAM Supply (152)
- NVIDIA Launches Investigation Into Jensen Huang's Relationship With Suspected Chinese Spy (136)
- Intel "Raptor Lake Next" 16-Core and 20-Core CPUs Surface (130)
- Legendary Game Studio BioWare Shuts Down Following EA Layoffs (104)
- Dell CEO Says the Memory Shortage Will Get Worse in 2027 (95)