 14
14
Cougar Conquer Review
Assembly & Finished Looks »A Closer Look

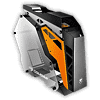
The very first thing you will have to do is to place the feet on the basic frame. All of these components are constructed out of solid, anodized aluminum. Cougar has done a great job in terms of the design by choosing to go with an element in their signature orange color towards the front. The feet are held in place by long rods and come with rubber lining, so you won't have to worry about scratching either the surface or the chassis when moving it around on your desk. Once the feet are in place, you can actually stand the chassis up, which gives you a good first impression of what it will look like.


Looking at the bare Cougar Conquer from the main side, you can clearly see the elaborate aluminum shapes that have gone into the design of the chassis. Most of the detail is not necessary, but results in an intricate look. As mentioned before, that one orange panel really does give the chassis some much-needed contrast. Due to the straight lines and fairly tight angles, Cougar is able to angle the motherboard area upward and create the bulky top and front panels that make the Conquer look very much like an enclosed case even though there are air vents and openings everywhere.


The front cover is screwed down, but covers two mounting positions for 120 mm fans. You will have to remove those screws to get to these. While you will find three additional placement possibilities in the top, these are easily accessible by simply flipping the top cover up. Both of these mounting sets can hold radiators - you could install both a 240 mm and a 360 mm unit within the Conquer.


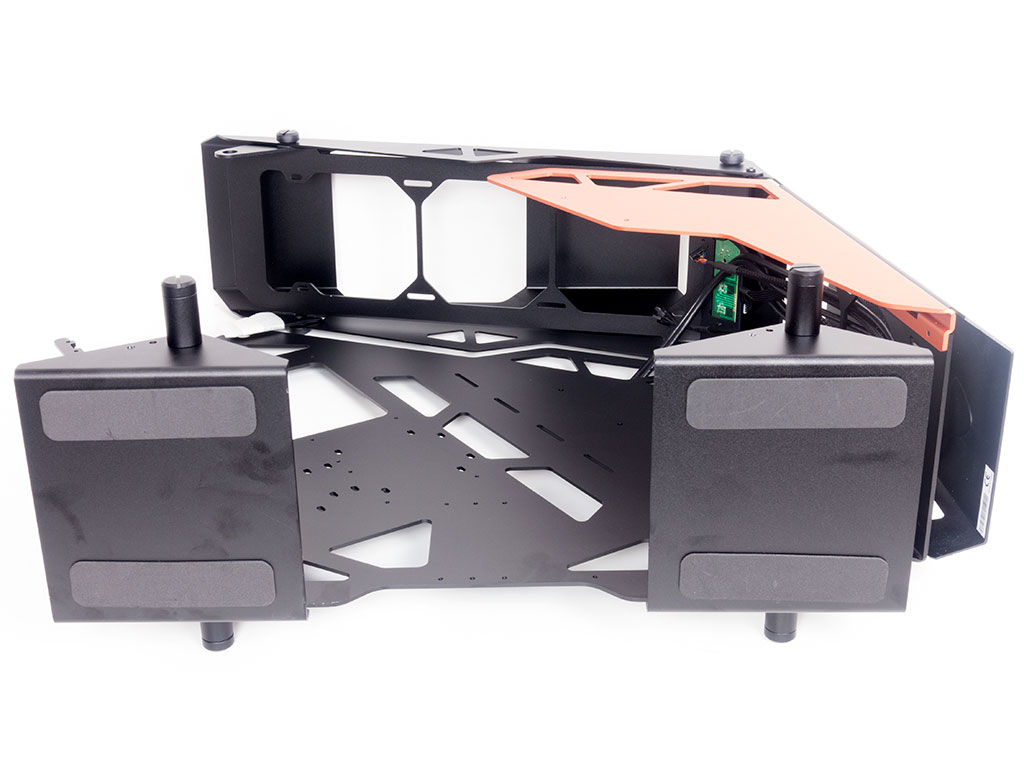
Looking straight at the front, you can clearly see the I/O panel that sits at an angle at the very top of the chassis. It includes a pair of USB 3.0, the usual audio plugs, and a power and reset combo. The power LED is embedded right at the center of the circular power switch. A Cougar logo on the bottom of the front aluminum cover is the only branding you will find on the metal framing itself.
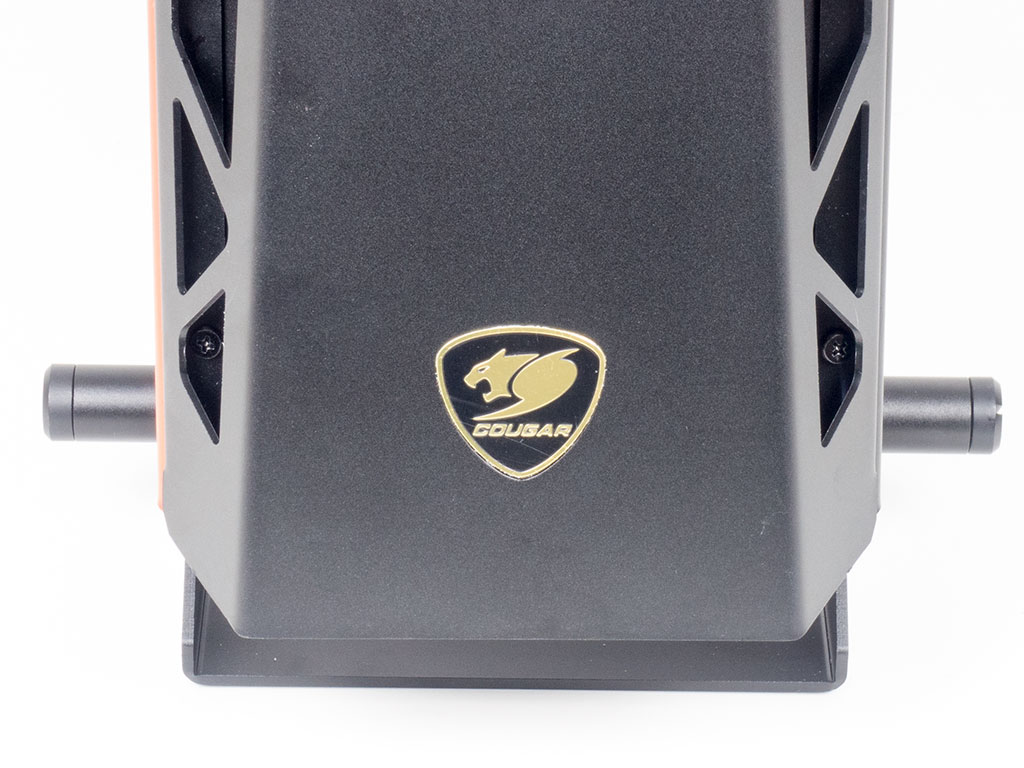
The only element you will find in the rear is the expansion slots' frame. Here, you may secure up to seven motherboard expansion cards, like GPUs or sound cards. As this is an open-frame case, there is no need for a cover, and you will not need to use the motherboard backplate within the Cougar Conquer either.

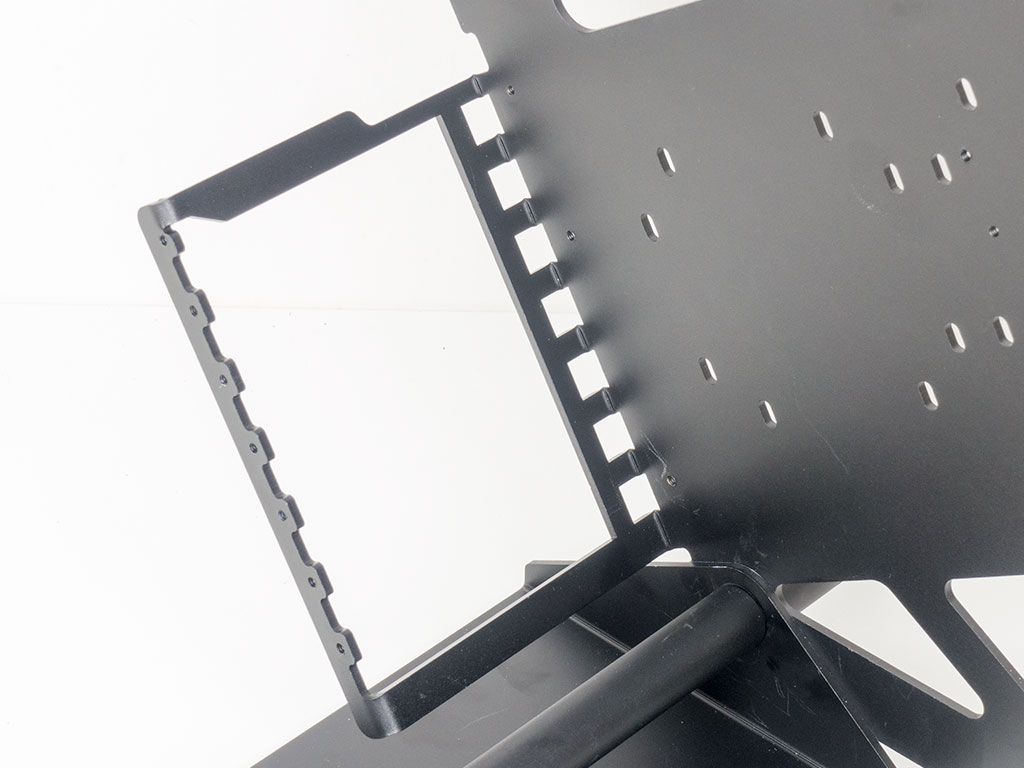
You may install two hard drives on to the rear of the motherboard tray. You have your pick between 3.5" or 2.5" variants, but will loose any access to these mounting positions once the motherboard is in place - so plan carefully. As we will see later on, during the assembly process, there is an additional hard-drive bracket included, which brings the total drive count up to three 3.5" or four 2.5" units.


All the cables within the Cougar Conquer are actually of the traditional variety. They are sleeved black to make sure you run into no issue when it comes to keeping things clean and tidy once the build is complete.
May 18th, 2024 15:16 EDT
change timezone
Latest GPU Drivers
New Forum Posts
- Is 6000MHz C36 DDR5 memory too much for 12600KF with XMP? (14)
- For general use - moving files around and playing games, would you have an Optane boot drive or PCie gen 5? (19)
- Safe to replace keycaps with new custom ones? (8)
- AM5 boot times improve RADICALLY with memory context restore enabled (82)
- What are you playing? (20684)
- is there anyway to verify my motherboard actually has a gen5 gpu slot without a gen5 card? (35)
- rainbow six siege benchmark values are always different, is it normal? (5)
- I make new budgeout build. Tell me ,where i dont see wrong choices... (6)
- Unlocked Realtek HD Audio Drivers for Windows 11 (Dolby Digital Live/DTS Interactive) (162)
- What's your latest tech purchase? (20563)
Popular Reviews
- Ghost of Tsushima Performance Benchmark Review - 35 GPUs Tested
- Homeworld 3 Performance Benchmark Review - 35 GPUs Tested
- Lofree Edge Ultra-Low Profile Wireless Mechanical Keyboard Review
- Silverstone Shark Force 120 mm Fan Review
- Enermax REVOLUTION D.F. X 1200 W Review
- Sapphire Radeon RX 7900 GRE Pulse Review
- Upcoming Hardware Launches 2023 (Updated Feb 2024)
- TerraMaster D8 Hybrid Review
- AMD Ryzen 7 7800X3D Review - The Best Gaming CPU
- ZMF Caldera Closed Planar Magnetic Headphones Review
Controversial News Posts
- Intel Statement on Stability Issues: "Motherboard Makers to Blame" (269)
- AMD to Redesign Ray Tracing Hardware on RDNA 4 (227)
- Windows 11 Now Officially Adware as Microsoft Embeds Ads in the Start Menu (172)
- NVIDIA to Only Launch the Flagship GeForce RTX 5090 in 2024, Rest of the Series in 2025 (154)
- AMD Hits Highest-Ever x86 CPU Market Share in Q1 2024 Across Desktop and Server (139)
- AMD RDNA 5 a "Clean Sheet" Graphics Architecture, RDNA 4 Merely Corrects a Bug Over RDNA 3 (130)
- AMD's RDNA 4 GPUs Could Stick with 18 Gbps GDDR6 Memory (114)
- AMD Ryzen 9 7900X3D Now at a Mouth-watering $329 (104)