 11
DFRobot LattePanda Iota Review
General Performance »Design and Build
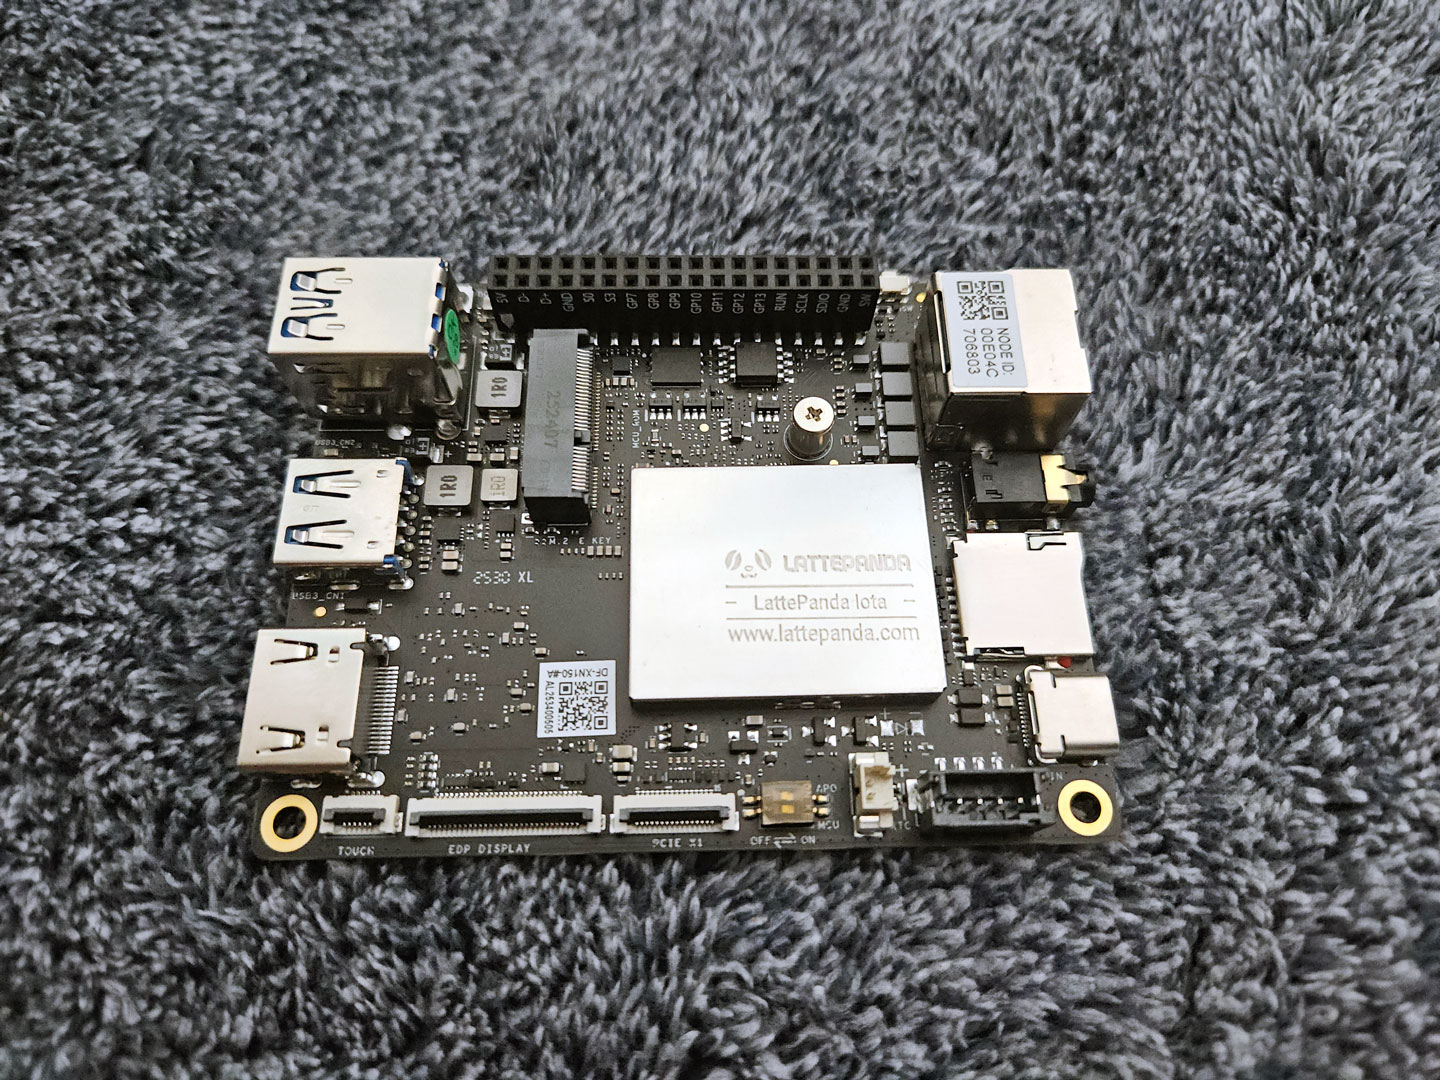
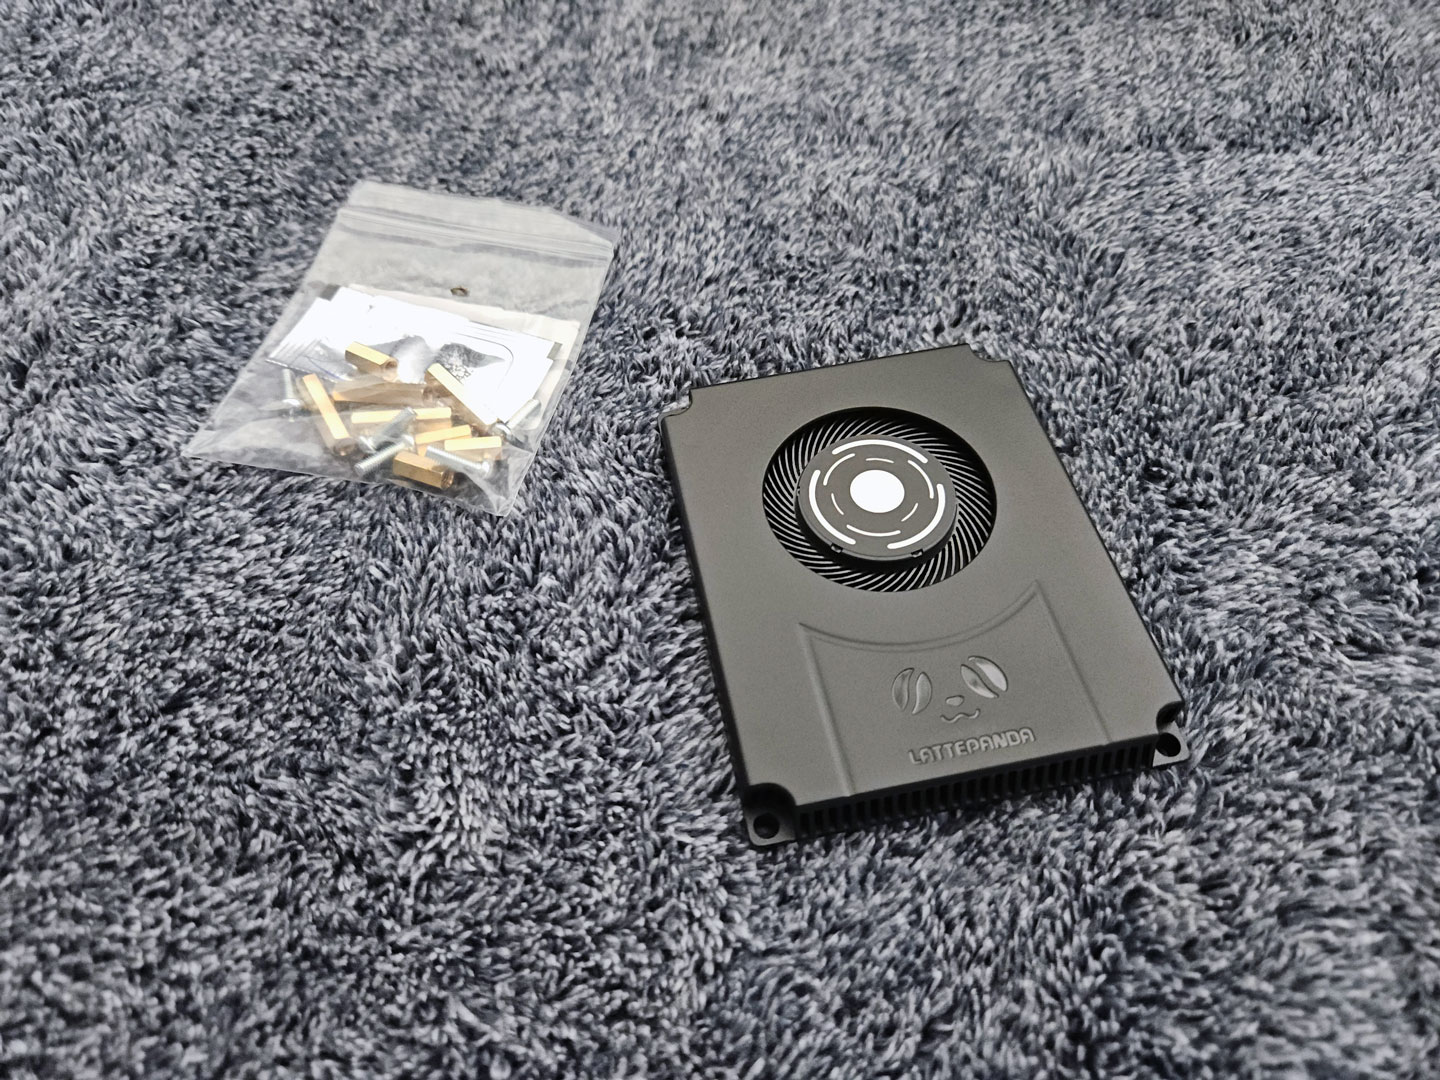
The LattePanda Iota starts with a very small base board, but this build quickly becomes more complicated once the add-ons are stacked on top. The first job was installing the active cooler, which is required here because the Iota is not meant to run without active cooling. The board uses an Intel Processor N150, and LattePanda specifies that cooling needs to be in place before power-up. The cooler mounts against the processor side of the board and connects to the internal 4-pin fan header, which supports PWM control. That meant applying thermal paste, lining up the cooler over the CPU contact point, securing it with the included hardware, and then routing the fan lead back to the board header before moving on.
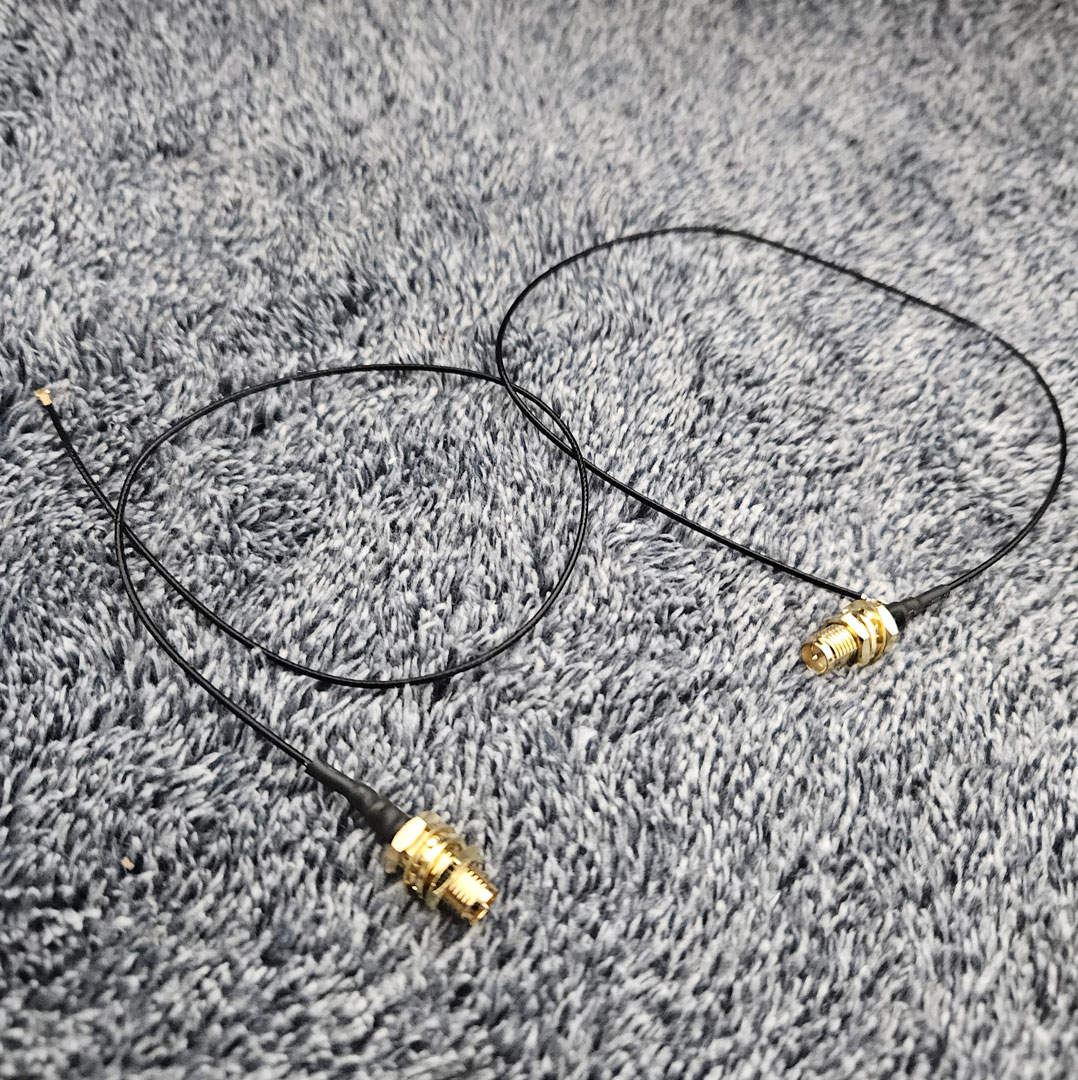
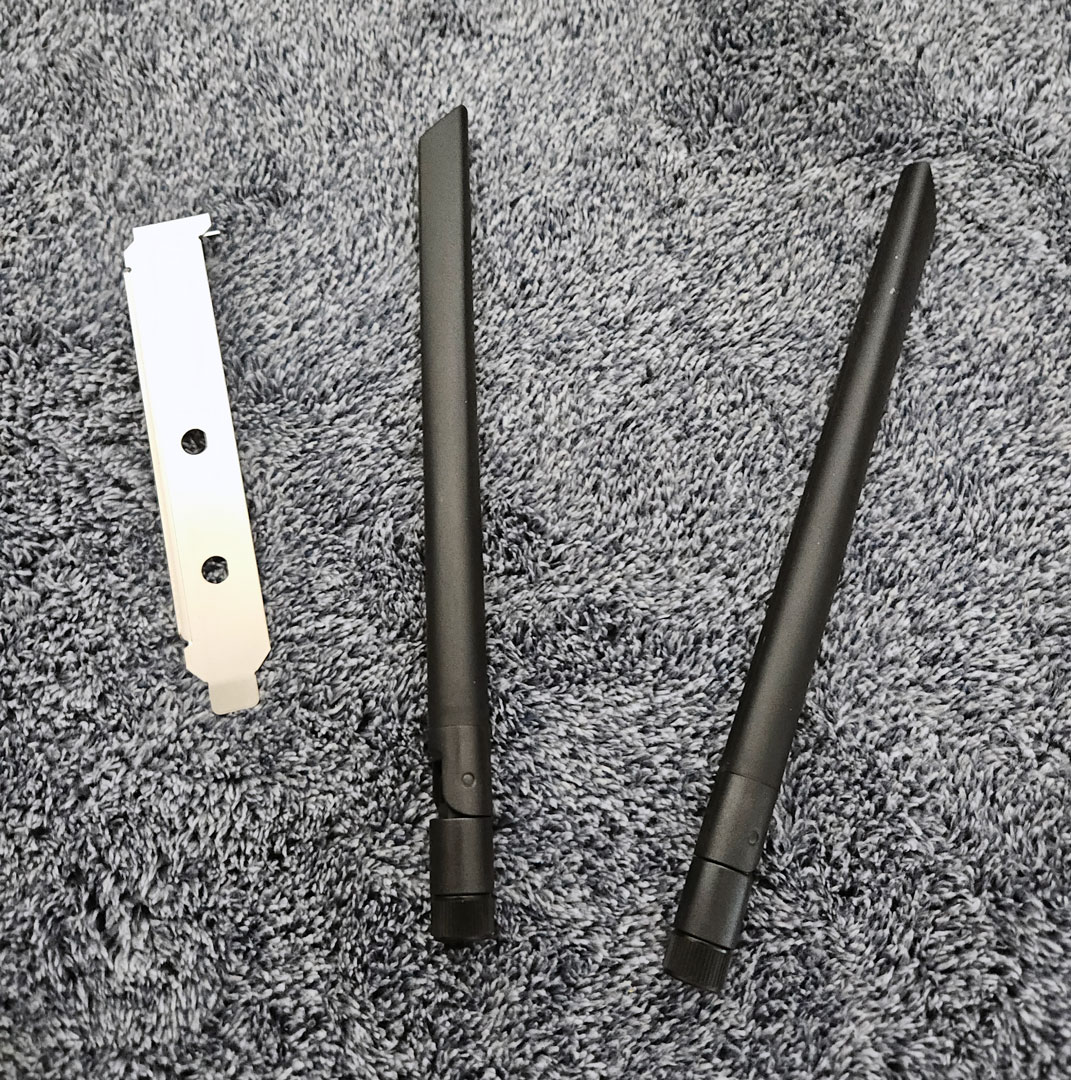
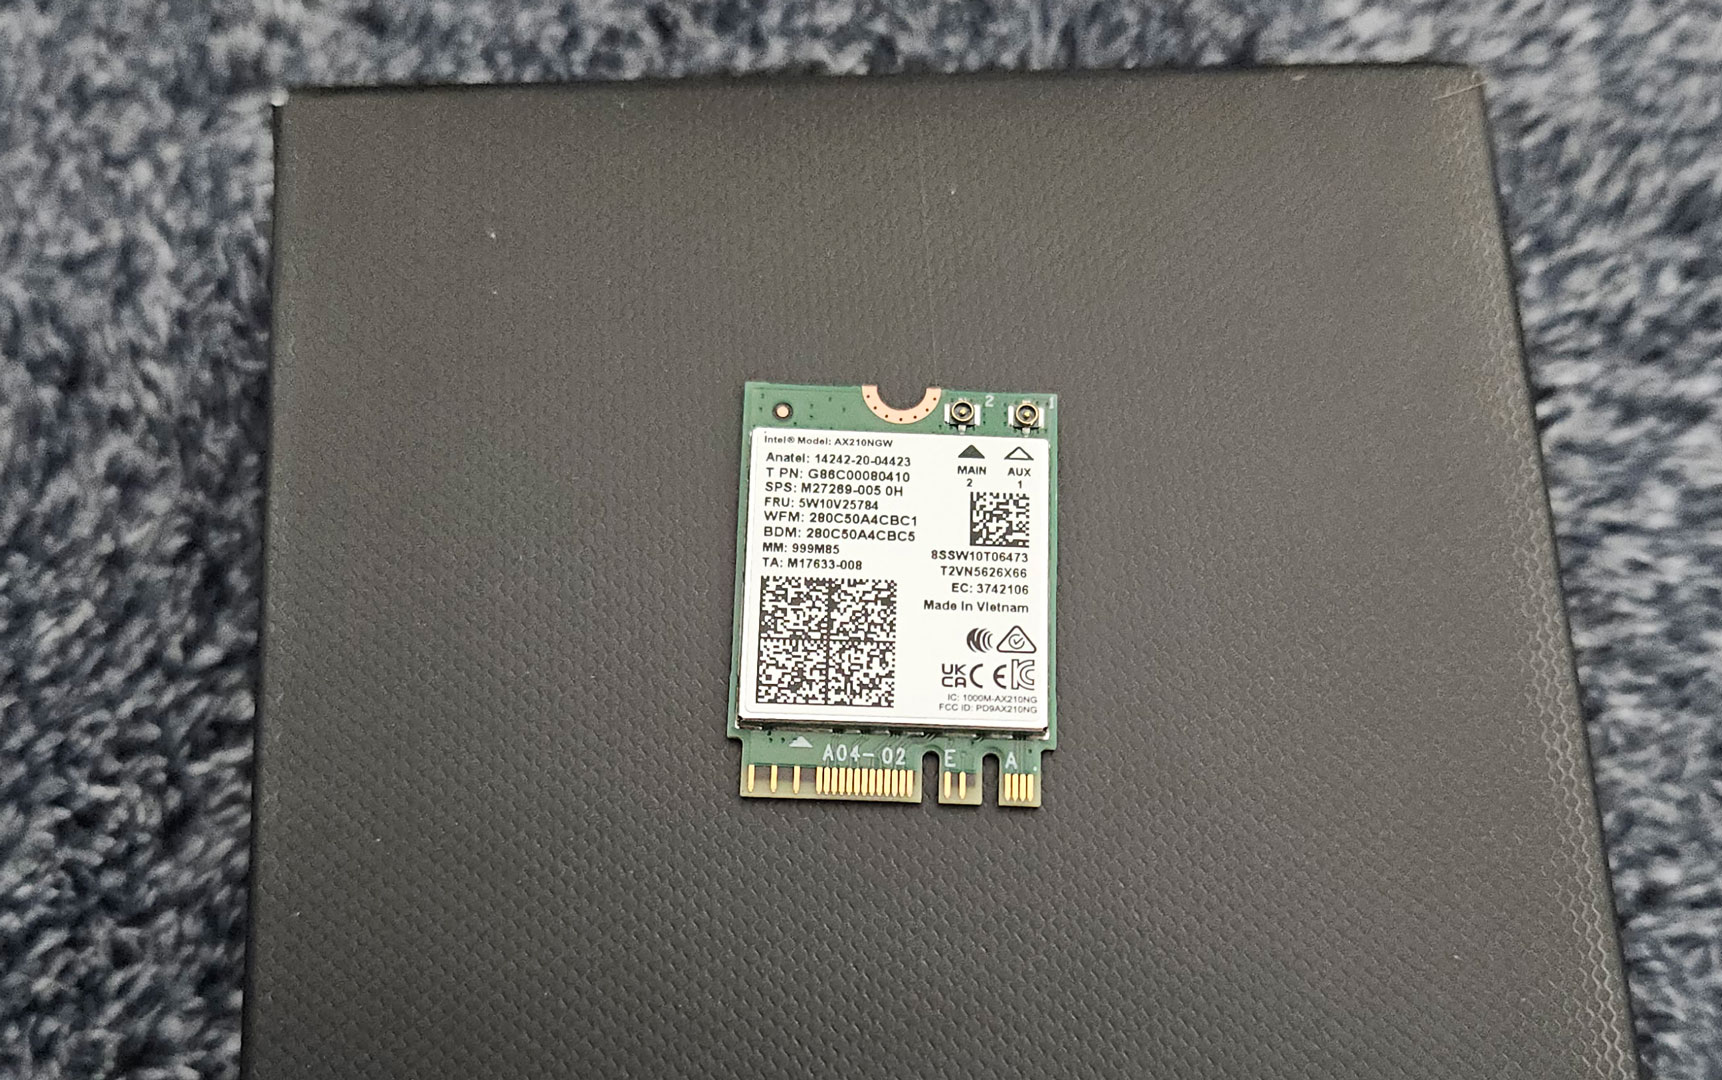
After that, I moved to wireless connectivity. The Iota includes an M.2 E-key slot for a 2230 wireless module, and in this case DFRobot supplied an Intel AX210 card. Installing the card itself was simple enough: slot it into the M.2 connector, secure it with the small mounting screw, and then deal with the part everyone dreads, which is attaching the antenna leads. Those tiny snap-on connectors took a lot of patience, as usual. Once both antenna leads were seated, the wireless side of the build was in place. If you skip Wi-Fi entirely, the board still has onboard 1 GbE, so for this setup I installed everything DFRobot included.
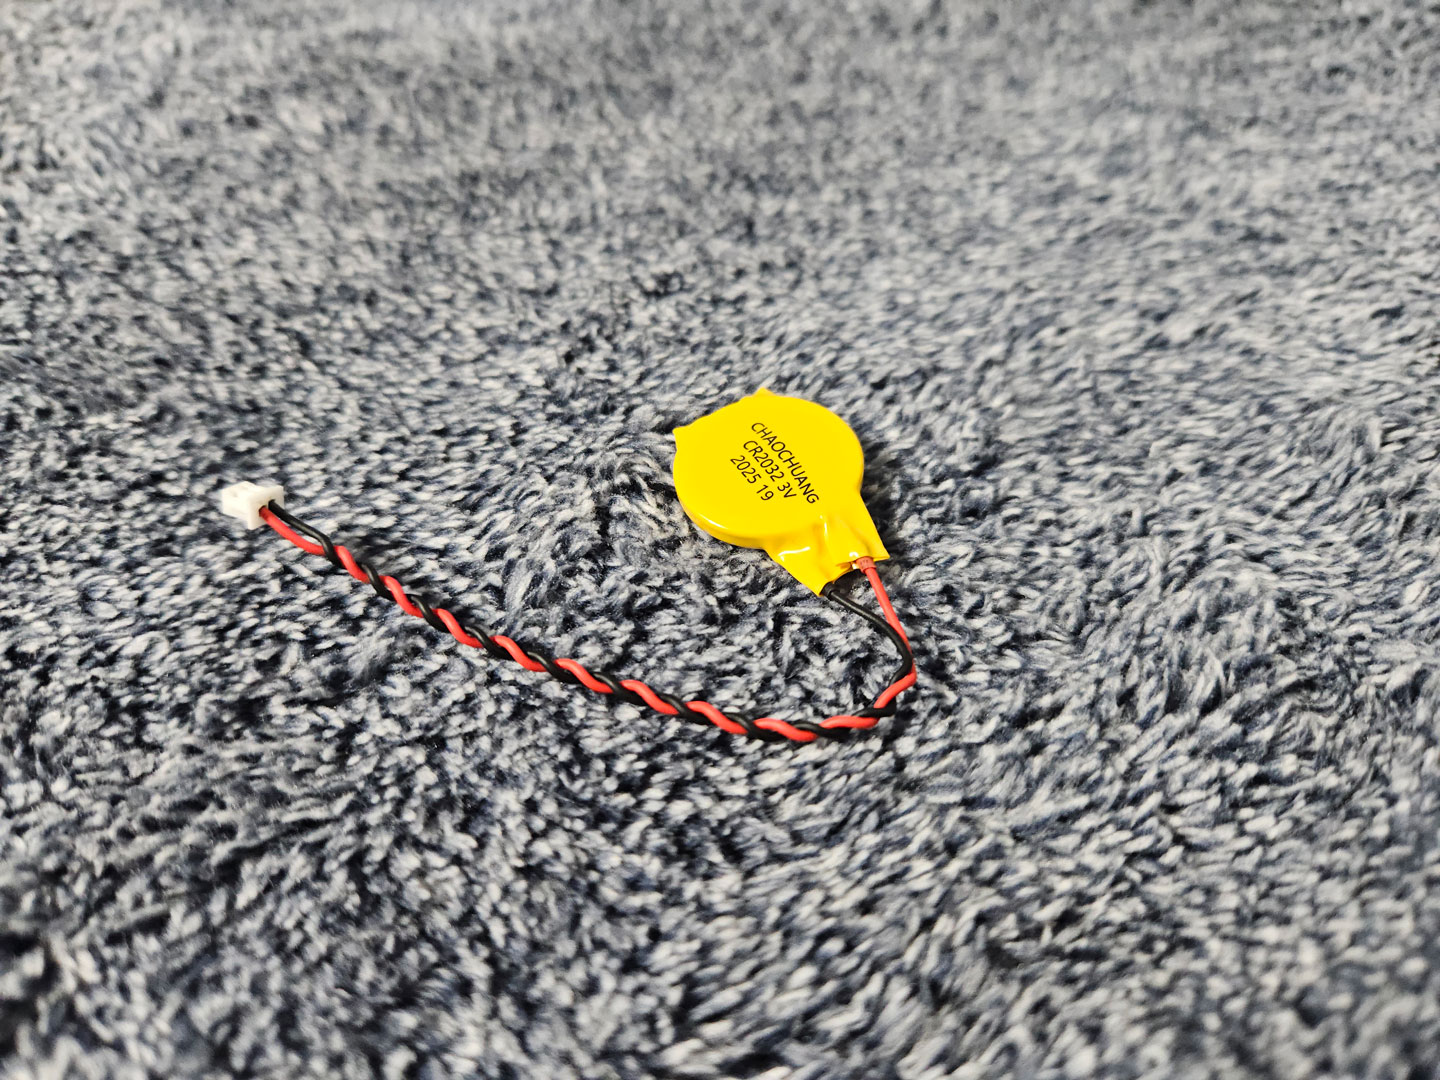
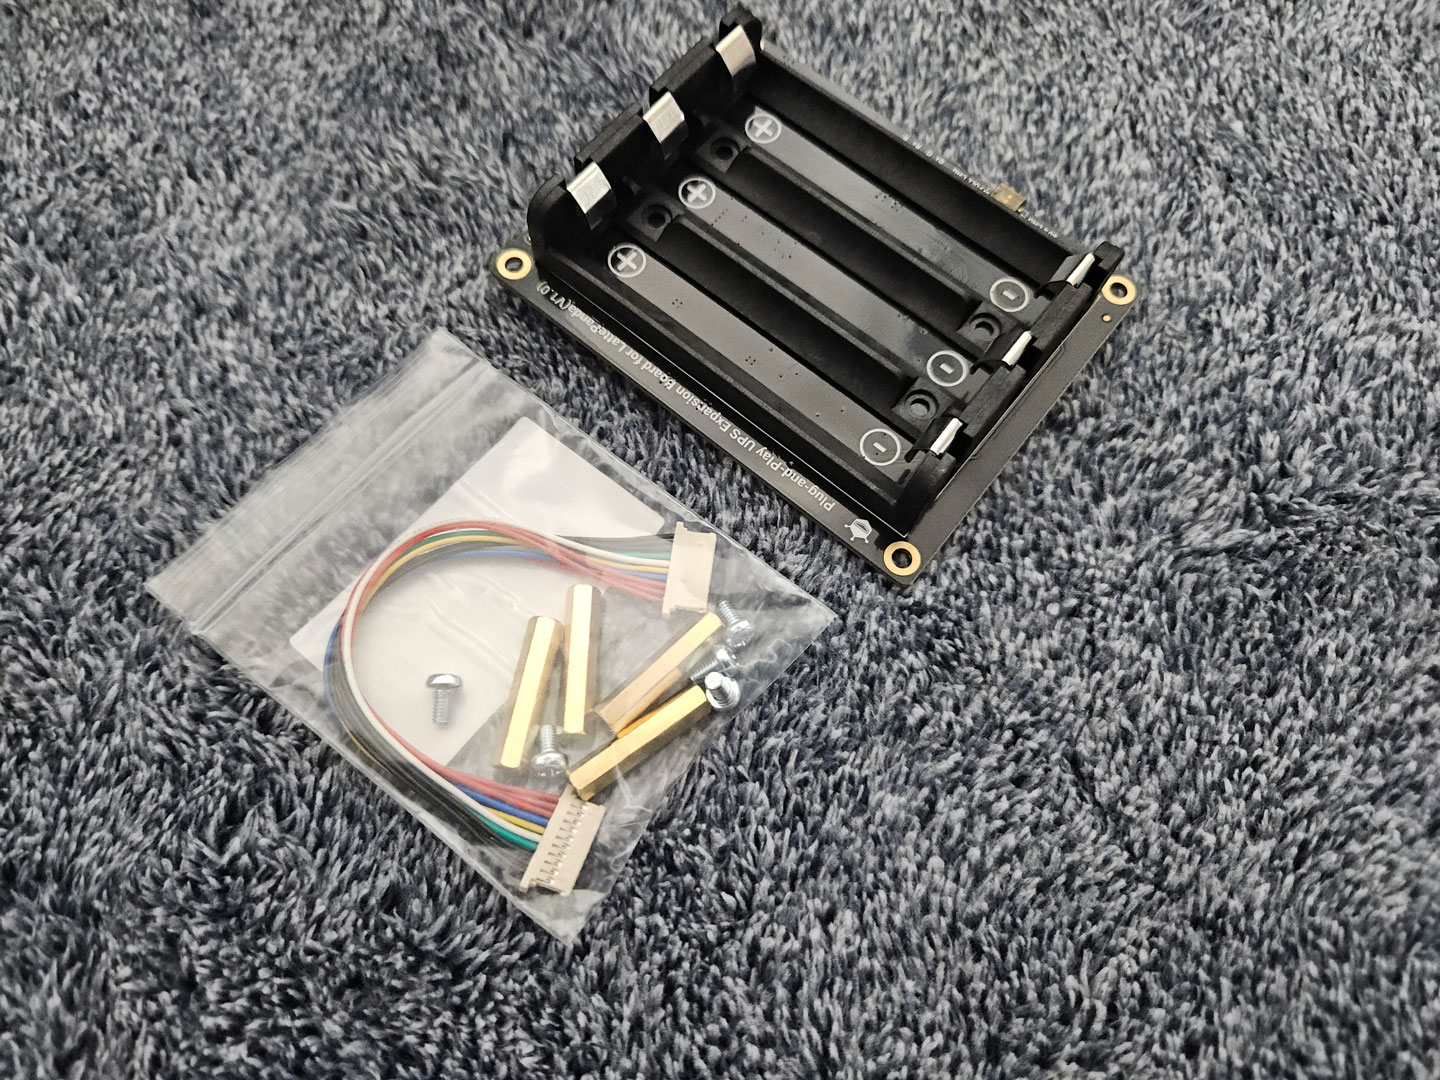
The Iota itself can be powered either through USB-C Power Delivery at 15 V or through its internal PH2.0 4-pin input at 10 V to 15 V DC, and LattePanda recommends at least 24 W for stable operation.
On this setup, though, the goal was to assemble the full stack, which meant adding the UPS expansion hardware. The Iota includes a dedicated 10-pin power management connector specifically for the UPS board, and that connection is what allows battery-backed operation and intelligent power handling. Once that piece was added, the build gained the sort of power-fail protection that is useful for unattended systems, remote monitoring nodes, or any deployment where sudden shutdowns are a problem.
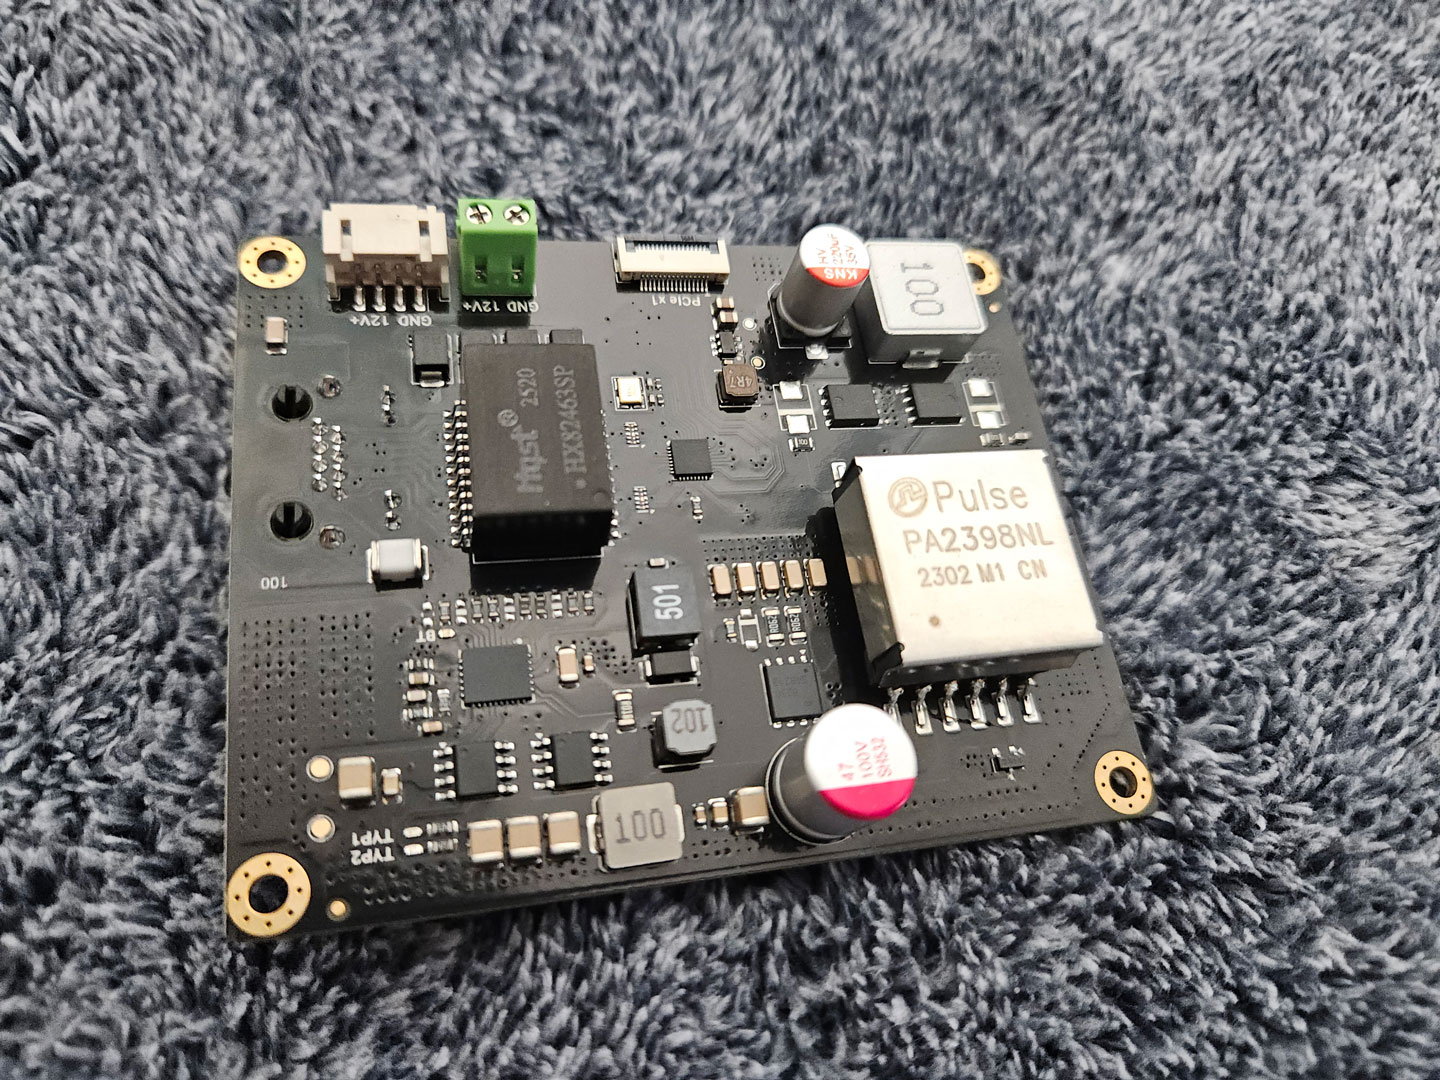
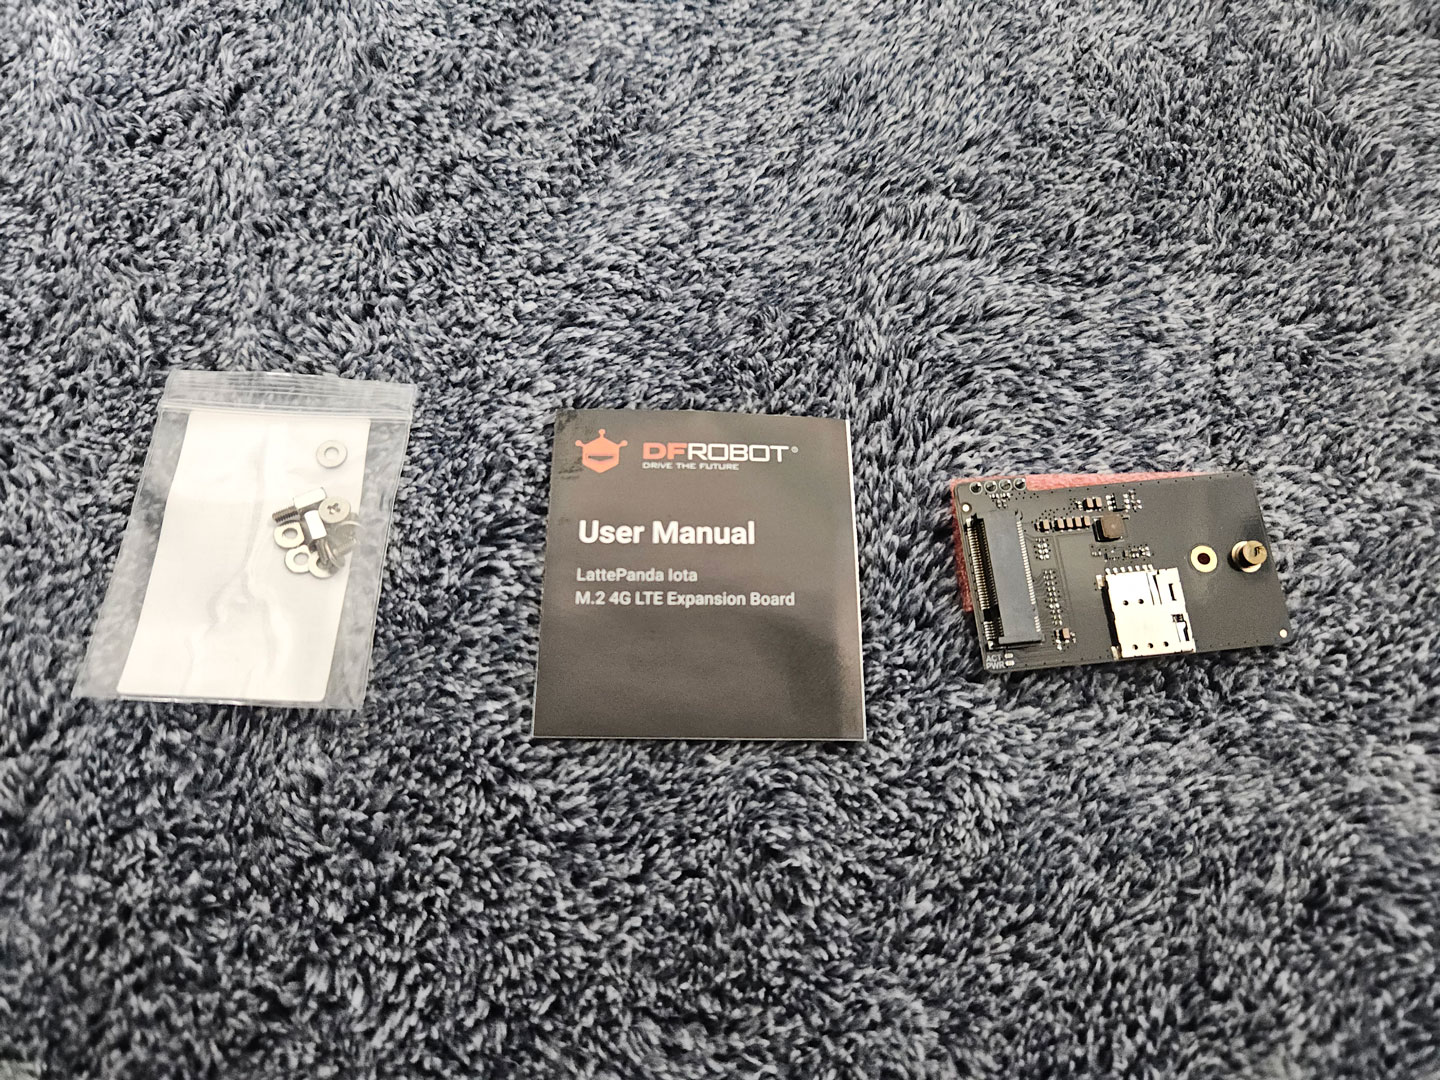
From there, the rest of the assembly involved integrating the additional components DFRobot sent over. The 51 W PoE++ board adds network-delivered power for installations where a single Ethernet cable is preferable to separate data and power runs. The M.2 add-ons extend the platform in different ways, with the 4G board providing a host-side adapter for compatible cellular modules and the M-Key board providing a path for NVMe storage expansion.
One thing worth noting is that not every expansion option is fully independent, as some boards share the same expansion path and cannot all be used in the same way at once.
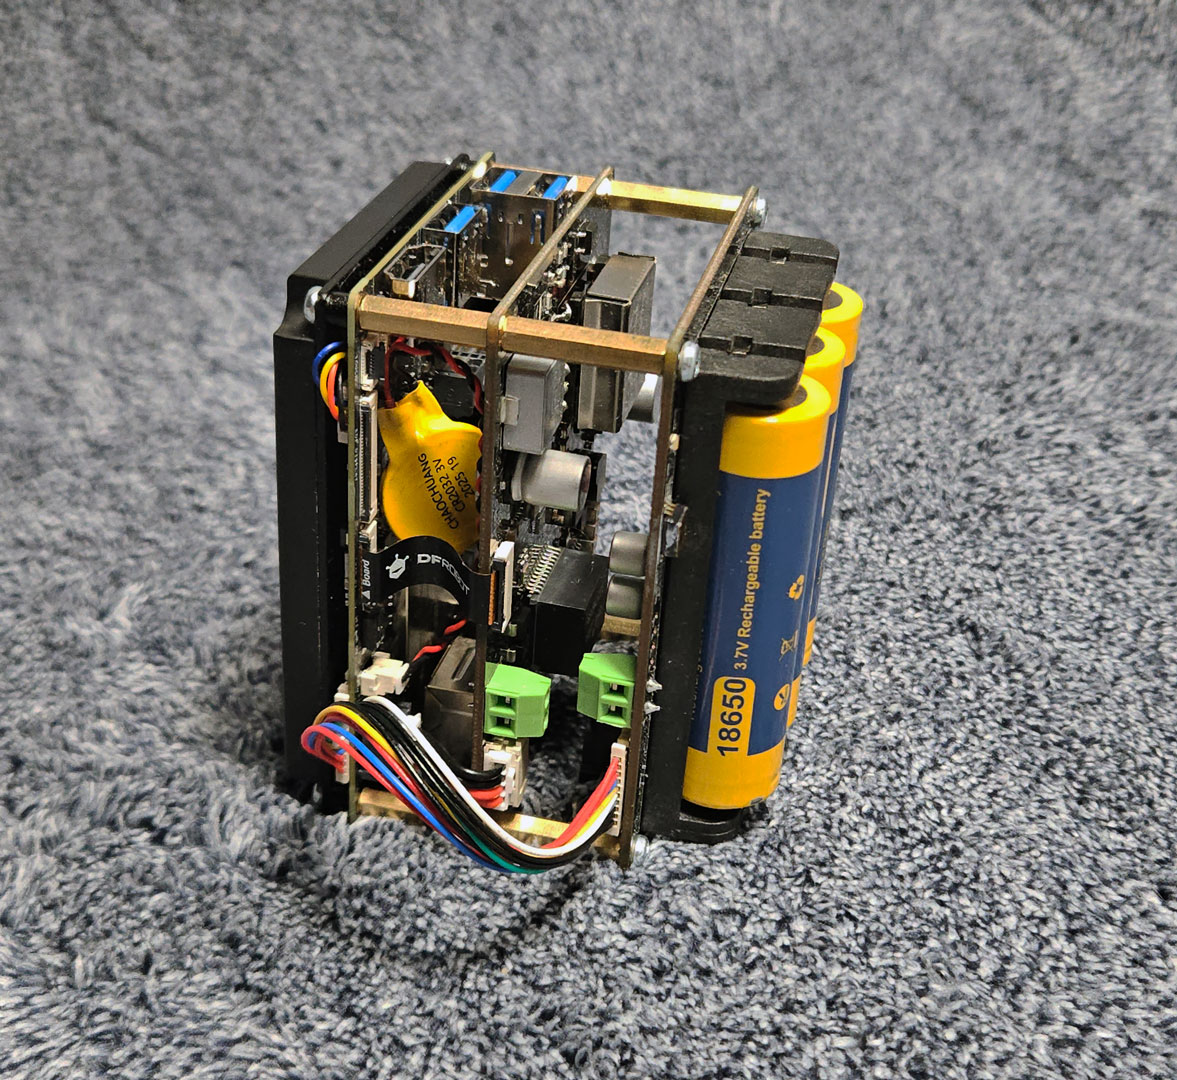
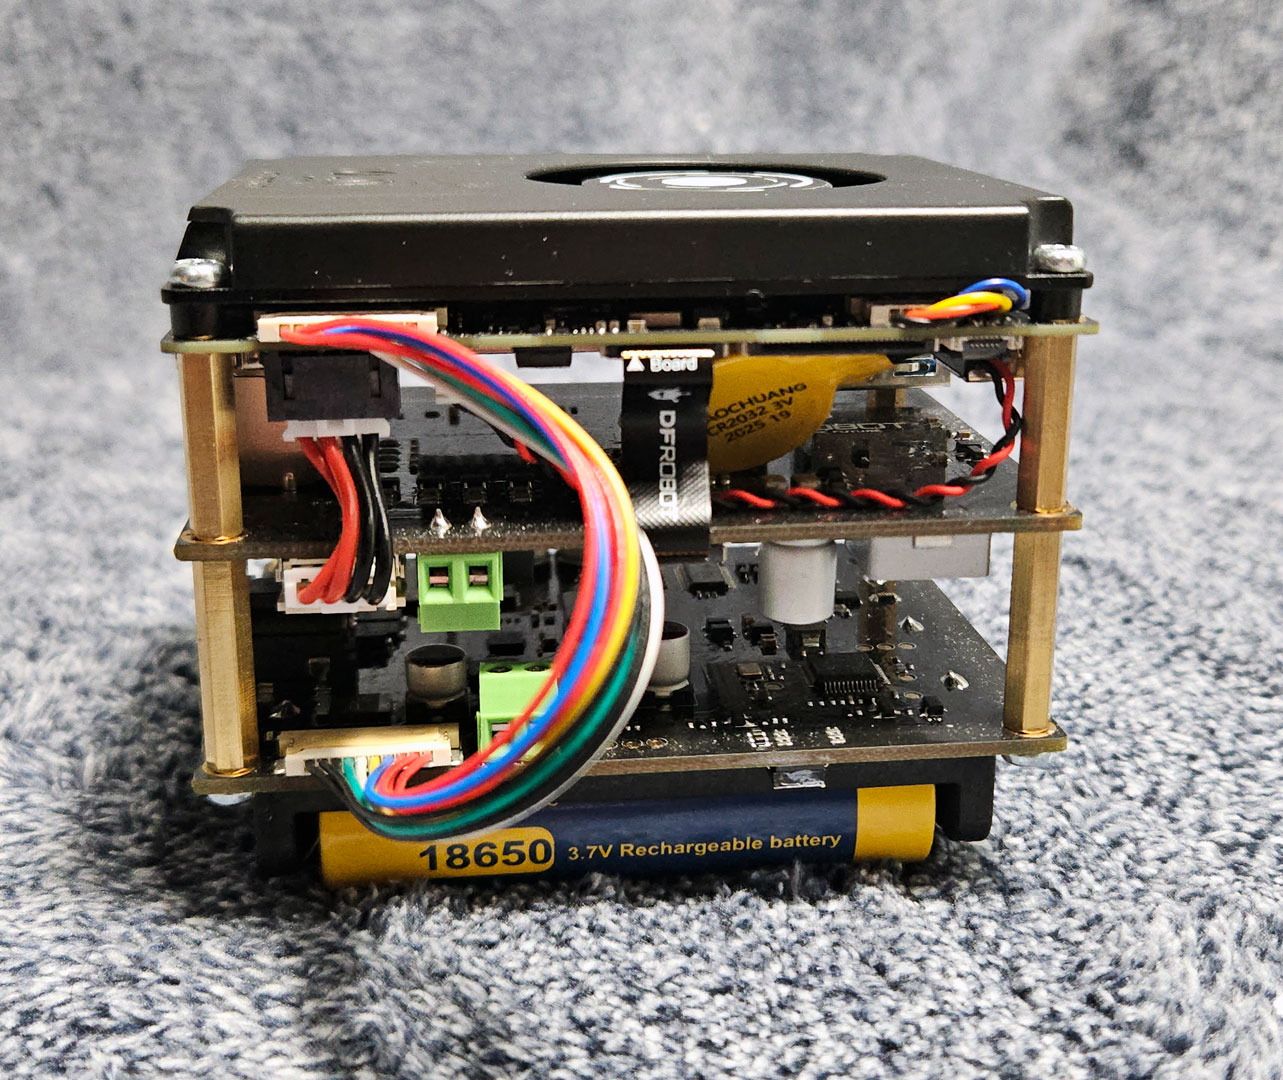
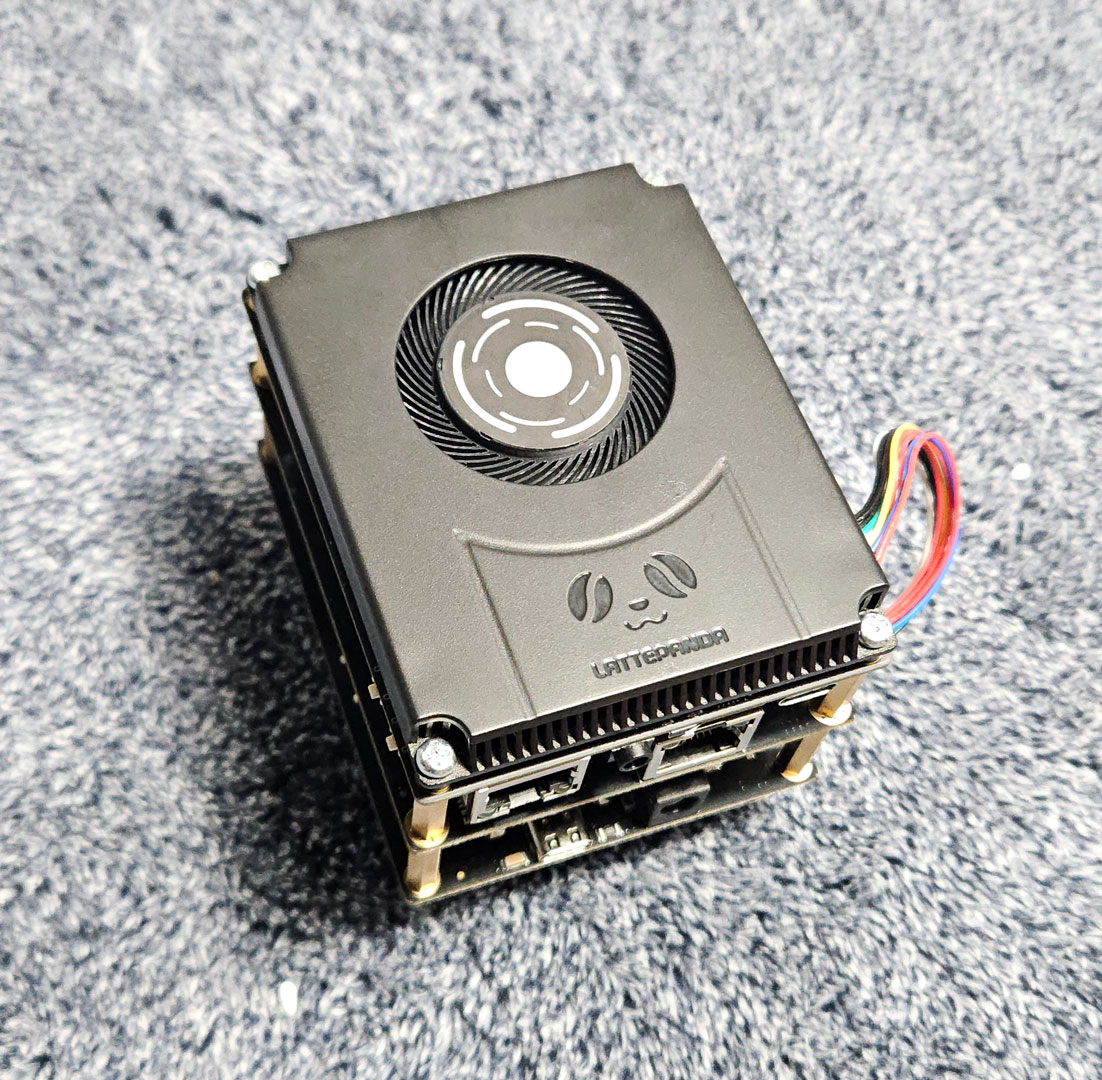
Once everything was assembled, it came together as a compact deployment platform, with cooling, wireless, battery backup, PoE support, and expansion all built into a very small footprint.
Once I had everything ready, I plugged it in, and it booted up right into Windows without issue. So now that everything is set up, let's run some benchmarks.
Nov 16th, 2026 06:54 CST
change timezone
Latest GPU Drivers
New Forum Posts
- Can you guess Which game it is? (327)
- no OpenGL showing support when... (11)
- Without Jensen, PC gaming will be (2)
- The Official Thermal Interface Material thread (2302)
- no "PhysX" workable (15)
- Asus Maximus hero z890 latest Bios 3410 (0)
- What can the FX 8320 do today? Here is the answer. (63)
- Advice for my PC upgrade (6)
- Stalker 2 is looking great. (261)
- Home page search by category (7)
Popular Reviews
- ASUS ROG Strix B850-I Gaming Wi-Fi7 W Review
- Corsair HX1000i Shift Crystal Review
- AMD Zen 6 Technical Deep Dive
- Upcoming Hardware Launches 2027 (Updated Nov 2026)
- Montech King 95 3D PRO Review
- NZXT C1200 Platinum Review
- Phantom Blade Zero Performance Benchmark Review - 35 GPUs Tested
- AMD Ryzen 7 9800X3D Review - The Best Gaming Processor
- NZXT H7 RGB+ Review
- NZXT H5 Review
TPU on YouTube
Controversial News Posts
- NVIDIA Co-Founder and CEO Jensen Huang Officially Resigns (430)
- Open Letter Asking NVIDIA to Reinstate Jensen Huang Passes 115,000 Signatures (184)
- OpenAI CEO Argues Home PCs Waste the World's Limited DRAM Supply (152)
- NVIDIA Launches Investigation Into Jensen Huang's Relationship With Suspected Chinese Spy (136)
- Intel "Raptor Lake Next" 16-Core and 20-Core CPUs Surface (130)
- Legendary Game Studio BioWare Shuts Down Following EA Layoffs (104)
- Dell CEO Says the Memory Shortage Will Get Worse in 2027 (95)
- NVIDIA GeForce RTX 50-Series Scheduled for up to $500 Price Hike This Week (89)