 14
Ducky One X Inductive Keyboard Review
Software »Disassembly
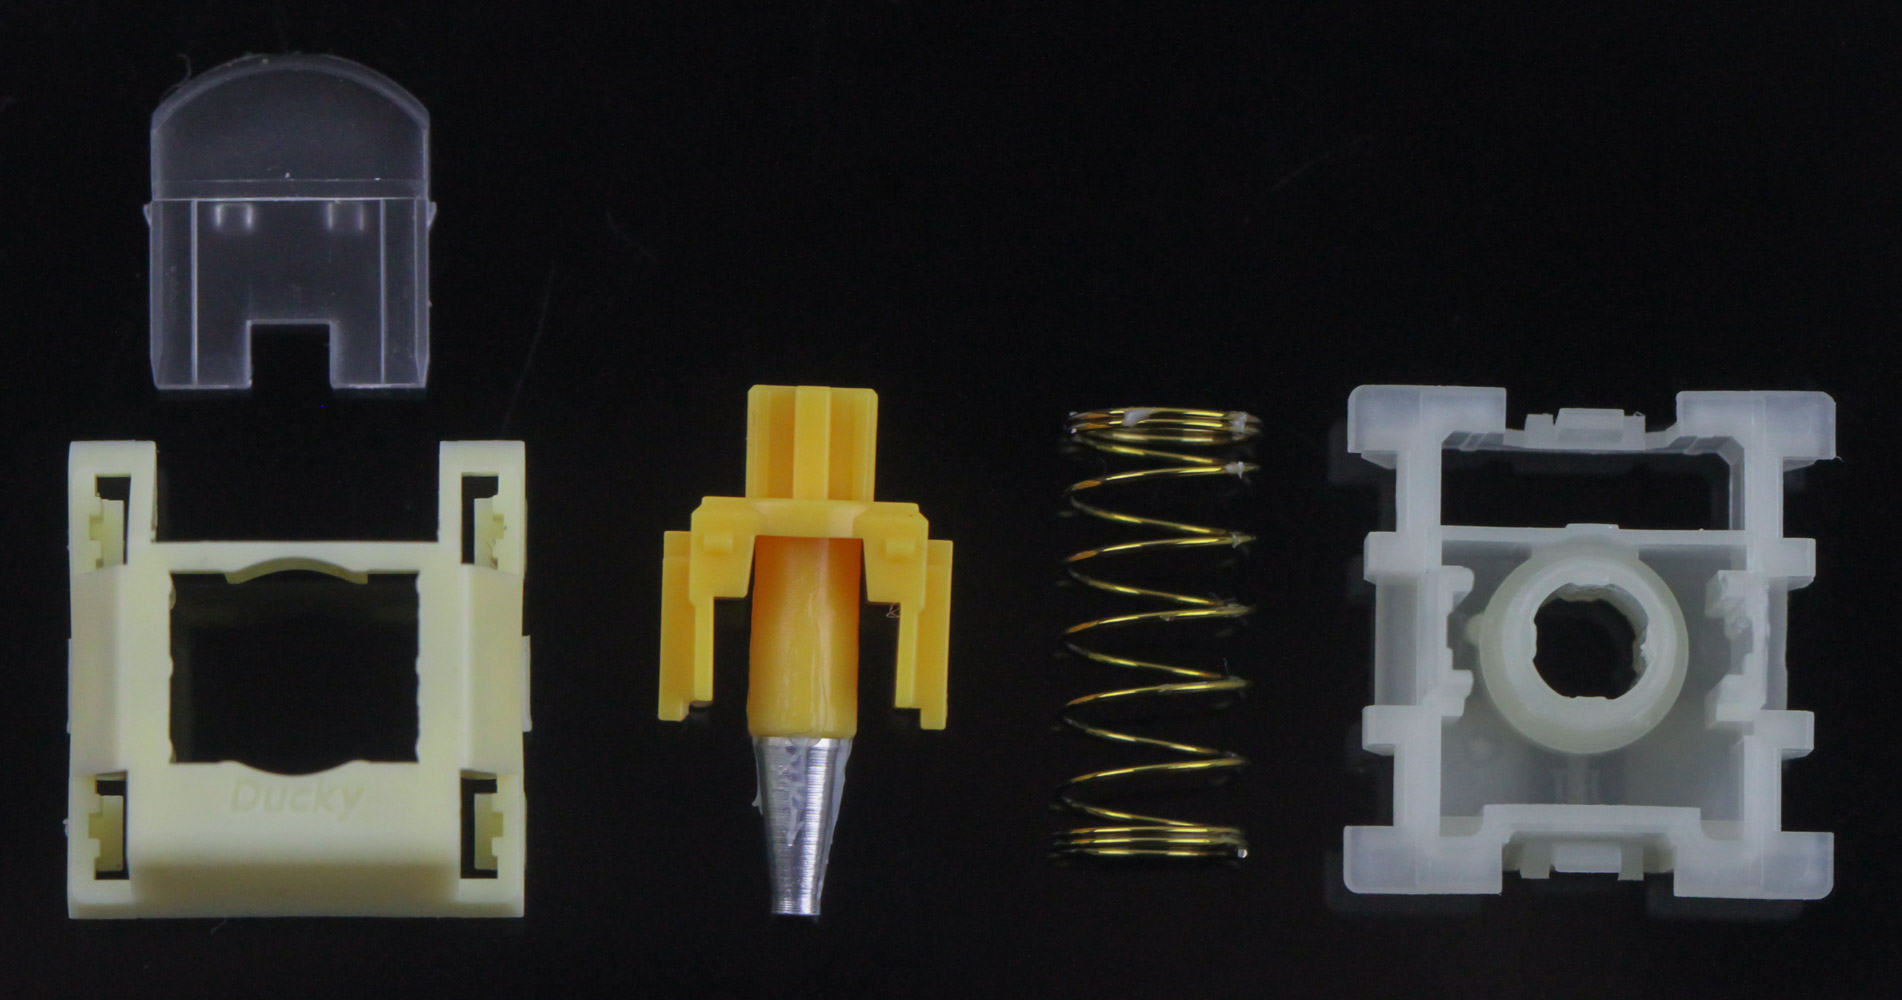
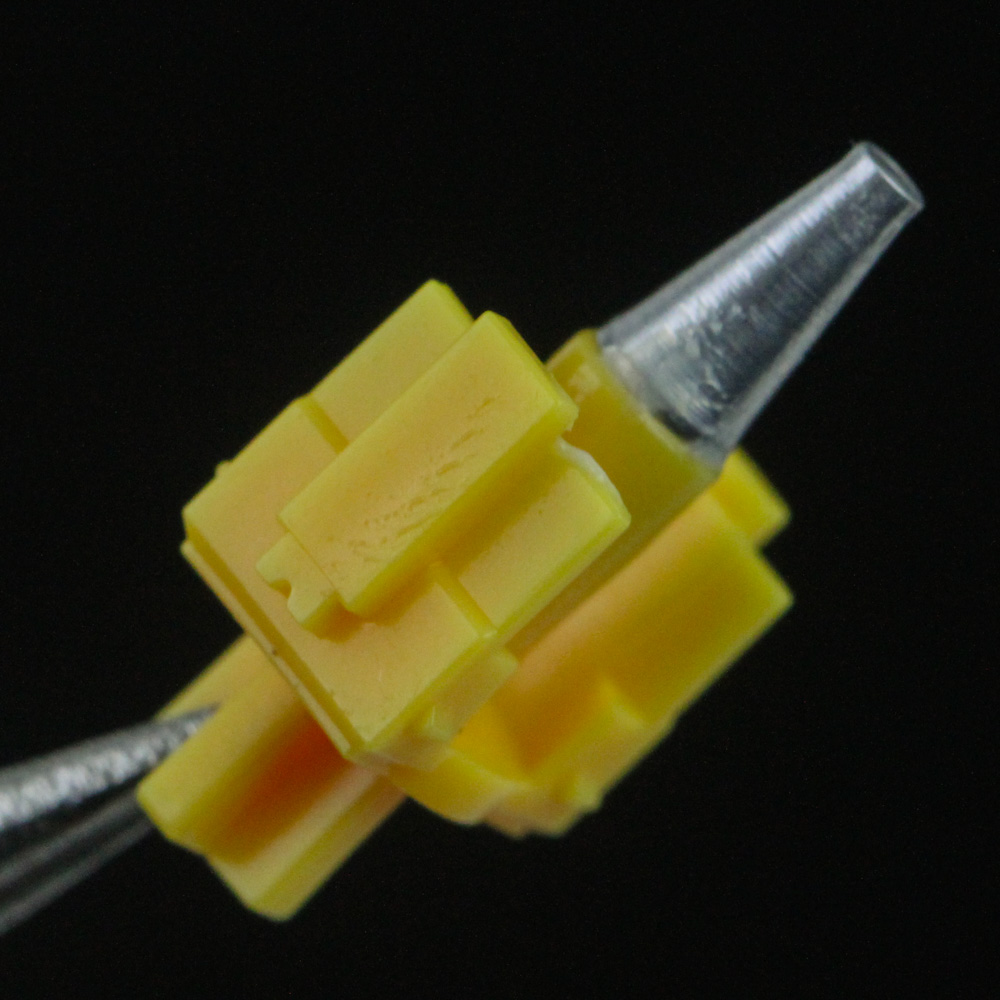
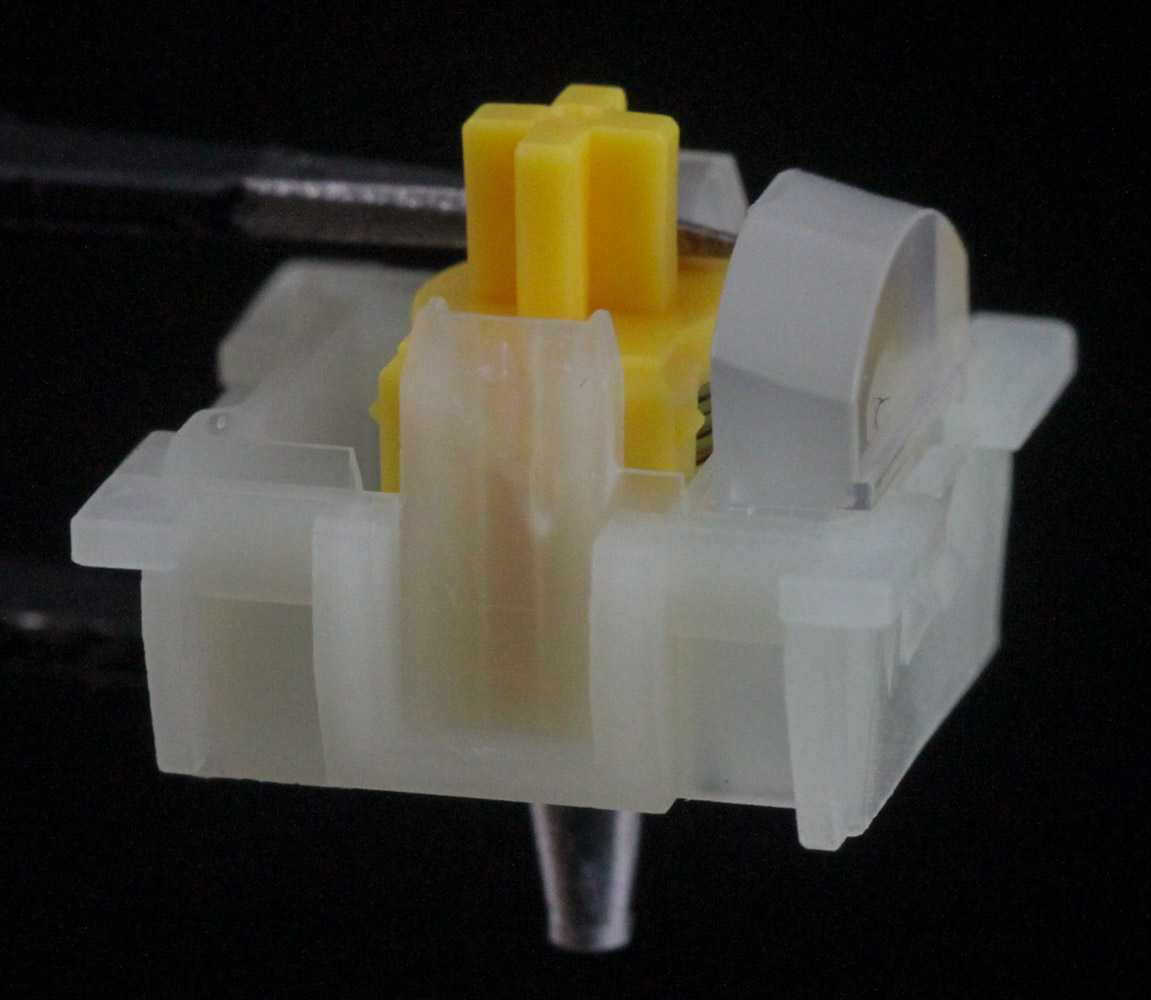
This is my first time using inductive switches, so of course I had to take one apart to see how they work. Ducky's take on this new design doesn't shy too far from the basic Cherry MX-style mechanical switch design, if only because it works and this also allows for added keycap compatibility. As such, we do see a similar structure—top and bottom housing, a diffuser lens, a cross-point stem, and a spring. Where this switch differs is obviously with the stem now having a conical metal addition at the bottom that the inductive coils in the PCB respond to. This piece moves through the bottom housing, thus preventing the switch from having a sealed bottom design, and through the PCB too as we will see shortly. There are thus no metal contacts in the bottom housing as with mechanical switches, and this also means Ducky, or whoever is making these switches, can easily decouple the actuation mechanism from feedback. As such, I don't see anything stopping us from having tactile or clicky inductive switches—hopefully sooner than later. The stem comes pre-lubed out of the factory and there's tight tolerance in the switch housing for the stem to move up or down. Note also the spring being shorter and thicker than usual, with some of the lube seen there too as the stem shaft moves inside.
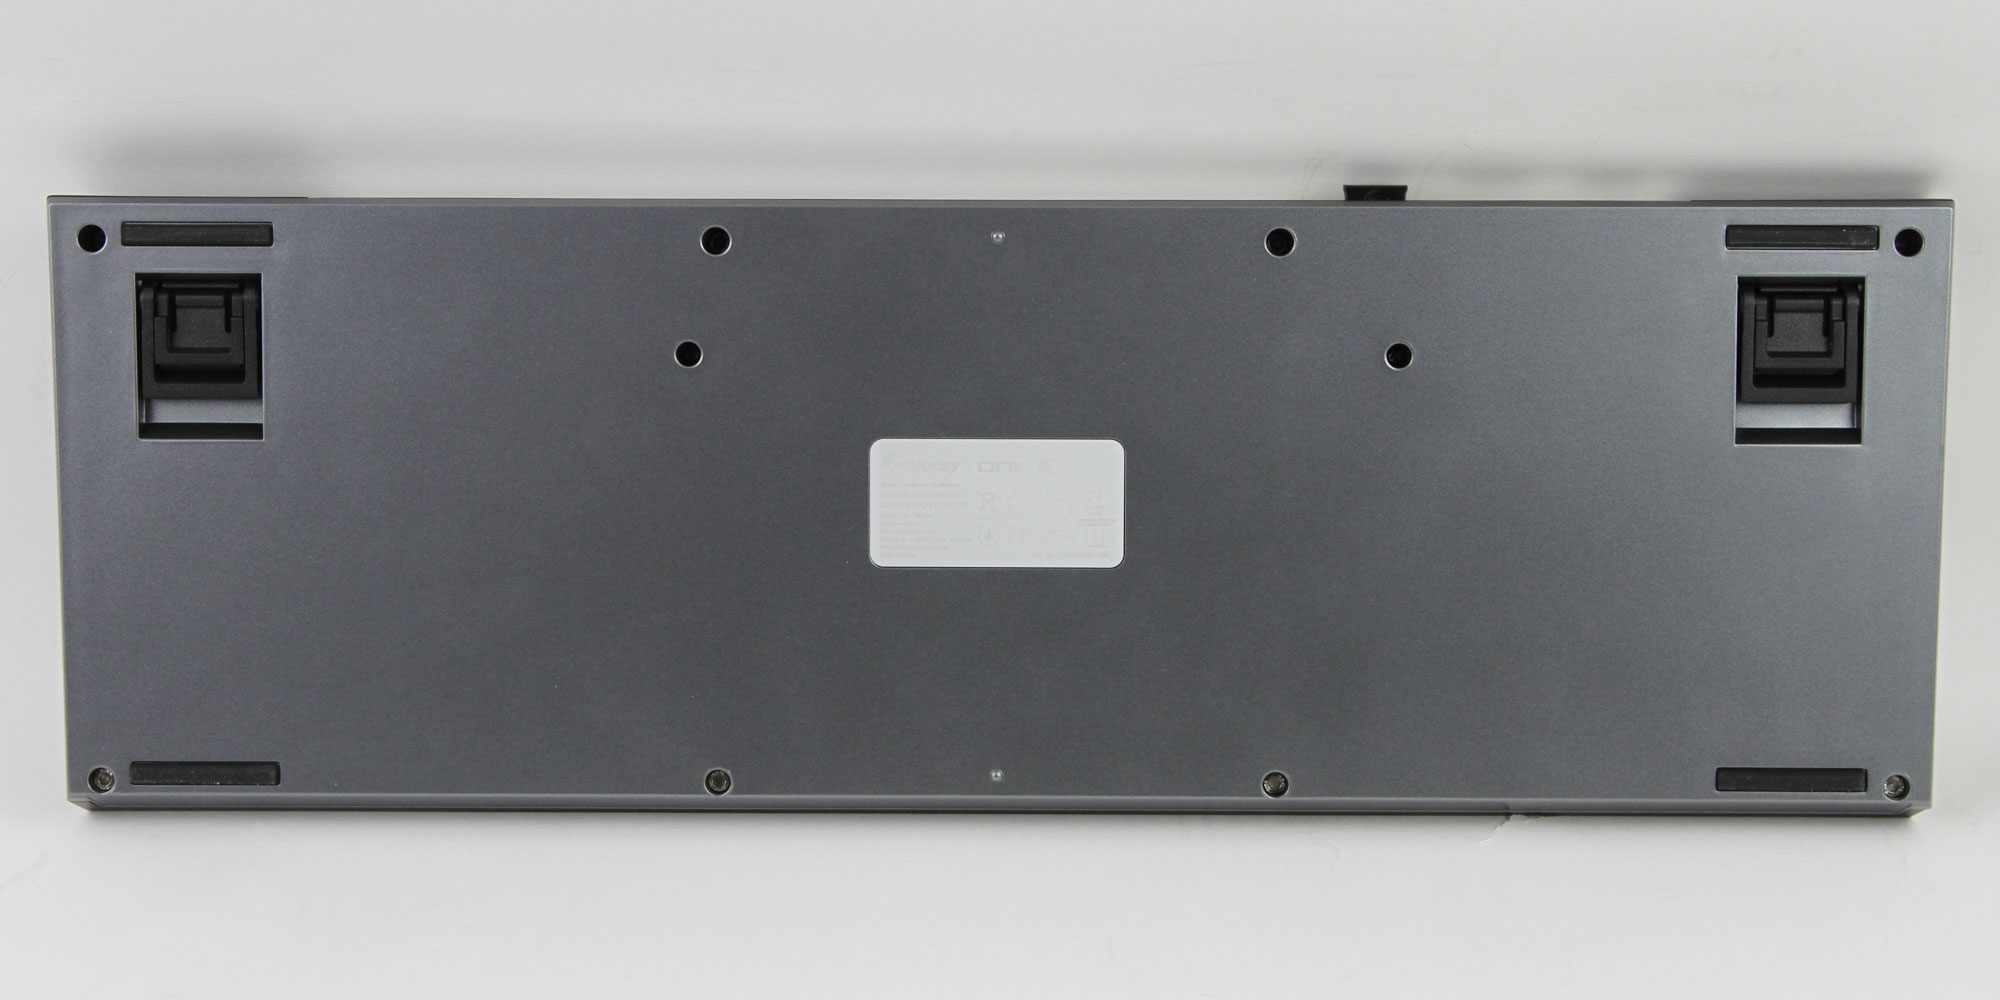
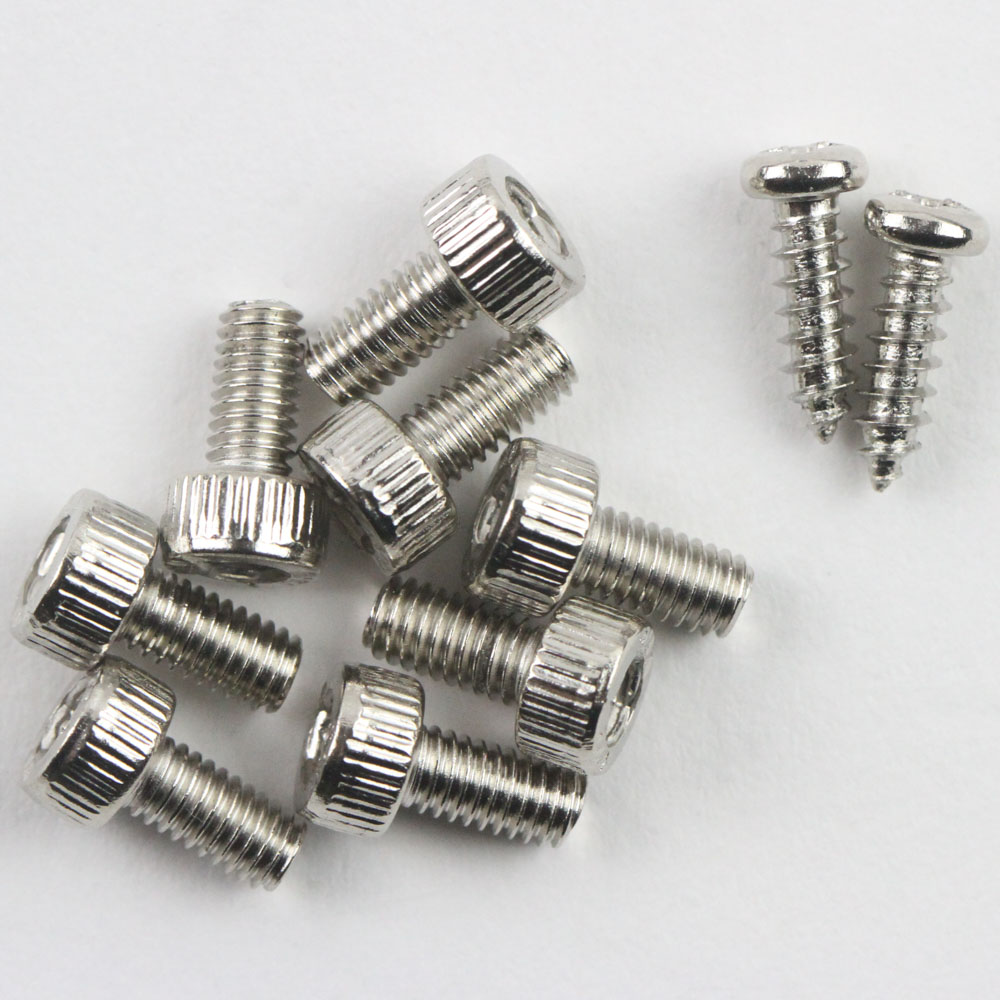
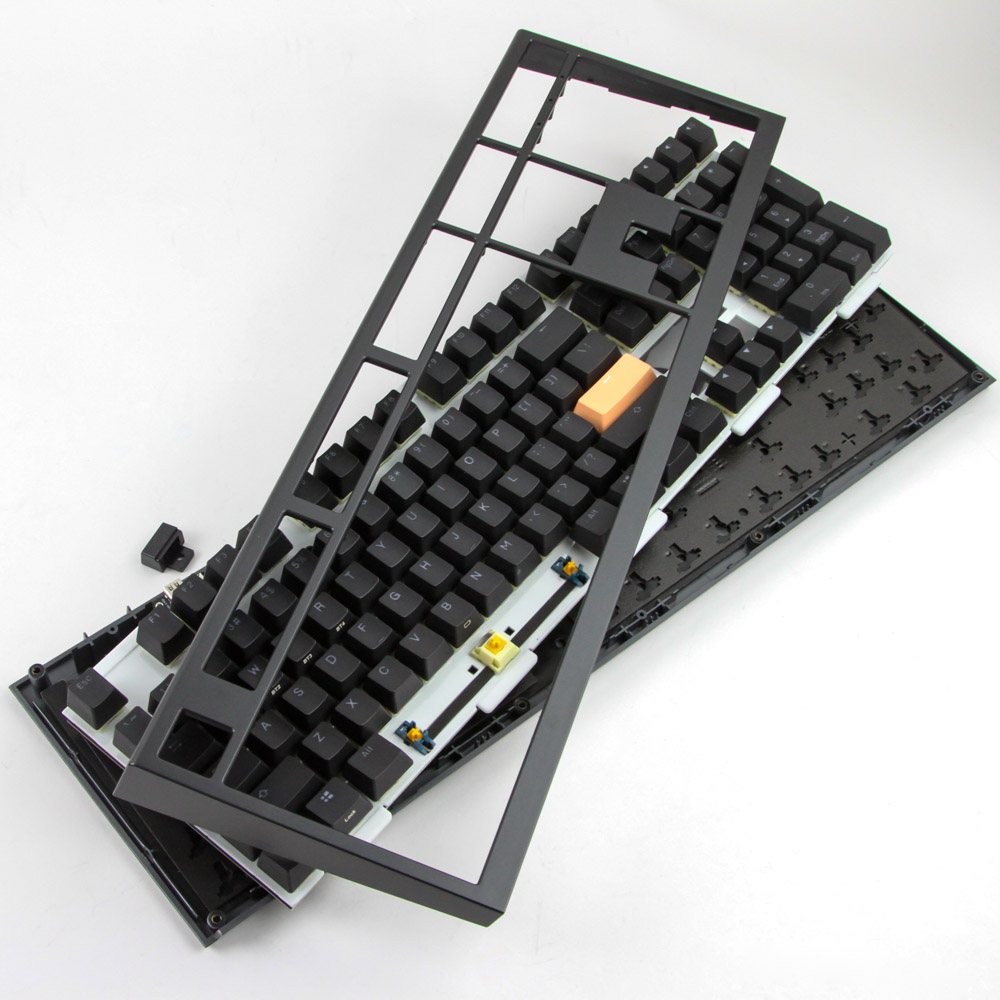

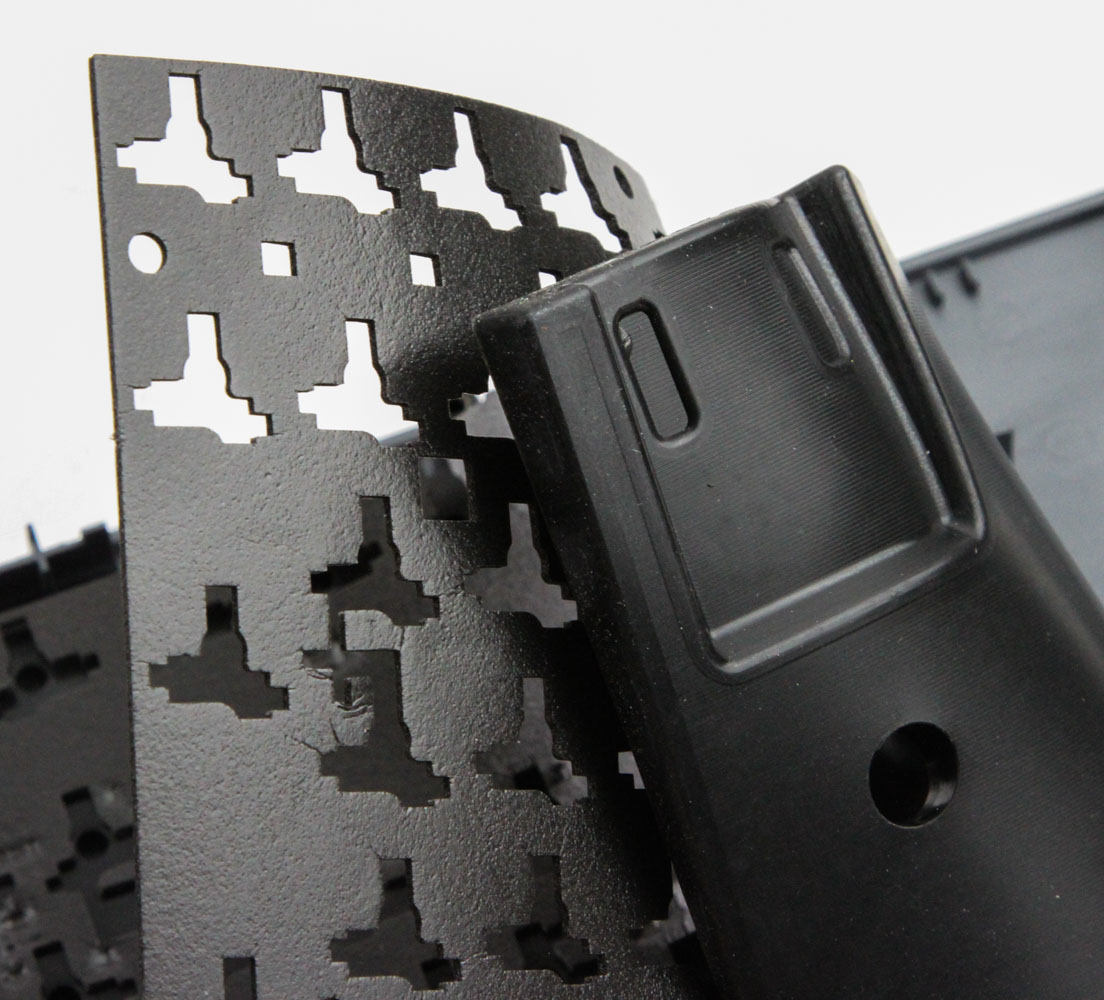
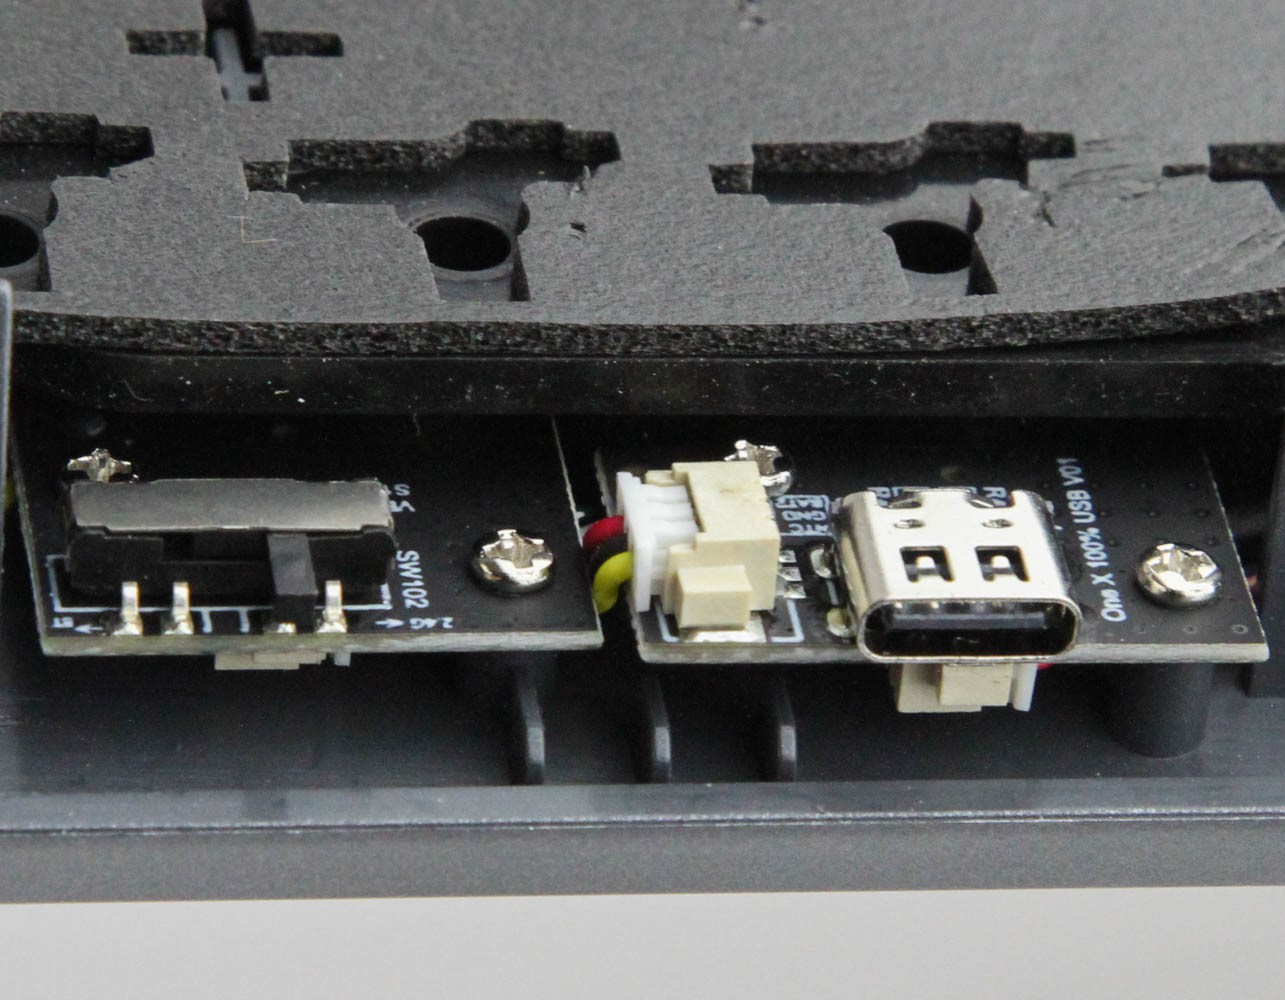

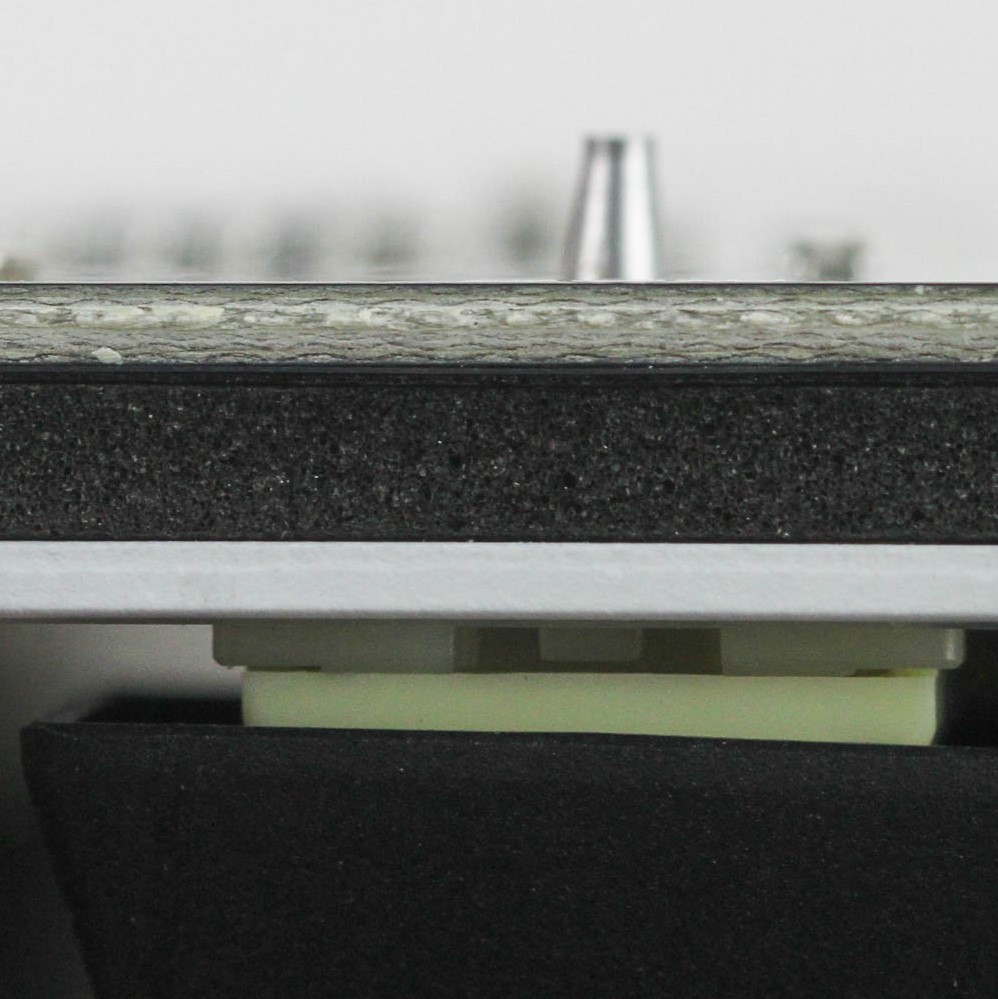
Disassembly of the Ducky One X is quite simple, provided you know where all the 10 screws are located on the bottom. Eight of these are hex head screws with two others being Phillips head screws for whatever reason. At this point, you will have some give between the two case panels allowing you to then use a thin/flat object to pry apart interlocking plastic tabs further securing the keyboard together. Be careful here lest you break some of them though! The top panel comes loose completely at this point, and now you have enough room to dislodge the two cables going from the battery and input daughter PCB in the bottom panel to the primary PCB. Ducky is using a 7-stage dampening system in the One X, including thick silicone and IXPE foam between the PCB and the bottom panel to prevent reverberations from typing. The keyboard uses a 2000-2500 mAh battery here, which is on the more measly side for a 100% keyboard with RGB LEDs and inductive switches that will no doubt require always-on sensing. On the plus side, this is one of the better gasket mount implementations via double-sided silicone gaskets on the top and bottom, with far too many keyboards these days using thin, super soft foam pieces and calling it a day.

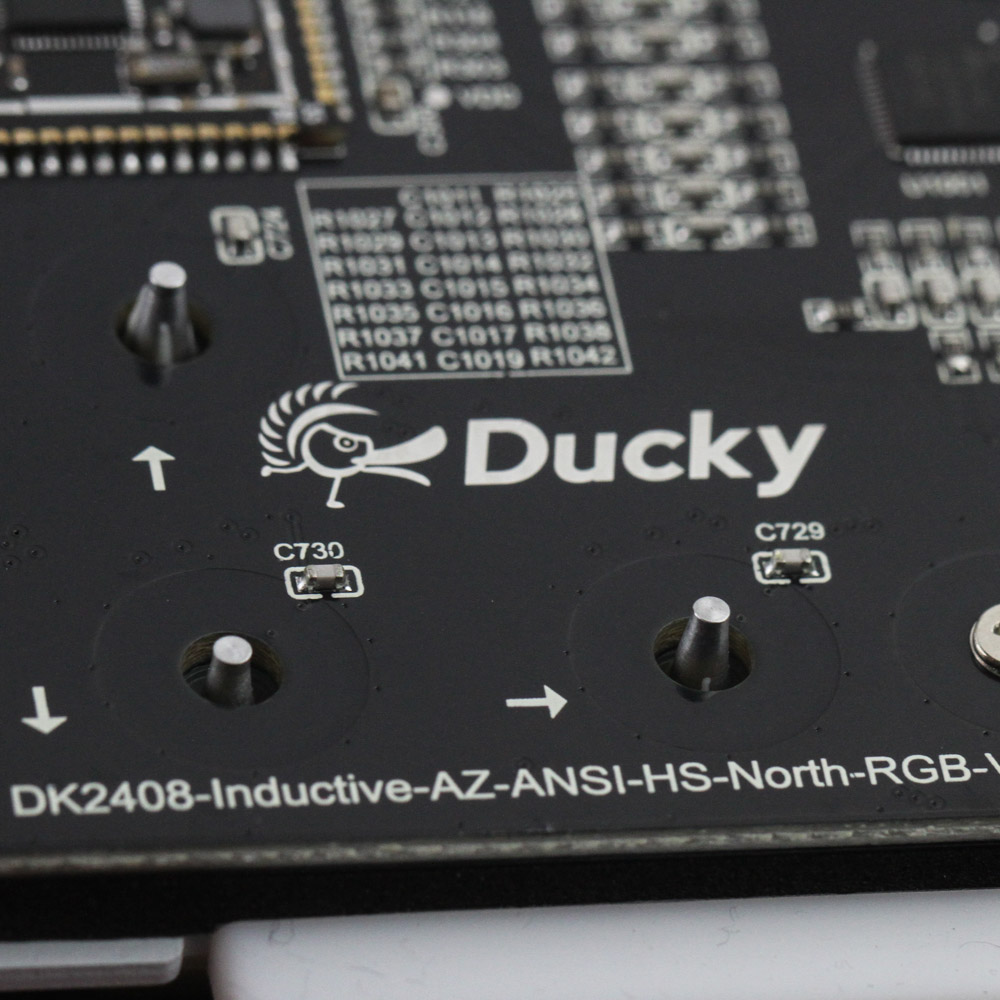
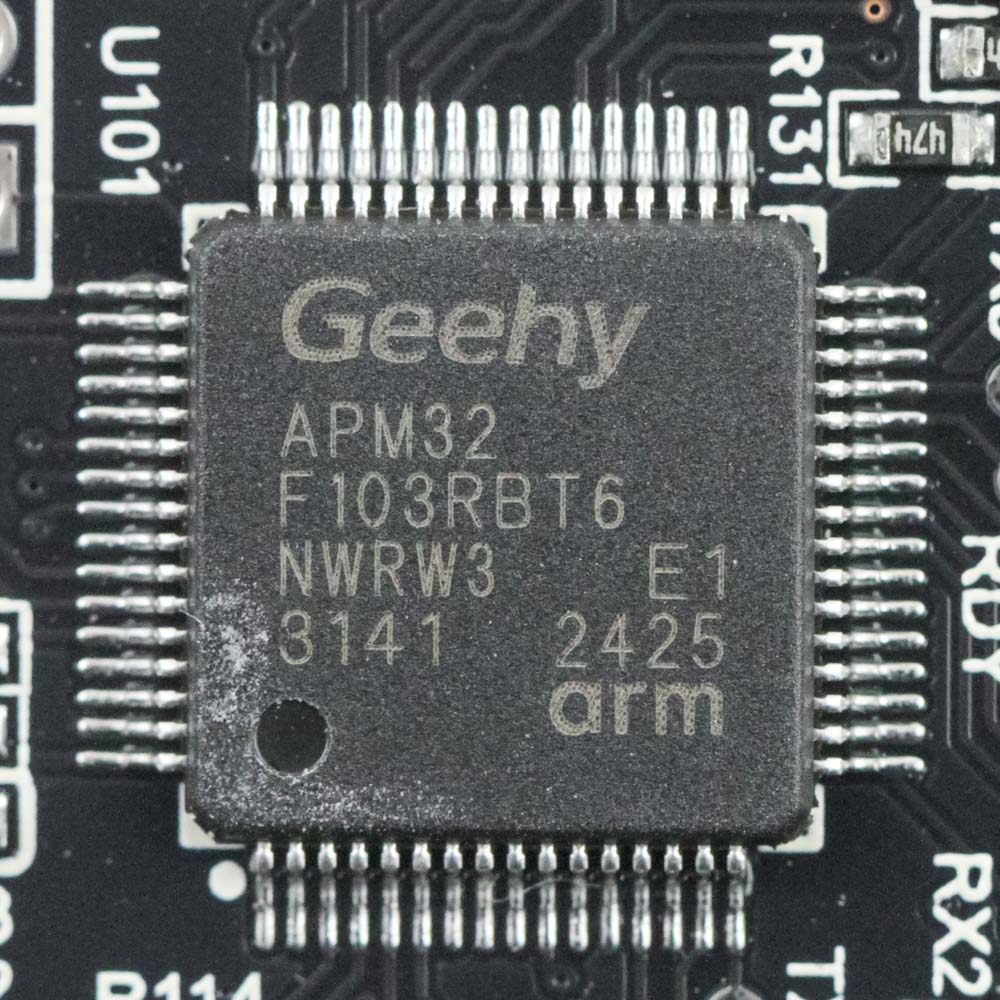
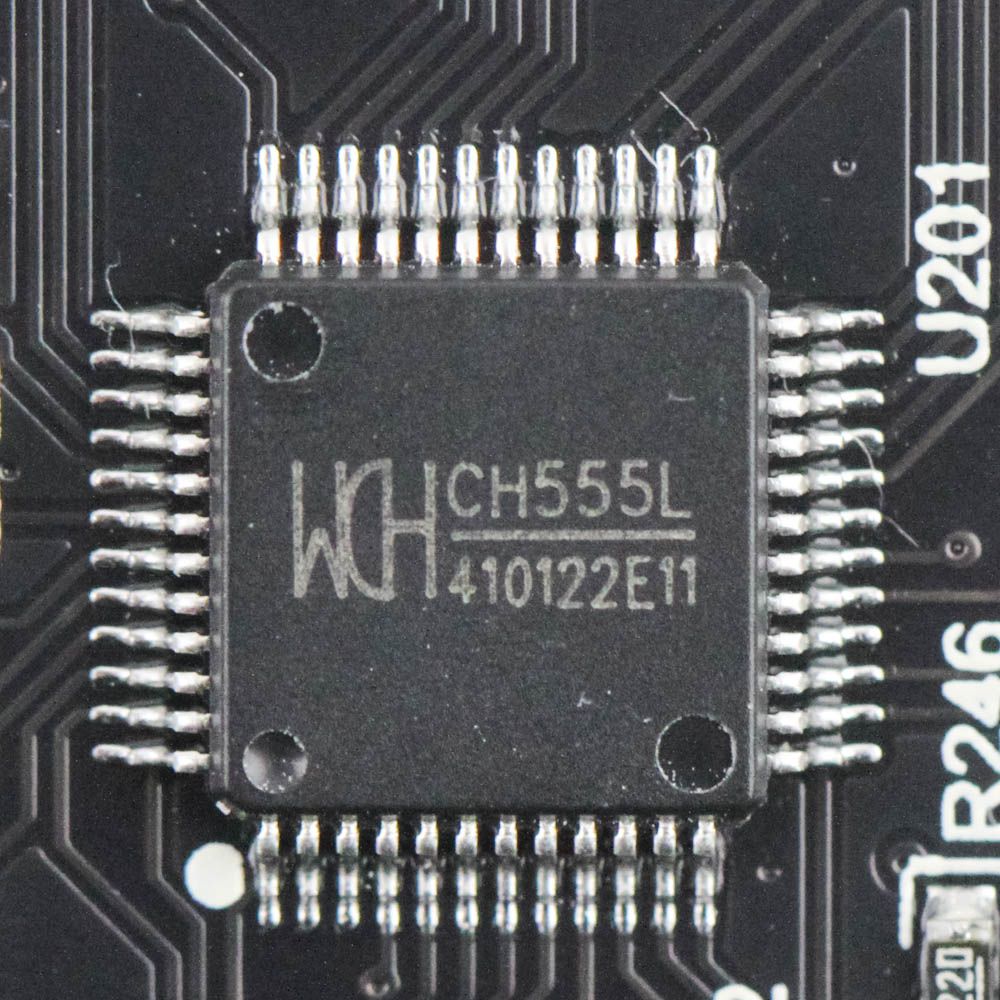


The primary PCB is black and assembled very neatly. You will also notice it looks sparse owing to the absence of mechanical or magnetic switch components. Instead, there's a hole in the PCB where each switch is positioned to allow for that conical metal piece to poke through. The inductive coil(s) is integrated within the PCB, further making it impossible to use with any other switch at this time. Powering the One X is a Geehy APM32F103 series 32-bit Arm® Cortex®-M3 USB microcontroller with 128 KB onboard flash memory, supported by WCH CH555 and CH582M USB and RGB LED microcontrollers. Most importantly, we see seven Azoteq multi-channel inductive sensors that also hint towards the switch designer too. All the components, including the SMD LEDs and capacitors, are soldered to a multi-layered PCB, with more damping materials used between the plate and the PCB.
Before we move on, be advised that disassembly may void the warranty and that TechPowerUp is not liable for any damages incurred if you decide to go ahead and do so anyway.
Nov 19th, 2026 15:05 CST
change timezone
Latest GPU Drivers
New Forum Posts
- Security Apps (2)
- How to prevent OLED burn damage due to PC freezes or power outtages? (28)
- Last game you purchased? (1408)
- Making a game in Godot engine (3)
- Got the EOL 32GB TridentZ 6000 CL26 1.4V (11)
- GTA VI (7)
- Very unusual two gaming-pc scenarios. (21)
- WarpCoreBench scores! (74)
- When you could finally run Crysis maxed out? (62)
- Windows 11 General Discussion (7734)
Popular Reviews
- Acemagic Retro X3 Review
- Ugreen NASync DXP4800 GT Review
- Upcoming Hardware Launches 2027 (Updated Nov 2026)
- Pulsar Office Tour & First Look at P1 Dual-Sensor Mouse
- AMD Zen 6 Technical Deep Dive
- Biwin Black Opal NV7400 2 TB Review
- Sapphire Radeon RX 7700 XT Pure Review
- Sapphire Radeon RX 7700 XT Pulse Review
- AMD Ryzen 7 9800X3D Review - The Best Gaming Processor
- Chieftec Iceberg PRO 360 DARK Review
TPU on YouTube
Controversial News Posts
- NVIDIA Co-Founder and CEO Jensen Huang Officially Resigns (486)
- Report: Jensen Huang Eyes NVIDIA Comeback (222)
- Open Letter Asking NVIDIA to Reinstate Jensen Huang Passes 115,000 Signatures (184)
- OpenAI CEO Argues Home PCs Waste the World's Limited DRAM Supply (152)
- NVIDIA Launches Investigation Into Jensen Huang's Relationship With Suspected Chinese Spy (136)
- Intel "Raptor Lake Next" 16-Core and 20-Core CPUs Surface (130)
- Legendary Game Studio BioWare Shuts Down Following EA Layoffs (104)
- Dell CEO Says the Memory Shortage Will Get Worse in 2027 (95)