 16
EUROCOM Raptor X18 Review - The Batmobile Among the Gaming Workstations
Display Testing »Disassembly and Teardown
The Eurocom Raptor X18 is a huge 18-inch workstation with gaming capabilities. But this thing isn't difficult to open.
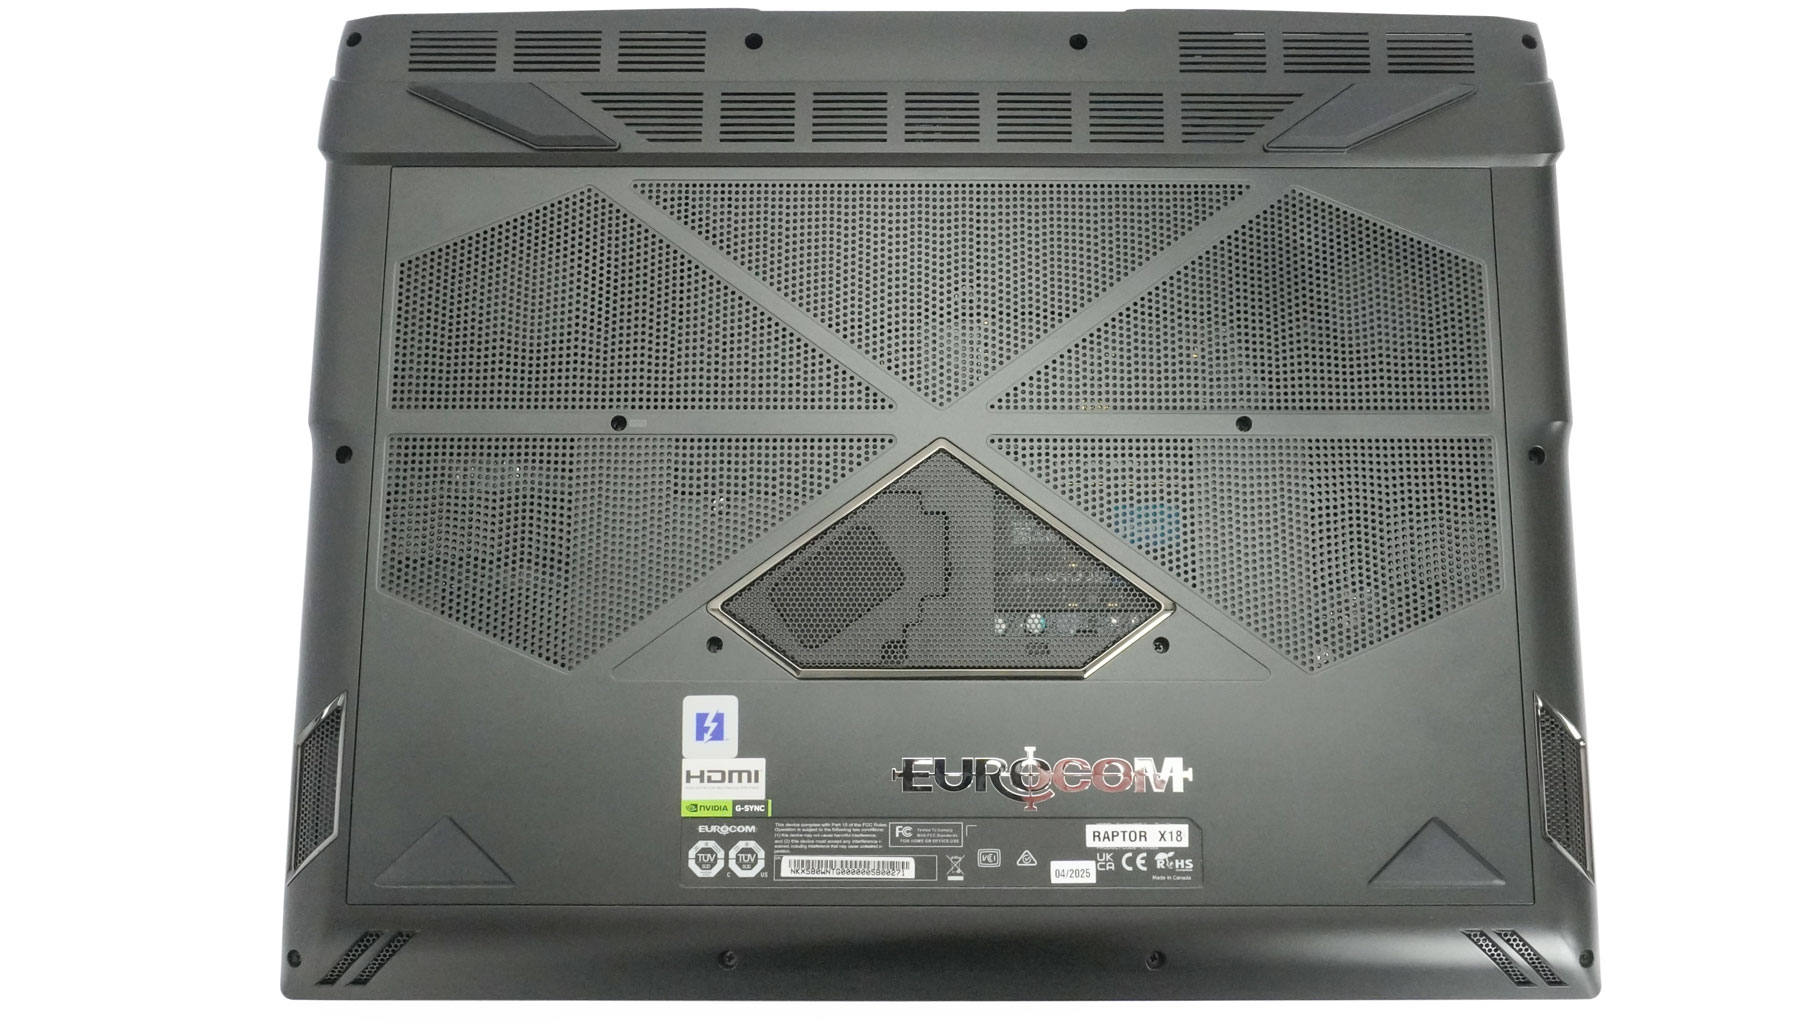
Start by removing the 14 Phillips-head screws that hold the bottom cover in place.
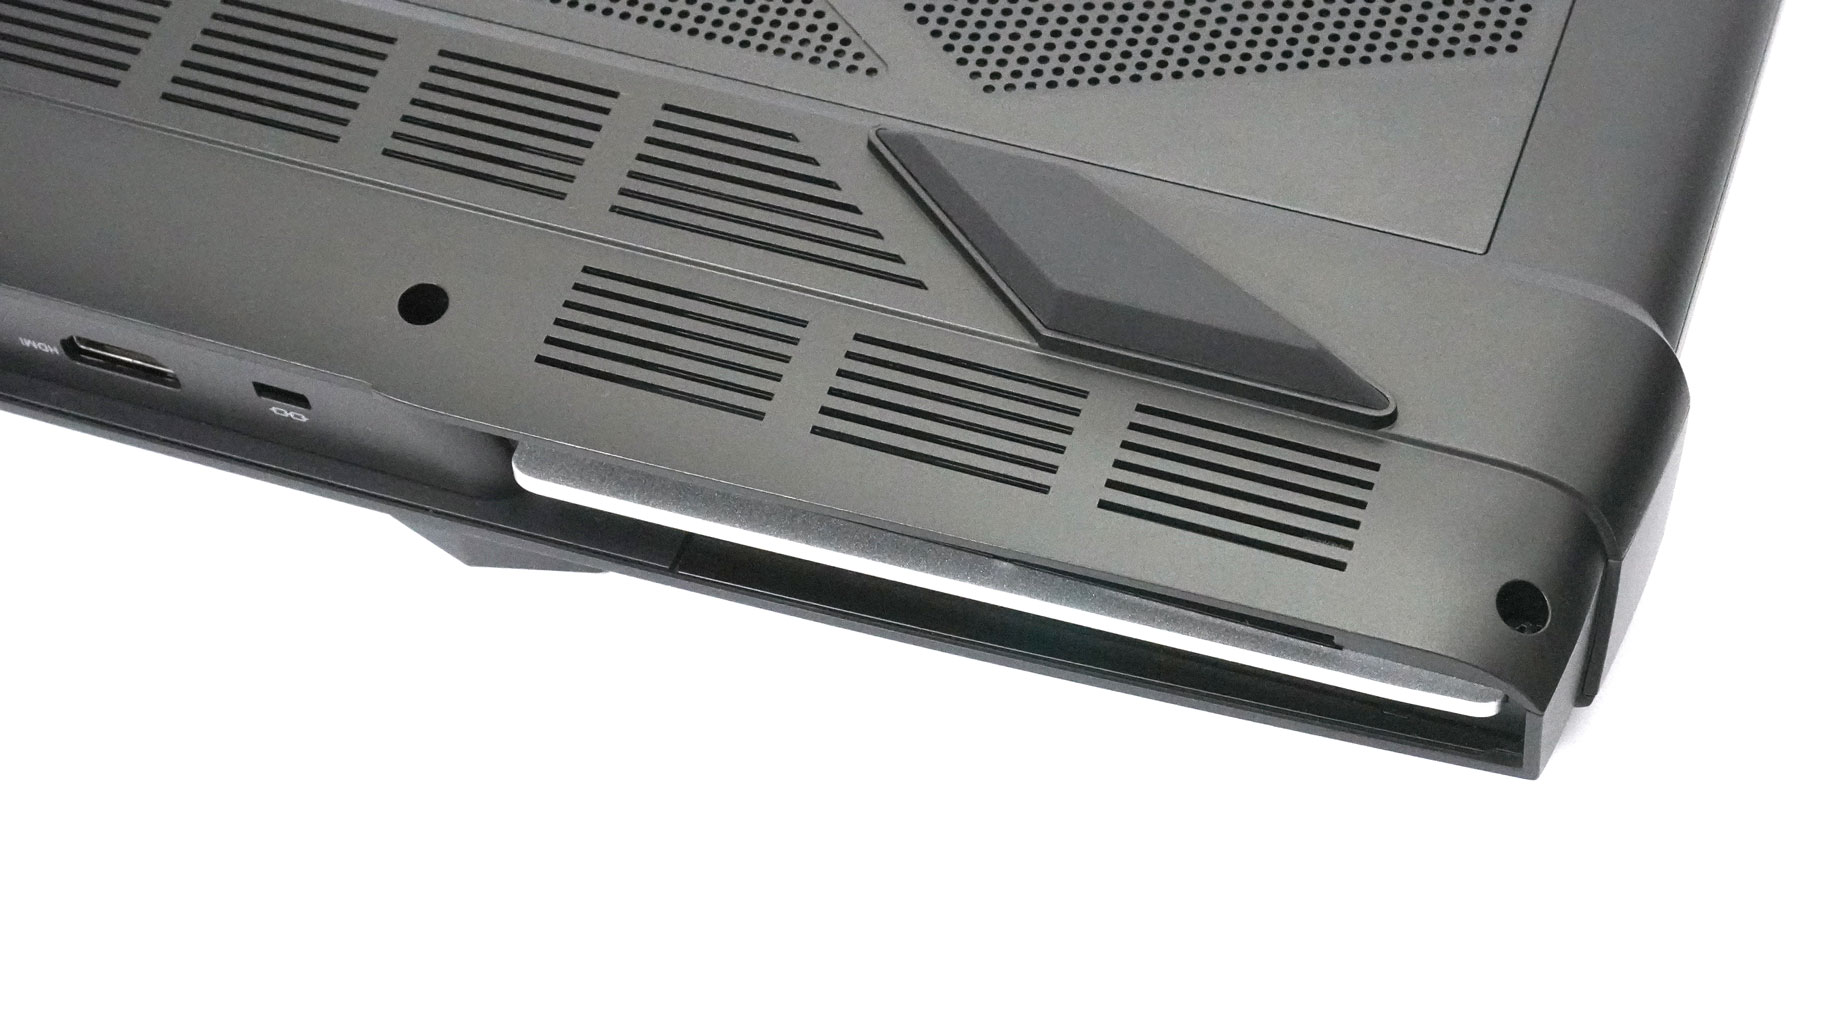
Then, hold the back exhausts with both hands and pop them simultaneously or one by one. Your wrist should apply slight pressure on the panel, and you have to lift the vents upwards with your fingers. Raise the plate carefully and wiggle it a bit at the front. If this method doesn't work for you, pry the sides where the clips aren't released with a thin plastic tool.
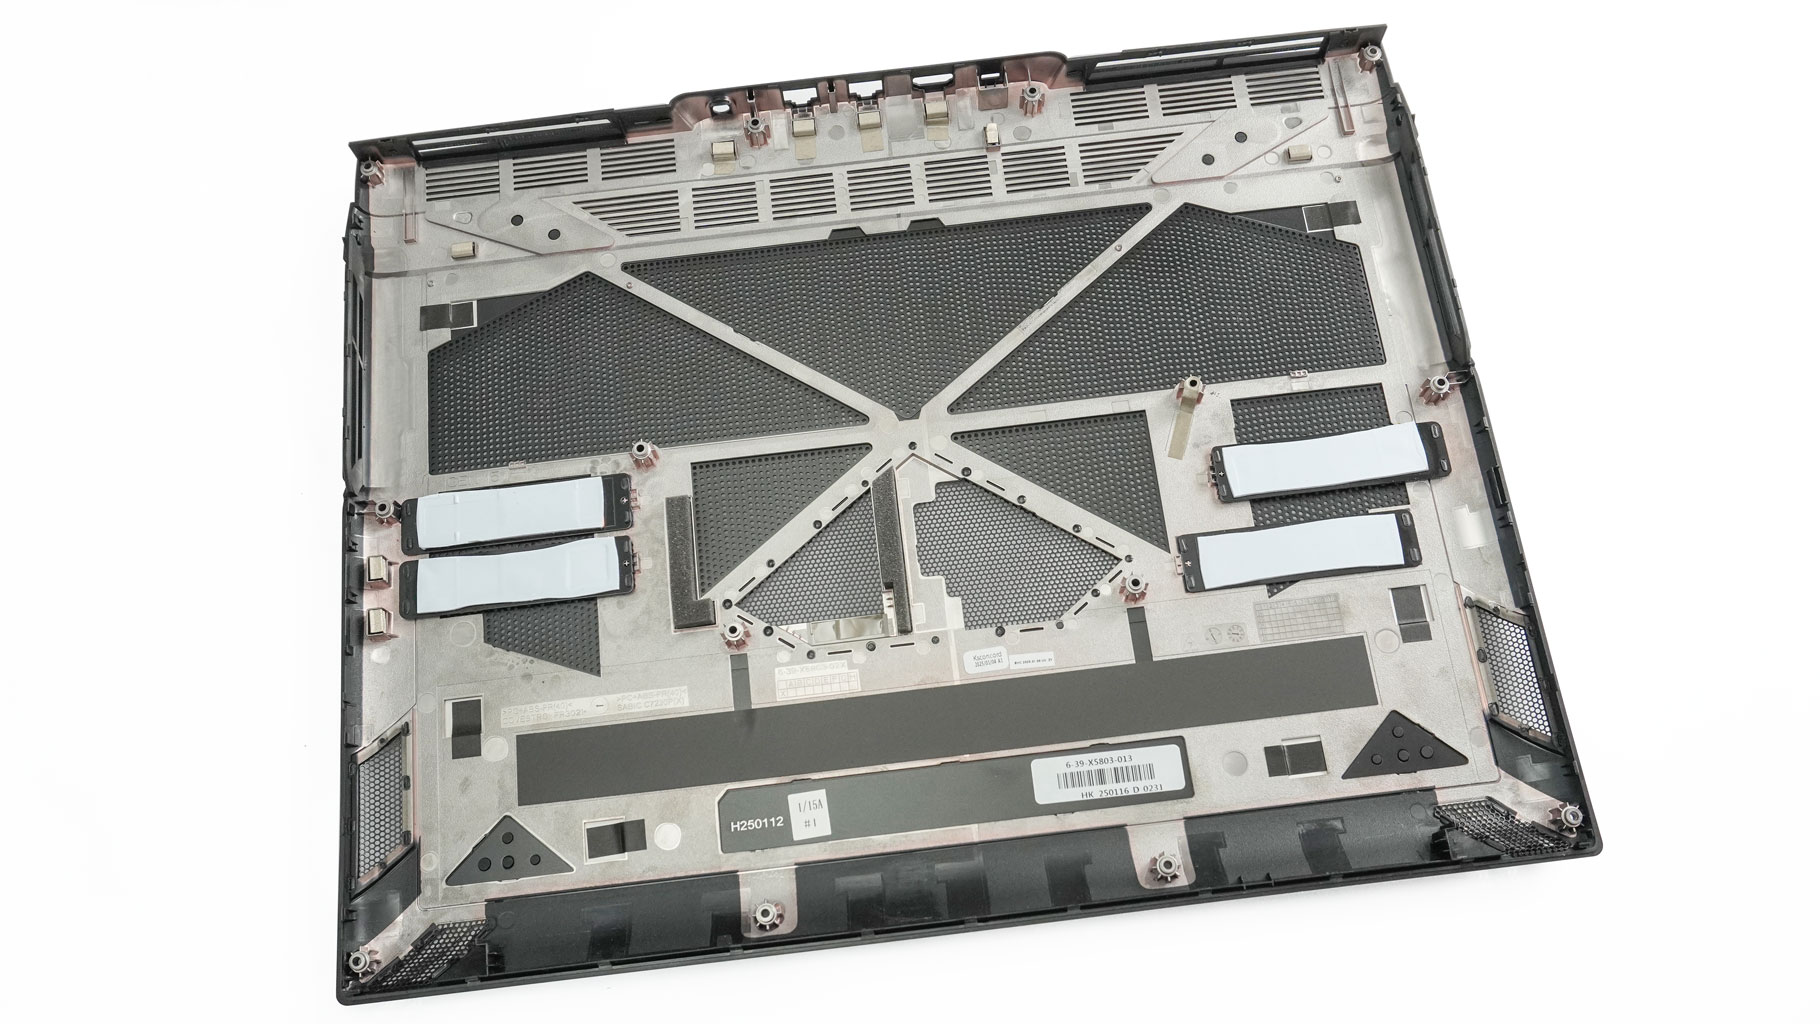
The internal side of the bottom panel houses four plates that make contact with the SSD thermal pads.
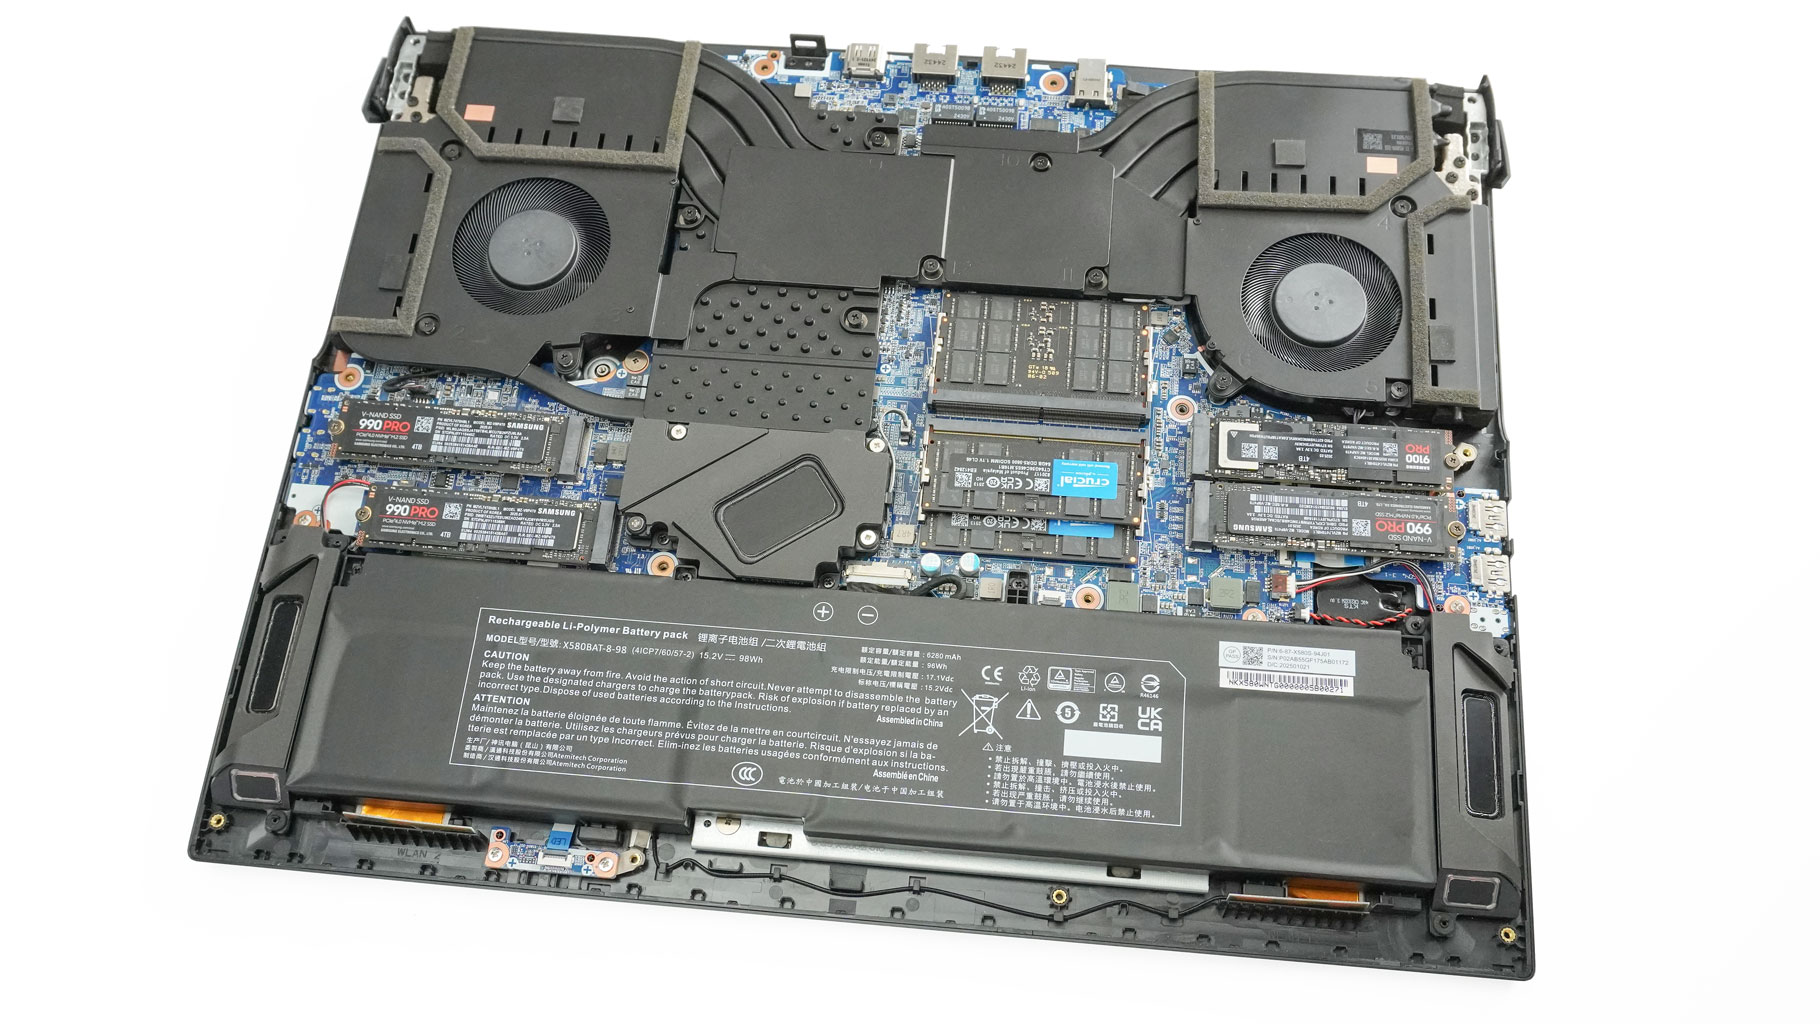
Once the panel is off, it's clear this laptop is built to last thanks to its gigantic cooling and rich upgradability.
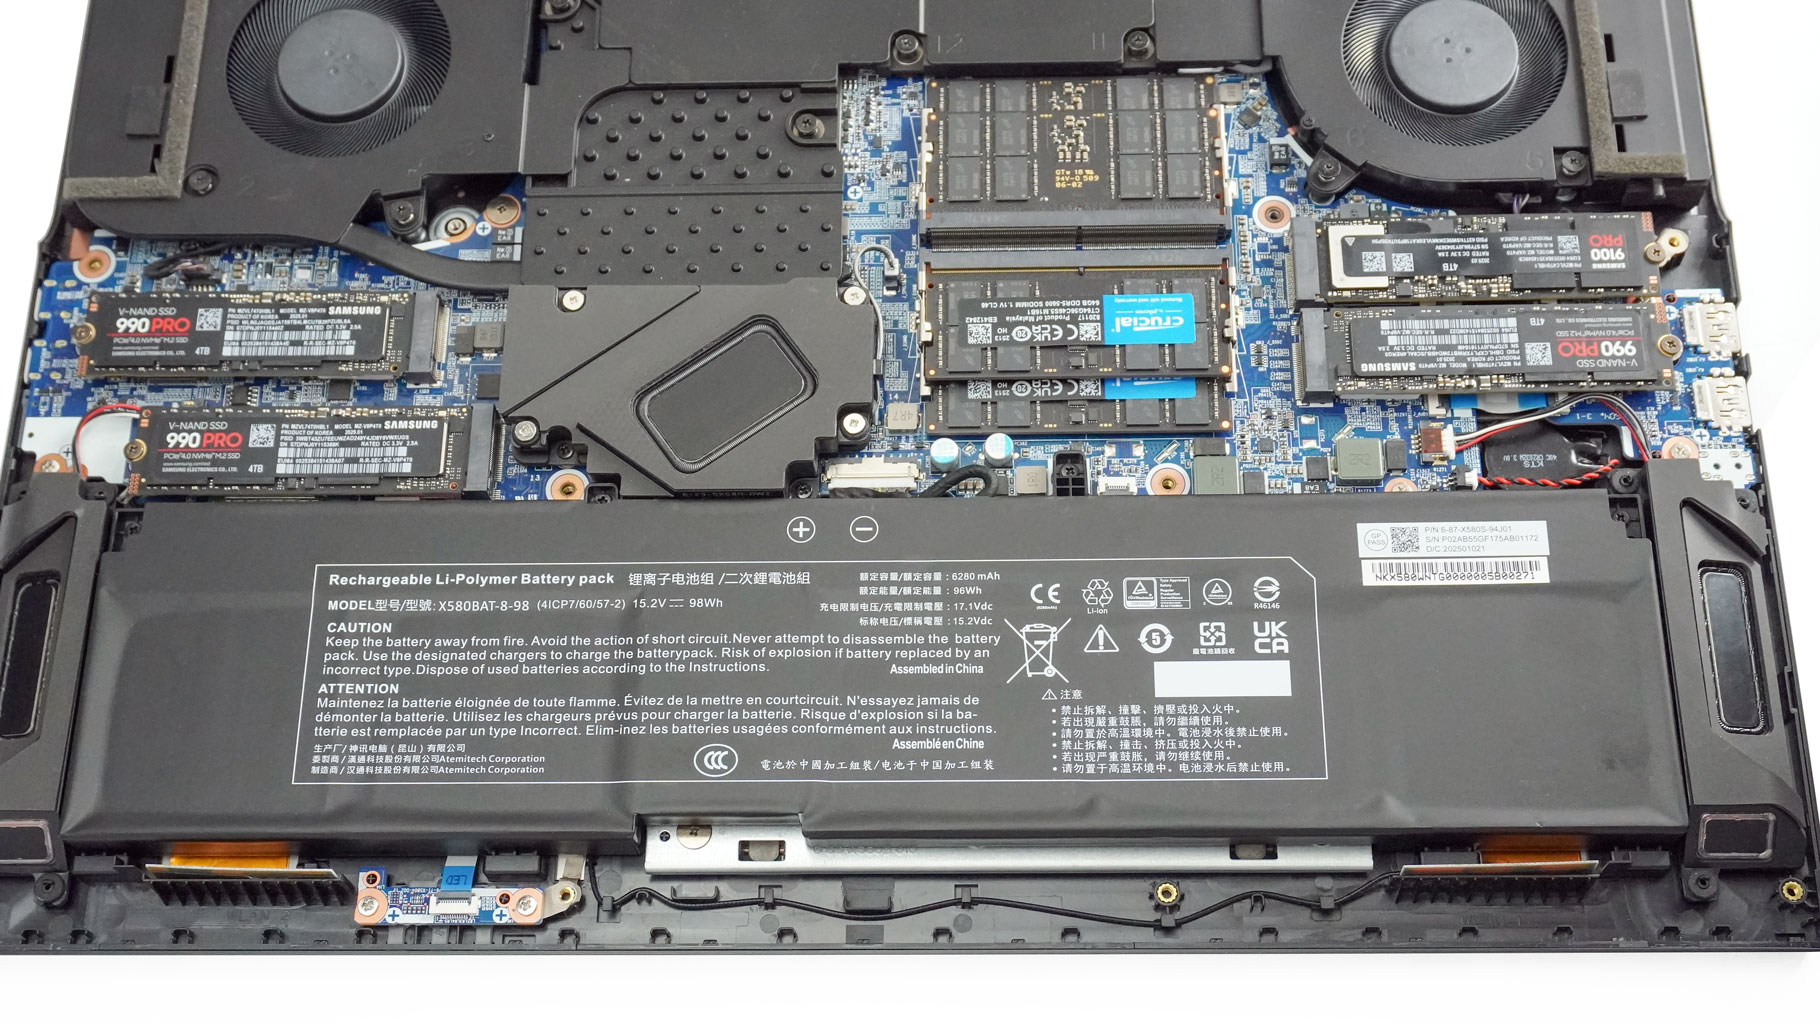
The battery is a large 98 Wh model. To take it out, pull down the connector. If the subwoofer on the left gets in your way, remove it first. Undo the top four Philips heads. Then, raise the front of the unit and slide it to the cooling.
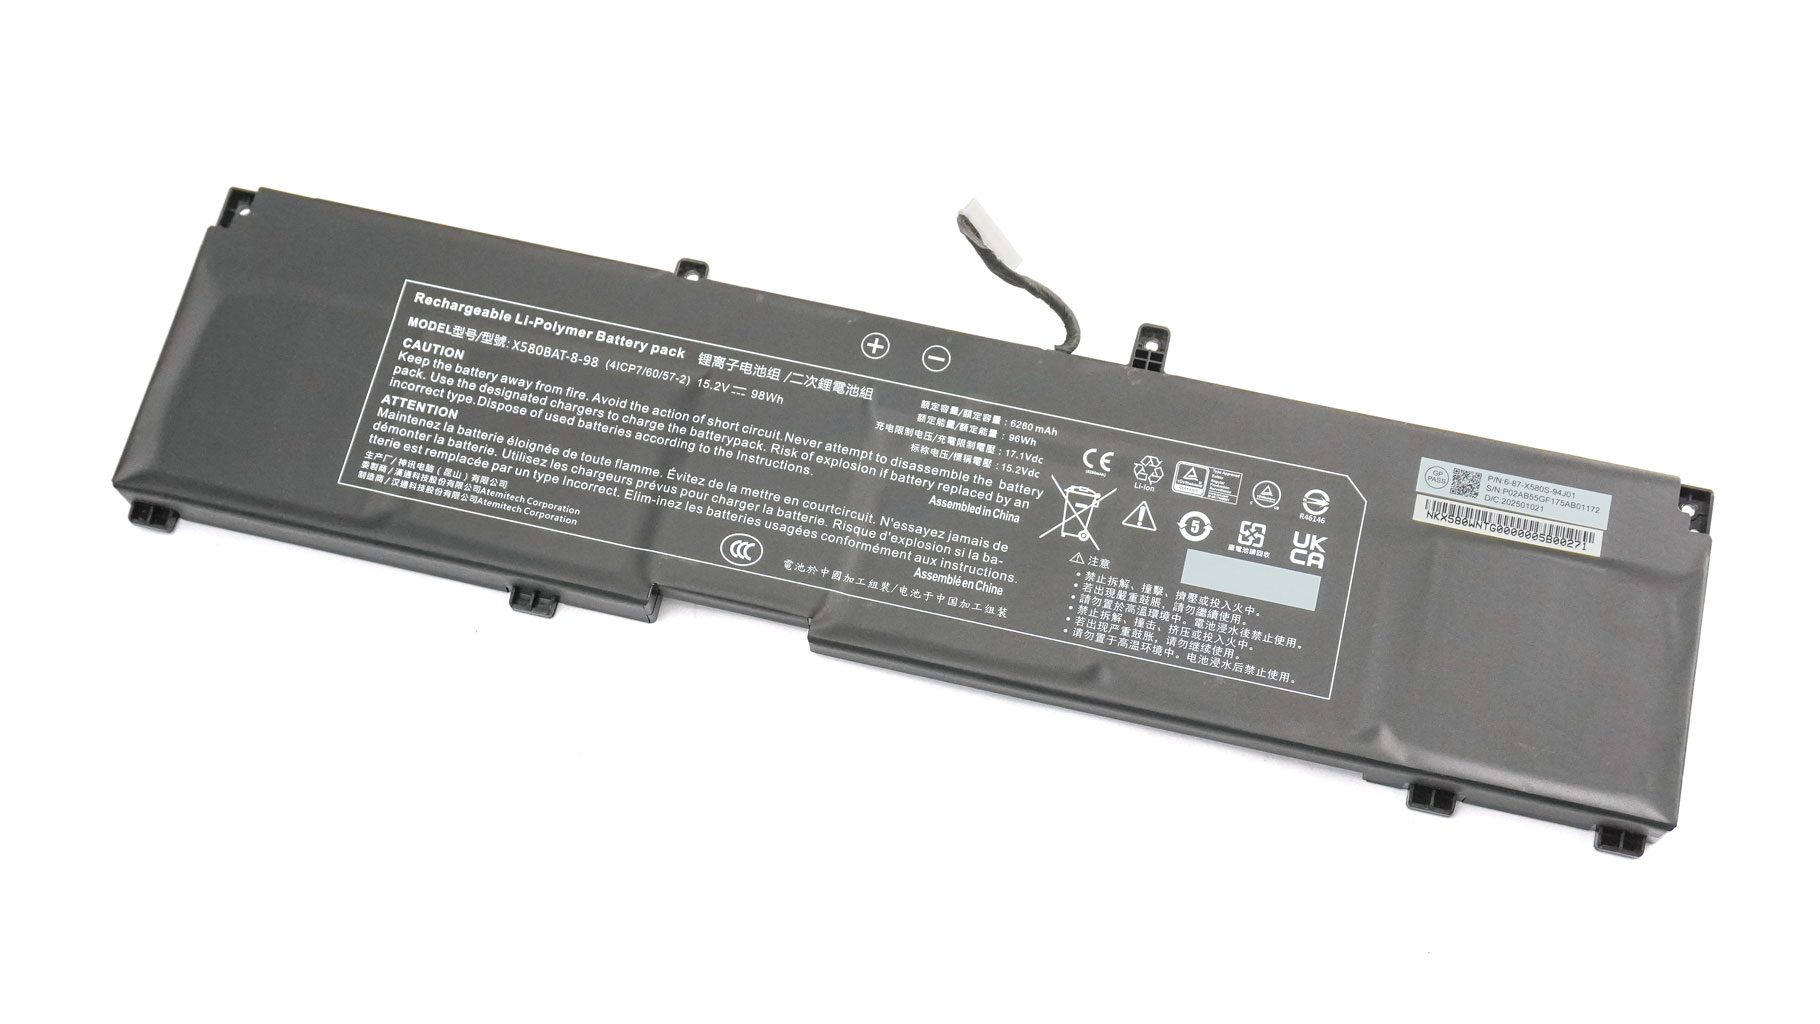
The battery life isn't something to write home about - almost 4 hours of 4K YouTube videos (3h and 51 minutes). Maybe we can consider it decent since the hardware is nothing but top-notch, and that naturally draws more power.

The subwoofer is held in place by four screws.
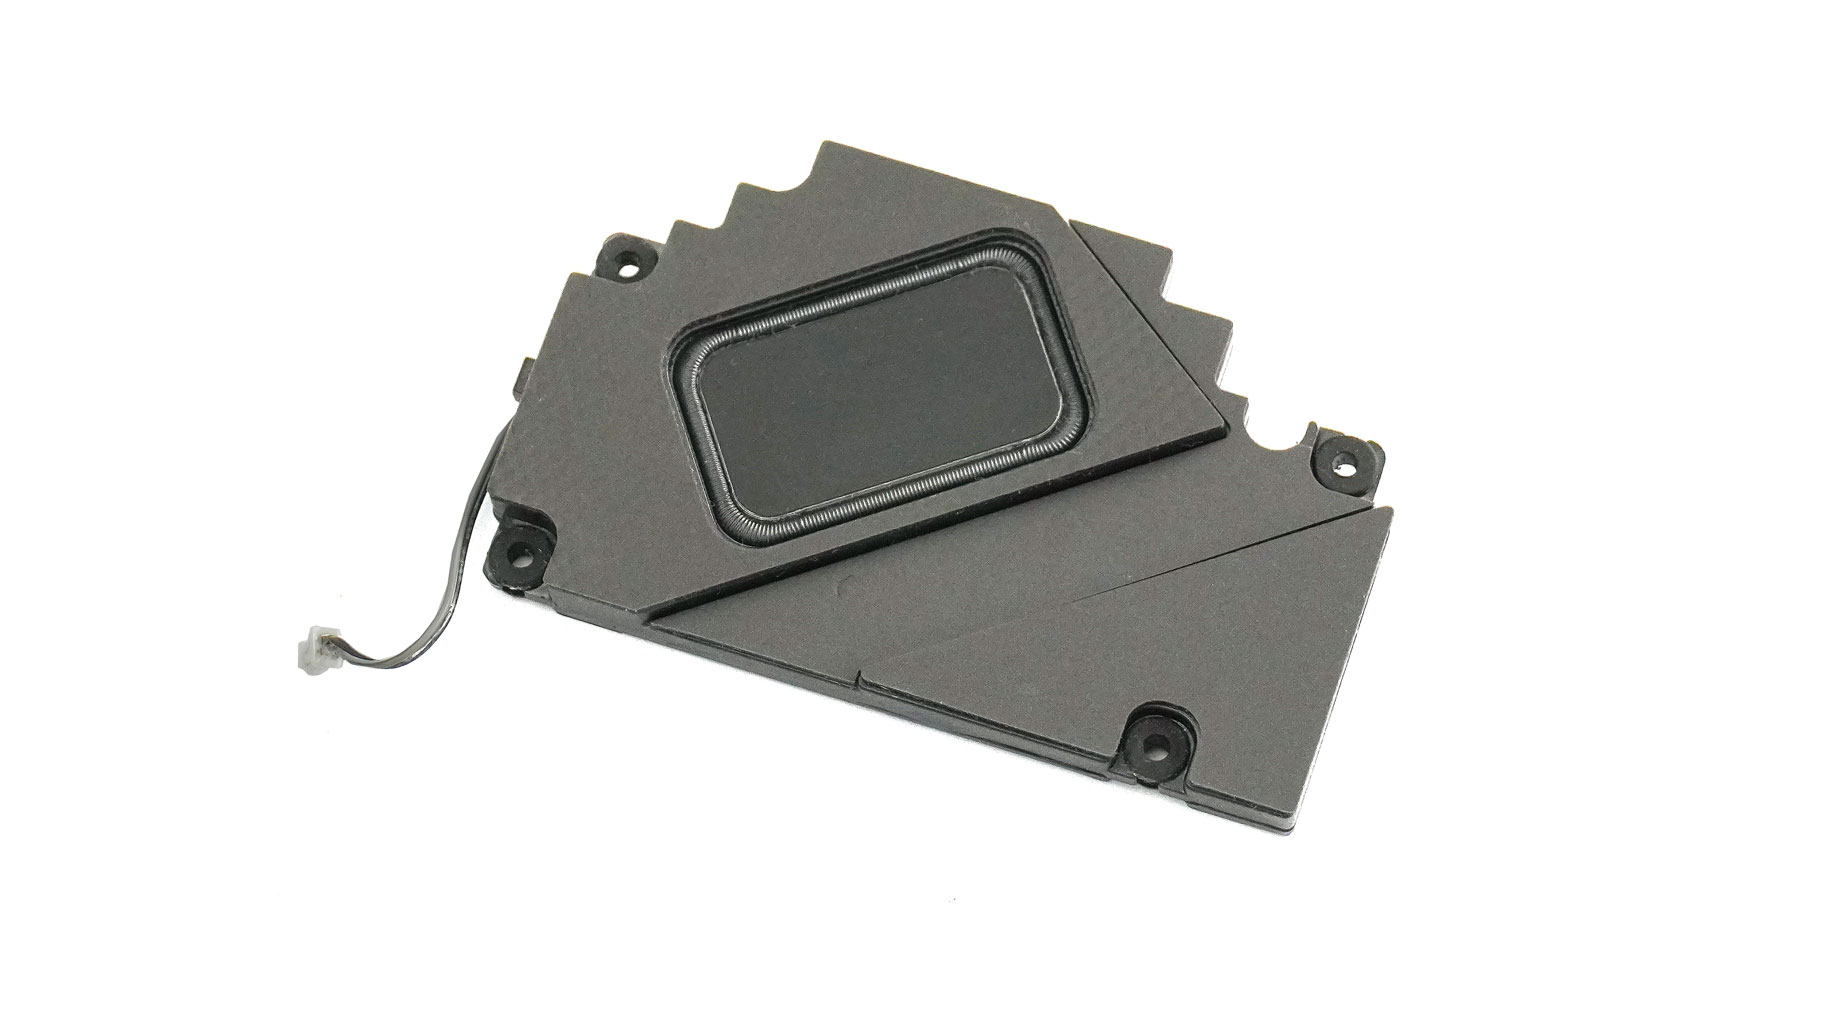
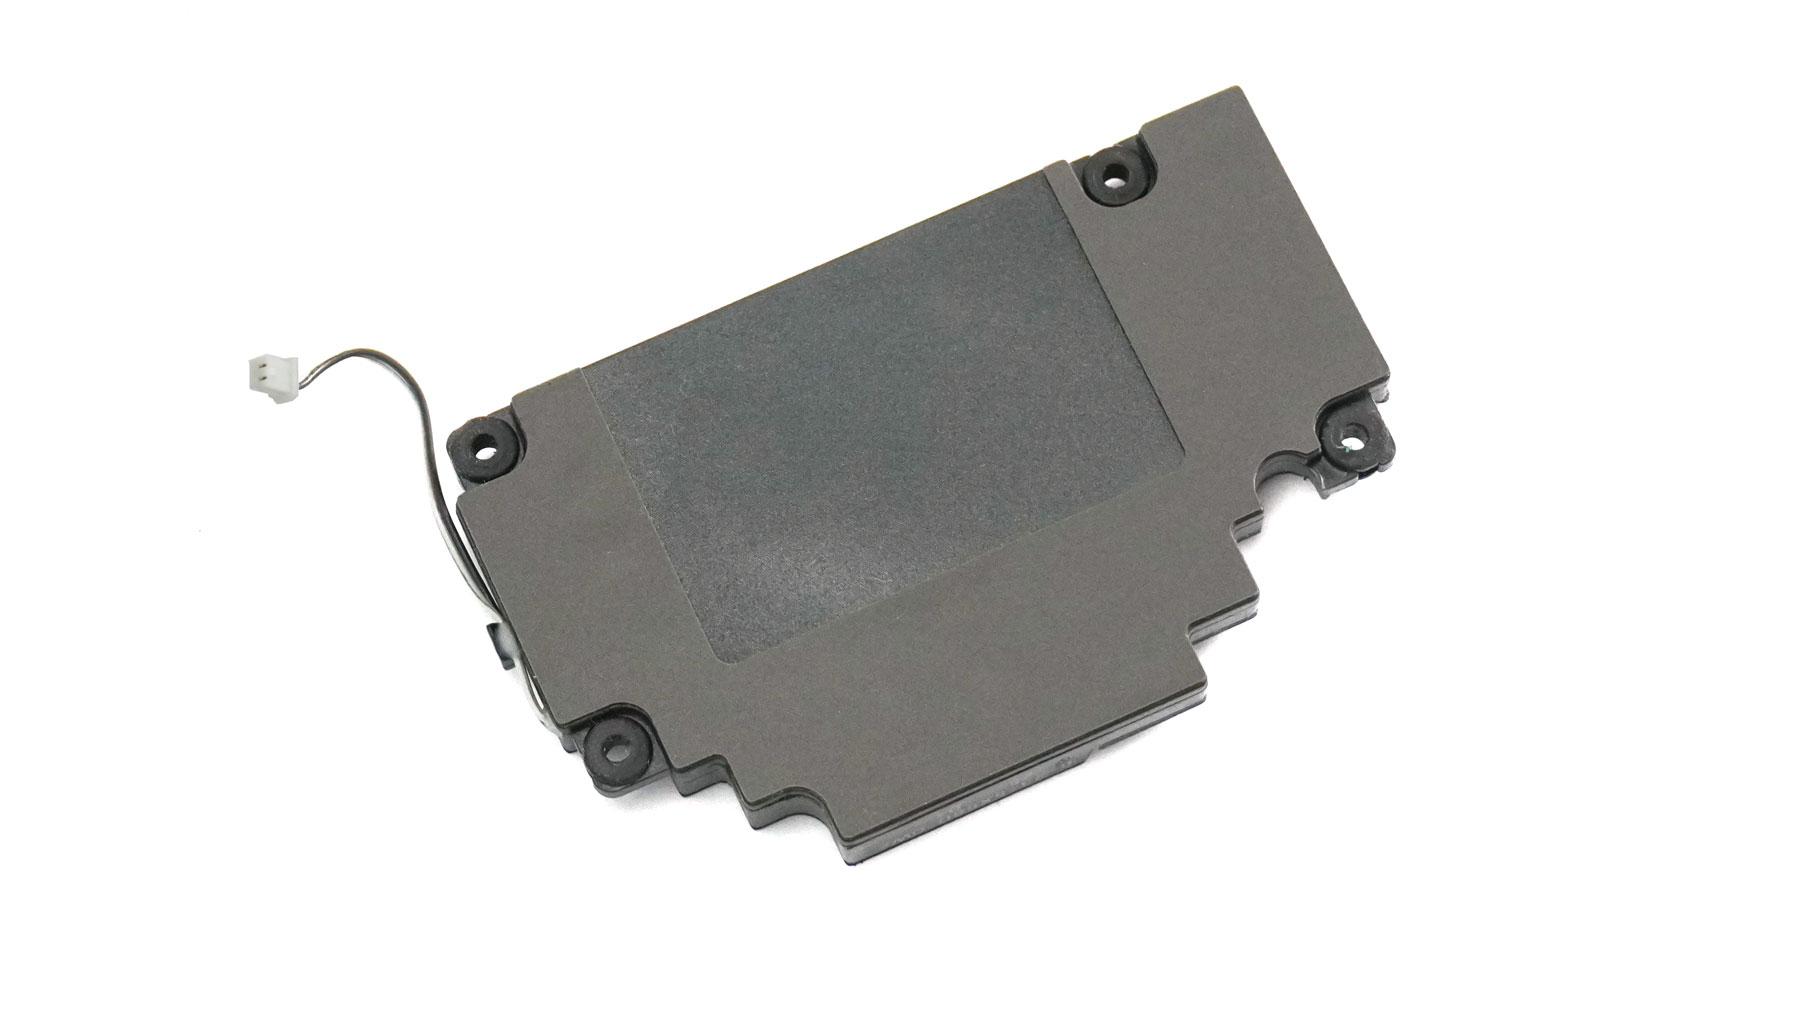
Undo them and detach the small connector on the right.

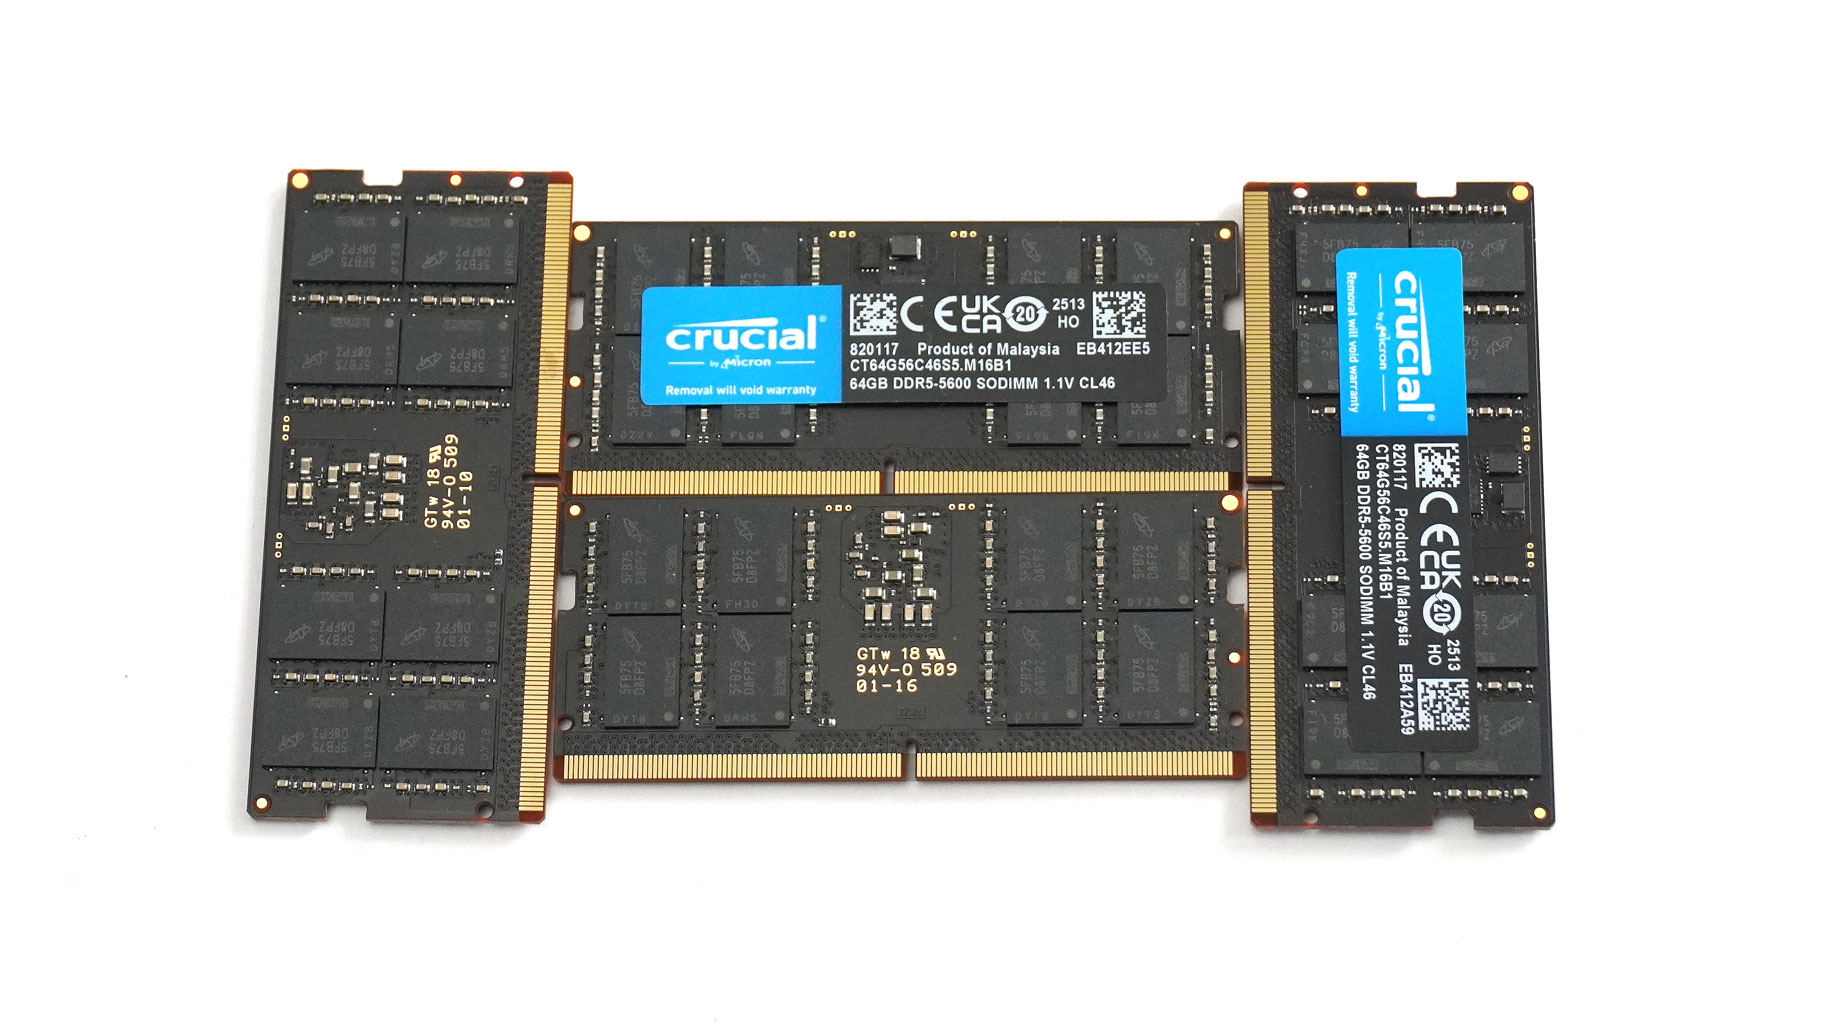
When it comes to upgrades, this is true workstation territory. You get four SODIMM slots that are compatible with up to 256 GB of DDR5-6400 RAM altogether, our laptop packs 256 GB of DDR5-5600. This means four 64 GB Crucial dual-rank sticks. No dedicated thermal pads for them, though.

You also have four M.2 storage slots at your disposal that fit the regular 80 mm long units. The top right slot can fit Gen 5 SSDs, while the other three slots are for Gen 4 models. In our case, the non-system drives work in RAID 5 mode. RAID 0 and RAID 1 are also supported. All four SSDs are additionally cooled by thermal pads on top. There are also smaller pads underneath for the drives' controllers.
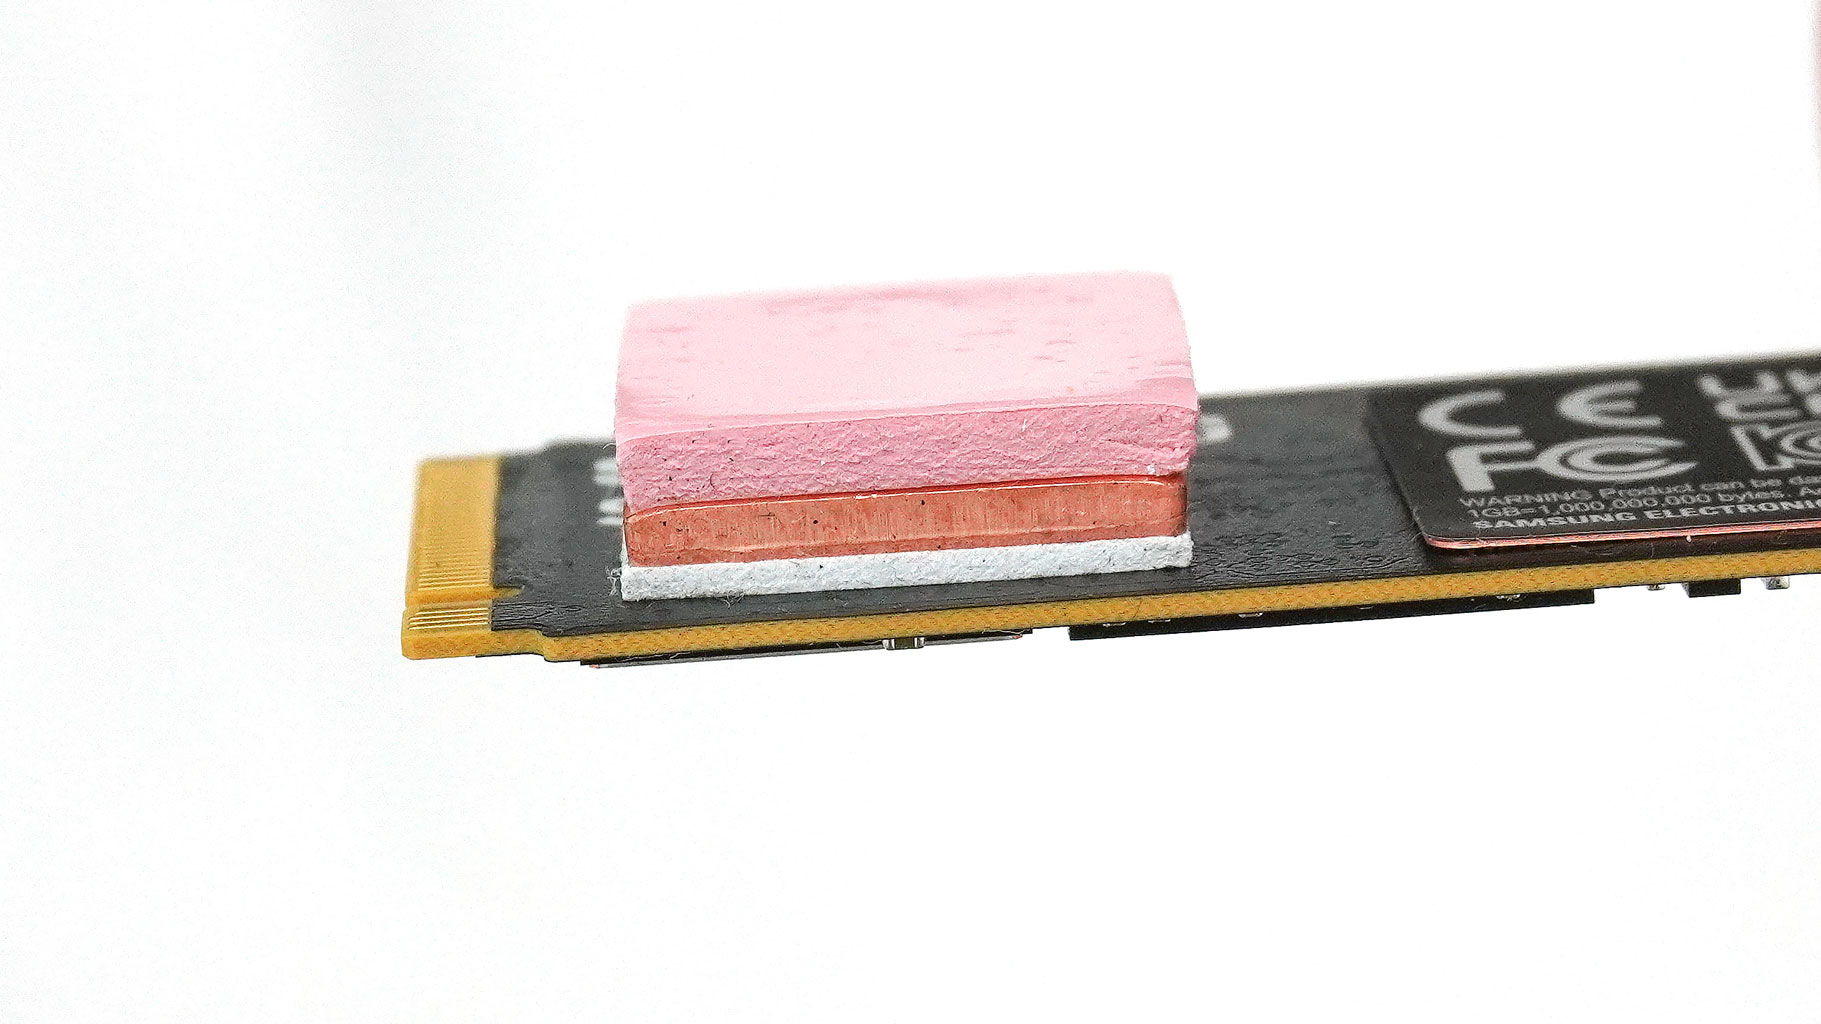
The system NVMe even gets a small metal plate sandwiched between two pads for improved thermal conductivity. Nice!
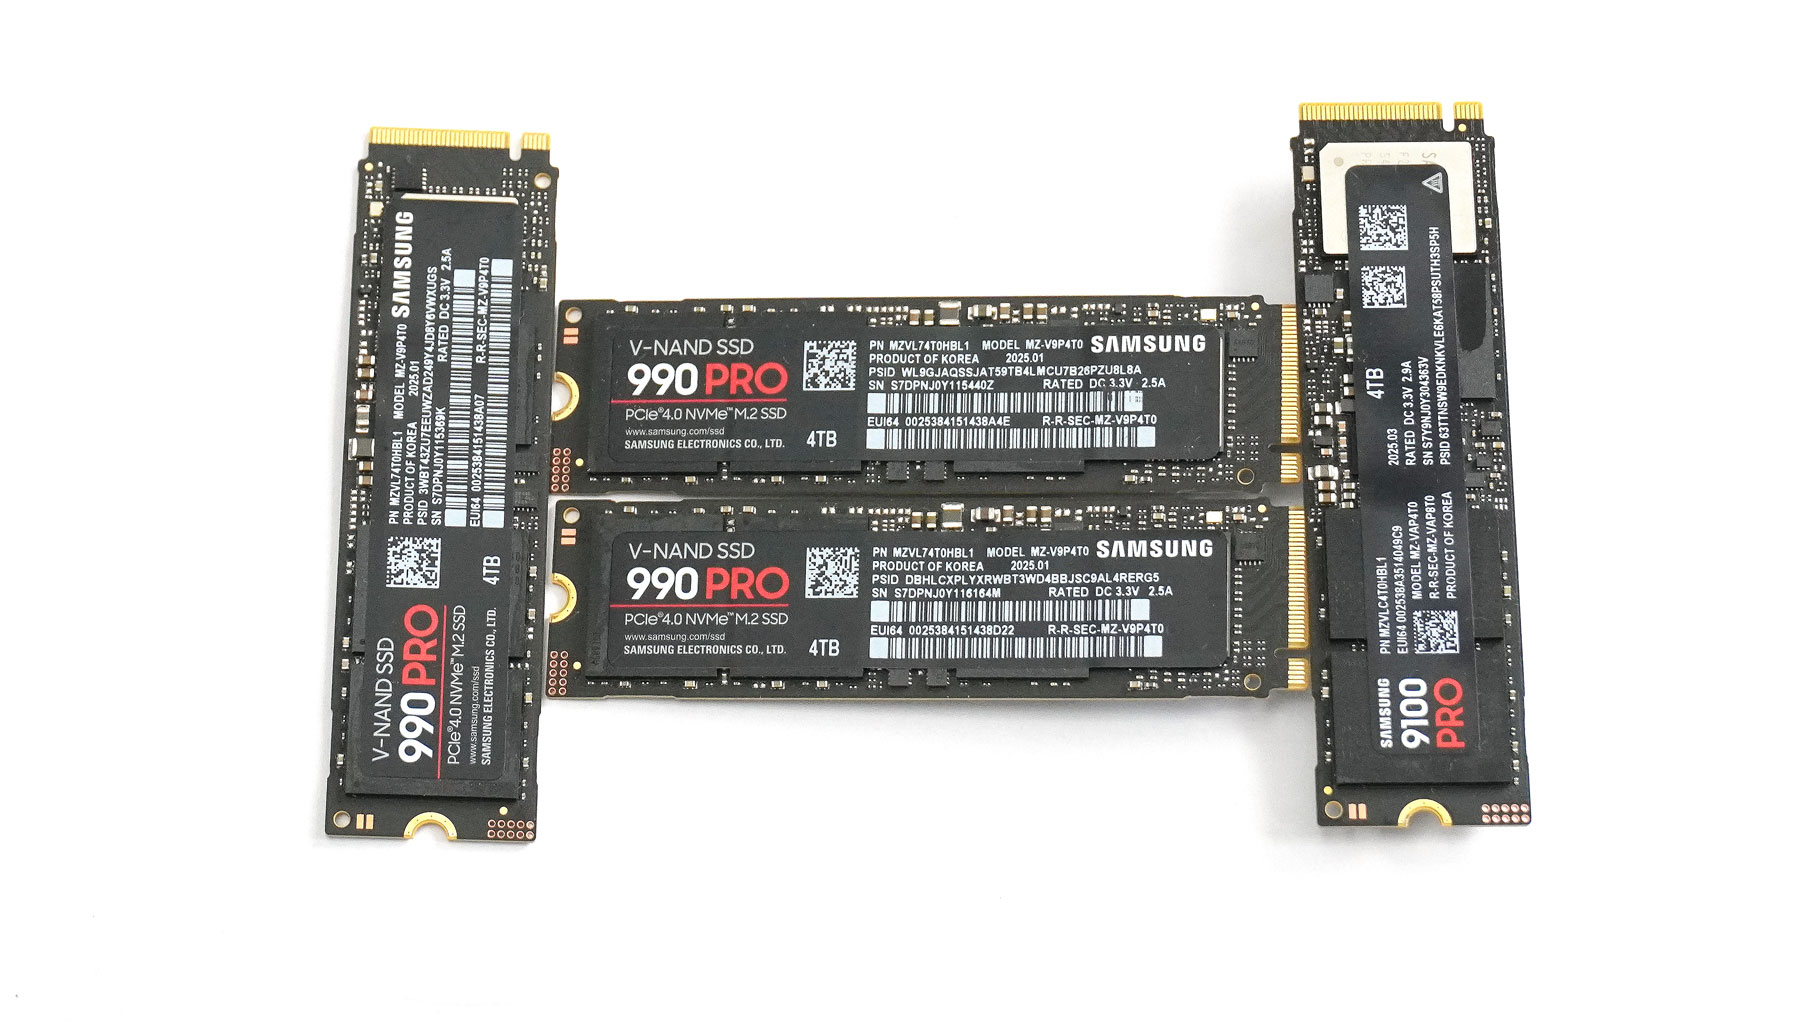
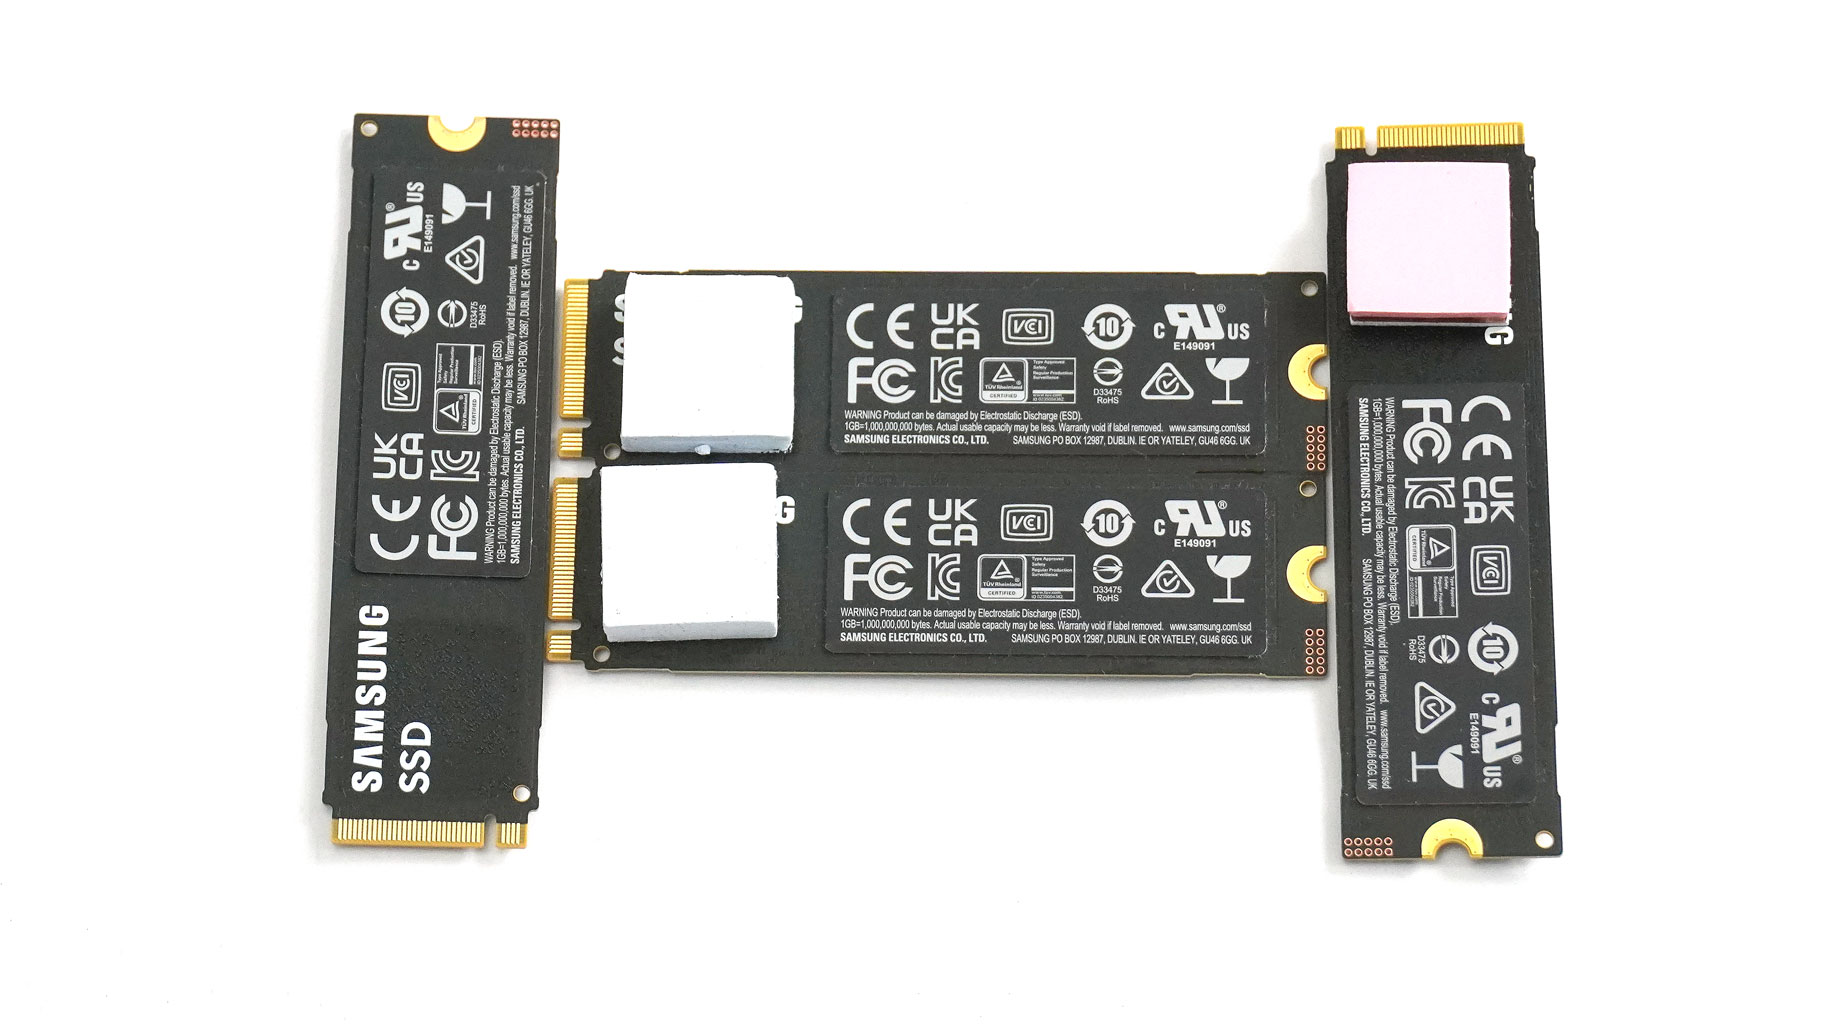
These are the four drives in our rig.
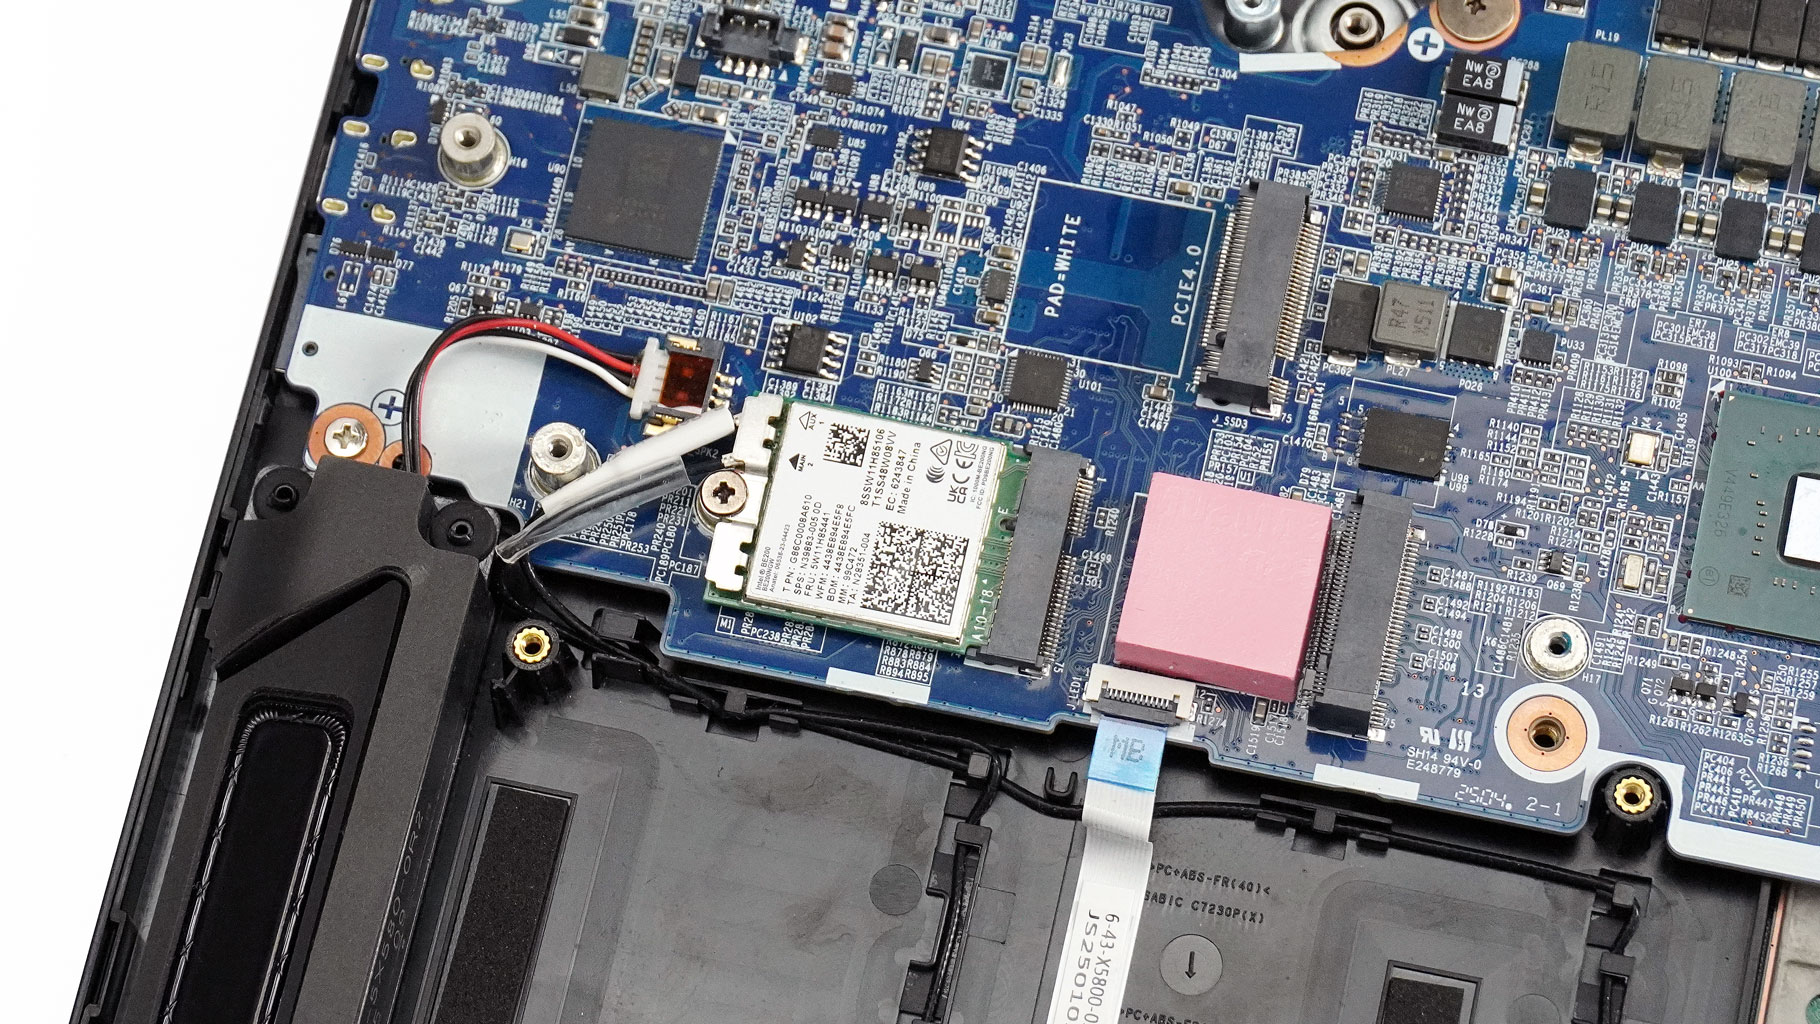
The Wi-Fi 7 card is replaceable, but it's placed in front of the bottom left slot. This could theoretically lead to an unstable wireless connection. On the positive side, I didn't experience such issues.
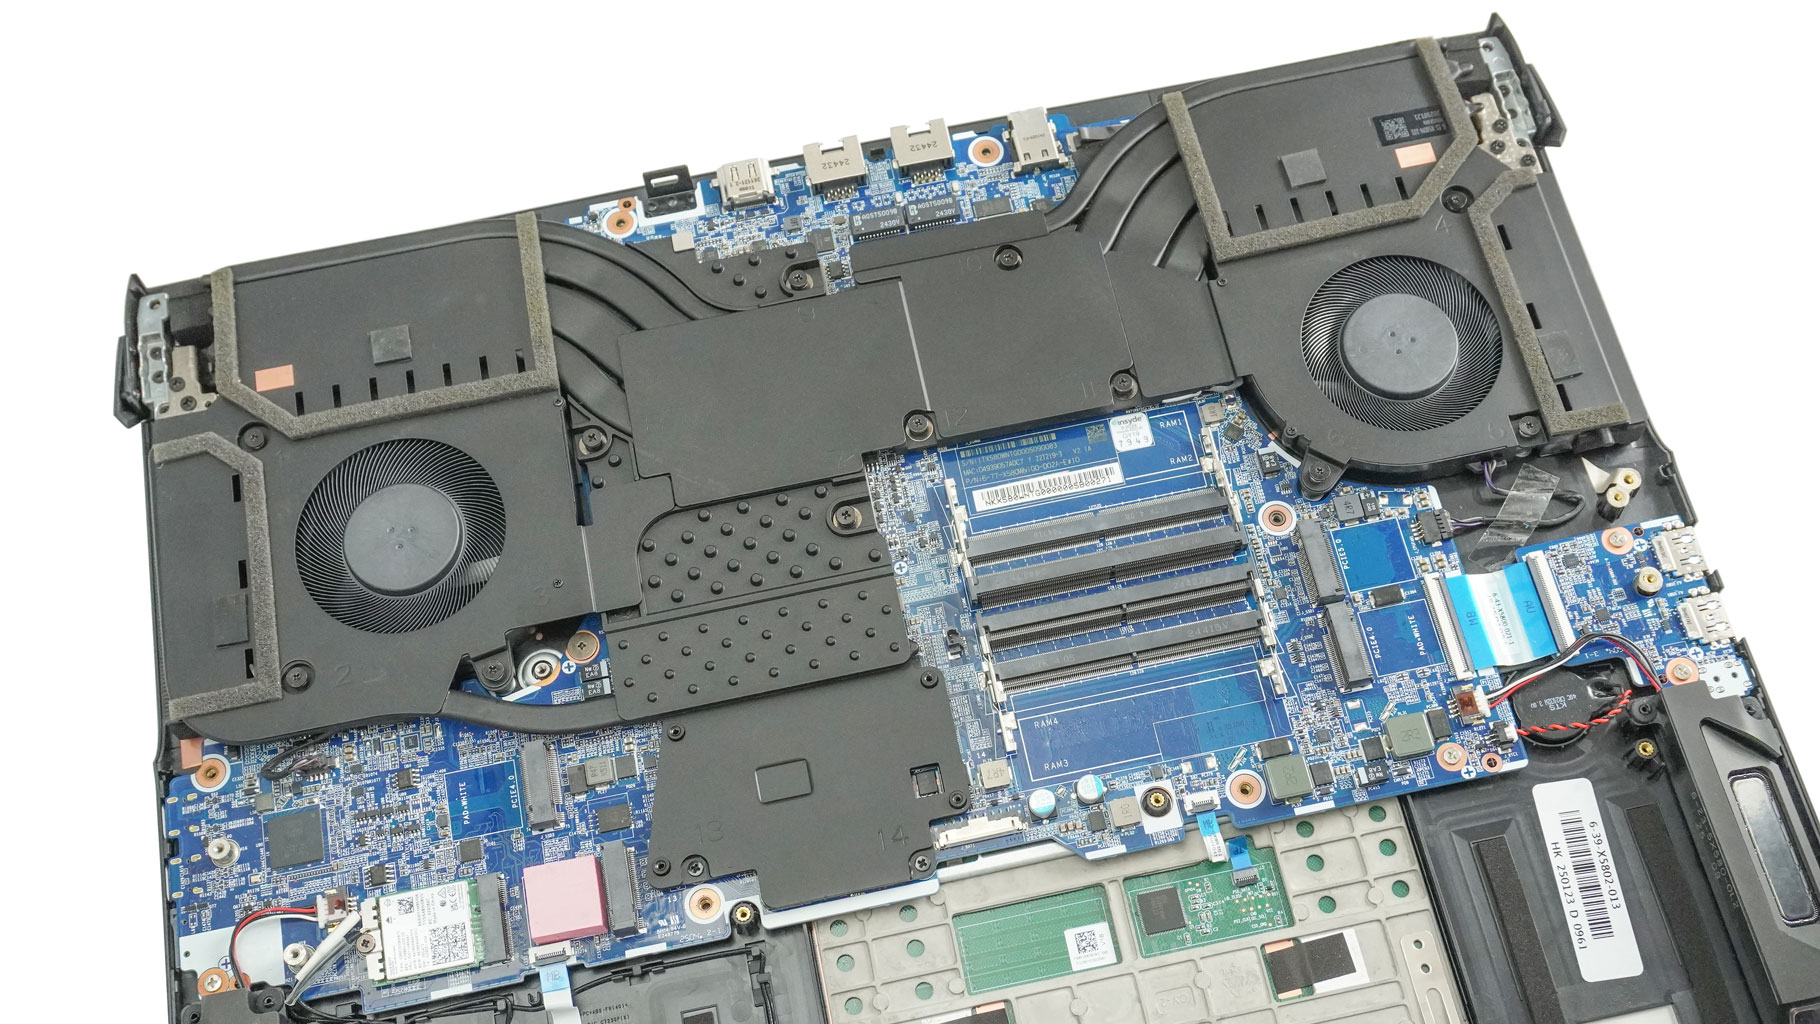
The thermal solution is anchored by two fans of different sizes - an 80 mm fan for the GPU and a 70 mm fan for the CPU. They are working in tandem with four sizable heatsinks. A complex setup of seven copper heat pipes handles the thermal transfer, starting with two pipes that are entirely shared between the CPU and GPU, running directly between the fin stacks. An additional upper pipe bridges both chips but doesn't reach the CPU's heatsink.

The GPU, which sits under a larger cooling plate, utilizes one dedicated pipe plus a bottom pipe that pulls heat from both the chipset and the GPU VRM. The CPU is also treated with its own dedicated pipe, along with a separate one for its VRM on top. To ensure long-term thermal efficiency, the manufacturer uses PTM 7950 phase change material on both dies, which outperforms standard thermal pastes in both heat conduction and durability. The metal plate for the graphics card is much bigger compared to the one for the processor on the right.
It's time for the most curious part - the cooling removal. Let's begin by detaching the fan connectors. Three screws hold each fan housing in place. Next, remove the two sets of three screws around the chips and two below the chipset metal plate.
Carefully pop the thermal system around the fan housings and around the main cooling plates with a lever tool.
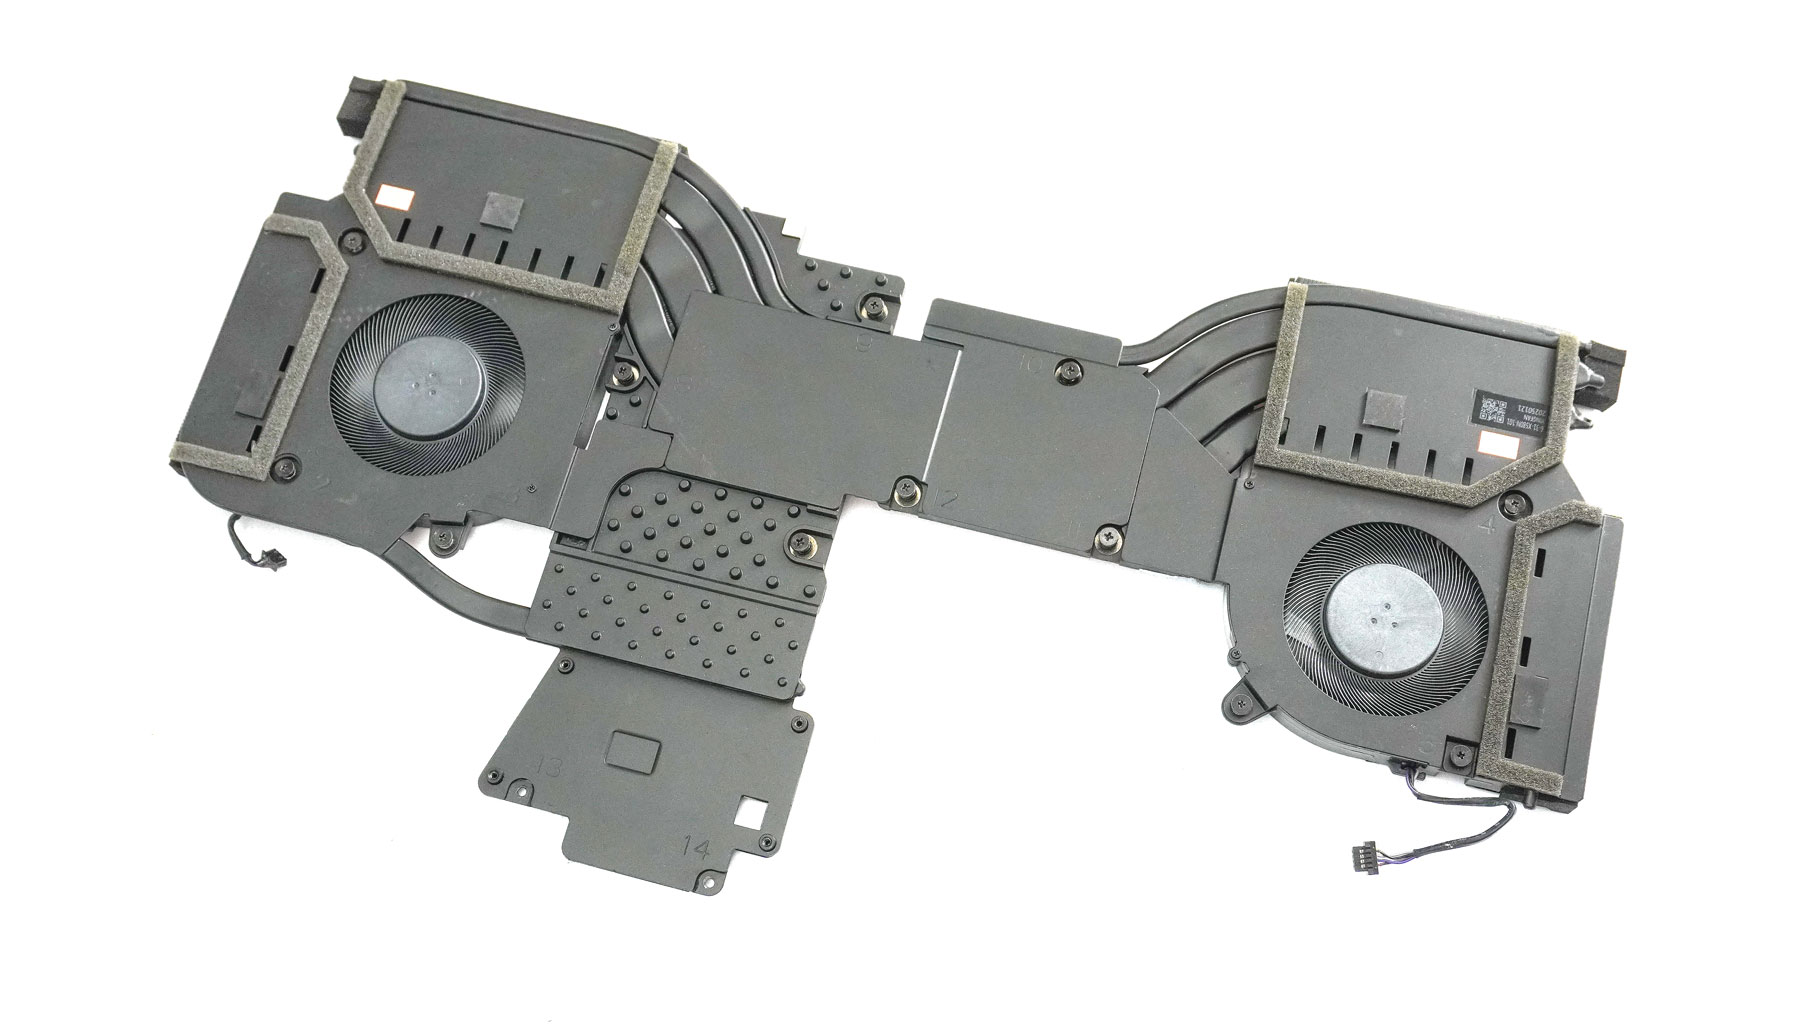
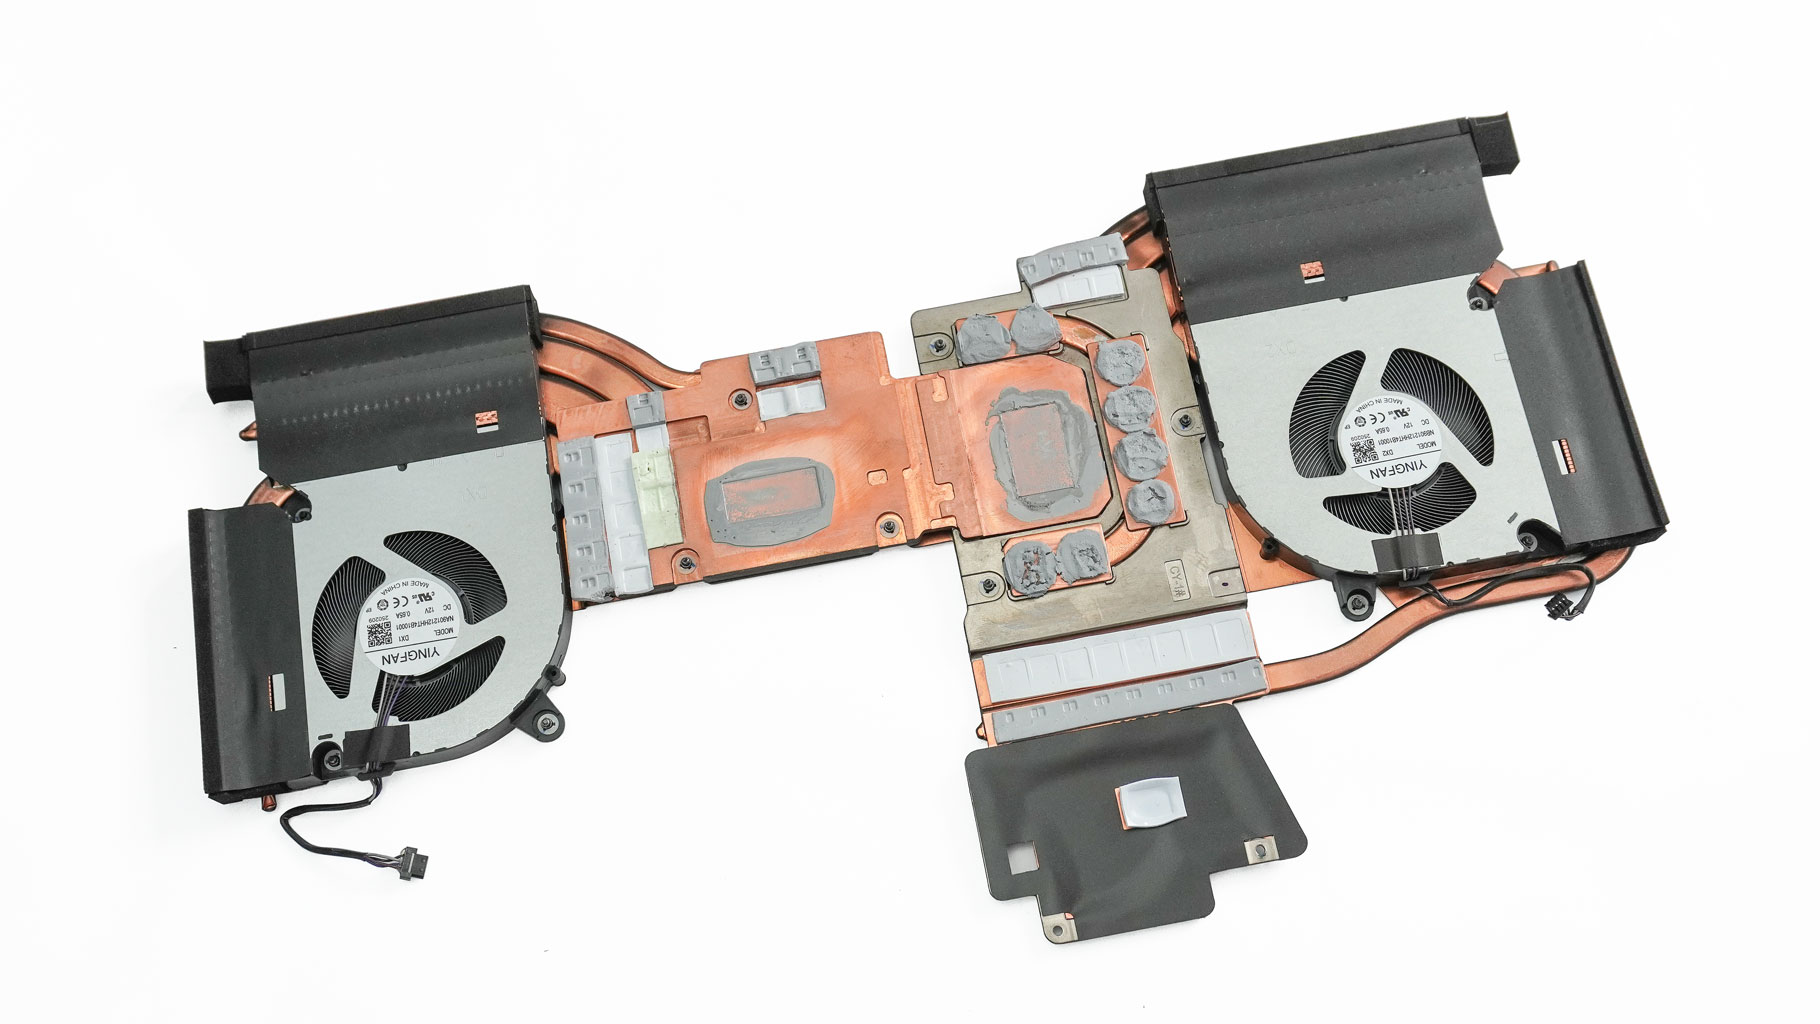
Here's what that massive cooling setup looks like once it's flipped over.

As I mentioned earlier, the processor is on the right, while the graphics chip and its memory modules are on the left.
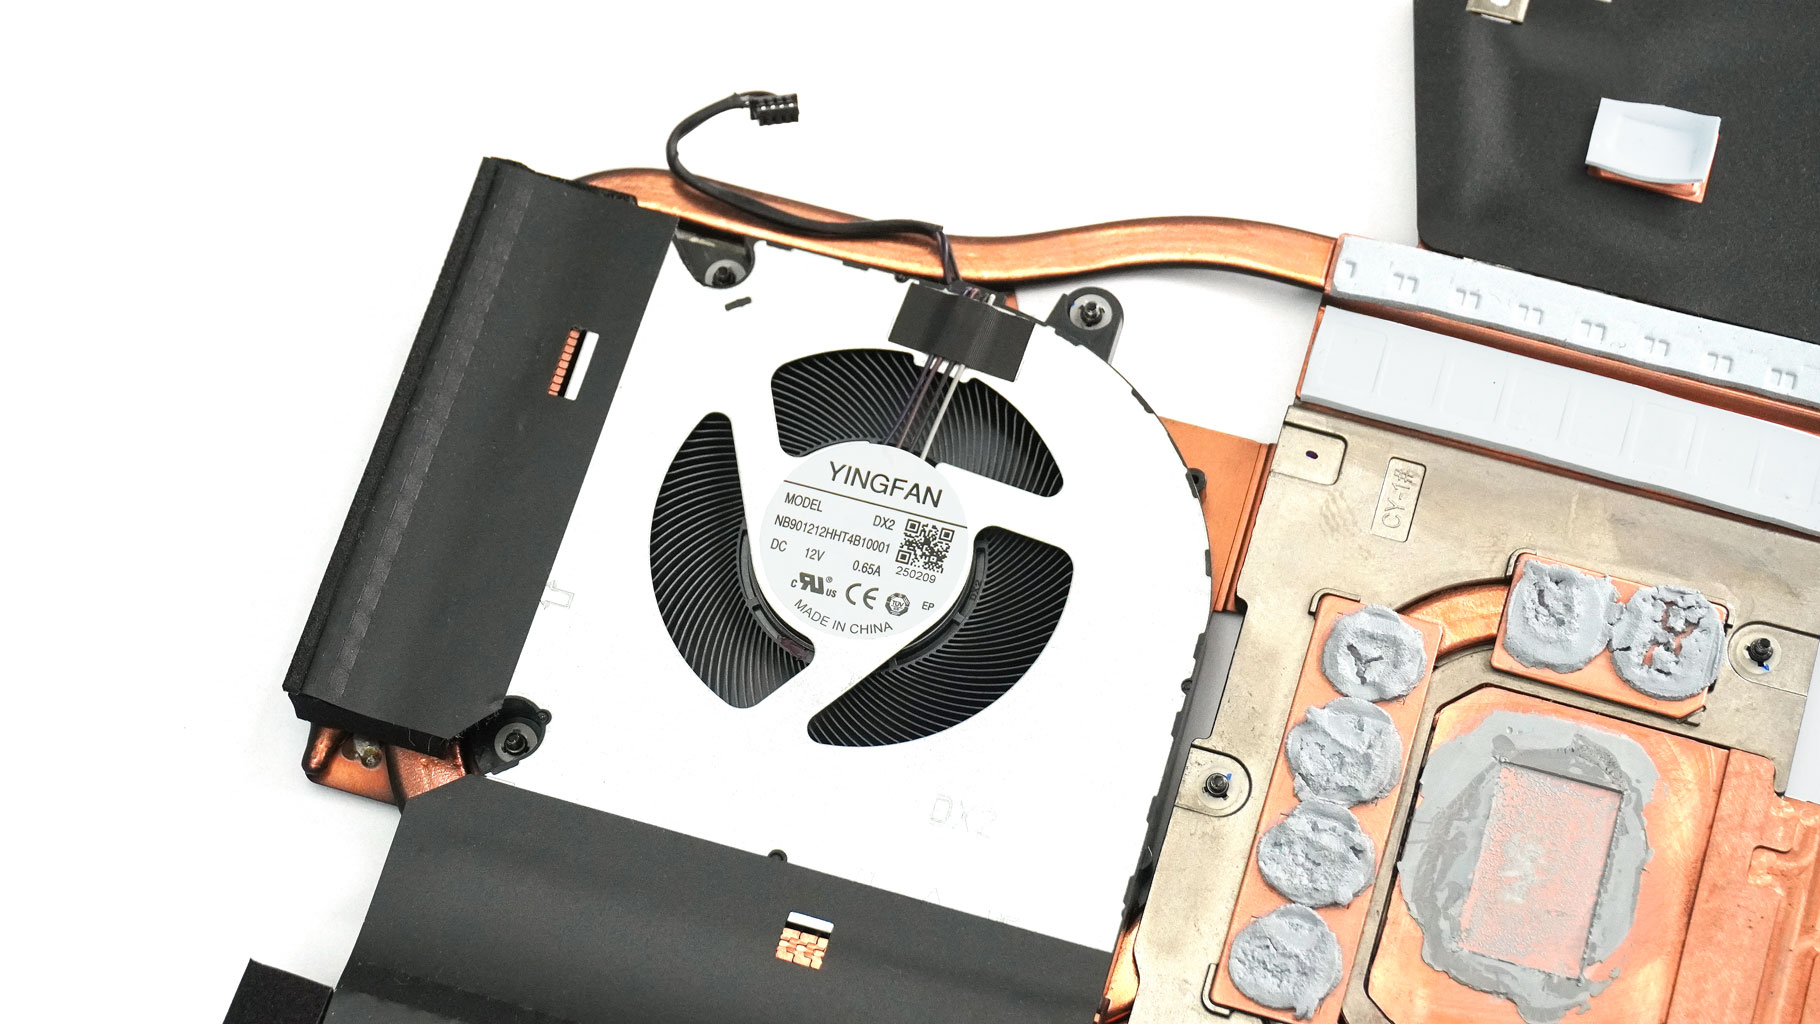
That's the fan model.

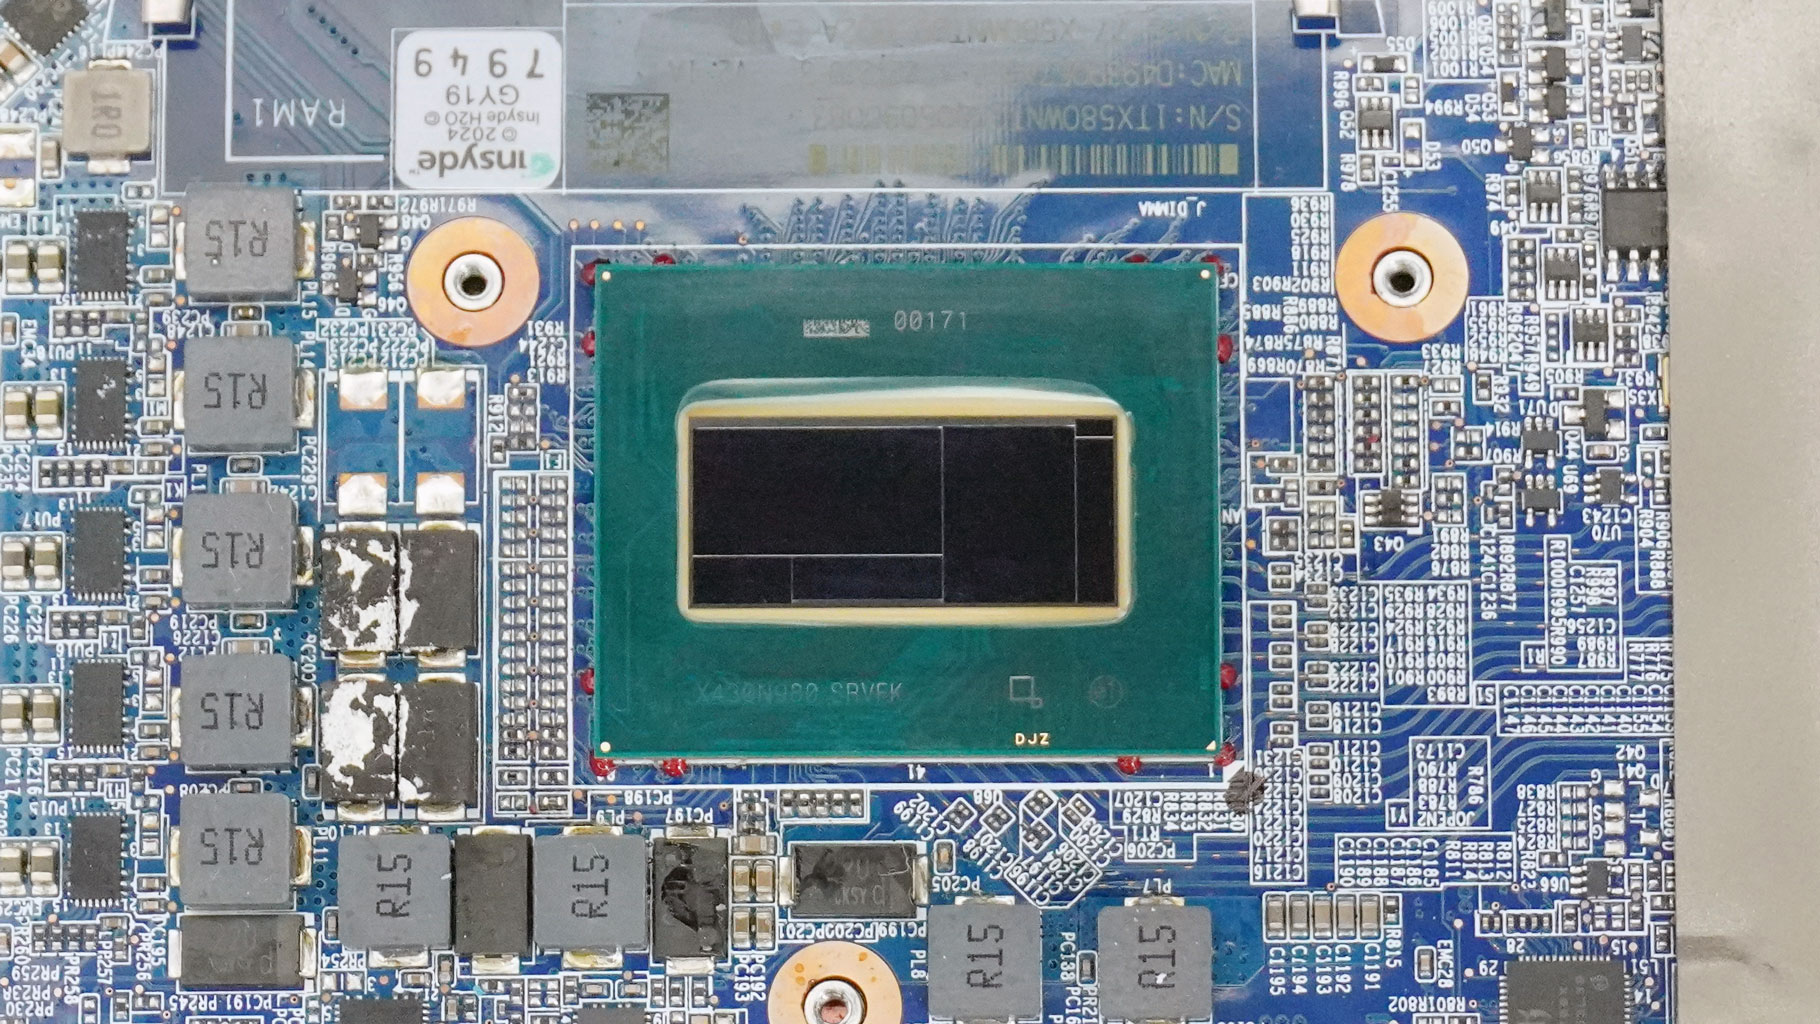
Last but not least, let's take a look at the CPU and GPU chips when the thermal material is cleaned.
Nov 17th, 2026 16:56 CST
change timezone
Latest GPU Drivers
New Forum Posts
- Honestly, do you care about GTA VI? (129)
- Help with fixing Overclock (7)
- 9070 GRE 3.9ghz validation reached. (17)
- Local LLM General Discussion (692)
- ProArt X870E-CREATOR WIFI - Bifurcation~Complication (13)
- Last game you purchased? (1403)
- Without Jensen, PC gaming will be (33)
- [Poll] 12V-2x6 Connector Protection: What Are You Using? (WireView / Ampinel / Equalizer / Other / Nothing) (27)
- What is the latest game you finished or 100% (204)
- USB 3.0 90 Degree Adapter (2)
Popular Reviews
- Acemagic Retro X3 Review
- Corsair HX1000i Shift Crystal Review
- AMD Zen 6 Technical Deep Dive
- Upcoming Hardware Launches 2027 (Updated Nov 2026)
- ASUS ROG Strix B850-I Gaming Wi-Fi7 W Review
- AMD Ryzen 7 9800X3D Review - The Best Gaming Processor
- Phantom Blade Zero Performance Benchmark Review - 35 GPUs Tested
- Chieftec Iceberg PRO 360 DARK Review
- Montech King 95 3D PRO Review
- NZXT C1200 Platinum Review
TPU on YouTube
Controversial News Posts
- NVIDIA Co-Founder and CEO Jensen Huang Officially Resigns (457)
- Open Letter Asking NVIDIA to Reinstate Jensen Huang Passes 115,000 Signatures (184)
- OpenAI CEO Argues Home PCs Waste the World's Limited DRAM Supply (152)
- NVIDIA Launches Investigation Into Jensen Huang's Relationship With Suspected Chinese Spy (136)
- Report: Jensen Huang Eyes NVIDIA Comeback (135)
- Intel "Raptor Lake Next" 16-Core and 20-Core CPUs Surface (130)
- Legendary Game Studio BioWare Shuts Down Following EA Layoffs (104)
- Dell CEO Says the Memory Shortage Will Get Worse in 2027 (95)