 56
56
EVGA NU Audio Sound Card Unboxing & Preview
Preview Conclusion »Disassembly


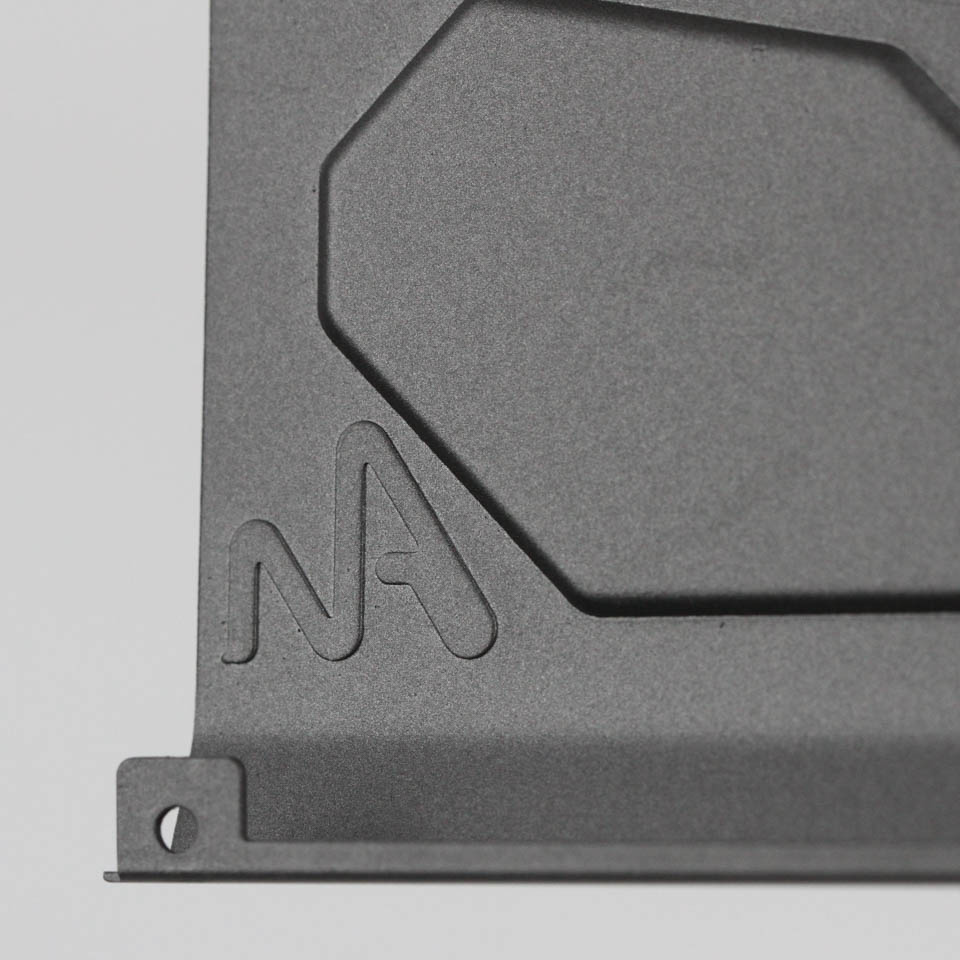

Disassembly begins with the removal of ten Phillips head screws—two of which are longer than the others and go through the PCB and into the side housing for the SATA power connector. Note that a screw connecting the full-height PCIe slot bracket to the PCB will be left in place. With the screws removed, the aforementioned plastic side housing can easily be removed, and there is room to separate the shroud (twist it away for ease) from the PCB to expose the LED wiring cable. Dislodge it, and the shroud comes off completely, which gives us a better look at the daughter PCB housing, the RGB LEDs, and a SONIX SLED1734 dedicated LED driver to help run the backlighting on the audio card's side panel. We can also see that the Audio Note logo on the front was etched and embossed into the shroud, with the underside pushed into the material.


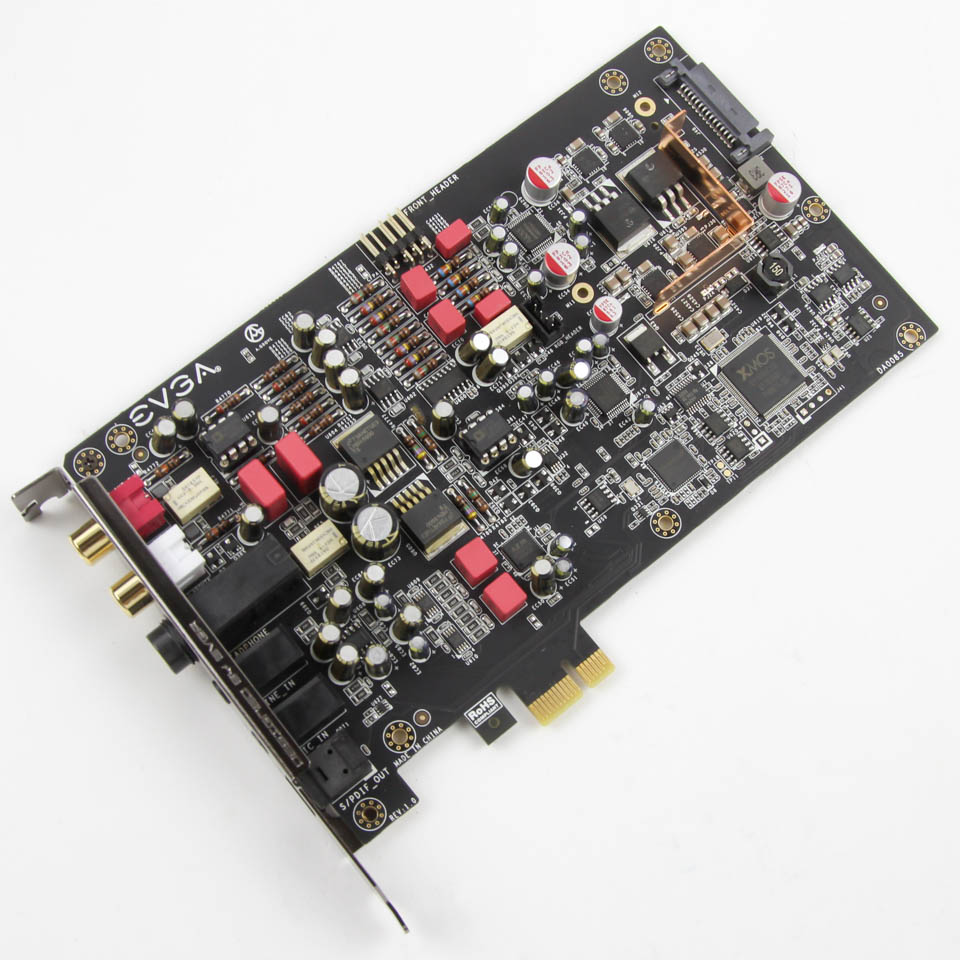
There are thick (estimated 1.5 mm by a quick measurement) thermal pads underneath the relatively chunky aluminium heatsink over parts of the PCB components, and I would encourage users to not remove these or the heatsink assuming you even disassemble the card since it may void the warranty. The thermal pads are very snugly in place, and you would really have to replace these completely (note the shape to fit the card). I ended up doing so to get a better look at the power regulation circuitry that is no doubt the only thing needing cooling on the PCB. The PCB is, as mentioned before, engineered by Audio Note and packed with a lot of components—some of which we will go over here, and the rest I will leave for the full review. For those interested, a higher resolution version of the PCB is available here.


The primary claim to fame here with the PCB is Audio Note's ~30 years of involvement in making high-end audio products, and the use of exclusive-to-EVGA capacitors and resistors from Audio Note that we see placed strategically all throughout the board. The analog signal section uses a user-swappable ADI AD8056 OP-AMP for line-out, a Maxim Integrated DS1882 dual log audio digital potentiometer for headphone volume control, which even works with DSD files, and an ADI OP275 OP-AMP for headphone-out that helps give the NU audio card its 16-600 Ω impedance rating.
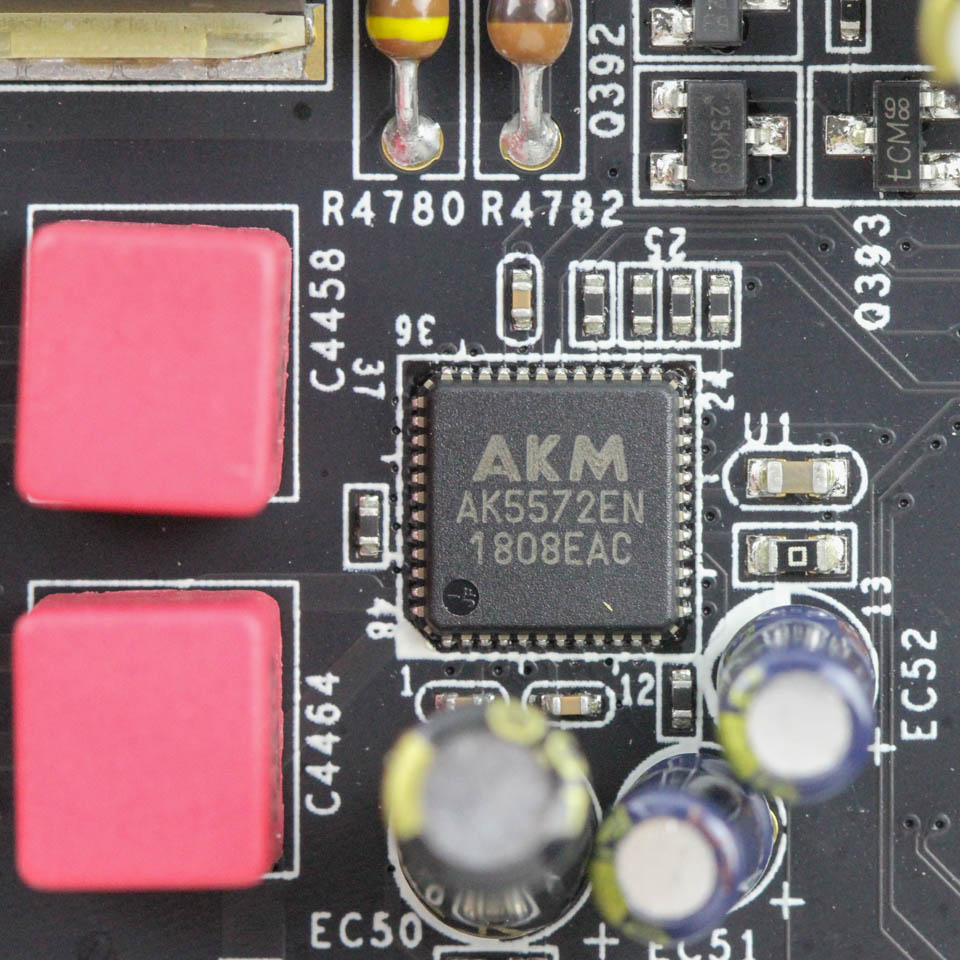
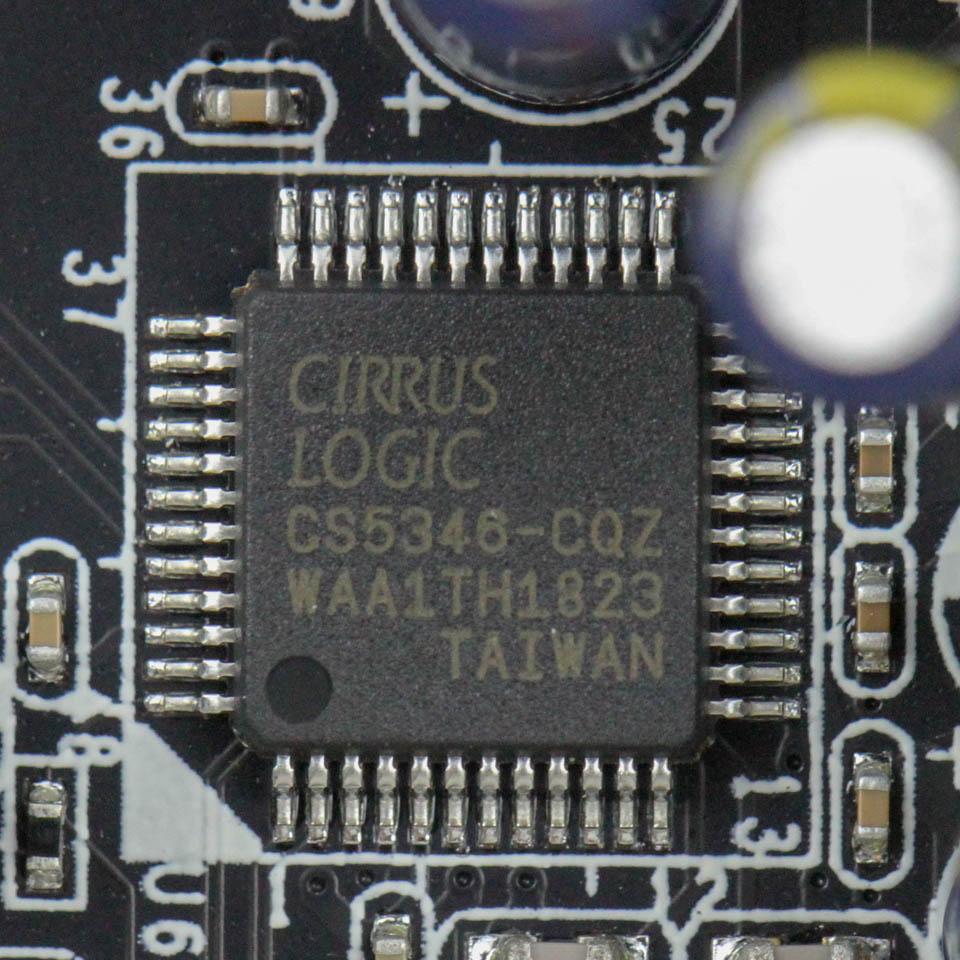
The digital side of things involves an Asahi Kasei Microdevices AK4493 digital-to-analog converter (DAC) rated for up to 123 dB (126 dB in mono mode) DNR/SNR. It allows the NU audio card to be among the very few to support 384 kHz and 32-bit audio playback for the PCM format, and up to 11.29 MHz native DSD format playback. It is supported by an AKM AK5572 analog-to-digital converter (ADC) rated for up to 121 dB DNR/SNR and the same 384 kHz, 32-bit allowance, but for recording as well. Recognizing that streamers may well want this in their PC, EVGA added in a decent Cirrus Logic CS5346 ADC for mic-in, rated at 103 dB DNR/SNR and recording up to 192 kHz at 24-bit.
Above, we mentioned all the Audio Note capacitors and resistors, which make up a good deal of the power delivery componentry on the PCB here. In addition, there are Nichicon solid state capacitors that definitely were chosen after EVGA's dealings with them on their motherboard and GPU business units, as well as several WIMA and Panasonic FC series aluminium electrolytic capacitors. The SATA connector helps deliver clear power directly from the PSU. Power regulation is done via Texas Instruments TPS7A47 and TPS7A33 ultra-low noise VRMs, which are underneath the heatsink we saw before.
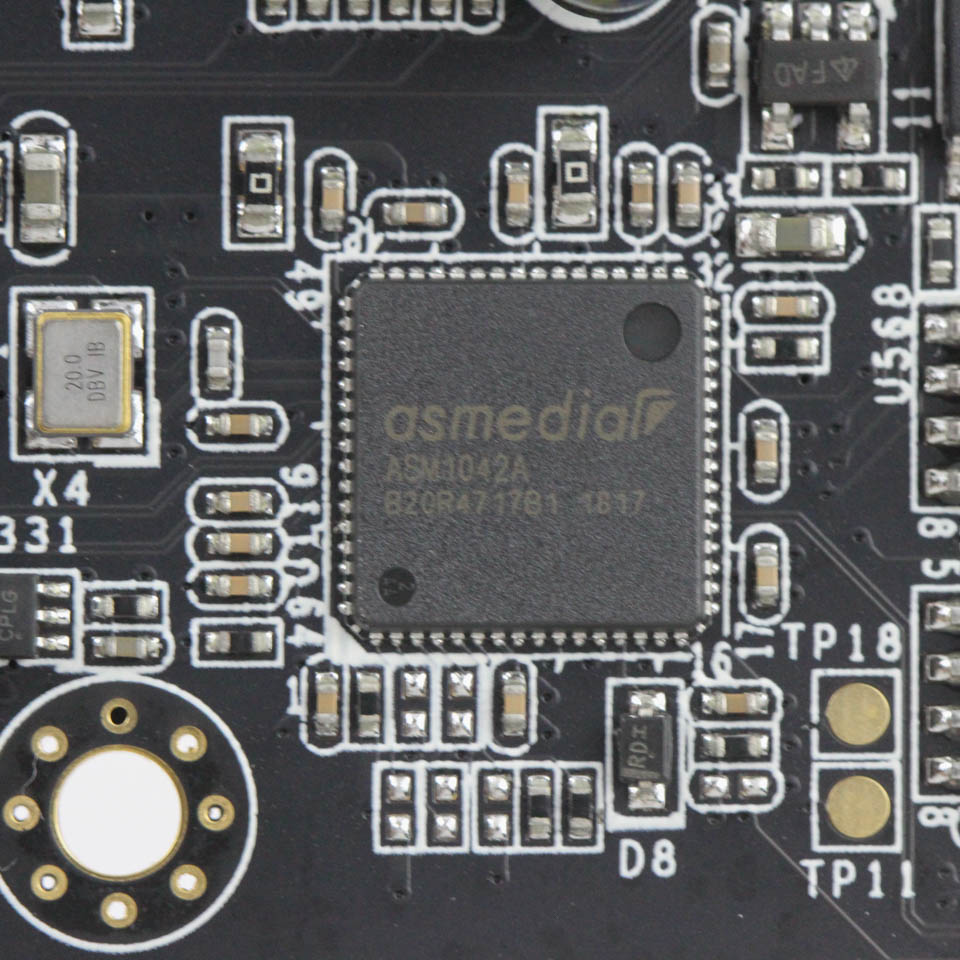
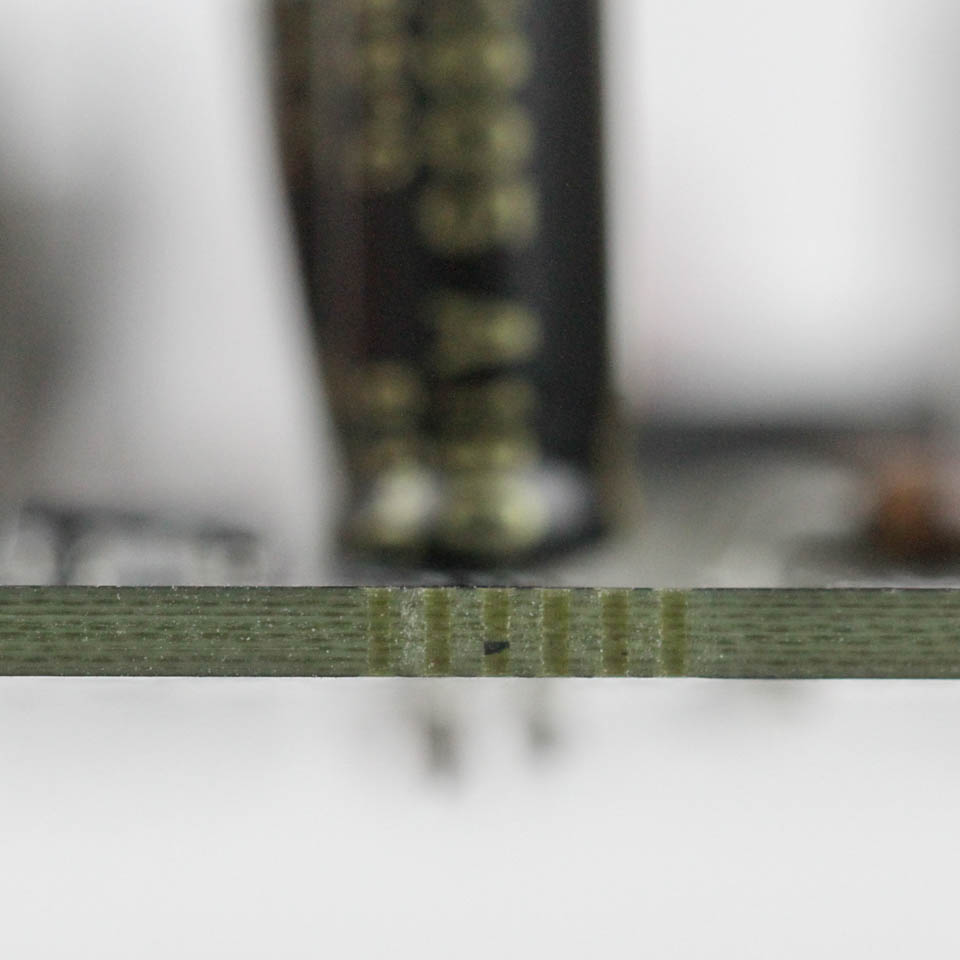
There is an ASMedia ASM1042A PCIe to USB 3.0 host controller, which in turn is connected to an XMOS U11690C20 multi-core controller for USB-based audio solutions. All the components are soldered well, on to a six-layer gold PCB for that extra bit of signal refinement.
Apr 25th, 2024 00:56 EDT
change timezone
Latest GPU Drivers
New Forum Posts
- Github comments used to push malware via Microsoft repo urls (1)
- What's your latest tech purchase? (20337)
- The Official Linux/Unix Desktop Screenshots Megathread (694)
- XFX RX470 8GB no video and error 43 (27)
- (Anti) SFF fun house (348)
- Cinebench crashed my PC. My Wi-Fi stopped working, and I keep getting a "Please wait" screen when I boot up my PC. (31)
- im new to throttelstop and i think i messed it up by copying others any hints would be very much aprreciated (1)
- Aida64 cache mem OC (7)
- I am getting artifacting when I change Windows security settings. Is my GPU failing, or is this just a Windows issue? (10)
- Is there a technical reason that Windows 11 doesn't have built into it battery charge limitation? (42)
Popular Reviews
- Fractal Design Terra Review
- Thermalright Phantom Spirit 120 EVO Review
- Corsair 2000D Airflow Review
- Minisforum EliteMini UM780 XTX (AMD Ryzen 7 7840HS) Review
- ASUS GeForce RTX 4090 STRIX OC Review
- NVIDIA GeForce RTX 4090 Founders Edition Review - Impressive Performance
- ASUS GeForce RTX 4090 Matrix Platinum Review - The RTX 4090 Ti
- MSI GeForce RTX 4090 Suprim X Review
- MSI GeForce RTX 4090 Gaming X Trio Review
- Gigabyte GeForce RTX 4090 Gaming OC Review
Controversial News Posts
- Sony PlayStation 5 Pro Specifications Confirmed, Console Arrives Before Holidays (116)
- NVIDIA Points Intel Raptor Lake CPU Users to Get Help from Intel Amid System Instability Issues (106)
- AMD "Strix Halo" Zen 5 Mobile Processor Pictured: Chiplet-based, Uses 256-bit LPDDR5X (101)
- US Government Wants Nuclear Plants to Offload AI Data Center Expansion (98)
- Windows 10 Security Updates to Cost $61 After 2025, $427 by 2028 (84)
- Developers of Outpost Infinity Siege Recommend Underclocking i9-13900K and i9-14900K for Stability on Machines with RTX 4090 (84)
- TechPowerUp Hiring: Reviewers Wanted for Motherboards, Laptops, Gaming Handhelds and Prebuilt Desktops (78)
- AMD's RDNA 4 GPUs Could Stick with 18 Gbps GDDR6 Memory (74)