 8
8
Fractal Design Define Nano S Review
Value & Conclusion »Test System
| System Parts for Case Reviews | |
|---|---|
| Processor: | Intel Core i5-6600K |
| Motherboards: | ATX: Fatal1ty Z170 Gaming K6+ mATX: ASRock Z170M Pro4S mini-ITX: ASRock Z170M-ITX/ac Provided by: ASRock |
| Graphic Card: | Long: NVIDIA GeForce GTX 280 OEM Short: HIS Radeon 5350 HD |
| Memory: | KLEVV Cras 8GB (2x4GB) DDR4 @ 3200MHz 16-18-18 @ 1.35V Provided by: Essencore |
| HDD: | Western Digital 320 GB 7200 RPM |
| SSD: | Patriot Blaze 60GB SATA 6Gbps Provided by: Patriot |
| Power Supply: | Seasonic Platinum Series 660W ATX 2.3 Provided by: Seasonic |
| Cooling: | Air Cooling Mini-ITX: Thermalright AXP-100R Air Cooling mATX: Thermalright Macho 90 Air Cooling ATX: Thermalright Macho 120 Provided by: PC-COOLING.de |
Assembly
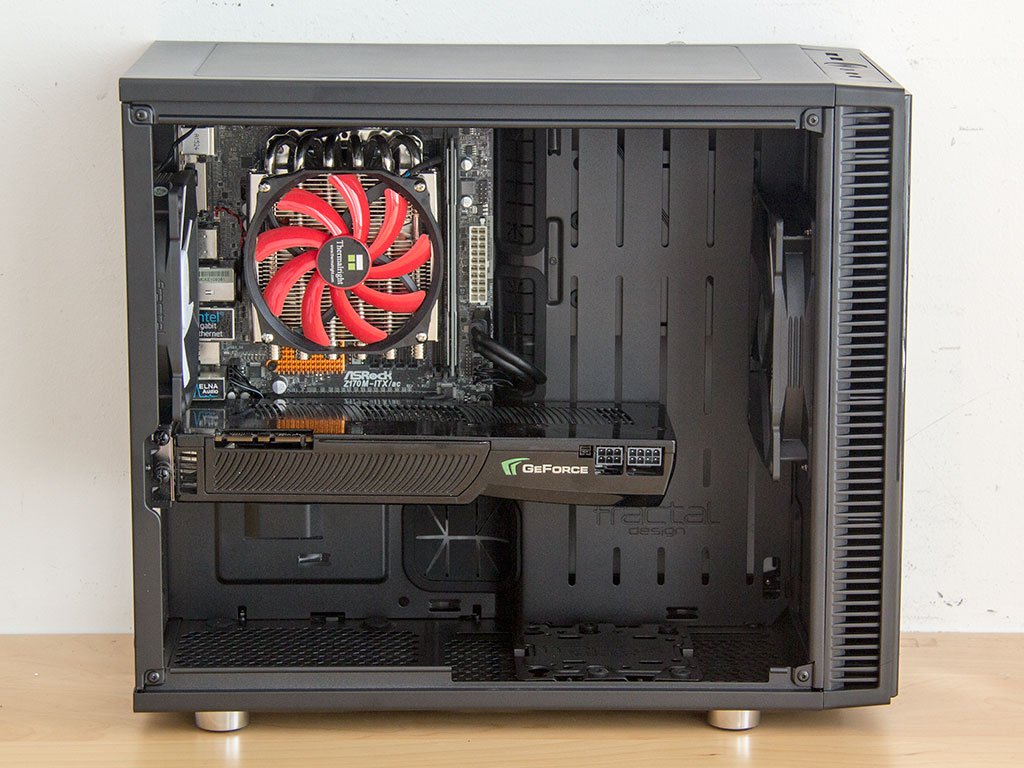
Installing the motherboard is done with the use of spacers and screws. As there are no drive bays in front, you have plenty of space for long GPUs. Fractal Design mentions 315mm should you still want to install cooling elements into the front.


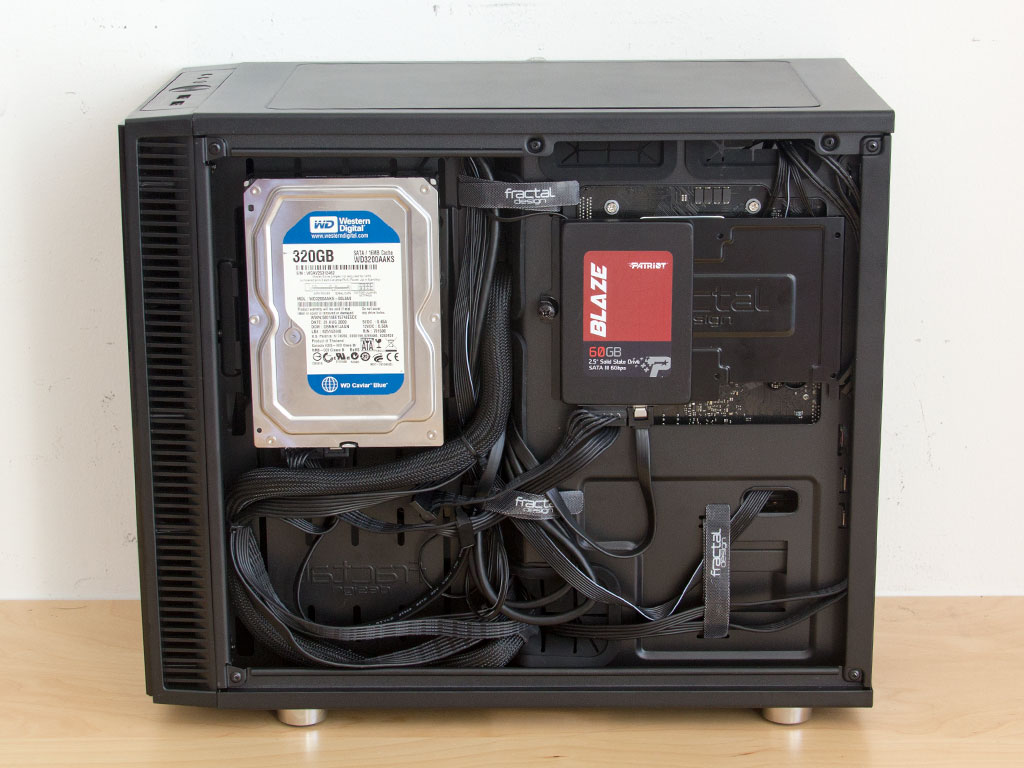
To install a 3.5" drive, take your pick of the two trays within the Define Nano S. Simply take it out of the chassis after removing the thumbscrew that holds it in place. Fractal Design has placed rubber spacers on these and supplies special screws to secure the drives. Once the storage unit is in place, simply put the tray back in place and screw down the thumbscrew.


Adding 2.5" drives is done in a similar fashion - simply utilize the piece behind the motherboard tray. Remove it from the chassis, screw the drive on, and put it back into place. Fractal Design mentions that drives that are up to 13mm thick will fit behind the motherboard tray, which is more than enough.

The PSU's installation with the use of black screws is quite traditional. However, due to the chassis being as compact as it is, you will need to install it before adding a graphics card as it is quite the tight fit. The downside here is that the PSU will keep the graphics card's fans from drawing the utmost of fresh air in. Their radial fan at the end of the card, only AMD's and NVIDIA's reference designs will work well.
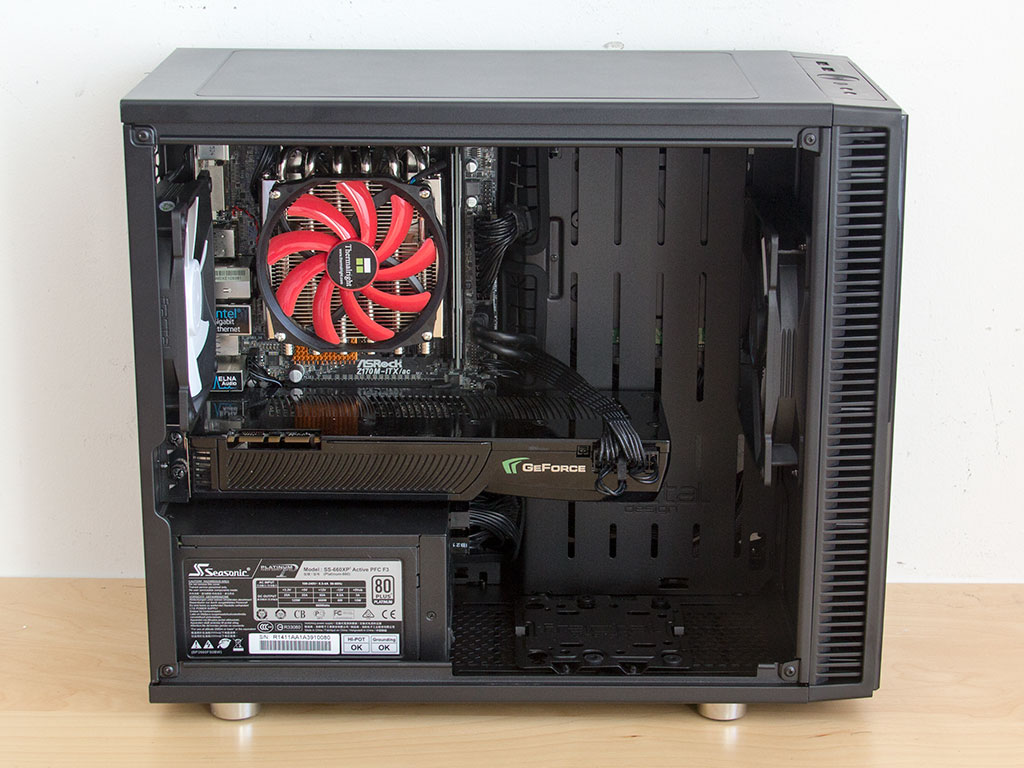
Once everything is installed, the Fractal Define Nano S still makes for a really clean build. Thanks to the slightly offset front of the motherboard tray, all unwanted cables are hidden. With the storage drives out of sight, you are also only able to see the parts that really count.
Finished Looks


With the side panels in place, the window further focuses your view on the motherboard, memory, and GPU area. A blue LED turns on as soon as the system has been powered up to let you know that it is up and running.

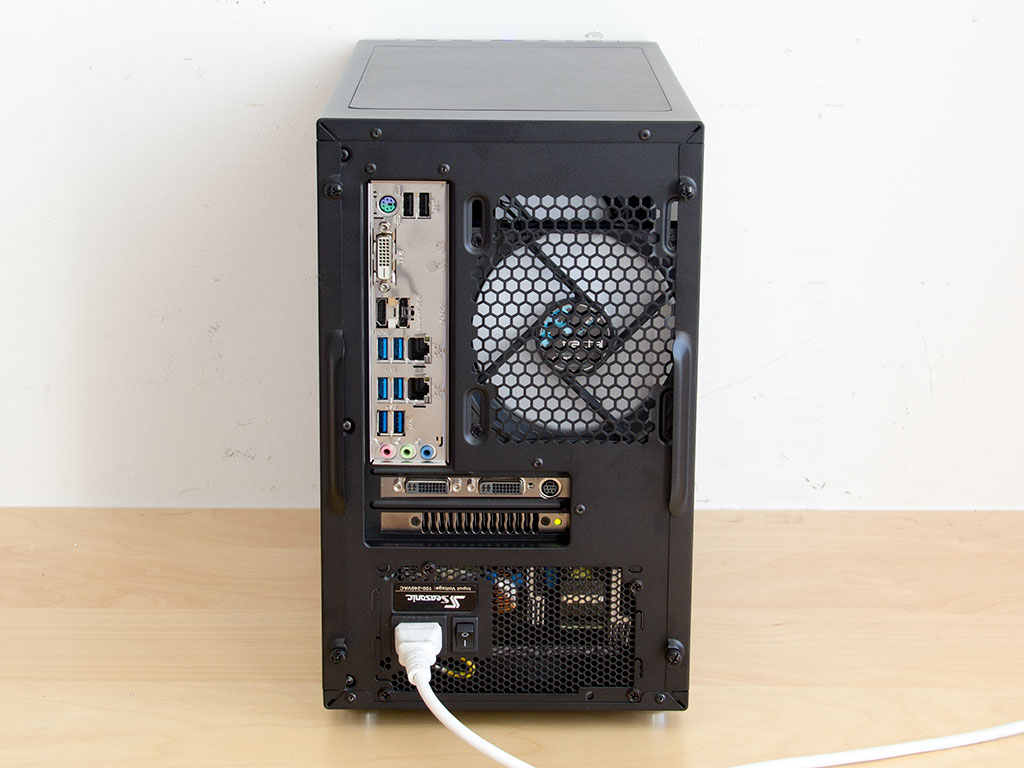
Taking a closer look at the side, you can still see a little bit of the PSU's label, which distracts slightly from the experience; however, everything else is really nice and clean. You will love that window if you end up building a liquid-cooling system for potent hardware around the Define Nano S. In the rear, everything is where you would expect it to be.
Jun 16th, 2024 19:39 EDT
change timezone
Latest GPU Drivers
New Forum Posts
- How Should iGPU be tweaked in comparison to CPU & Cache? (12)
- How to completely reset all changes made by TS? (23)
- Good Bronze 750w PSU (95)
- Opinions on AI (266)
- What's your latest tech purchase? (20811)
- TechPowerUp Video Thread (MASSIVE 56K WARNING) (985)
- I should upgrade my gpu and psu? (17)
- Asrock x99x Killer Ram speed/Cache/Bios issue (1)
- Last game you purchased? (346)
- A Final Fantasy IX Reminiscence - My love letter and homage to one of the best stories ever told (1)
Popular Reviews
- Pulsar Xlite V3 eS Review
- Aune AR5000 Headphones + S17 Pro Headphones Amplifier Review
- Upcoming Hardware Launches 2024 (Updated May 2024)
- Team Group T-Force G70 Pro 2 TB Review
- VAXEE Outset AX Wireless (4K) Review
- AMD Ryzen 7 7800X3D Review - The Best Gaming CPU
- Intel Lunar Lake Technical Deep Dive - So many Revolutions in One Chip
- NZXT H6 Flow RGB Review
- ASUS Radeon RX 7900 GRE TUF OC Review
- Thermal Grizzly KryoSheet Review - Tested on RX 7900 XTX with 475 W
Controversial News Posts
- Possible Specs of NVIDIA GeForce "Blackwell" GPU Lineup Leaked (134)
- NVIDIA RTX 5090 "Blackwell" Founders Edition to Implement the "RTX 4090 Ti" Cinderblock Design (118)
- AMD Ryzen 9000 Zen 5 Single Thread Performance at 5.80 GHz Found 19% Over Zen 4 (115)
- AMD Outs Ryzen 5000XT Processors for Socket AM4, an 8-year Old Socket (105)
- Nightmare Fuel for Intel: Arm CEO Predicts Arm will Take Over 50% Windows PC Market-share by 2029 (105)
- AMD Says Ryzen 9000 Series Won't Beat 7000X3D Series at Gaming (103)
- AMD Zen 5 Storms into Gaming Desktops with Ryzen 9000 "Granite Ridge" Processors (100)
- Biden Administration to Revive Trump-Era Tariffs on China-made GPUs and Motherboards (95)