 51
Fractal Design Meshify 3 Ambience Pro RGB Review
Adjust Pro Web Application »Assembly


Installing a board is a bit tight on the sides, as you have to navigate any protruding elements of the back IO into position at angle to clear the metal cable cover, but you could move it over temporarily just to make things easier. That said, the board falls into place nicely, hugged beautifully by that metal element on one side, and sitting right on the shroud at the bottom. The opening at the bottom stretches across about 2/3rds of the board width so in our scenario, Three fan headers, some secondary connectors as well as the FP pins are really only accessible by sneaking them in from the right side. The Meshify 3 series is dimensioned perfectly for long GPUs, maxing out at 349 mm. That is, until you opt to install a 360 mm AIO in the front as it won't fit in the ceiling. If we had gone that route, our GeForce RTX 4080 would not have had the needed space. This should really not be something you should have to worry about for a case of this price point, and it would not be far-fetched to see buyers assuming this is a successor to the Meshify 2 which was able to handle a GPU of up to 491 mm in length in 2021.
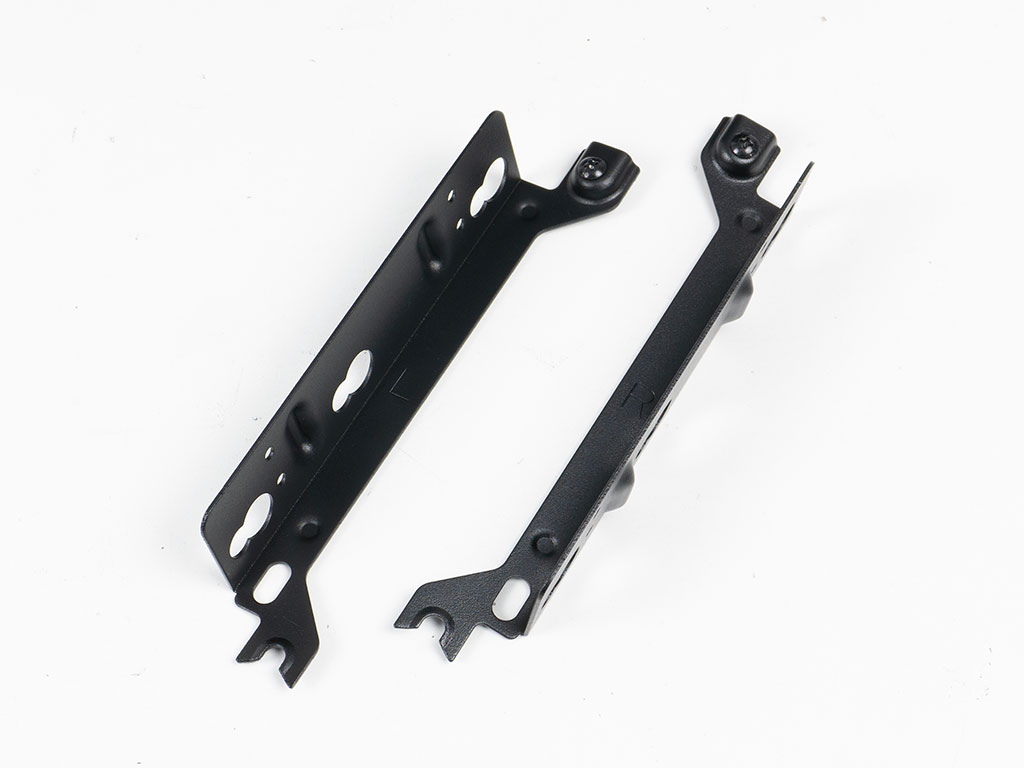
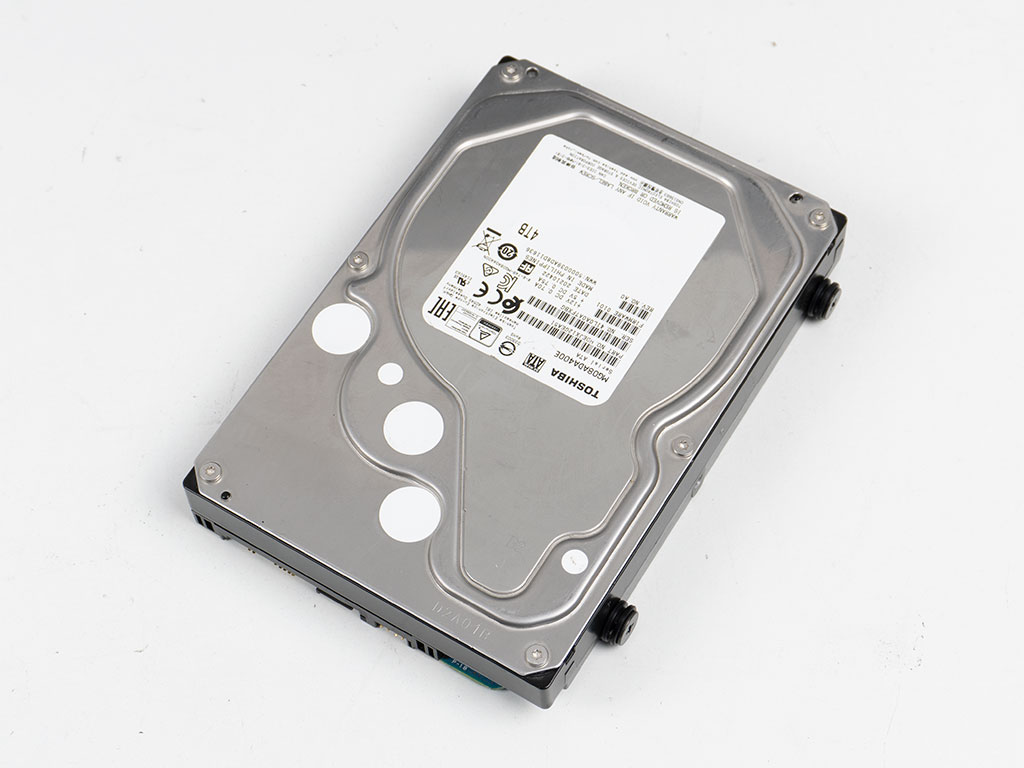
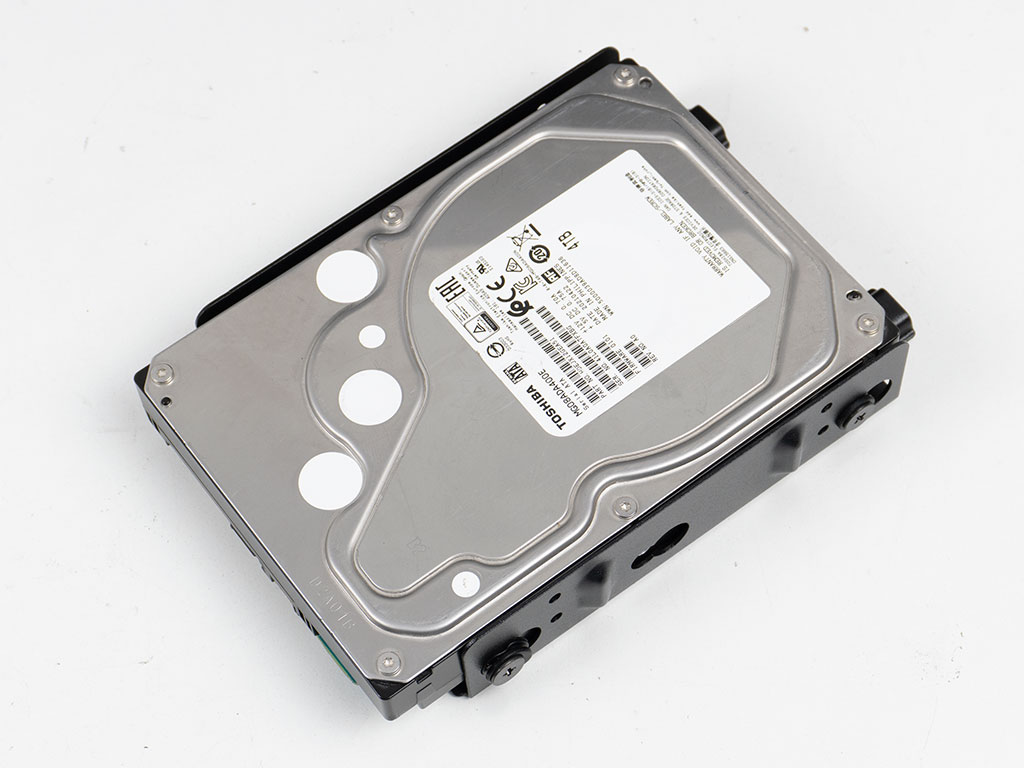
The pair of HD rails are extremely sturdy due to the use of thick metal to form them. For 3.5" drives, you will have to secure special screws with rubber rings as an uncoupling element unto the storage device before sliding the rails in place.
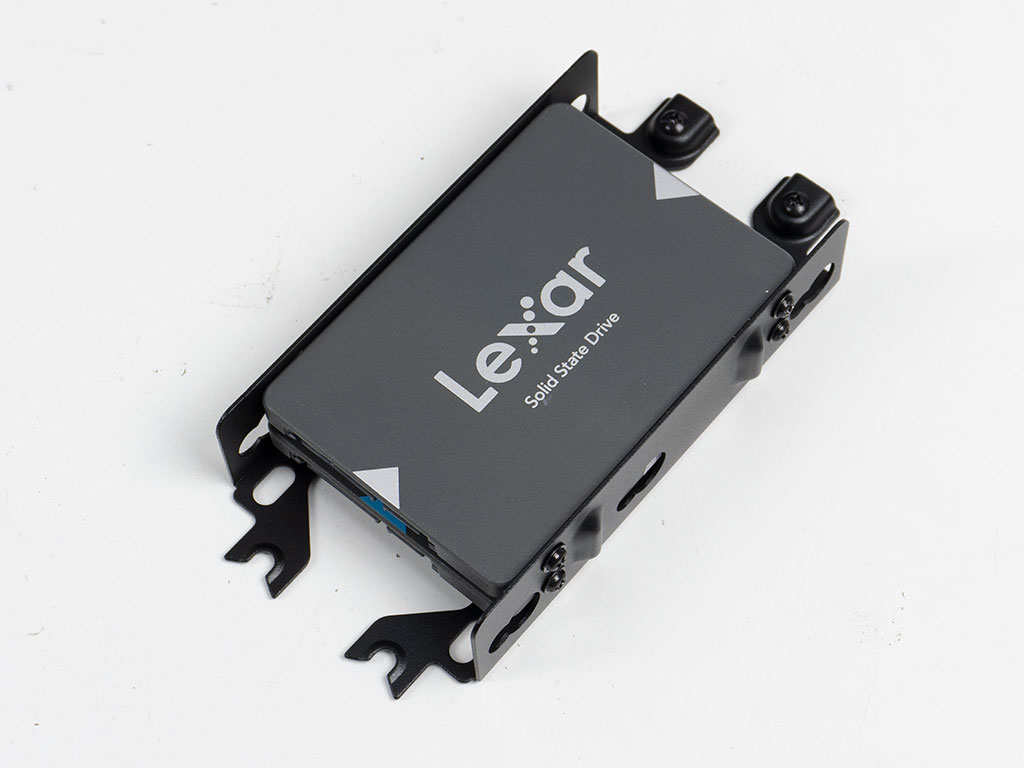
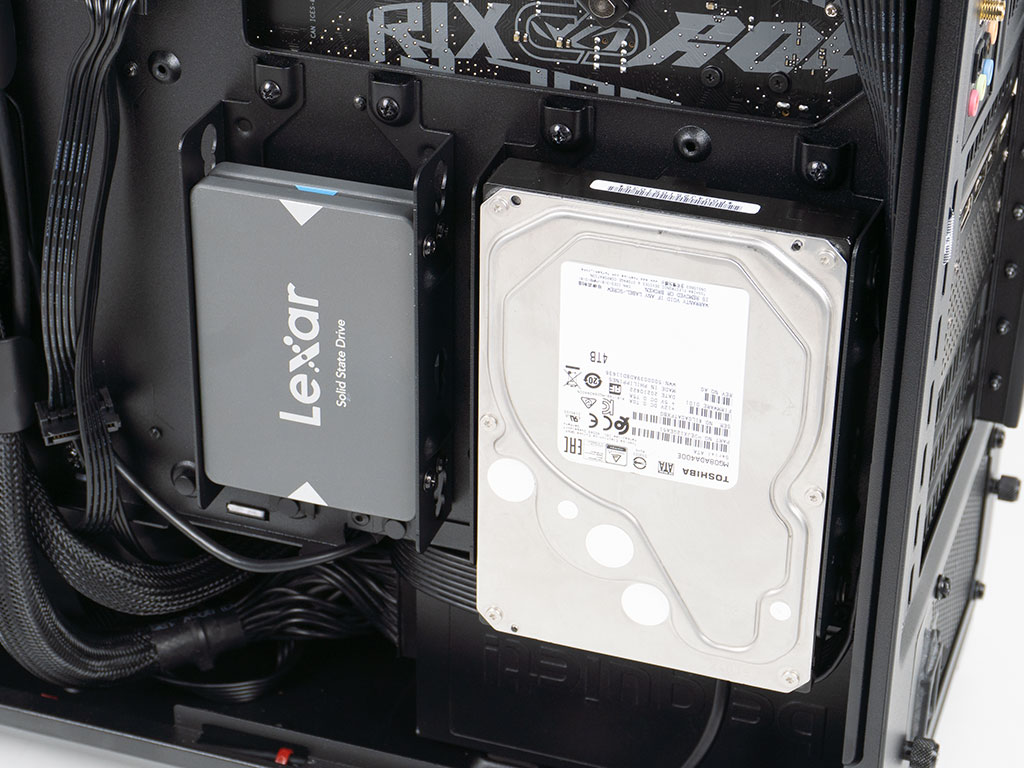
For 2.5" variants, you may stack two of them and use classic screws to secure the rails directly unto them. Once both sizes of storage packs are ready, you may pop them back unto the two positions and secure the captive screws on each rail elements.
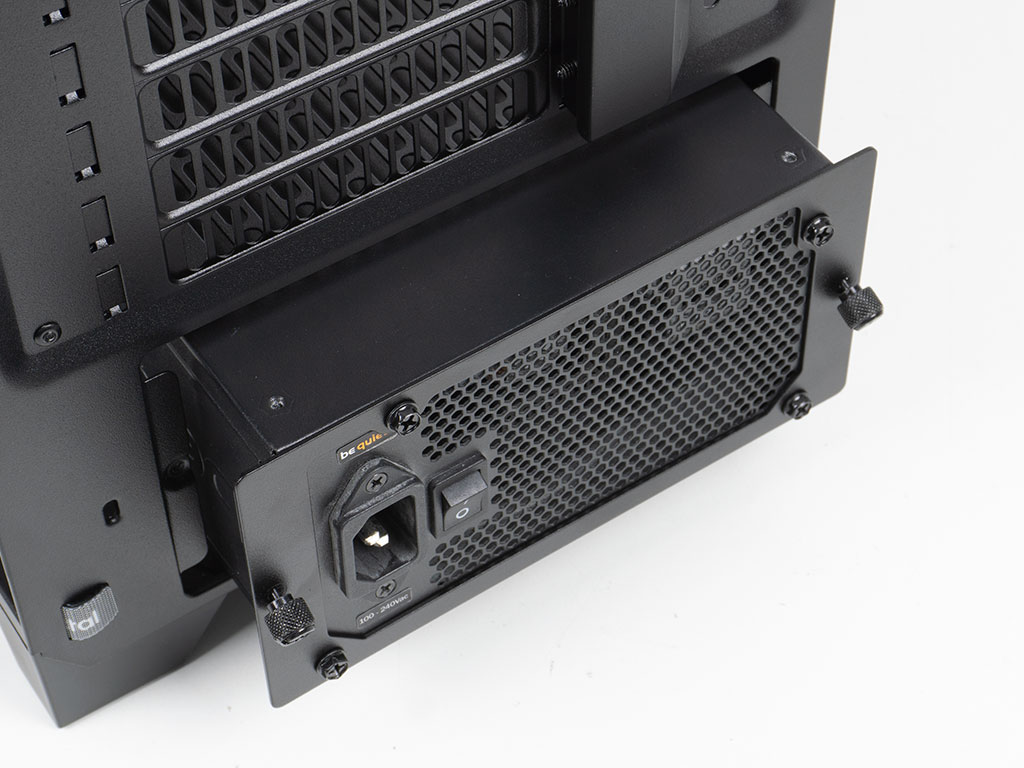
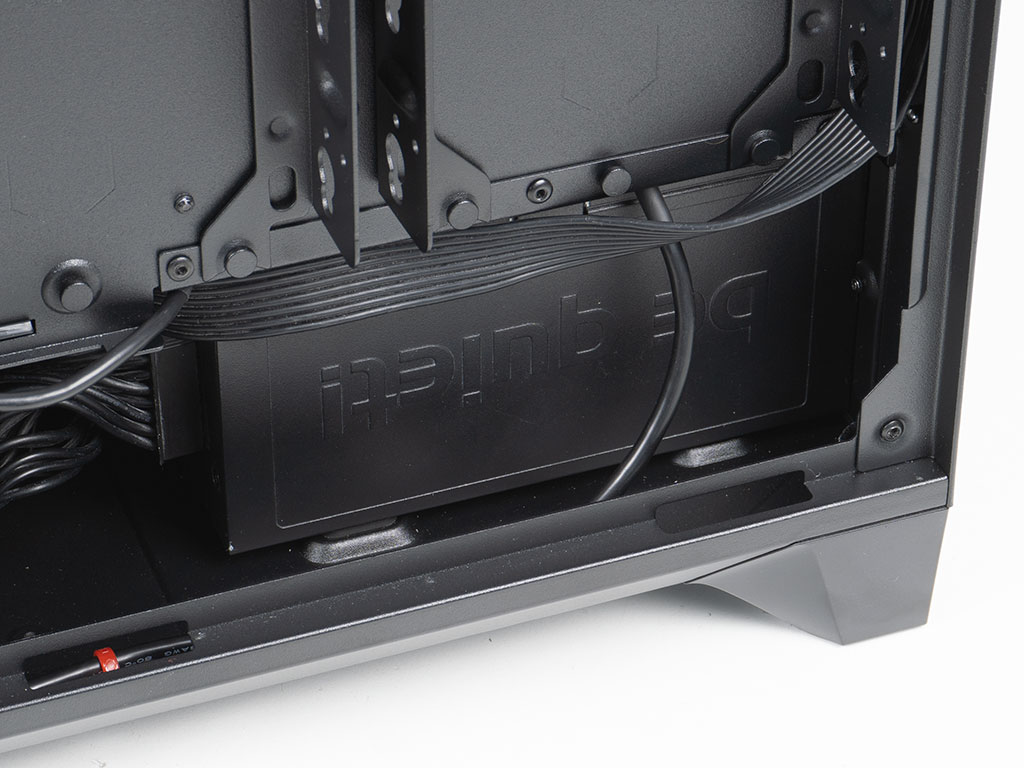
Adding a power supply is straightforward as well, as you can simply screw it unto the flat mounting frame, then slide it in and pin it down using the two, large, captive thumb screws. The Meshify 3 can hold units of up to 180 mm in size, so you have plenty of high capacity and highly efficient power supplies to pick from.

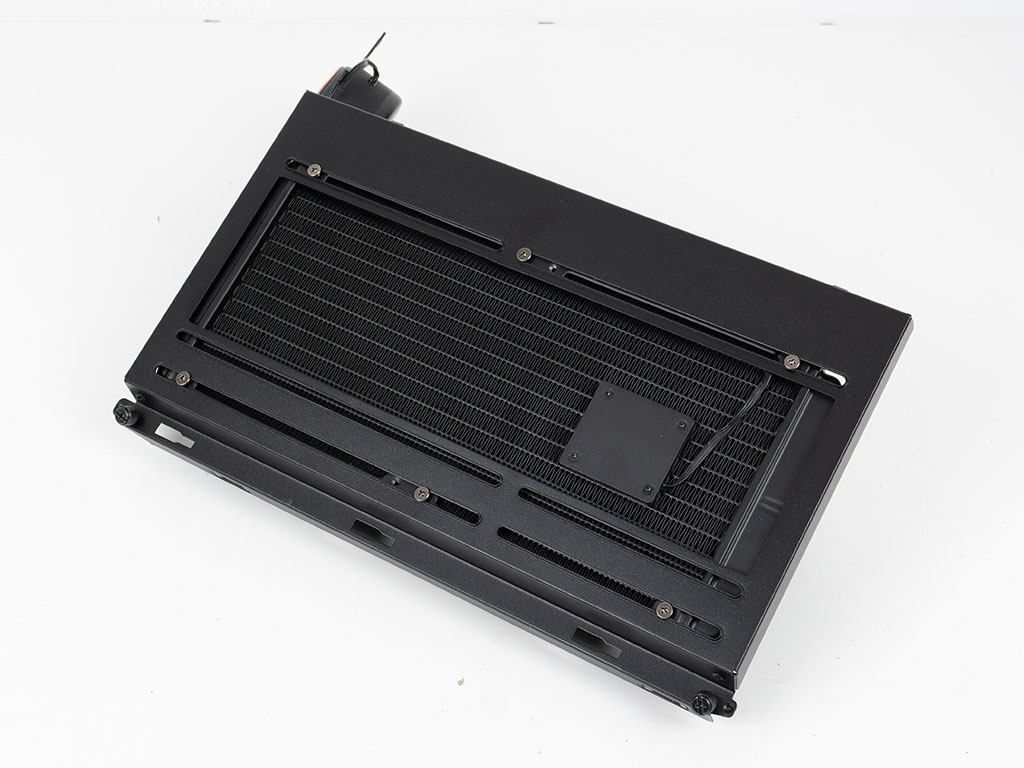
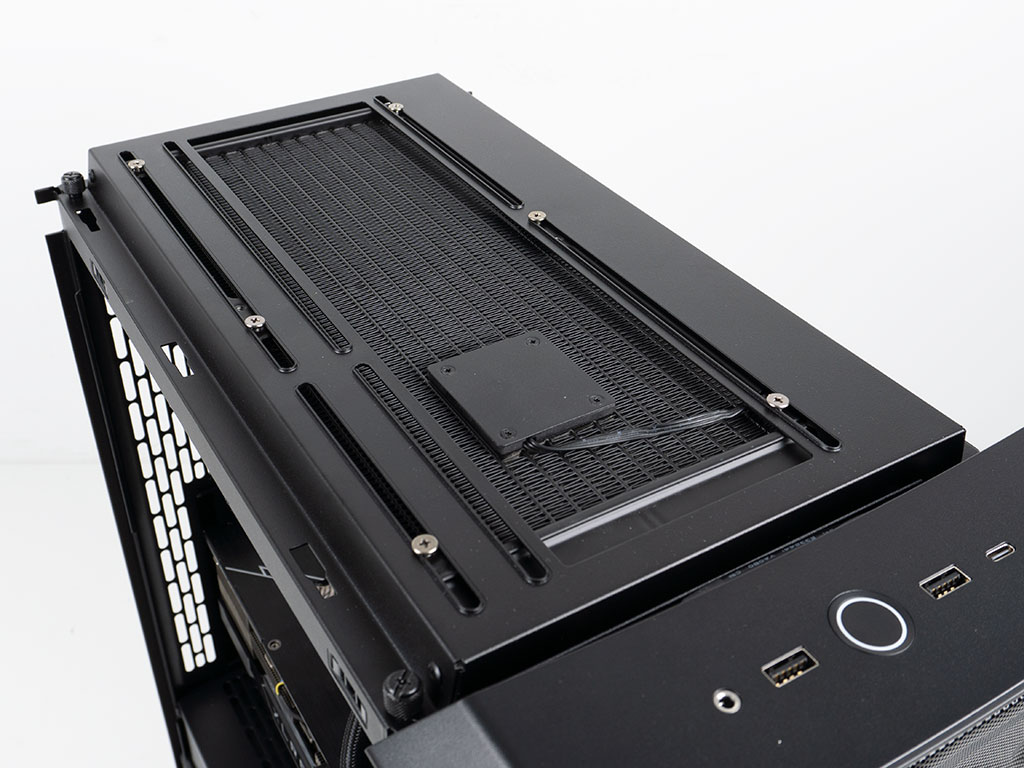
To install an AIO of up to 280 mm in size, you may remove the top frame element of the Meshify 3, allowing you to prepare your ceiling cooling outside the confines of the chassis. Once ready, simply move the filled frame back into position. There is lots of room between a standard liquid cooler and the motherboard, so you will still have good access to the ports at the top edge of the chassis.


With everything installed, the Meshify 3 Ambience Pro RGB doesn't make a bad impression at all. The metal cable cover helps to keep thing those elements on the side as hidden as possible. But, the PCIe cable comes in at an angle from the same area and all the wiring at top edge ends up being zip tied to the ceiling behind the motherboard tray, so there is really no easy way to hide any of those. A grommet here would have worked wonders. The plastic cable management system works really well and feels sturdy enough to take some abuse or pressure as well.
Finished Looks
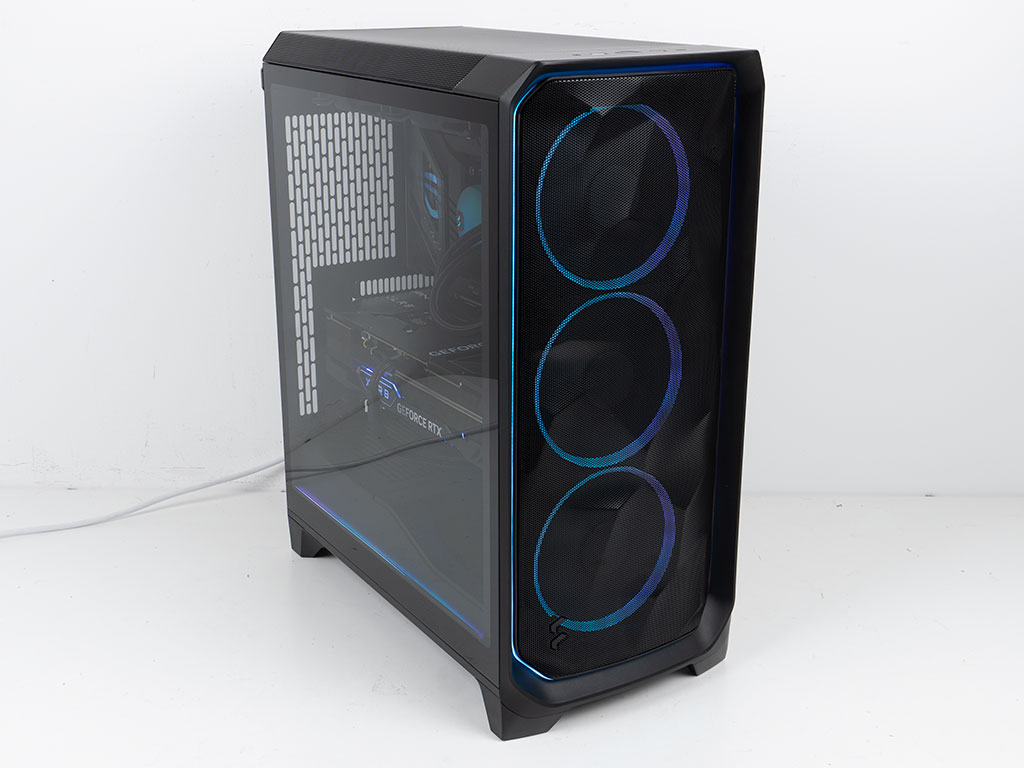
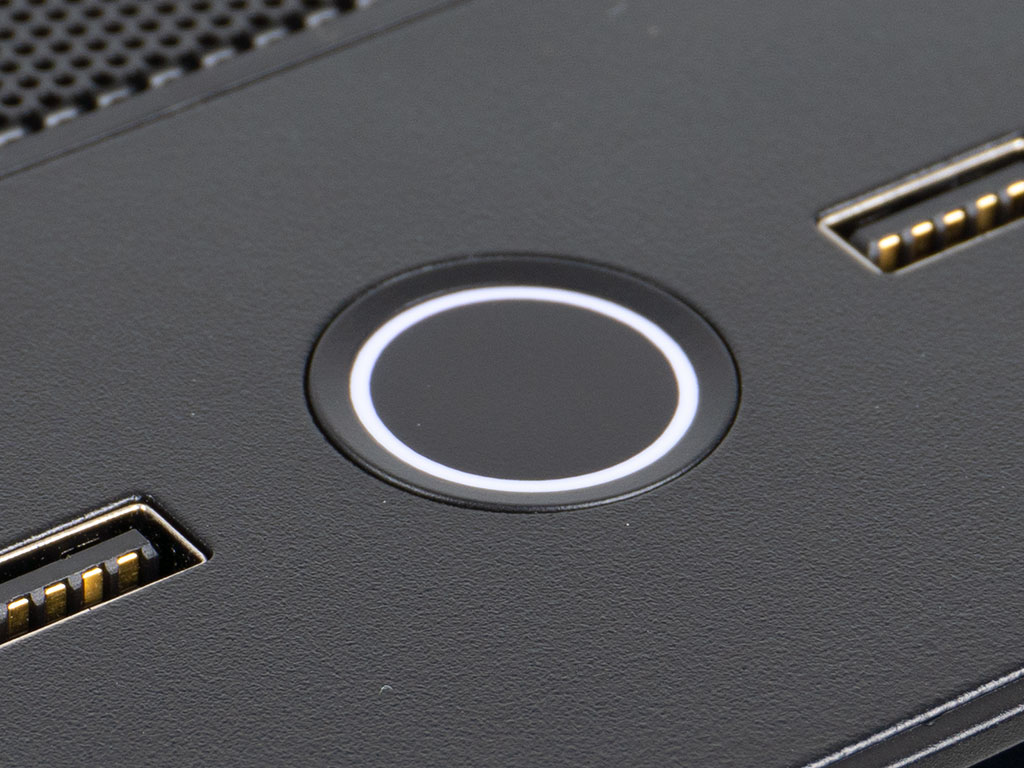
Turning the Fractal Design Meshify 3 Ambience Pro RGB on for the first time, the embedded lighting elements really make this case pop. The studio lights really don't do it justice as it looks best in a dim or dark environment. The power LED, while it happens to be somewhat white in the image, is also part of the lighting theme, so it will change according to your settings.


Looking at the case from the front, you can see the gentle glow of the ring of LEDs around the metal mesh panel. Similarly, the second element at the bottom edge of the glass provides another catchy, visual USP. In the rear, everything is where you would expect to see it. Just as with previous Fractal Design cases, the Velcro strips down the left edge may be used for either interior or exterior cable management.
Nov 22nd, 2026 04:33 PST
change timezone
Latest GPU Drivers
New Forum Posts
- Honestly, do you care about GTA VI? (244)
- Gigabyte AORUS RTX 5080 MASTER – Up to 30°C GPU Hotspot Delta! Is This Normal, a Cooling Defect, or Should I RMA? (1)
- UPS what one to get? (31)
- The TPU UK Clubhouse (27289)
- Your PC ATM (36449)
- TPU's Nostalgic Hardware Club (22194)
- Zen 3 IF/IMC degradation (244)
- Local LLM General Discussion (696)
- How to prevent OLED burn damage due to PC freezes or power outtages? (54)
- Ryzen or Intel system (17)
Popular Reviews
- Microsoft Surface Laptop Ultra Review - The Next-gen Arm Laptop
- Corsair RM1200e (Second Generation) Review
- Pulsar Office Tour & First Look at P1 Dual-Sensor Mouse
- Upcoming Hardware Launches 2027 (Updated Nov 2026)
- Ugreen NASync DXP4800 GT Review
- AMD Ryzen 7 9800X3D Review - The Best Gaming Processor
- Biwin Black Opal NV7400 2 TB Review
- AMD Zen 6 Technical Deep Dive
- Phantom Blade Zero Performance Benchmark Review - 35 GPUs Tested
- AMD Ryzen 7 5800X3D 10th Anniversary Review
TPU on YouTube
Controversial News Posts
- NVIDIA Co-Founder and CEO Jensen Huang Officially Resigns (492)
- Report: Jensen Huang Eyes NVIDIA Comeback (262)
- Open Letter Asking NVIDIA to Reinstate Jensen Huang Passes 115,000 Signatures (184)
- OpenAI CEO Argues Home PCs Waste the World's Limited DRAM Supply (152)
- NVIDIA Launches Investigation Into Jensen Huang's Relationship With Suspected Chinese Spy (136)
- Intel "Raptor Lake Next" 16-Core and 20-Core CPUs Surface (130)
- NVIDIA GeForce RTX 50-Series Scheduled for up to $500 Price Hike This Week (89)
- Intel Razor Lake Gets a 12 P-Core bLLC Chip With No E-Cores, Per Leak (86)