 21
HP ZBook Ultra G1a 14 Review - The Mighty Mini with Strix Halo
Display Testing »Disassembly and Teardown
The HP ZBook Ultra G1a 14 is a small but mighty workstation. Let's walk through how to open it up.
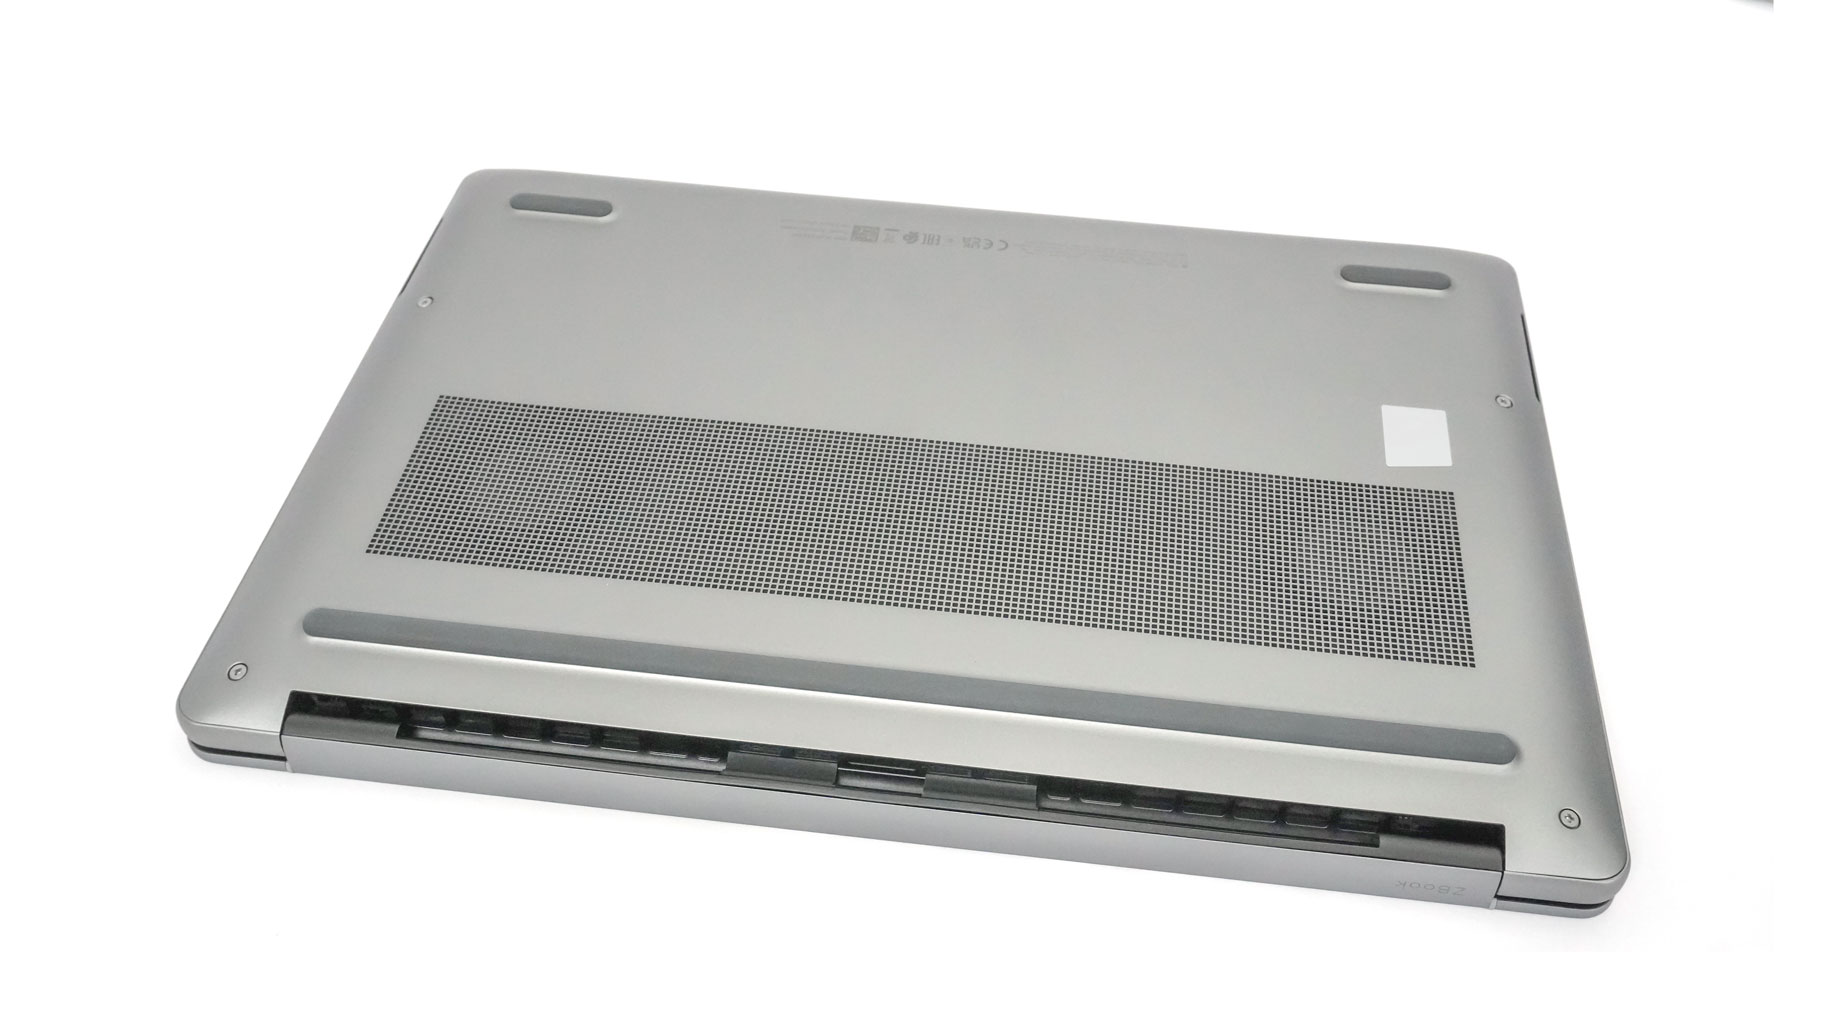
The bottom cover is held in place by just four Phillips head screws. Once they're out, use a lever tool to pop the back cover step by step. Once that section is loose, the rest of the panel should follow easily. Since the back clips are longer and sit deeper in the chassis, slide the plate toward the rear so you don't snap the front clips.
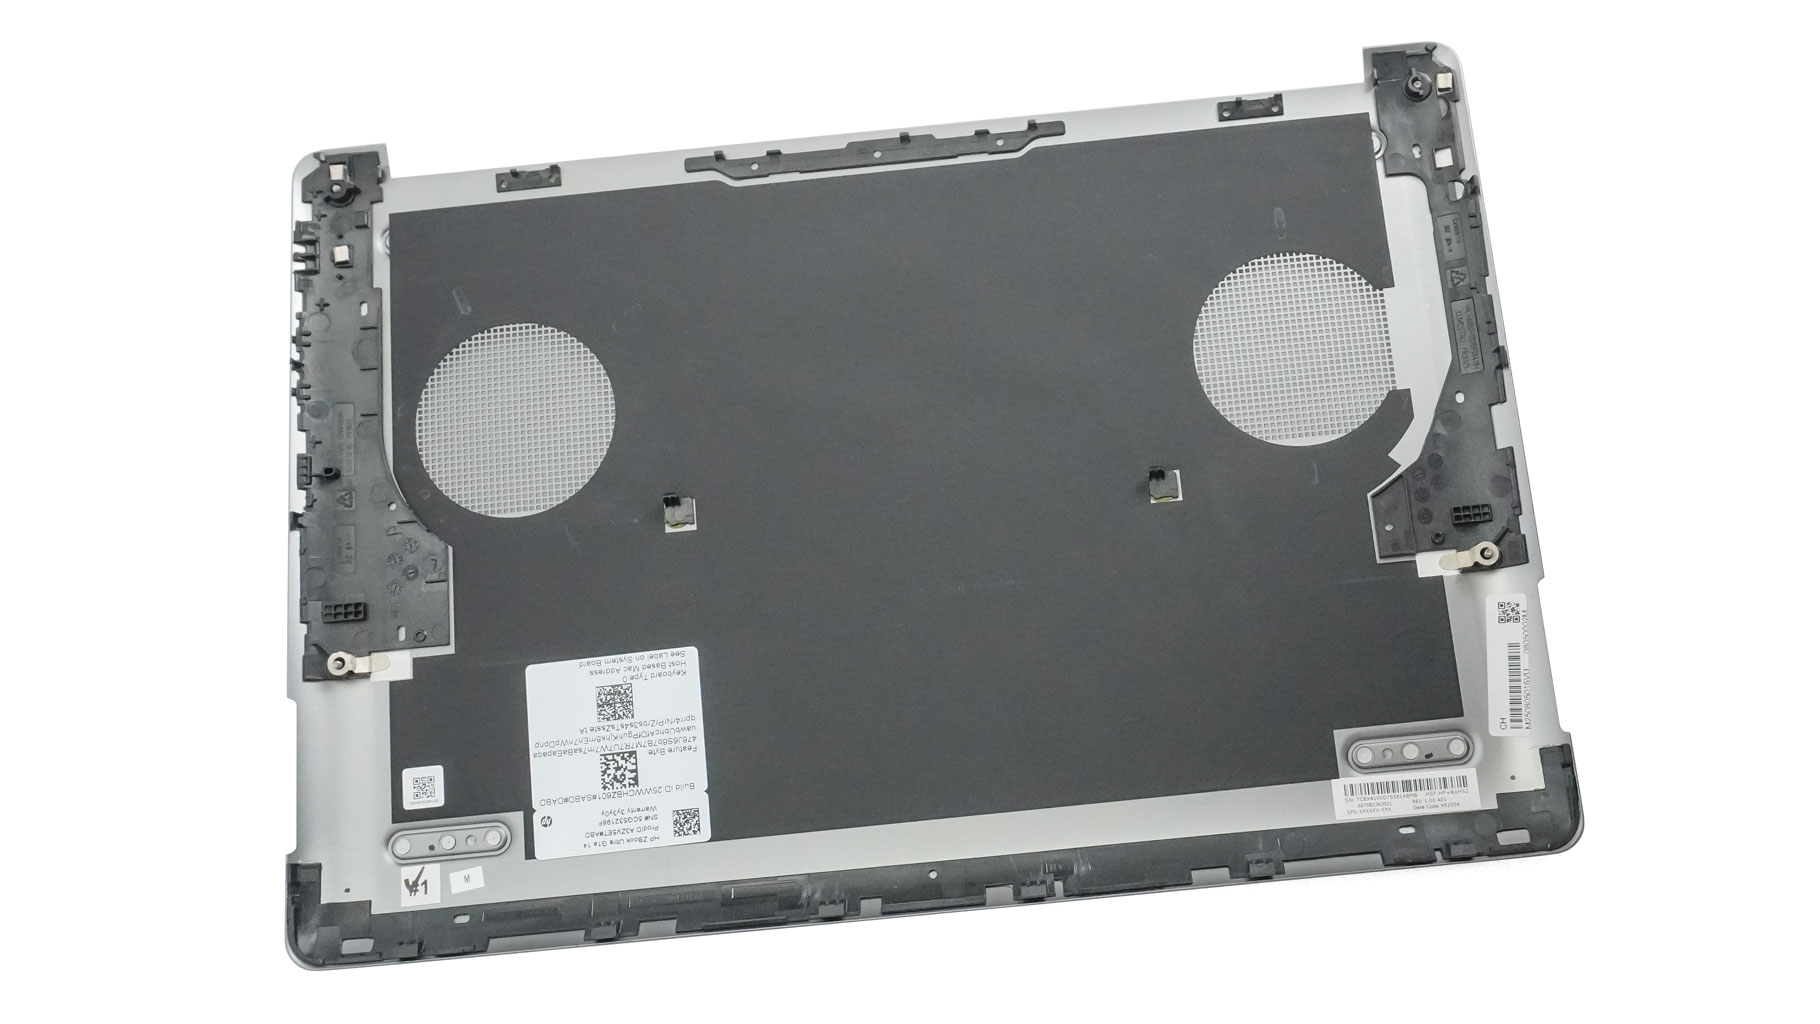
Here's how the plate looks on the inside.
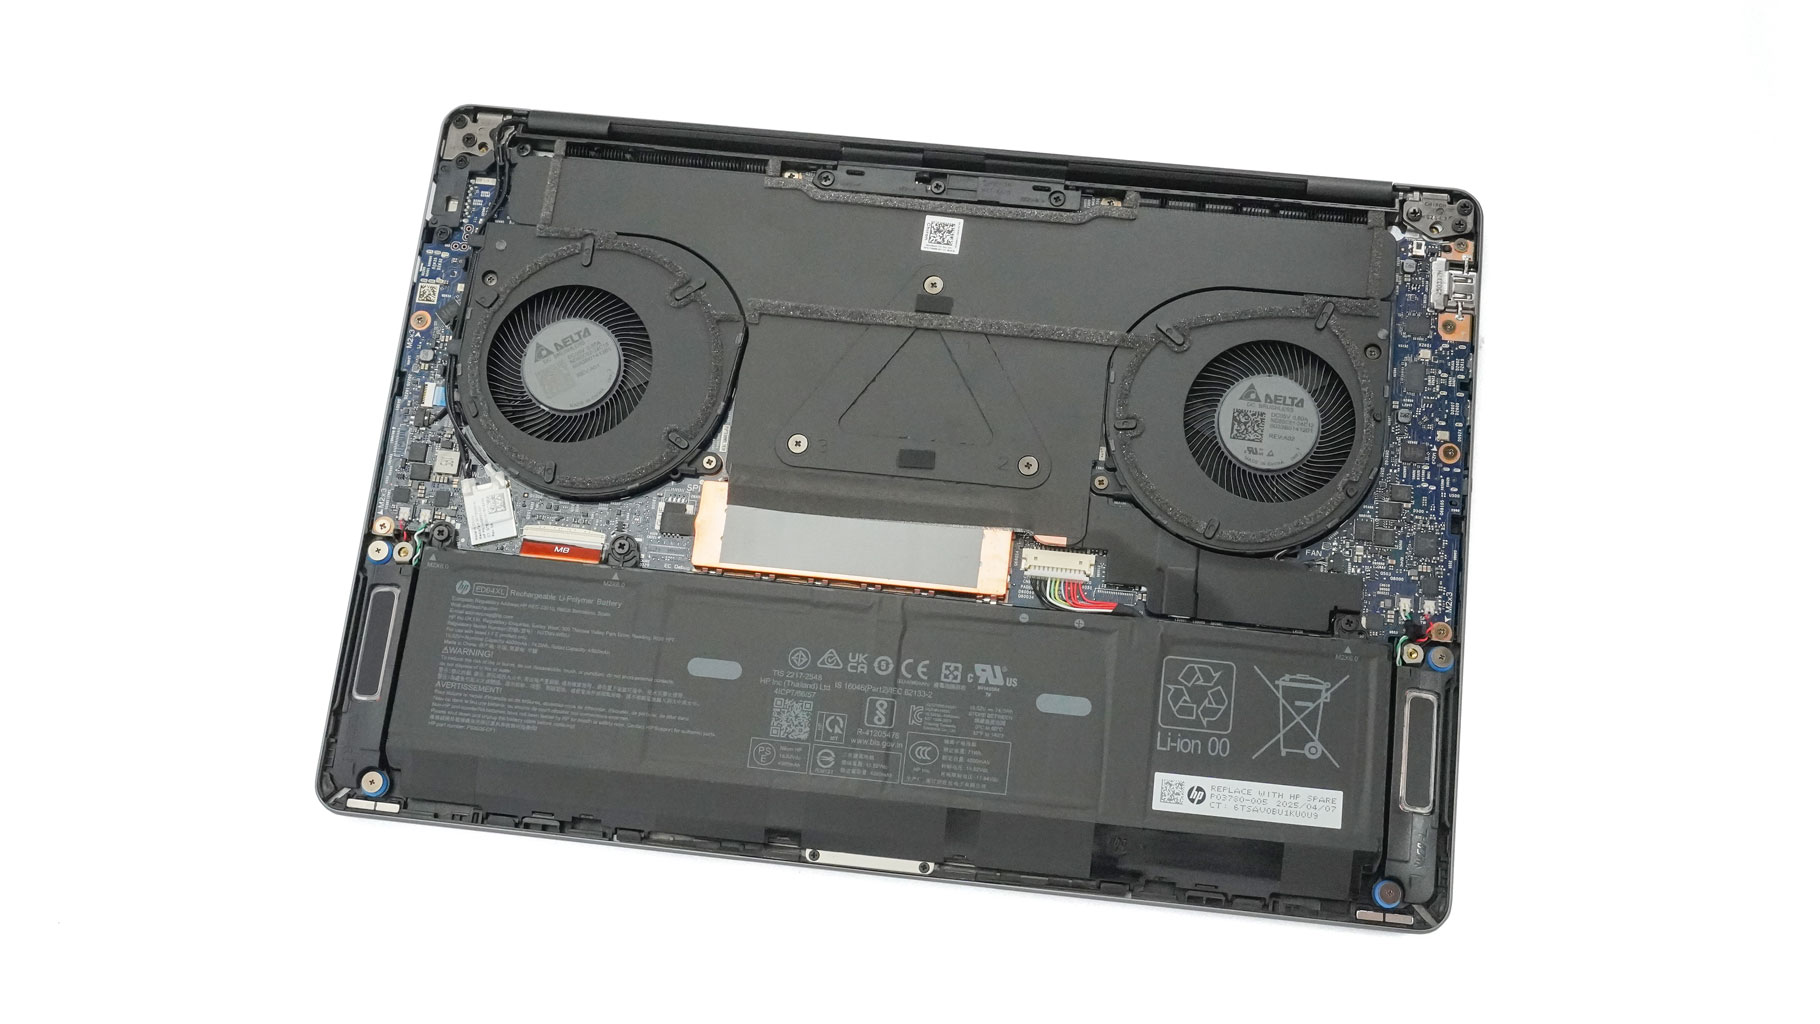
I've got to say, I'm impressed by how beefy the cooling is for such a compact machine.
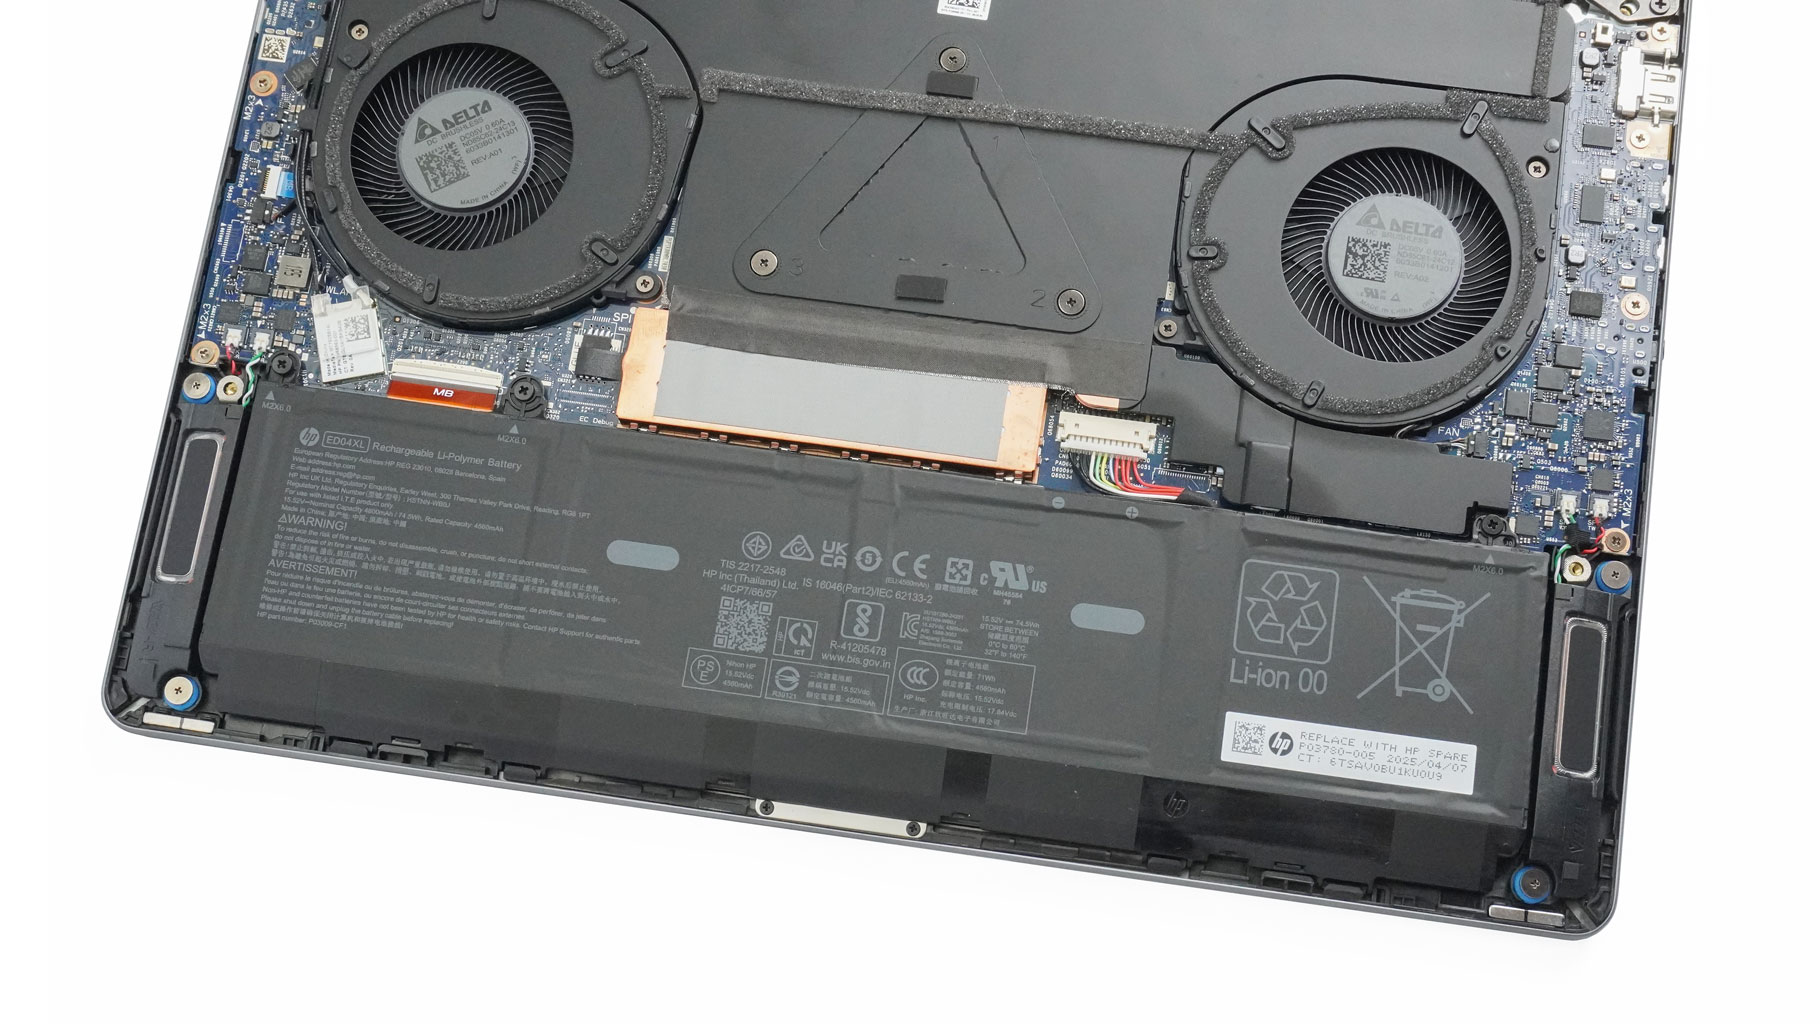
Let's check the 4-cell 74.5 Wh battery. Three screws at the top secure it, but first, we need to unplug the battery. Give the two small feet on the sides a push, or just gently pull the plug while holding the wires. With that done, take out the screws and slide the battery forward. Note that the right screw is shared with the cooling system, too.
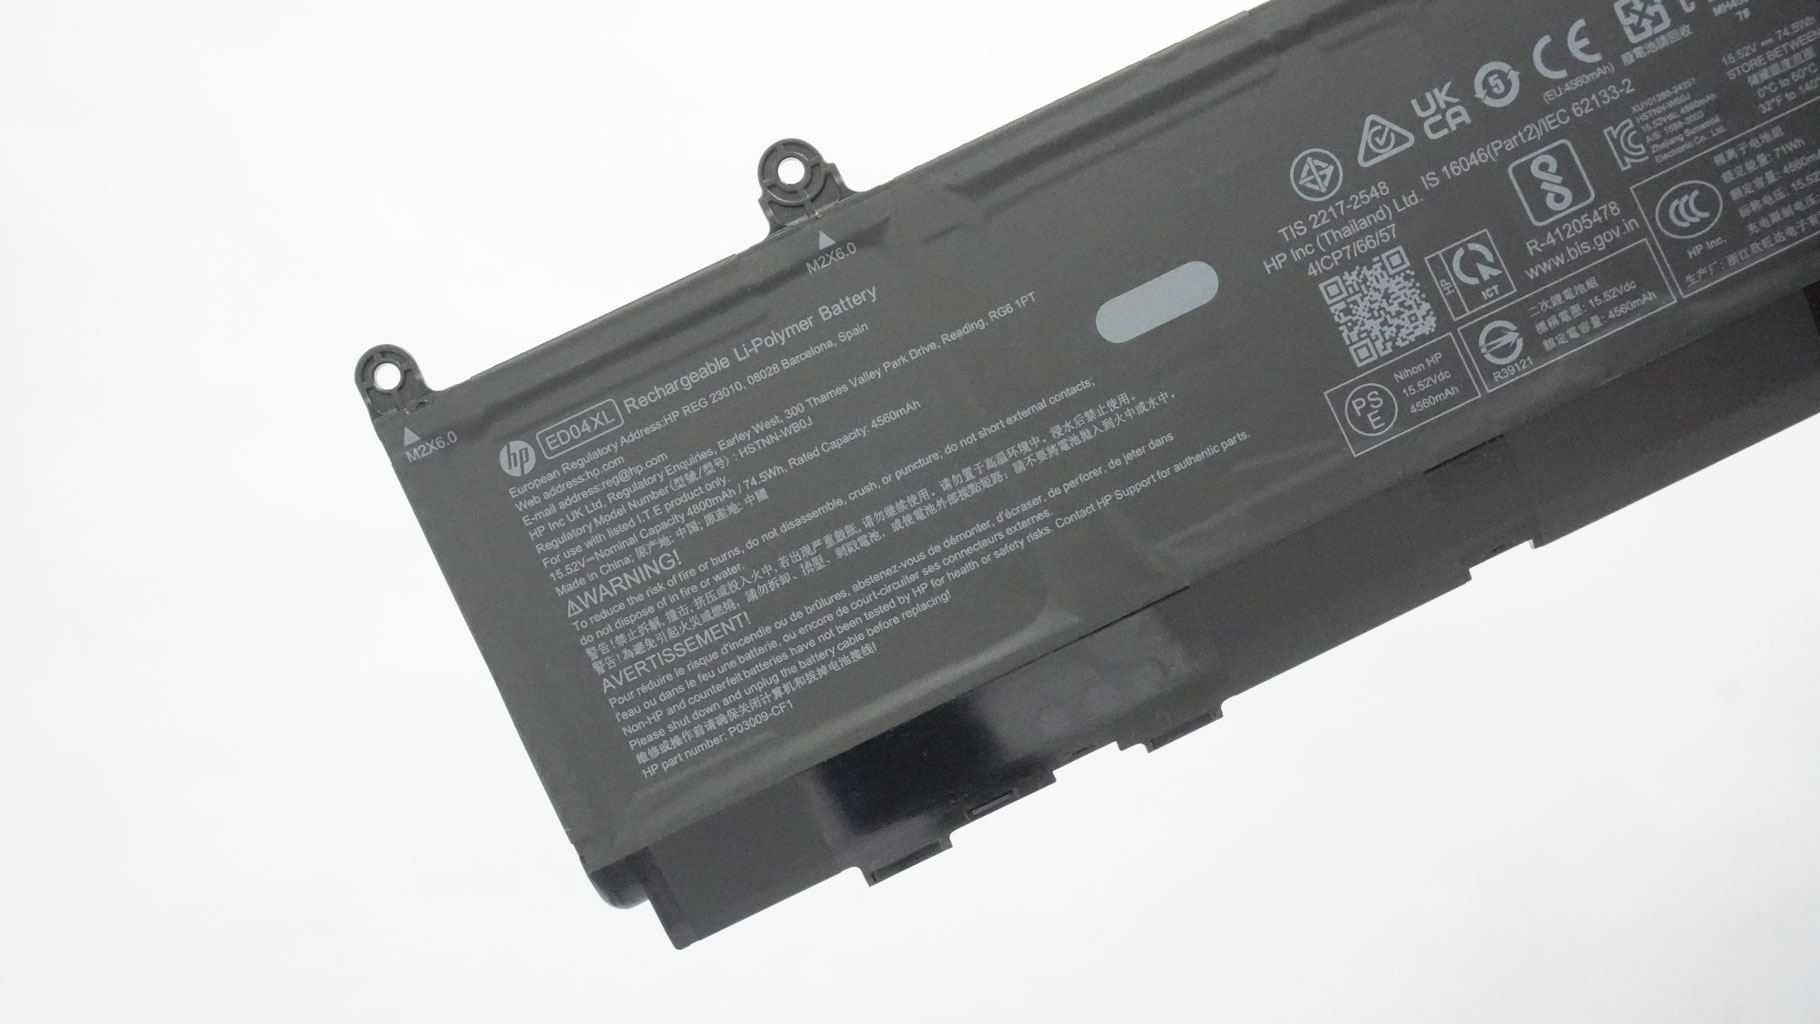
The battery life is decent - 6 hours and 40 minutes of 4K YouTube video playback. Not bad, considering that 1800p OLED touchscreen and the mighty AMD APU under the hood.
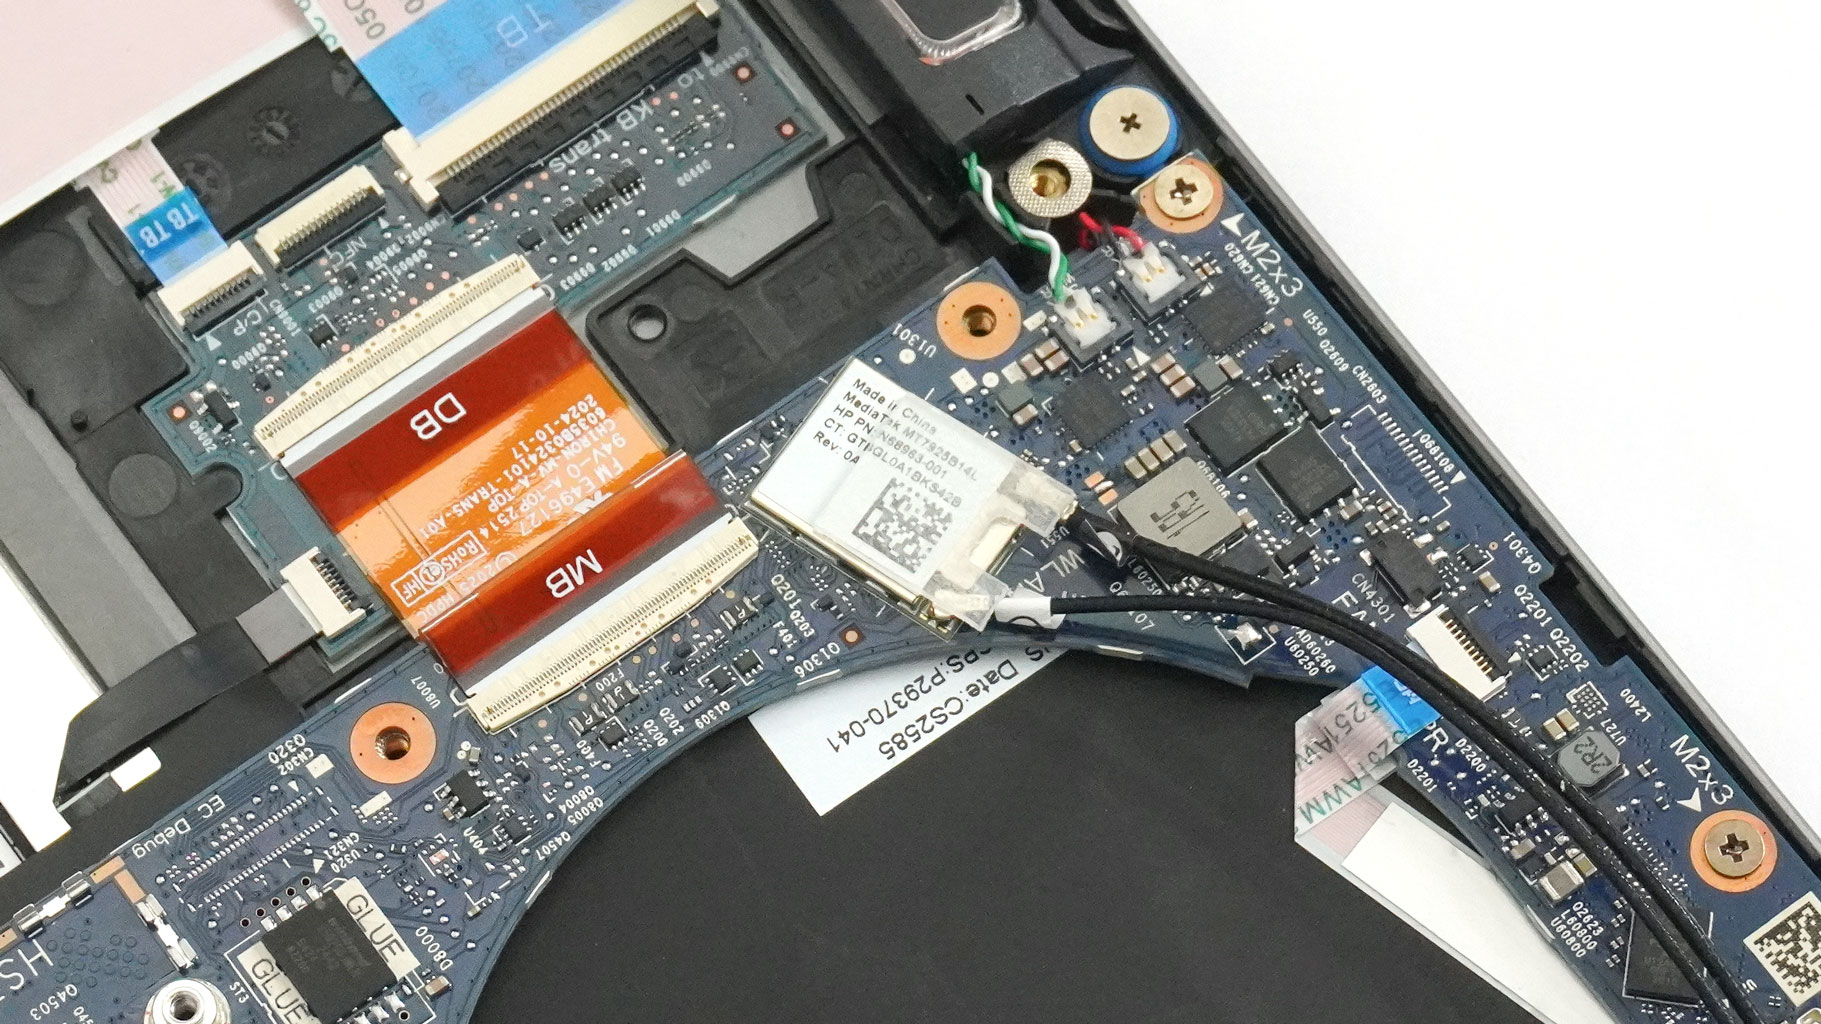
The Wi-Fi 7 card on the left is soldered.
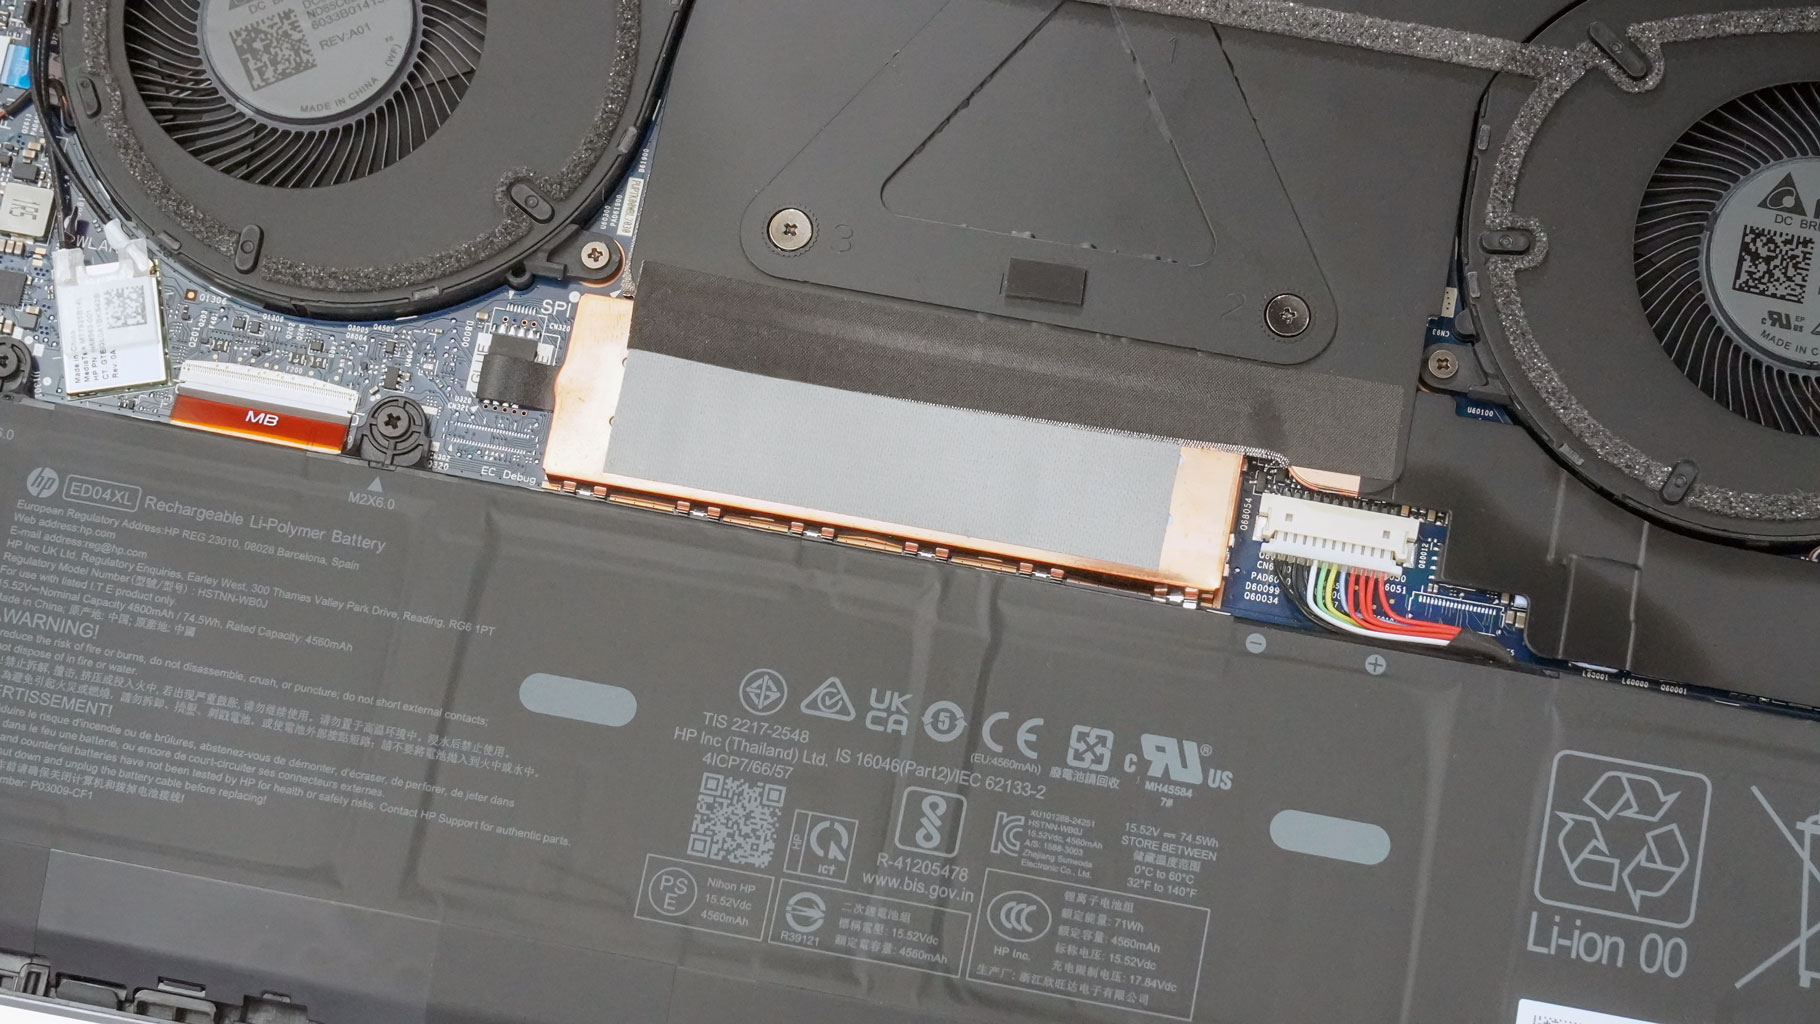
Peel back the black tape that connects the thermal system to the metal cap over the SSD. Hold the rubber handle on the left and gently lift the plate.
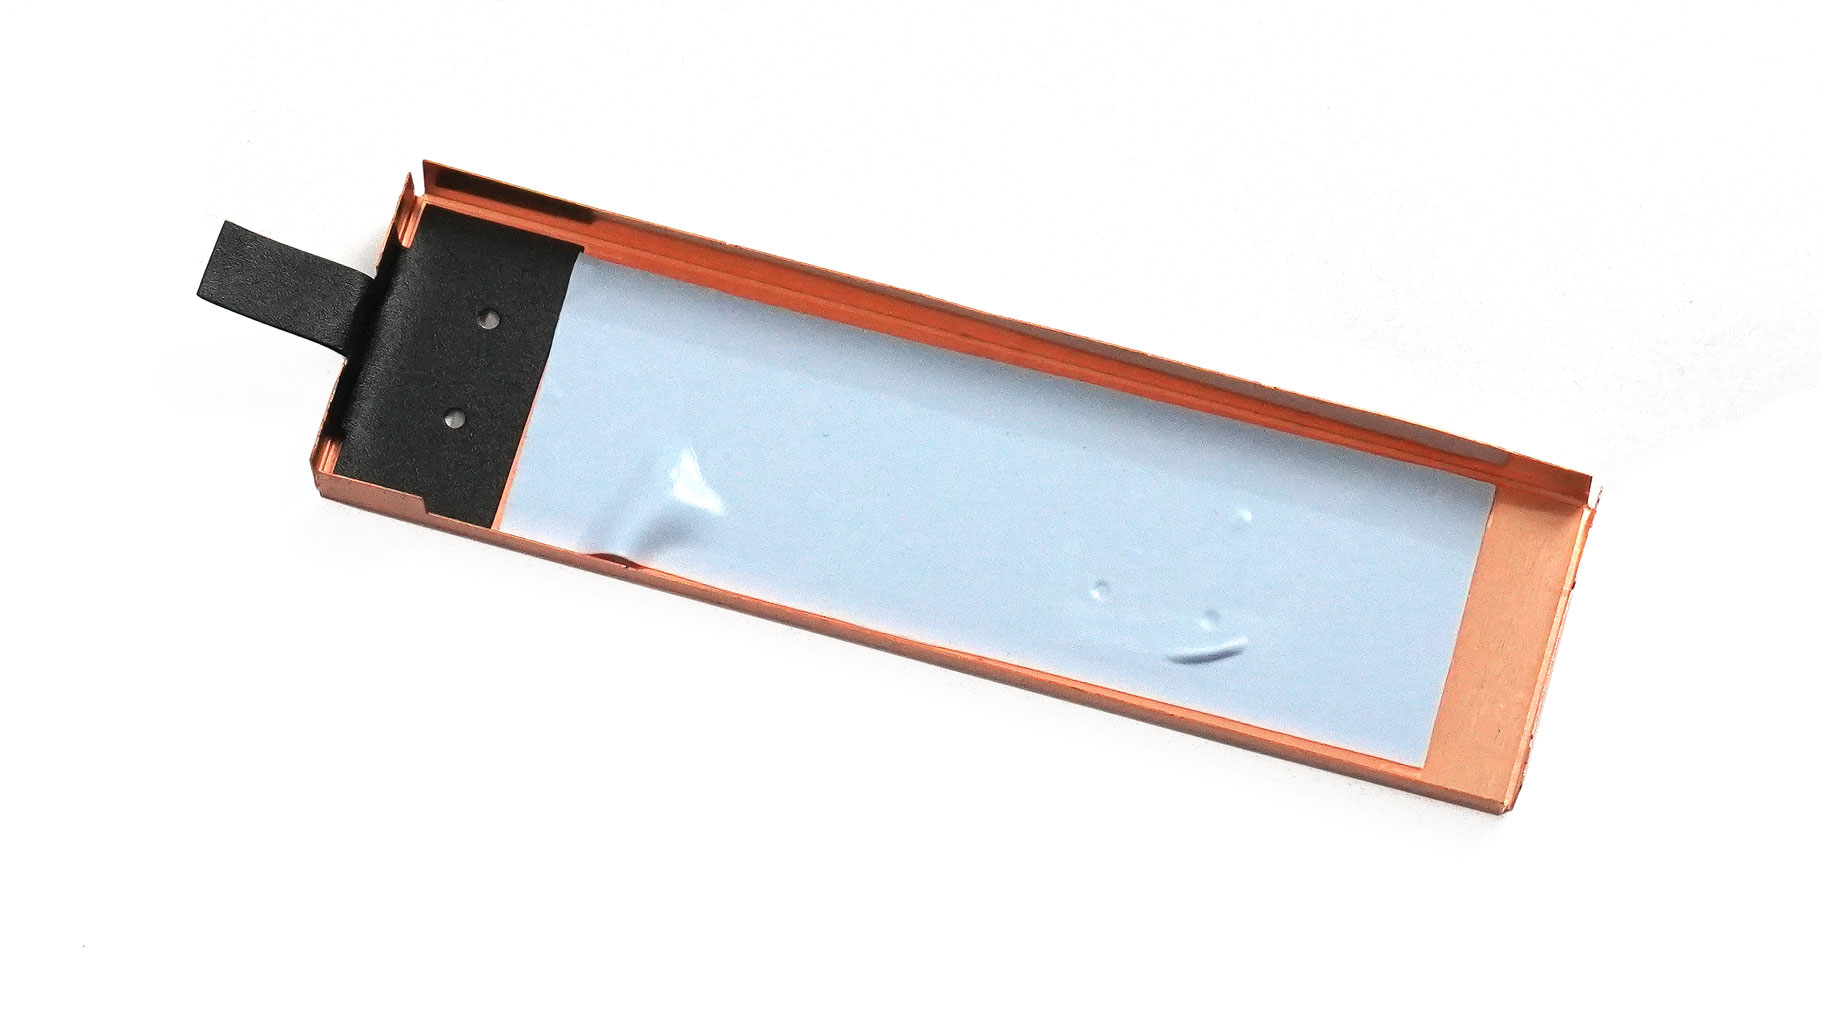
It also houses a thermal pad on the inside.
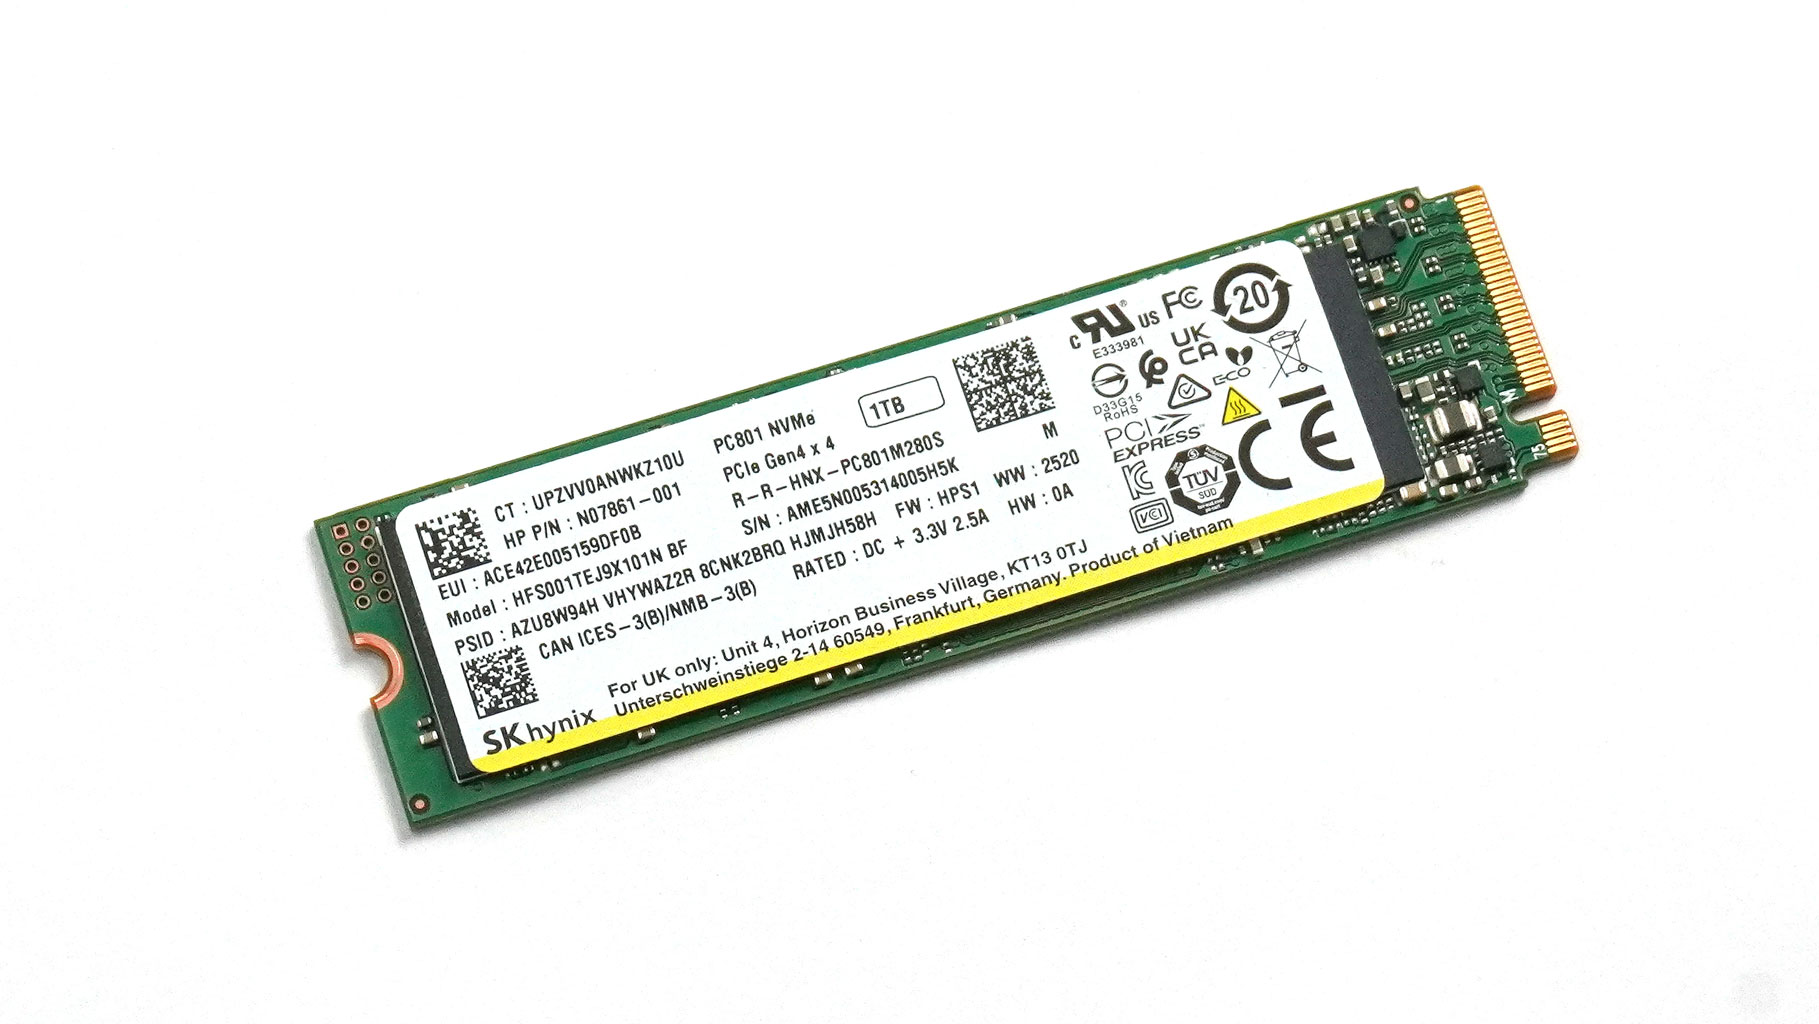
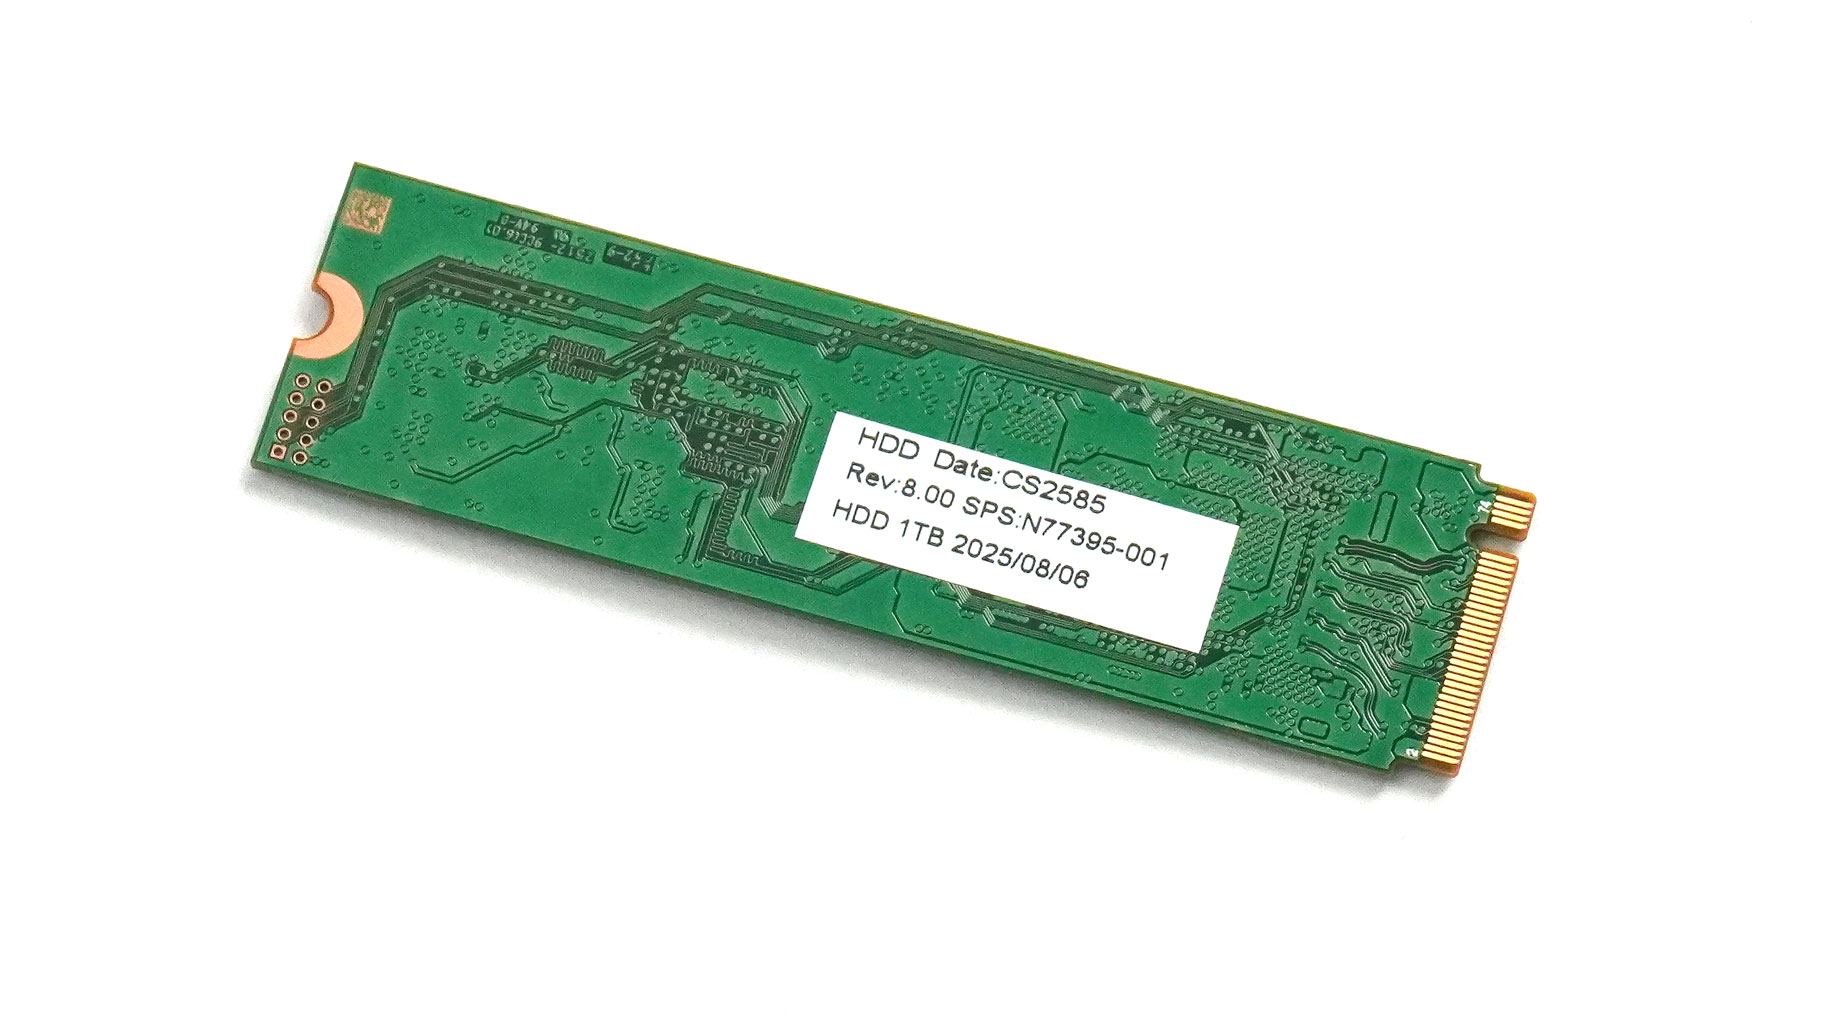
Here's the system NVMe drive.
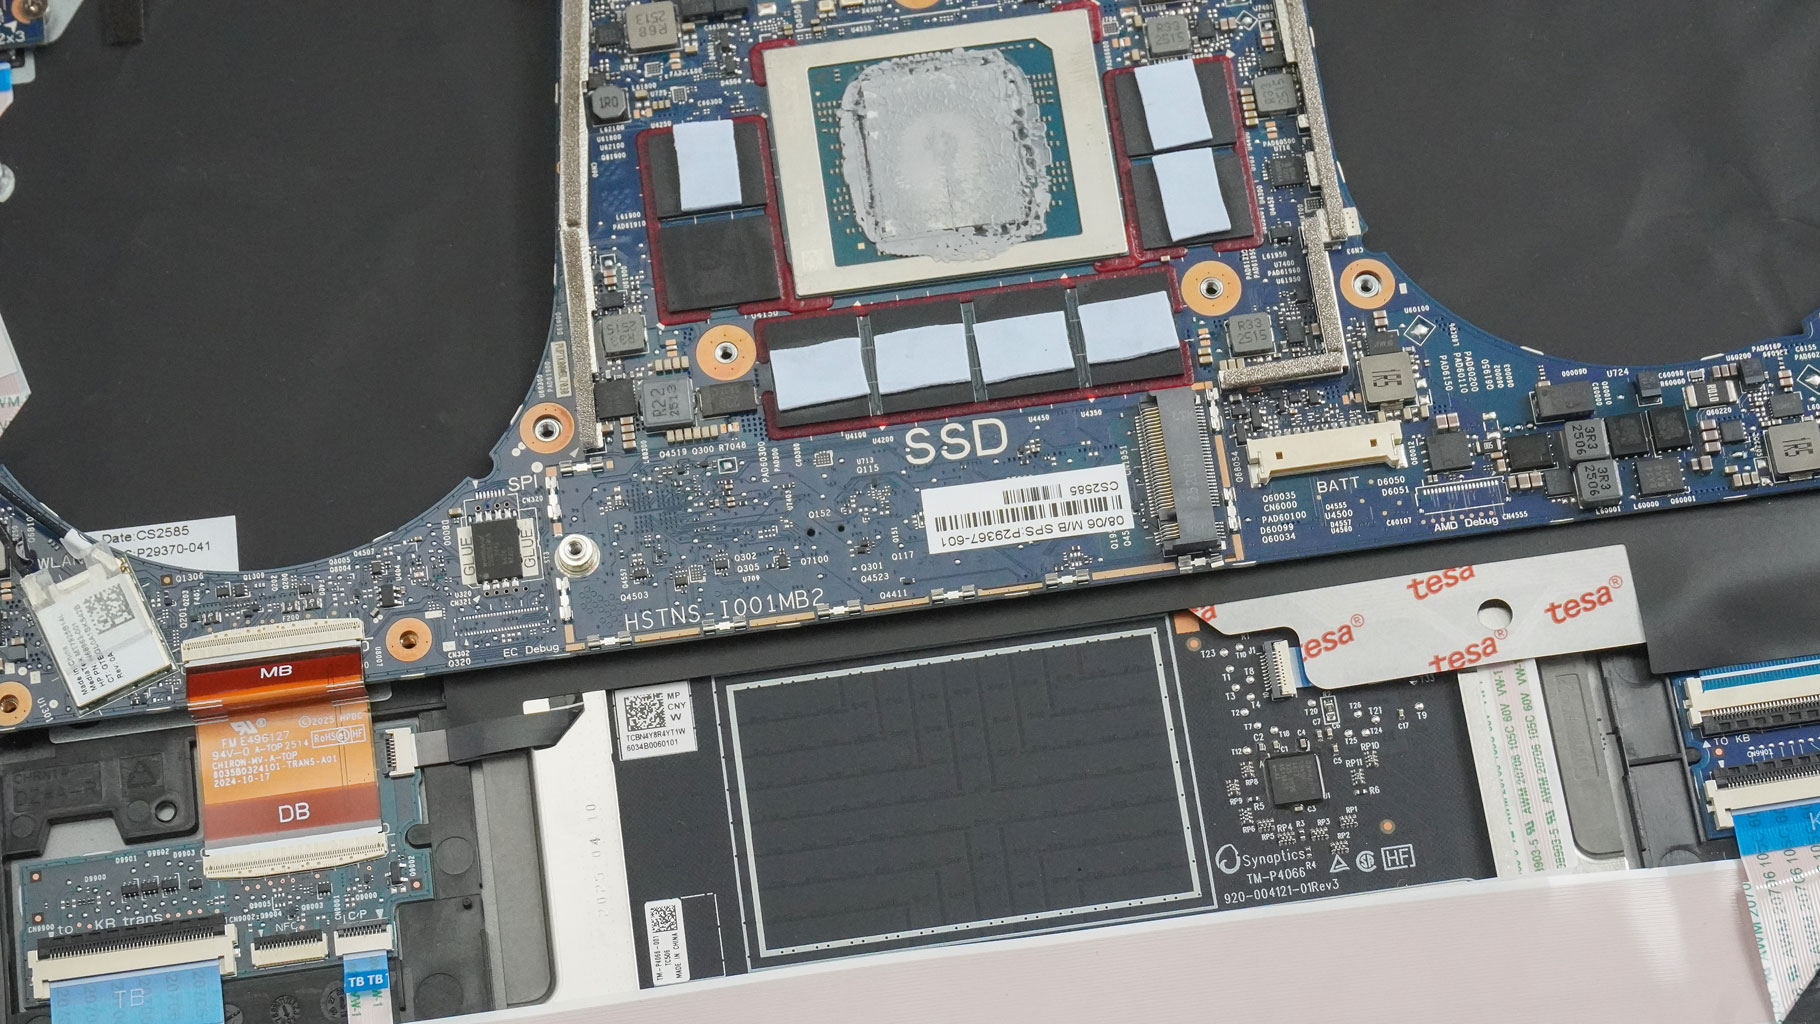
The single M.2 slot fits 2280 Gen 4 SSDs. As you can see from the picture above. The RAM is soldered, but you can spec this machine with up to 128 GB of LPDDR5x-8000, which is plenty of memory.
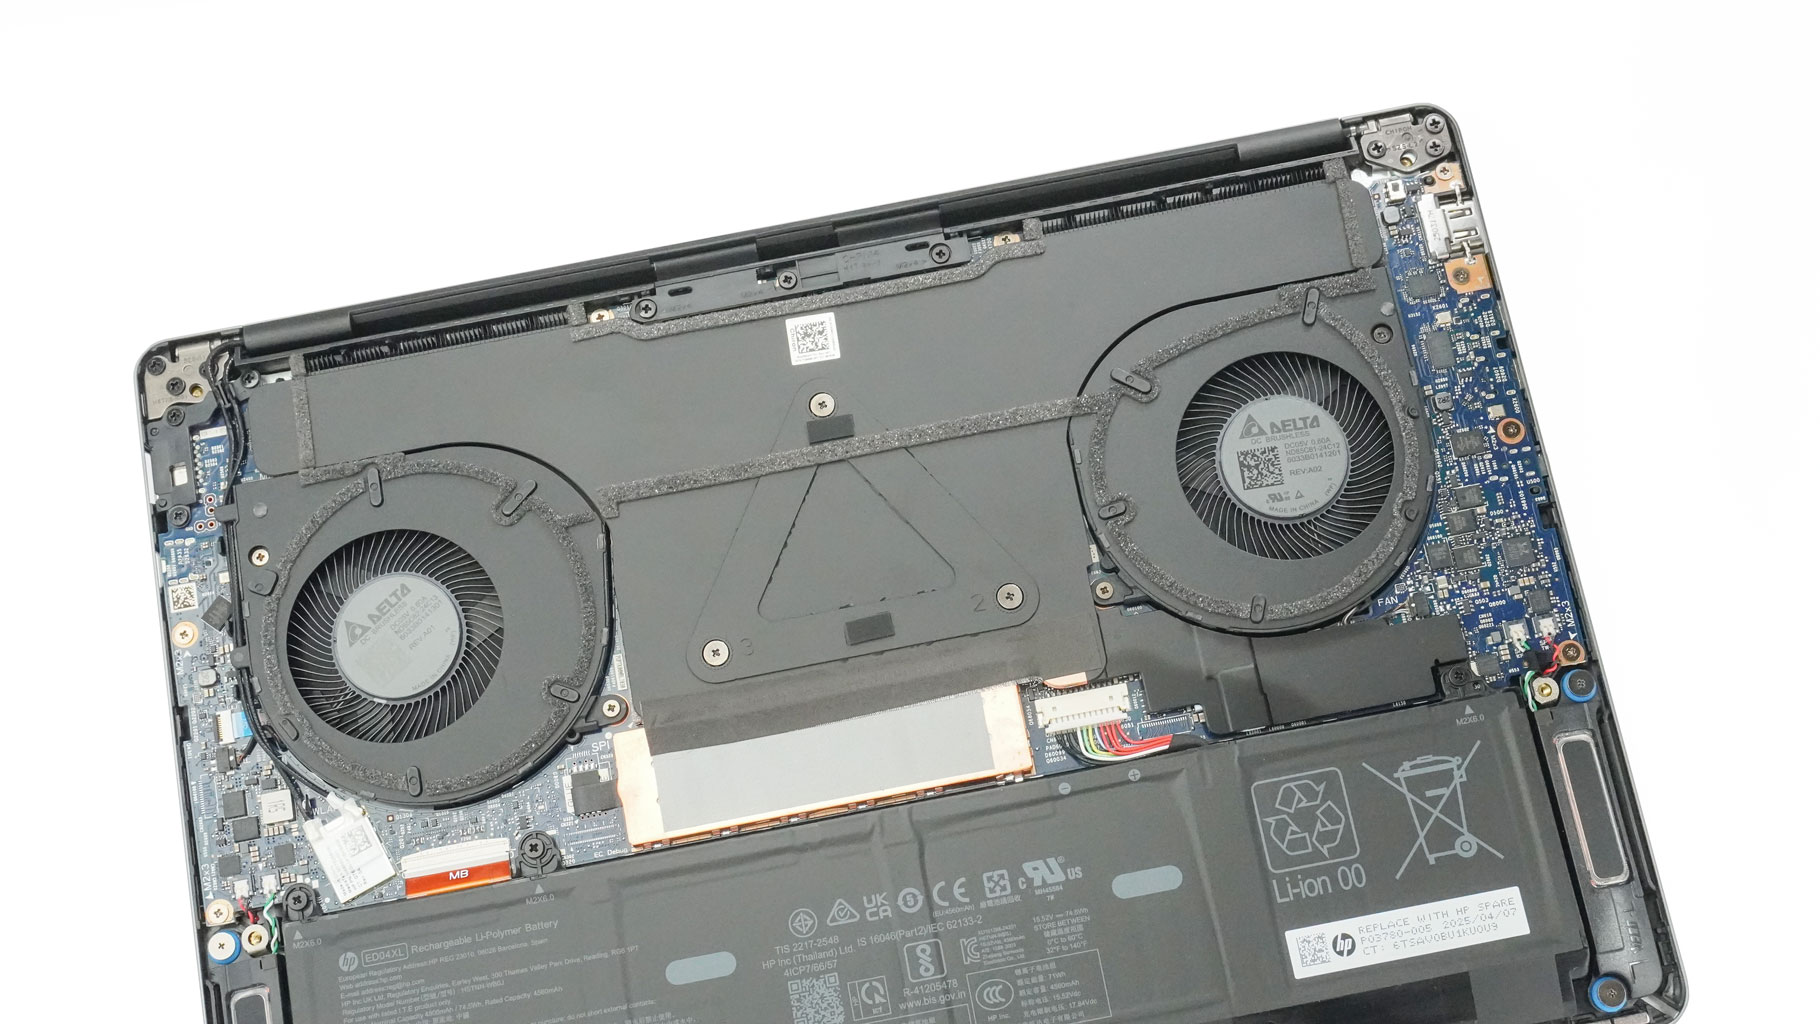
Now, let's take a look at the massive vapor chamber solution. It sports two sizable fans, a large midsection, and two heatsinks on top.
Removing it isn't too complicated. As usual, start by disconnecting the fans, then undo the pair of screws around each housing. Untangle the Wi-Fi antenna cables on the left.
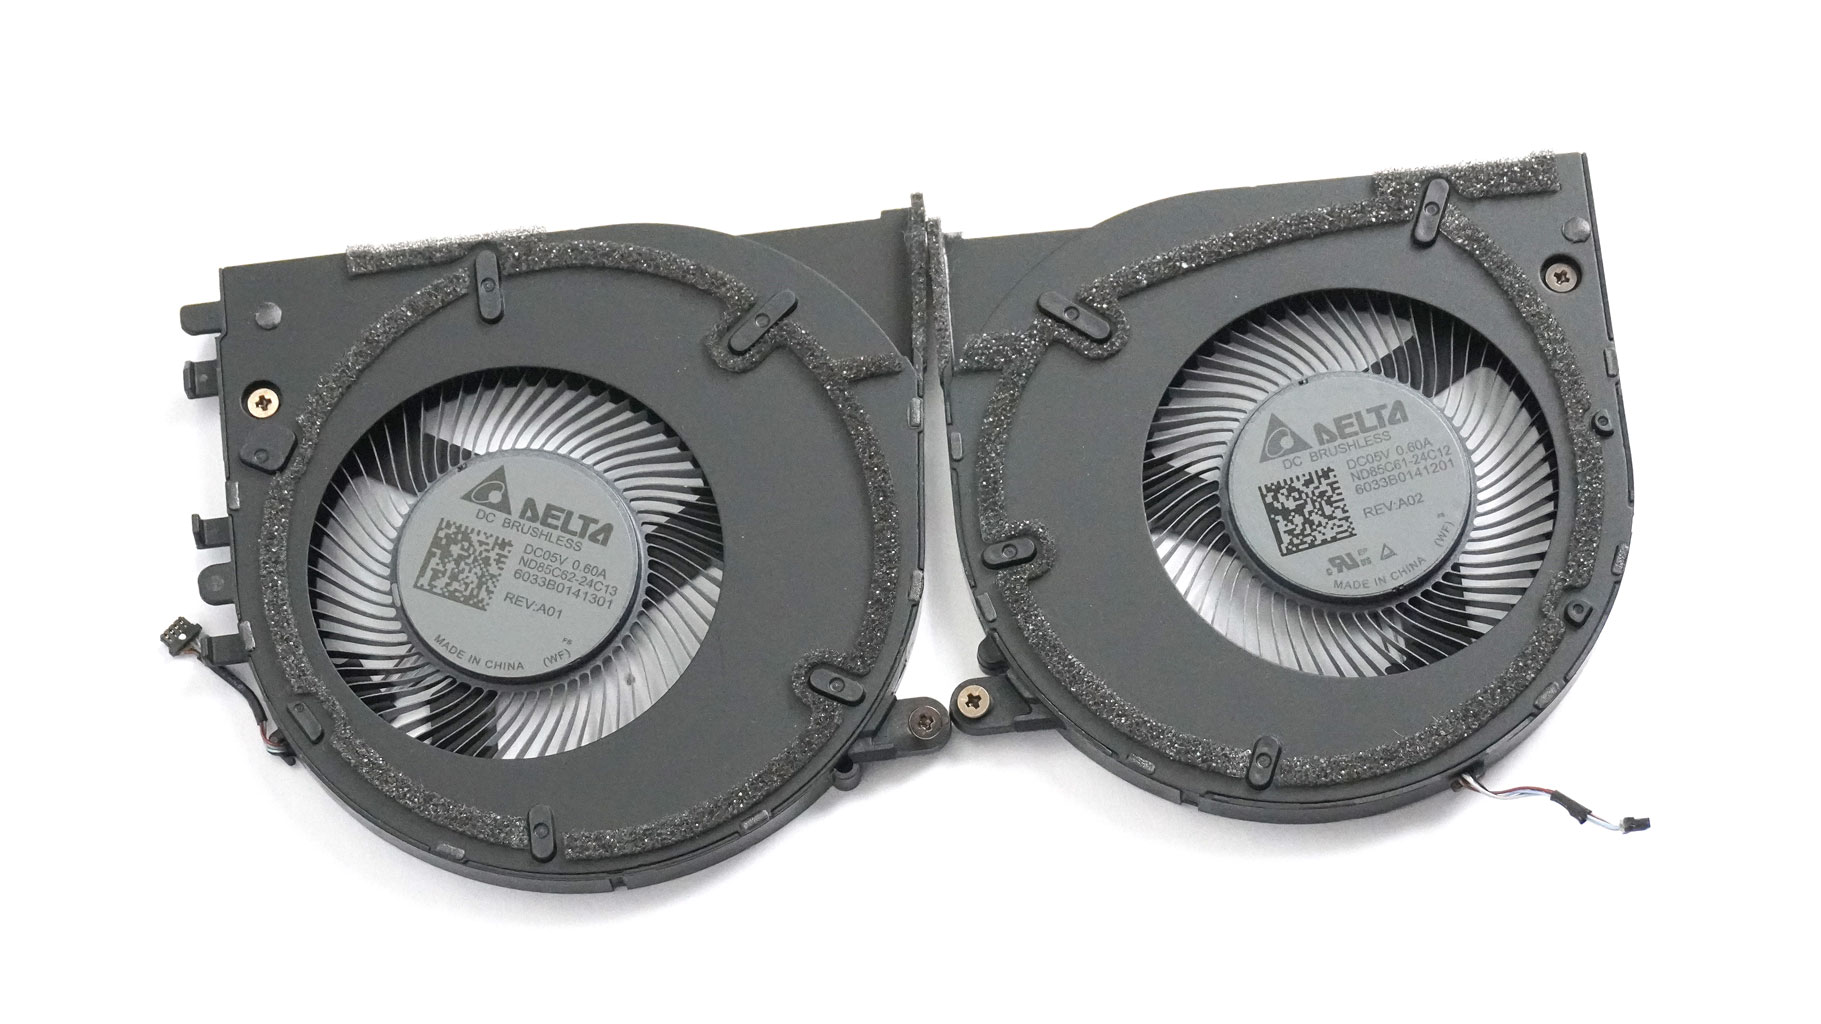
The fans can be removed separately.
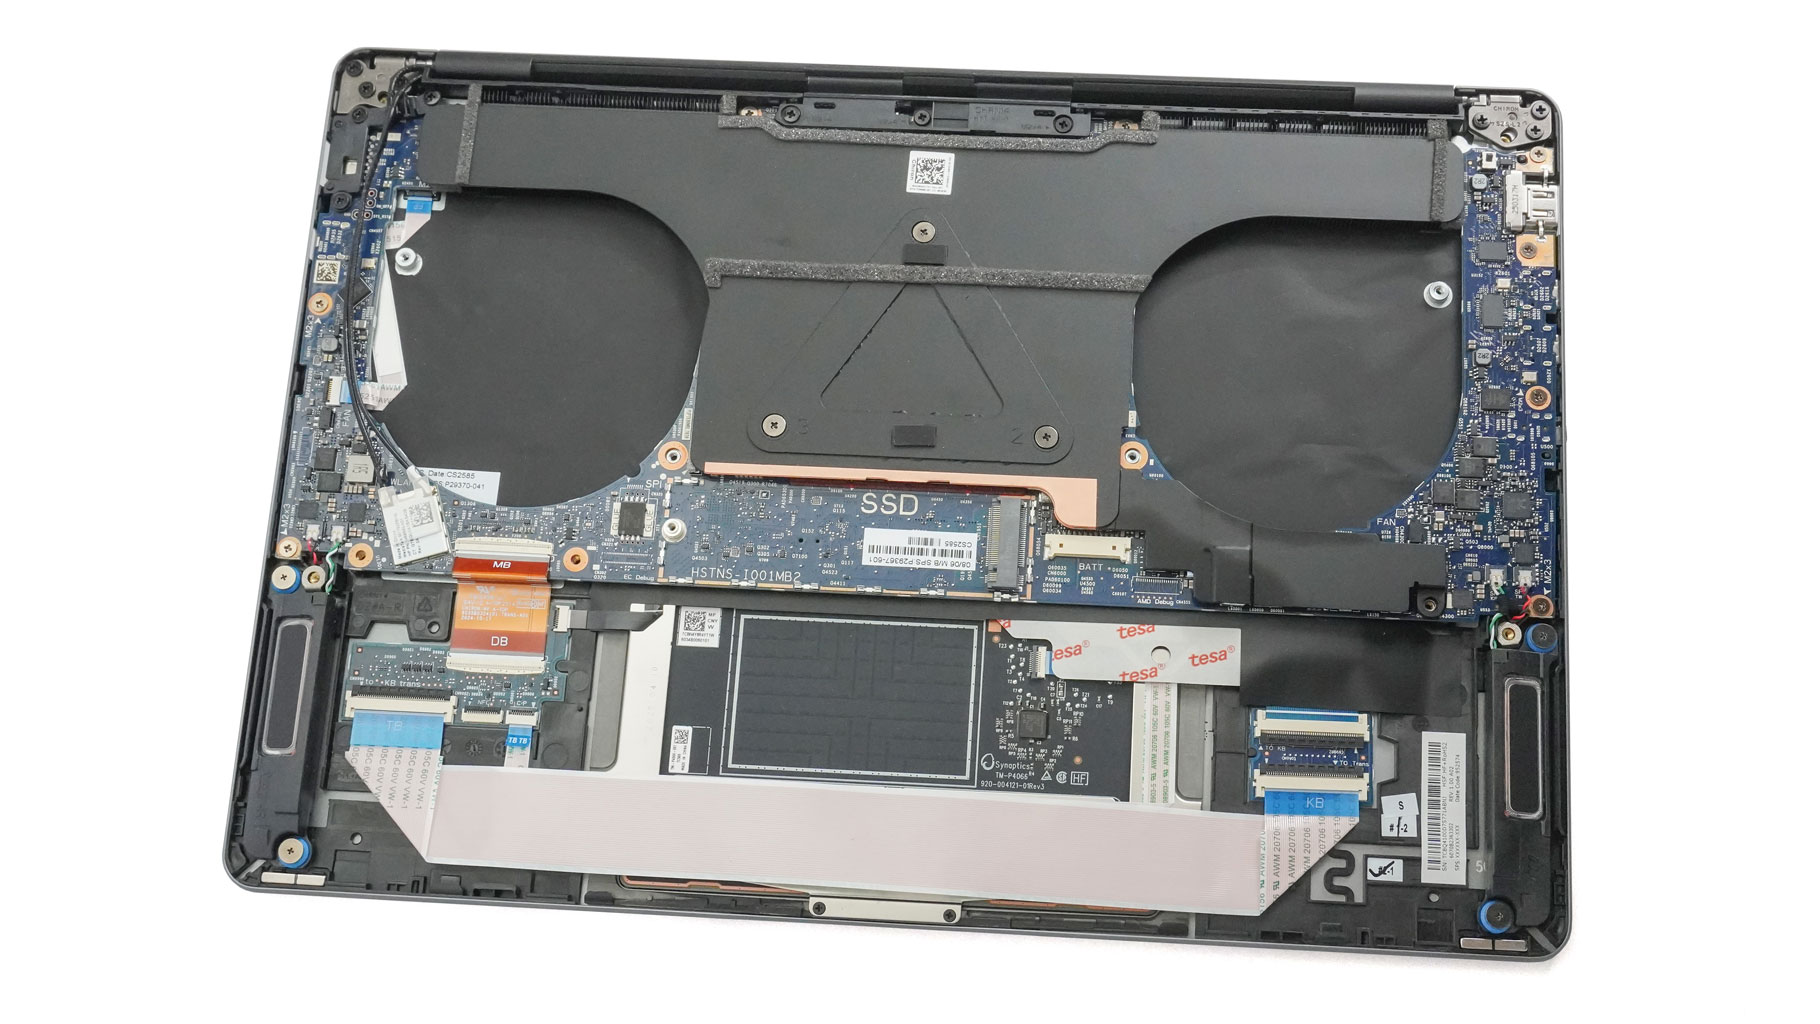
The last important step is to undo the three screws at the center. Carefully pry the system up with a lever tool - take your time and don't rush. Personally, I found the sweet spot to be the bottom right of the main section.
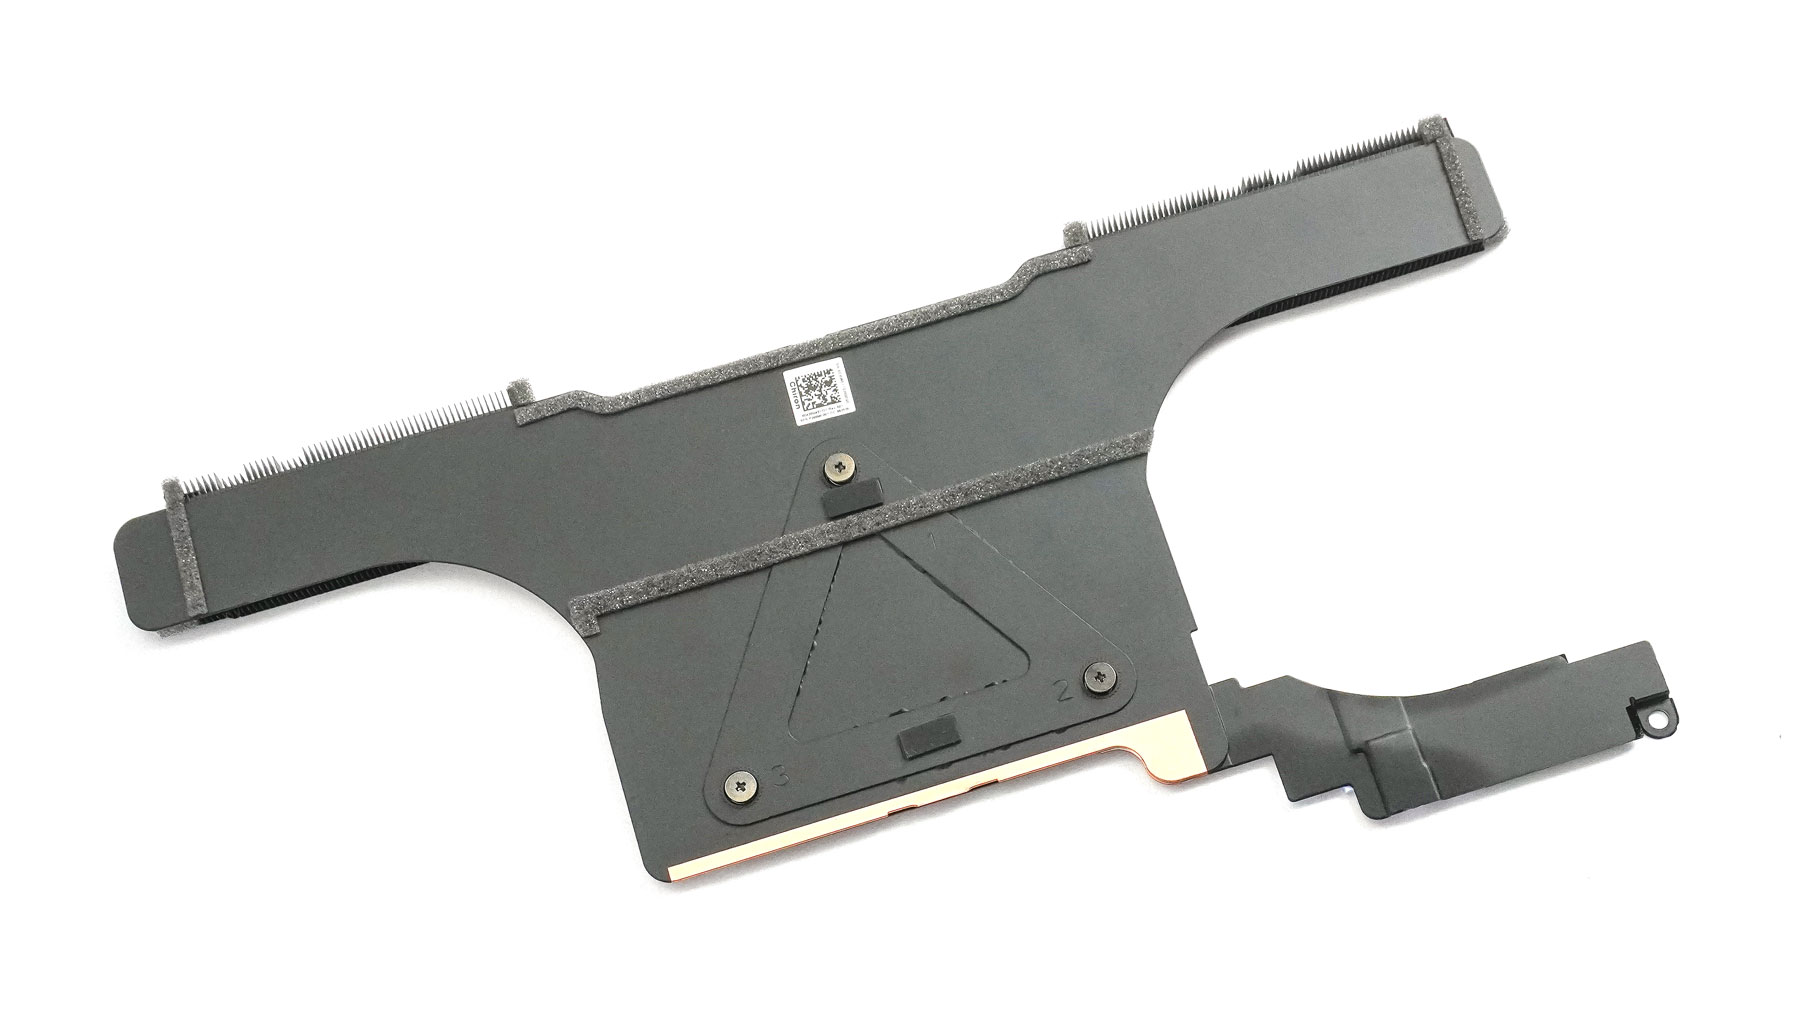
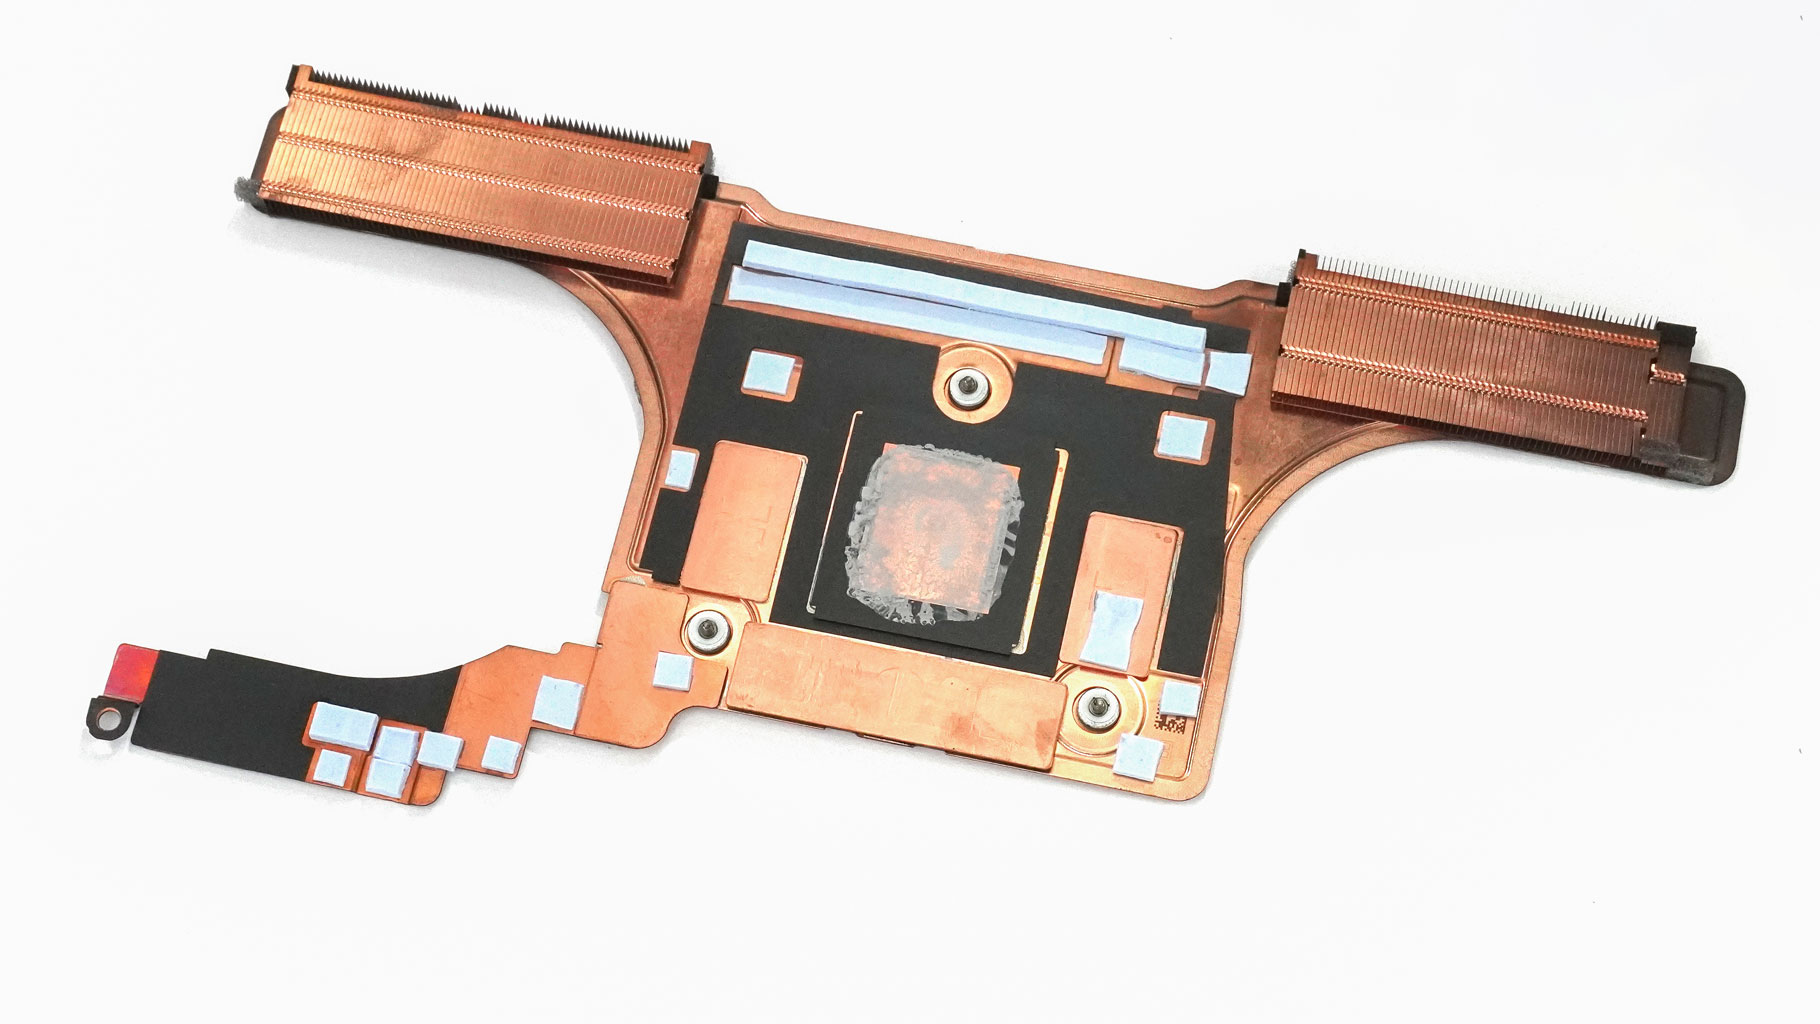
Here's how the vapor chamber cooling looks when it's flipped.
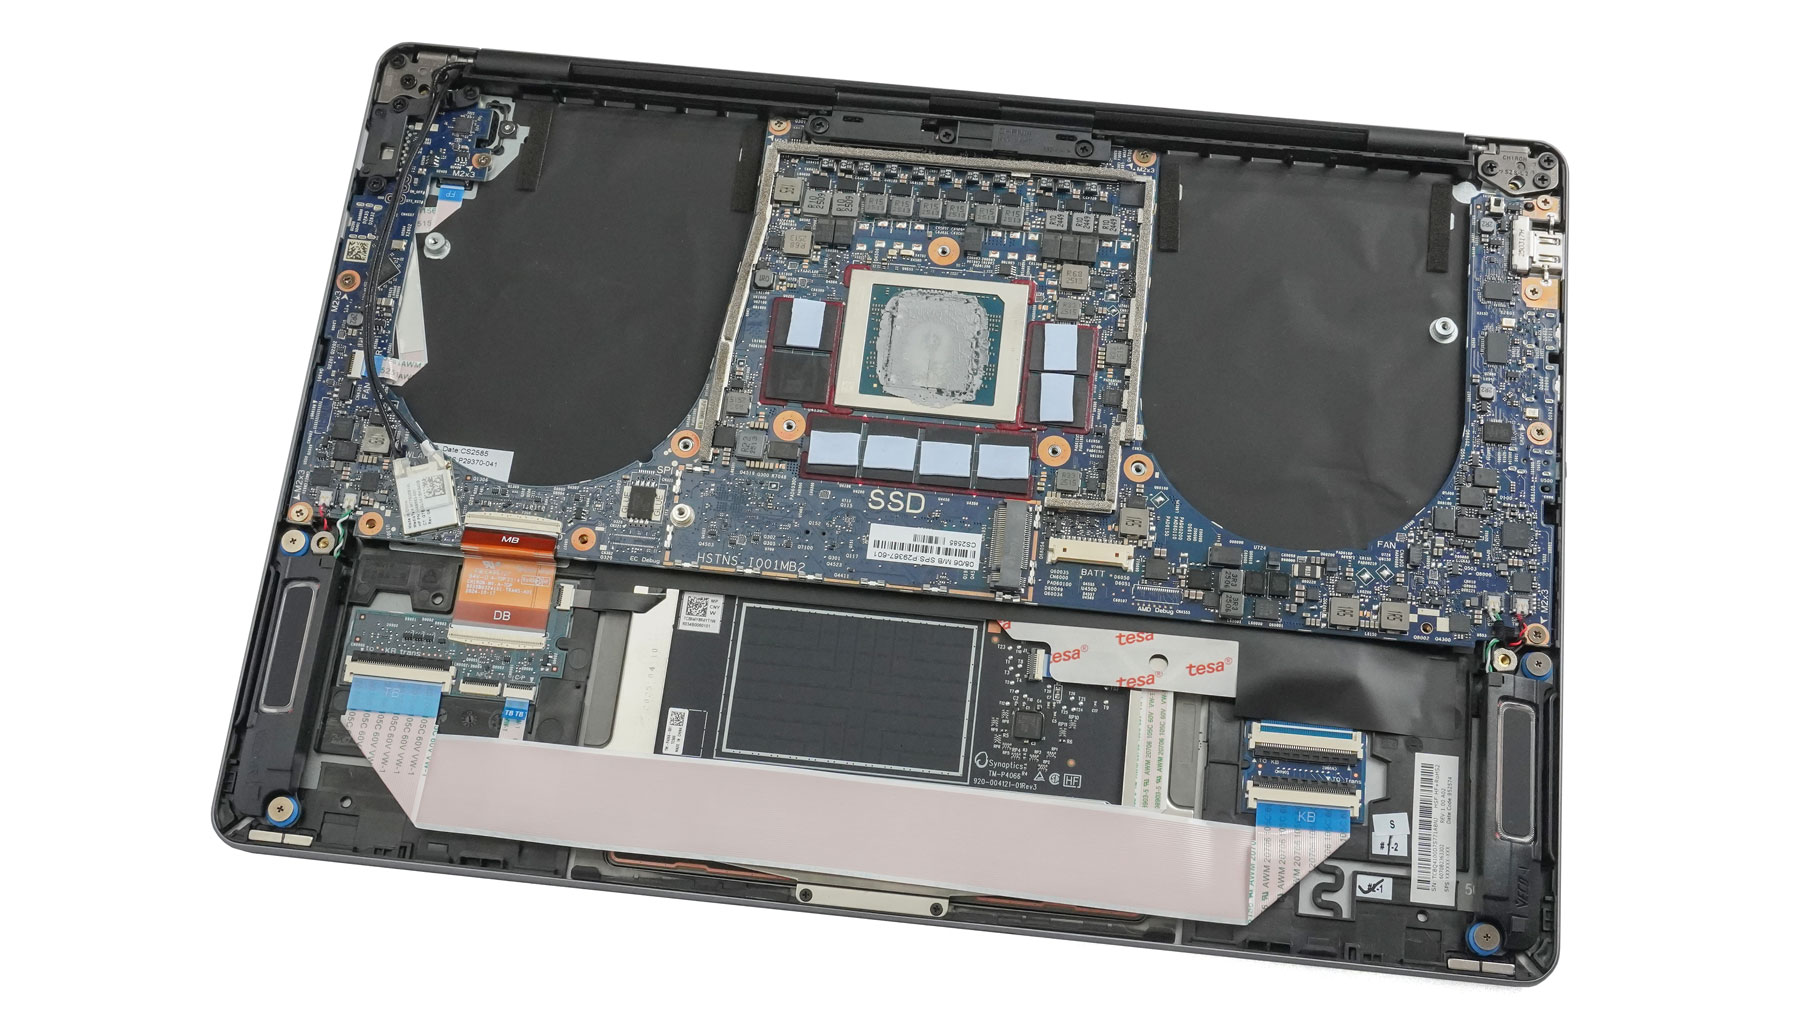
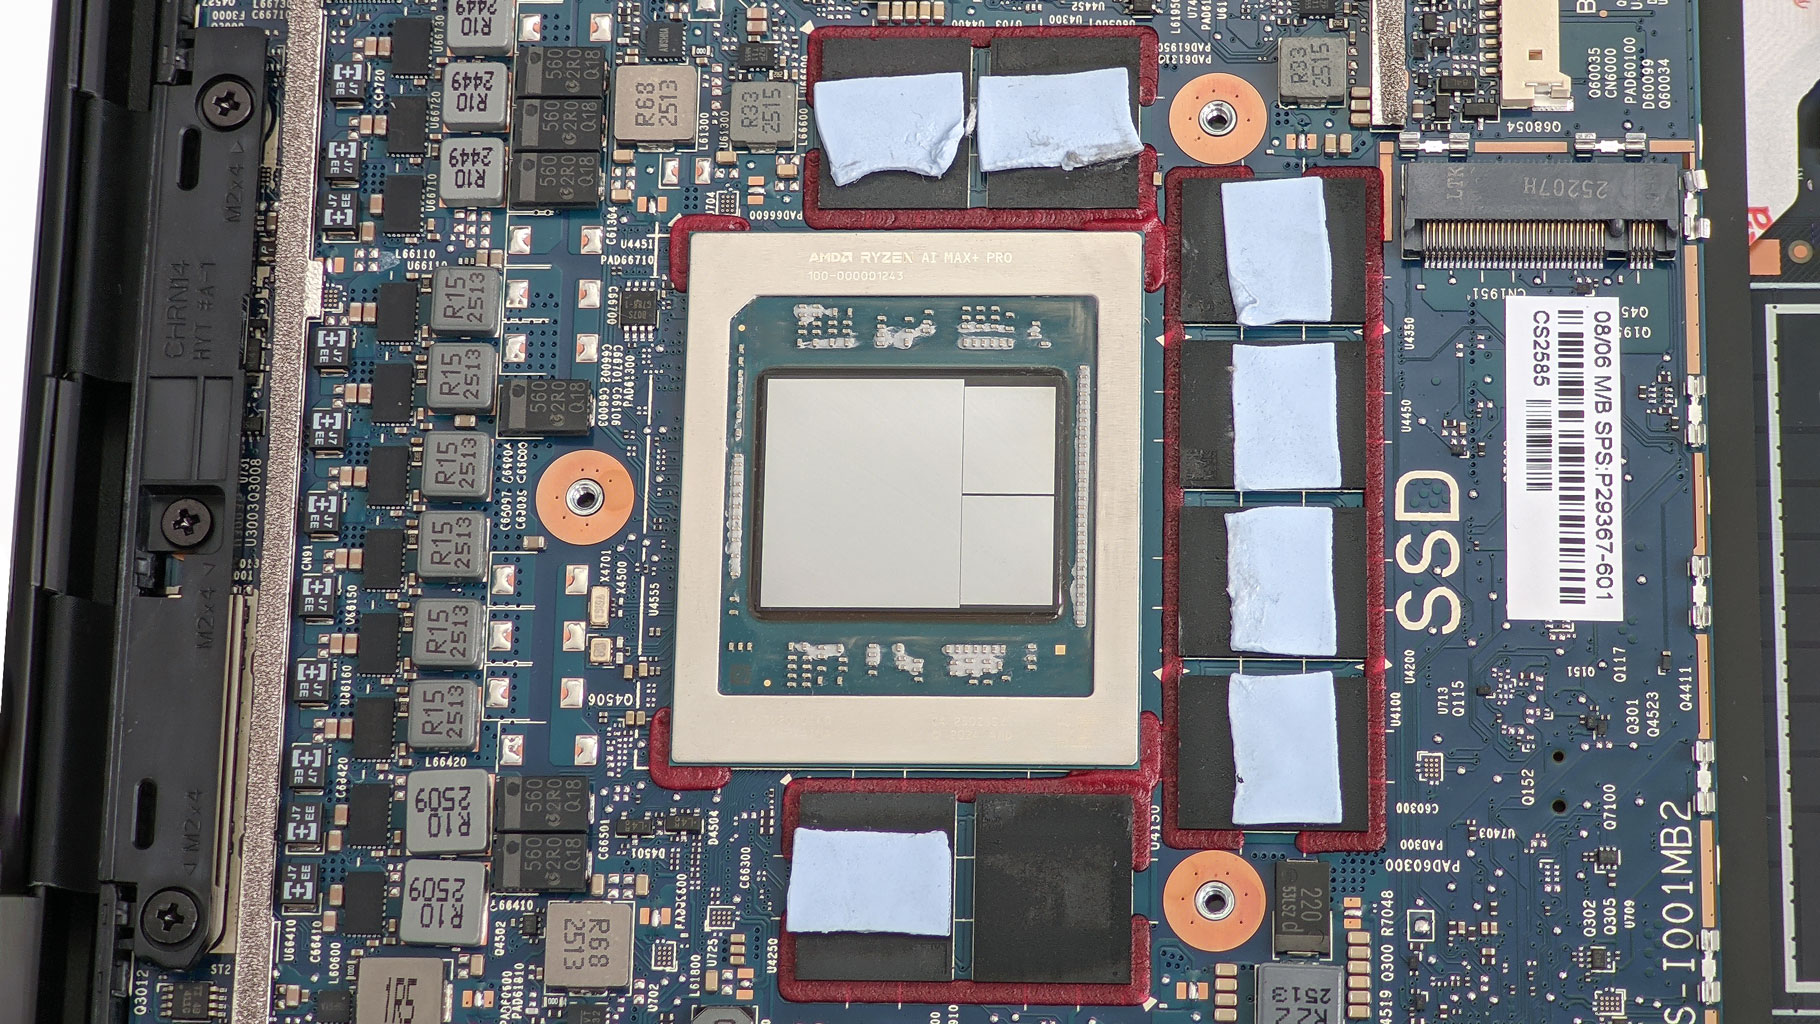
The memory chips and the VRM are treated with cooling pads. Good job, HP - looks nice!
Nov 21st, 2026 05:11 PST
change timezone
Latest GPU Drivers
New Forum Posts
- Anthrophics IPO (31)
- Without Jensen, PC gaming will be (53)
- WarpCoreBench scores! (88)
- What's your latest tech Freebie? (86)
- TPU's Nostalgic Hardware Club (22179)
- [Poll] 12V-2x6 Connector Protection: What Are You Using? (WireView / Ampinel / Equalizer / Other / Nothing) (50)
- UPS what one to get? (1)
- RX 9000 series GPU Owners Club (2252)
- Windows 11 General Discussion (7743)
- Zen 3 IF/IMC degradation (242)
Popular Reviews
- Microsoft Surface Laptop Ultra Review - The Next-gen Arm Laptop
- Ugreen NASync DXP4800 GT Review
- Corsair RM1200e (Second Generation) Review
- Pulsar Office Tour & First Look at P1 Dual-Sensor Mouse
- Upcoming Hardware Launches 2027 (Updated Nov 2026)
- Acemagic Retro X3 Review
- Biwin Black Opal NV7400 2 TB Review
- AMD Ryzen 7 9800X3D Review - The Best Gaming Processor
- AMD Zen 6 Technical Deep Dive
- Chieftec Iceberg PRO 360 DARK Review
TPU on YouTube
Controversial News Posts
- NVIDIA Co-Founder and CEO Jensen Huang Officially Resigns (491)
- Report: Jensen Huang Eyes NVIDIA Comeback (258)
- Open Letter Asking NVIDIA to Reinstate Jensen Huang Passes 115,000 Signatures (184)
- OpenAI CEO Argues Home PCs Waste the World's Limited DRAM Supply (152)
- NVIDIA Launches Investigation Into Jensen Huang's Relationship With Suspected Chinese Spy (136)
- Intel "Raptor Lake Next" 16-Core and 20-Core CPUs Surface (130)
- Legendary Game Studio BioWare Shuts Down Following EA Layoffs (104)
- NVIDIA GeForce RTX 50-Series Scheduled for up to $500 Price Hike This Week (89)