 5
Lenovo Yoga 9i 2-in-1 Aura Edition (14, Gen 10) Review - Solid, Beautiful, Efficient
Display Testing »Disassembly and Teardown
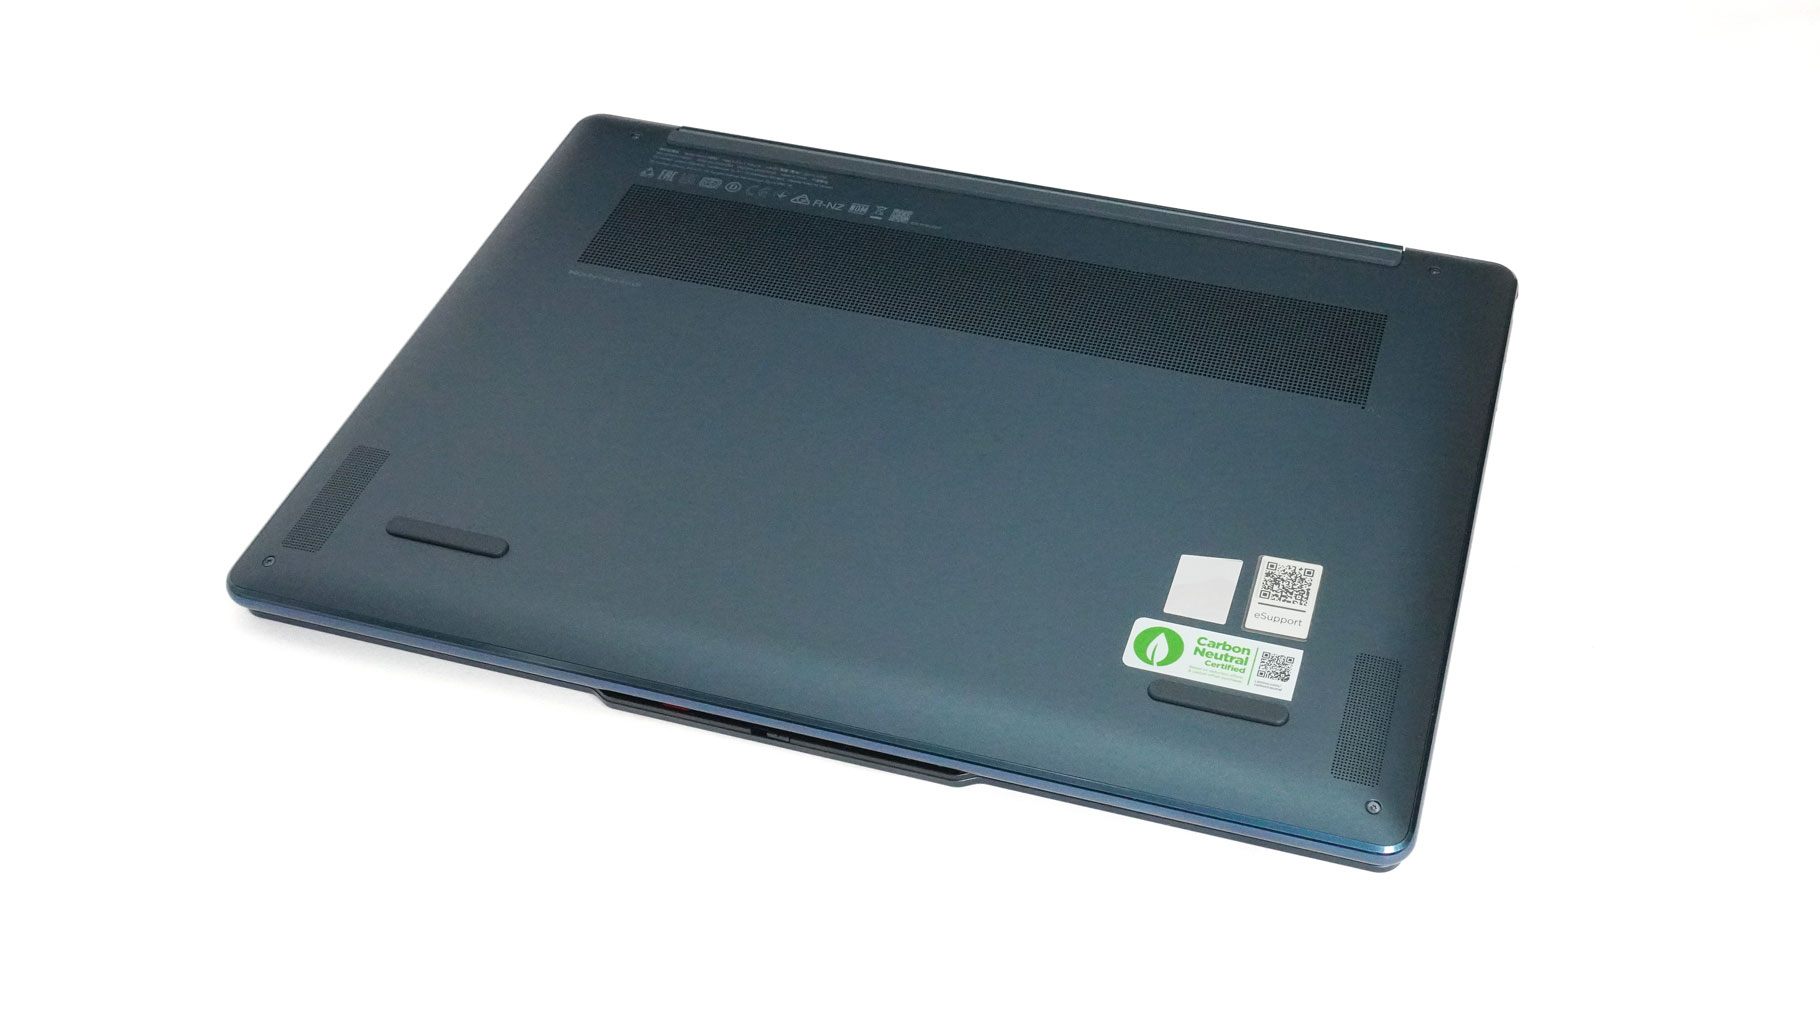
To open the Gen 10 version of the 14-inch Yoga 9i 2-in-1 Aura Edition, you need to undo just four Torx head screws. Sadly, two small Philips heads are hidden underneath the rubber foot at the back.
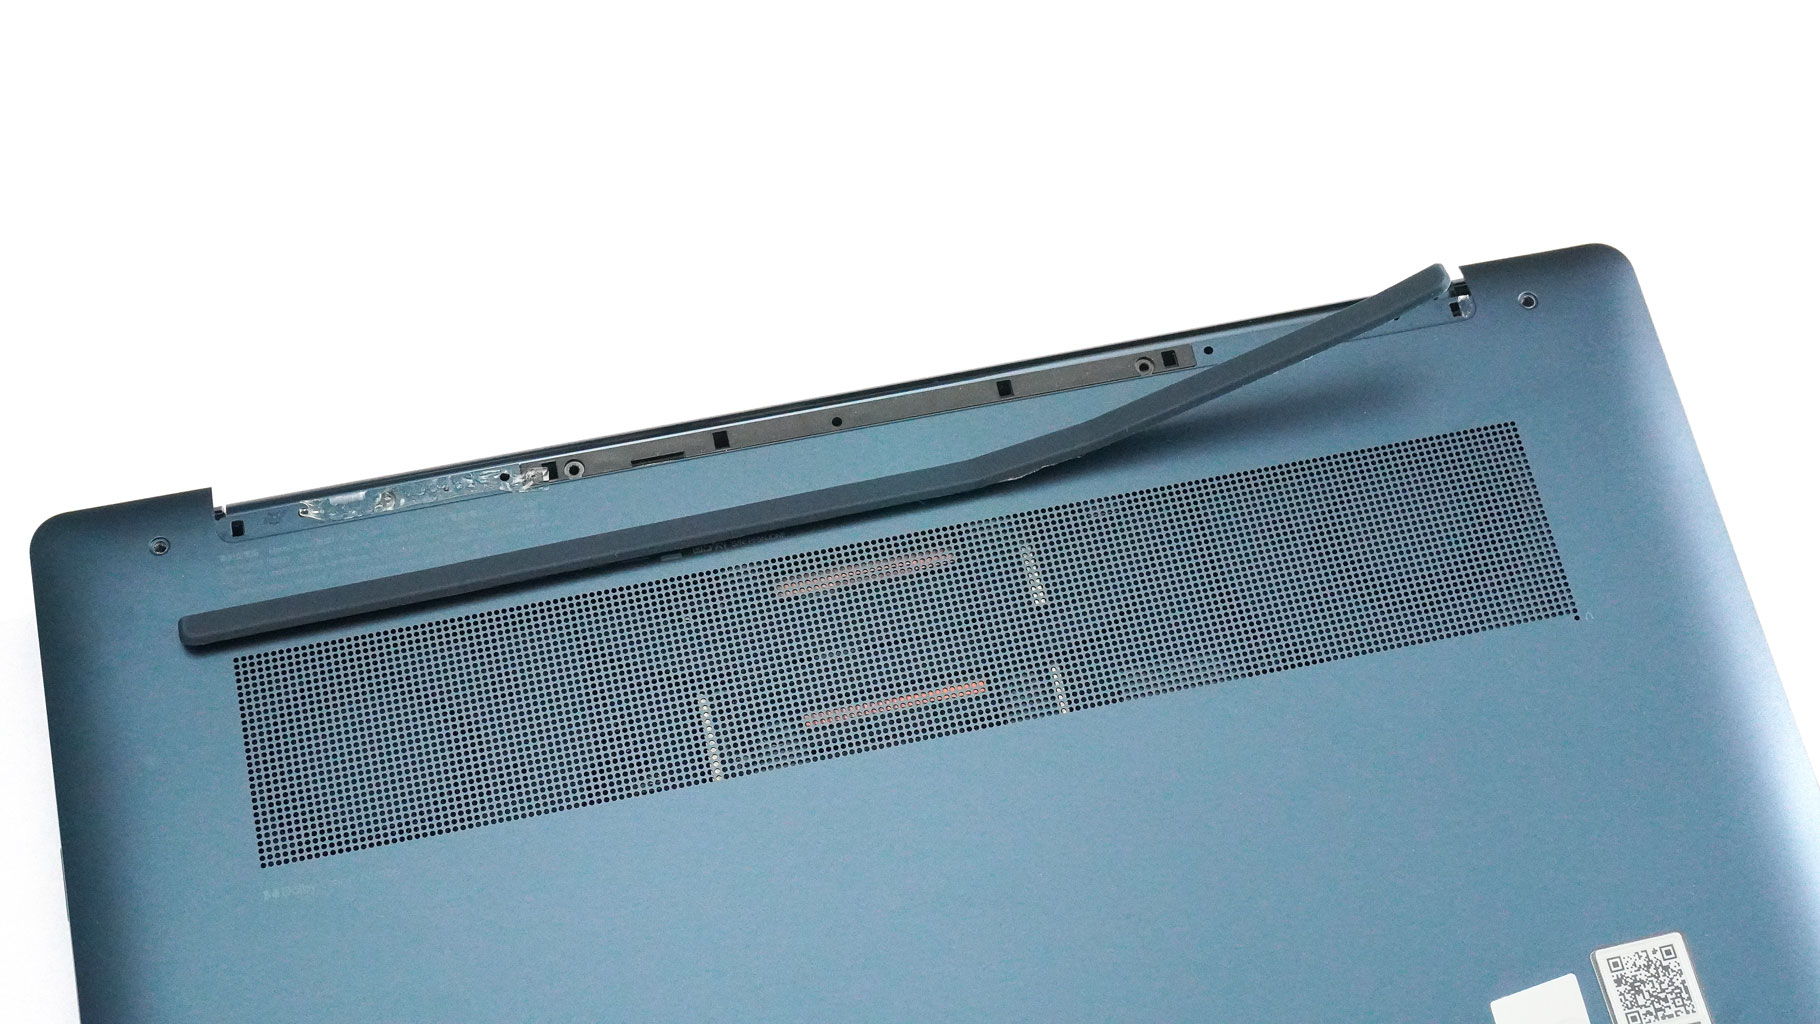
The only way to access them is to gently unglue the foot by using a thin plastic tool. With that out of the way, insert the same tool at the back of the laptop and lift the section close to the corners. Then, work your way around the sides and the front. Your final task is to hold the panel and gently wiggle it to detach the central clip.
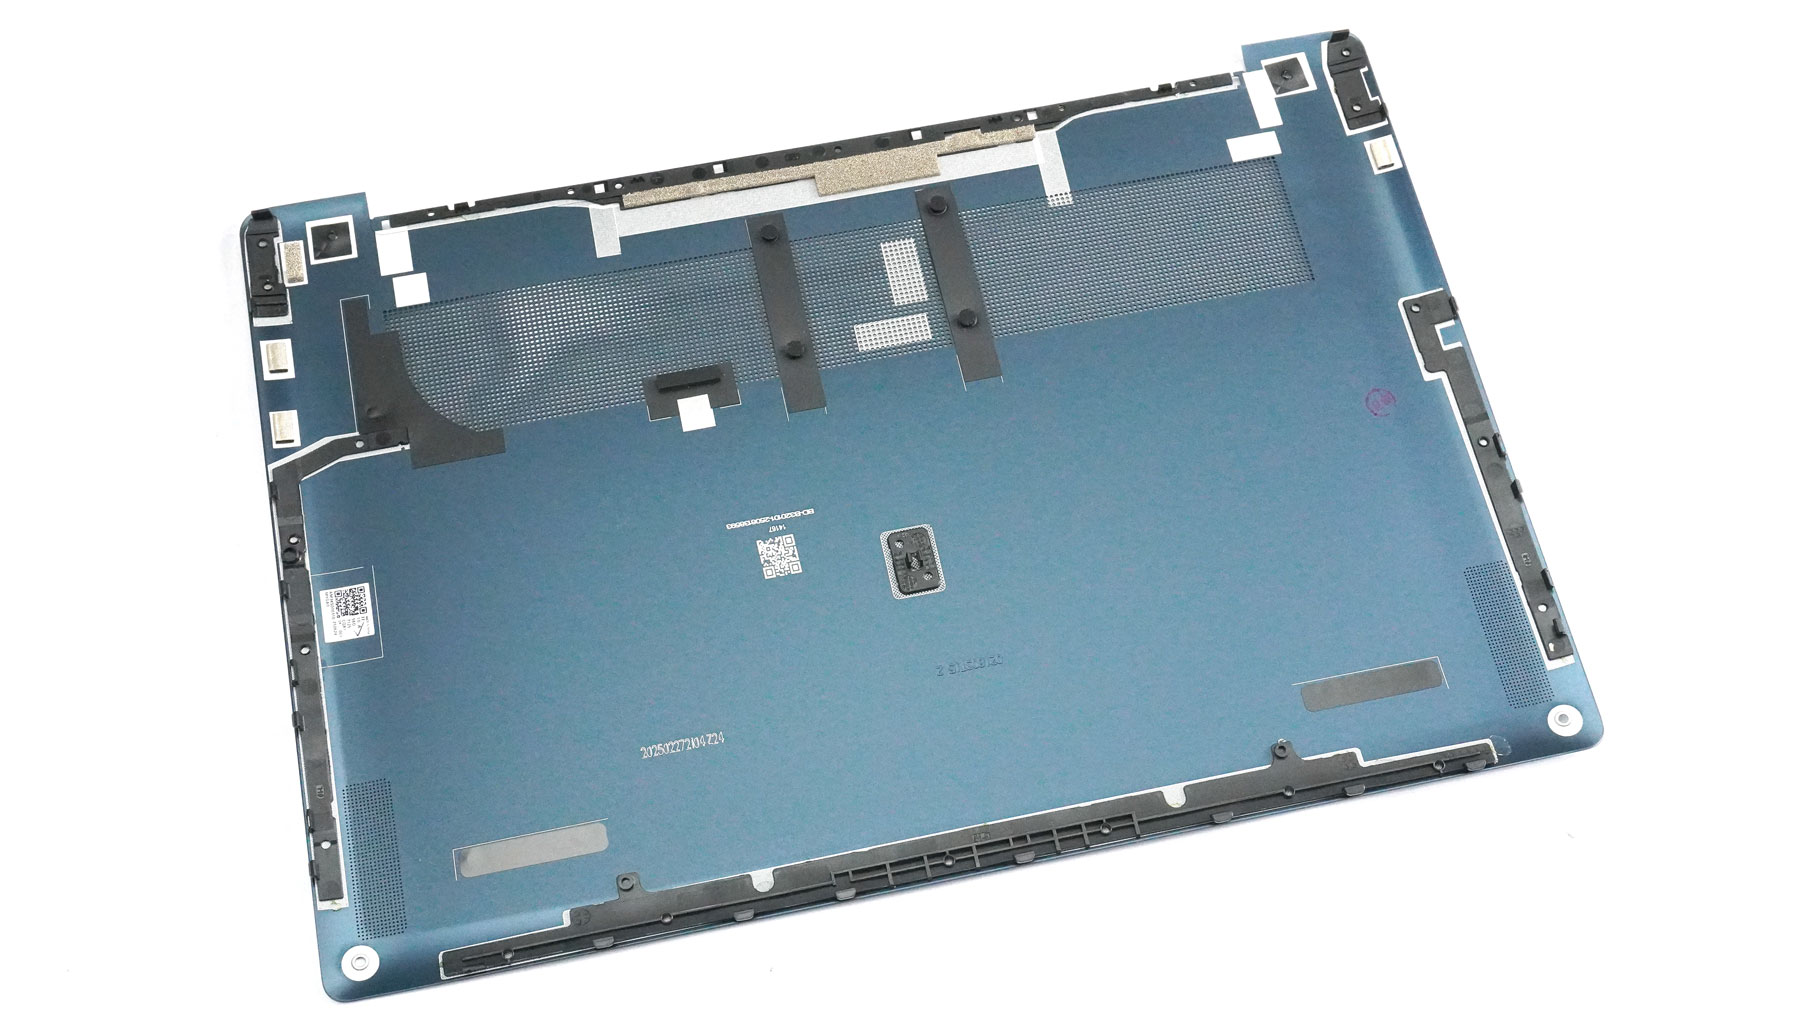
Here's what the bottom cover looks like when it's flipped over.
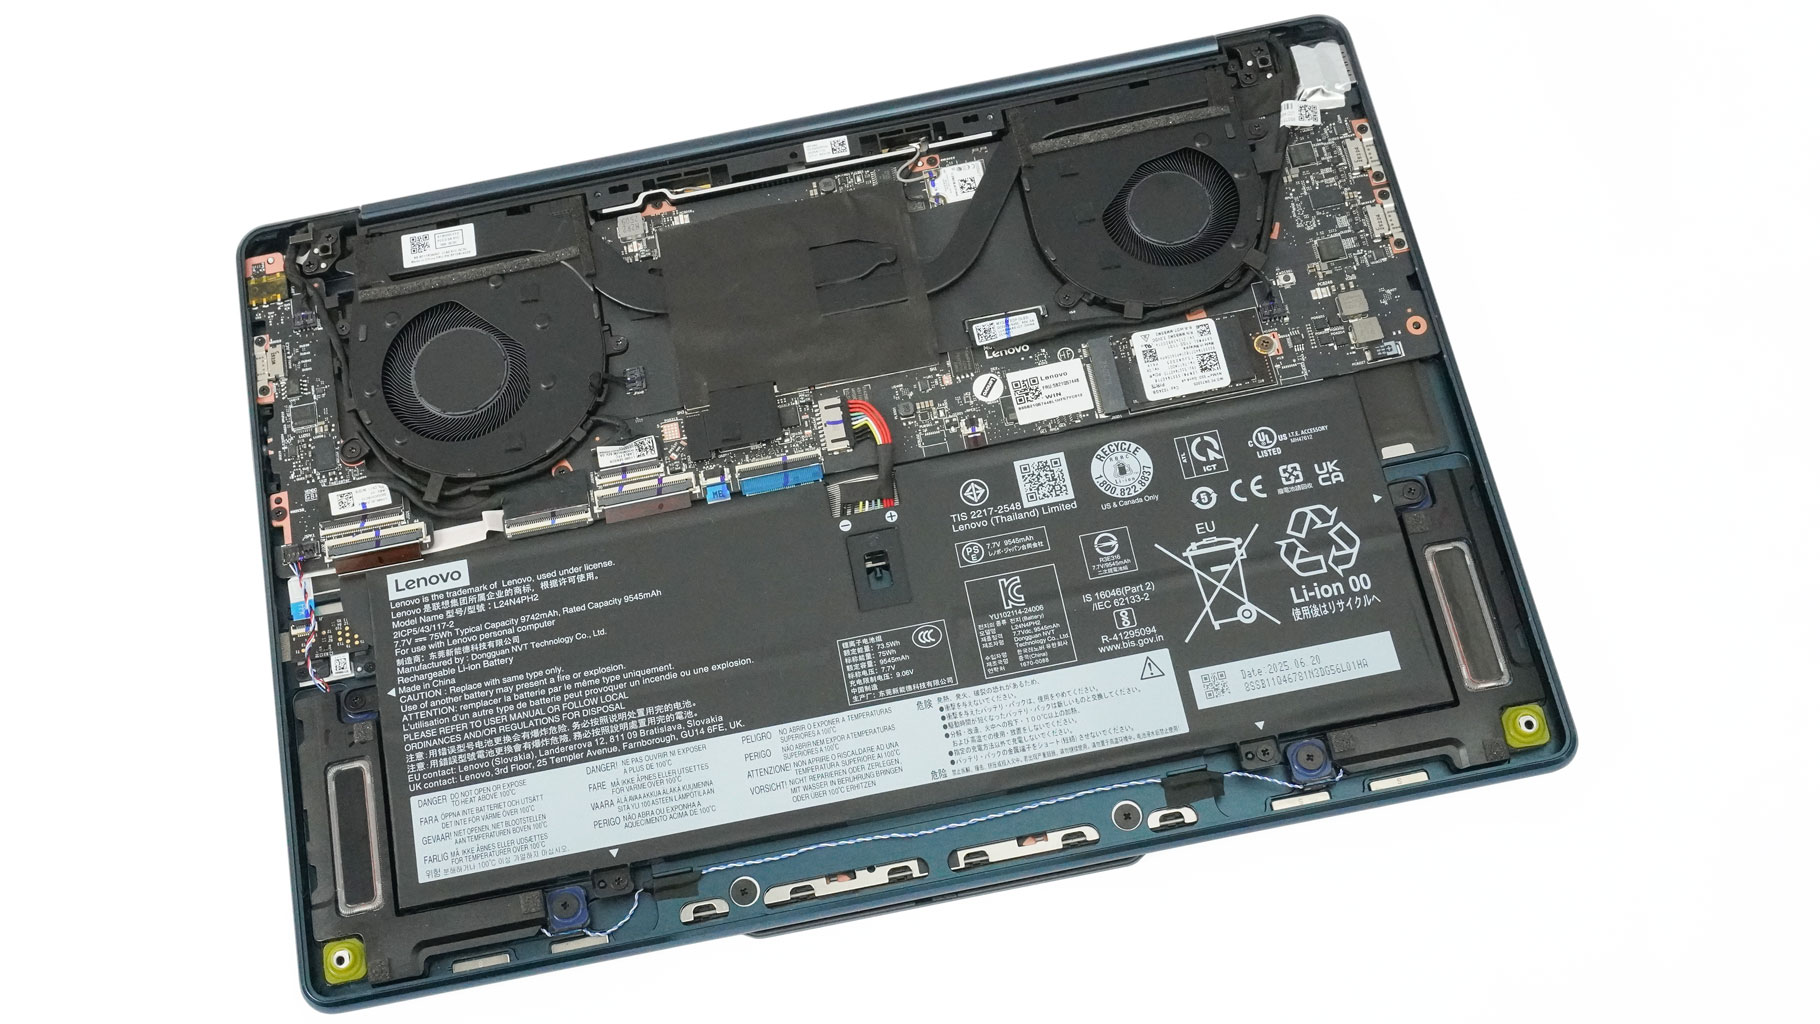
There isn't much to do on the inside, which is fairly standard for a small 2-in-1 device like this.
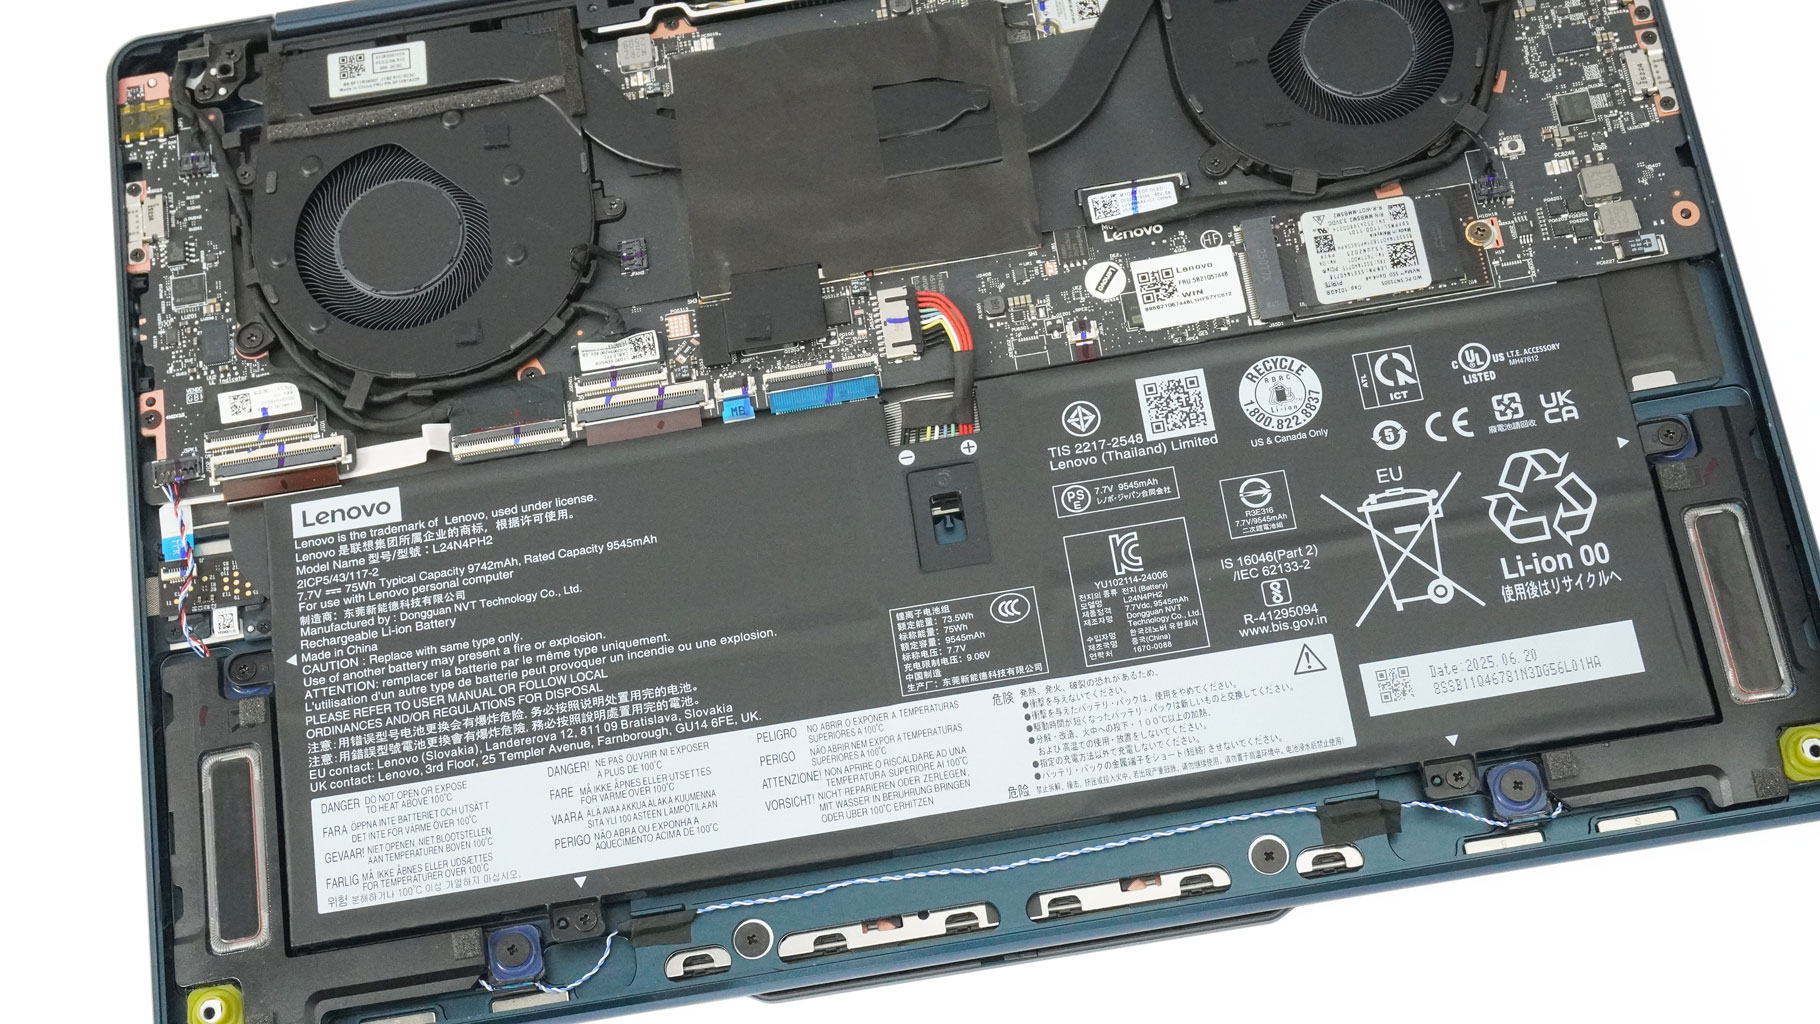
The battery has a capacity of 75 Wh. To detach it, pull the connector to the right and undo the four Philips head screws.
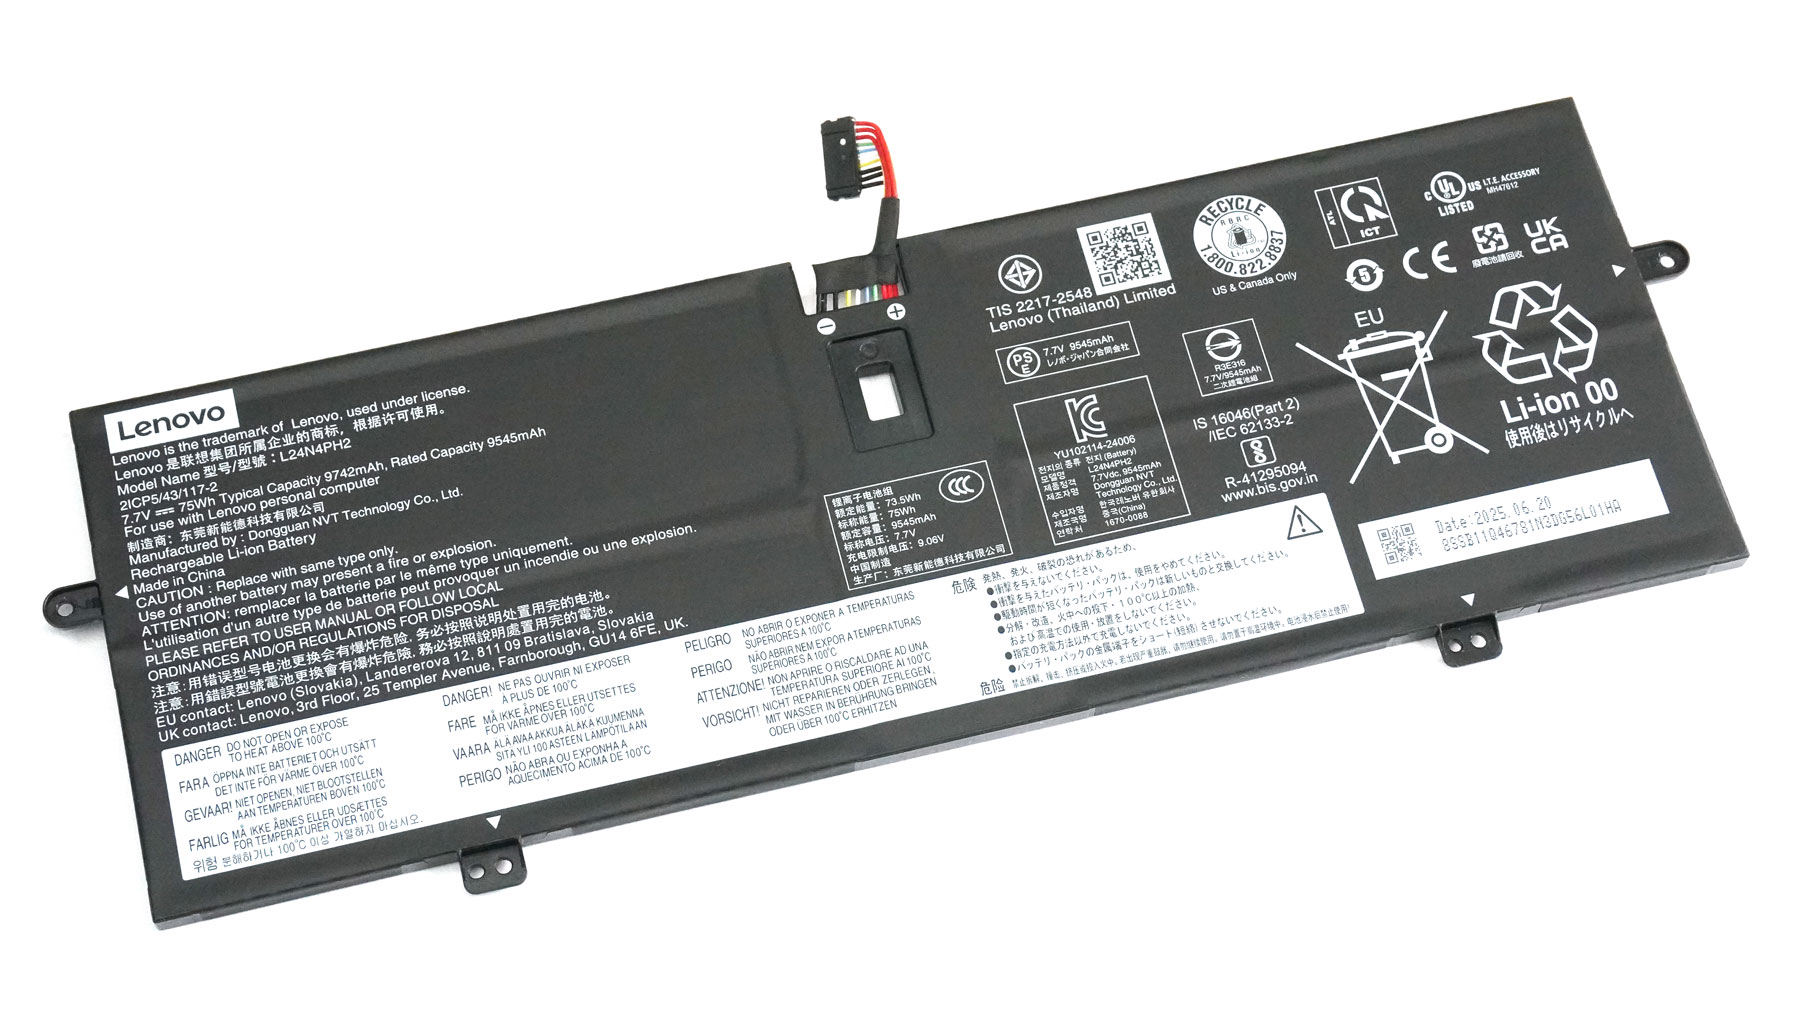
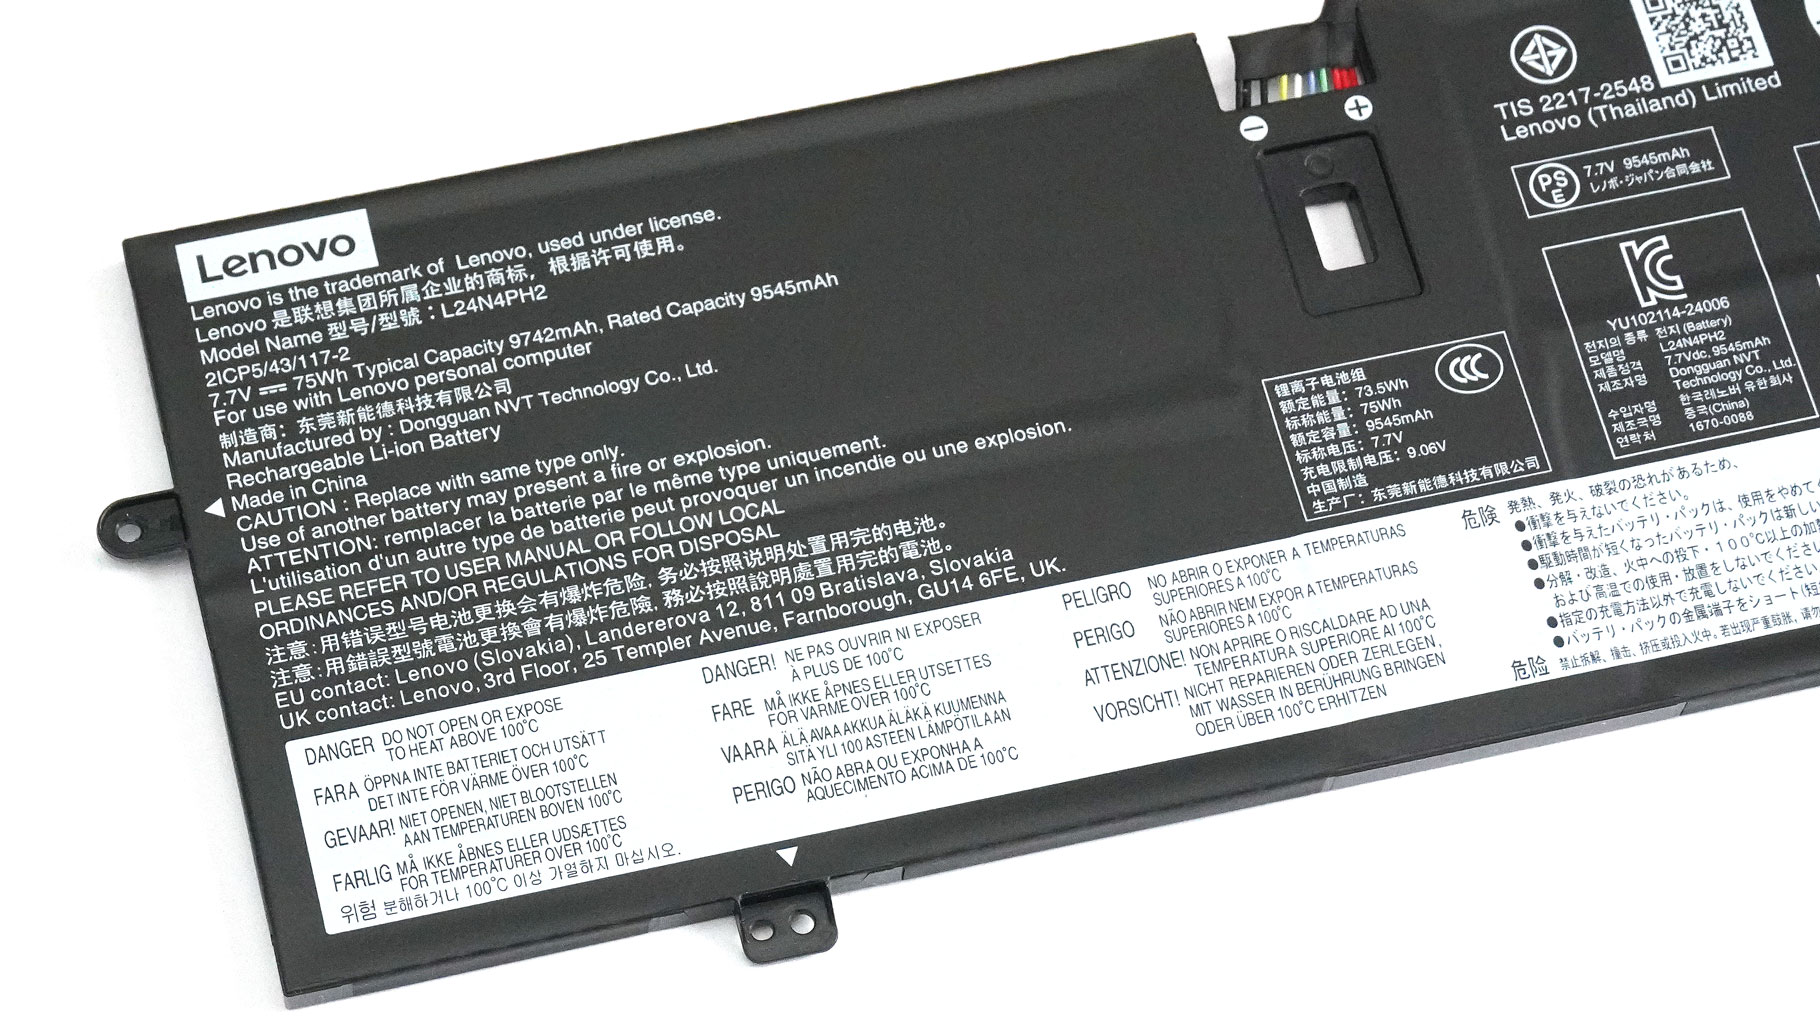
With the adapter unplugged, it powered the laptop for more than 9 hours of 4K YouTube video playback. That's a good result!
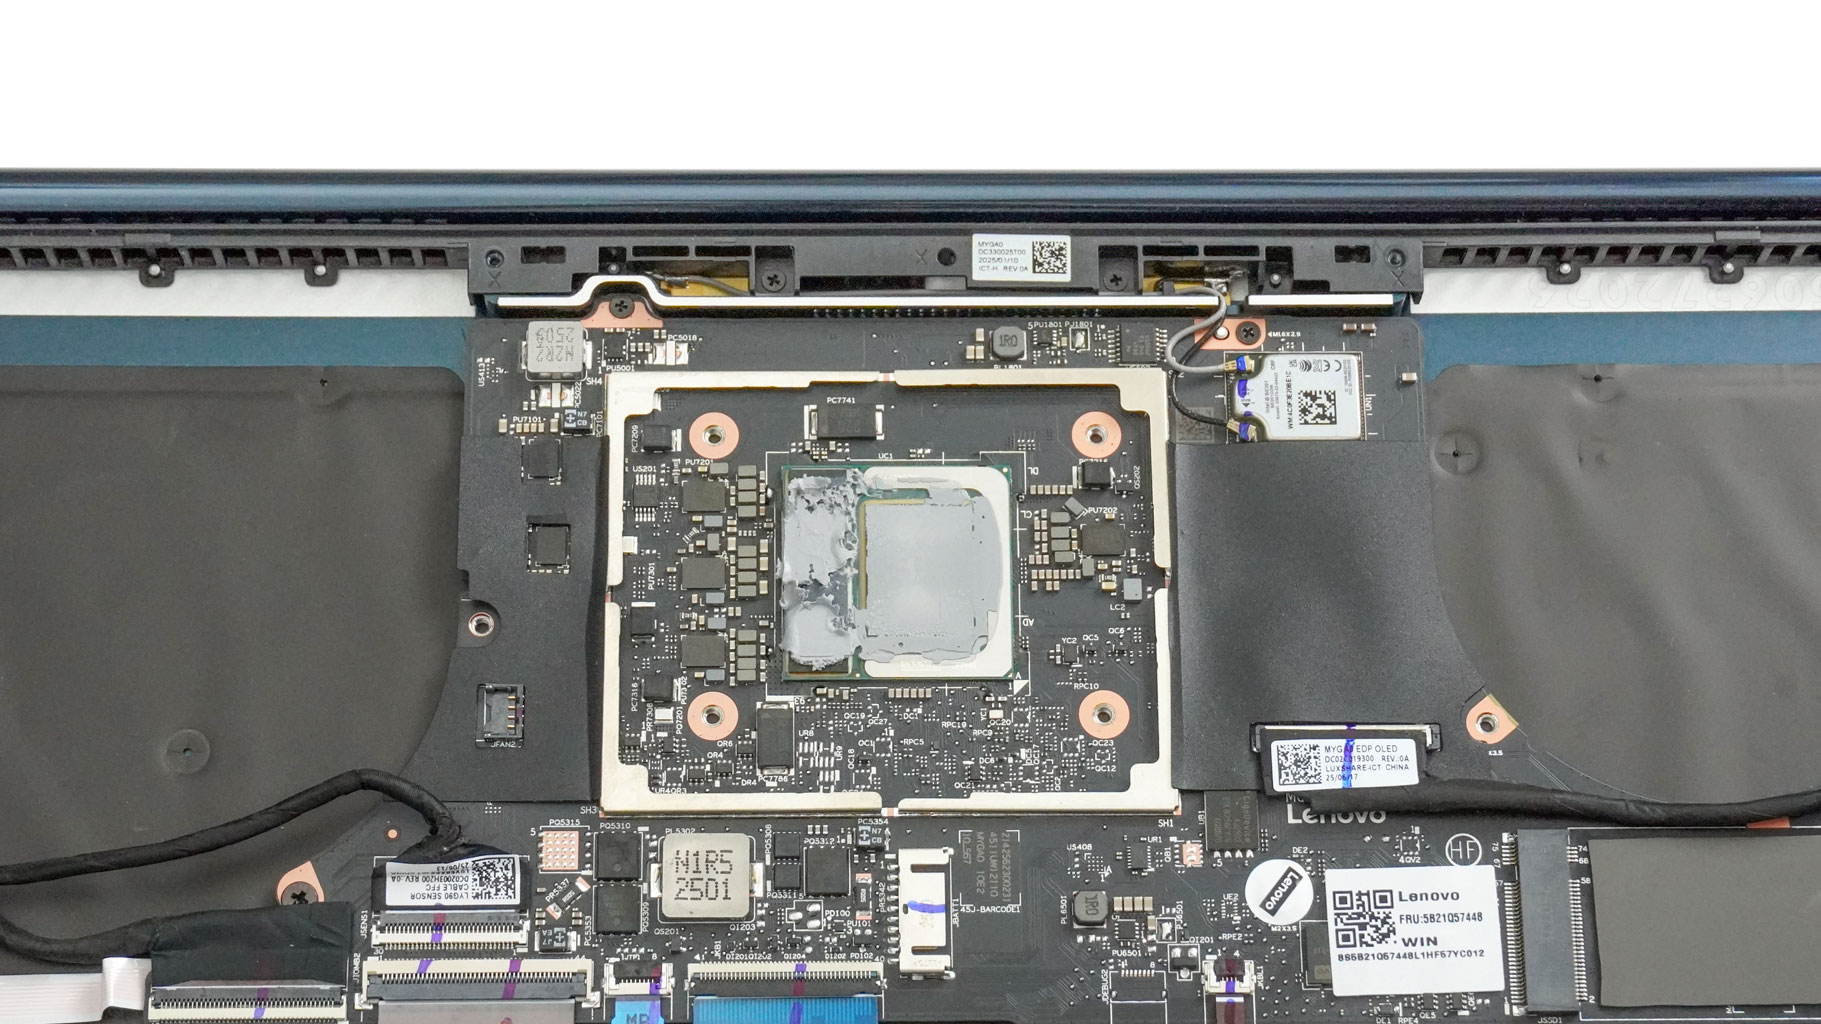
The memory is soldered. The max amount is 32 GB of LPDDR5x RAM rated at 8533 MHz.
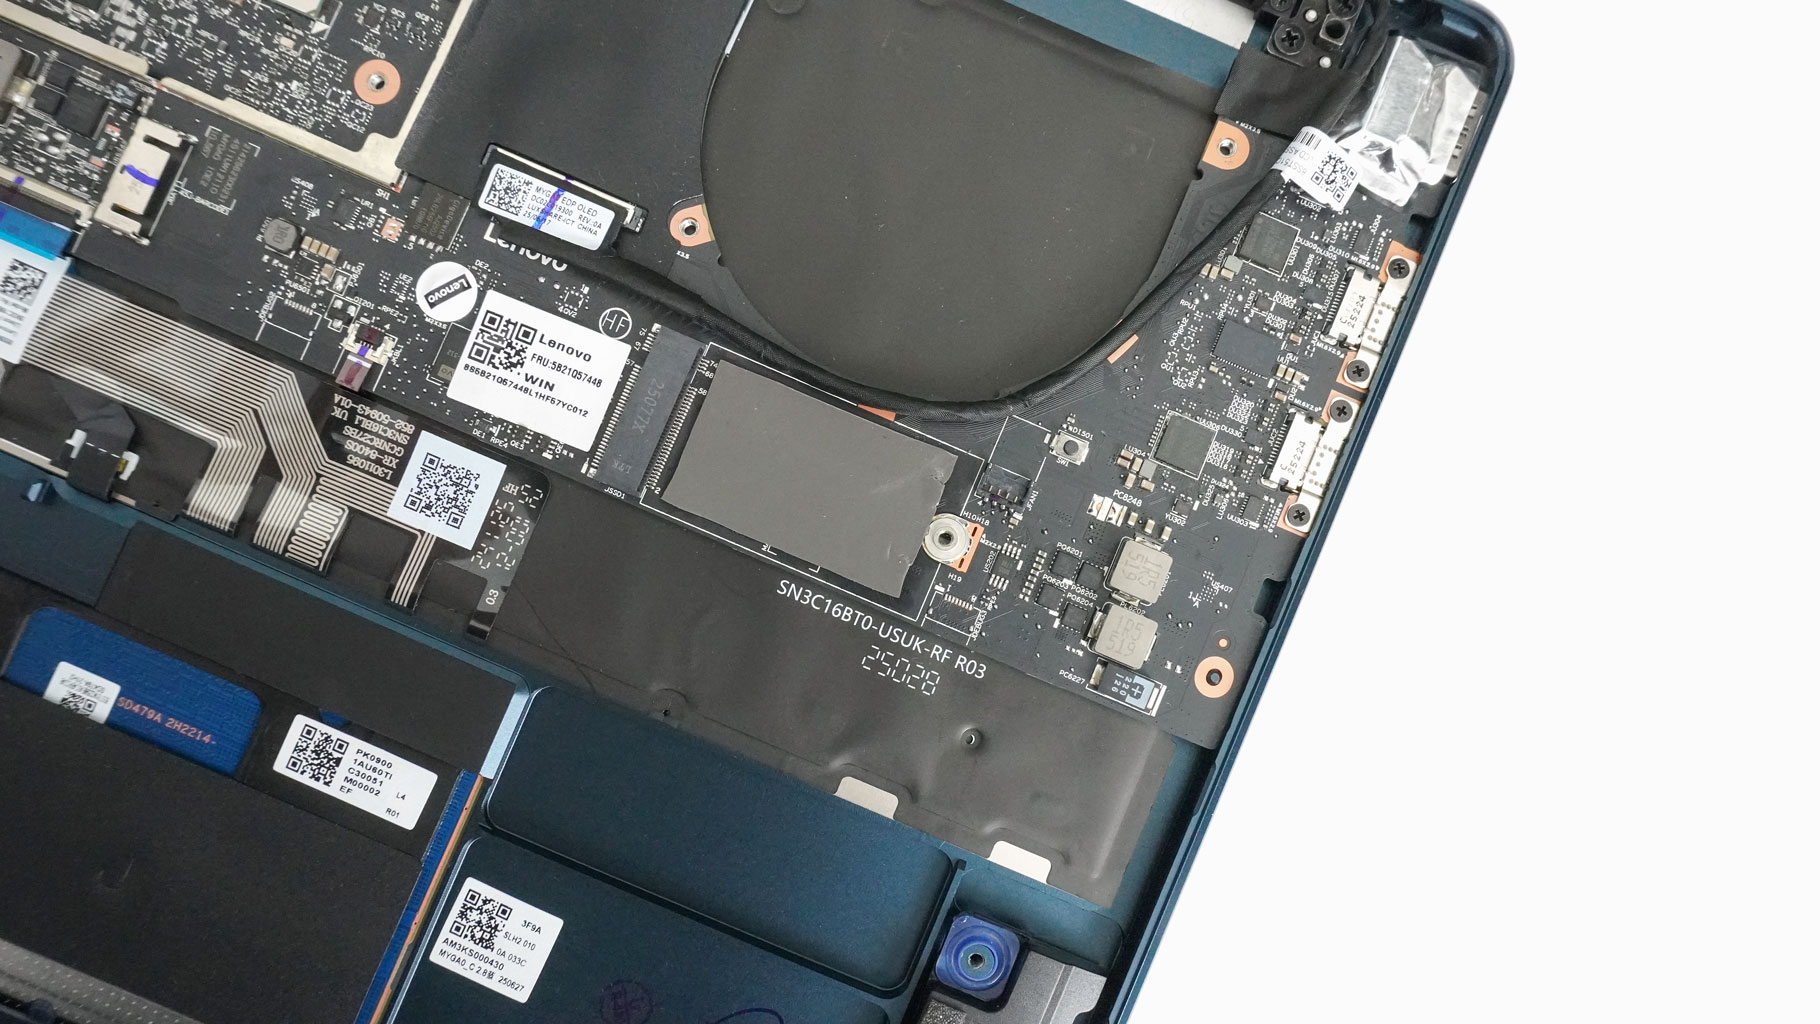
For storage, there is just one M.2 slot that is compatible with 42 mm short 2242 Gen 4 NVMe drives. The SSD is cooled by a thermal pad placed underneath.
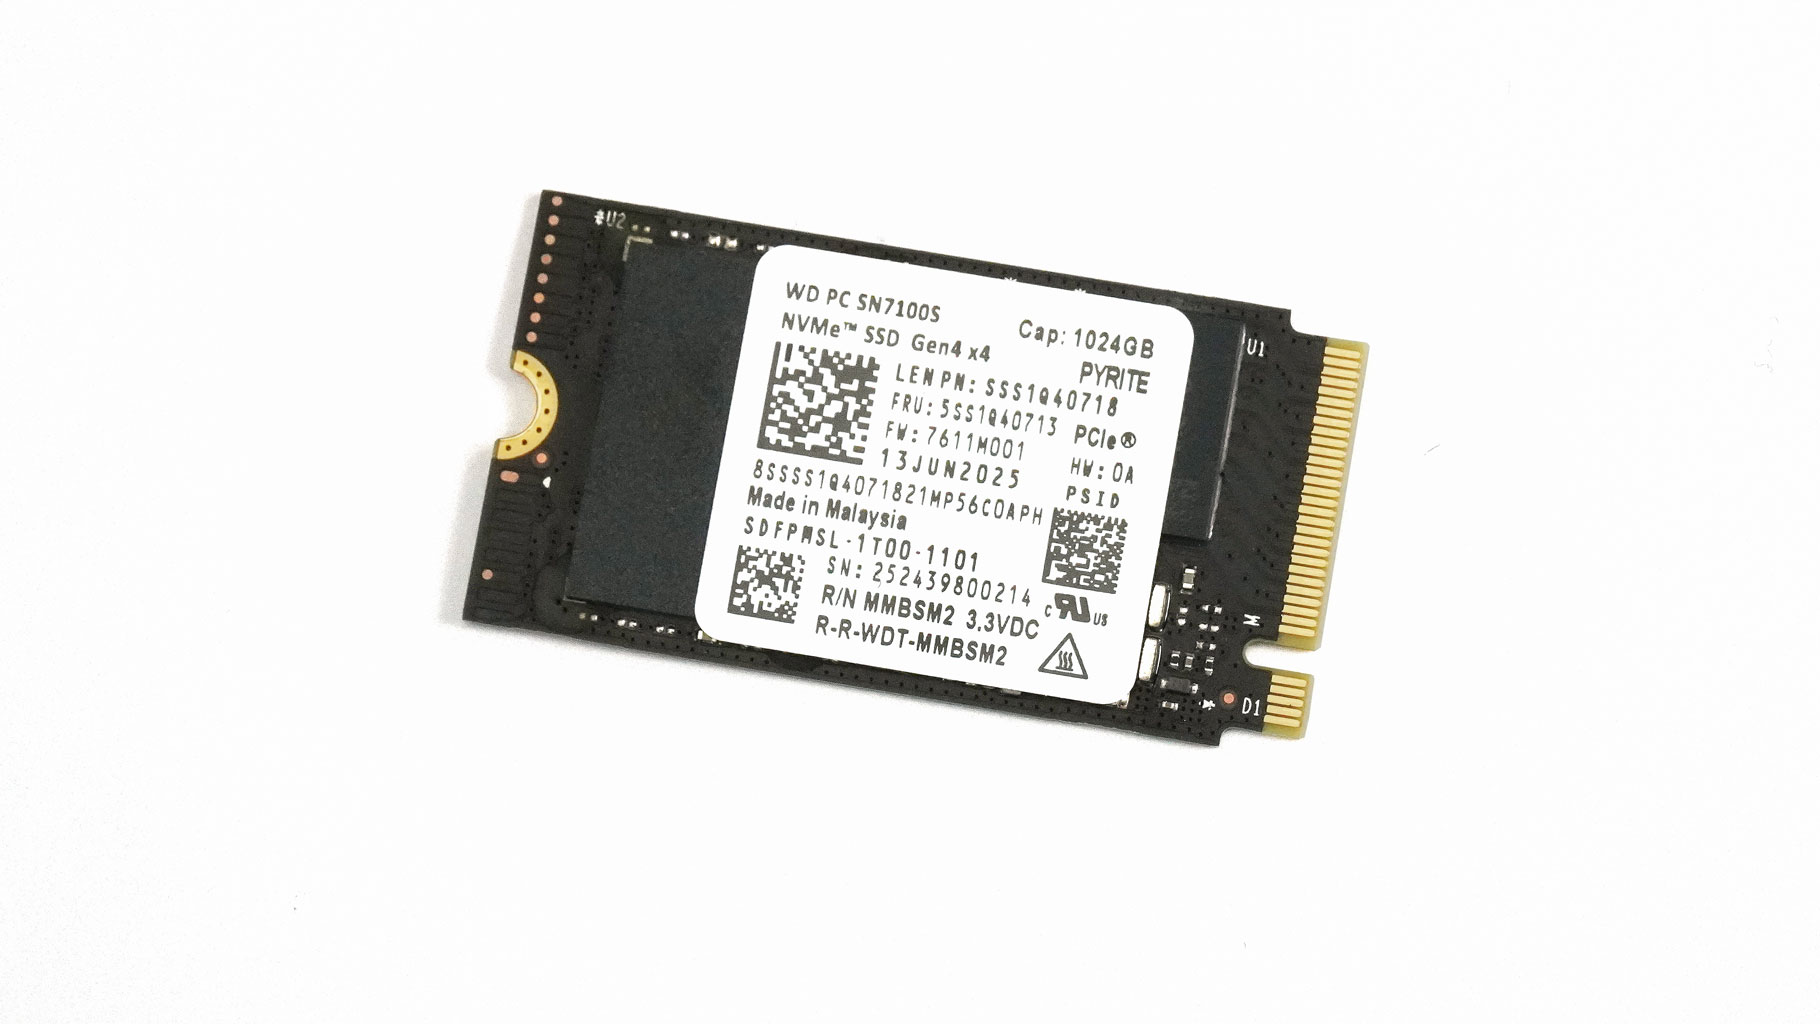
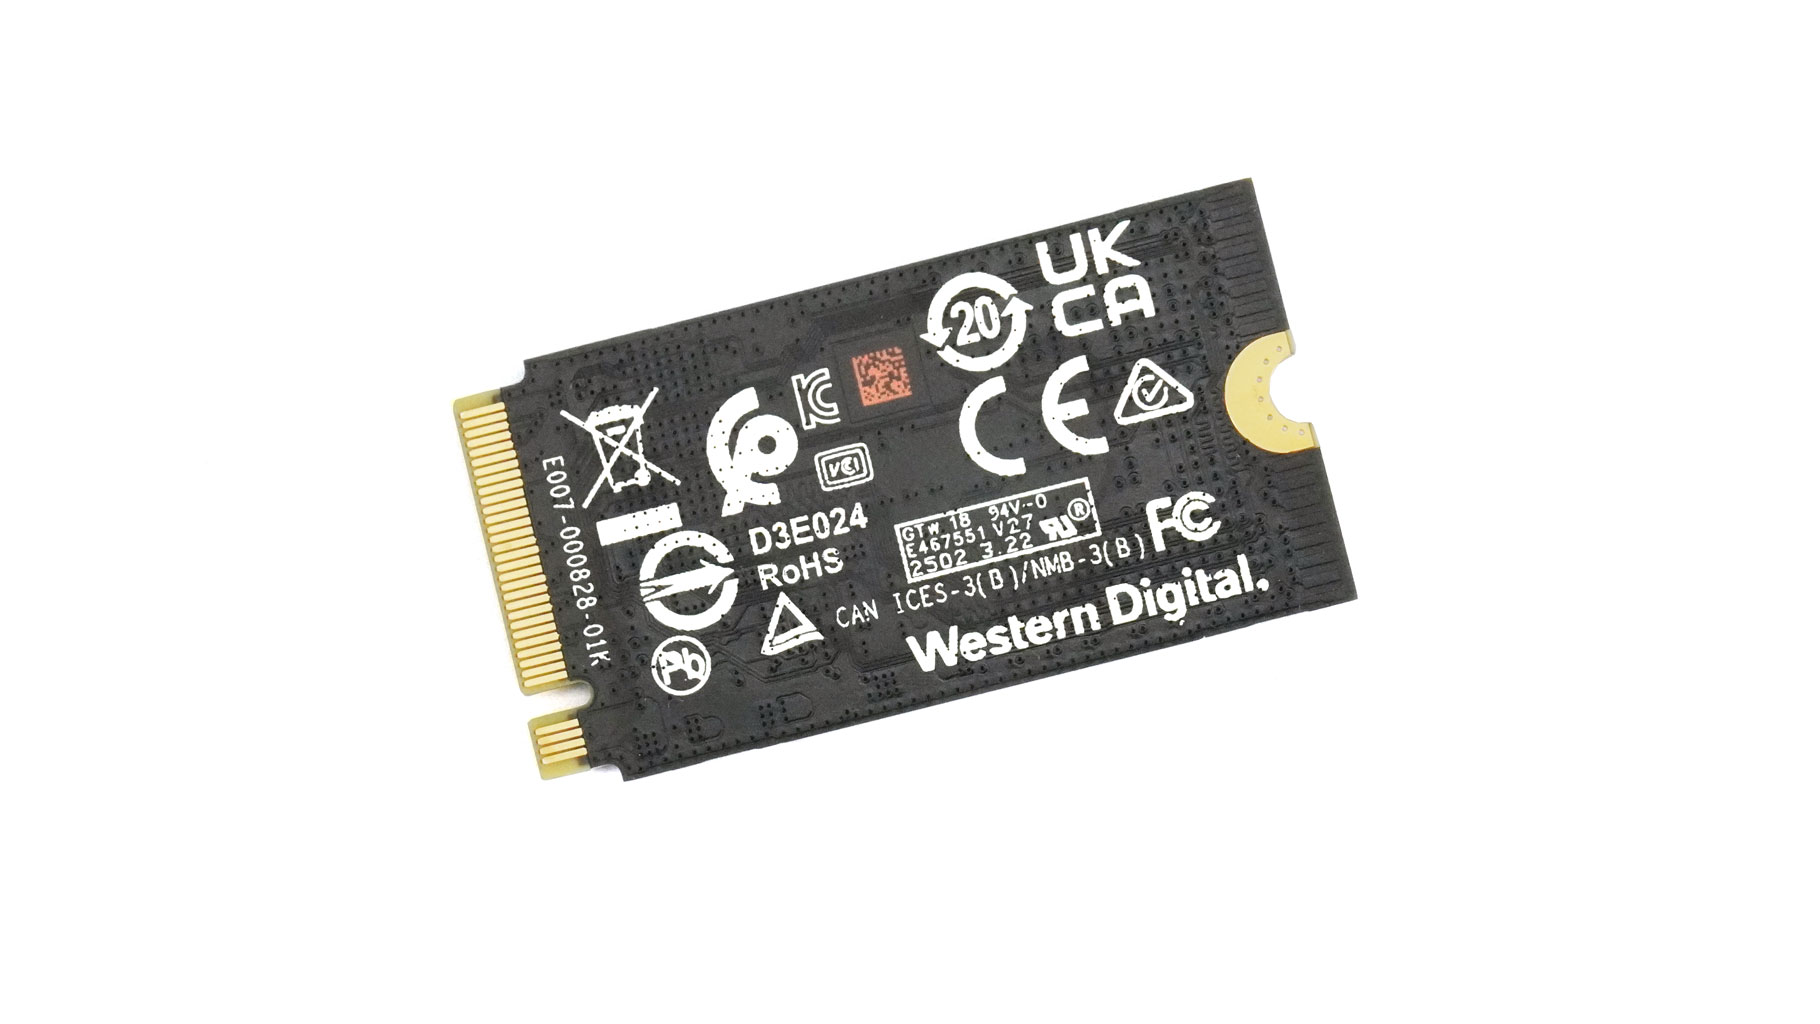
Our laptop comes with a 1 TB SSD.
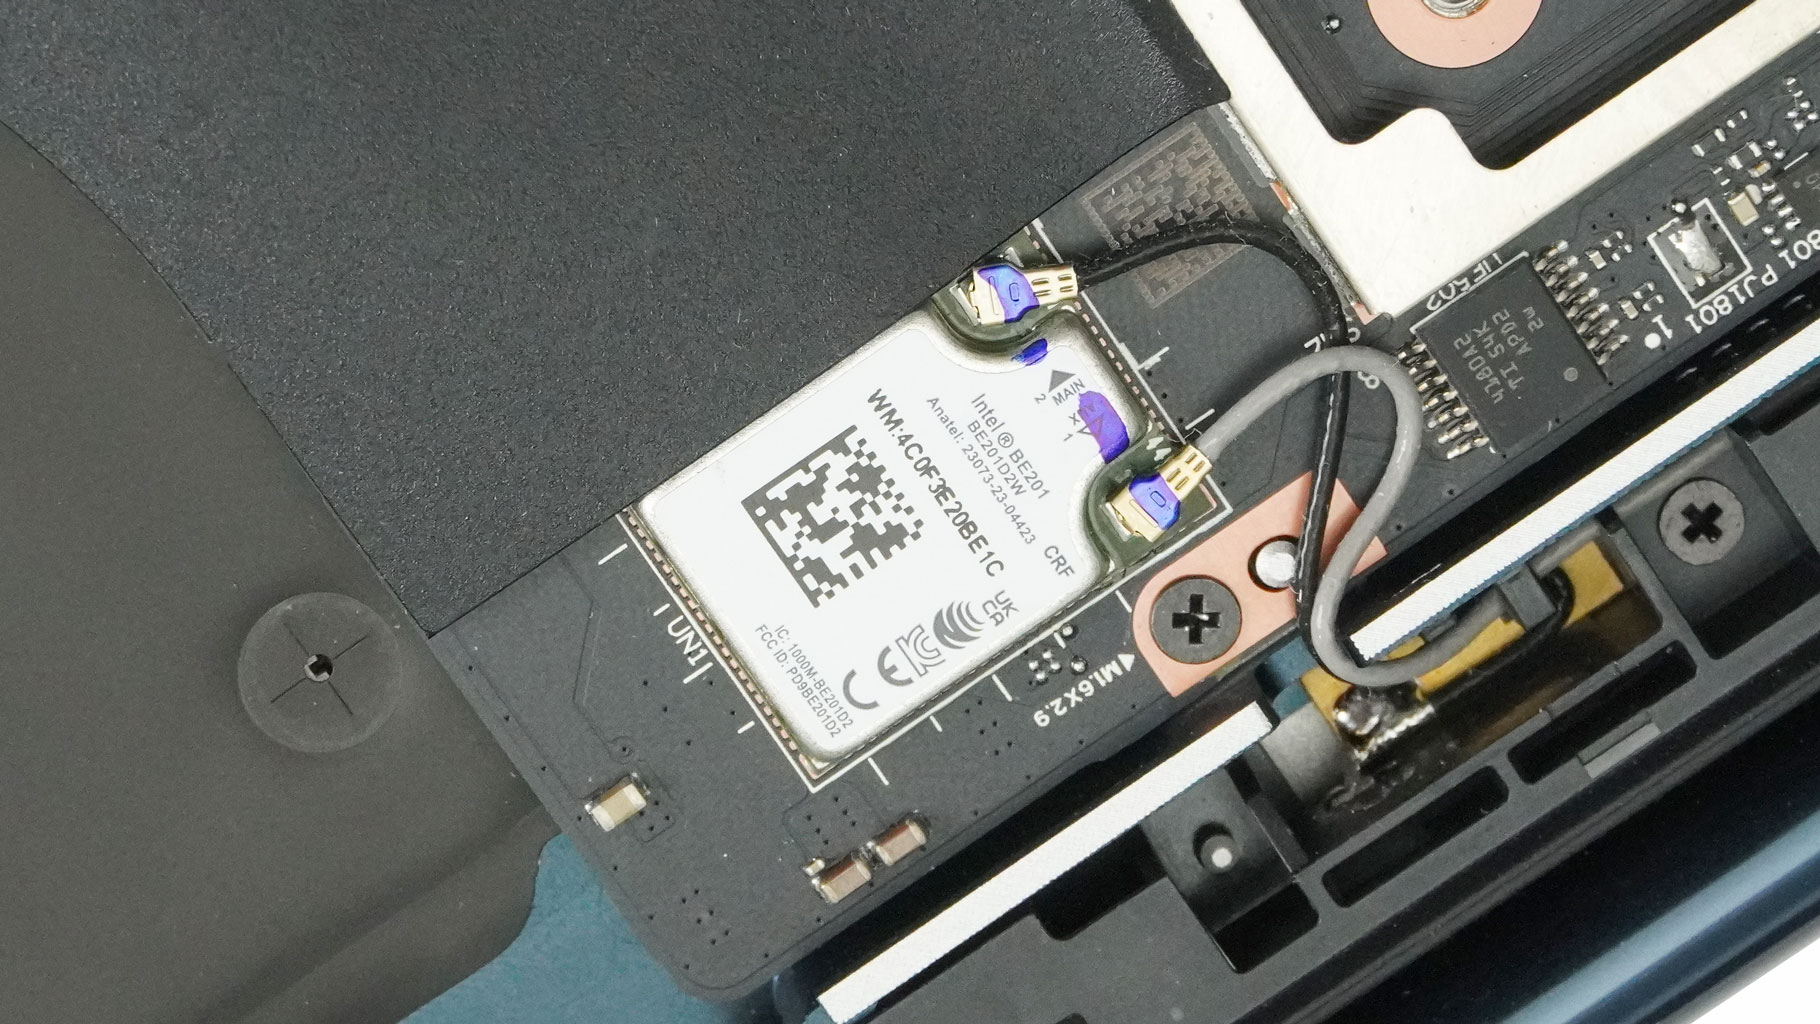
The Wi-Fi 7 card is also soldered.
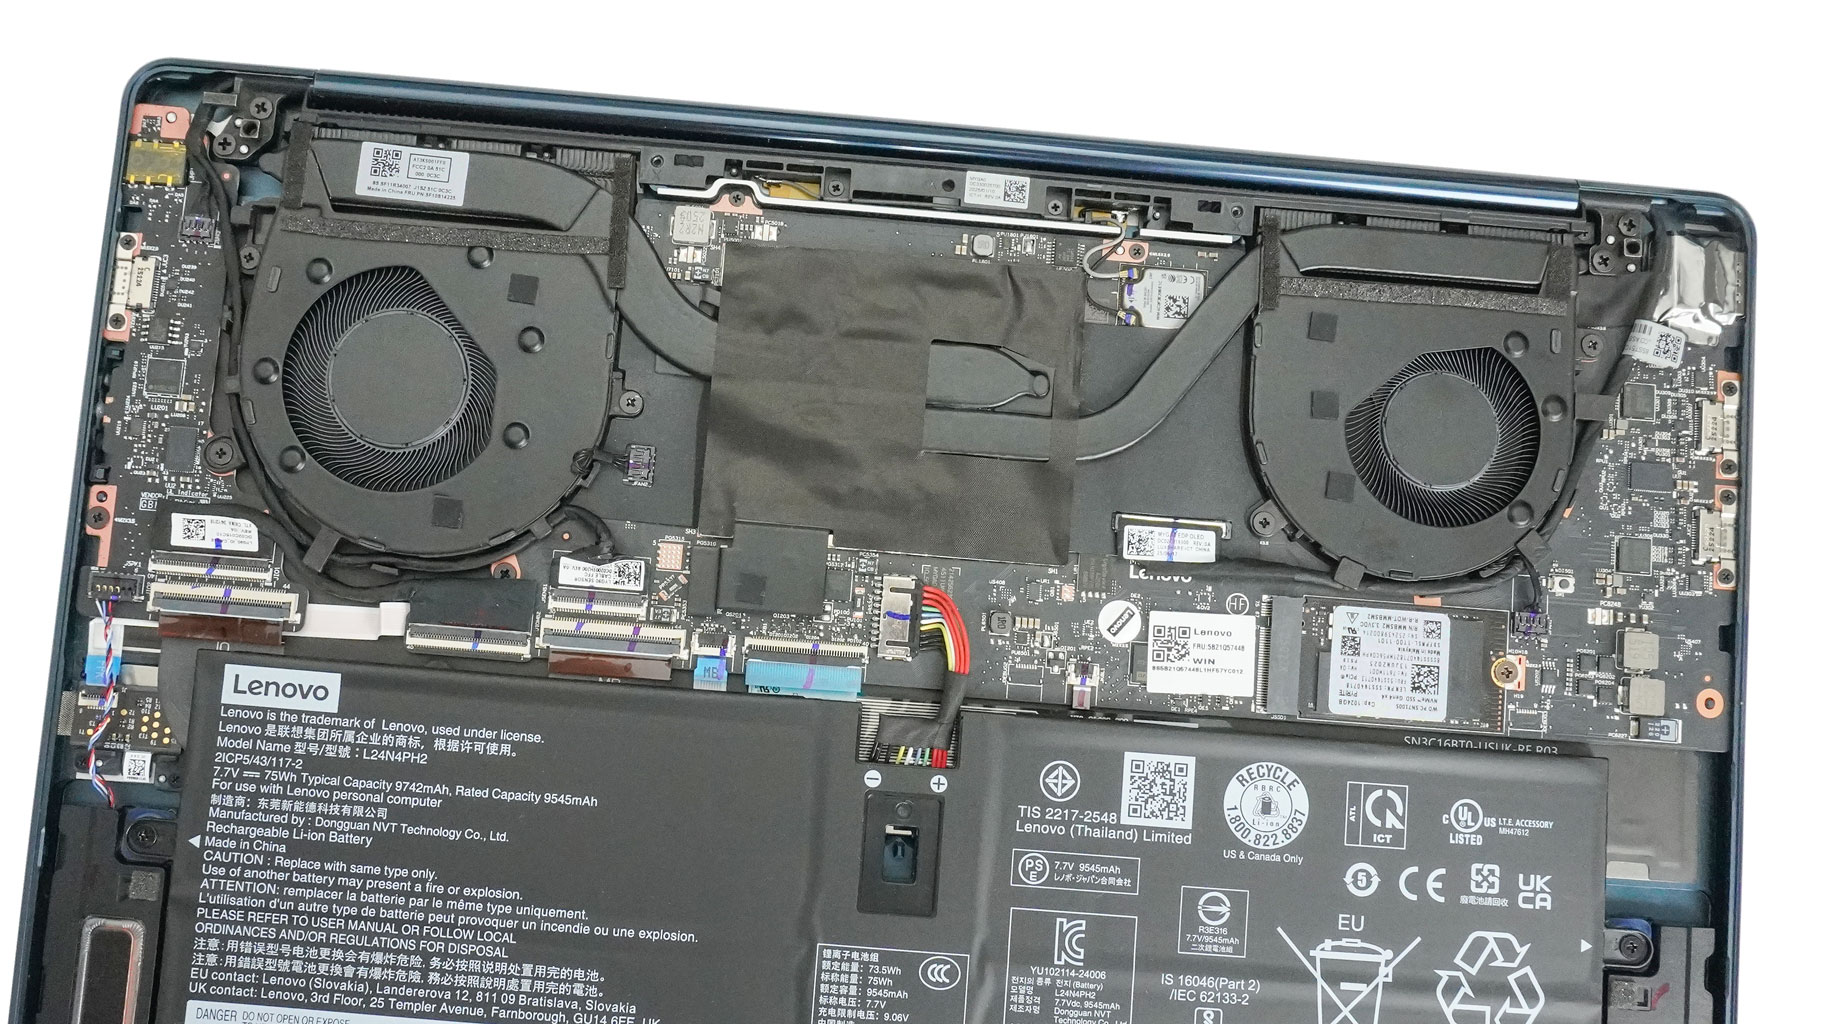
The cooling setup looks promising for a small iGPU-only machine. It includes two fans, a pair of heat pipes, two heat sinks up top, and one large plate in the middle. This plate extends over a large SMD power inductor on the motherboard, cooling it with a pad.
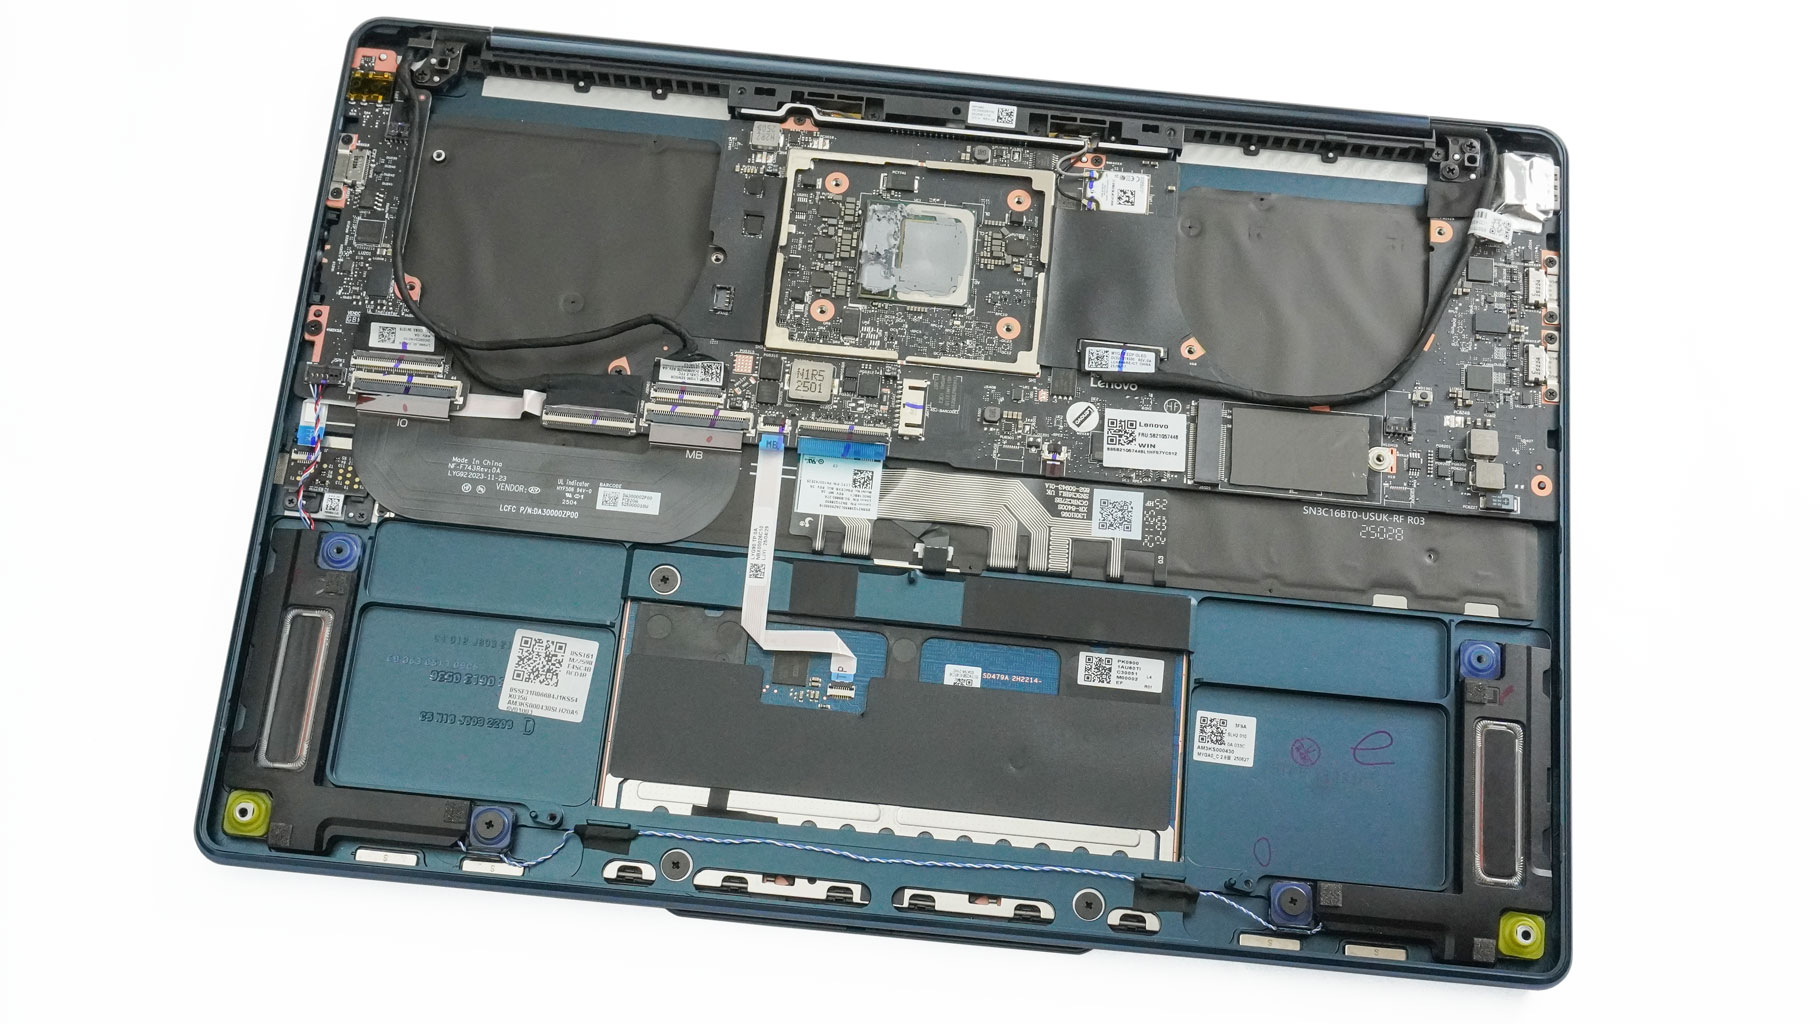
Now it's time to take out the whole thermal system. Unglue the film in the center and unplug the fan connectors. Three screws hold the left fan, and two secure the right one. Four screws then fix the CPU plate in place. You'll need to untangle the cables around the fan housings. Pry the cooling with a lever tool.
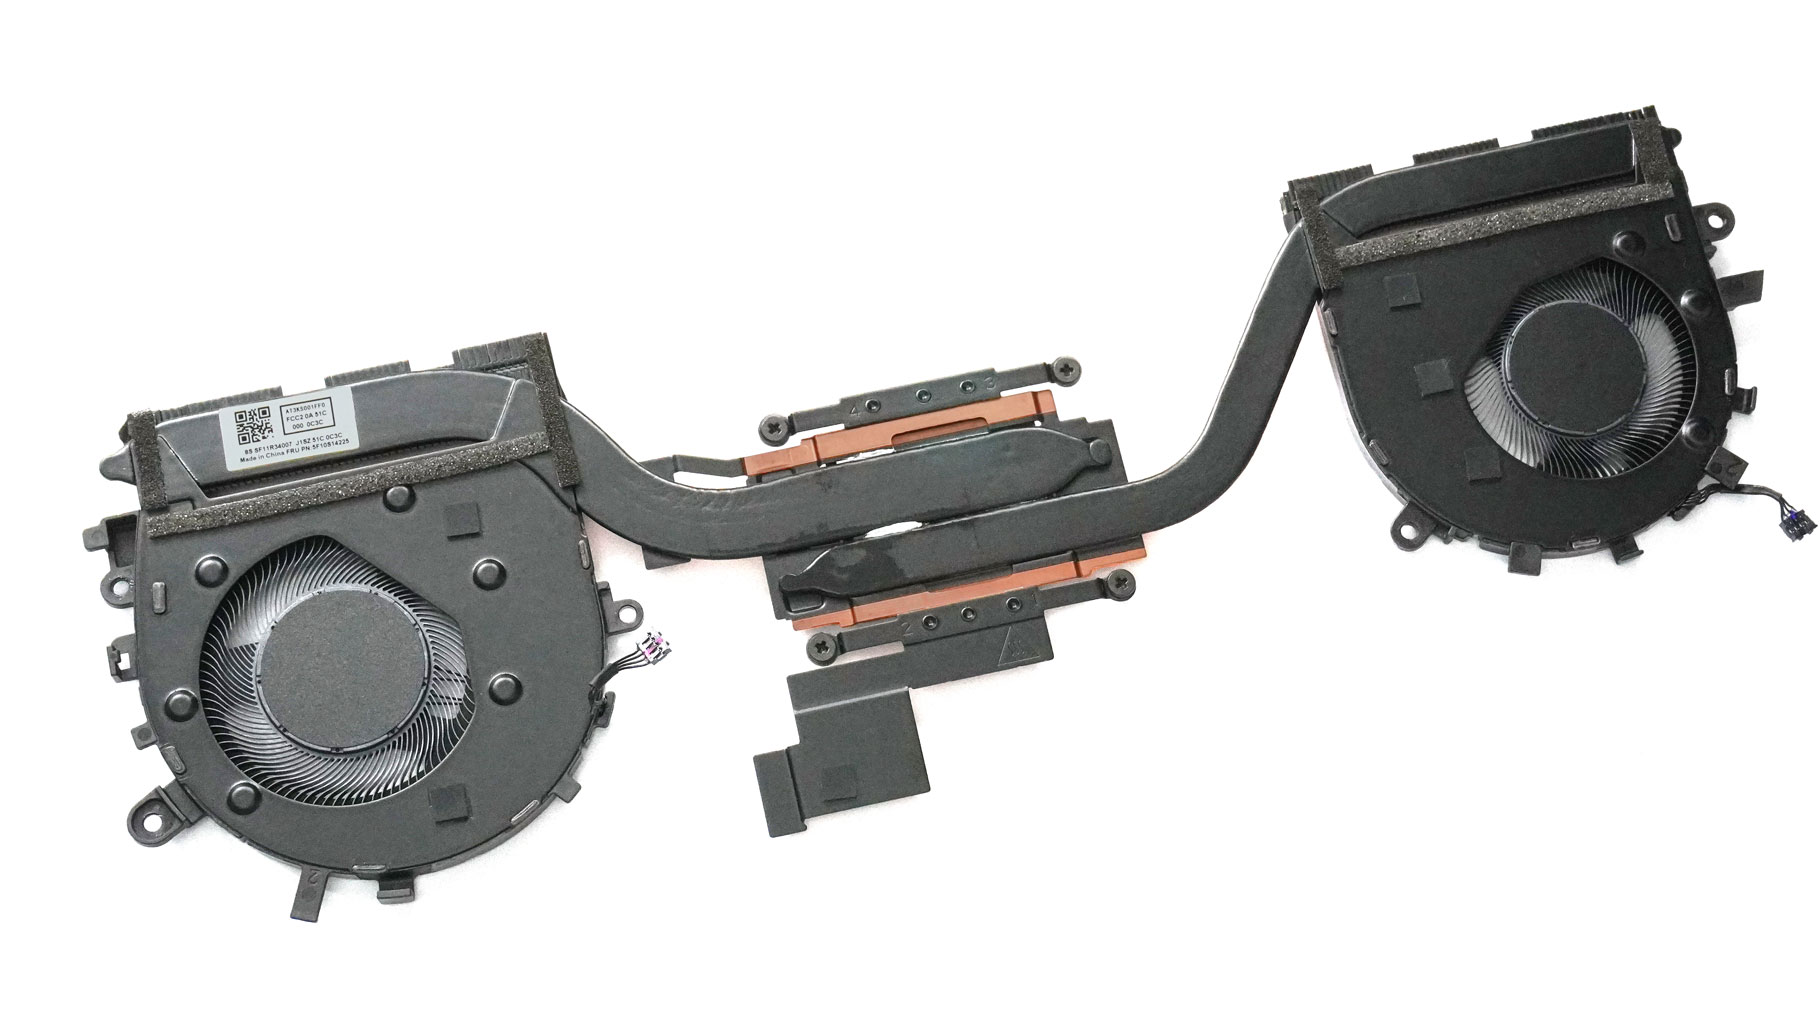
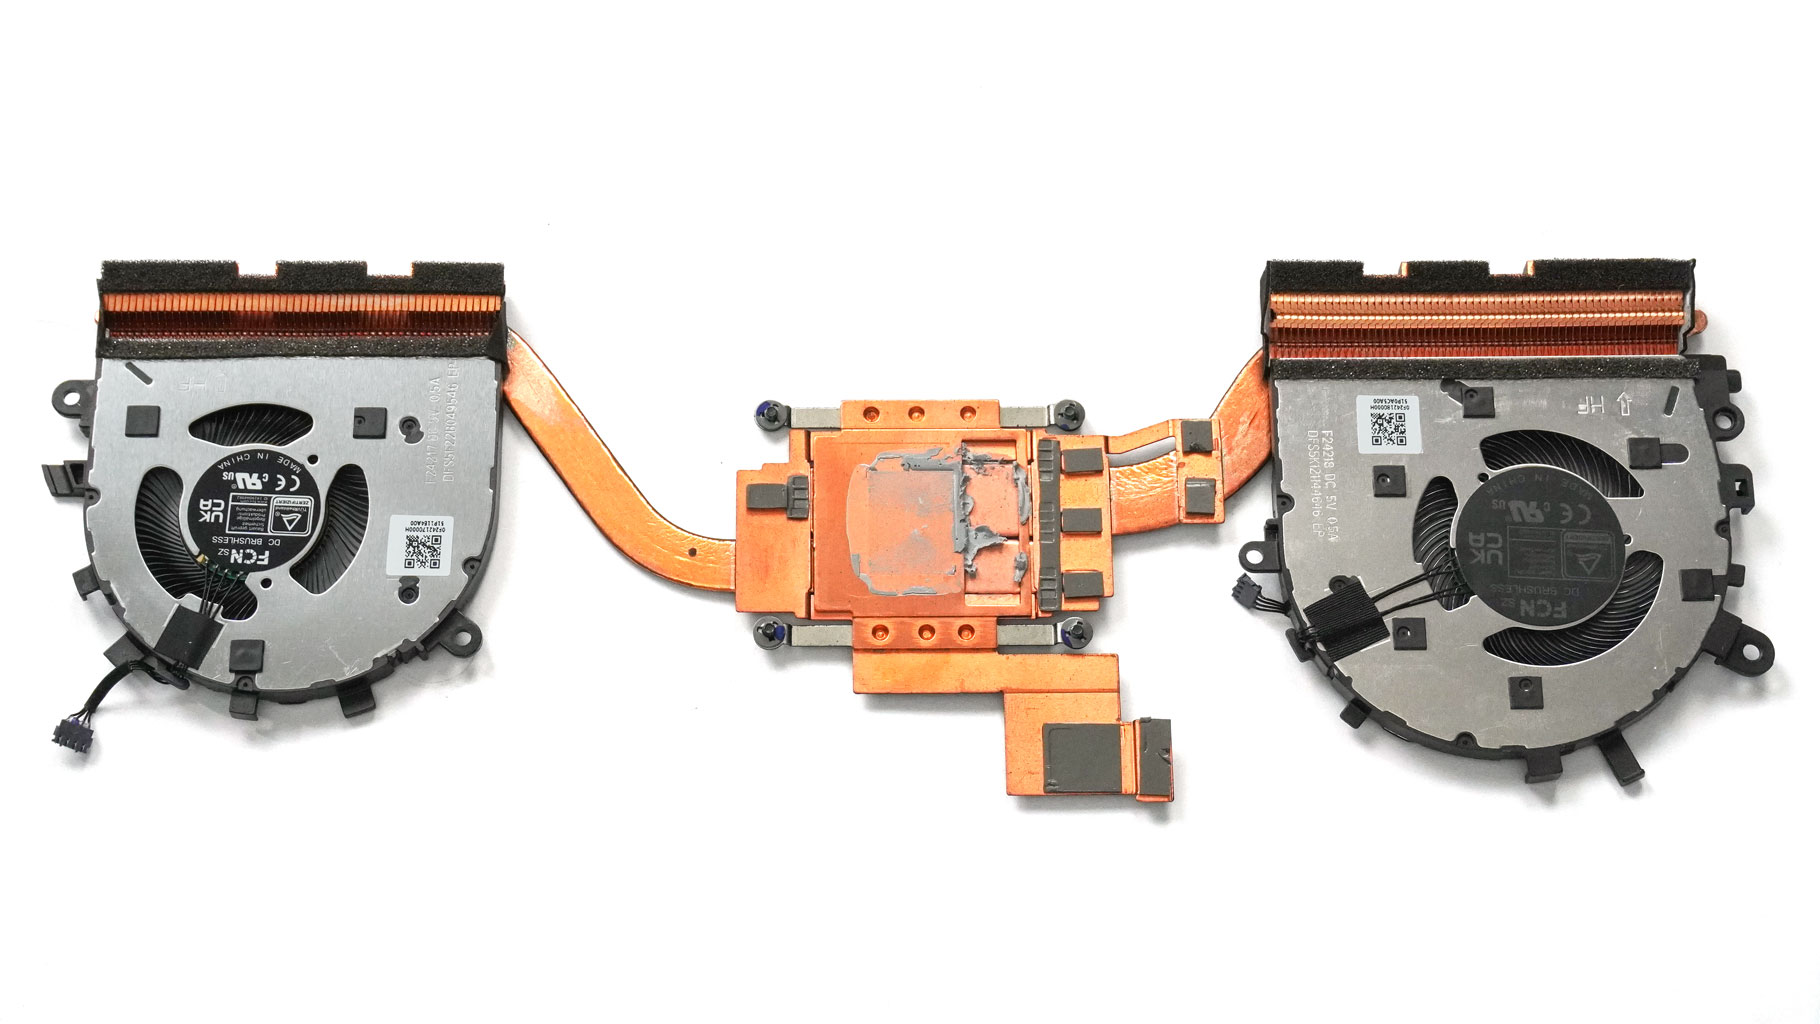
Here's what the cooling assembly looks like underneath.
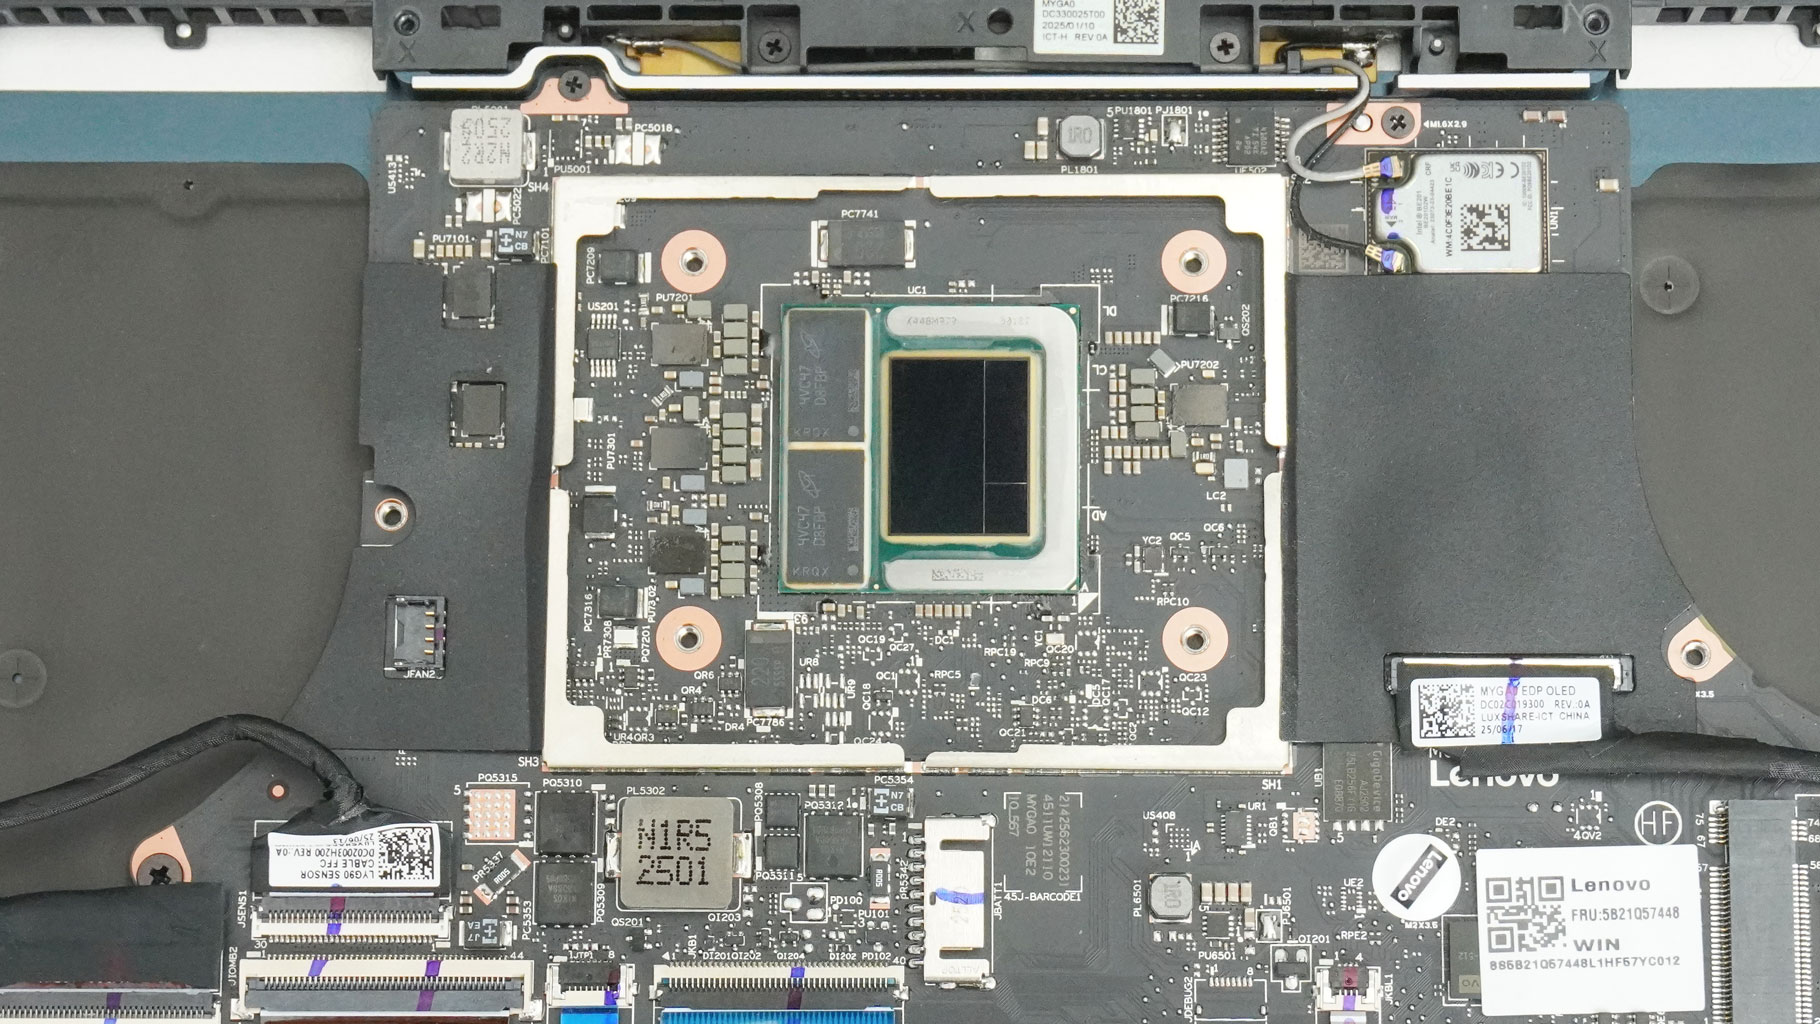
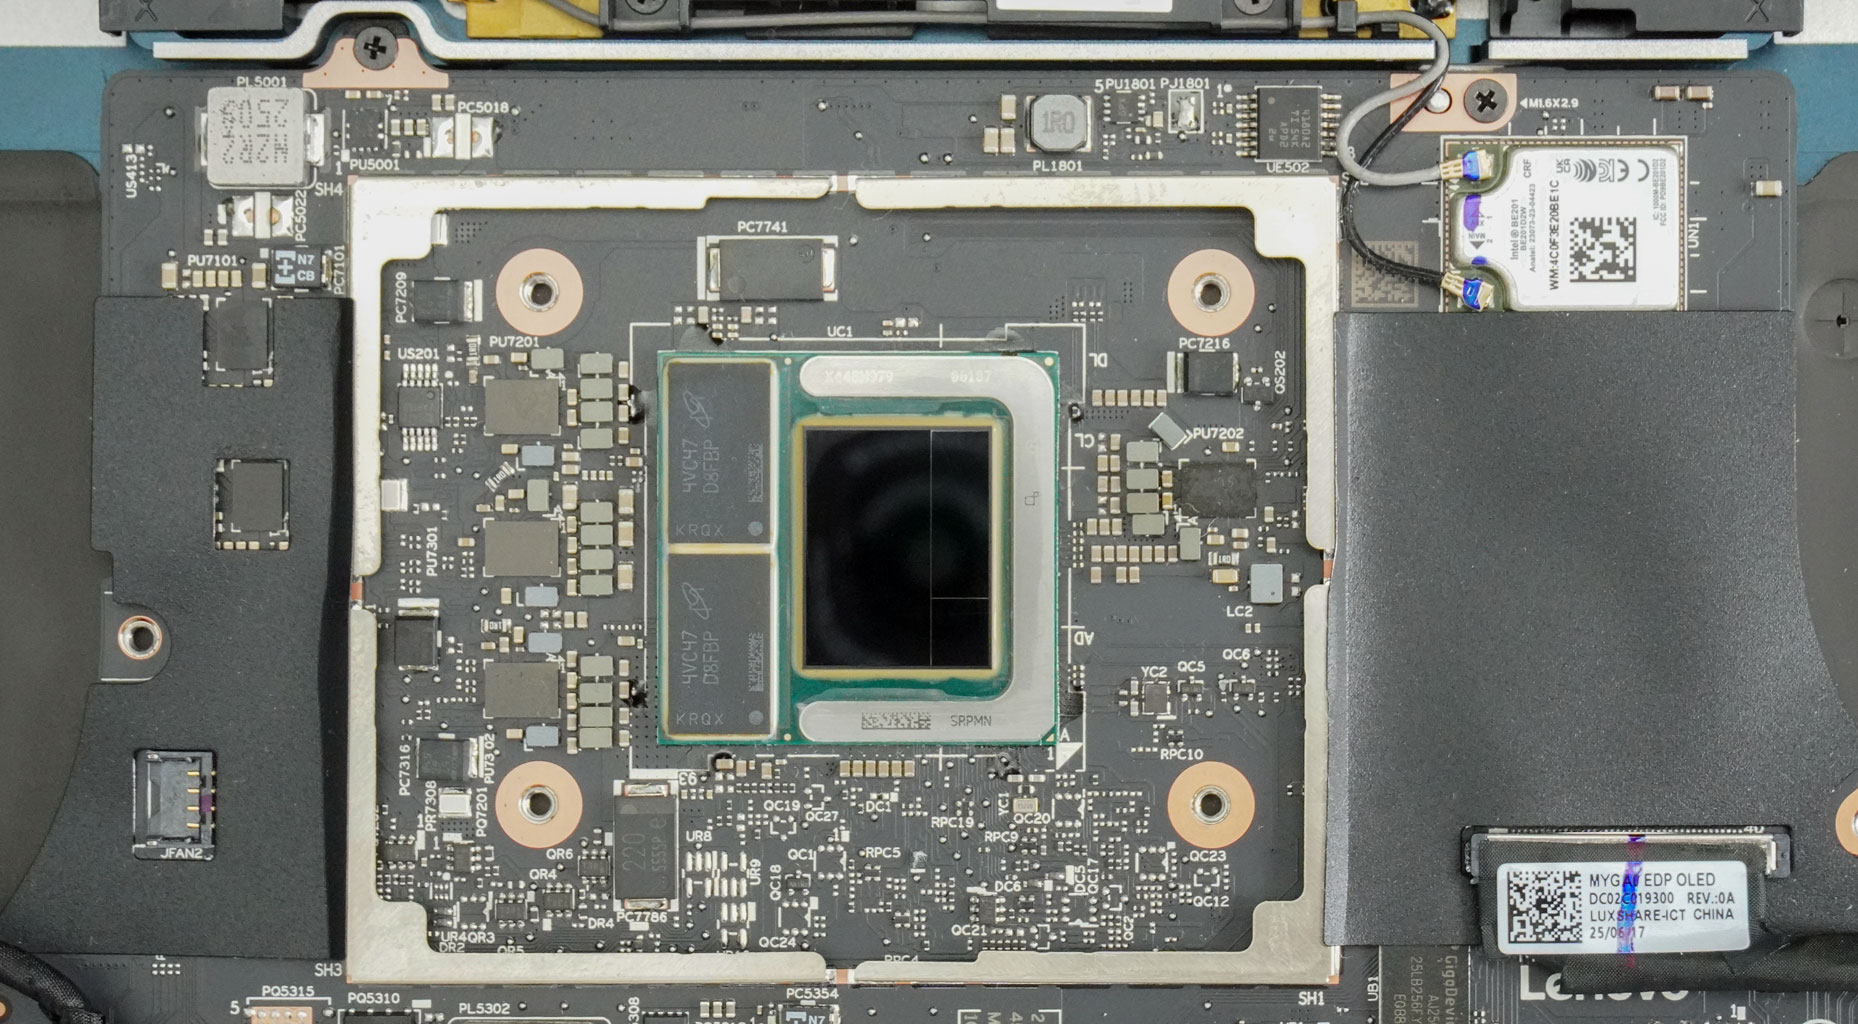
As you can see, the Lunar Lake CPU is accompanied by two memory chips on the left. The manufacturer has applied PTM 7958 on the chip.
Nov 18th, 2026 16:21 PST
change timezone
Latest GPU Drivers
New Forum Posts
- Got a new laptop! What should I do with it? (5)
- Honestly, do you care about GTA VI? (147)
- Dell Workstation Owners Club (3514)
- Making a game in Godot engine (2)
- [Poll] 12V-2x6 Connector Protection: What Are You Using? (WireView / Ampinel / Equalizer / Other / Nothing) (39)
- Last game you purchased? (1406)
- Time to upgrade CPU and MOBO (34)
- Can i play GTA 6 now? (Joke) (7)
- What are you playing? (26234)
- Very unusual two gaming-pc scenarios. (12)
Popular Reviews
- Acemagic Retro X3 Review
- Upcoming Hardware Launches 2027 (Updated Nov 2026)
- AMD Zen 6 Technical Deep Dive
- Ugreen NASync DXP4800 GT Review
- Biwin Black Opal NV7400 2 TB Review
- Pulsar Office Tour & First Look at P1 Dual-Sensor Mouse
- Chieftec Iceberg PRO 360 DARK Review
- Sapphire Radeon RX 7700 XT Pure Review
- ASUS ROG Strix B850-I Gaming Wi-Fi7 W Review
- Sapphire Radeon RX 7700 XT Pulse Review
TPU on YouTube
Controversial News Posts
- NVIDIA Co-Founder and CEO Jensen Huang Officially Resigns (478)
- Report: Jensen Huang Eyes NVIDIA Comeback (194)
- Open Letter Asking NVIDIA to Reinstate Jensen Huang Passes 115,000 Signatures (184)
- OpenAI CEO Argues Home PCs Waste the World's Limited DRAM Supply (152)
- NVIDIA Launches Investigation Into Jensen Huang's Relationship With Suspected Chinese Spy (136)
- Intel "Raptor Lake Next" 16-Core and 20-Core CPUs Surface (130)
- Legendary Game Studio BioWare Shuts Down Following EA Layoffs (104)
- Dell CEO Says the Memory Shortage Will Get Worse in 2027 (95)