 20
Lian Li O11 Dynamic Mini V2 Review
A Closer Look - Inside »A Closer Look - Outside

The Lian Li O11 Dynamic Mini V2 is only slightly wider and deeper than the original, with the biggest dimensional change being the additional height of around 12 mm. This translates into that little extra room to make full-size motherboards fit better. This should be a relevant improvement over the original, as we pointed out that ATX motherboards are quite a tight fit. Visually, a big change is the fact that the glass panels now make one large viewing area while the V1 split it in two. The other noteworthy difference is that the IO is now situated at the bottom facing you by default, but with some additional flexibility.

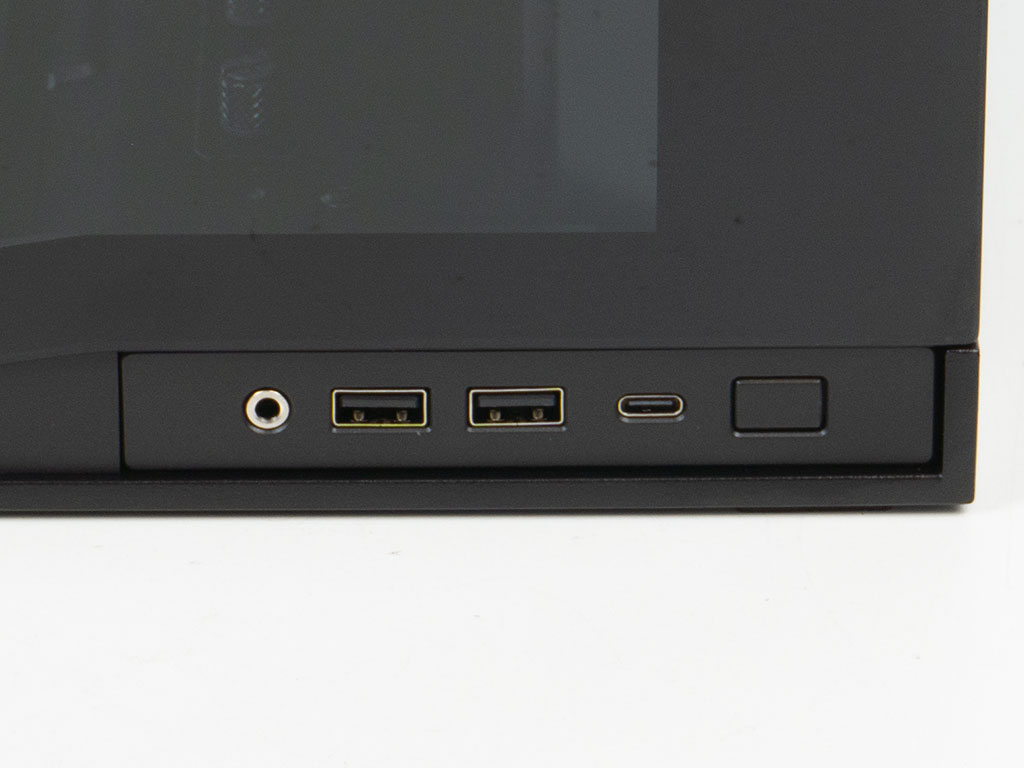
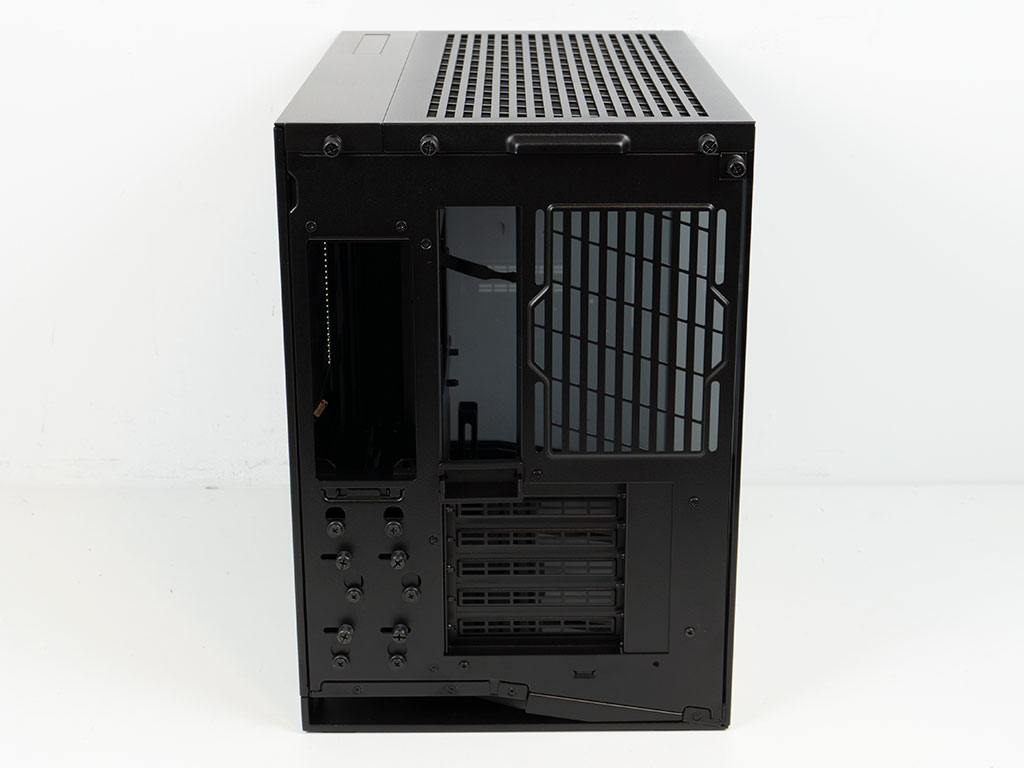
Looking at the front, the glass panel has an 11° angled elements in the bottom left corner to align with that angle for the bottom fan mounting frame. The solid strip on the left is gone in the O11 Dynamic Mini V2 as well, with the glass taking up the whole surface area. The IO panel is now self-contained, with the usual plugs and a square power button, this means the IO can be moved from the bottom to the top of the case, if you prefer. While Lian Li has eliminated the power LED, it would be superfluous anyway as you have a clear view of all your fans and hardware when turned on, so there's no need to have a LED to indicate the system being powered-on. Looking at the rear, things appear much simpler as well. While the V1 had expansion slots that were in separate pieces to accommodate ceiling cooling, by making the V2 ever so slightly taller, that extreme flexibility is no longer needed to achieve similar compatibility.
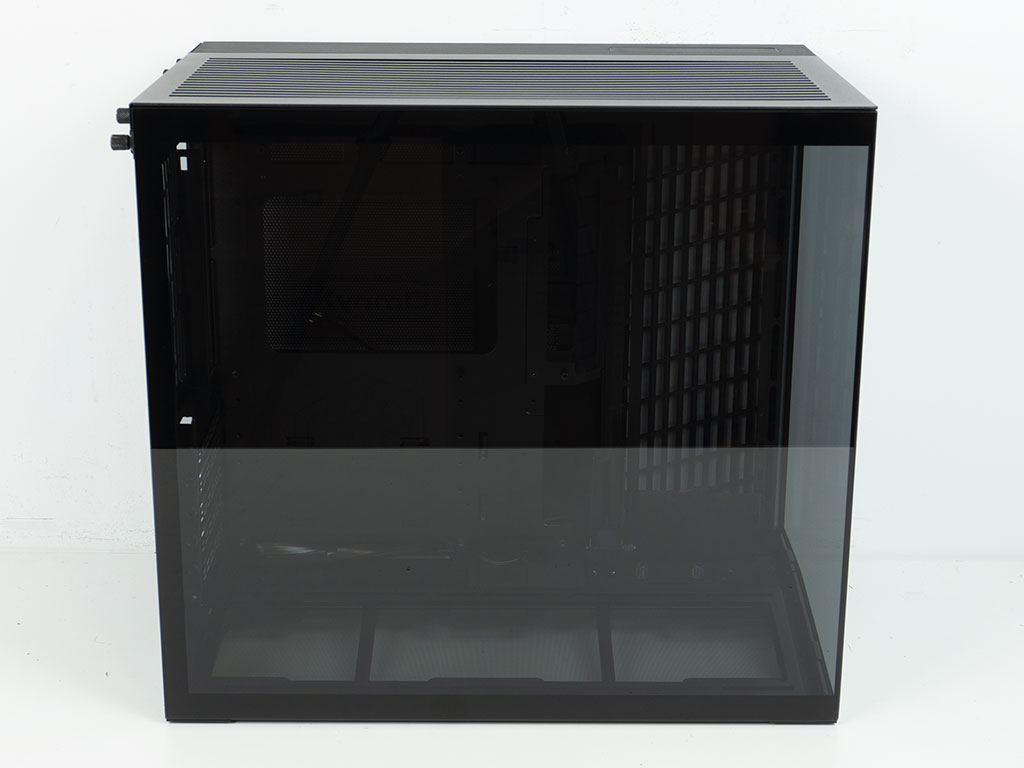
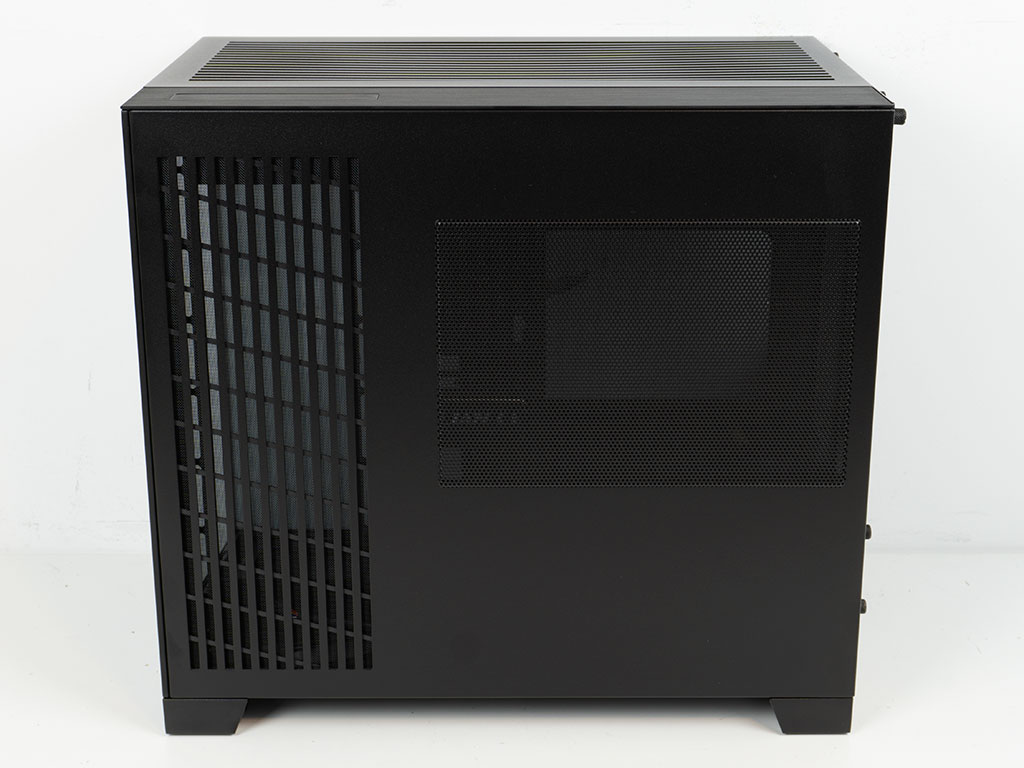
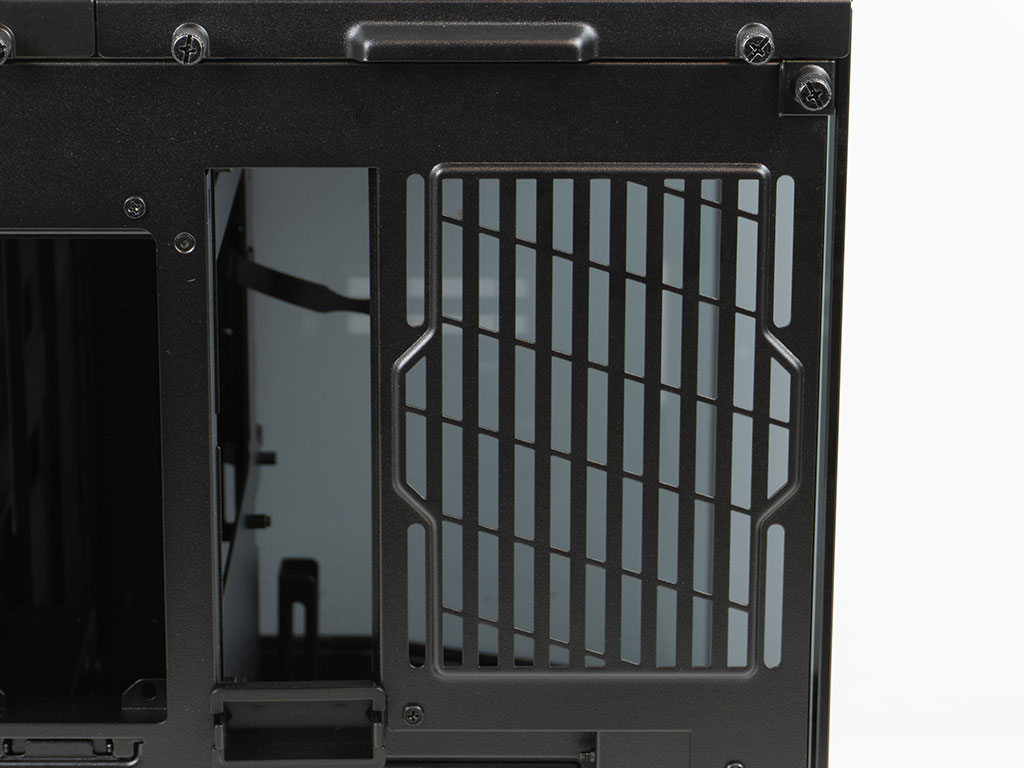
The design tweaks of the O11 Dynamic Mini V2 allow the side glass to reach all the way down to the desktop, eliminating any standoffs. The slightly angled fan mounting bracket has access to some fresh air from the opposite side as well as the rear of the chassis. While that may not be as much as with the V1, odds are pretty high that it would not be tangibly worse either in real world scenarios, meaning your component thermals won't be vastly different. The solid side of the case sports a linear air vent, with a mesh cover to give it some depth. On top of that, a perforated section where the PSU will be located has been integrated directly into the metal surface. It is bumped out a bit as well, to make sure there is just that little bit extra clearance around the PSU housing.
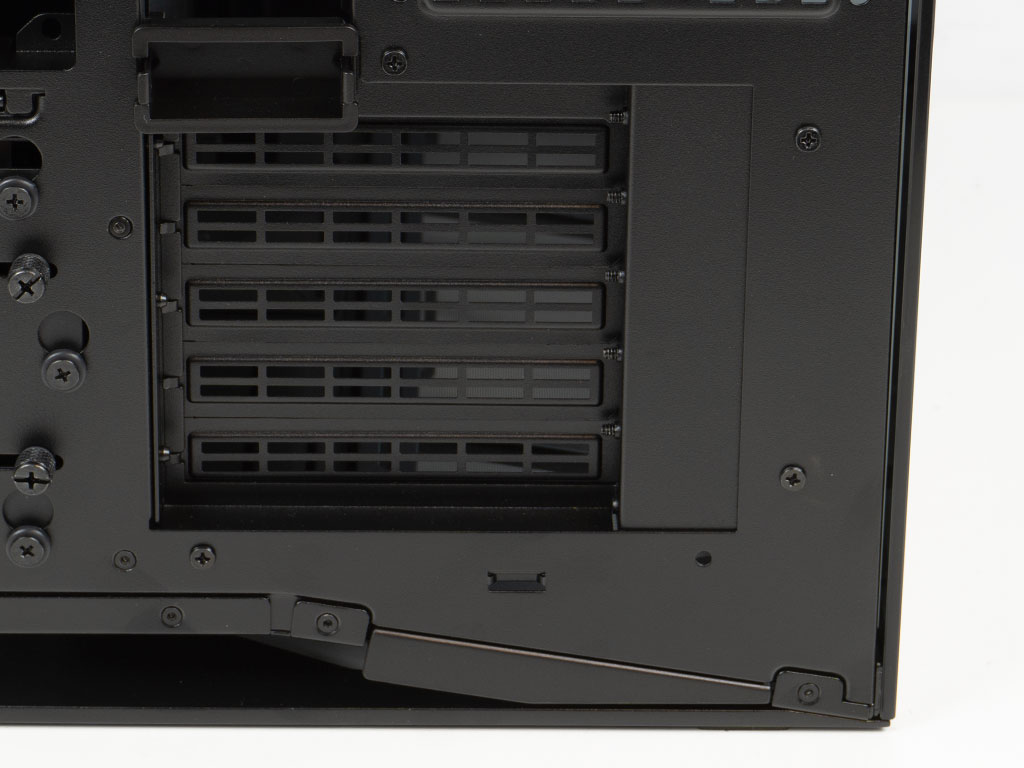
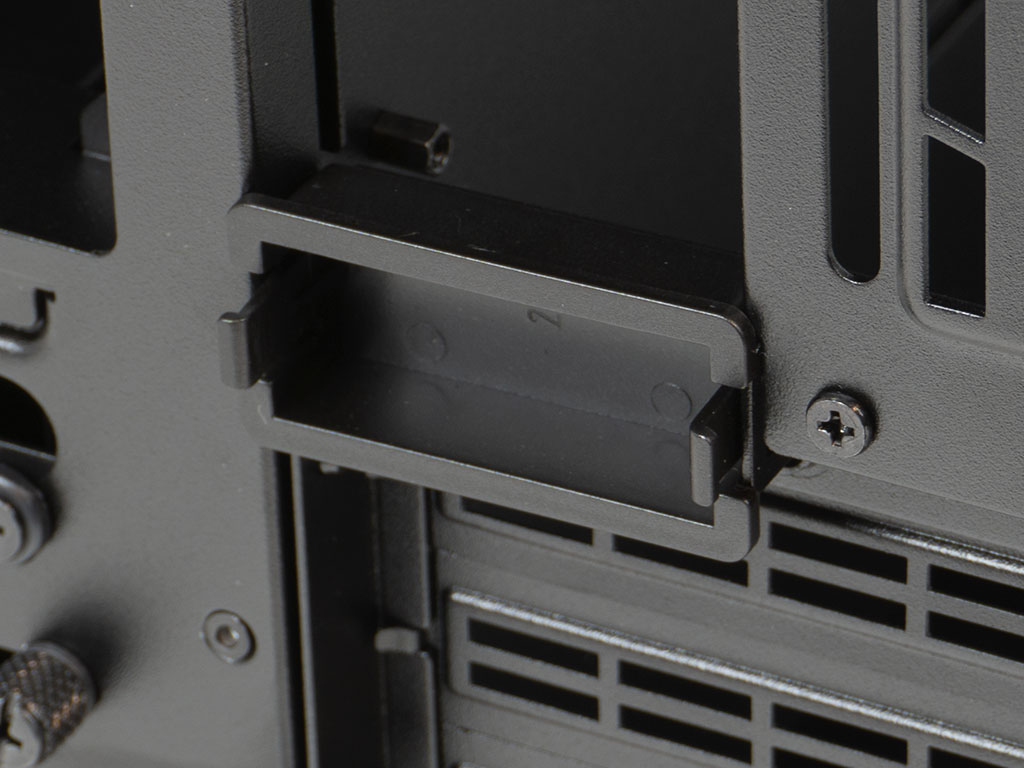
Just like the original O11D Mini, the V2 sports five expansion slots. As you may still move the motherboard down by a slot, a plastic cap has been placed unto the backplate cutout. You may move this to the top when using the lower motherboard position. This system is much simpler than what we encountered on the V1, but achieves the exact same thing. The general shape of this plastic cover is a bit weird, but it is functional. Due to the 5 slots, you will not have access to the topmost PCIe slot on some ATX motherboards that may still provide it. Fortunately, the vast majority have their primary x16 PCIe slot at the second position, with a x1 variant above it at most, so you are not loosing out on much. As that only accounts for six of the seven usual slots for a full-size board, you will also have to make do without the bottom slot. For microATX and ITX boards, you may move down by a slot, so that the top PCIe connector becomes accessible, while also increasing the clearance for any cooling in the ceiling from 58 mm to 60 mm. At the very top of the rear, there is a fan mounting position for a 120 mm unit with elongated mounting holes, allowing you to situate the fan to best suite your cooling needs.

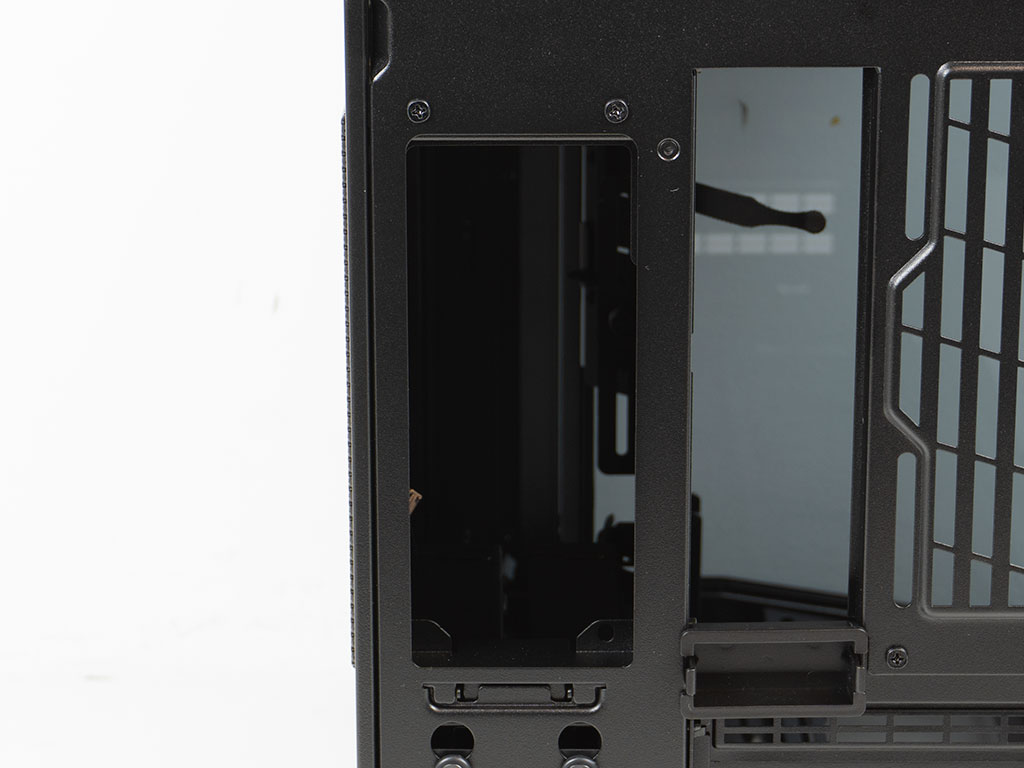
Lian Li has redesigned the HDD trays in the O11 Dynamic Mini V2, but you can still find them in the same general location as in the V1. You can still fit up to two drives of 2.5" or 3.5" size here. Above that, there is a pretty skinny opening for the PSU, but Lian Li has now placed a removable bracket there, so that you can fit a classic ATX unit thanks to the subtle bump-out around the perforated area of the side panel.


On the top of the O11 Dynamic Mini V2, we once again see the two part element that no longer exists in the front. Lian Li has redesigned the vented portion to allow for better airflow, with large line shaped cutouts instead of pinholes. Underneath of it, there is a simple but functional mounting solution for three 120 or two 140 mm fans. Alternatively, a 360 mm radiator will easily fit. If you are planning to use a 280 mm unit, you will have to move the motherboard down, thus limiting you to an ITX or microATX build, unfortunately.
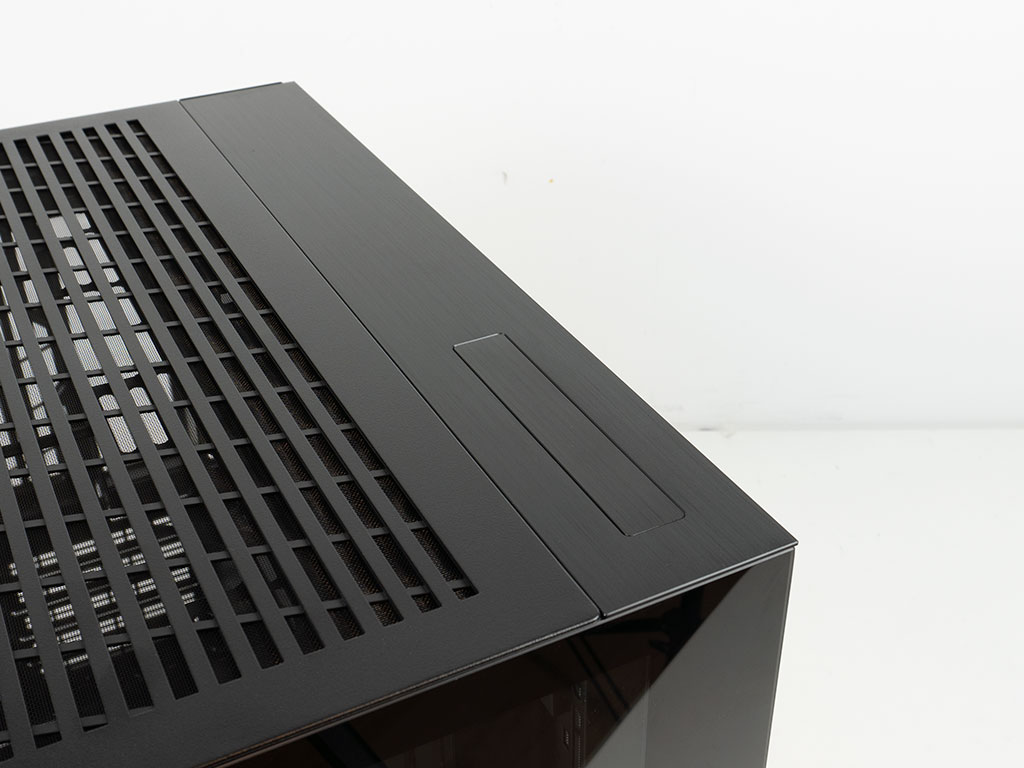
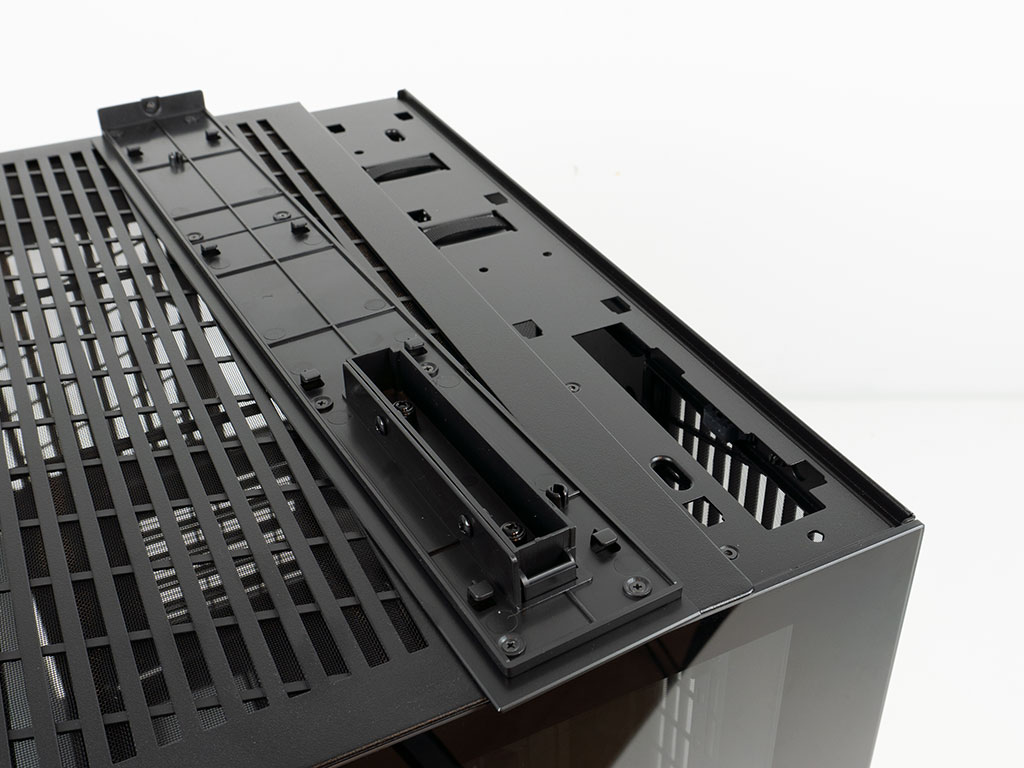
The strip next to the vented panel is brushed metal, backed by a plastic mounting plate. If you look closely, that plastic edge can be seen in the rear—where a single thumb screw keeps it secure using a sliding hook mechanism. That visible plastic portion is a tad unsightly, but that is all. The O11 Dynamic Mini V2 now allows you to move the IO from the front to the ceiling. This gives you the flexibility to place your system on the table or underneath and still have the best possible access to your IO and power button.
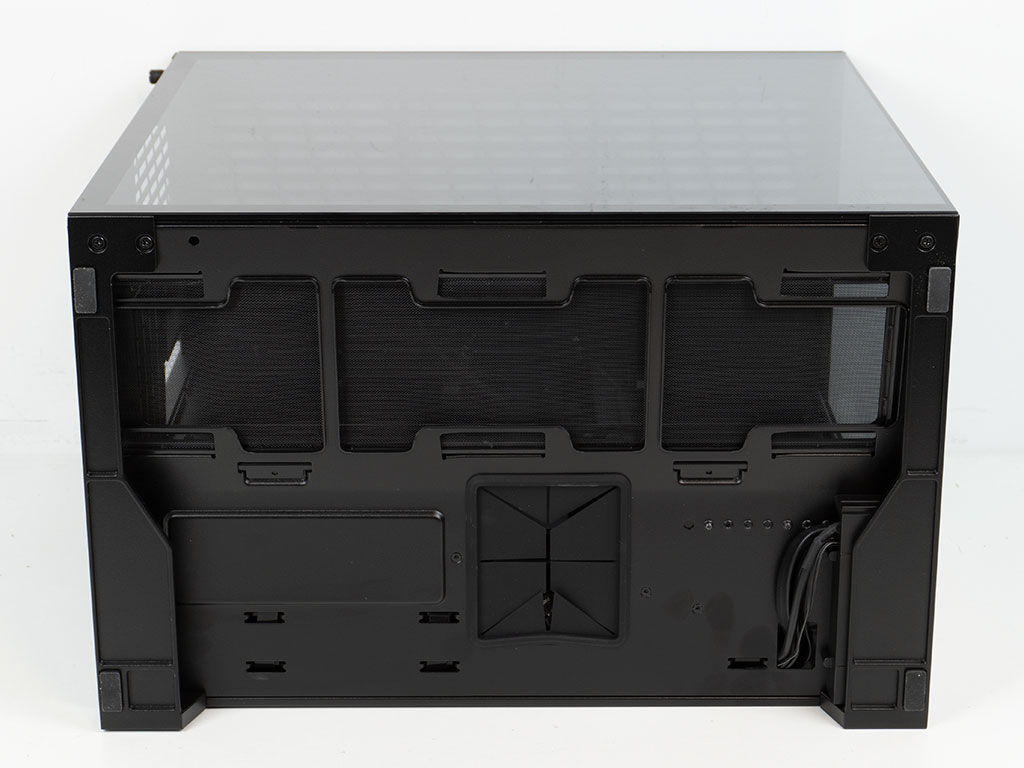
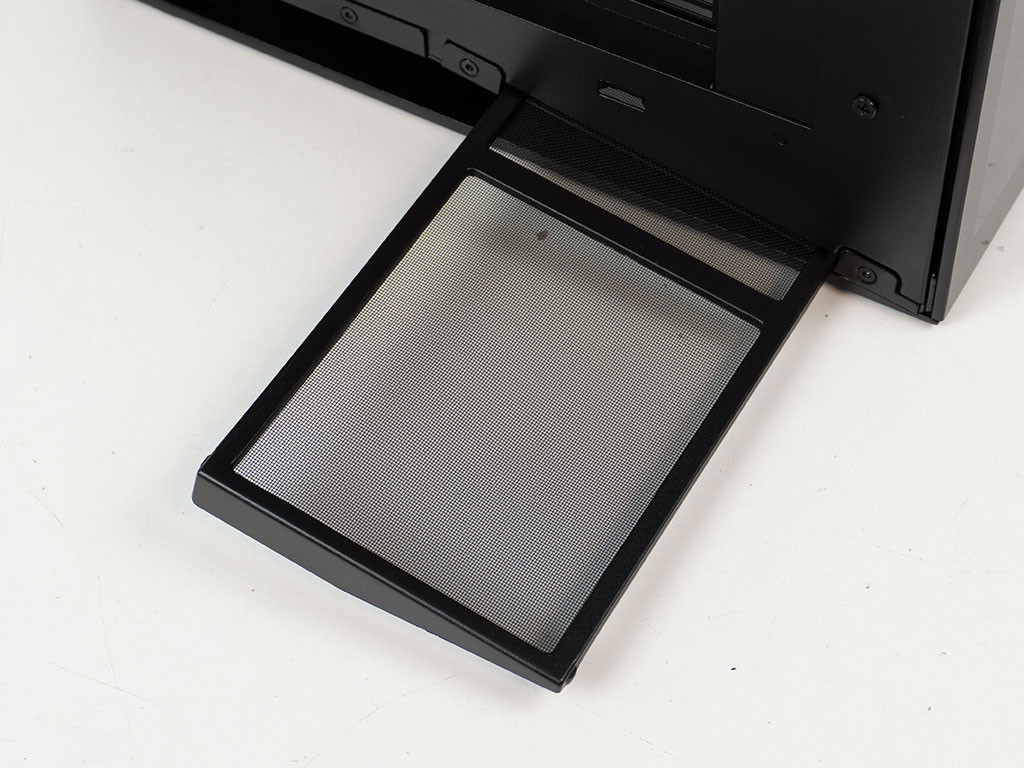
Tipping the O11 Dynamic Mini V2 on its side, you will find a large grommet covered opening. This is needed to run the GPU power cable from behind the motherboard to the GPU inside the case, but you could run other cables through here instead, if you are not using a motherboard with BTF connectors. A fine mesh dust filter protects the entire fan mounting area from dust and may be pulled out the back for cleaning purposes. There are no clips holding it in place, so it tends to slide out on its own all the time. As such, you may want to remove it during the assembly process to avoid damaging the fragile mesh layer by mistake.
Nov 21st, 2026 19:49 PST
change timezone
Latest GPU Drivers
New Forum Posts
- Honestly, do you care about GTA VI? (237)
- Your PC ATM (36445)
- UPS what one to get? (24)
- WarpCoreBench scores! (89)
- Intel Core Ultra 5 processor 250K Plus (17)
- Ryzen or Intel system (9)
- TPU's Nostalgic Hardware Club (22187)
- DTS DCH Driver for Realtek HDA [DTS:X APO4 + DTS Interactive] (2817)
- repair an NVIDIA Quadro M4000 (0)
- 1 - 5 person file storage server equivalent accasible from anywhere + general VM server. (4)
Popular Reviews
- Microsoft Surface Laptop Ultra Review - The Next-gen Arm Laptop
- Corsair RM1200e (Second Generation) Review
- Pulsar Office Tour & First Look at P1 Dual-Sensor Mouse
- Upcoming Hardware Launches 2027 (Updated Nov 2026)
- Ugreen NASync DXP4800 GT Review
- AMD Ryzen 7 9800X3D Review - The Best Gaming Processor
- Biwin Black Opal NV7400 2 TB Review
- AMD Zen 6 Technical Deep Dive
- Phantom Blade Zero Performance Benchmark Review - 35 GPUs Tested
- Acemagic Retro X3 Review
TPU on YouTube
Controversial News Posts
- NVIDIA Co-Founder and CEO Jensen Huang Officially Resigns (492)
- Report: Jensen Huang Eyes NVIDIA Comeback (262)
- Open Letter Asking NVIDIA to Reinstate Jensen Huang Passes 115,000 Signatures (184)
- OpenAI CEO Argues Home PCs Waste the World's Limited DRAM Supply (152)
- NVIDIA Launches Investigation Into Jensen Huang's Relationship With Suspected Chinese Spy (136)
- Intel "Raptor Lake Next" 16-Core and 20-Core CPUs Surface (130)
- NVIDIA GeForce RTX 50-Series Scheduled for up to $500 Price Hike This Week (89)
- Intel Razor Lake Gets a 12 P-Core bLLC Chip With No E-Cores, Per Leak (86)