 34
MSI MPG 322UR QD-OLED X24 Review - Less Expensive and Even Better
Picture Quality, Uniformity & Viewing Angles »Controls and OSD
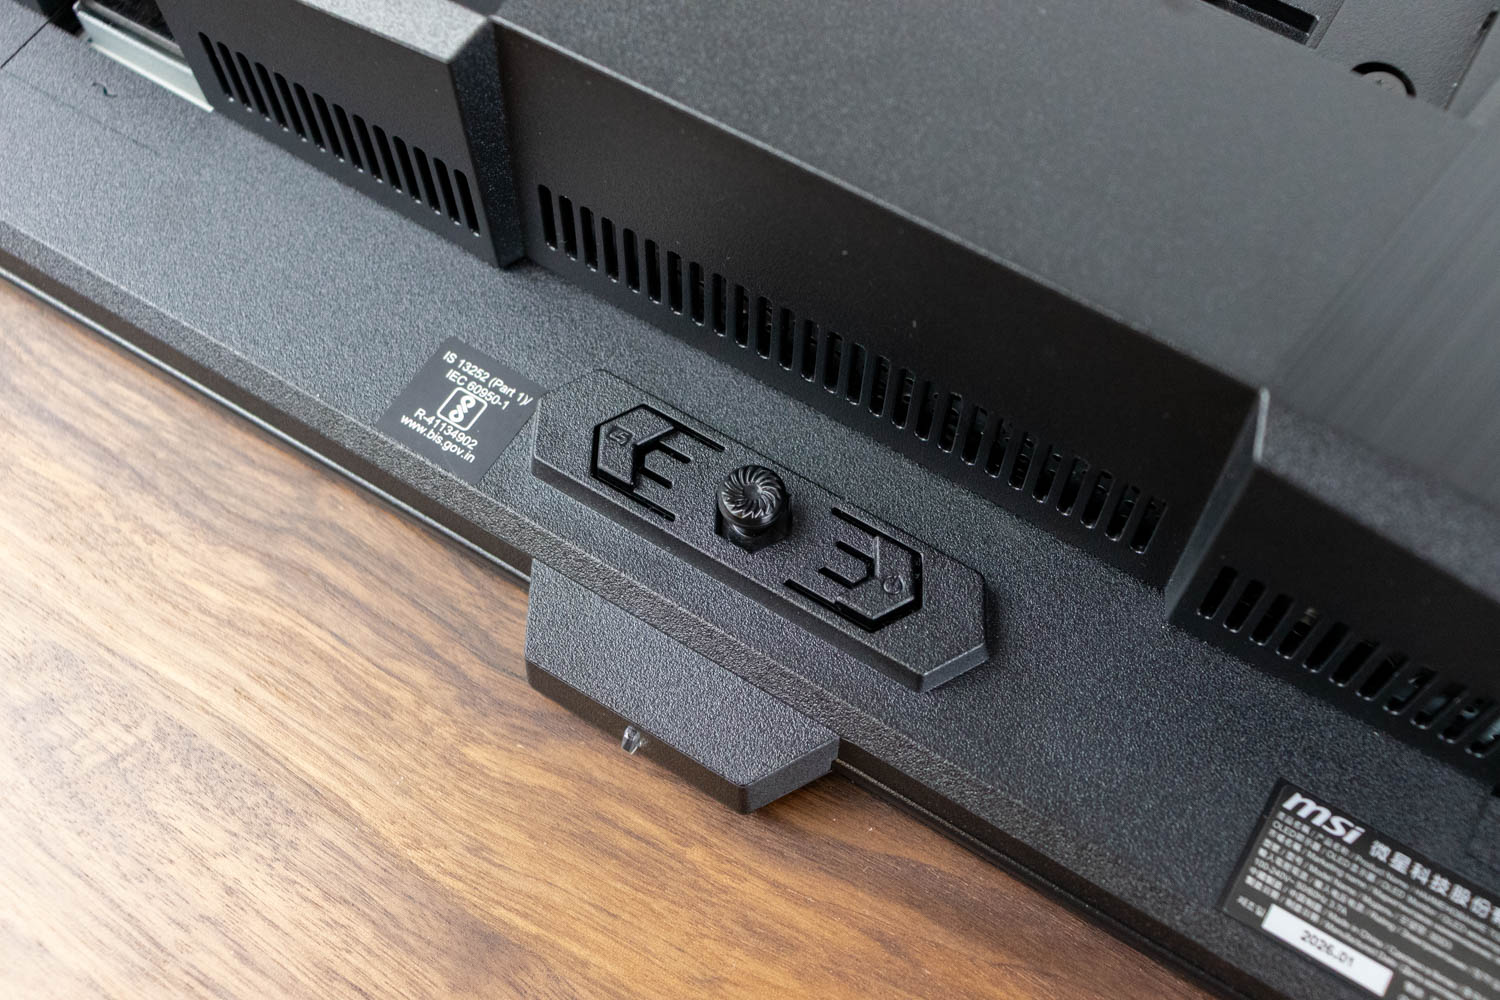
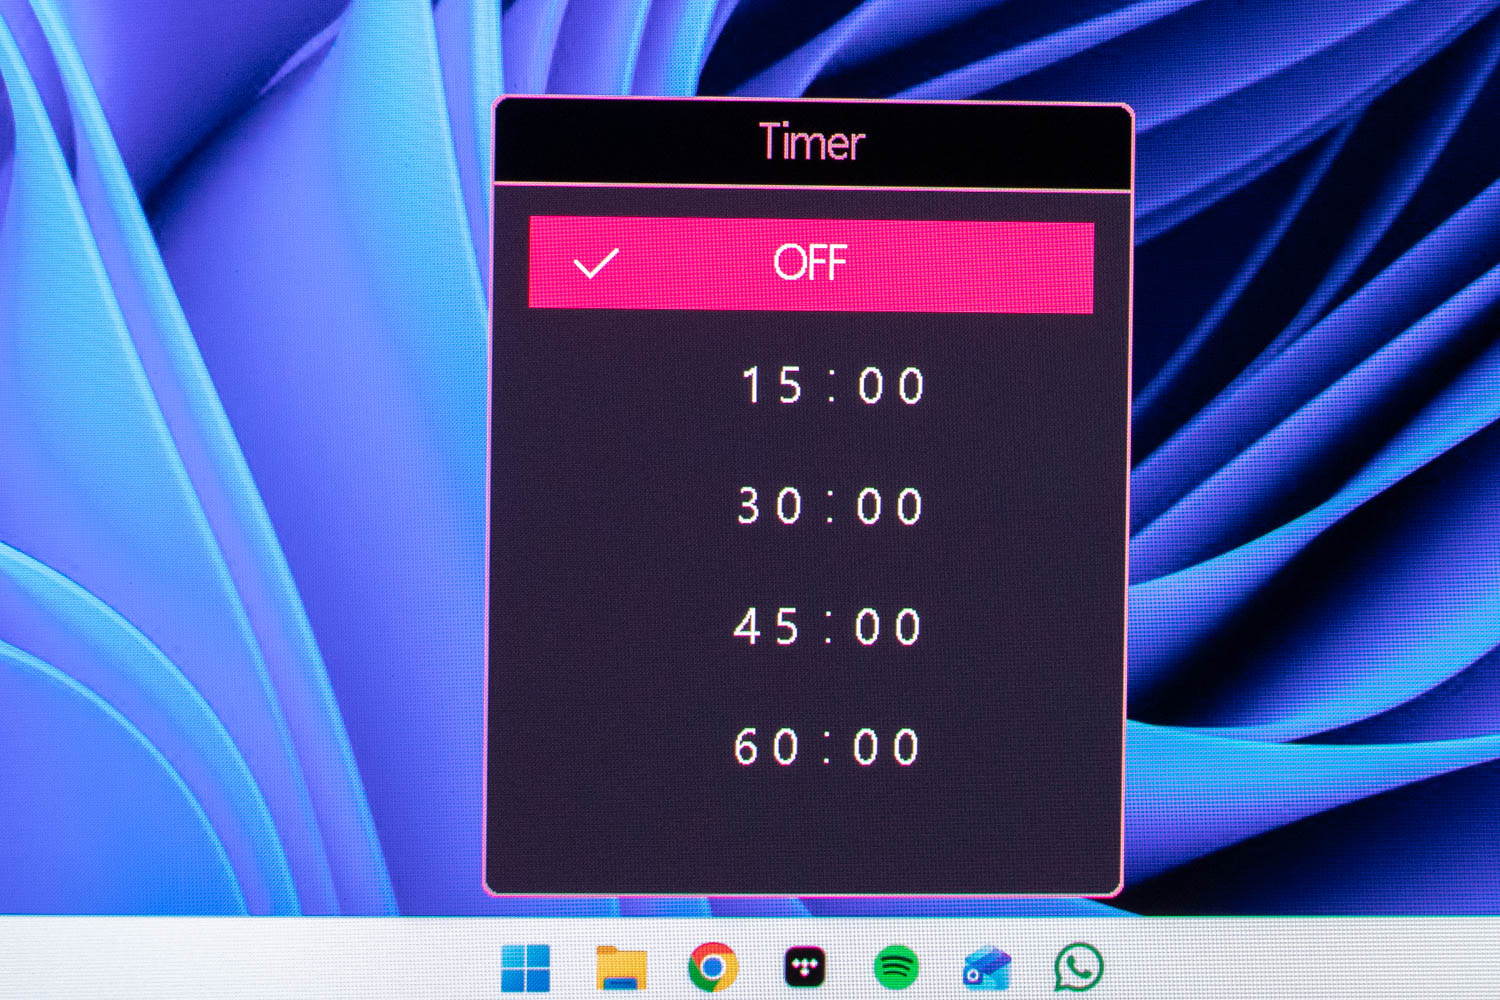
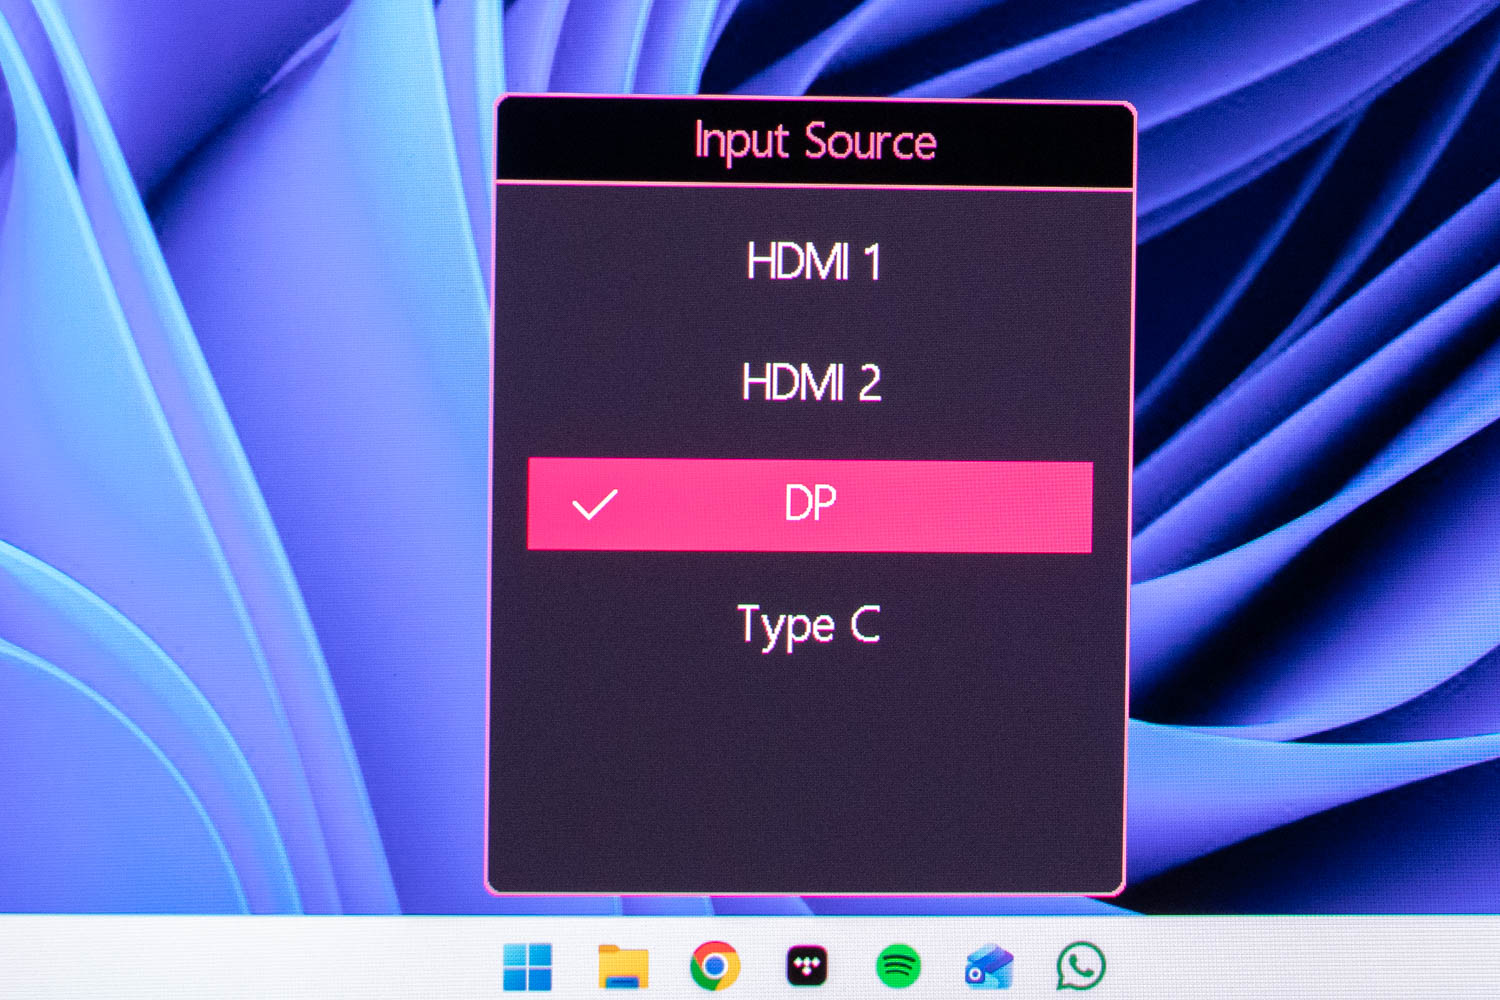
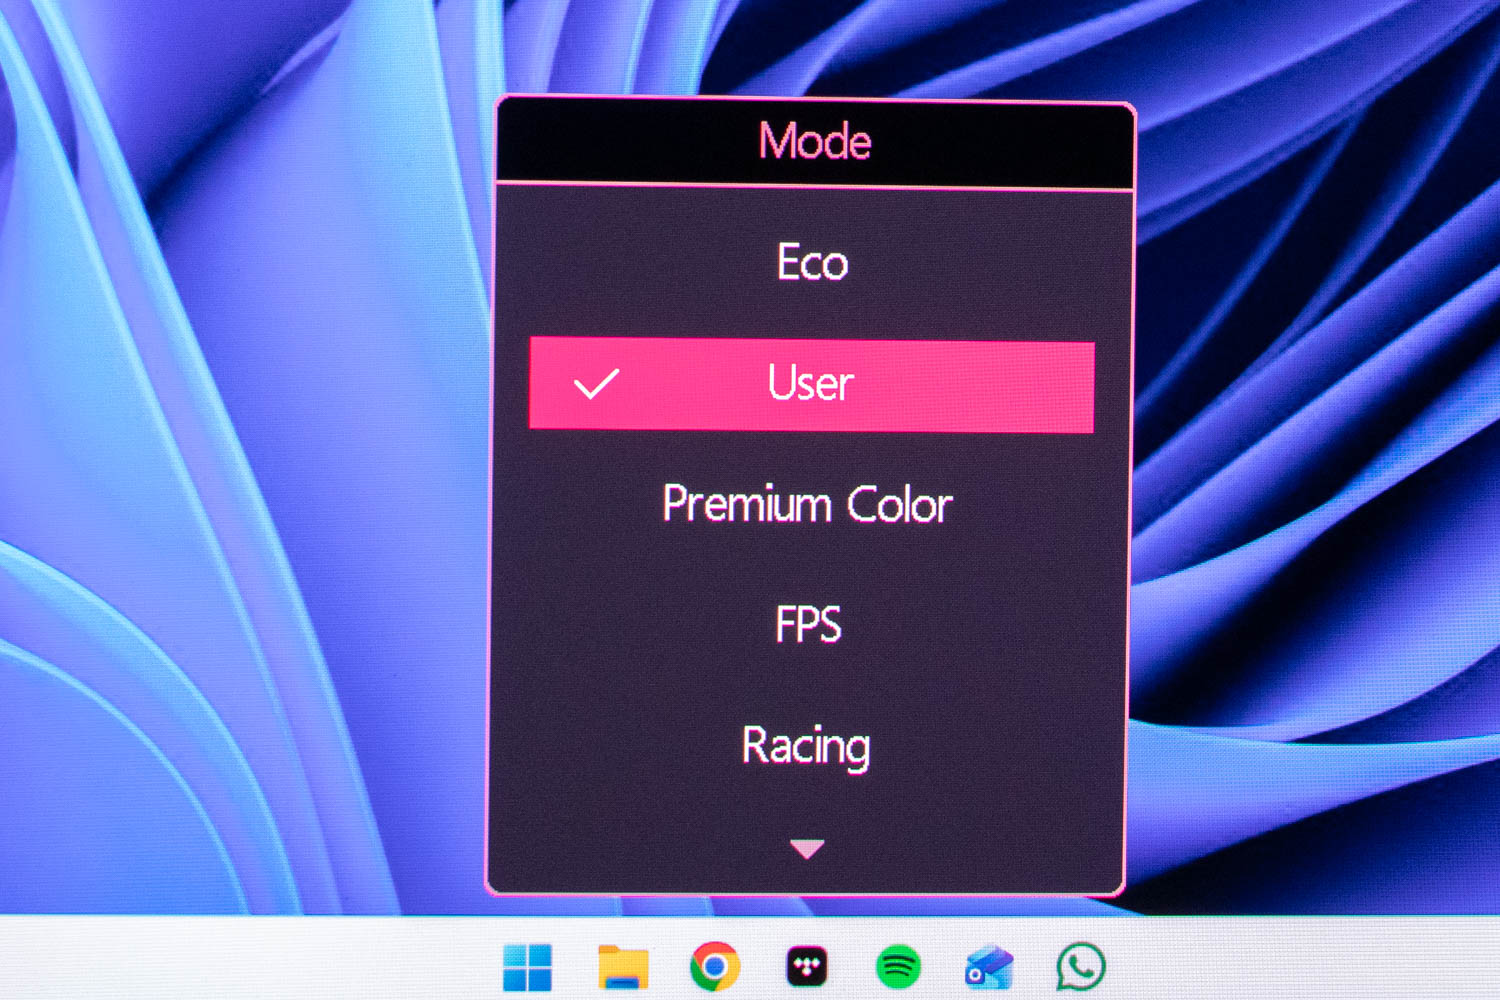
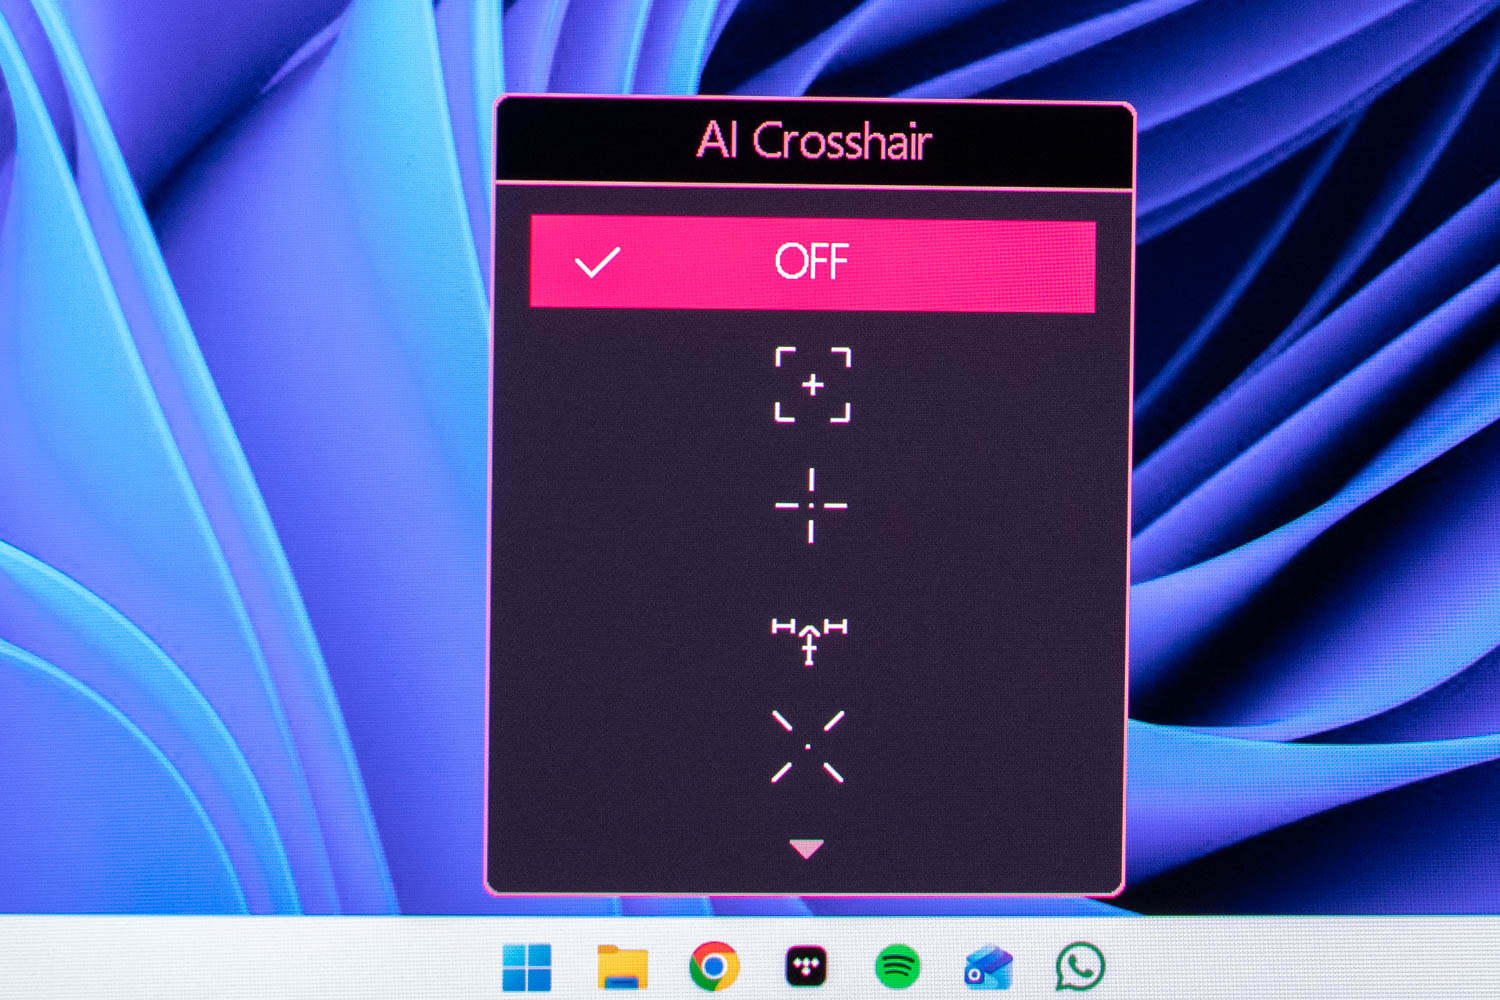
The OSD is operated via a four-way joystick located on the back of the monitor, aligned with the MSI logo at the bottom bezel. By default, moving the joystick in any direction provides quick access to input selection, picture profiles, timers, and virtual crosshairs. You can assign various other settings to any of the four quick actions. Pressing the joystick opens the full OSD menu.
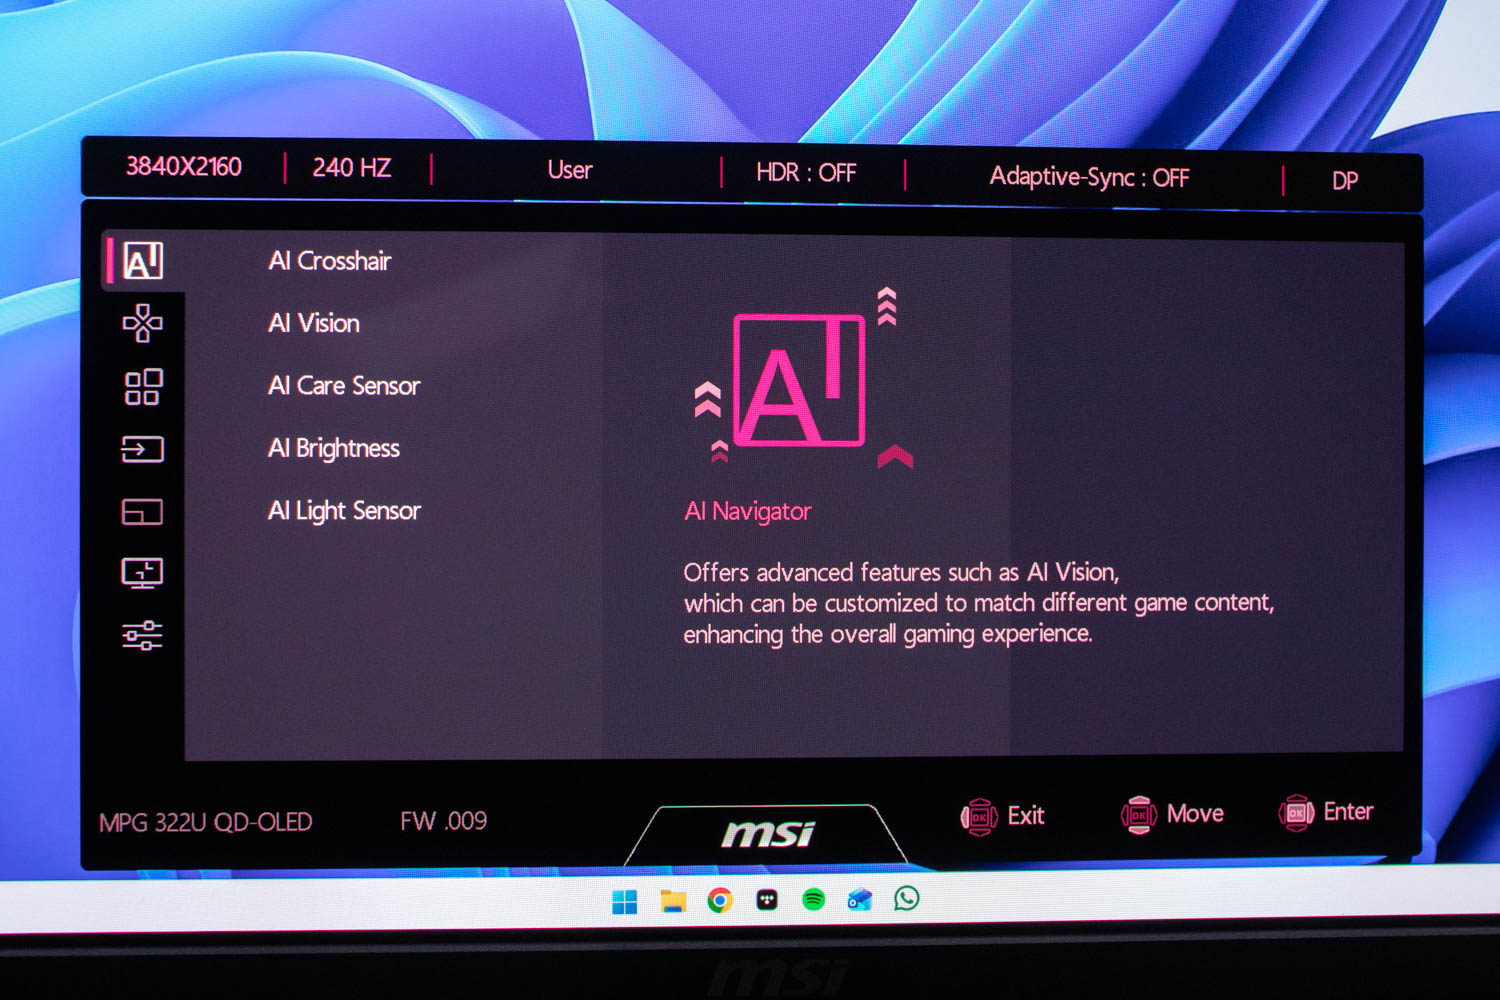
The OSD greets you with the "AI Navigator" menu, which contains all of its "AI" features. More on them in a moment.
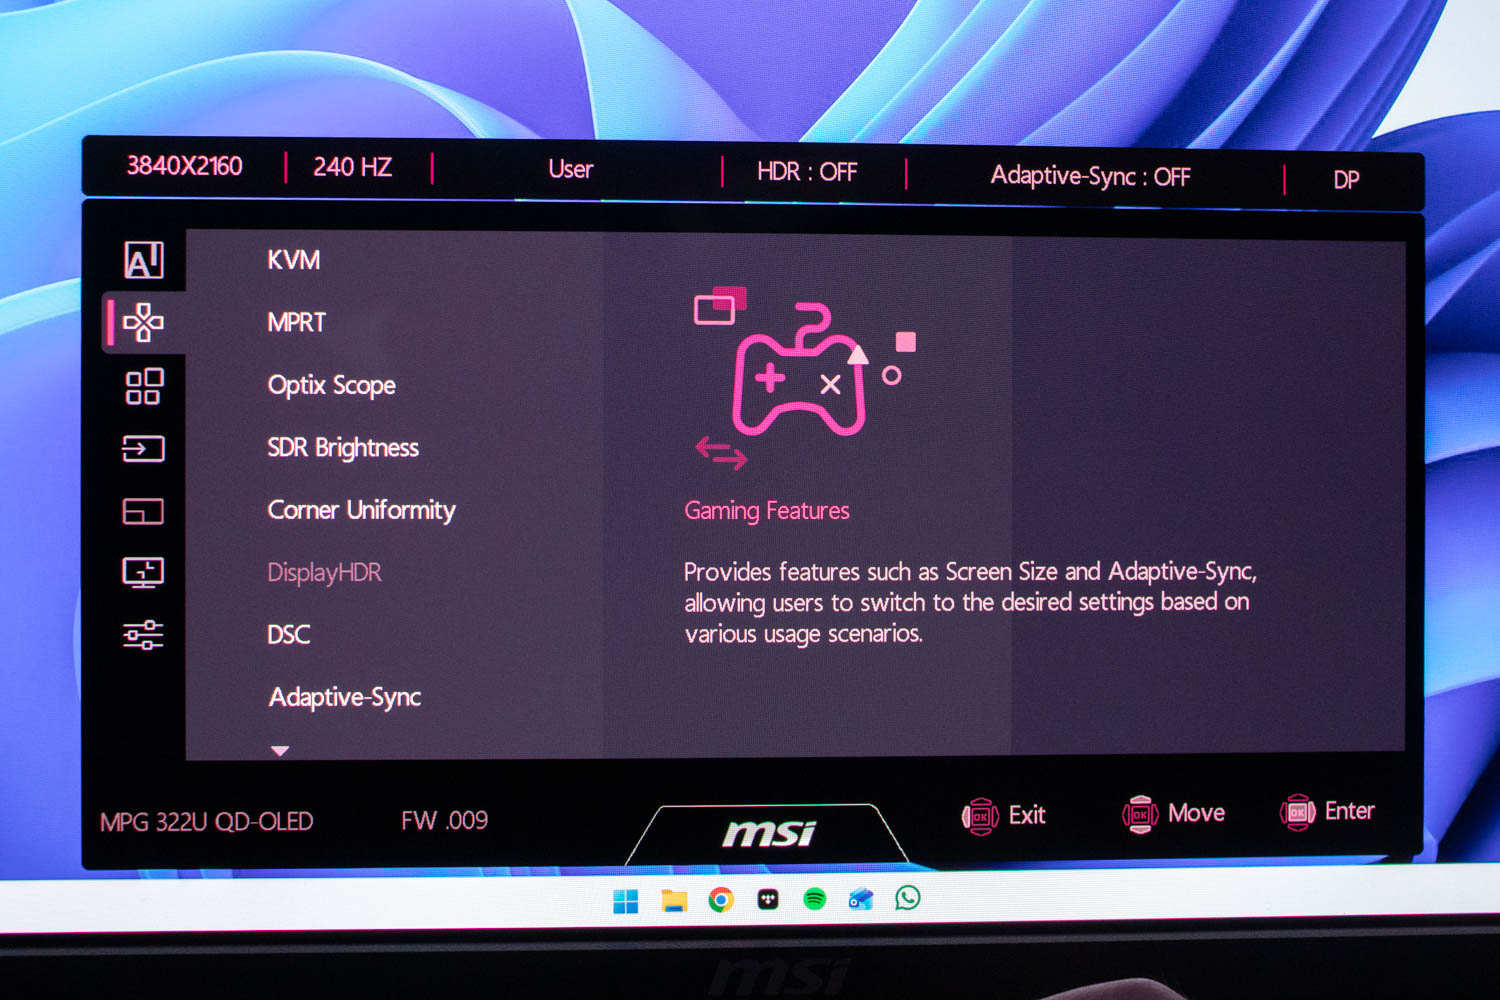
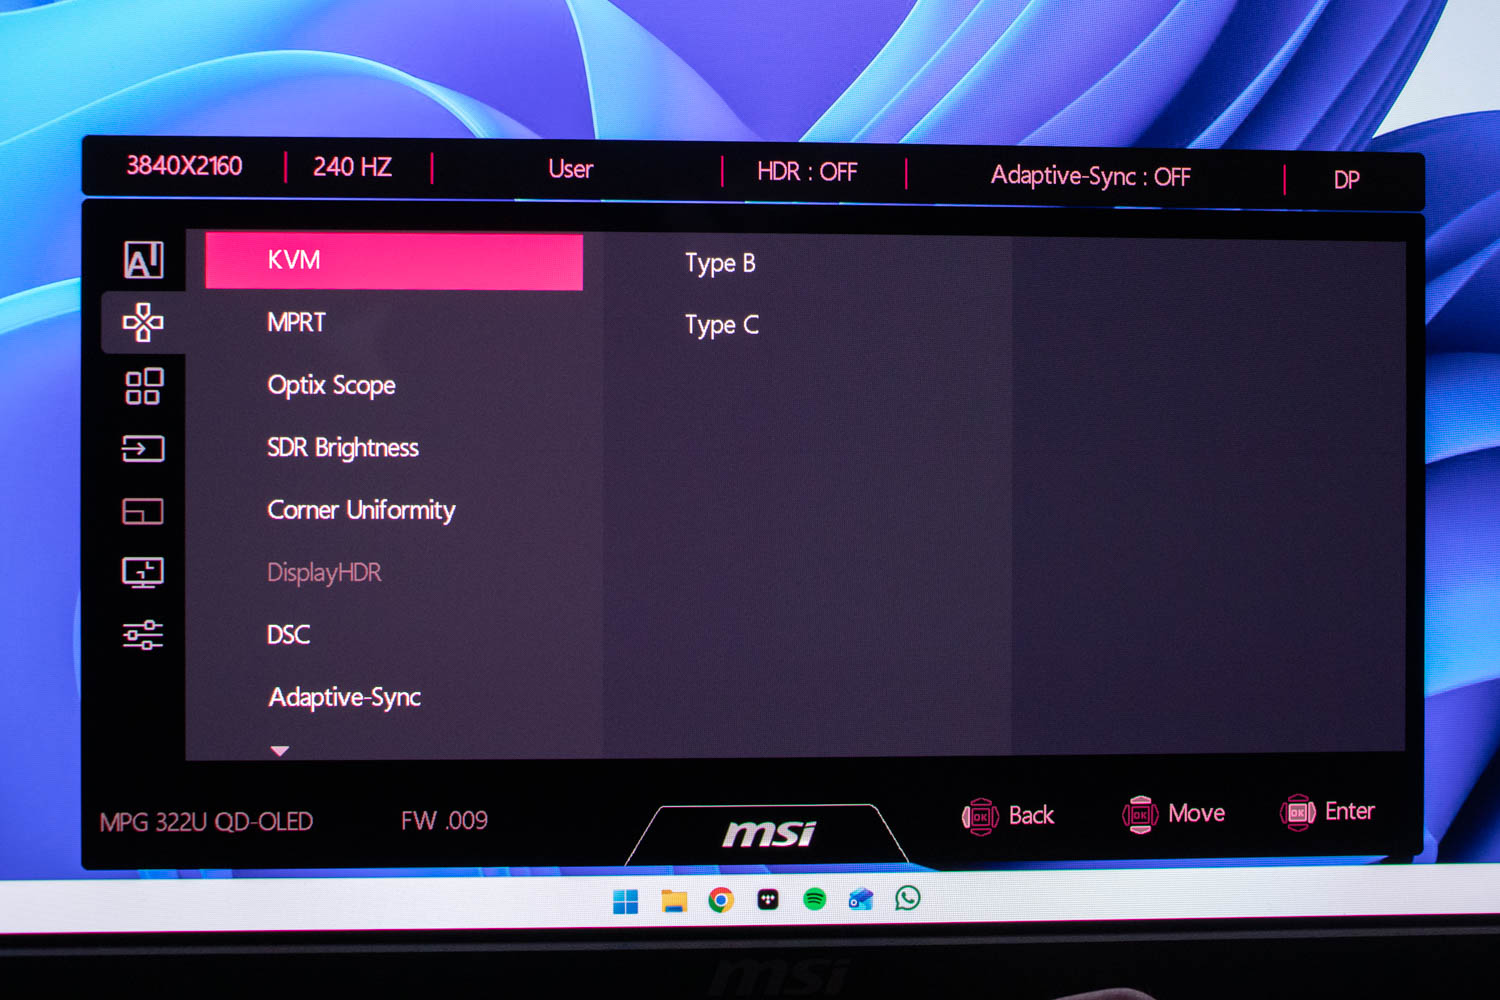
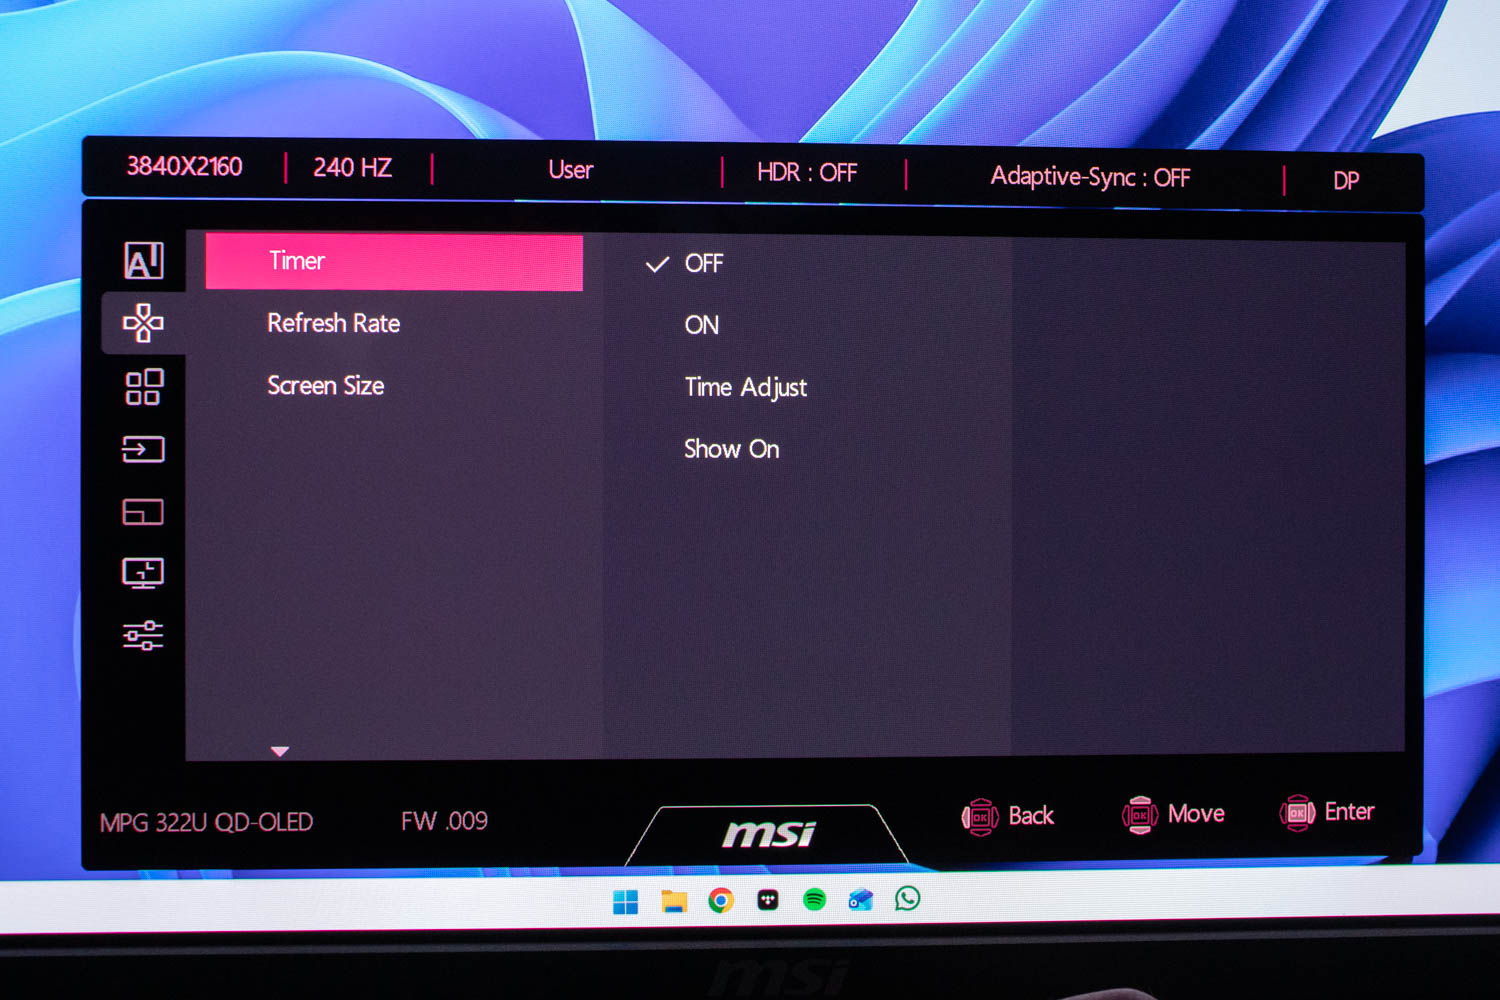
The Gaming Features menu lets you control KVM, MPRT, Optix Scope (a digital zoom feature for the center of the screen, not to be mistaken with virtual crosshairs), Adaptive Sync behavior, and similar. You can also toggle DSC, show the refresh rate, or set a timer. DSC should be left off if your graphics card supports DisplayPort 2.1 UHBR20, as the monitor can deliver native, uncompressed 4K at 240 Hz without it.
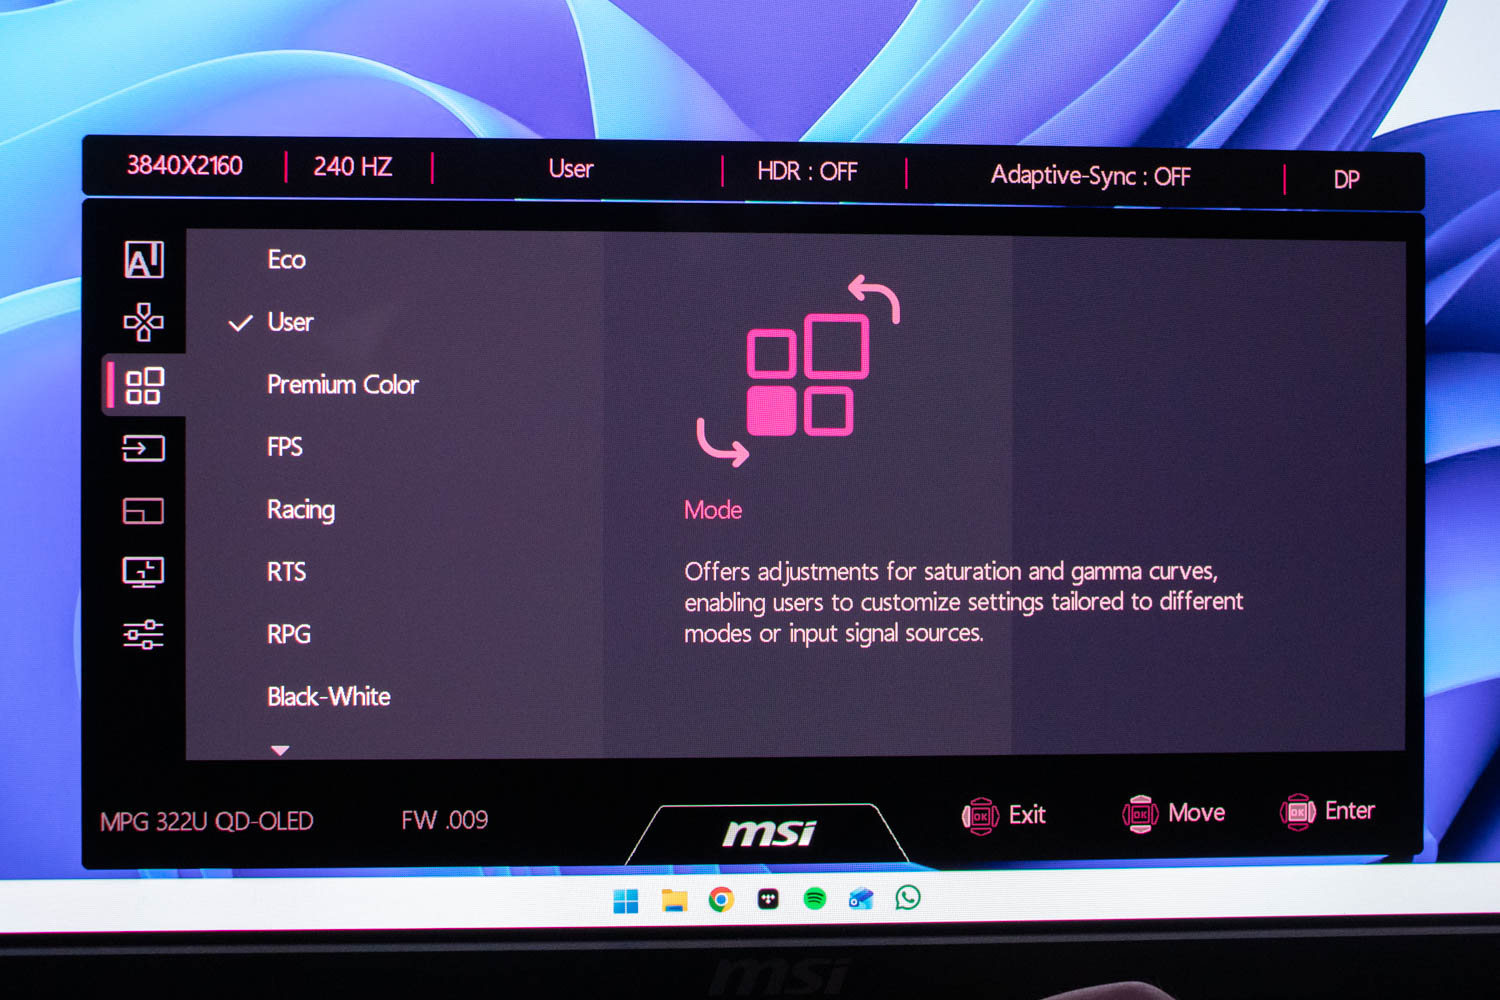
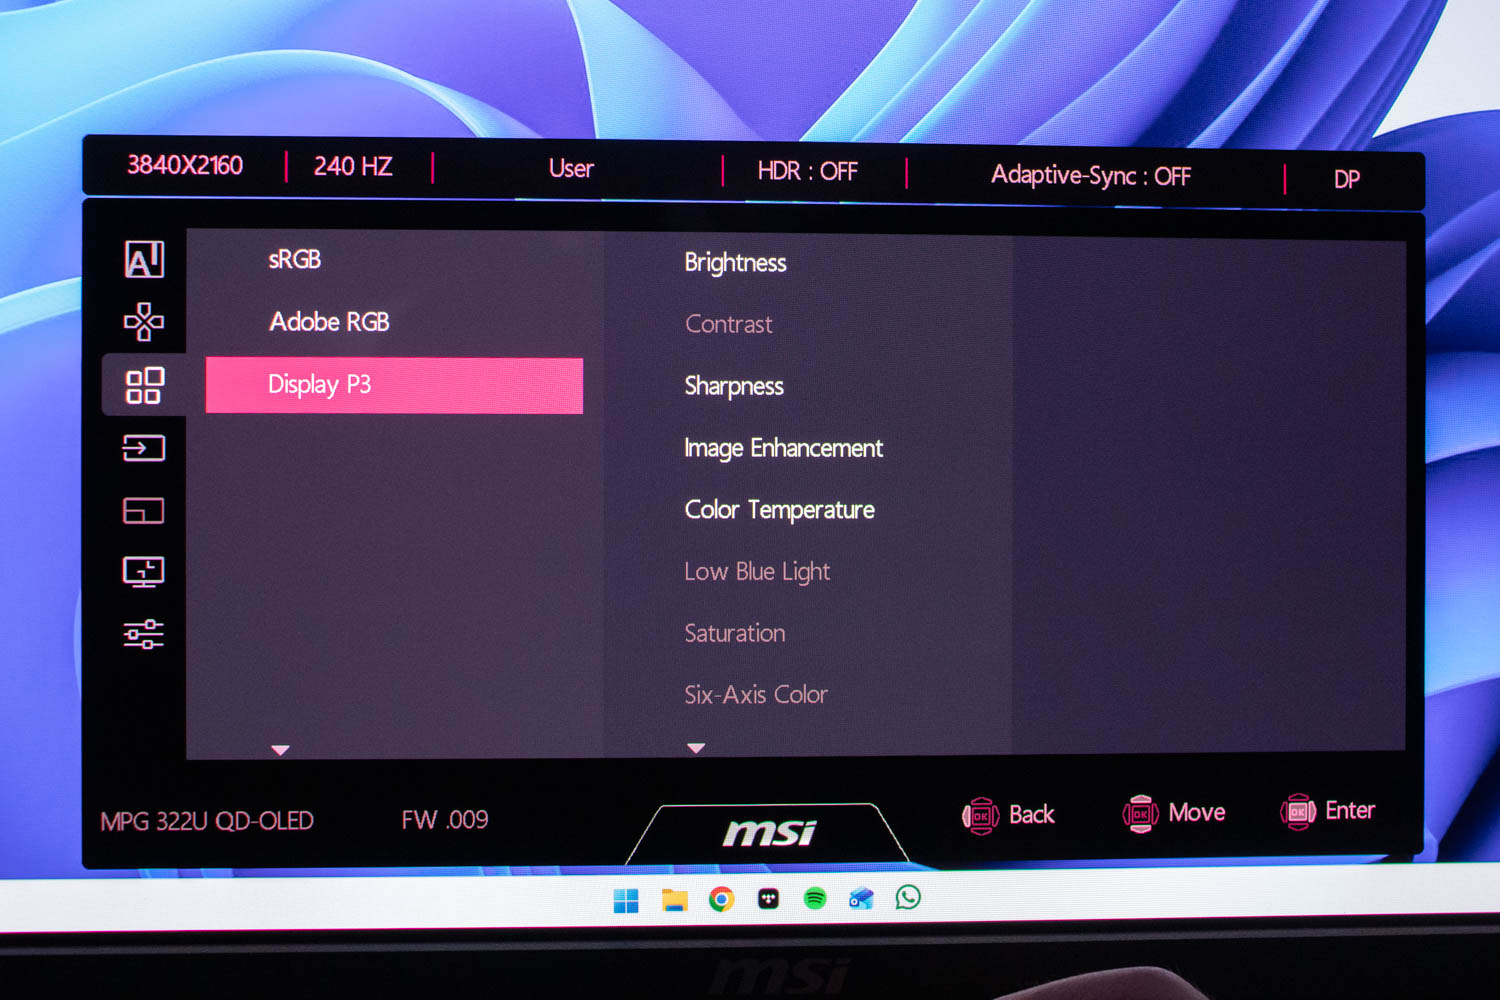
The Mode menu is where you pick picture presets such as User, Eco, Premium Color, FPS, Racing, RTS, RPG, sRGB, Adobe RGB and Display P3. Each preset applies different gamma, saturation, and color temperature. In practice, you should stick with the "User" mode and manually tuned settings, which we'll dive into in the picture quality section of this review. Inside the picture modes, you can fine-tune brightness, contrast, sharpness, color temperature, gamma, low blue light, saturation, and six-axis color controls.
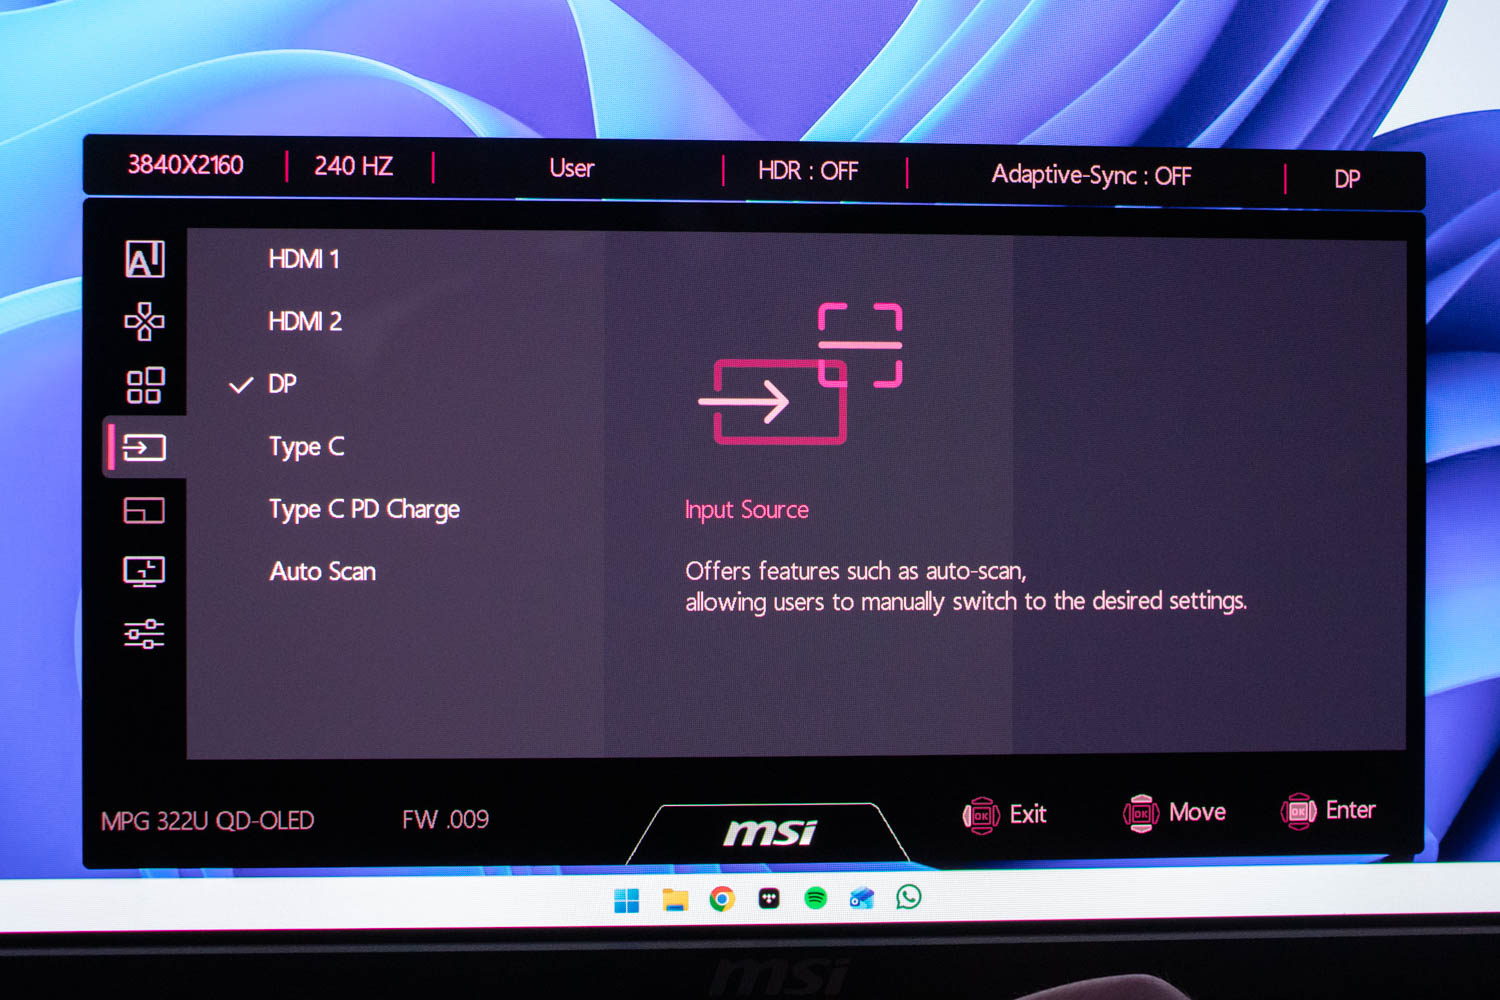
The Input Source menu lets you manually select HDMI 1, HDMI 2, DisplayPort or USB-C input. You can also enable Auto Scan so the monitor switches to an active signal automatically. The Type-C PD Charge option controls whether the USB-C port supplies power to connected devices. Below it is the PiP/PbP menu, where you can access all standard options for displaying images from two sources at the same time.
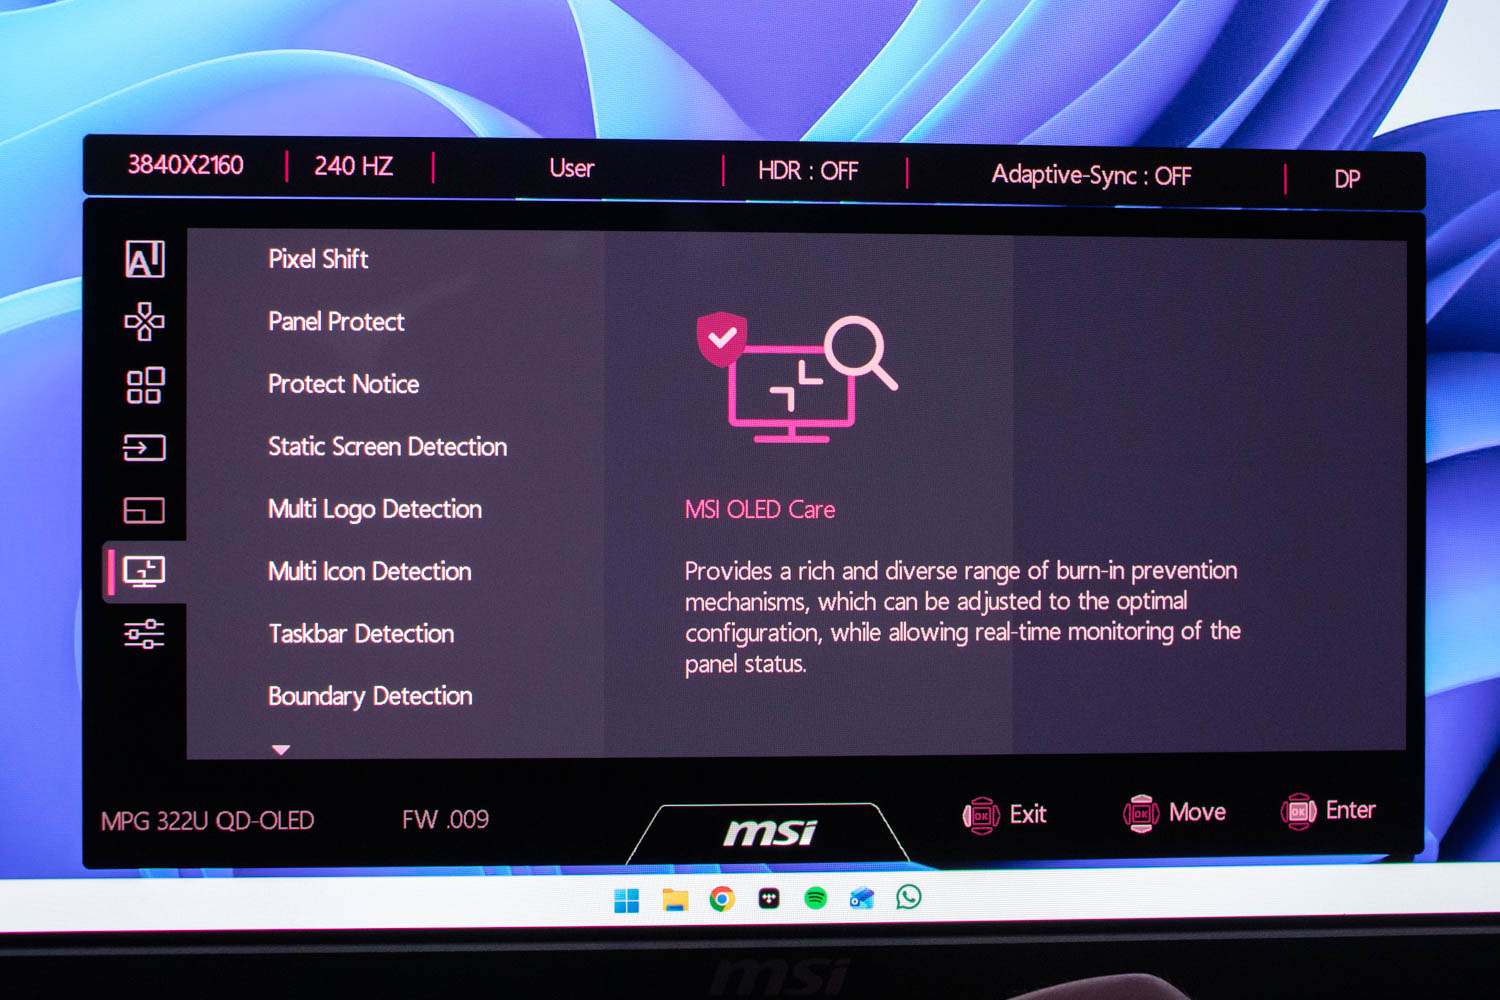
The MSI OLED Care menu provides access to burn-in mitigation. You can trigger Panel Protect cycles, adjust Pixel Shift intensity, and enable static logo, icon, taskbar, boundary, and split screen detection. Auto dimming controls are also here. It helps protect the OLED panel during long sessions with static content. We'll go over all those in greater detail in the picture quality section of this review.
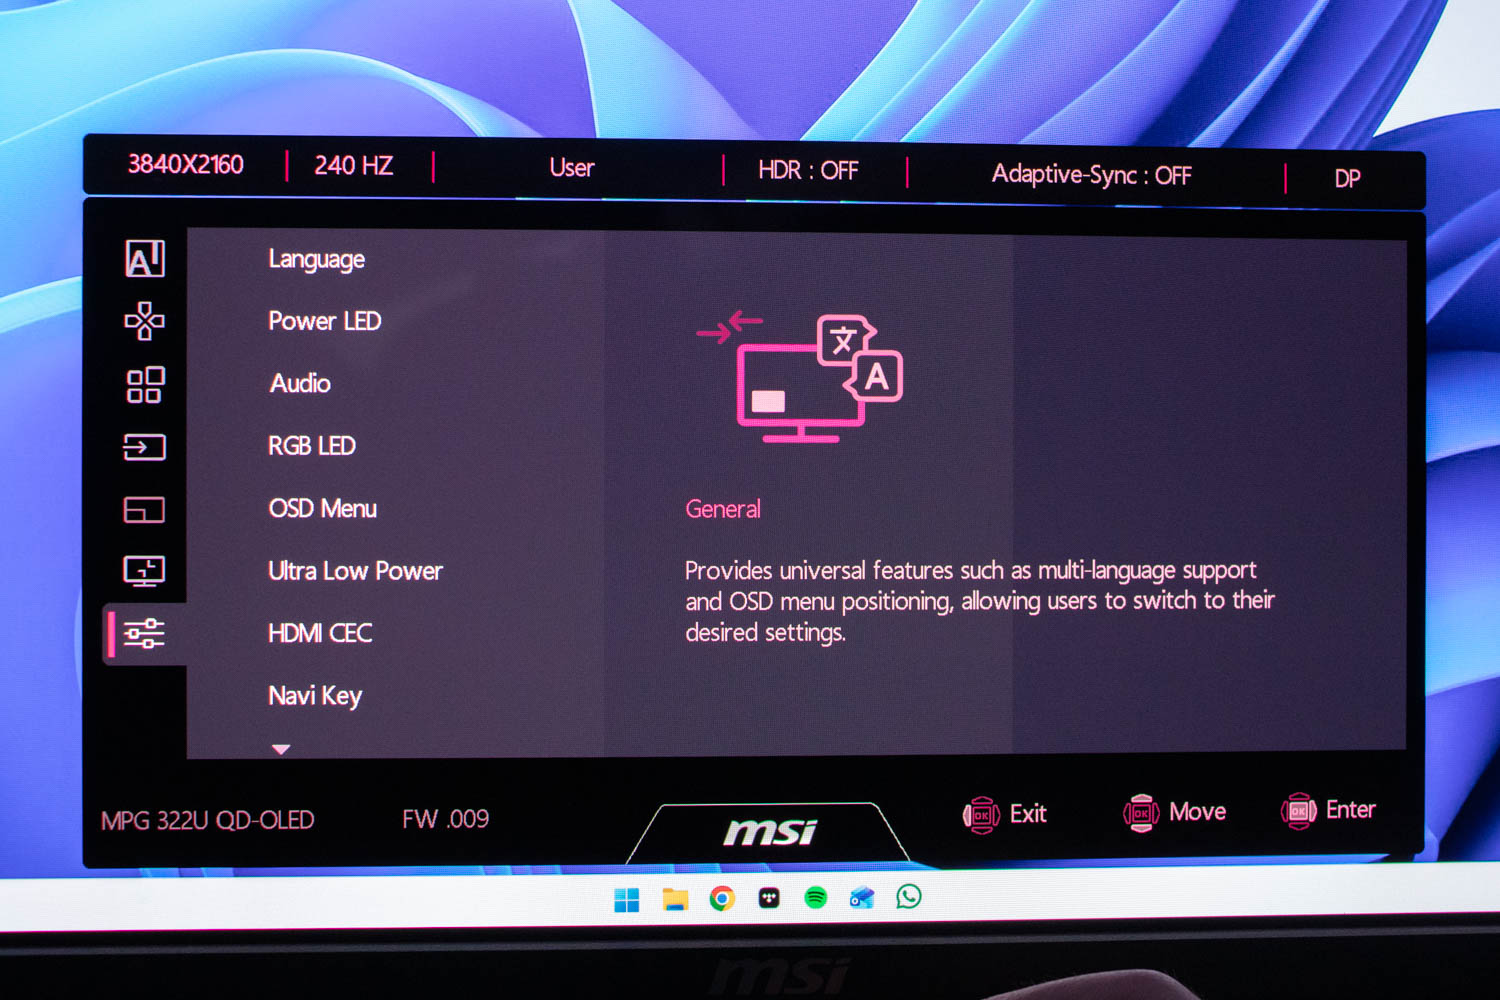
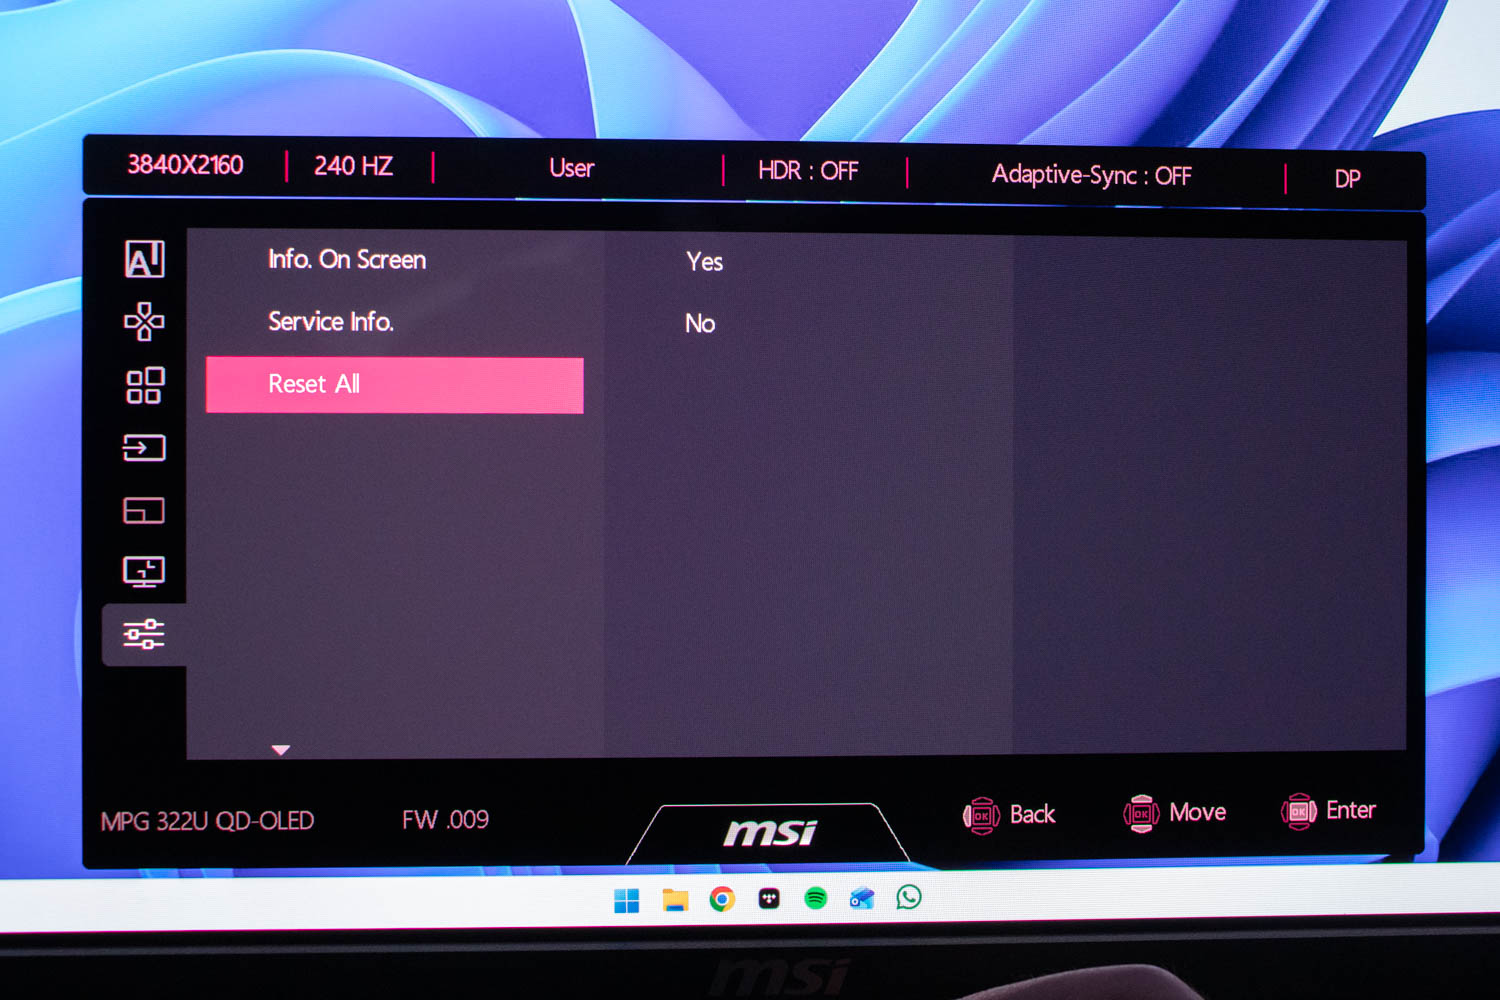
The General menu contains system level settings such as language, power LED behavior, audio output, RGB lighting, OSD position, HDMI CEC, low power options, and the Navi Key shortcut configuration. You also find service information and on-screen info settings here, and you can reset the monitor to factory defaults.
AI Features
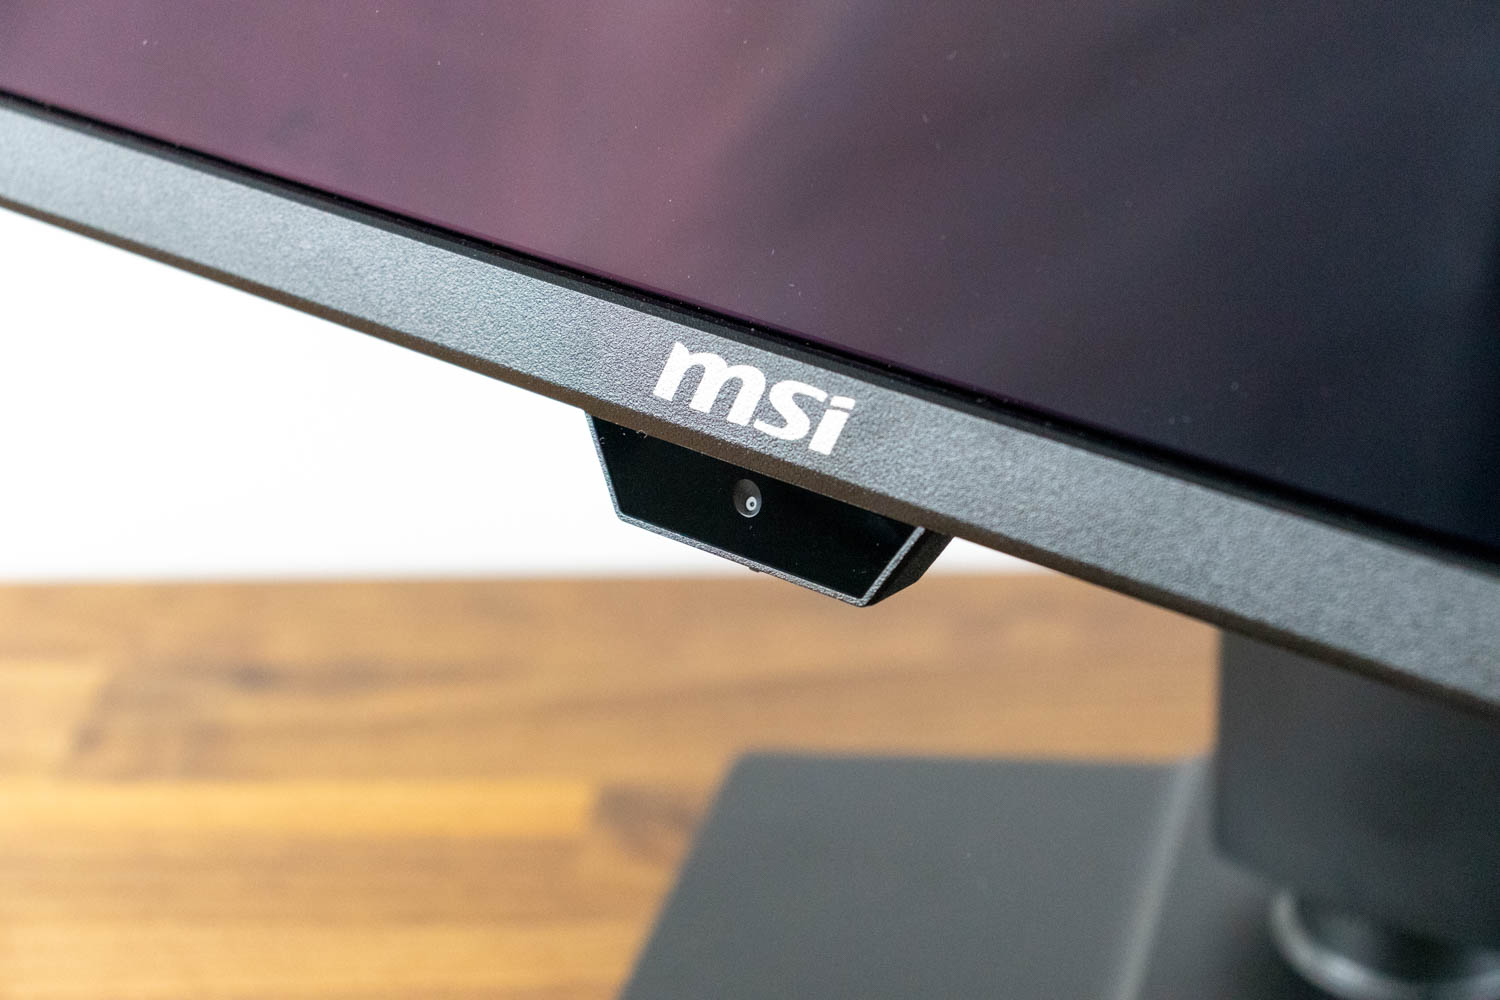
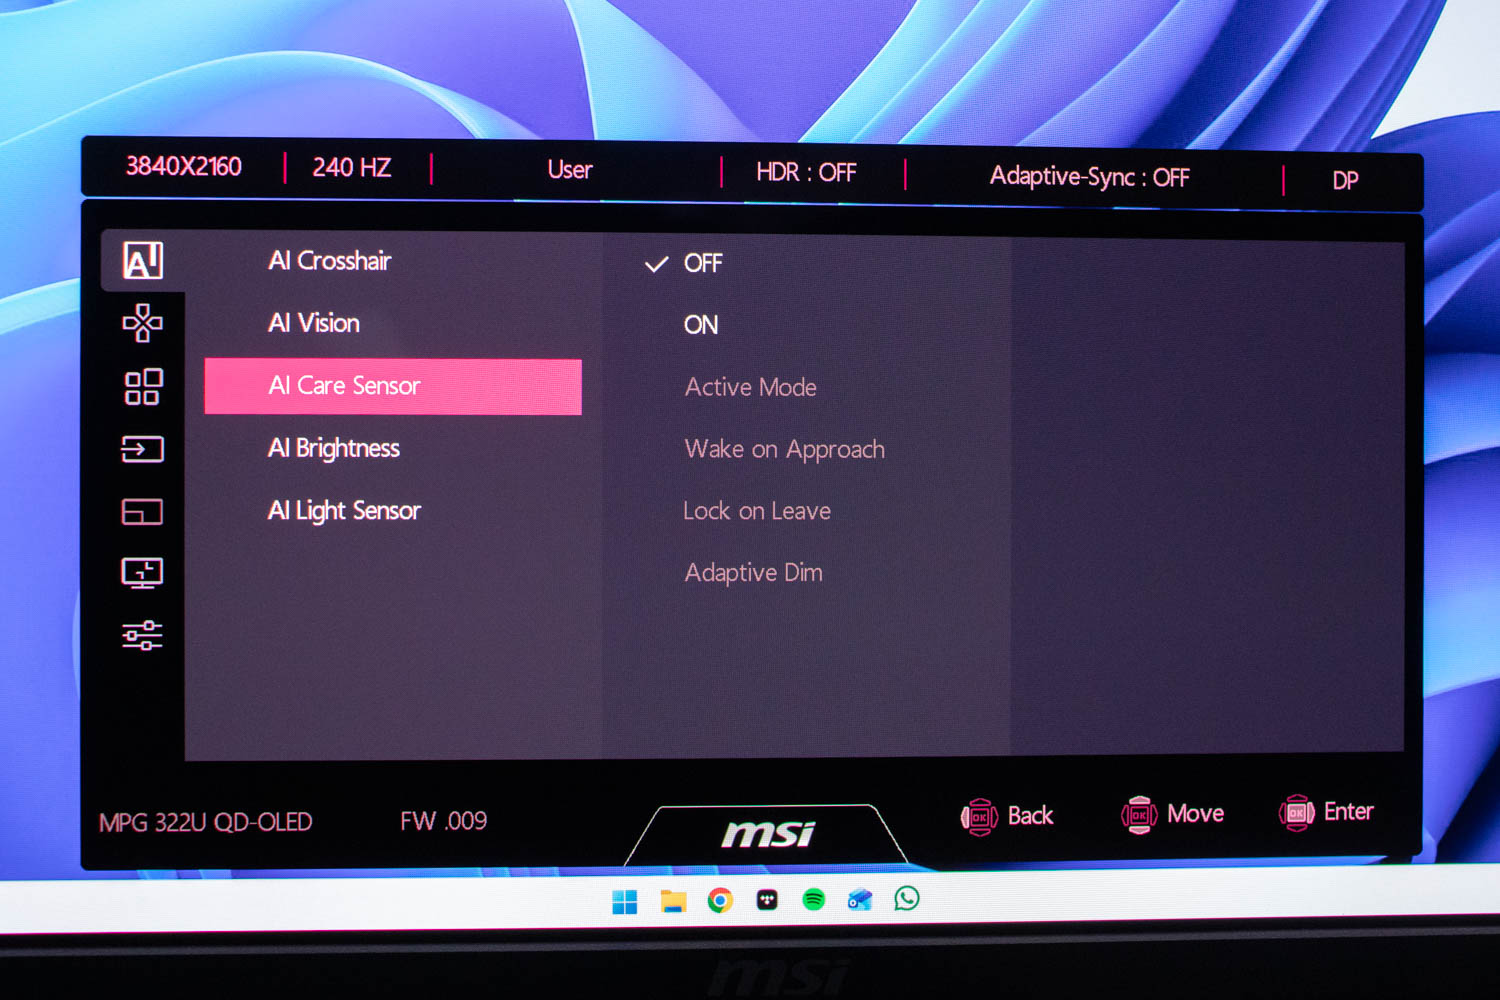
The MSI MPG 322UR QD-OLED X24 carries the same AI Care Sensor found on the MPG 341CQR QD-OLED X36. The AI Care Sensor combines an integrated camera module with an on-device NPU that runs presence-recognition algorithms in real time. Within a 75° detection cone the system distinguishes a person from inanimate motion.
There are two operating modes. Monitor Mode runs on the monitor itself and works with any platform, including Windows, macOS, Linux, and game consoles. System Mode integrates directly with Windows 11 presence sensing. Once enabled, the sensor continuously watches for approach and departure events. Wake On Approach turns the screen on when you sit down. Lock On Leave blanks the image when you step away from your PC. You can adjust the timers for both events to trigger; zero seconds means an immediate reaction. These behaviors cut unnecessary OLED-on time, which directly reduces pixel wear and lowers energy consumption. You can also activate Adaptive Dim. When you are present but inactive, the monitor gradually lowers brightness.
The AI Care Sensor is disabled by default, but I enabled it because it worked consistently in practice. I recommend setting the Lock On Leave timer to 30 seconds. With the minimum 10-second setting, the monitor occasionally powered off when I moved my chair to the side. At 30 seconds, I had enough time to return before the sensor assumed I had left.
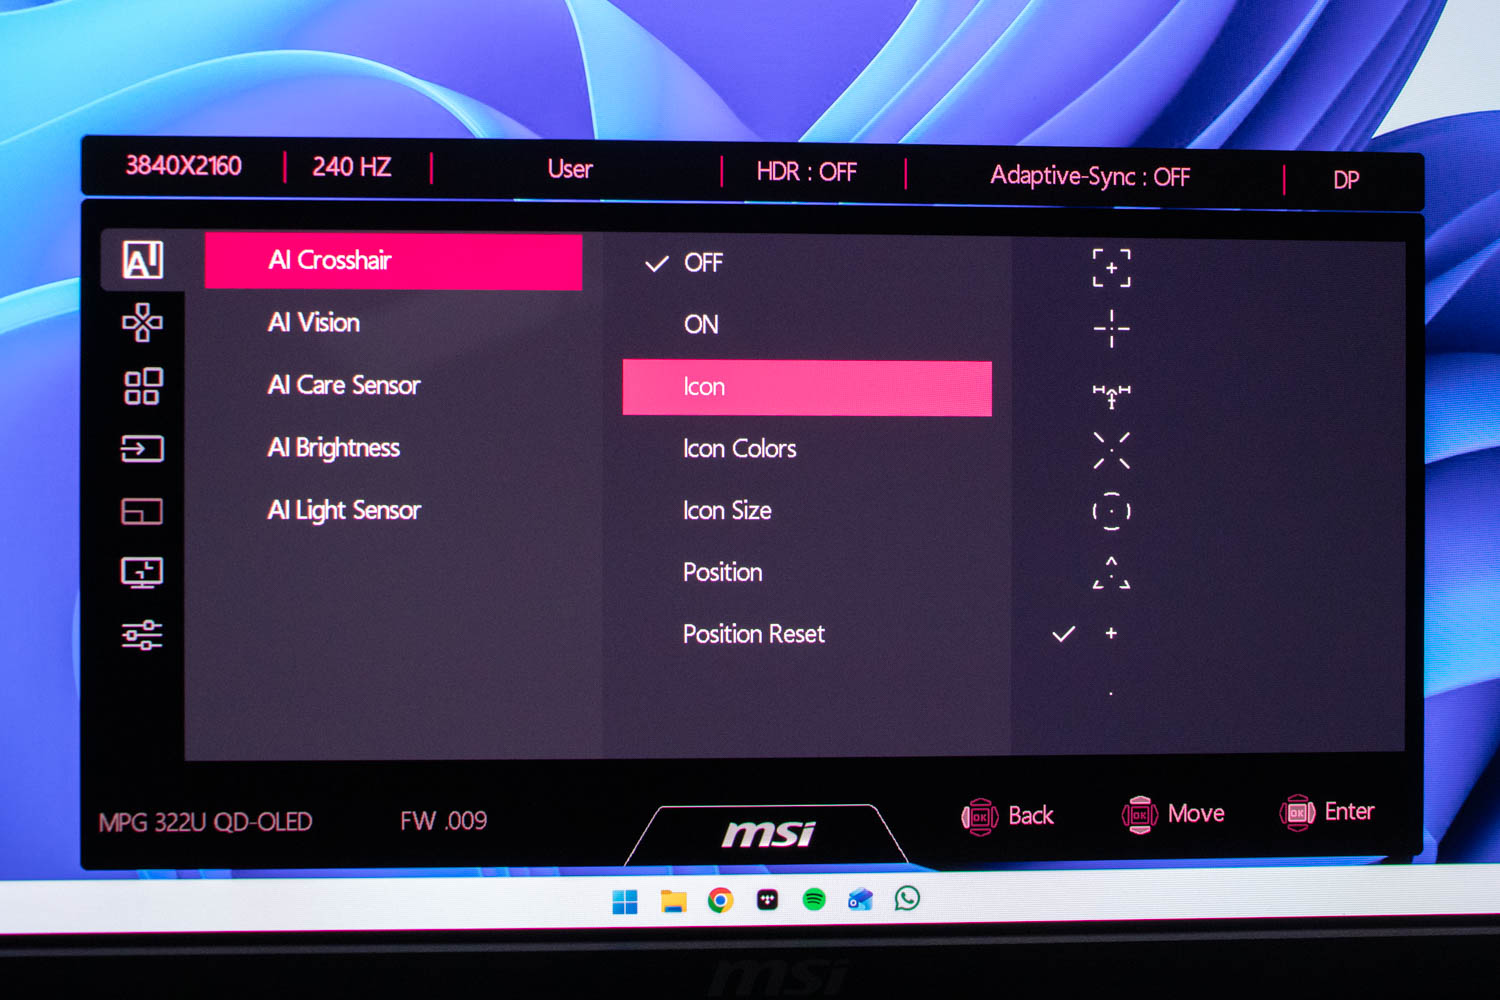
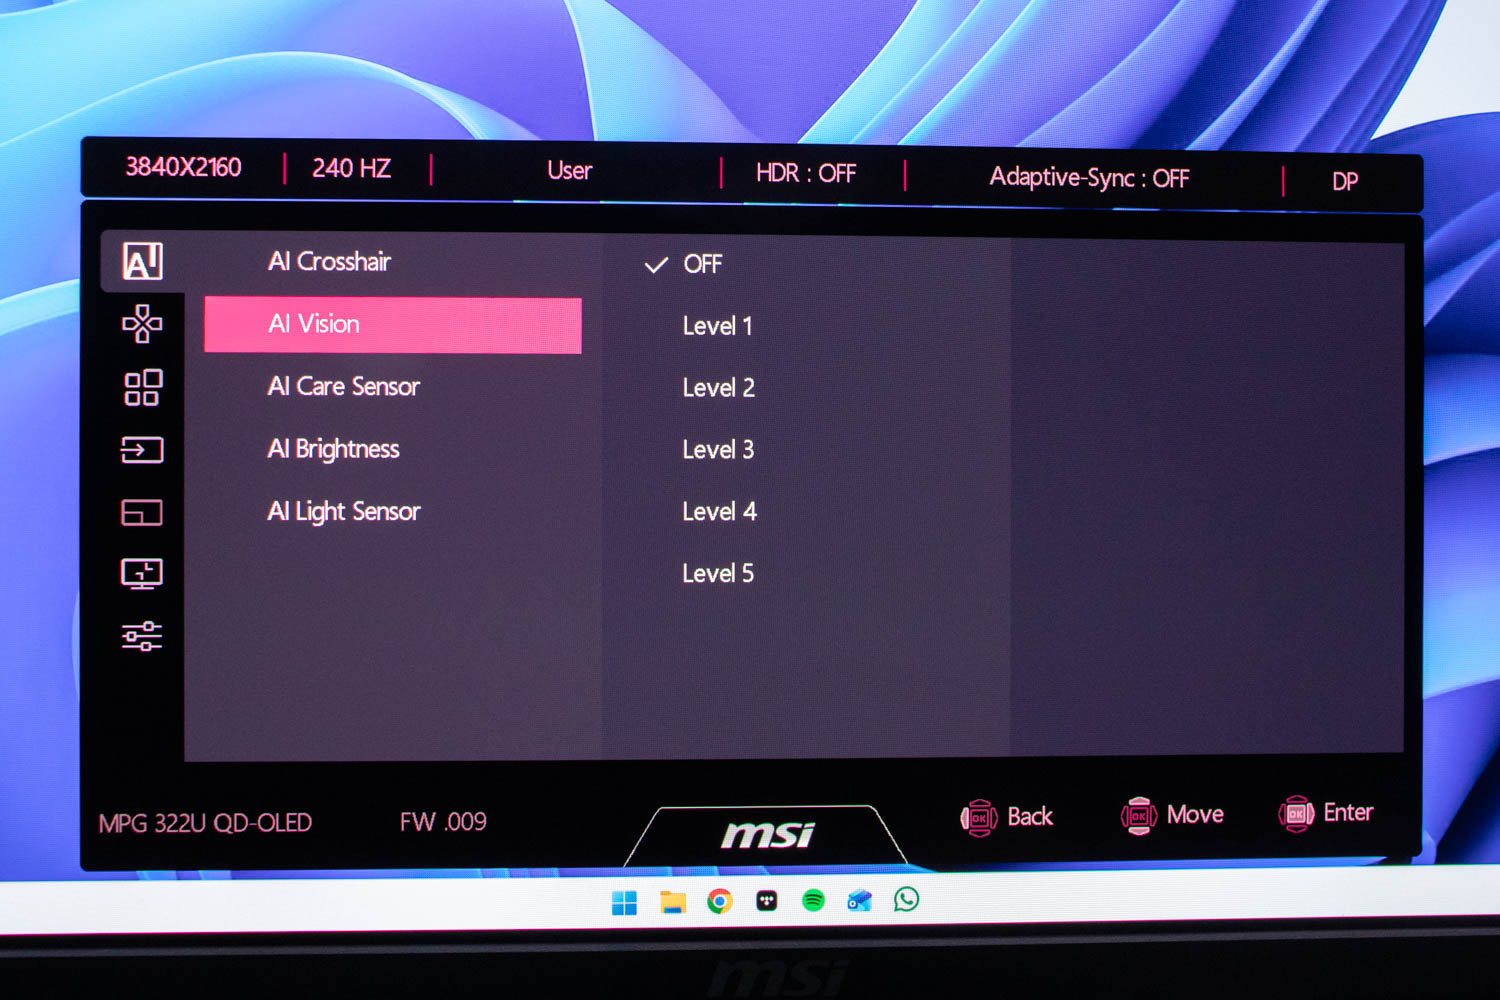
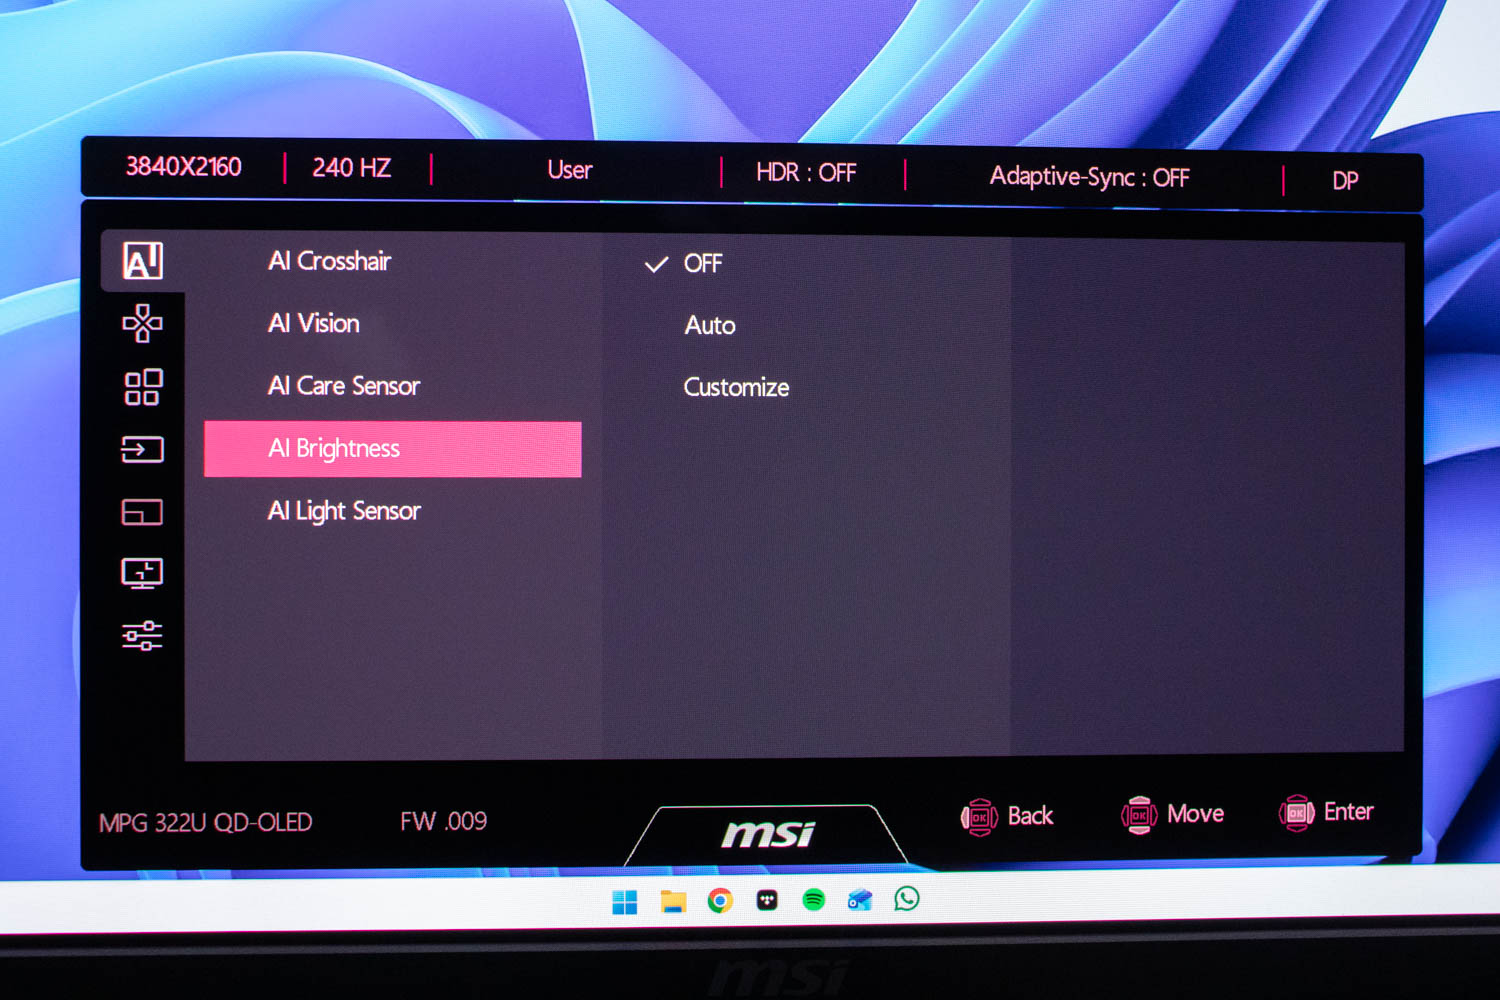
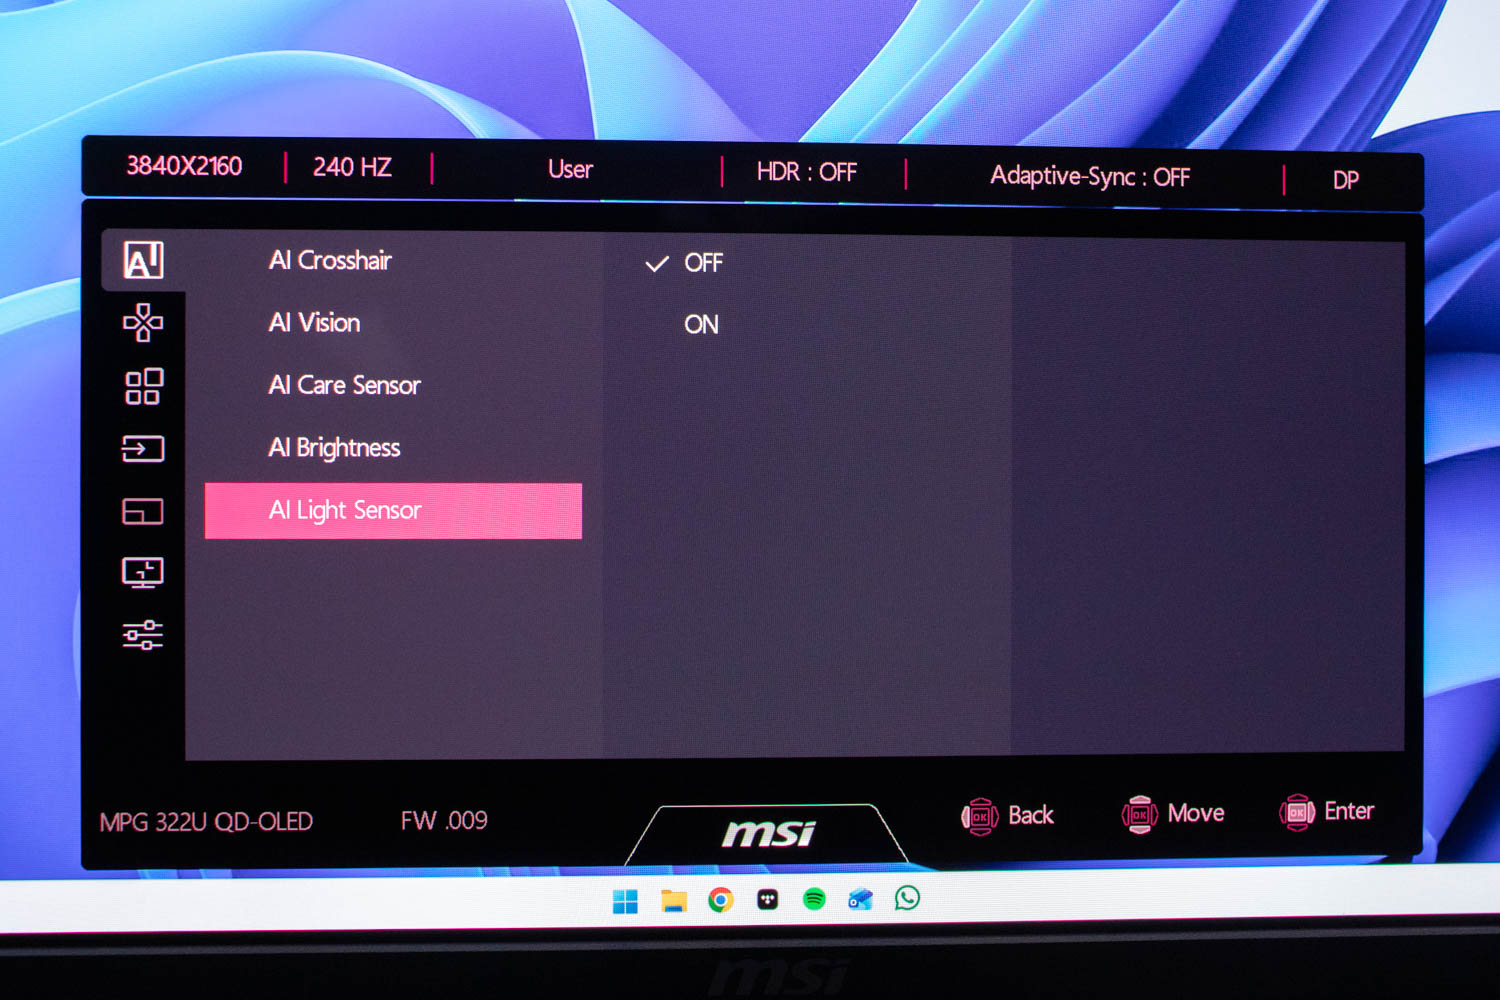
Other AI features—AI Crosshair, AI Vision, AI Brightness, and AI Light Sensor—focus on comfort and visibility. AI Crosshair adds a customizable reticle overlay for shooters. AI Vision analyzes the image and boosts visibility in dark scenes without blowing out bright areas, which can be useful in competitive titles, though it does compromise color accuracy. AI Brightness automatically controls panel luminance based on room lighting, and AI Light Sensor uses an ambient light sensor to adapt color temperature to the surrounding lighting. For the most consistent image and accurate color work, these features are best left disabled.
Nov 20th, 2026 14:55 PST
change timezone
Latest GPU Drivers
New Forum Posts
- Logitech Headsets Modded Driver — Unlock Dolby in G HUB (23)
- 1 - 5 person file storage server equivalent accasible from anywhere + general VM server. (1)
- WarpCoreBench scores! (81)
- How to prevent OLED burn damage due to PC freezes or power outtages? (48)
- RX 9000 series GPU Owners Club (2247)
- Honestly, do you care about GTA VI? (208)
- When you could finally run Crysis maxed out? (63)
- GTA VI (20)
- Anthrophics IPO (25)
- GeekMagic Ultra Smart WiFi Weather Station (8)
Popular Reviews
- AMD Zen 6 Technical Deep Dive
- Microsoft Surface Laptop Ultra Review - The Next-gen Arm Laptop
- Ugreen NASync DXP4800 GT Review
- Corsair RM1200e (Second Generation) Review
- Acemagic Retro X3 Review
- Upcoming Hardware Launches 2027 (Updated Nov 2026)
- Pulsar Office Tour & First Look at P1 Dual-Sensor Mouse
- Biwin Black Opal NV7400 2 TB Review
- AMD Ryzen 7 9800X3D Memory Performance Scaling
- AMD Ryzen 7 9800X3D Review - The Best Gaming Processor
TPU on YouTube
Controversial News Posts
- NVIDIA Co-Founder and CEO Jensen Huang Officially Resigns (490)
- Report: Jensen Huang Eyes NVIDIA Comeback (256)
- Open Letter Asking NVIDIA to Reinstate Jensen Huang Passes 115,000 Signatures (184)
- OpenAI CEO Argues Home PCs Waste the World's Limited DRAM Supply (152)
- NVIDIA Launches Investigation Into Jensen Huang's Relationship With Suspected Chinese Spy (136)
- Intel "Raptor Lake Next" 16-Core and 20-Core CPUs Surface (130)
- Legendary Game Studio BioWare Shuts Down Following EA Layoffs (104)
- Dell CEO Says the Memory Shortage Will Get Worse in 2027 (95)