 3
MSI MPG CORELIQUID P22 360 W Review
Finished Looks »Installation
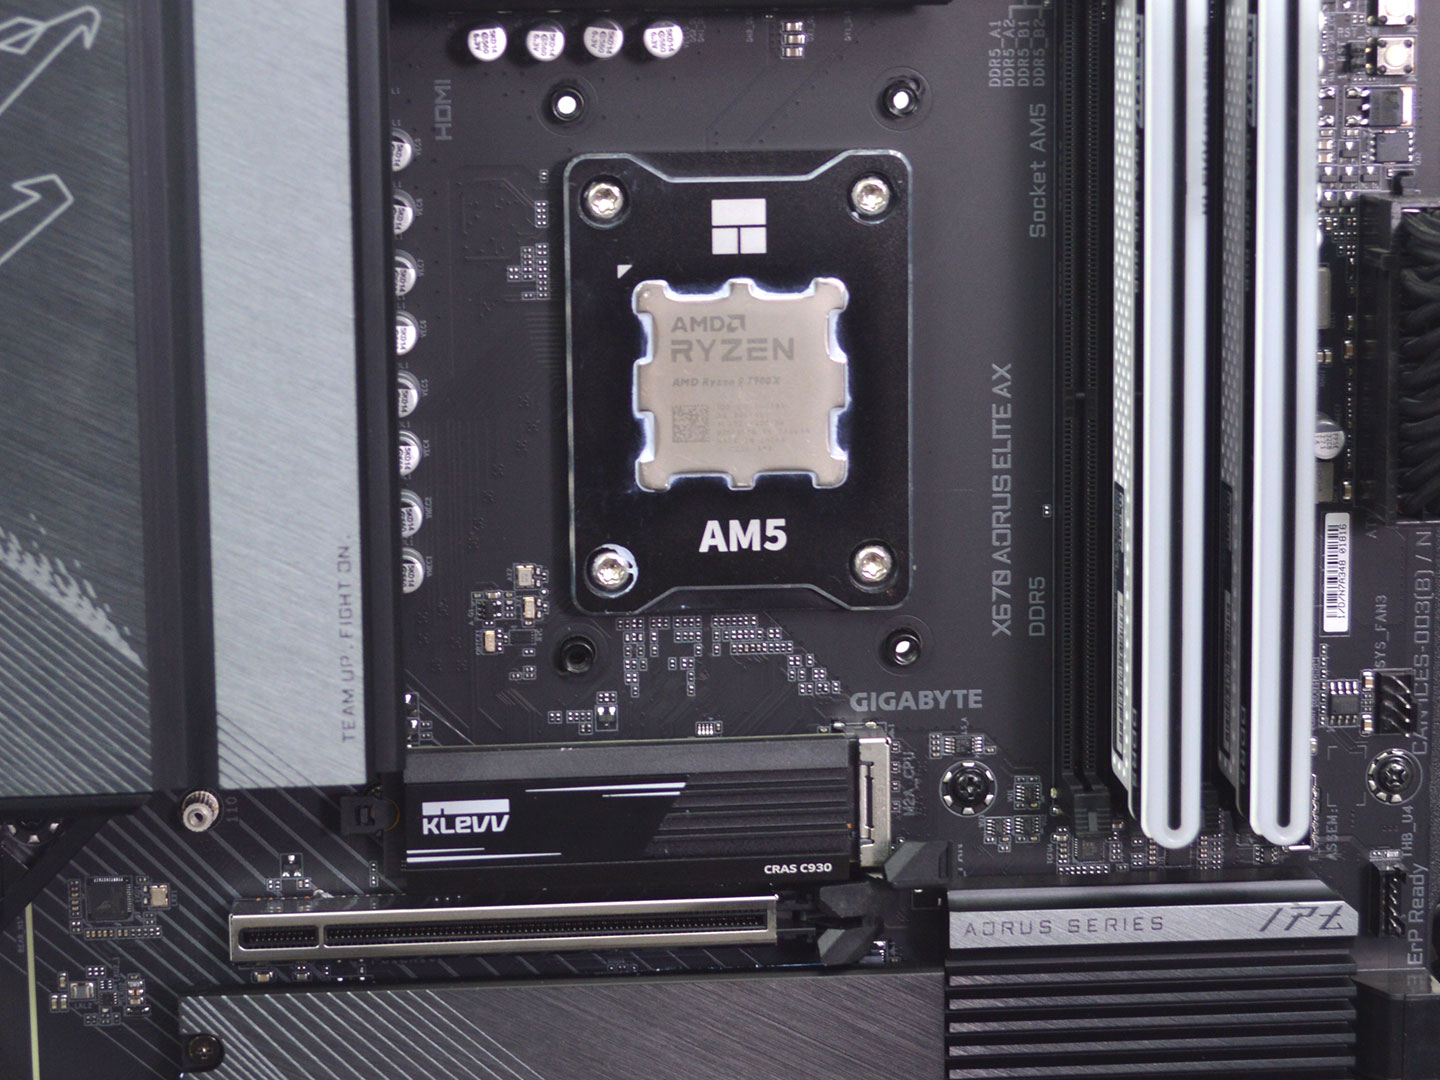
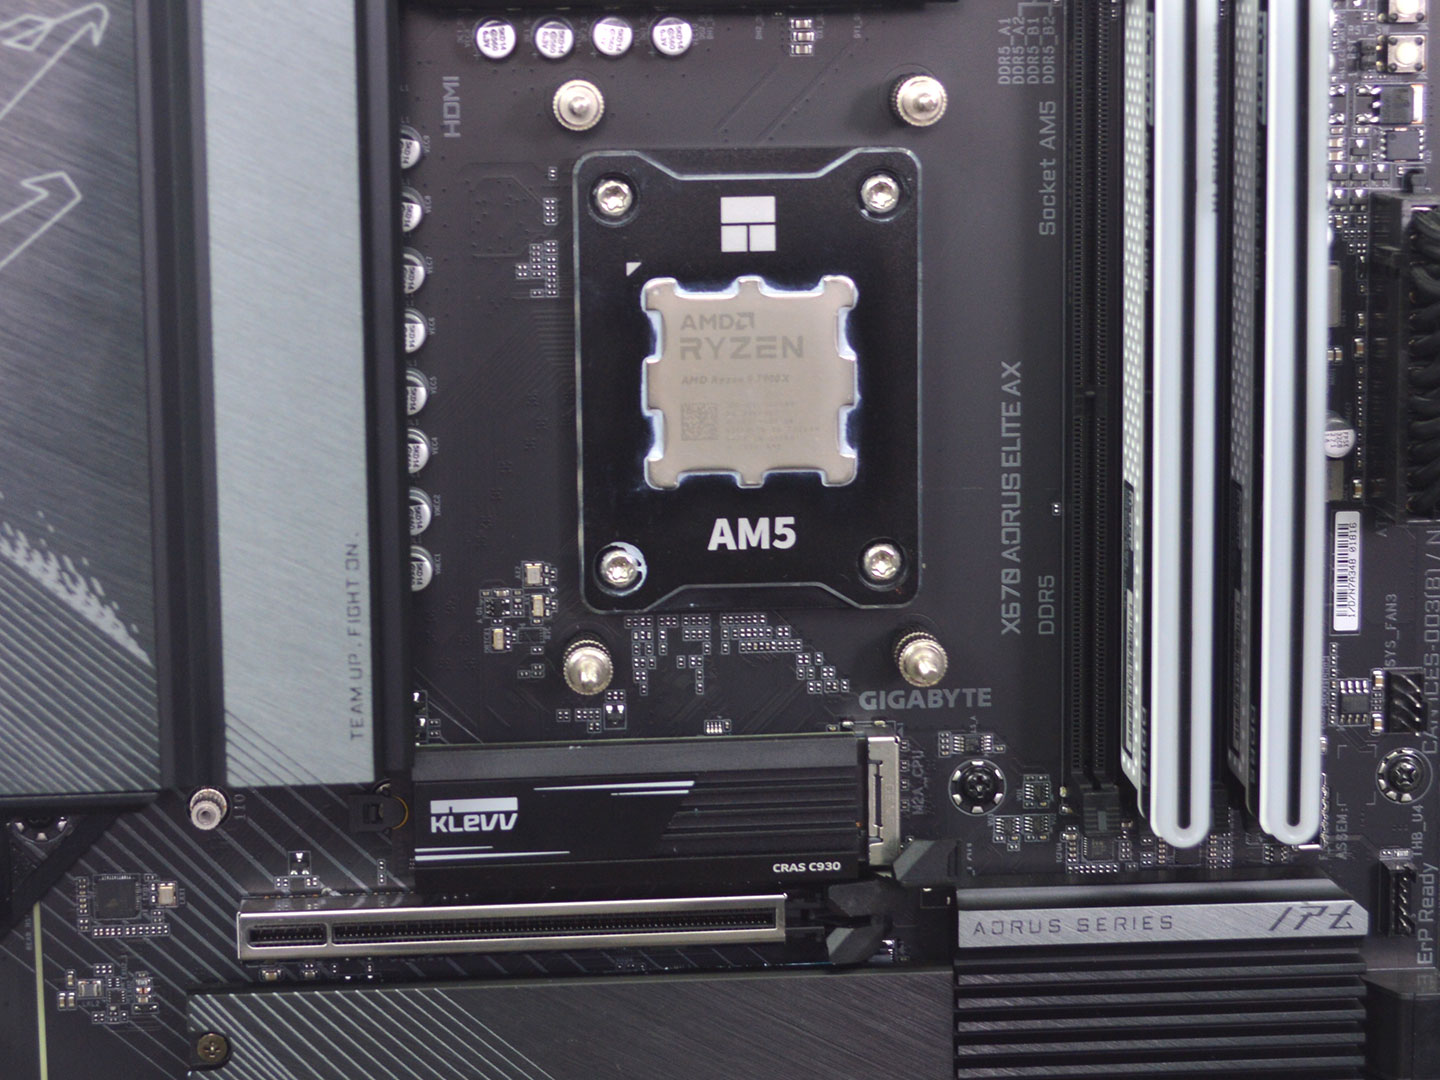
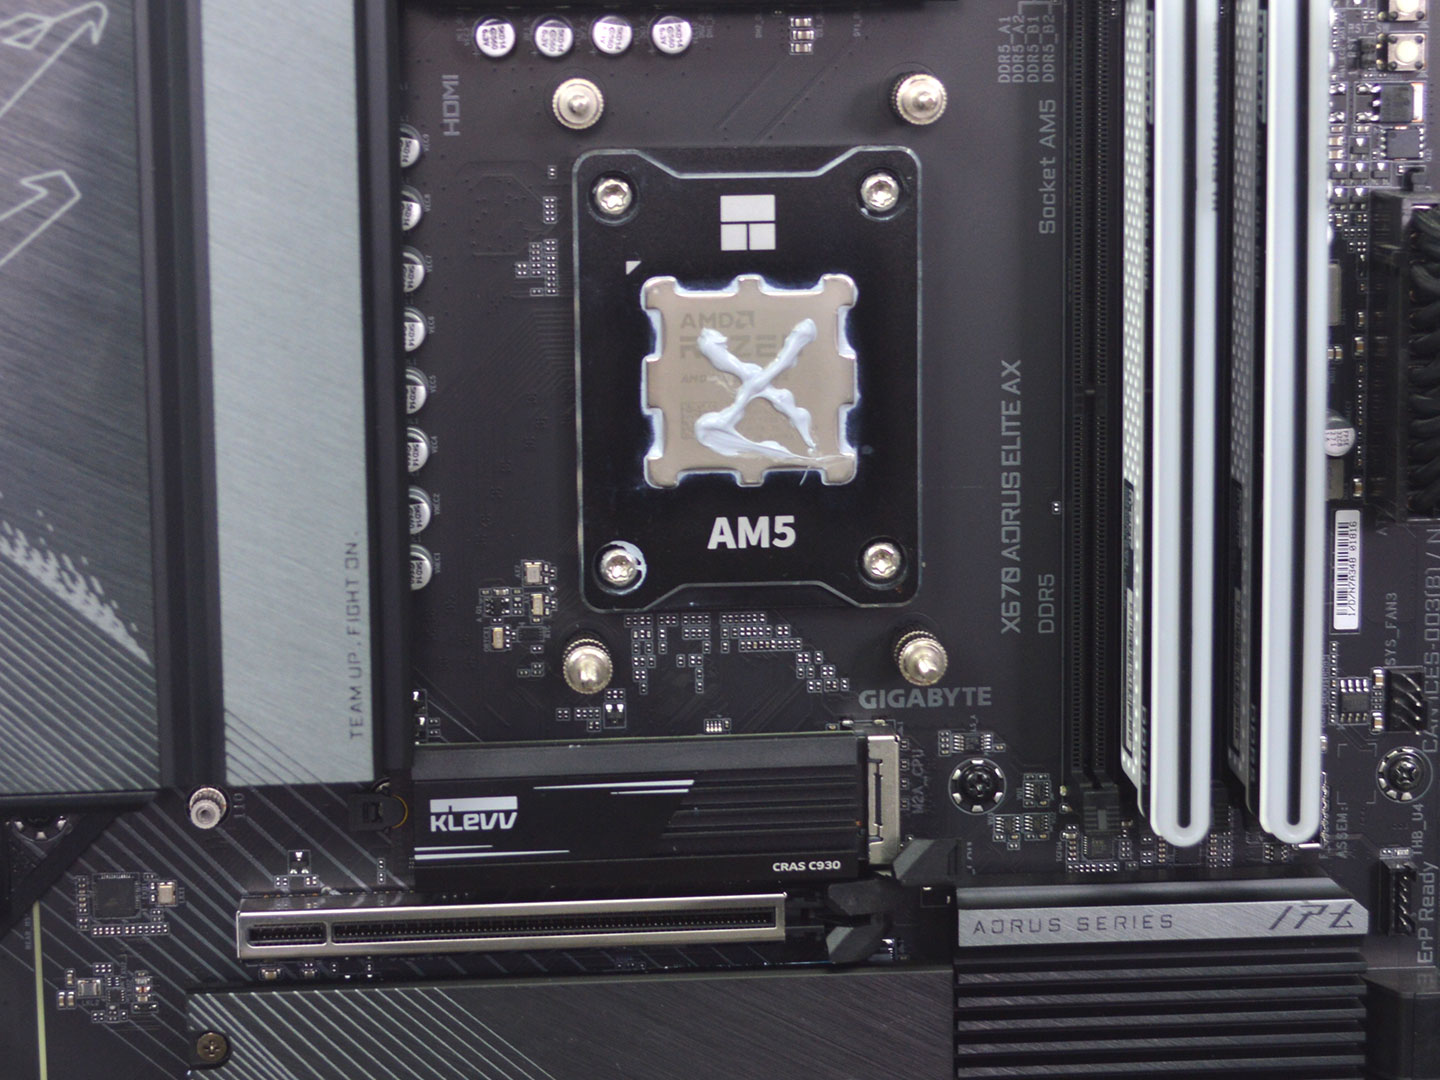
Since the cooler comes with the fans already installed the only thing to worry about is if they are oriented properly for your build. With the preliminary check done, next for AMD systems you will need to remove the black plastic mounting brackets on the motherboard. After that install the proper standoffs and apply thermal paste. For testing, I use Arctic's MX6.
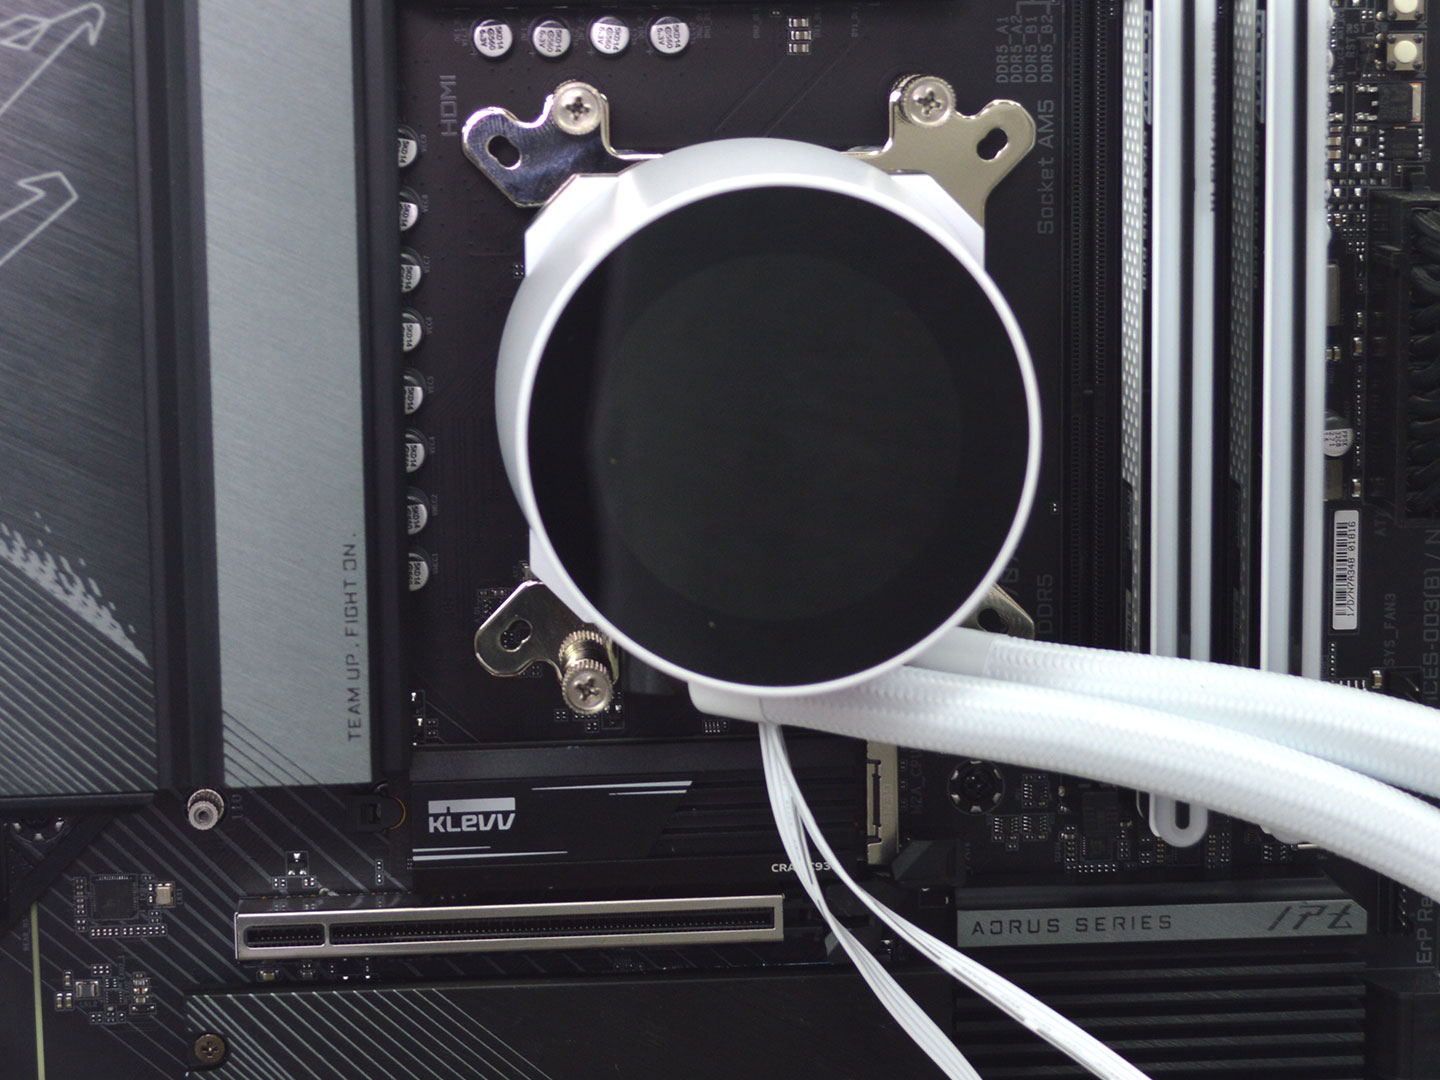
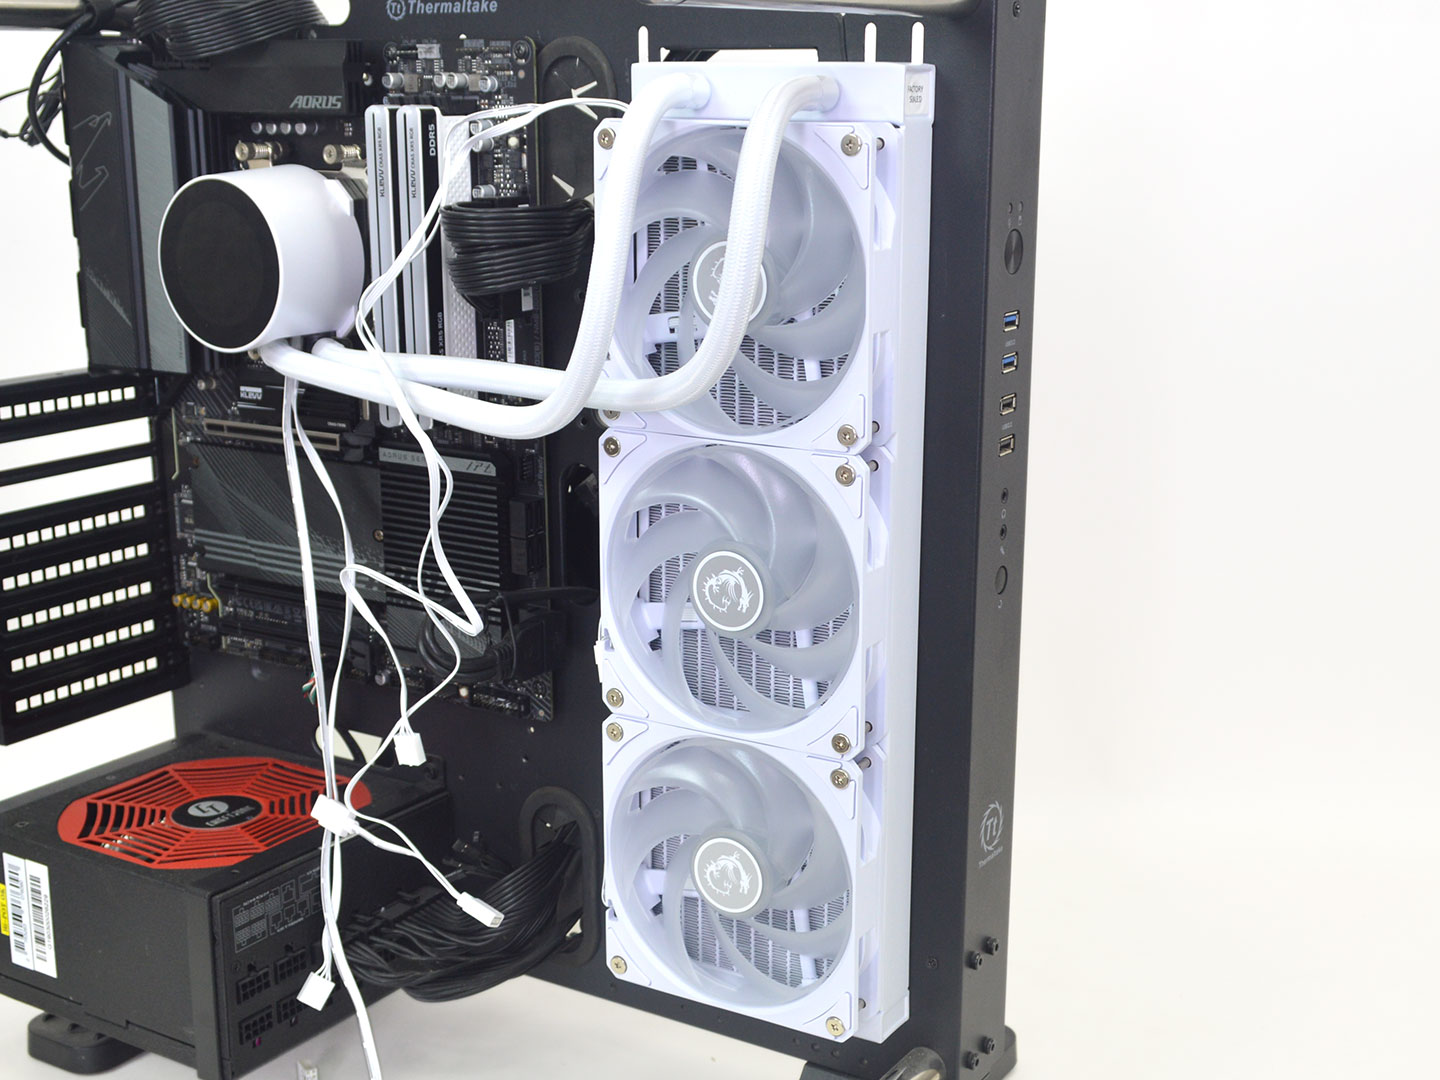
Next, position the pump block onto the CPU and secure it with the spring-loaded nuts alternating in a crisscrossing pattern. With that done, install the radiator.
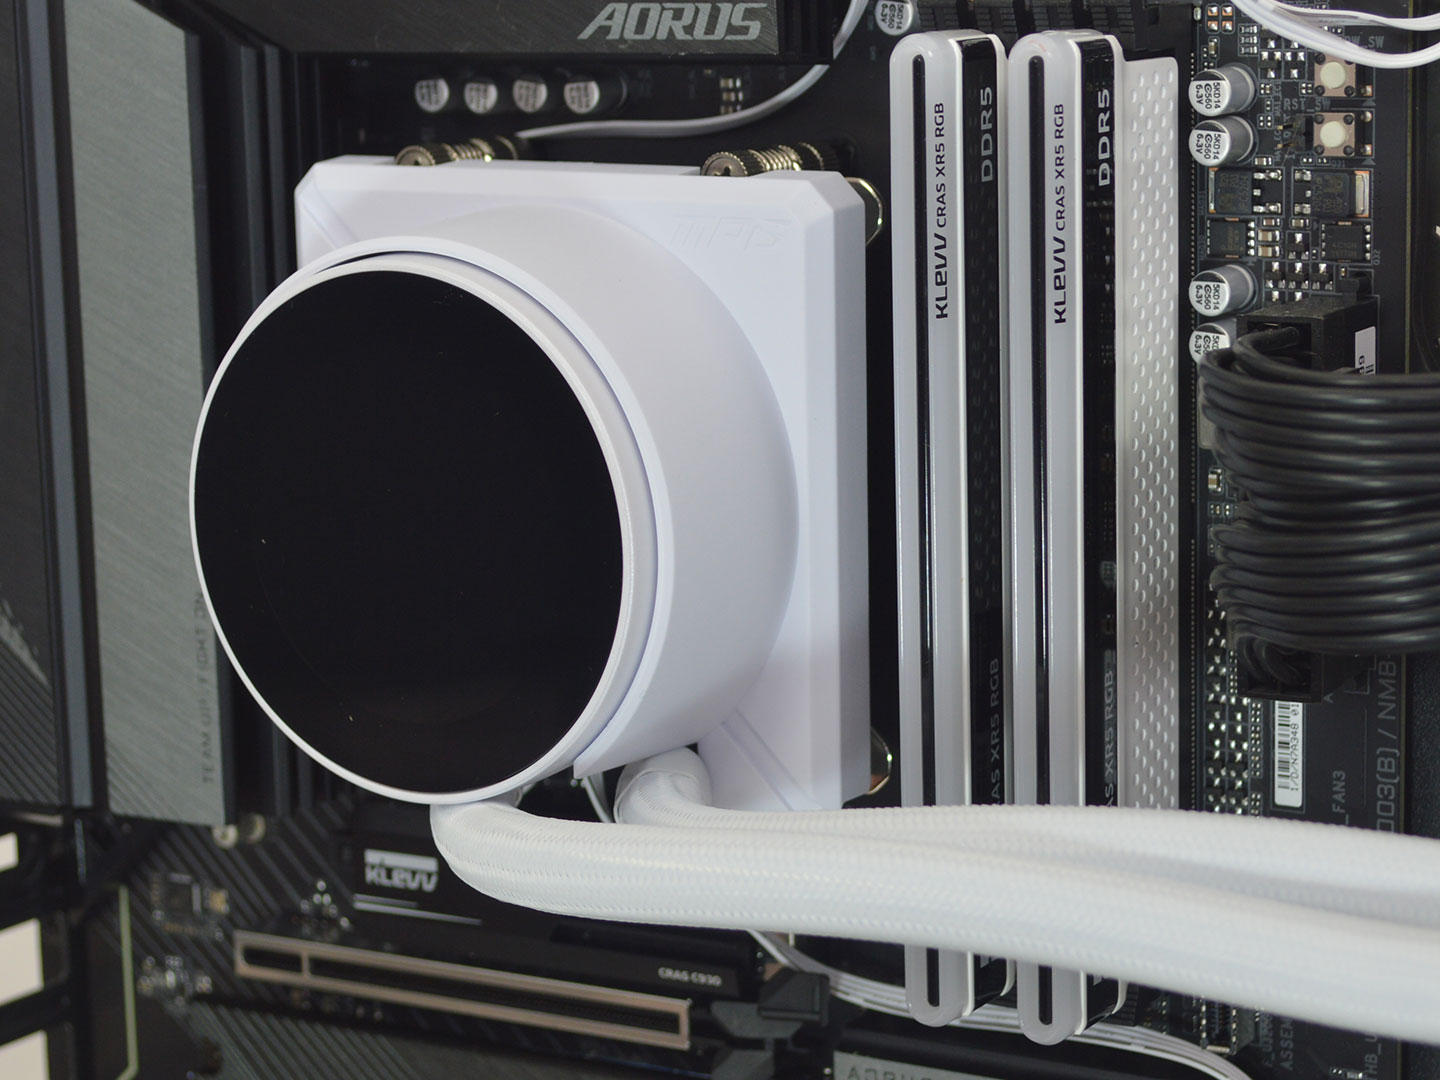
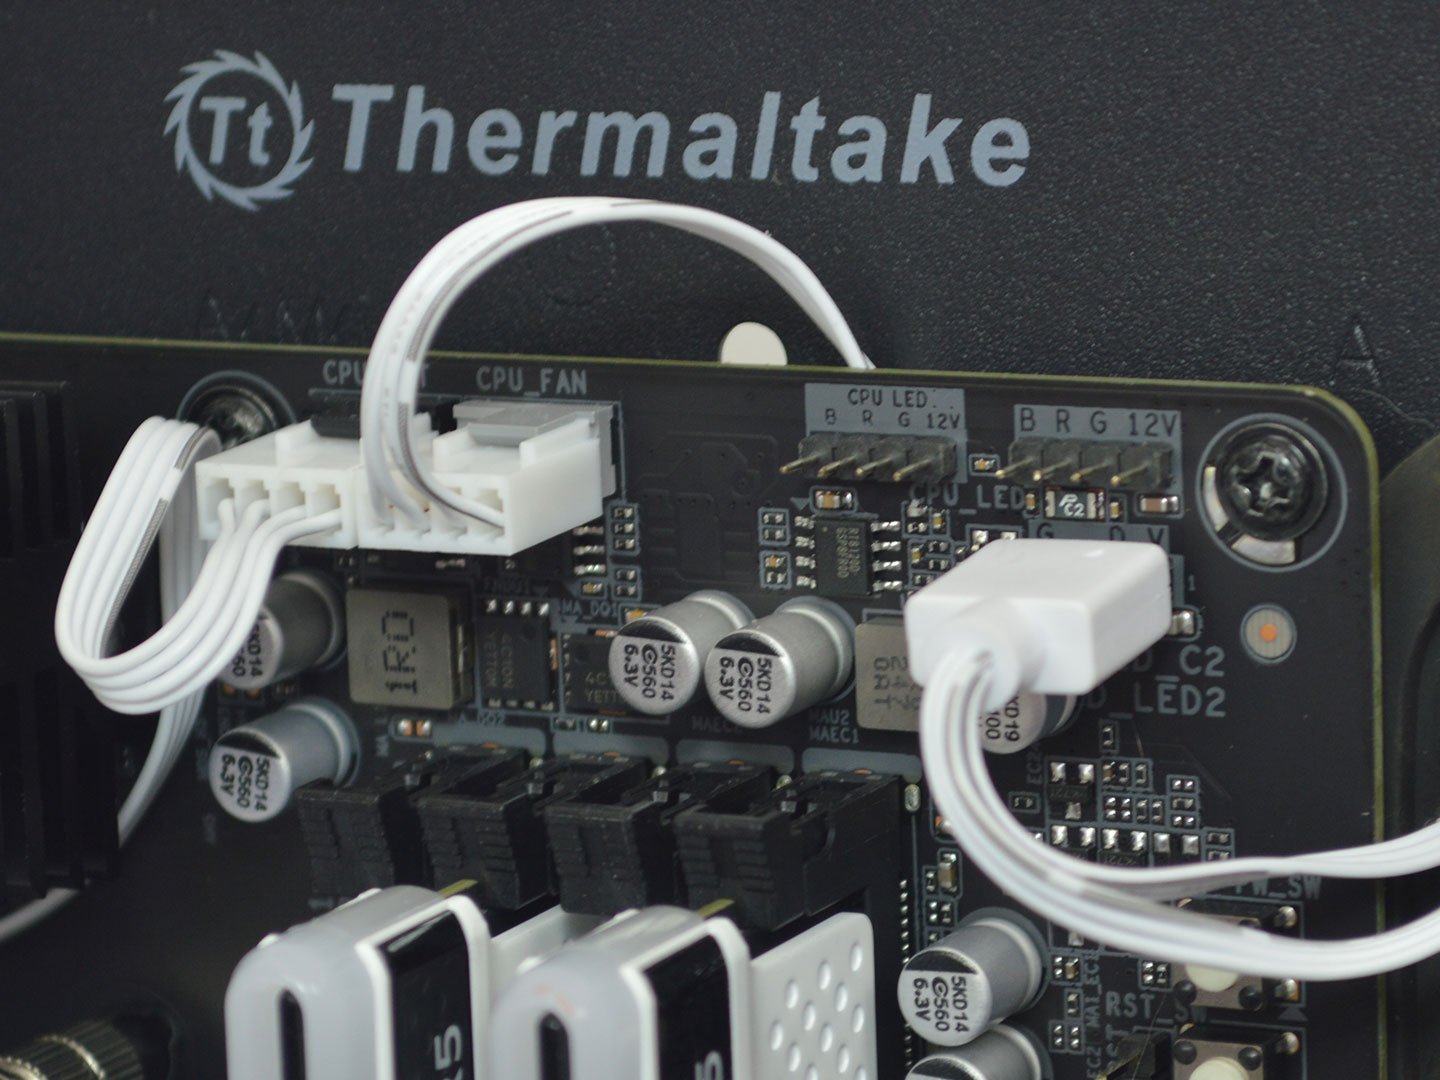
Now place the plastic cover over the mounting bracket for a cleaner look and plug in the USB, ARGB, fans, and pump into the proper headers.
Overall, the installation is pretty straightforward on AMD and Intel with no issues to speak of. With the fans pre-installed and the mounting hardware being simple and easy to work with it is a very easy AIO to install regardless of platform. It has four mounting points on AMD and Intel which is a plus. The software is intuitive and easy enough to work with however it does have drawbacks that I'll discuss a bit later.
Beyond that the biggest issue I have is the short USB cable for the IPS display. It would be far better if it was a bit longer in order to route it through the typical cutout and behind the motherboard tray. As of now with our current test bench set up, the USB cable's short length required me to route it down the front of the motherboard which just looks ugly. This issue can be fixed easily enough and is a minor complaint, but the fact is a bit of extra length here would be nice to have.
Nov 22nd, 2026 17:00 CST
change timezone
Latest GPU Drivers
New Forum Posts
- Your PC ATM (36458)
- Honestly, do you care about GTA VI? (264)
- Gacha Games - Discussions, Pulls, Updates, etc. (1157)
- UPS what one to get? (47)
- Last game you purchased? (1414)
- Making a game in Godot engine (19)
- Intel D270 (5)
- X870E AORUS ELITE WIFI7 thread with setting and OC (69)
- Gigabyte Aorus Master X570 settings / 7900XTX / 5950x /32GB Samsung B-die (13)
- Asus TUF Gaming X870-PLUS WIFI Optimization (2)
Popular Reviews
- Microsoft Surface Laptop Ultra Review - The Next-gen Arm Laptop
- Corsair RM1200e (Second Generation) Review
- Pulsar Office Tour & First Look at P1 Dual-Sensor Mouse
- Upcoming Hardware Launches 2027 (Updated Nov 2026)
- Ugreen NASync DXP4800 GT Review
- AMD Ryzen 7 9800X3D Review - The Best Gaming Processor
- Biwin Black Opal NV7400 2 TB Review
- AMD Zen 6 Technical Deep Dive
- Phantom Blade Zero Performance Benchmark Review - 35 GPUs Tested
- AMD Ryzen 7 5800X3D 10th Anniversary Review
TPU on YouTube
Controversial News Posts
- NVIDIA Co-Founder and CEO Jensen Huang Officially Resigns (492)
- Report: Jensen Huang Eyes NVIDIA Comeback (266)
- Open Letter Asking NVIDIA to Reinstate Jensen Huang Passes 115,000 Signatures (184)
- OpenAI CEO Argues Home PCs Waste the World's Limited DRAM Supply (152)
- NVIDIA Launches Investigation Into Jensen Huang's Relationship With Suspected Chinese Spy (136)
- Intel "Raptor Lake Next" 16-Core and 20-Core CPUs Surface (130)
- NVIDIA GeForce RTX 50-Series Scheduled for up to $500 Price Hike This Week (89)
- Intel Razor Lake Gets a 12 P-Core bLLC Chip With No E-Cores, Per Leak (86)