 0
0
NZXT H500i Review
A Closer Look - Inside »A Closer Look - Outside

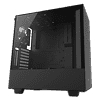
NZXT has been opting for as much metal as with this one in their cases for quite some time, which has them skip any top or front panels made out of plastic. This is one of the signature elements of the H series, and the H500i is no different. The case offers the same sleek, straight, and understated look as the whole H200 to H700 line-up.


Looking at the front, there is not much else than a solid piece of steel that comes with a hard bend at the top as it wraps around and becomes the top piece. If you look closely, you will find a subtle brand logo embedded on the bottom of the front. In the rear, the enclosure looks quite traditional, with the PSU bay at the bottom.

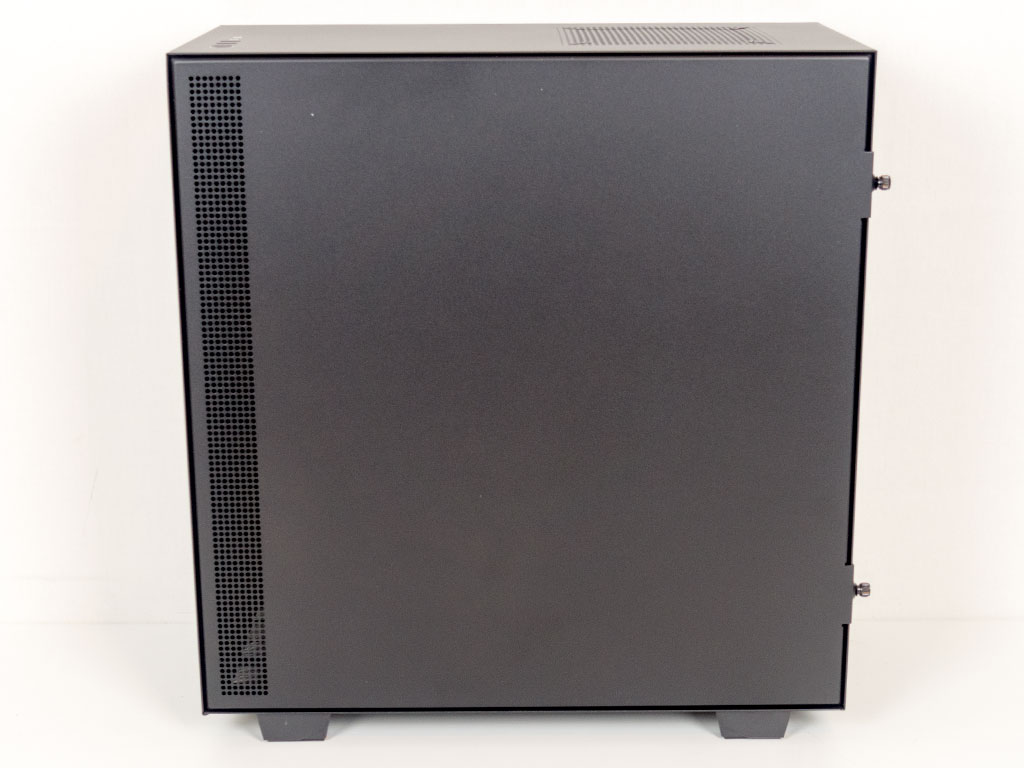
The main side of the H500i consists of a tempered glass panel that take up around 70% of the area, while the remaining 30% is simply part of the case as the unit employs a metal shroud to separate the PSU and 3.5" drives from the rest of the system. On the opposing side, you will find a solid panel with the exception of an inch-wide airstrip towards the front. This is necessary to give any fans or a cooling system in the front access to clean air.
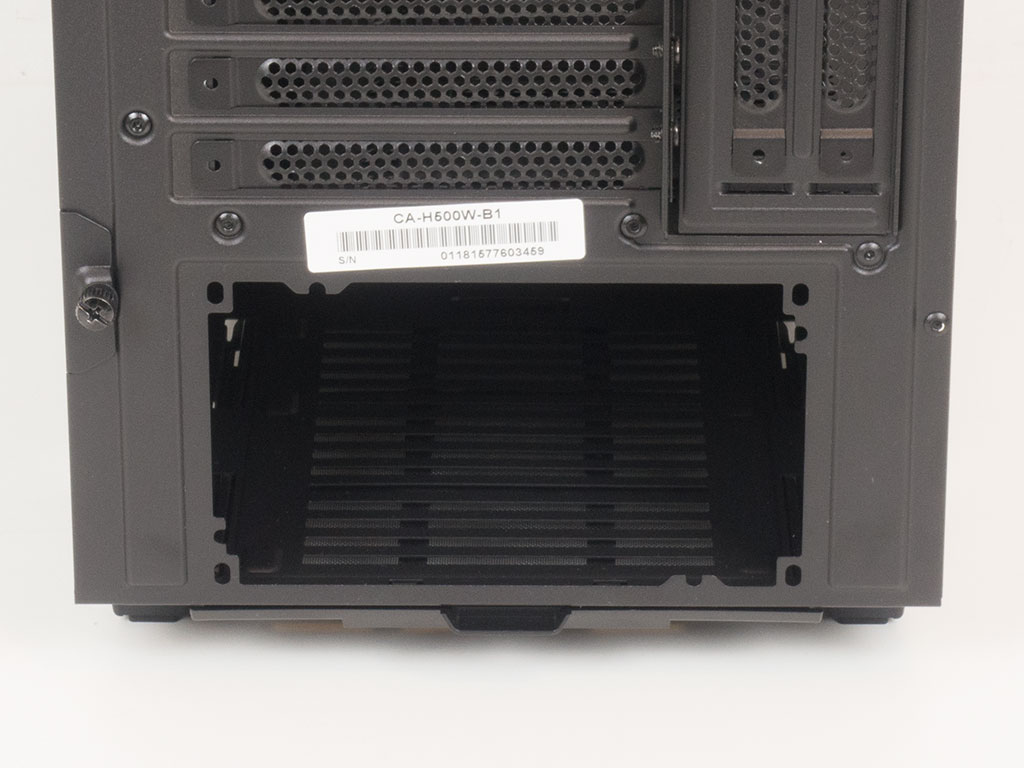


At the bottom, the power supply's opening comes with two sets of mounting holes, which means you may pick a unit of your choice without running into any limitations. Above that are the seven horizontal and two vertical expansion slots. NZXT has designed these so that you have to remove the two vertical slots to gain access to the remaining ones. In the very top is a 120 mm retail-grade exhaust fan that is set to push air out the back of the H500i.

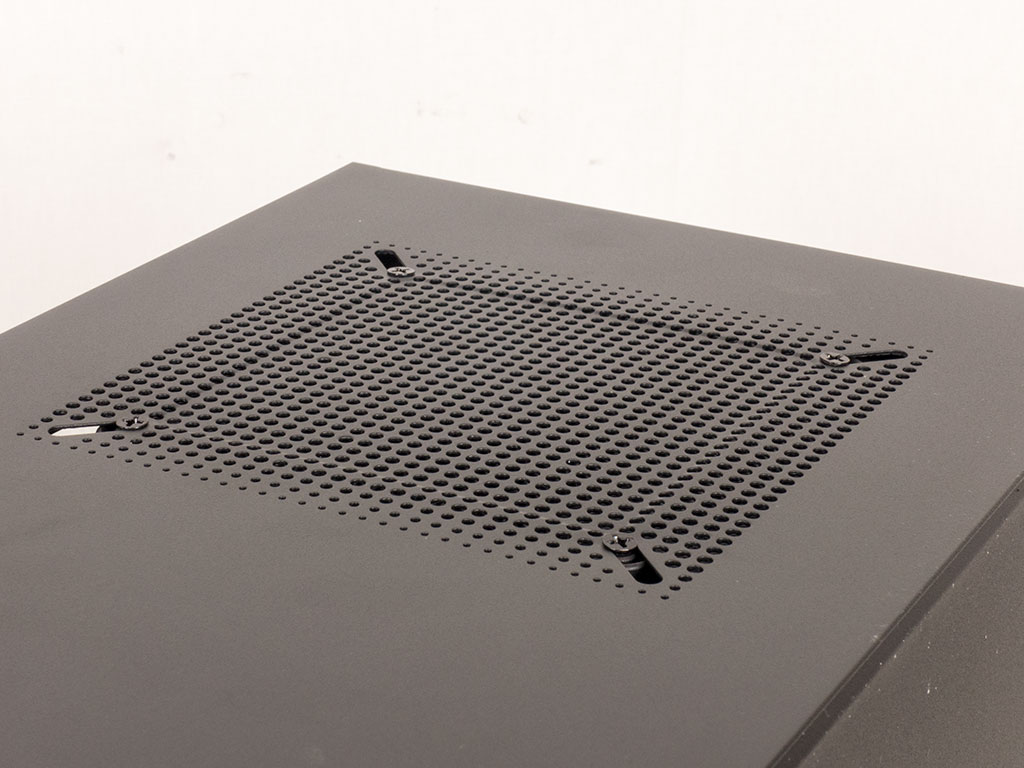
You will find a pretty standard set of I/O consisting of audio plugs and two purple USB 3.1 connectors. A round power button with a ring-shaped LED on one side and a tiny reset button on the other completes the set. Towards the rear of the steel top, you will find a fairly intricate opening with another 120 mm fan pre-installed, which is, once again, set to push air out of the chassis.


To protect the PSU from dirt and grime, an easily removable dust filter can be found on the underside. Laying the chassis down on its side, you can see that there are several mounting holes. By default, these hold the hard-drive cage in place, but you may install other things here, like a pump or reservoir.
May 4th, 2024 18:29 EDT
change timezone
Latest GPU Drivers
New Forum Posts
- What's your latest tech purchase? (20437)
- RX 6800 causing stuttering when typing text (Low 2D/IDLE Clocks?) (22)
- Battery swap for cyberpower UPS (50)
- NASA Achieves milestone Solid State Battery (226)
- i9-12900K 16 Running Hot (8)
- Change GPU or PSU ? Games looks bad with microsuttering (10)
- Strange system crashes out of nowhere, help (24)
- Alphacool CORE 1 CPU block - bulging with danger of splitting? (94)
- Is updating BIOS to beta versions a good idea if you have the most recent version installed but still face issues? (0)
- AMD RX 7000 series GPU Owners' Club (1098)
Popular Reviews
- Finalmouse UltralightX Review
- Meze Audio LIRIC 2nd Generation Closed-Back Headphones Review
- ASRock NUC BOX-155H (Intel Core Ultra 7 155H) Review
- Montech Sky Two GX Review
- Gigabyte GeForce RTX 4070 Ti Super Gaming OC Review
- Upcoming Hardware Launches 2023 (Updated Feb 2024)
- Cougar Hotrod Royal Gaming Chair Review
- HYTE THICC Q60 240 mm AIO Review
- Alienware Pro Wireless Gaming Keyboard Review
- AMD Ryzen 7 7800X3D Review - The Best Gaming CPU
Controversial News Posts
- Intel Statement on Stability Issues: "Motherboard Makers to Blame" (237)
- Windows 11 Now Officially Adware as Microsoft Embeds Ads in the Start Menu (167)
- AMD to Redesign Ray Tracing Hardware on RDNA 4 (129)
- Sony PlayStation 5 Pro Specifications Confirmed, Console Arrives Before Holidays (117)
- AMD's RDNA 4 GPUs Could Stick with 18 Gbps GDDR6 Memory (114)
- NVIDIA Points Intel Raptor Lake CPU Users to Get Help from Intel Amid System Instability Issues (106)
- AMD "Strix Halo" Zen 5 Mobile Processor Pictured: Chiplet-based, Uses 256-bit LPDDR5X (103)
- AMD Ryzen 9 7900X3D Now at a Mouth-watering $329 (103)