 6
6
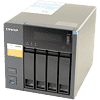
QNAP TS-453A 4-bay NAS Review
Administration Interface - Overview »Software

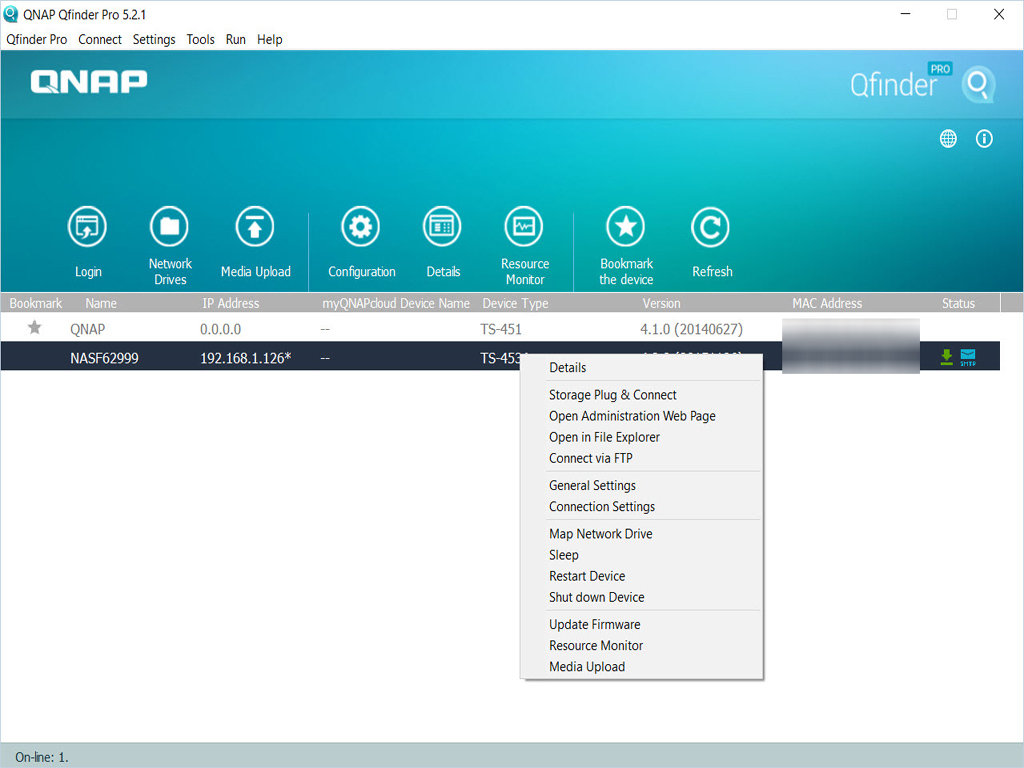
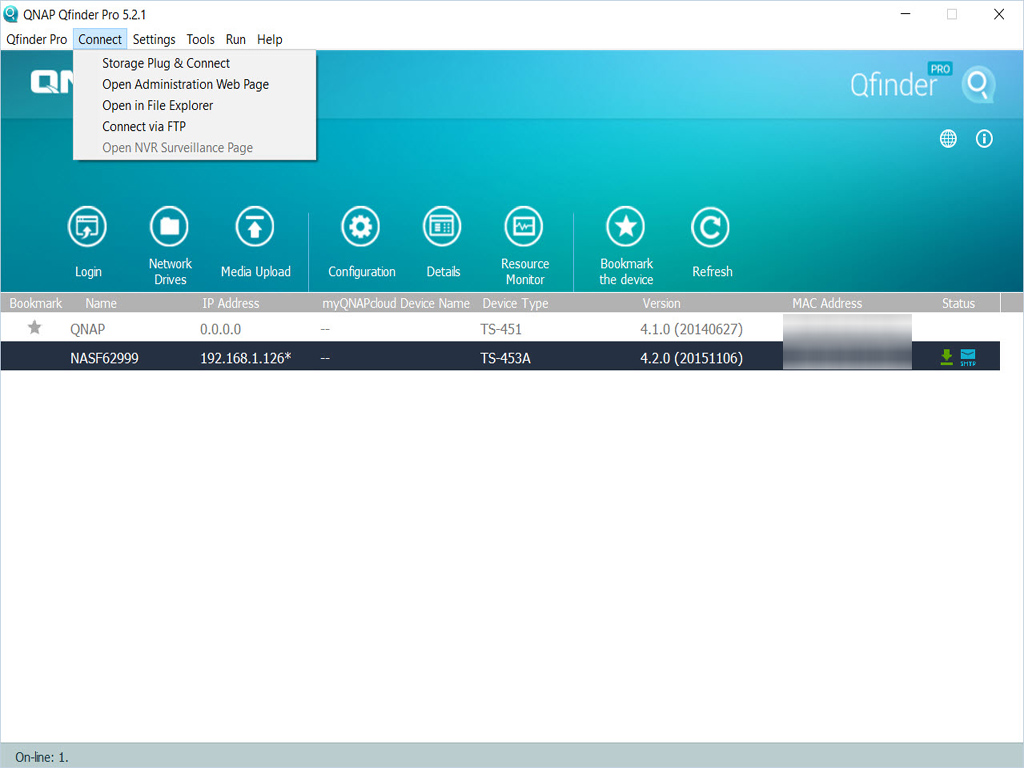
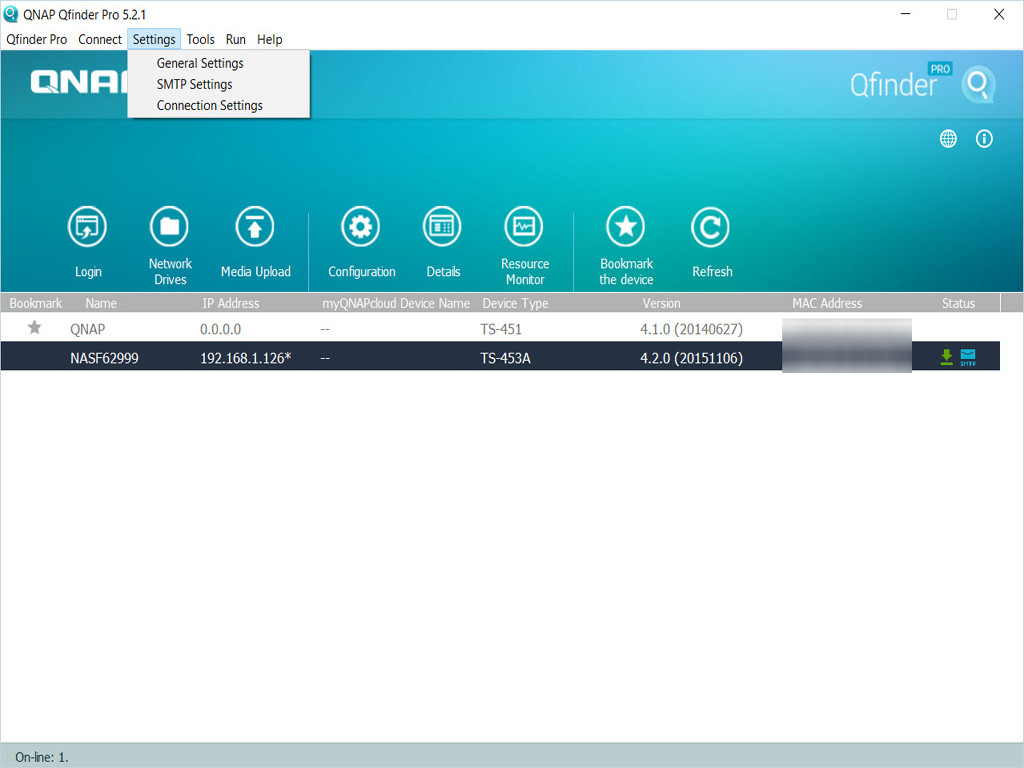


We installed Qfinder on a PC that belongs to the same network as the NAS before proceeding. Qfinder will find every QNAP server on the network if you don't know its IP address or want to set the NAS up without the cloud. Qfinder can also check for any available firmware updates since QNAP releases firmware updates quite often. You can even map network drives, search for network cameras, or shutdown or restart the NAS, or perform other such useful functions.
Initial Setup

There are two ways to start the setup procedure. The first is to type "start.qnap.com" into any browser on a client PC that is a part of the same network as the NAS once the hardware is ready and the NAS has been turned on. You will be asked to enter your cloud key after you have done so. Do and you will get to register the NAS by creating a myQNAPcloud account. You can also start the procedure in Qfinder, which we did.

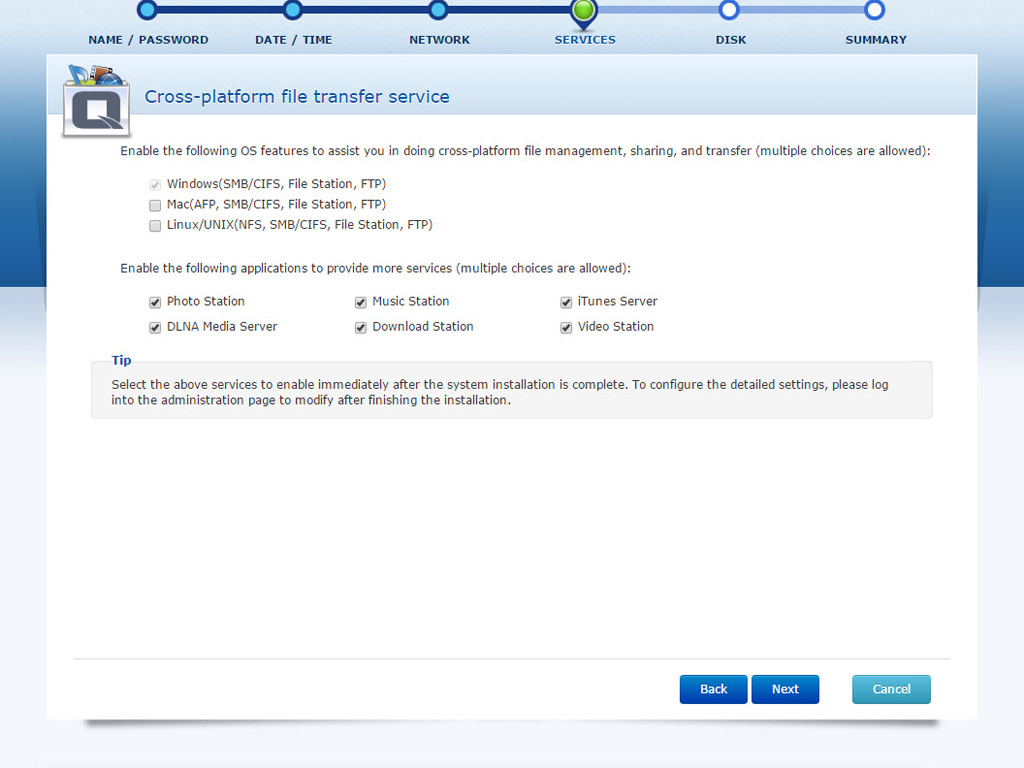
This step will have you pick the usage model that best describes your needs. Based on your selection, corresponding applications will automatically be installed during initialization.


You will now only have to follow through on the quick-setup guide's steps.
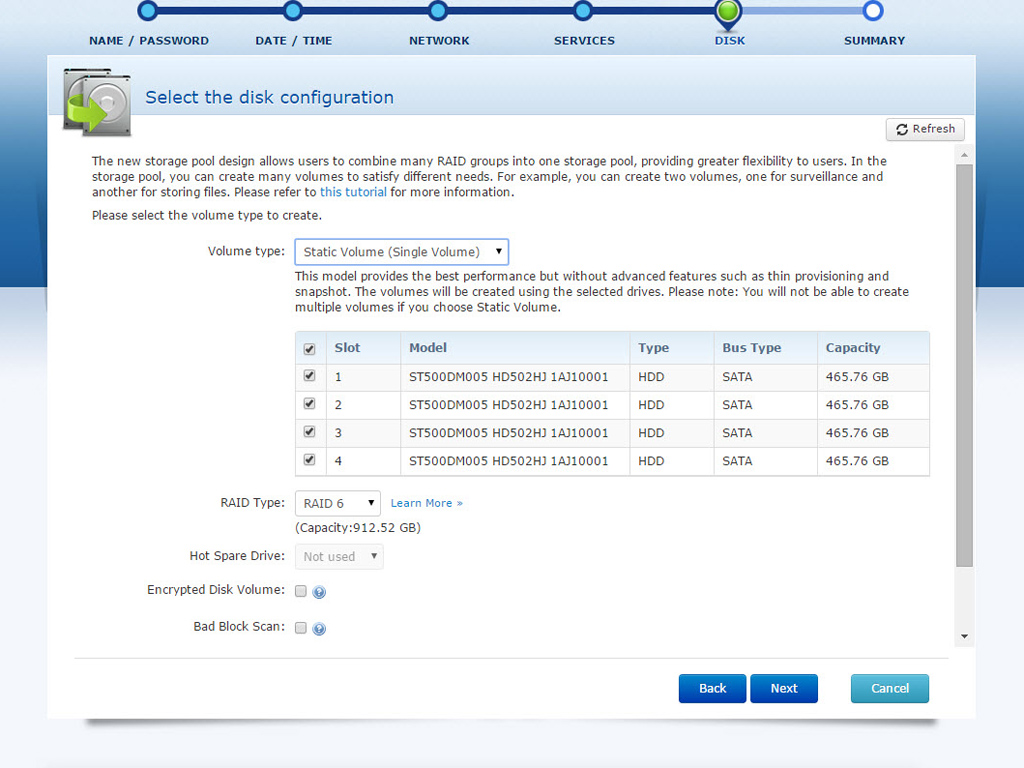


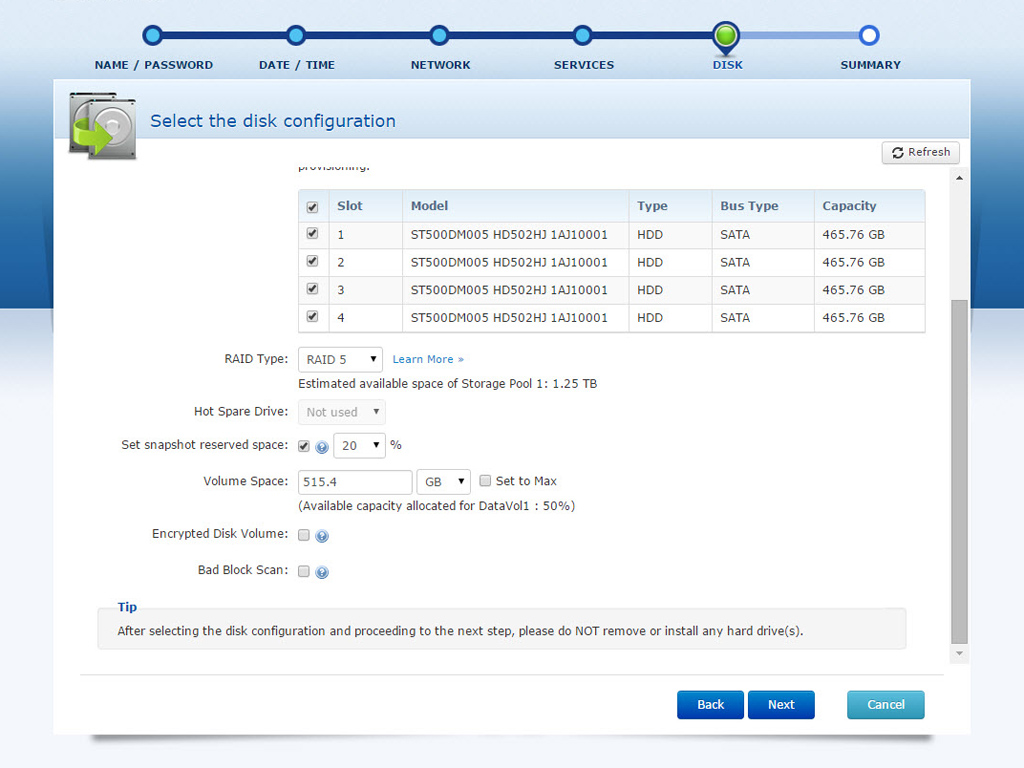
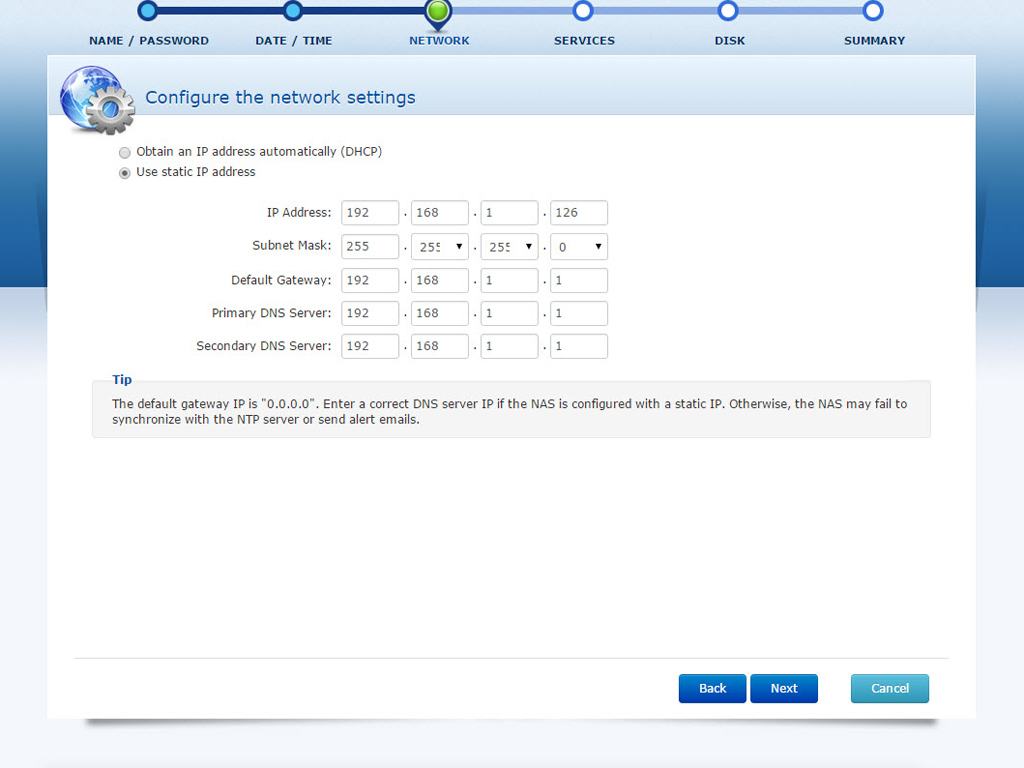
The most important step is the RAID level selection of all installed HDDs. Whether you want to conduct a bad-block scan is up to you as it will take some time to finish, but I'd recommended it.


The guide's last screen will summarize all the choices you have made. Hit the apply button and you will have to wait until all these settings have been applied, which doesn't take long unless you picked a RAID level to synchronize.
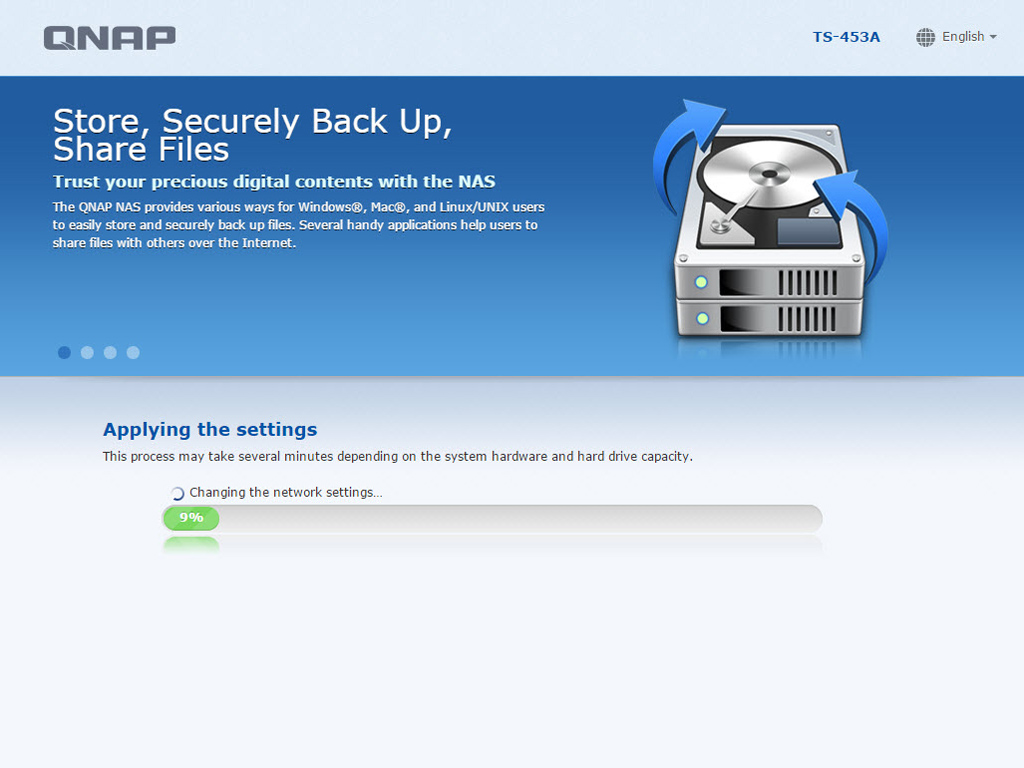
The whole initialization process won't take long.

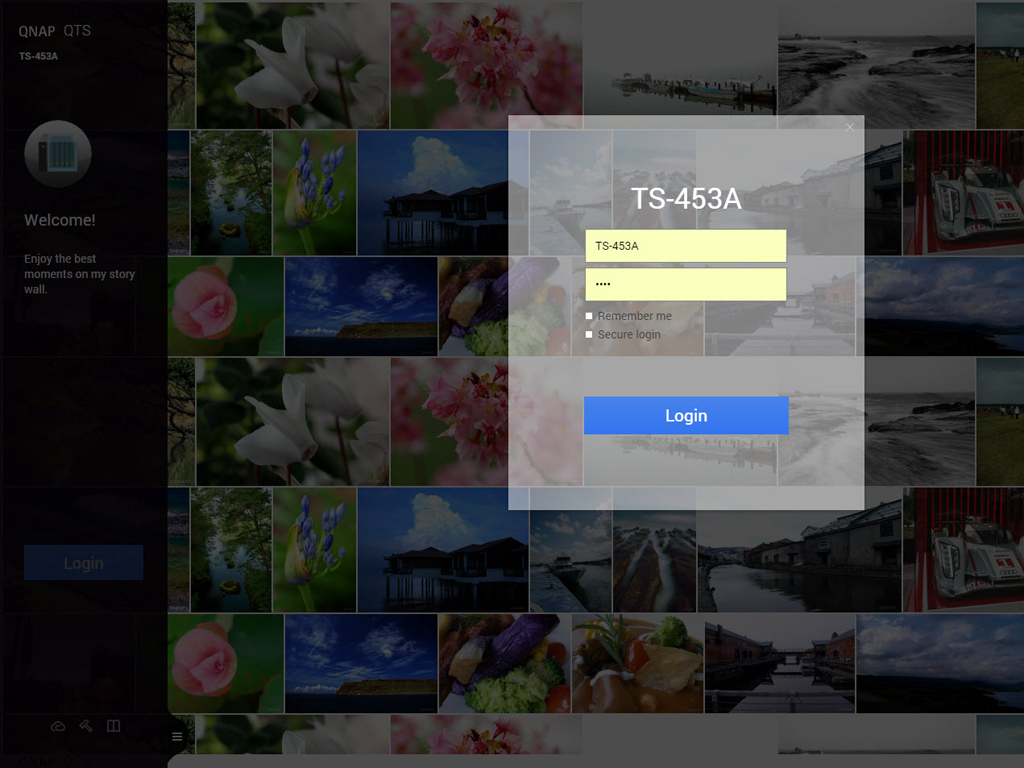
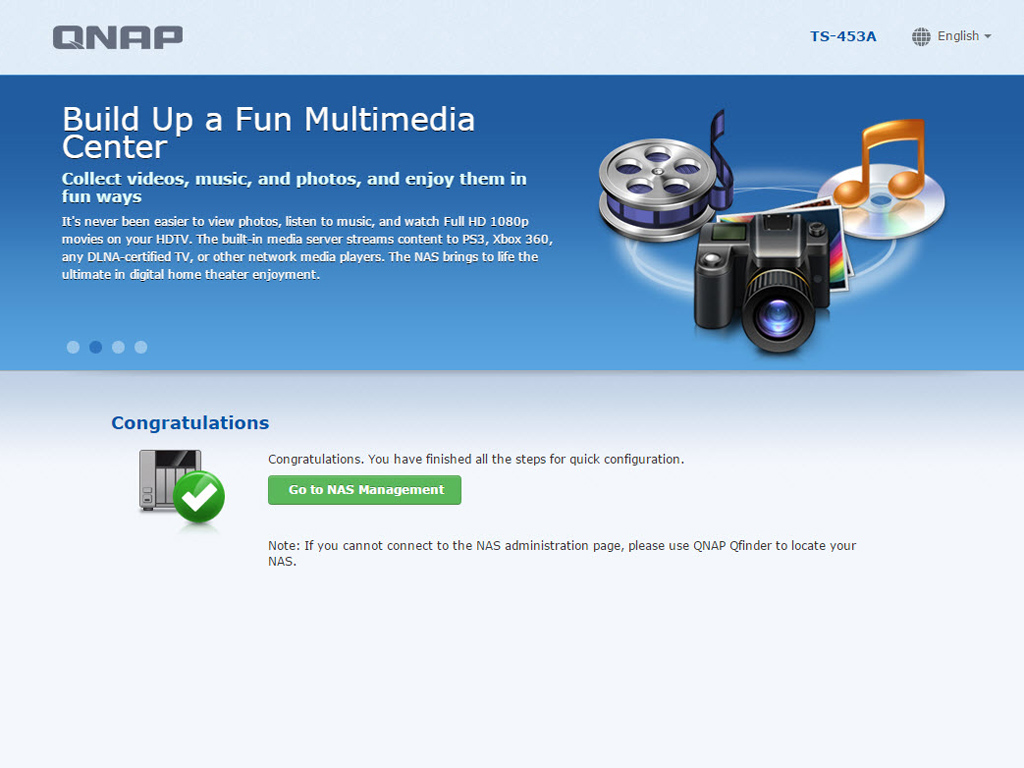
You will be given access to the login page after the NAS has been configured.
Web Interface
According to QNAP, QTS 4.2 is more intuitive and polished than its predecessor, featuring a much nicer interface. Its improved design minimizes unnecessary interference and clutter, and its redesigned interface even allows inexperienced users to quickly familiarize themselves with QTS and its different functions. Improved multitasking and better modal windowing also enhance productivity. Like in a traditional Windows PC environment, you can minimize running apps in QTS 4.2 to the task bar to easily switch between them. You can also drag and drop a desktop icon on top of another in order to create groups like in Apple's iOS.The three QTS modes, Tab, Window and Frameless, allow you to use QTS more efficiently on whatever device you are accessing it with. Tab mode, for example, allows you to more conveniently switch between screens on a tablet, while Frameless mode improves the browsing and viewing experience of photos in Photo Station.
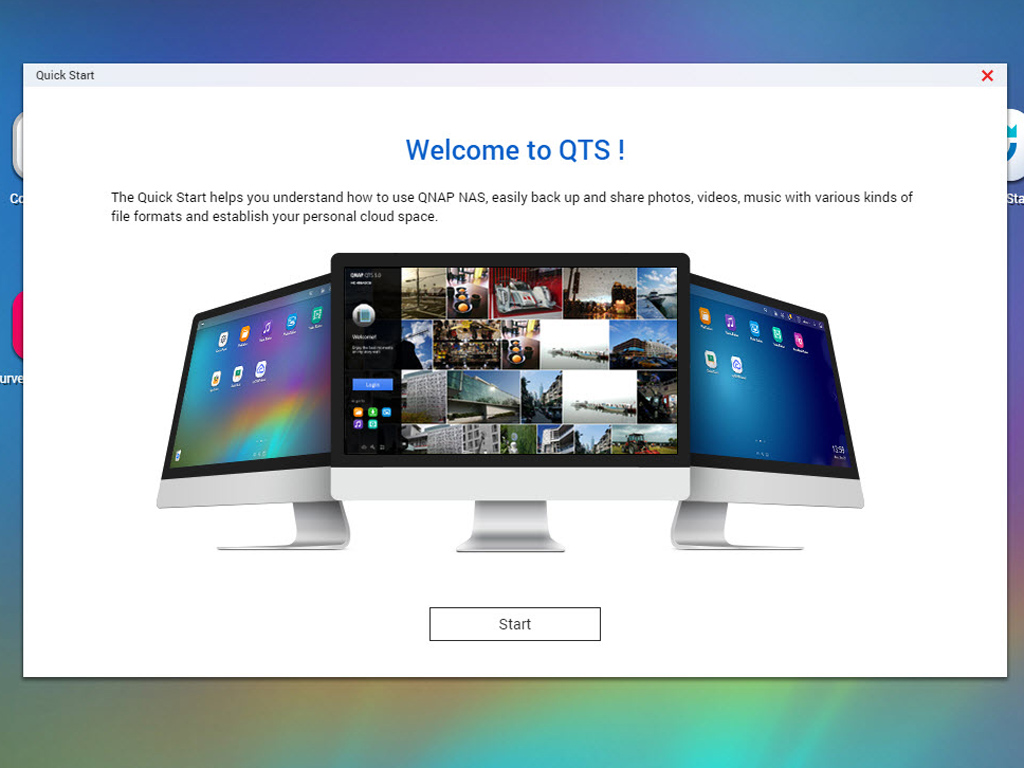
After logging into QTS for the first time, you will be greeted by Quick Start, which will offer to take you through a quick but highly informative tour that will familiarize you with the NAS's major functions. Should you want to explore some of the NAS's capabilities, this is a good guided tour to take if you have never used a QNAP product before.


We got a message about a new firmware update being available right after we logged into QTS for the first time. Its installation was quick and easy.
Apr 27th, 2024 22:37 EDT
change timezone
Latest GPU Drivers
New Forum Posts
- Which PSU to take? (1)
- HyperX mechanical keyboards (1)
- Does a faster NVMe make any difference? (2)
- Which air cooler for a ryzen 9 5900x (170)
- Anyone know if Rufus gets around the SSE4.2 issue with Windows 11 24H2? (37)
- Looking for recommendations to upgrade the GPU (17)
- Why is RunFullMemoryDiagnostic task running?! (0)
- Best SSD for system drive (108)
- Usb 3.2 and usbc speeds became very slow (9)
- Games that require more 24 VRAM... (74)
Popular Reviews
- Ugreen NASync DXP4800 Plus Review
- HYTE THICC Q60 240 mm AIO Review
- MOONDROP x Crinacle DUSK In-Ear Monitors Review - The Last 5%
- Upcoming Hardware Launches 2023 (Updated Feb 2024)
- FiiO K19 Desktop DAC/Headphone Amplifier Review
- Thermalright Phantom Spirit 120 EVO Review
- AMD Ryzen 7 7800X3D Review - The Best Gaming CPU
- AMD Radeon RX 7800 XT Review
- Aerocool Project 7 PSU 650 W Review
- ASUS Radeon RX 7900 GRE TUF OC Review
Controversial News Posts
- Windows 11 Now Officially Adware as Microsoft Embeds Ads in the Start Menu (139)
- Sony PlayStation 5 Pro Specifications Confirmed, Console Arrives Before Holidays (117)
- NVIDIA Points Intel Raptor Lake CPU Users to Get Help from Intel Amid System Instability Issues (106)
- AMD "Strix Halo" Zen 5 Mobile Processor Pictured: Chiplet-based, Uses 256-bit LPDDR5X (103)
- US Government Wants Nuclear Plants to Offload AI Data Center Expansion (98)
- AMD's RDNA 4 GPUs Could Stick with 18 Gbps GDDR6 Memory (95)
- Developers of Outpost Infinity Siege Recommend Underclocking i9-13900K and i9-14900K for Stability on Machines with RTX 4090 (85)
- Windows 10 Security Updates to Cost $61 After 2025, $427 by 2028 (84)