 3
3
QNAP TVS-463 8G AMD Powered NAS Review
Administration Interface & QTS Important Settings Part #1 »Software

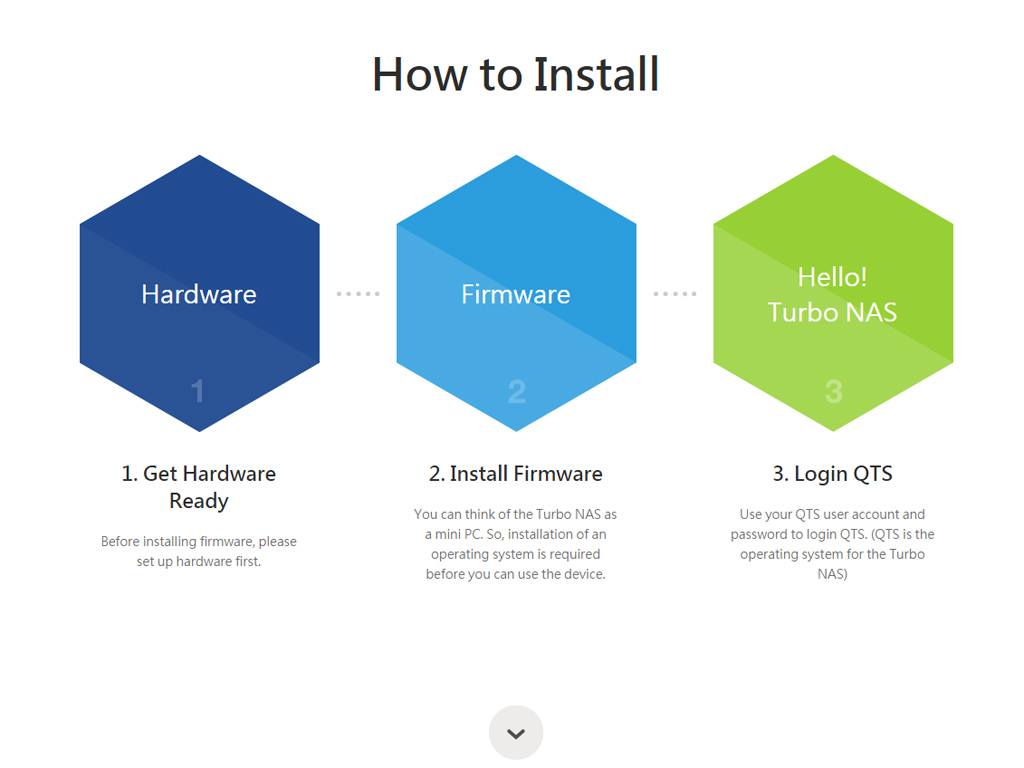
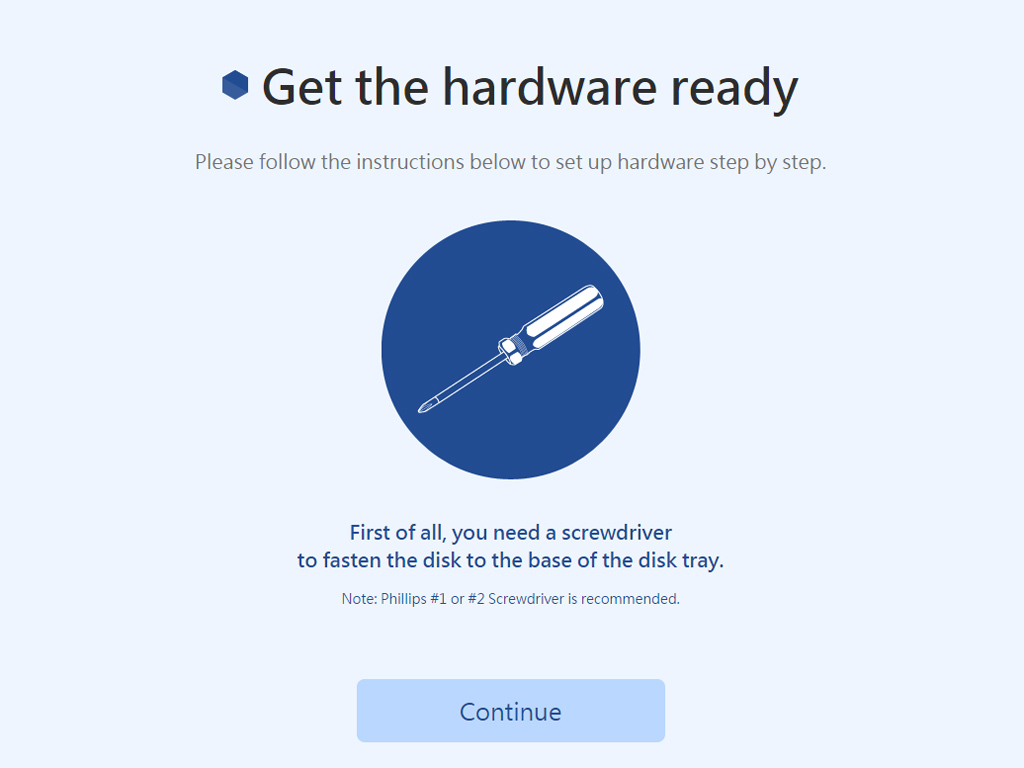
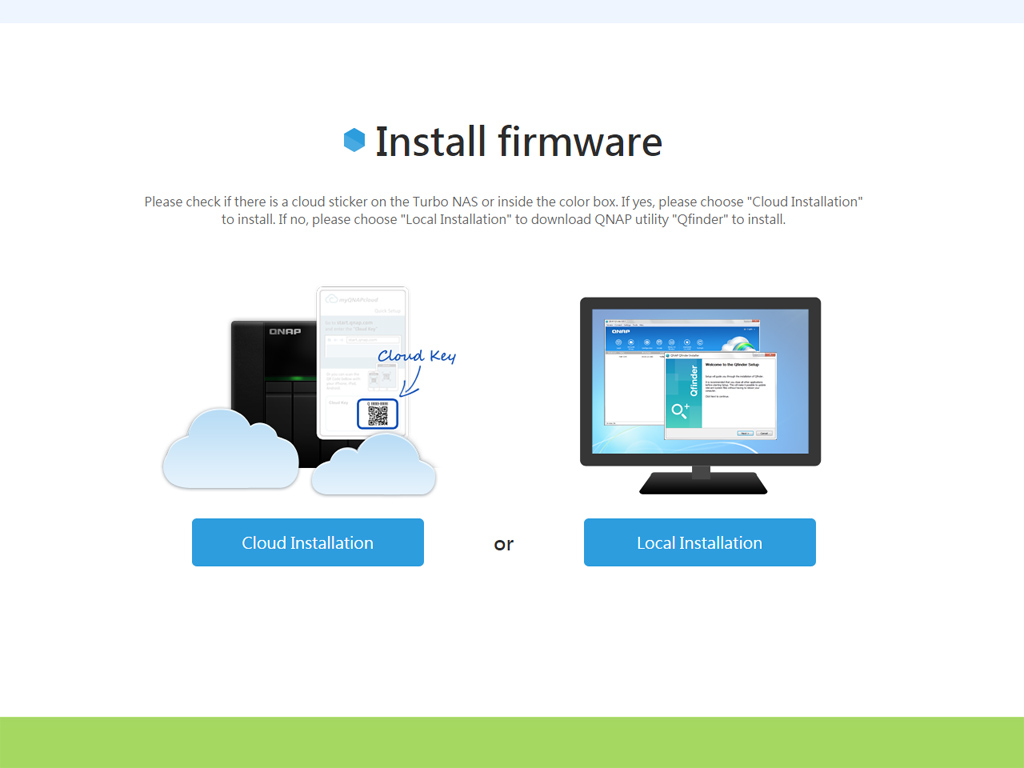
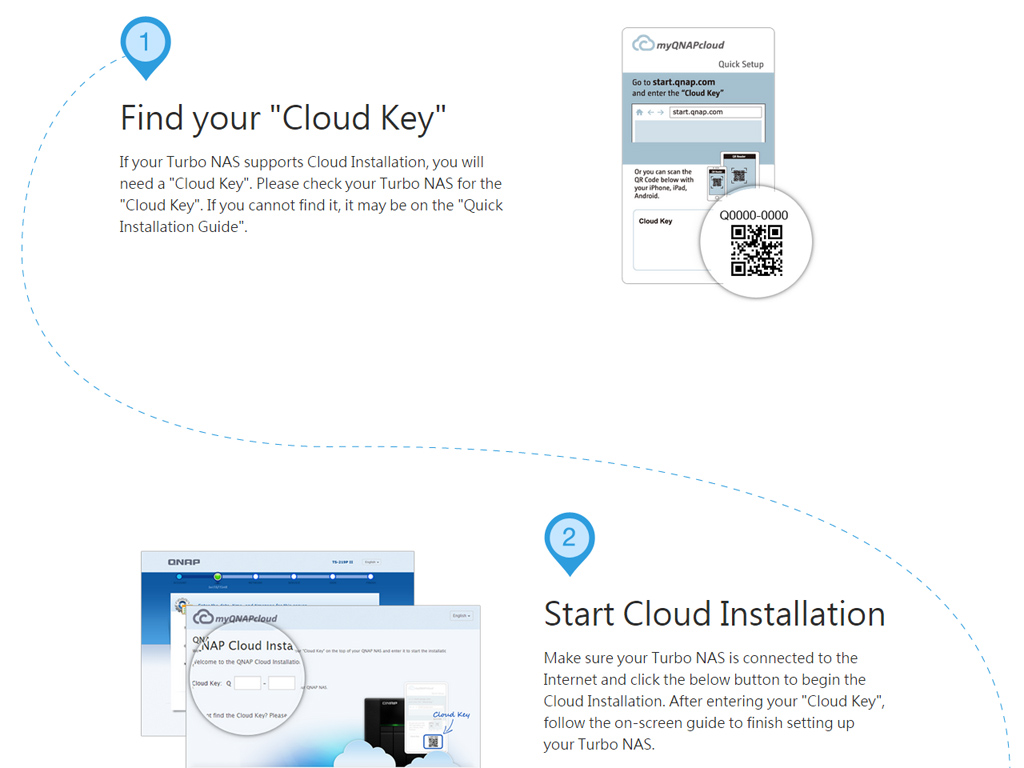

QNAP's online quick-start guide will help you set this NAS up quickly and easily. The first step has you install the HDDs and connect all the necessary cables. You only have to turn the NAS on afterward. Once done, you will be asked to navigate to start.qnap.com where you must enter your cloud key found in your quick installation guide and on a sticker on top of the NAS. You can also pick the local installation option if you have no Internet access or chance upon the unlikely case of your NAS coming without a key.
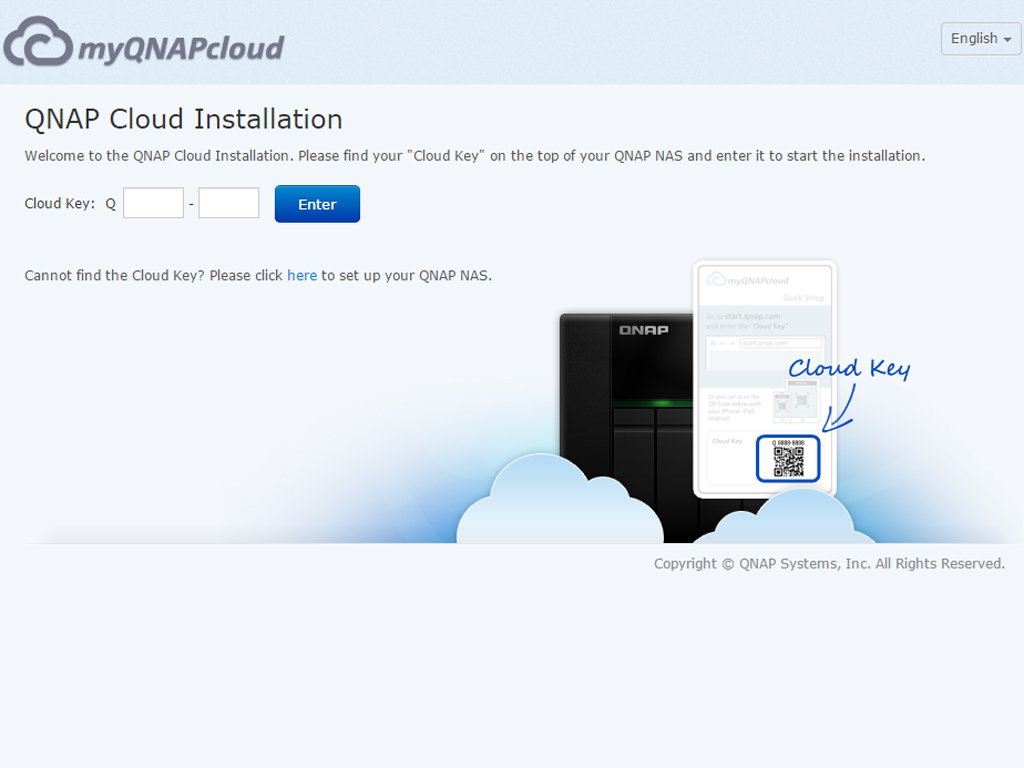

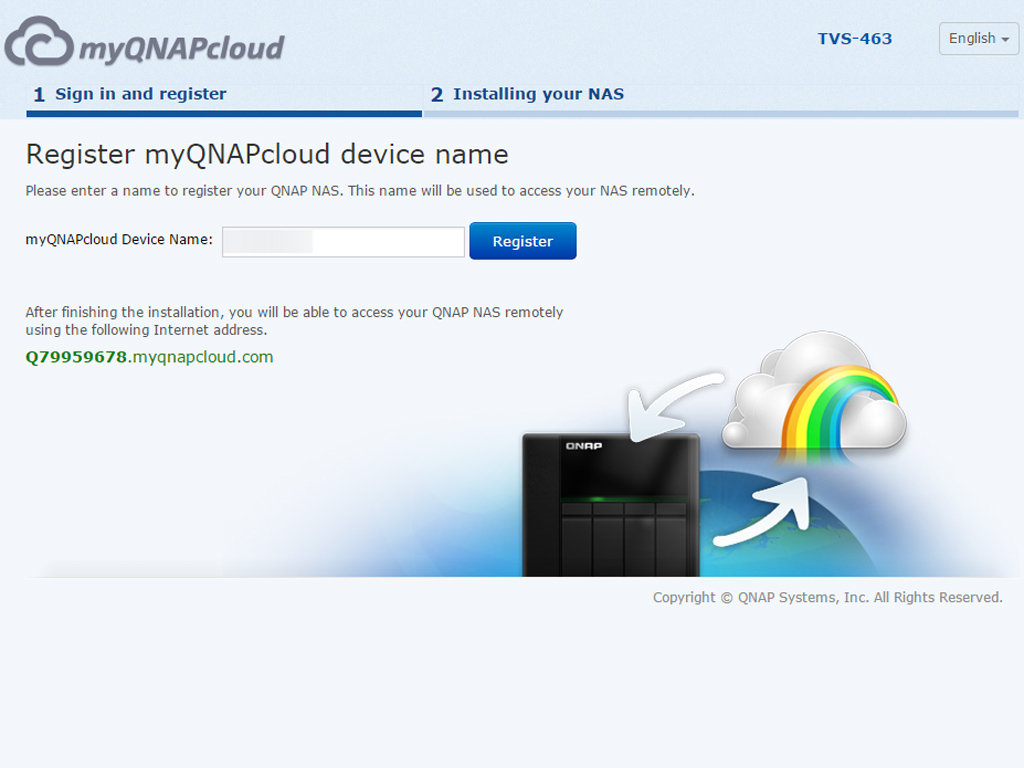
Just type "start.qnap.com" into any browser on a client PC that is on the same network as the NAS once the hardware is ready and the NAS has been turned on. You will now be asked to enter your cloud key. Do and you will get to register the NAS by creating a myQNAPcloud account.

This step will have you pick the usage model that best describes your needs. Based on your selection, corresponding applications will automatically be installed during the initialization procedure.


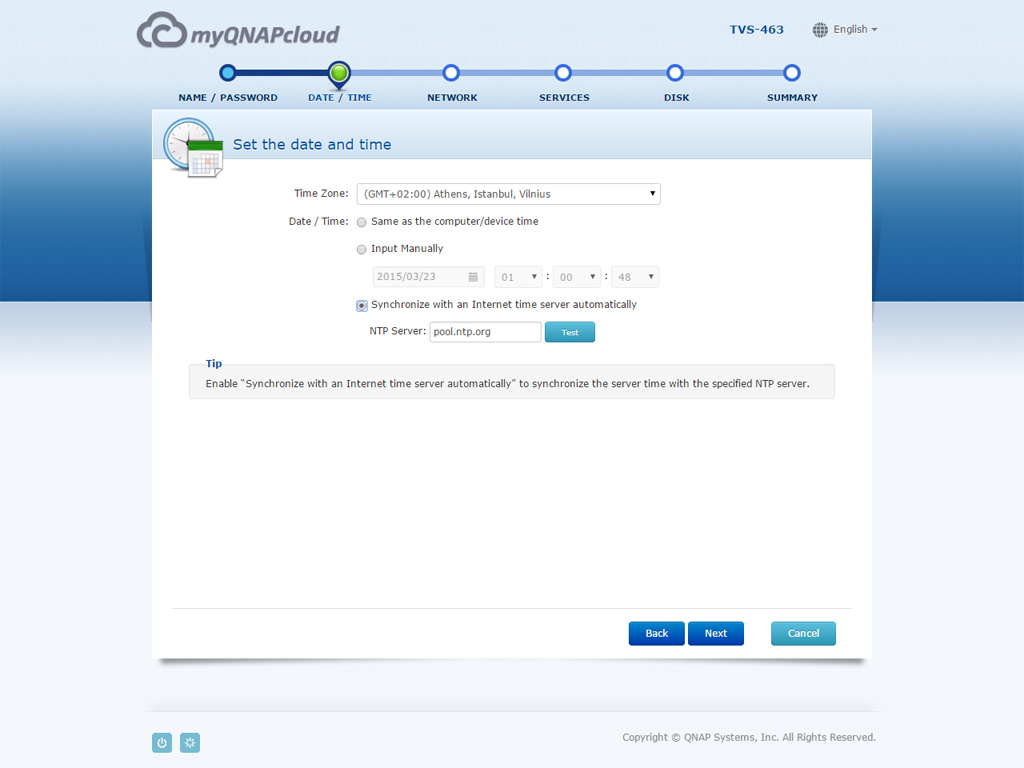
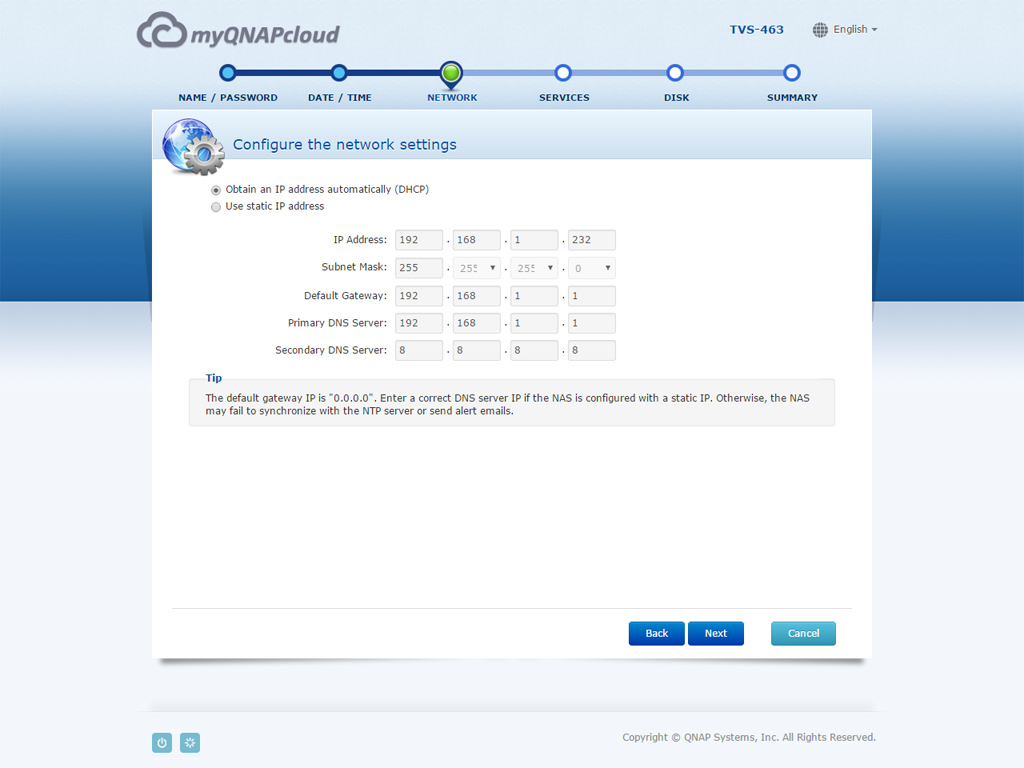

You will now only have to follow the steps of the quick setup guide.
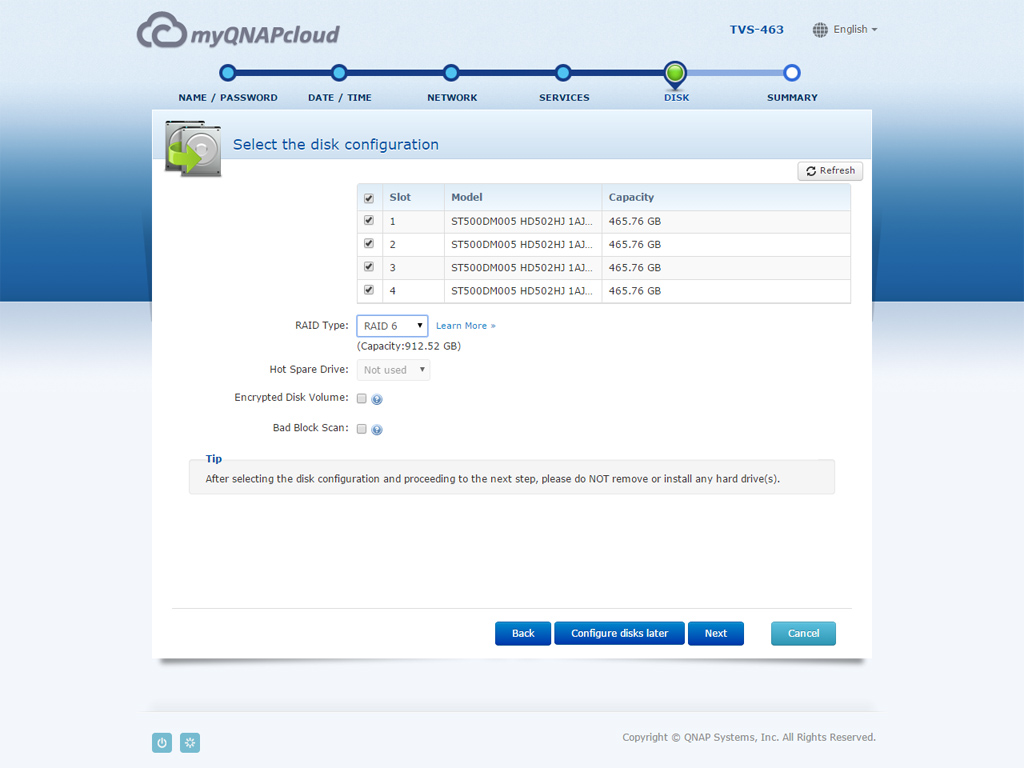
The most important step is the RAID level selection of all installed HDDs. Whether you want to conduct a bad block scan is up to you as it will take some time to finish, but is to be recommended.
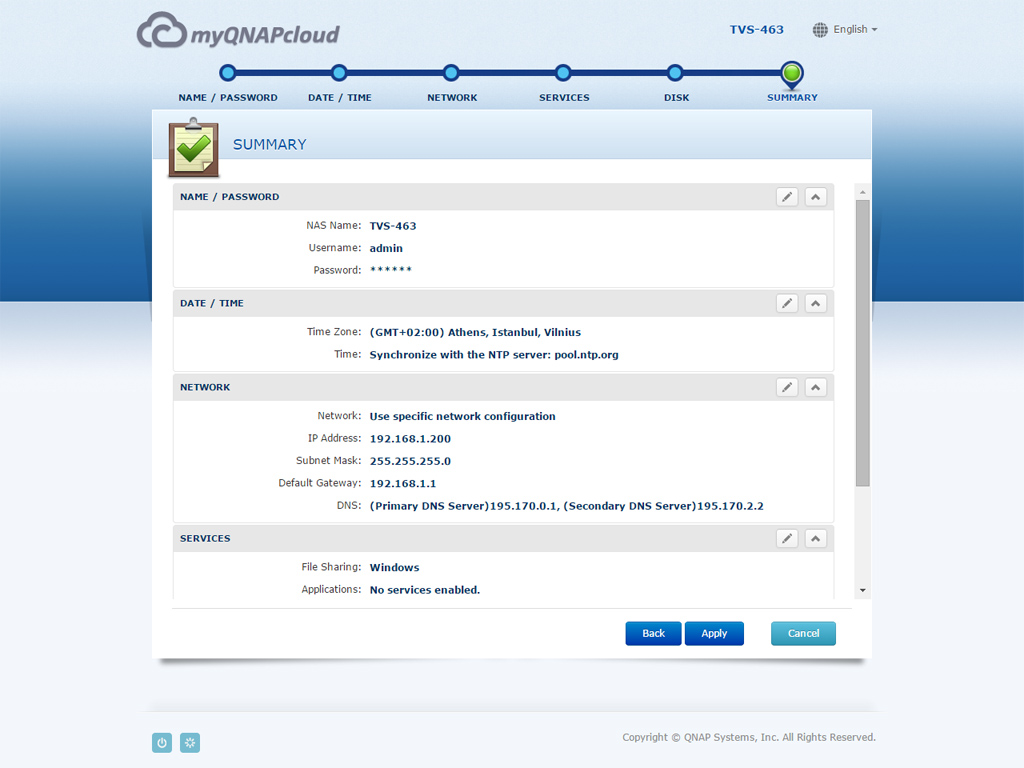


The last screen of the guide will summarize all the choices you have made. Hit the apply button and you will have to wait until all these settings have been applied. The whole process doesn't take long unless you picked a RAID level to synchronize.

You will be given access to the login page after the NAS has been configured. Something went wrong in our case, but we simply used the Qfinder app to find and access the NAS.
Software

QNAP provides seven utilities to help you get the most out of your NAS server. The most important of these is Qfinder.
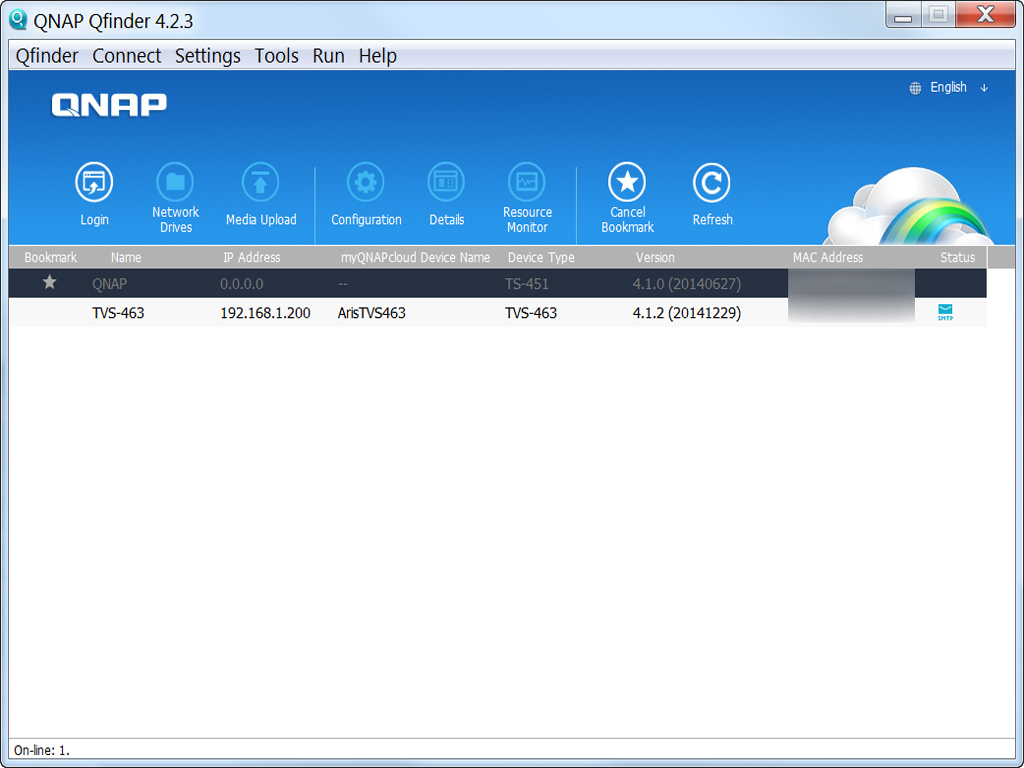
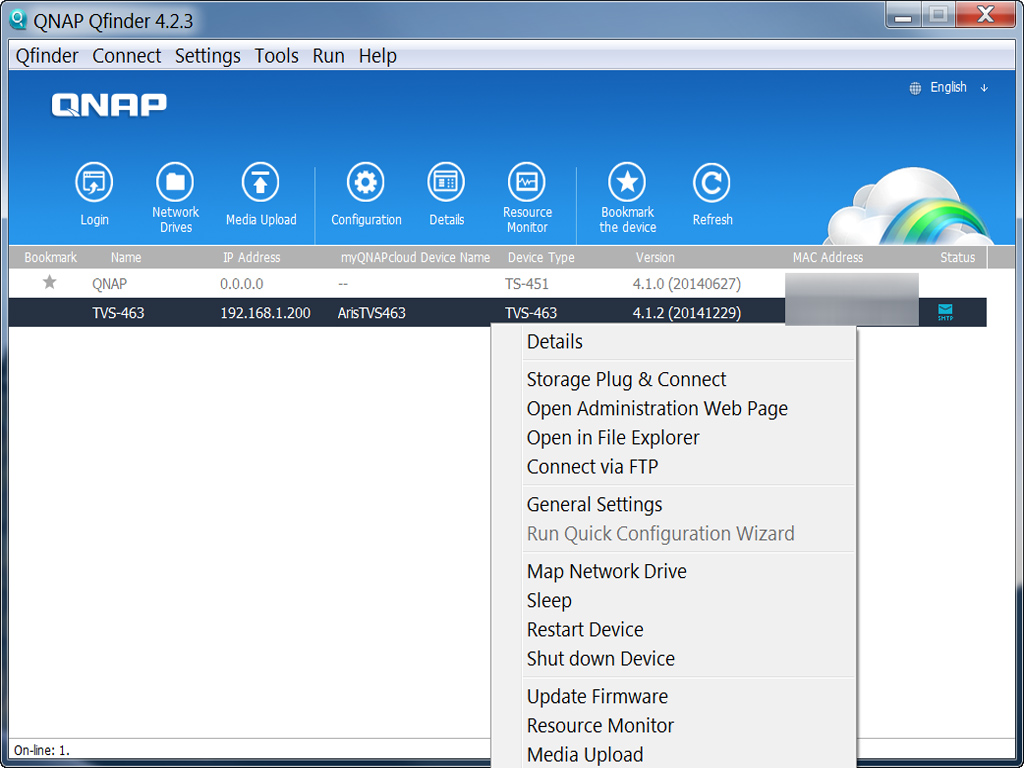
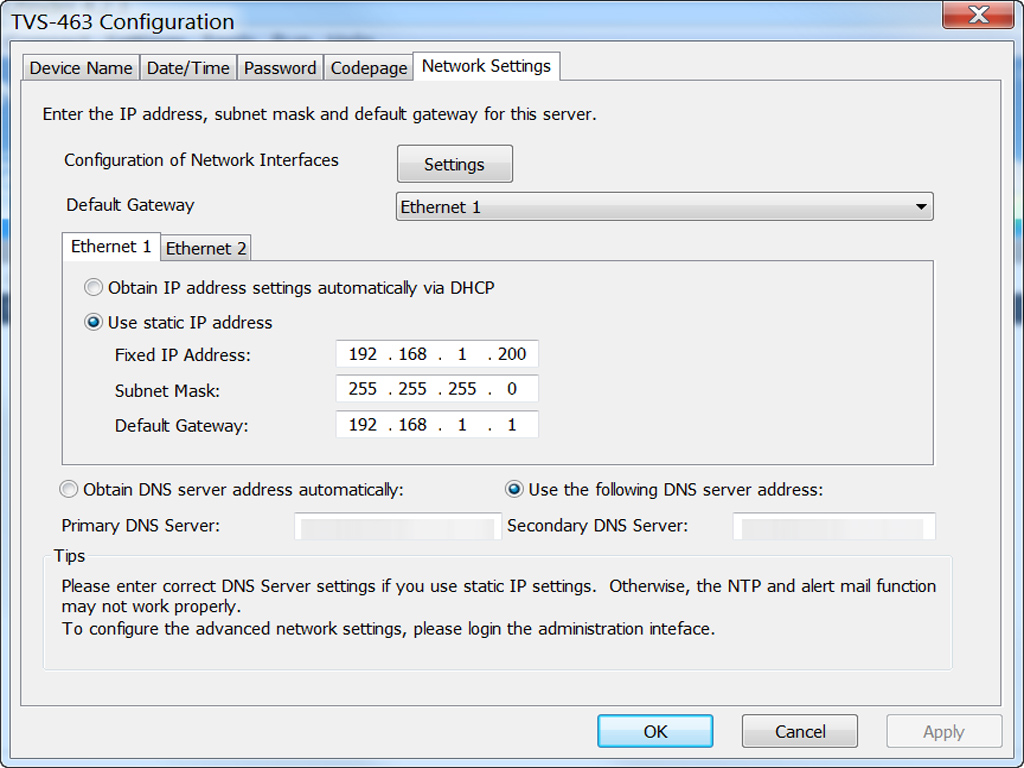
Use Qfinder to find a QNAP NAS on the network if you don't know its IP address, or to set the NAS up without the cloud installation.

QNAP also offers a lot of mobile apps for both iOS and Android operating systems.
Web Interface


After we logged into QTS for the first time, a message popped up to inform us of an available firmware update; it also asked us whether we would like to perform the update, which we did.


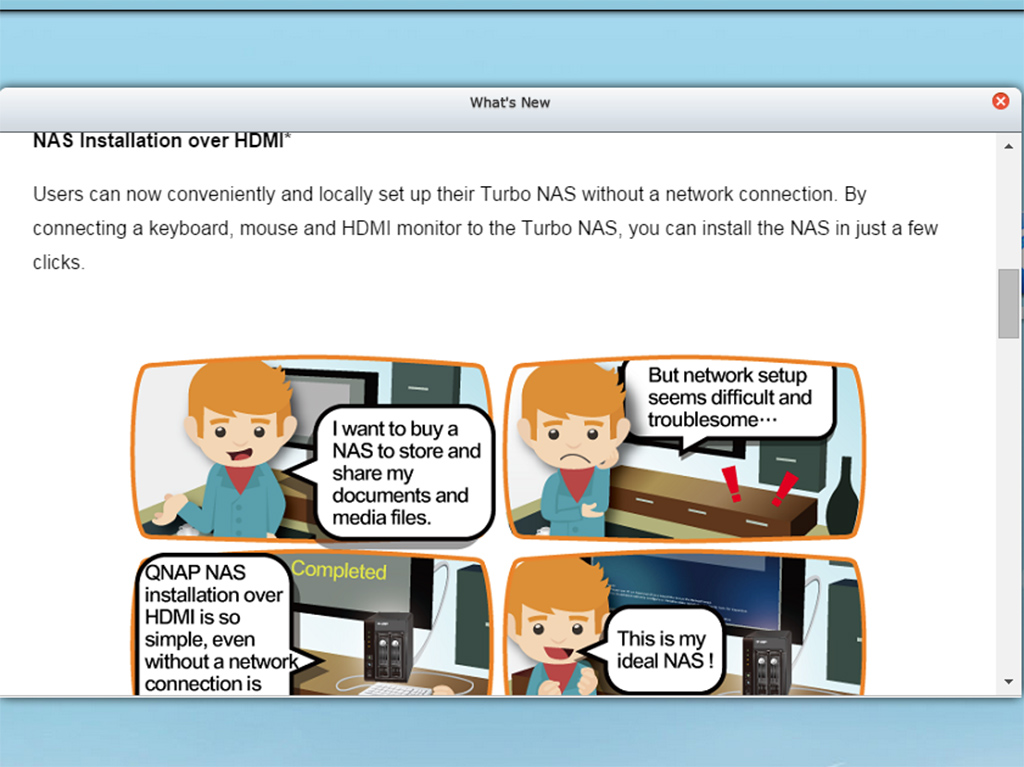

These screenshots depict the most interesting features of the new firmware (QTS 4.1.3).

The screenshot above describes all the functions and menus of the QTS desktop.

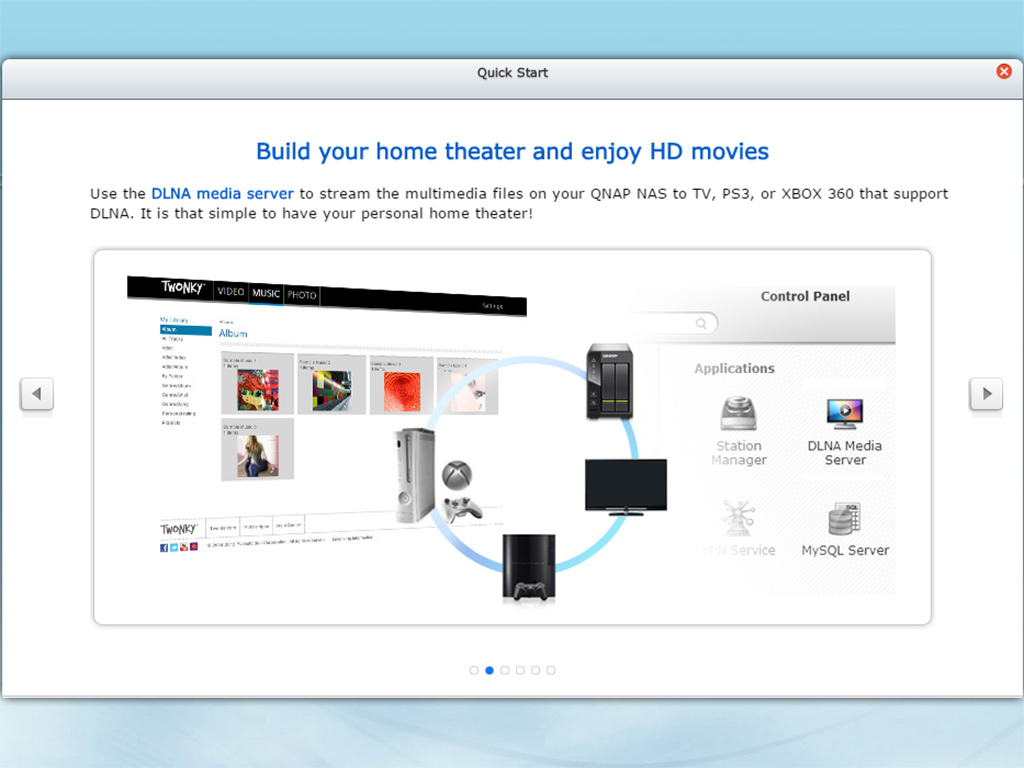
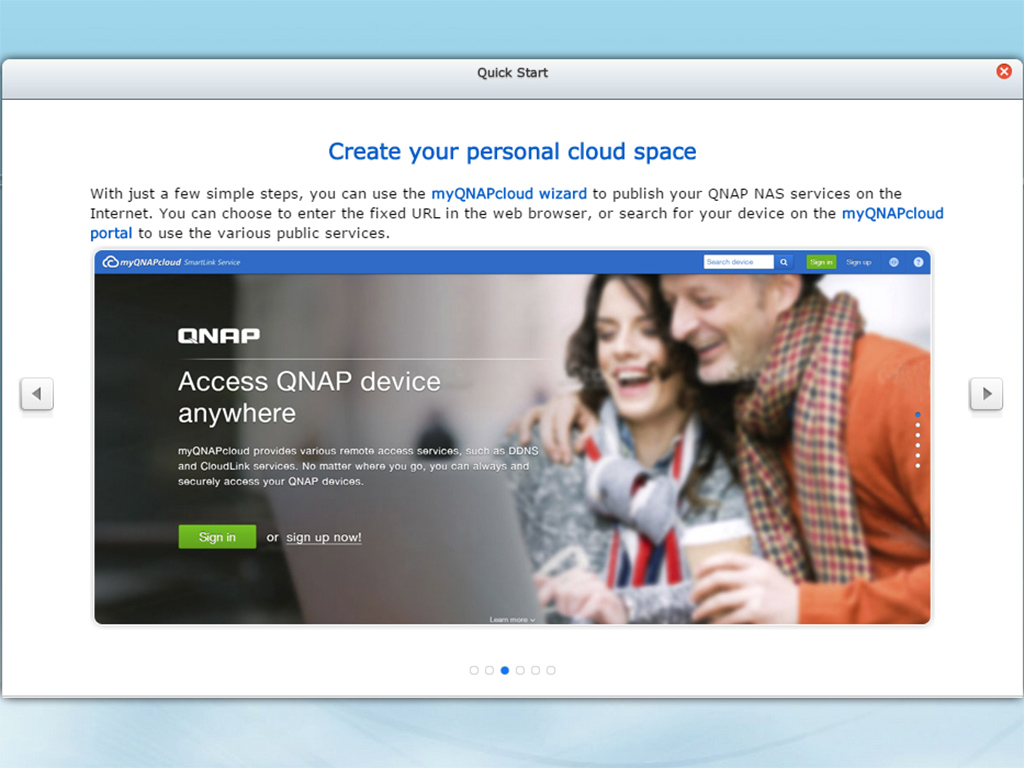

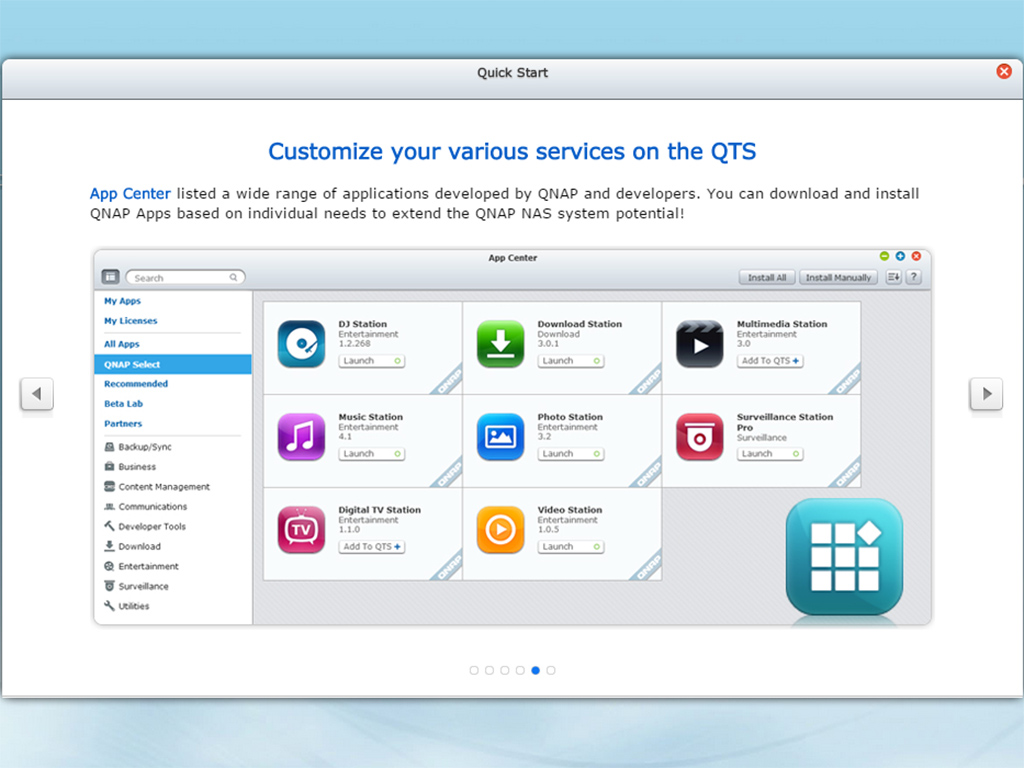
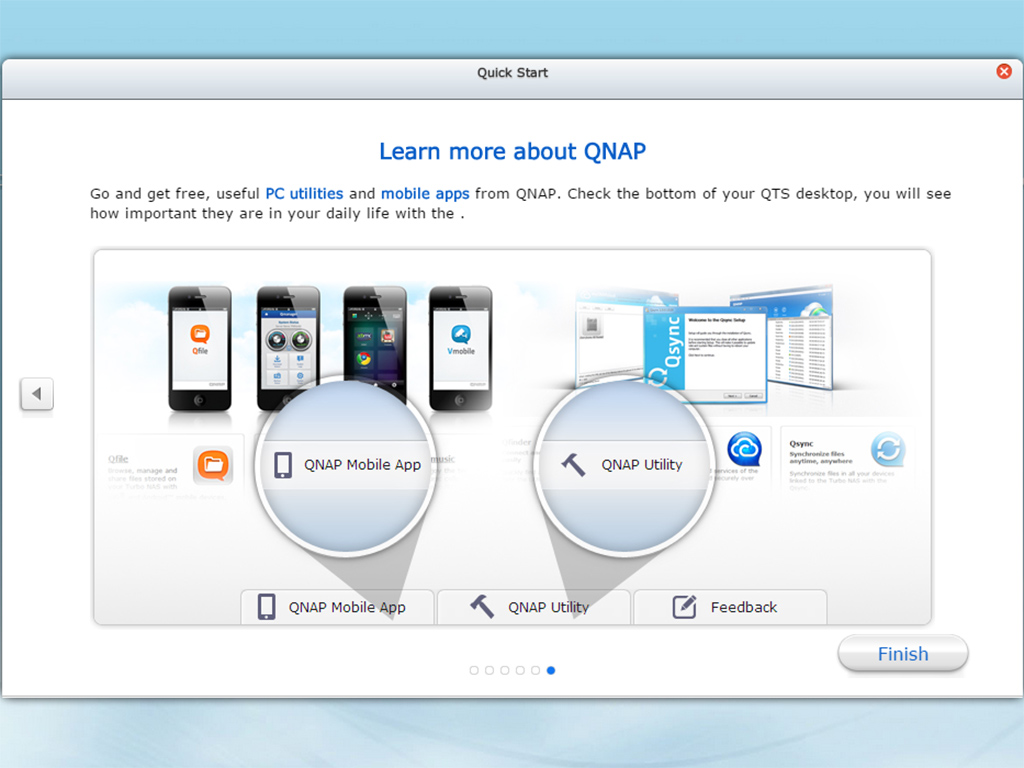
A Quick Start guide will greet you the first time you log into QTS. It'll offer to take you through a quick but highly informative tour that will familiarize you with the NAS' major functions. Make sure to take the tour if you don't have any previous experience with a QNAP product.
Apr 27th, 2024 20:11 EDT
change timezone
Latest GPU Drivers
New Forum Posts
- Anyone know if Rufus gets around the SSE4.2 issue with Windows 11 24H2? (25)
- On ACER V3-772G GDDR5 laptop no display (3)
- RTX 3080 and RX 6800XT video/graphics cards (4)
- Your PC ATM (34514)
- Best SSD for system drive (107)
- Core PL1 + GPU PL1 + Ring EDP OTHER (11)
- Which air cooler for a ryzen 9 5900x (168)
- Black screens leading to restarts (Event ID 18) on AMD platform since changing graphics card (45)
- Usb 3.2 and usbc speeds became very slow (6)
- Looking for recommendations to upgrade the GPU (16)
Popular Reviews
- Ugreen NASync DXP4800 Plus Review
- HYTE THICC Q60 240 mm AIO Review
- MOONDROP x Crinacle DUSK In-Ear Monitors Review - The Last 5%
- Upcoming Hardware Launches 2023 (Updated Feb 2024)
- Thermalright Phantom Spirit 120 EVO Review
- AMD Ryzen 7 7800X3D Review - The Best Gaming CPU
- FiiO K19 Desktop DAC/Headphone Amplifier Review
- Alienware Pro Wireless Gaming Keyboard Review
- ASUS Radeon RX 7900 GRE TUF OC Review
- Corsair 2000D Airflow Review
Controversial News Posts
- Windows 11 Now Officially Adware as Microsoft Embeds Ads in the Start Menu (139)
- Sony PlayStation 5 Pro Specifications Confirmed, Console Arrives Before Holidays (117)
- NVIDIA Points Intel Raptor Lake CPU Users to Get Help from Intel Amid System Instability Issues (106)
- AMD "Strix Halo" Zen 5 Mobile Processor Pictured: Chiplet-based, Uses 256-bit LPDDR5X (103)
- US Government Wants Nuclear Plants to Offload AI Data Center Expansion (98)
- AMD's RDNA 4 GPUs Could Stick with 18 Gbps GDDR6 Memory (95)
- Developers of Outpost Infinity Siege Recommend Underclocking i9-13900K and i9-14900K for Stability on Machines with RTX 4090 (85)
- Windows 10 Security Updates to Cost $61 After 2025, $427 by 2028 (84)