 28
28
Reyee RG-E5 WiFi 6 Router Review
Setup & Customization »Closer Look


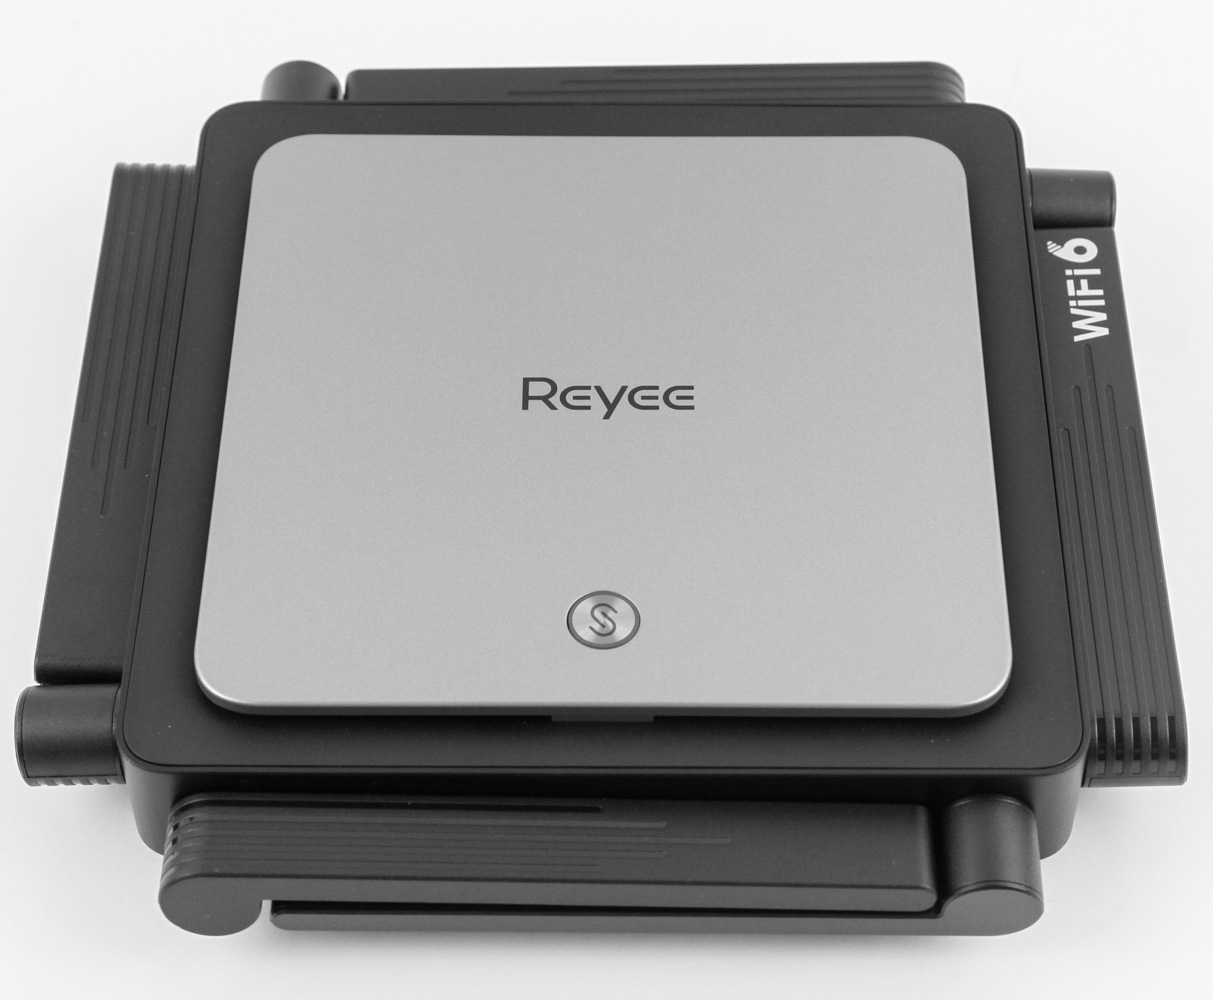


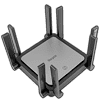
The various photos I saw on the product page mostly show the Reyee RG-E5 with the antennas up and ready to go, so imagine my surprise when I saw this 19 x 19 x 4 cm flat-packed thing inside the product box! It weighs ~1.3 kg but does not feel like it in the hands owing to the full plastic chassis used. It does not feel cheap, importantly enough, and the two-tone color scheme works well while still being understated. The folded configuration also makes it easier to store the router and a look from the side reveals exactly how the eight antennas are set up. This means you can raise up all or some of them as well as angle them to point towards the devices that will make use of the WiFi connectivity on offer. Branding comes in the form of the Reyee logo on the gunmetal gray section in the middle and the WiFi 6 print on one of the antennas which does feel unnecessary. Underneath the logo is a multi-functional button and a multi-colored LED indicator light shines through the gap between the two sections.


You need to get the antennas out of the way on the back to access the ports here. Reyee provides a power and reset port in addition to a yellow-colored GigE WAN port and four GigE LAN ports. No multi-gigabyte ports on offer here although they come with individual indicator LEDs if you like that. Otherwise we see plenty of ventilation cut into the plastic on the back and sides for airflow and passive cooling of the hardware inside. There are layers to the chassis courtesy the injection molded plastic parts used and the bottom side has two long rubber strips that help provide friction against the resting surface as well as prevent any scratches the router casing itself. Removing these pads reveals Phillips head screws that keep the router assembled.


Of course, that meant I had to try and take the router apart after all testing was completed. The Reyee RG-E5 uses two pieces of plastic that snap fit together so you need to be careful taking it apart—even assuming there is a valid reason for you to do so given this will void warranty. There are also four pins to worry about in addition to the screws and a thin, flat object helps remove the top panel piece. Now we see there is more ventilation here too and the button is merely a cover that presses down on the actual smaller button on the PCB underneath. But with large heat sinks in use, there is not a lot to talk about here given I have no idea what Reyee is using for the CPU—probably a low power quad core processor as with most such routers today—and wireless SoC. There's no doubt also some RAM here and flash memory too, so hopefully the photos above will at least be good enough to show this is not suffering from cooling issues at least. Note also the various antennas plugged in via long flexible cables as well as that ridiculously thick and hard thermal interface material on top of the controller/SoC to the top.


With all eight antennas already discussed earlier, the only thing to do for set up is to plug in the power cable and provided Ethernet cable going from an available LAN port on your modem or gateway to the WAN port as seen above. There is no on/off switch on the router itself so you will immediately see the indicator LED turn on here. This will flash for a while before it detects an internet connection. The LED also turns a different color if you put the router in mesh pairing mode as mentioned in the user manual so it also helps distinguish between the various operating states of the device.
Jun 4th, 2024 18:58 EDT
change timezone
Latest GPU Drivers
New Forum Posts
- Insyde software announces AI BIOS! (2)
- Throttlestop Issue on Turbo Boost Unlocked Xeons (2)
- Zen5 only 16 core. (20)
- Need help reaching Package C8 on Intel N100 (22)
- Star Wars: Outlaws - Let's be honest, who's gonna pre-order on UbiSoft? (37)
- Would you pay more for hardware with AI capabilities? (94)
- RTX 3070 or RTX 3080? (79)
- PC Build for customer arrived damage (37)
- What's your latest tech purchase? (20731)
- [Help] New (used) 10700 not working? (0)
Popular Reviews
- Intel Lunar Lake Technical Deep Dive - So many Revolutions in One Chip
- Kioxia Exceria Plus G3 2 TB Review
- Corsair iCUE XC7 RGB Elite LCD CPU Water Block Review
- SilverStone KL07E Review
- NZXT H6 Flow RGB Review
- Upcoming Hardware Launches 2024 (Updated May 2024)
- Elysian Acoustic Labs Pilgrim In-Ear Monitors Review
- AMD Ryzen 7 7800X3D Review - The Best Gaming CPU
- NuPhy Air96 V2 Low Profile Wireless Mechanical Keyboard Review
- Ghost of Tsushima Performance Benchmark Review - 35 GPUs Tested
Controversial News Posts
- NVIDIA to Only Launch the Flagship GeForce RTX 5090 in 2024, Rest of the Series in 2025 (154)
- AMD Hits Highest-Ever x86 CPU Market Share in Q1 2024 Across Desktop and Server (140)
- AMD RDNA 5 a "Clean Sheet" Graphics Architecture, RDNA 4 Merely Corrects a Bug Over RDNA 3 (139)
- NVIDIA RTX 5090 "Blackwell" Founders Edition to Implement the "RTX 4090 Ti" Cinderblock Design (118)
- Core Configurations of Intel Core Ultra 200 "Arrow Lake-S" Desktop Processors Surface (101)
- Biden Administration to Revive Trump-Era Tariffs on China-made GPUs and Motherboards (95)
- AMD Ryzen 9000 Zen 5 Single Thread Performance at 5.80 GHz Found 19% Over Zen 4 (88)
- ASRock Innovates First AMD Radeon RX 7000 Graphics Card with 12V-2x6 Power Connector (88)