 5
Scythe Katana Cu Review
(5 Comments) »Introduction
I would like to thank Scythe for supplying the tested cooler.| Model Name | SCKTN-CU1000 |
|---|---|
| Compatibility Intel | Socket 370 all speeds Socket 478 all speeds Socket 775 (LGA775) all speeds |
| Compatibility AMD | Socket 462 all speeds |
| Fan Dimensions | 92 x 92 x 25mm |
| Combined Dimensions | 96 x 96 x 138mm |
| Fan Speed | 1200 ~ 2500rpm (±10%) |
| Fan Noise Level | 15.00 ~ 31.65dBA |
| Air Flow | 23.92 ~ 50.31CFM |
| Weight | 590g |
Packaging

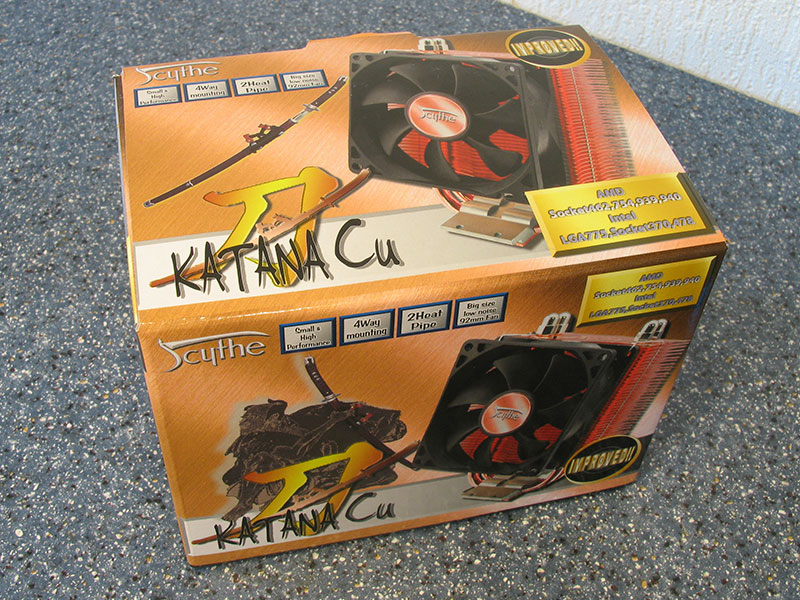
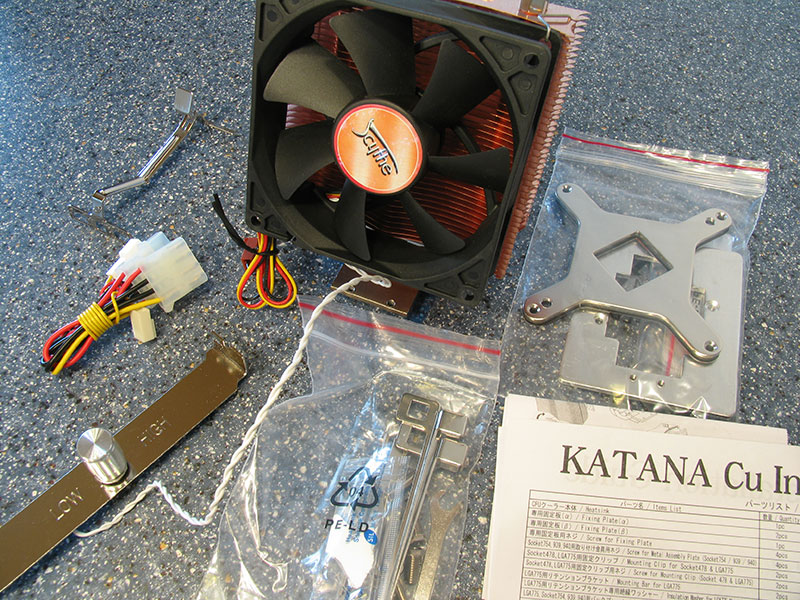
Box contents:
- CPU Cooler
- Mounting clips for Socket 775
- Mounting clips for Socket 754, 939, 940
- Mounting clips for Socket 478
- Instruction manual
- Fan speed controller
- Fan power cable
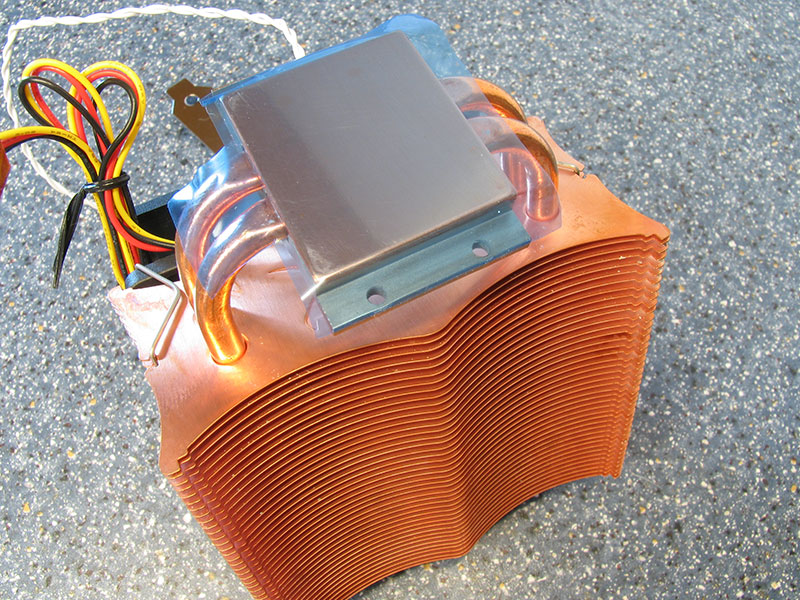
The cooler's base plate is protected by a plastic foil which is easily removed. However, I found that a bit of the adhesive glue remained on the cooler's base. This should not affect cooling performance.
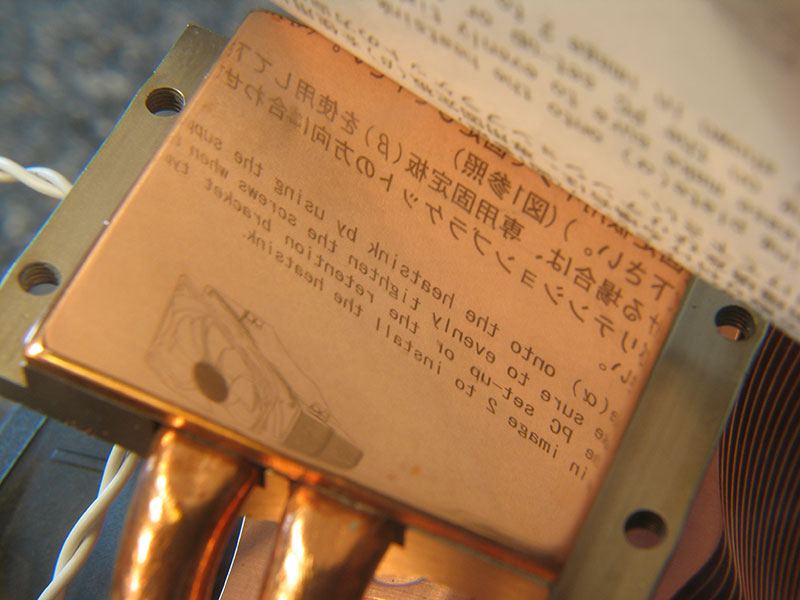
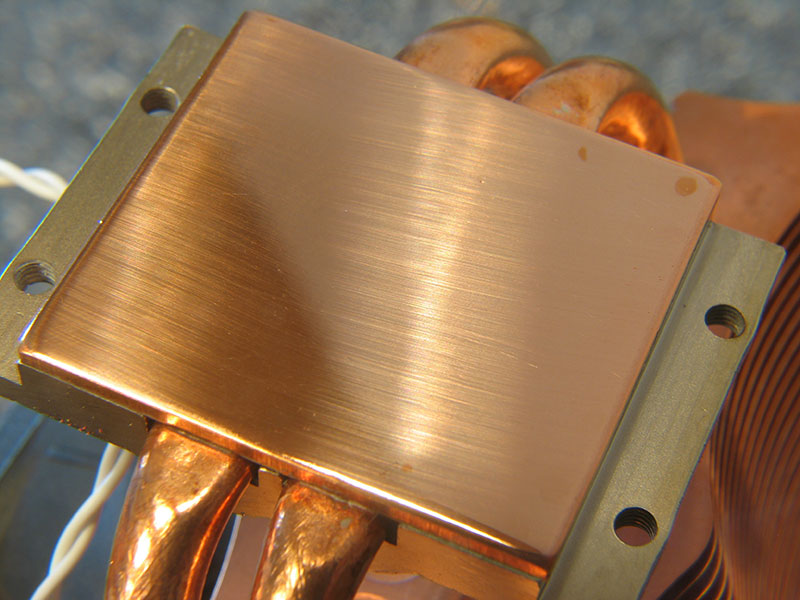
Like on all Scythe products the heatsink base is very flat and highly reflective. A few minor milling marks can be seen but these should not affect cooling performance.


The cooler uses an all copper construction. A large number of fins makes sure to transfer as much heat as possible from the heatsink to the air.

The fan is attached with metal clips that can be easily removed to accommodate your own fan.

The whole fan is angled so that its airflow can cool other components on the motherboard as well.
Installation
The installation of the Scythe Katana Cu is a bit complicated, but easy to do if you follow the manual.Depending on the socket you want to use this cooler on you have to install the right bottom plate. The manual is very precise about which plate you want to use for which socket.


First you have to screw some small metal tabs onto the plate.


Next you screw the plate into the cooler's base.


The next step you have to perform is assemble the special base plate. You screw some screws into it. This is very easy to do using the included tool.


With those two screws the cooler will be mounted. They have attached springs to evenly distribute the mounting pressure. It is still advised to take a couple of turns each, then switch to the other one for optimum mounting.
Our Patreon Silver Supporters can read articles in single-page format.
Nov 13th, 2026 21:49 CST
change timezone
Latest GPU Drivers
New Forum Posts
- Tell me about your favourite graphics card (26)
- Crimson Desert (31)
- RenoDX HDR - how to view the differnce Before&After in game? (0)
- Displayport DP80 3M (10ft) cable that can achieve 80gbps stable? (5)
- I'll flash a ASUS ROG Strix RX480 O8G in Cause of Code 43, as a Newbie (1)
- Opinion on Monitor Replacement (6)
- TMOG - post your benchmark results here (16)
- no "PhysX" workable (7)
- Microsoft Exchange/365 outages? (61)
- Unallocated space in ssd , is it normal? (18)
Popular Reviews
- AMD Zen 6 Technical Deep Dive
- Corsair HX1000i Shift Crystal Review
- NZXT C1200 Platinum Review
- Upcoming Hardware Launches 2027 (Updated Nov 2026)
- ASUS ROG Strix B850-I Gaming Wi-Fi7 W Review
- Montech King 95 3D PRO Review
- NZXT H7 RGB+ Review
- NZXT H5 Review
- Phantom Blade Zero Performance Benchmark Review - 35 GPUs Tested
- XPG NIMBUS PLUS Review - Mid-range Chair With Strong Competitors
TPU on YouTube
Controversial News Posts
- NVIDIA Co-Founder and CEO Jensen Huang Officially Resigns (379)
- OpenAI CEO Argues Home PCs Waste the World's Limited DRAM Supply (152)
- NVIDIA Launches Investigation Into Jensen Huang's Relationship With Suspected Chinese Spy (136)
- Intel "Raptor Lake Next" 16-Core and 20-Core CPUs Surface (130)
- Legendary Game Studio BioWare Shuts Down Following EA Layoffs (104)
- Dell CEO Says the Memory Shortage Will Get Worse in 2027 (95)
- NVIDIA GeForce RTX 50-Series Scheduled for up to $500 Price Hike This Week (89)
- Modder Fits RTX 5090 With Four 8-Pin Connectors, Halving Current per Wire (80)