 4
Sudokoo Proteus 360 Review
Finished Looks »Installation
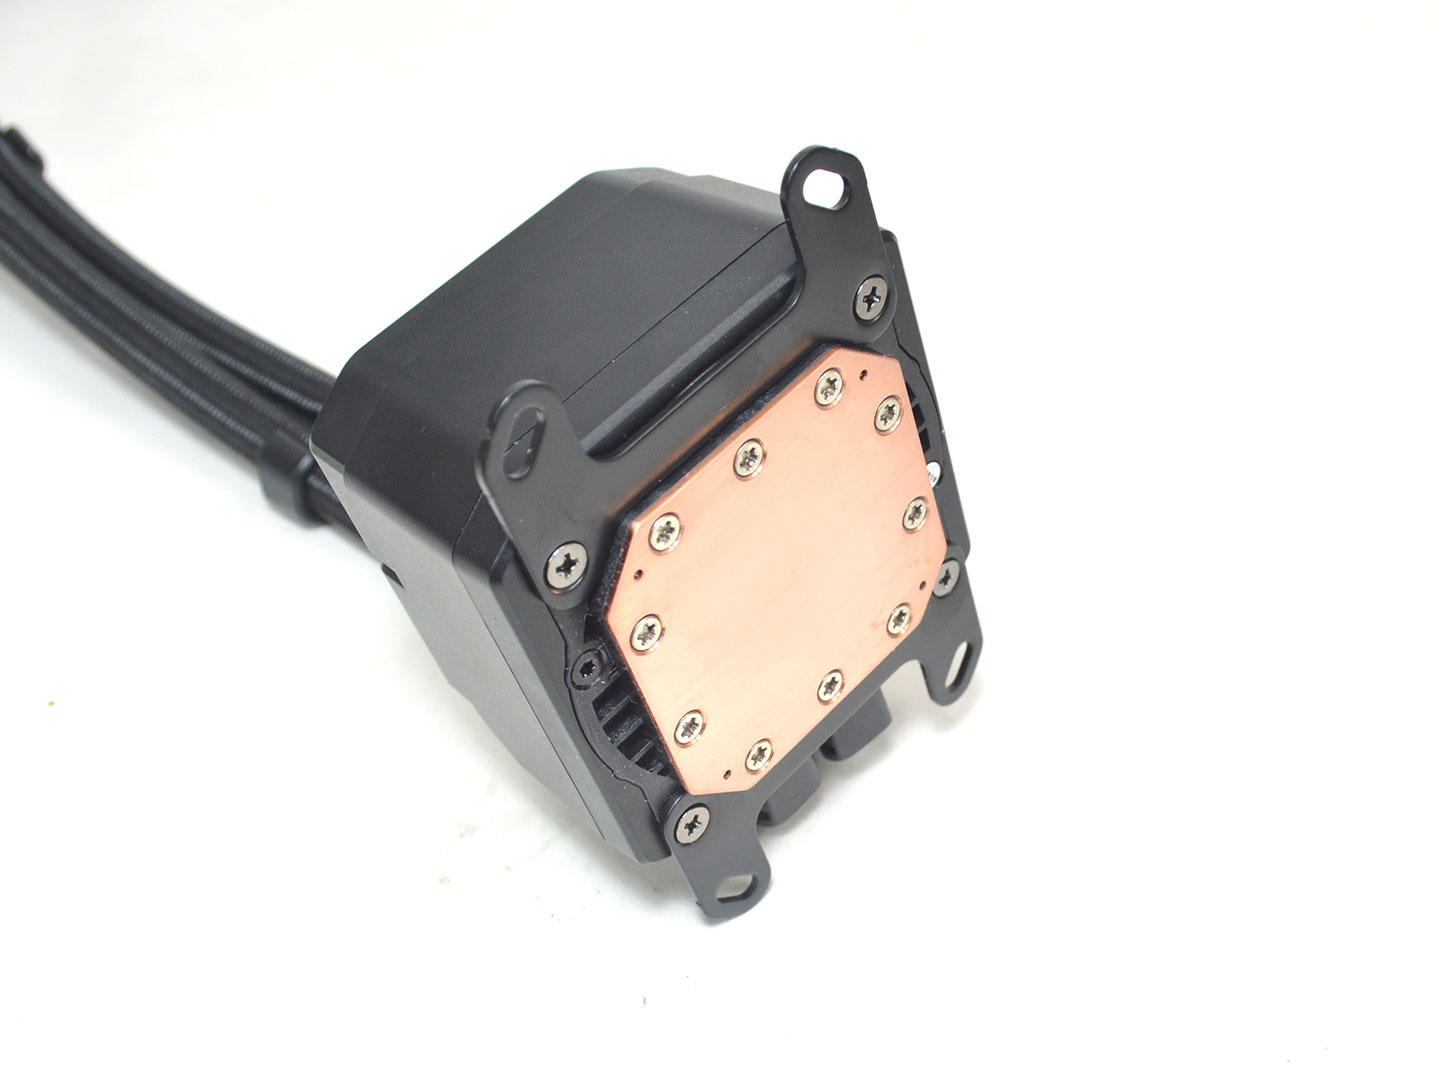
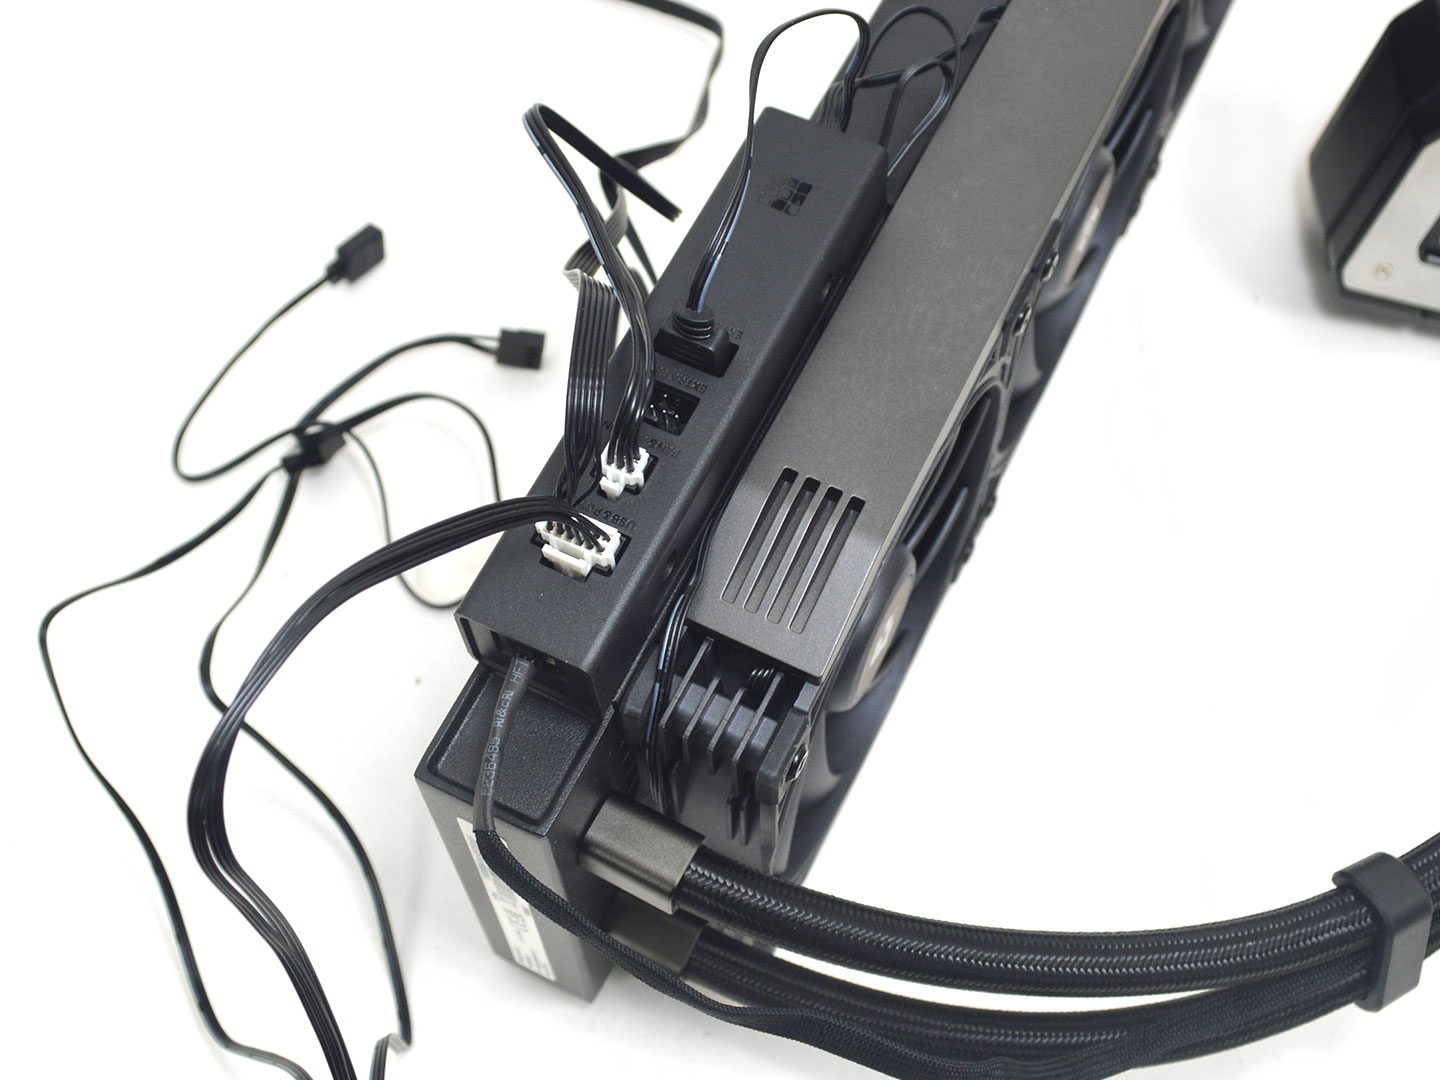
The first step to installing the Proteus 360 is to attach the proper brackets to the pump block. In this case that would be the AMD brackets. Once the two brackets are secured with the proper screws you will want to sort out the Sudokoo Linker Hub. It can be detached from the radiator if you want, but, regardless now is a good time to connect the bulk of the cables or disconnect the ones you need to before going further.
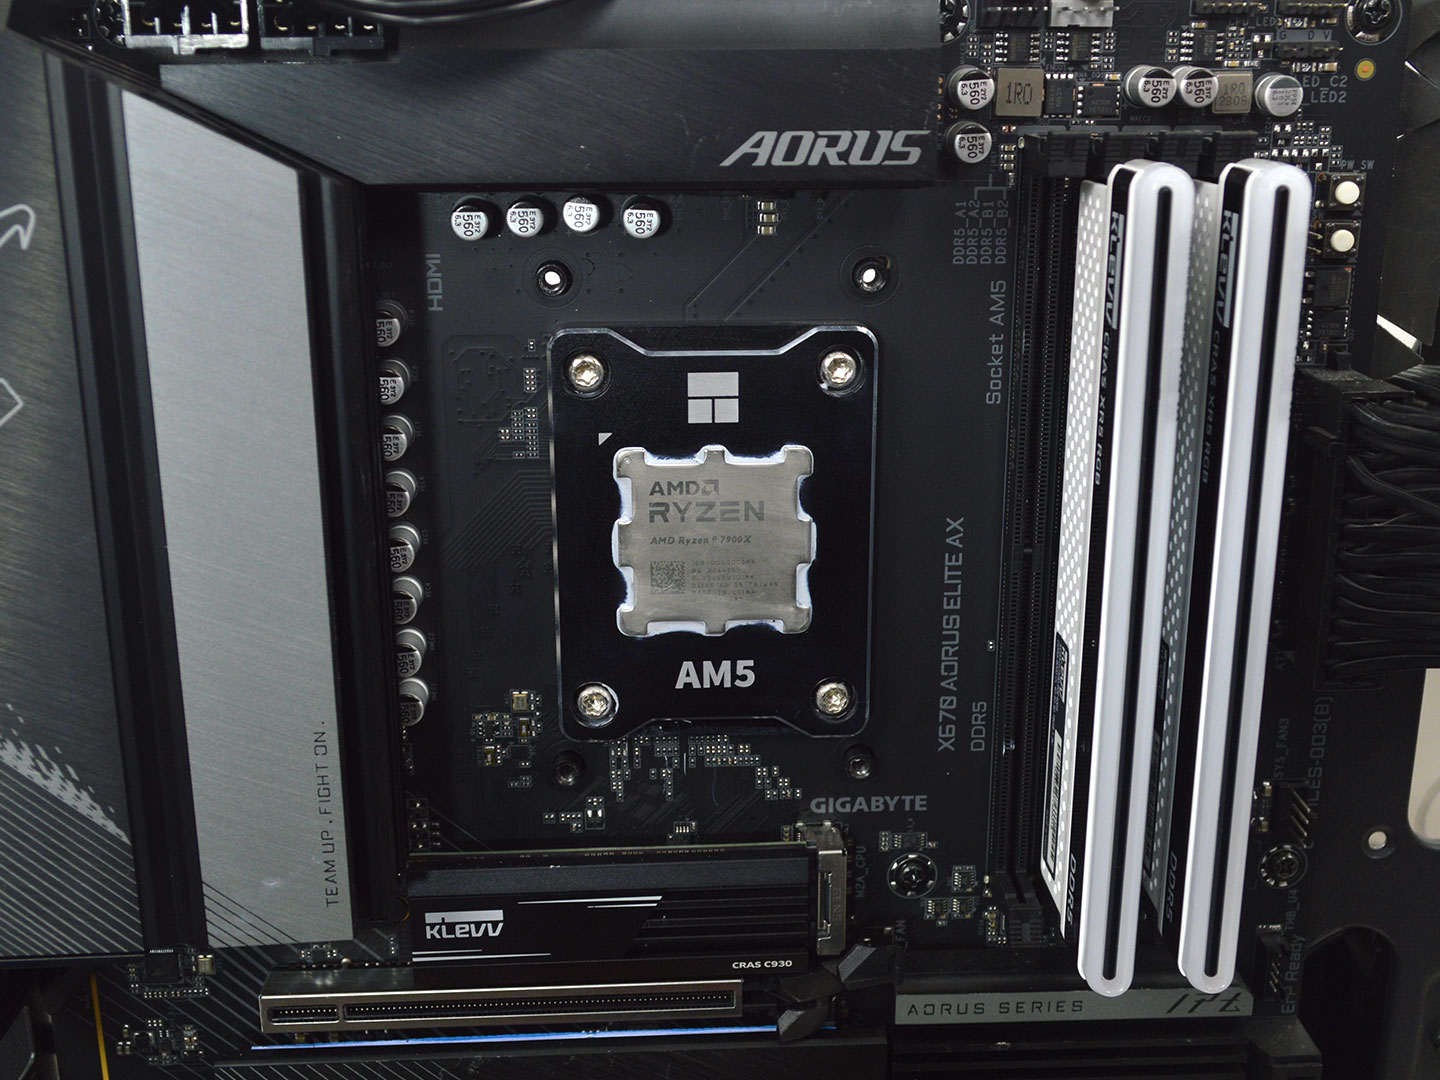
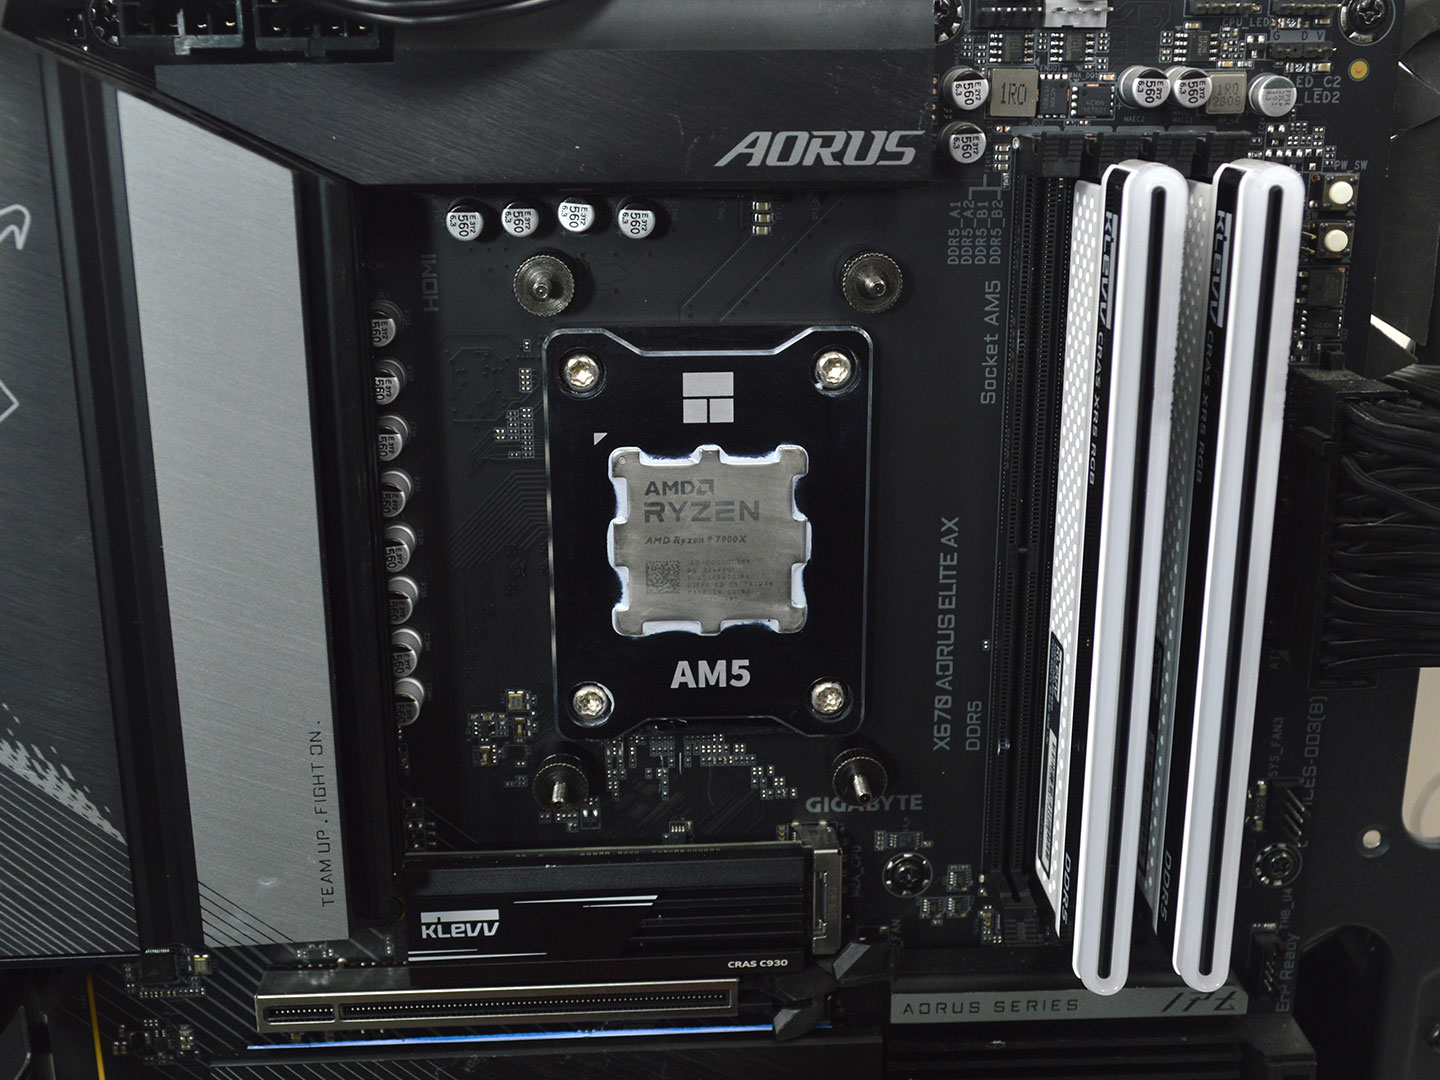
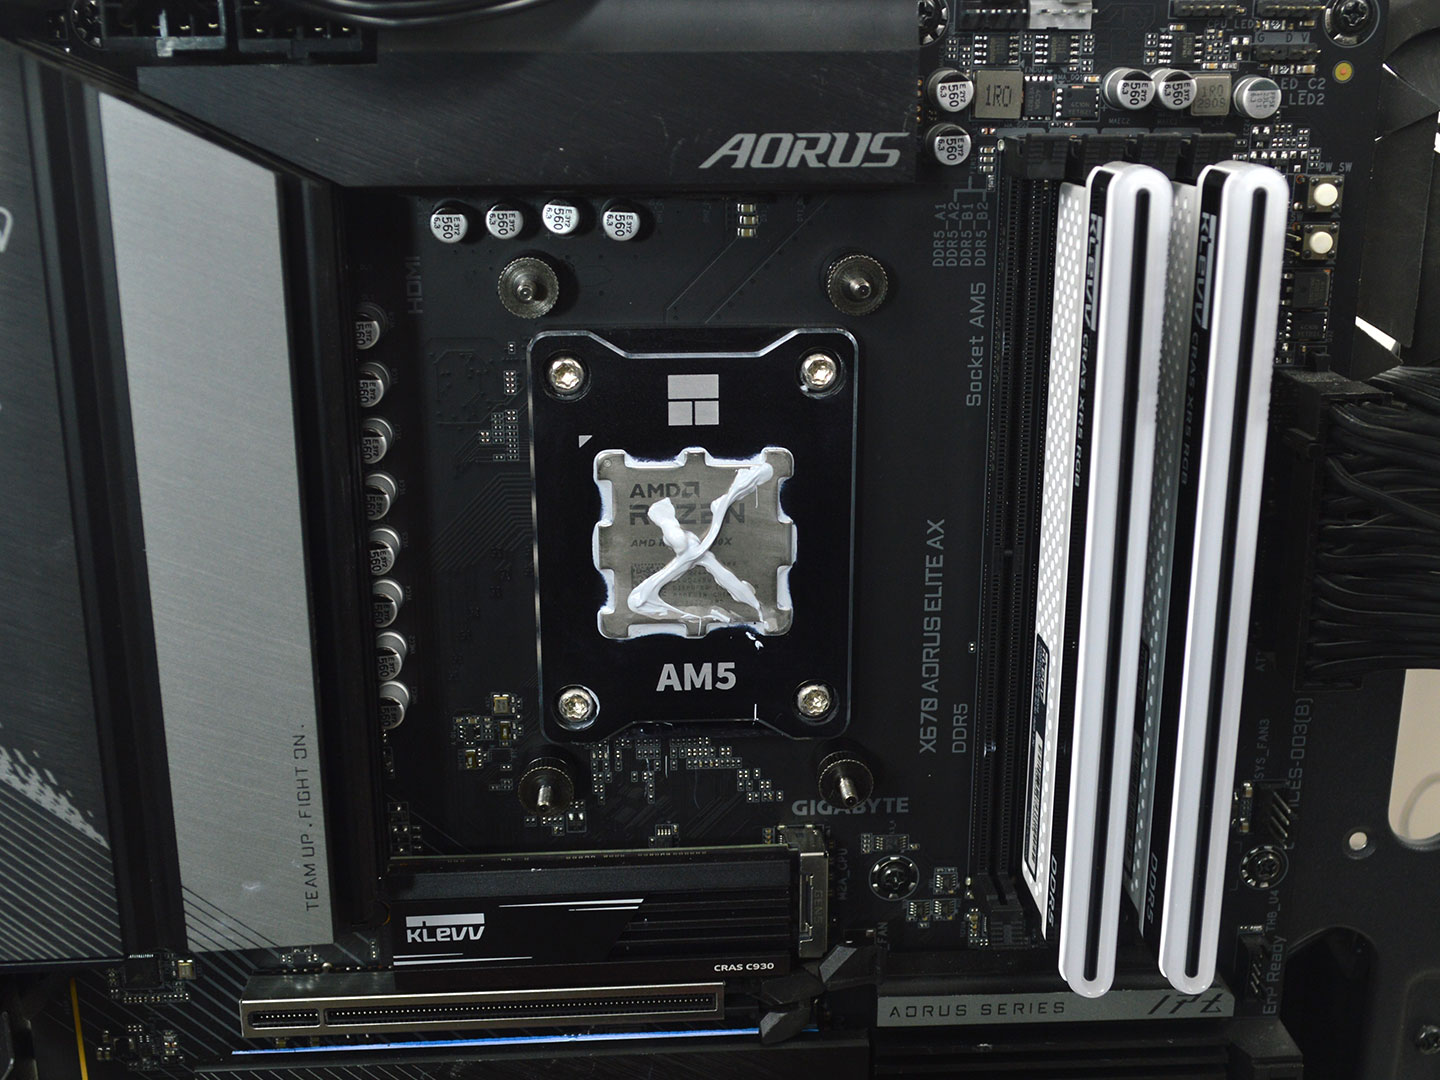
Now remove the plastic brackets from the AMD motherboard and install the included standoffs. After which you can use the cooler as is with the pre-applied thermal paste, or you can remove it and use your preferred paste instead. For testing, I used Arctic's MX6.

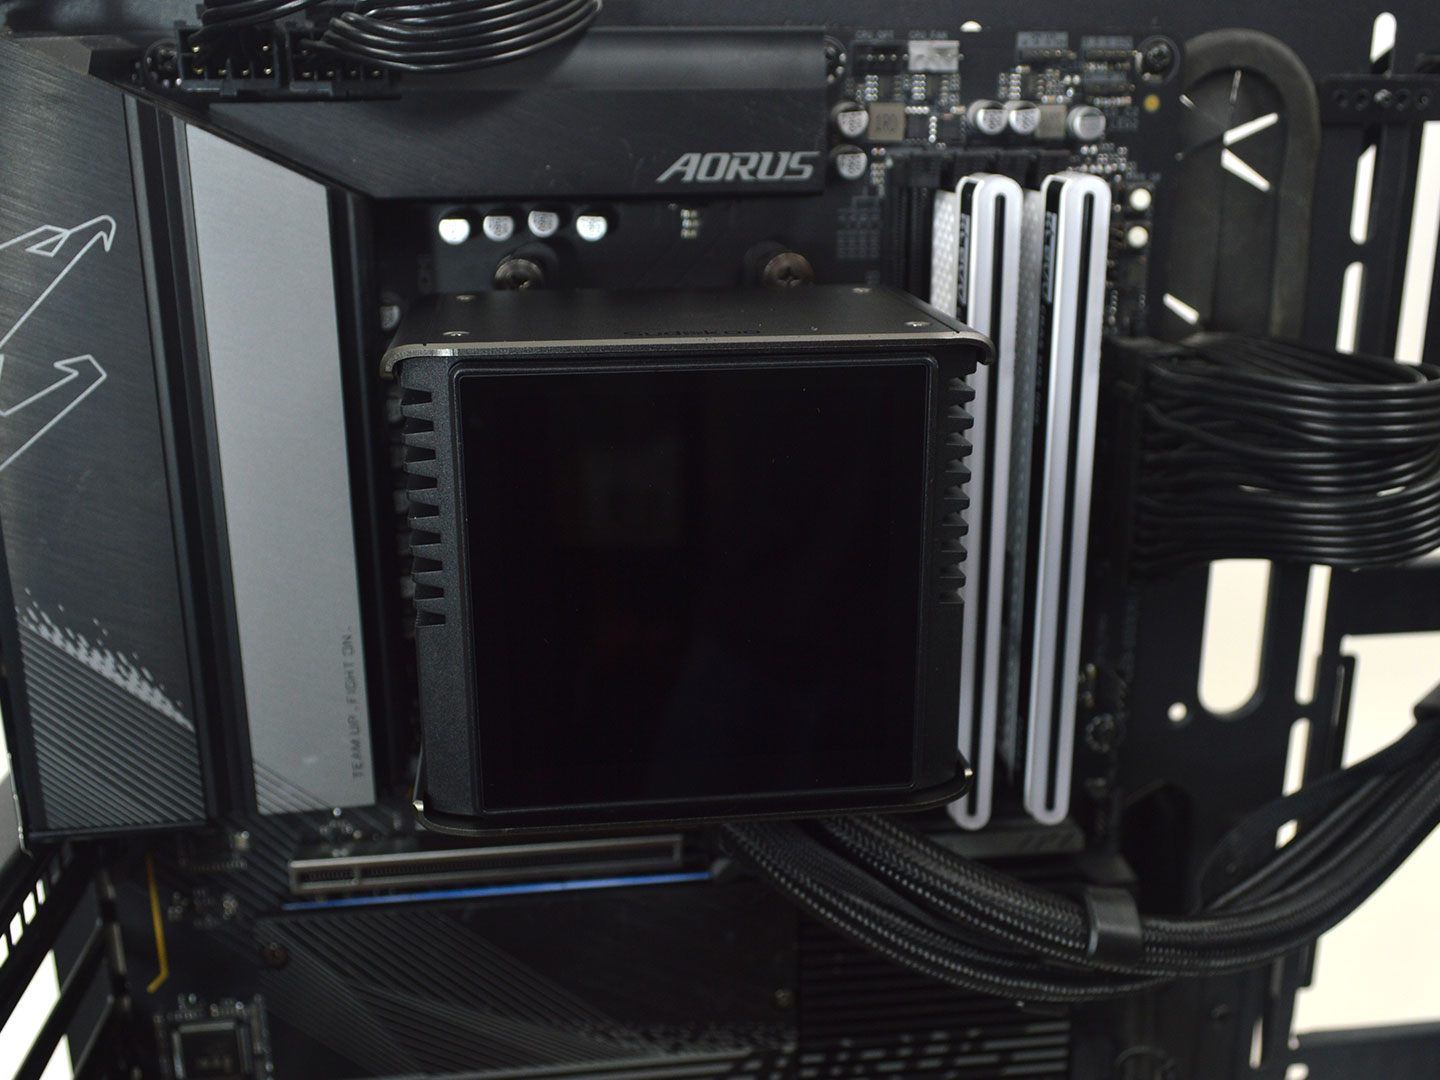
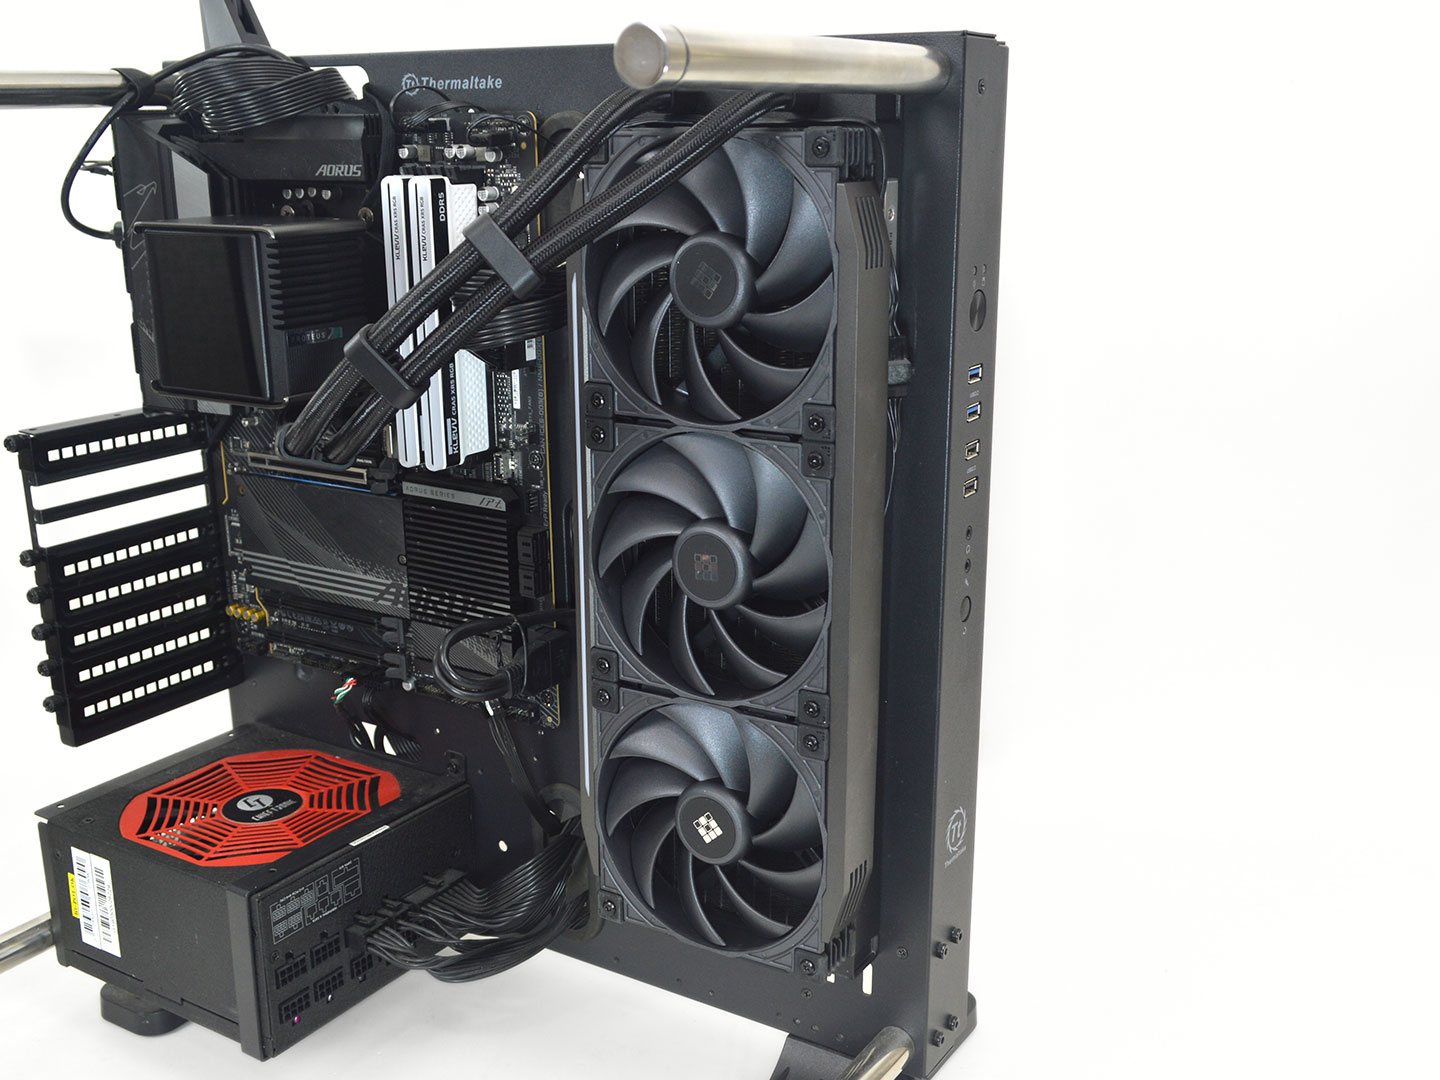
Once that is done, It's time to position the pump block on the CPU and secure it with the included thumb nuts. Make sure to alternate in a crisscrossing pattern for even pressure. Now that the pump is secure you can position the LCD on the pump and then install the radiator.
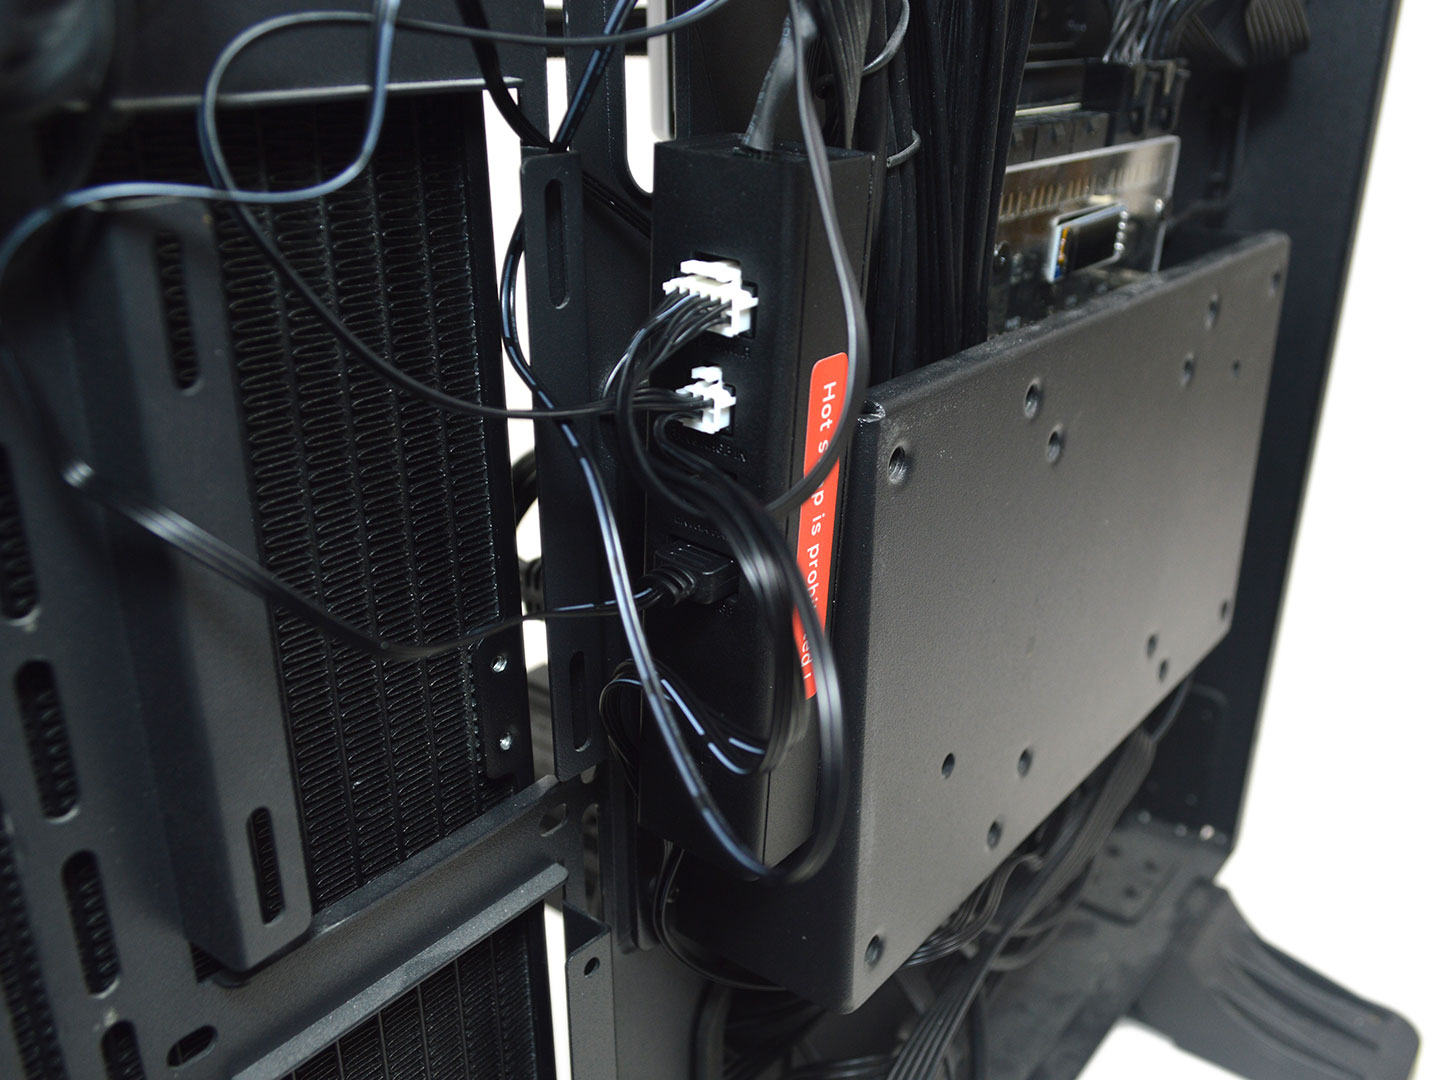
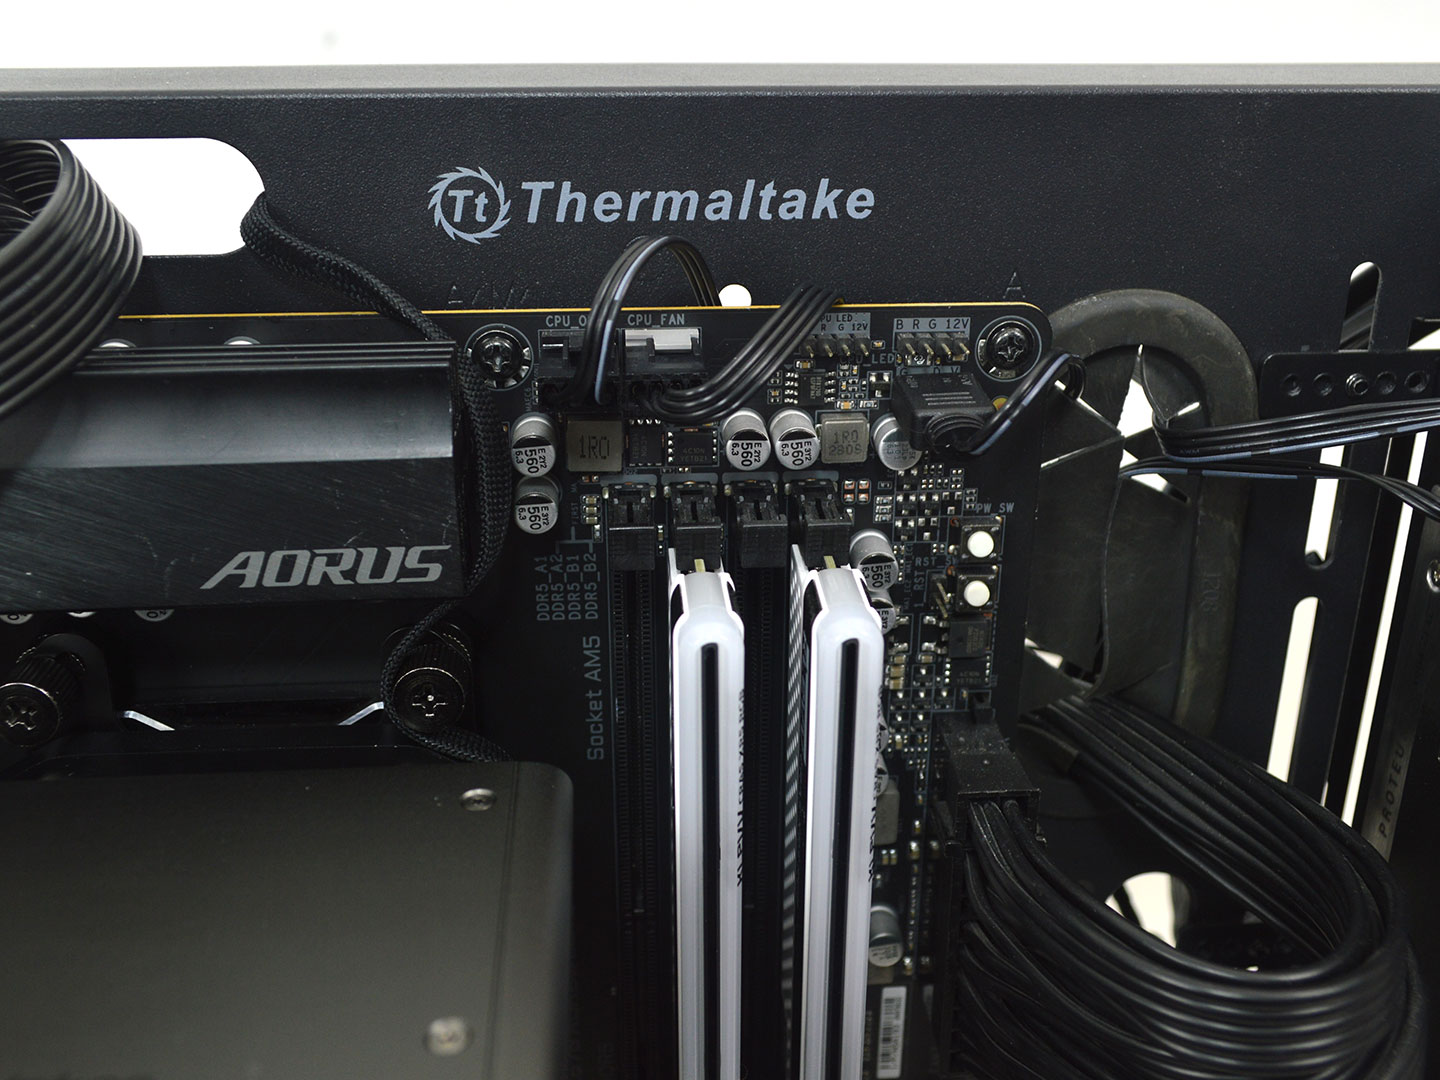
Once everything its secured you can now route the cables using the Linker Hub. Just make sure to grab the MasterCraft software for full control of the display.
Overall, the installation is pretty straightforward on AMD and Intel with no major complications or issues. The software also worked as intended without no issues or noted problems.
Nov 20th, 2026 14:23 PST
change timezone
Latest GPU Drivers
New Forum Posts
- Logitech Headsets Modded Driver — Unlock Dolby in G HUB (23)
- 1 - 5 person file storage server equivalent accasible from anywhere + general VM server. (1)
- WarpCoreBench scores! (81)
- How to prevent OLED burn damage due to PC freezes or power outtages? (48)
- Honestly, do you care about GTA VI? (208)
- When you could finally run Crysis maxed out? (63)
- GTA VI (20)
- Anthrophics IPO (25)
- GeekMagic Ultra Smart WiFi Weather Station (8)
- Very unusual two gaming-pc scenarios. (35)
Popular Reviews
- AMD Zen 6 Technical Deep Dive
- Ugreen NASync DXP4800 GT Review
- Microsoft Surface Laptop Ultra Review - The Next-gen Arm Laptop
- Corsair RM1200e (Second Generation) Review
- Acemagic Retro X3 Review
- Upcoming Hardware Launches 2027 (Updated Nov 2026)
- Pulsar Office Tour & First Look at P1 Dual-Sensor Mouse
- Biwin Black Opal NV7400 2 TB Review
- AMD Ryzen 7 9800X3D Memory Performance Scaling
- AMD Ryzen 7 9800X3D Review - The Best Gaming Processor
TPU on YouTube
Controversial News Posts
- NVIDIA Co-Founder and CEO Jensen Huang Officially Resigns (490)
- Report: Jensen Huang Eyes NVIDIA Comeback (256)
- Open Letter Asking NVIDIA to Reinstate Jensen Huang Passes 115,000 Signatures (184)
- OpenAI CEO Argues Home PCs Waste the World's Limited DRAM Supply (152)
- NVIDIA Launches Investigation Into Jensen Huang's Relationship With Suspected Chinese Spy (136)
- Intel "Raptor Lake Next" 16-Core and 20-Core CPUs Surface (130)
- Legendary Game Studio BioWare Shuts Down Following EA Layoffs (104)
- Dell CEO Says the Memory Shortage Will Get Worse in 2027 (95)