 5
Thermaltake TWV500 Review
(5 Comments) »Introduction
I would like to thank Thermaltake for supplying me with the unit for review.| Maximum Power | 500W |
|---|---|
| Color | Black |
| PFC | Active PFC |
| Cooling | 12cm Fan, blue LED, 1300-2800 RPM |
| Fan speed control | Auto and manual |
| Power Good Signal | 100-500ms |
| Dimensions | 15cm x 14cm x 8.6cm |
| Weight | 2.0 Kg |
| Efficiency | >70% |
Packaging
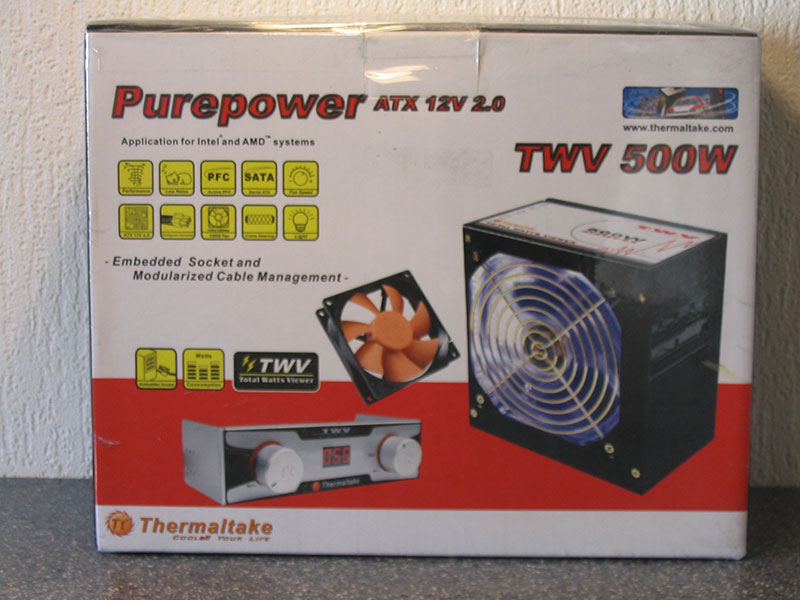
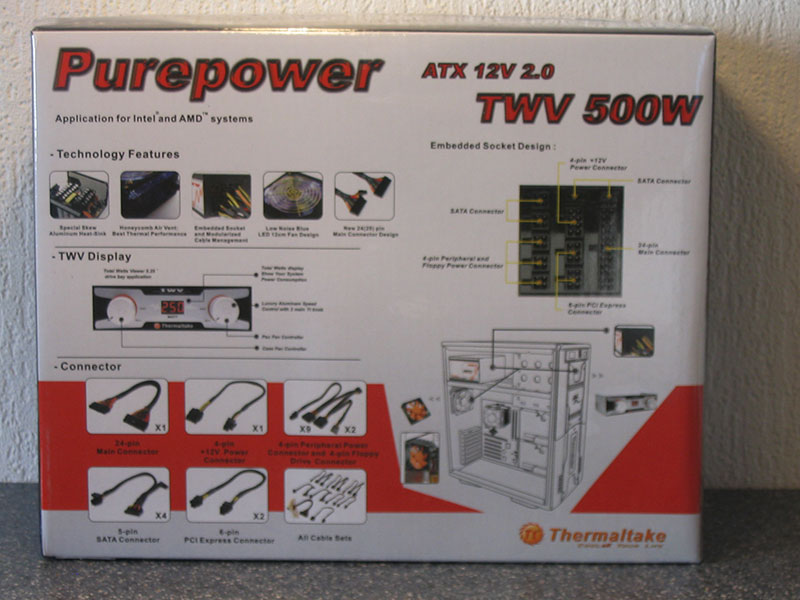
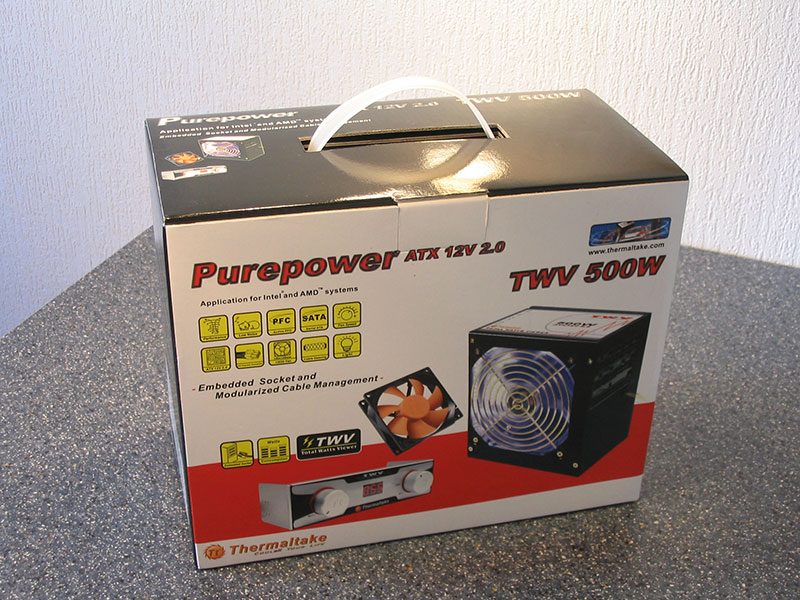
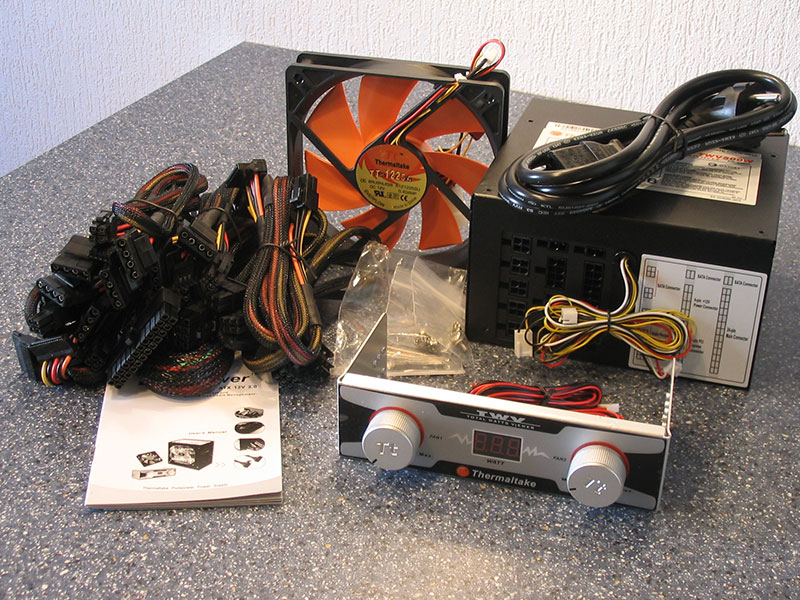
Box contents:
- Power supply unit
- English Manual
- Power Cord
- Three Screw packages
- 120mm Fan
- 5.25" Drive Bay Watts Viewer
- Cables
| Connectors | Main Power | 5.25" | Floppy | 4 Pin CPU | SerialATA | PCI-E Aux Power |
|---|---|---|---|---|---|---|
| ATX 24 Pin | 9 | 2 | 1 | 4 | 2 |

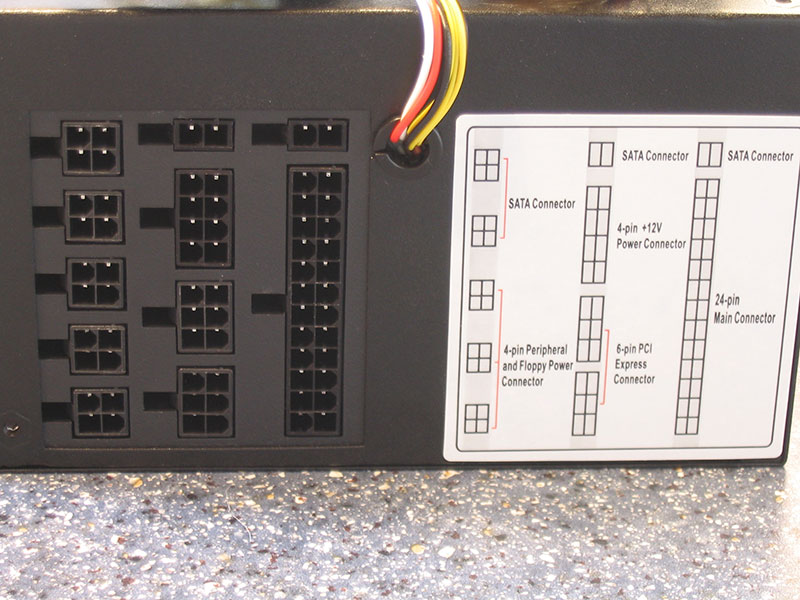
Modularity is becoming more and more popular in power supplies. The placement of the individual connectors is intelligent. The hardest one to reach, when the PSU is installed in the case, is the ATX power connector, which you will probably never remove. The easiest to plug in and out are the drive connectors.
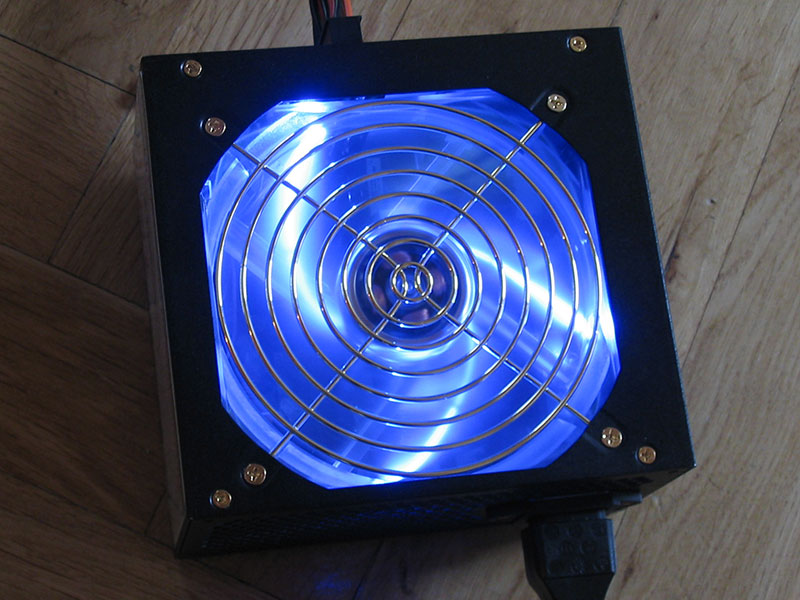
When switched on, the inside fan is lighting up blue.
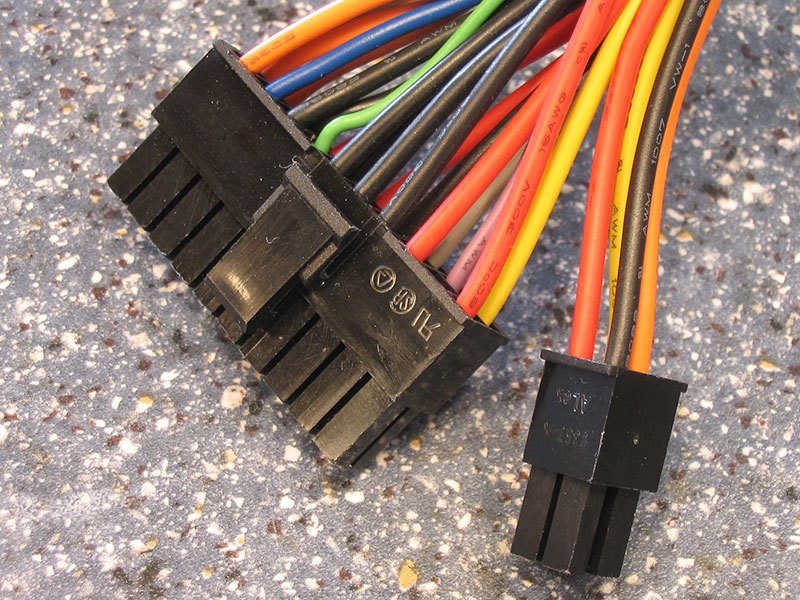
The motherboard power connector is compatible with both ATX 20 pin and 24 pin. If you have an ATX 20 connector on your board, just do not plug in the additional plug.
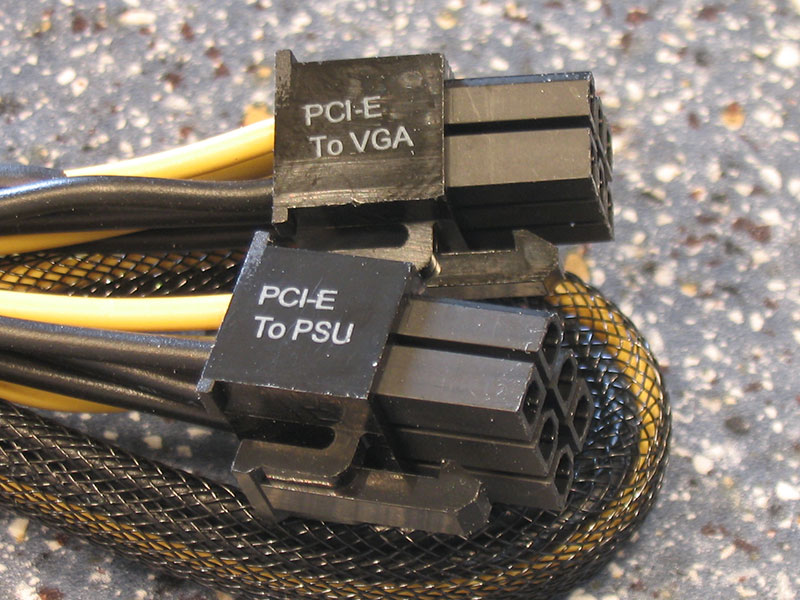
Two cables to power PCI-Express video cards are included with the PSU. Since both ends of the cable have the same plug, each plug is labelled, where it goes.
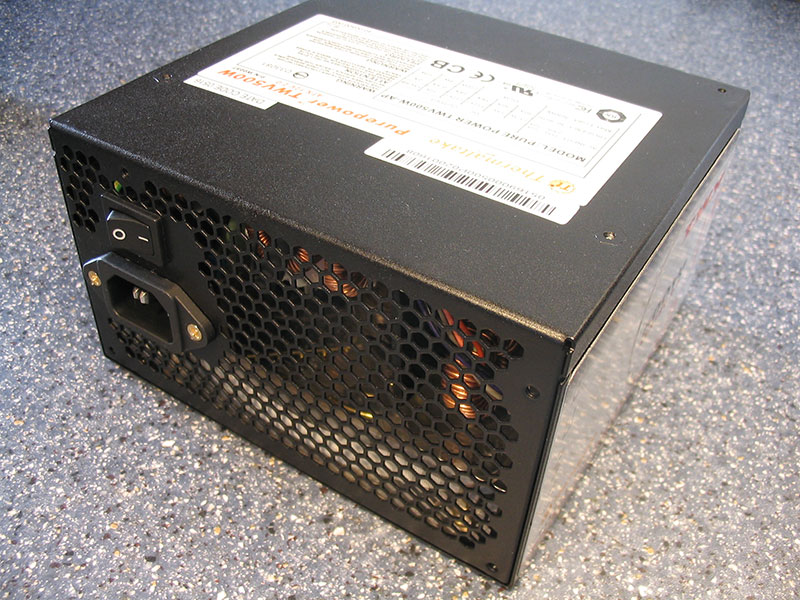
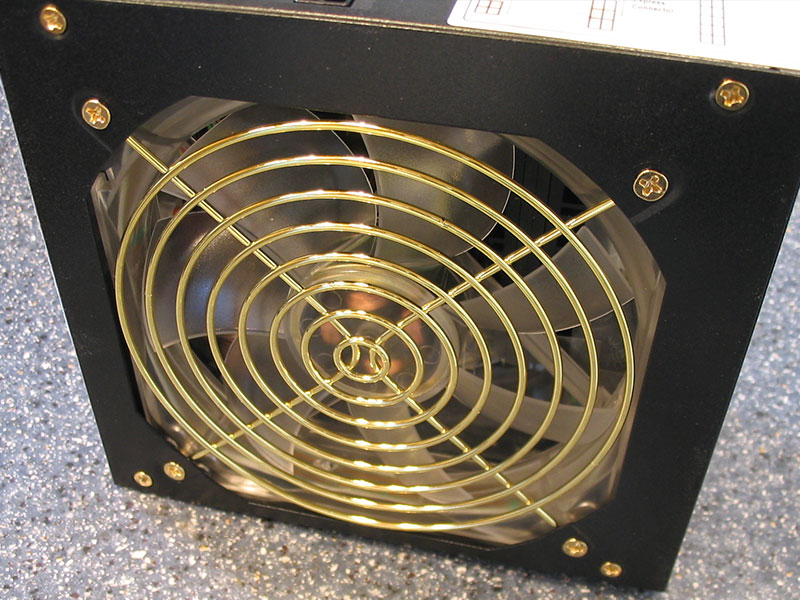
The black paint is matte and does not take any fingerprints.
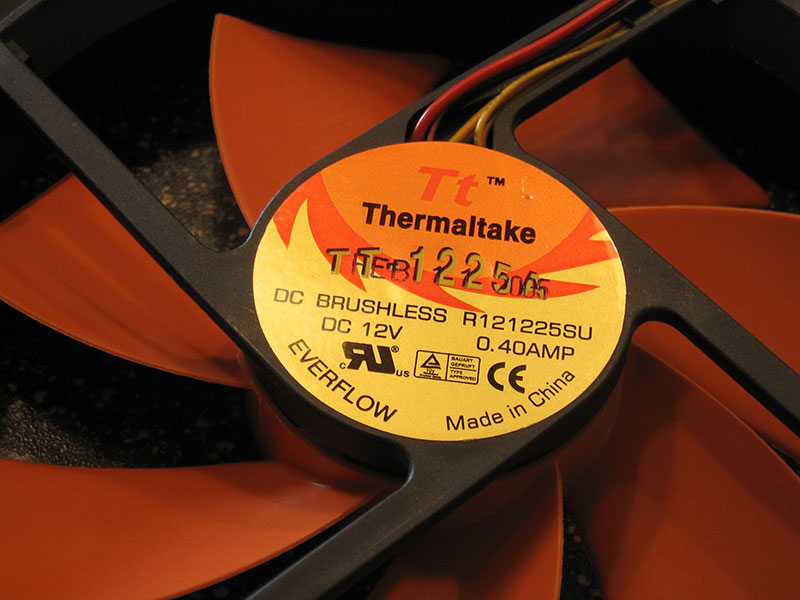
Thermaltake's 120mm add-on fan is way too noisy to be used in a normal PC environment - but it moves a lot of air.
Watts Viewer
A really nice feature is the included watts viewer. It measures total system power consumption on the DC side of the power supply. If you don't like it - you won't have to use it, the PSU will work fine without the Watts Viewer connected.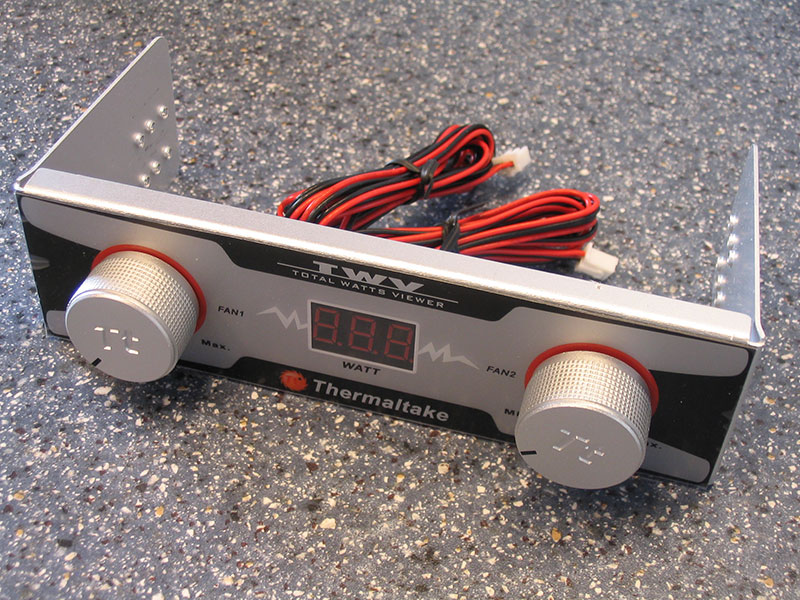
The two knobs on the left and right are used to control the fan speeds of the PSU and the additional 120mm fan. What I noticed, is that you can only increase the fan speed of the PSU fan, not decrease it (compared to controller not connected).
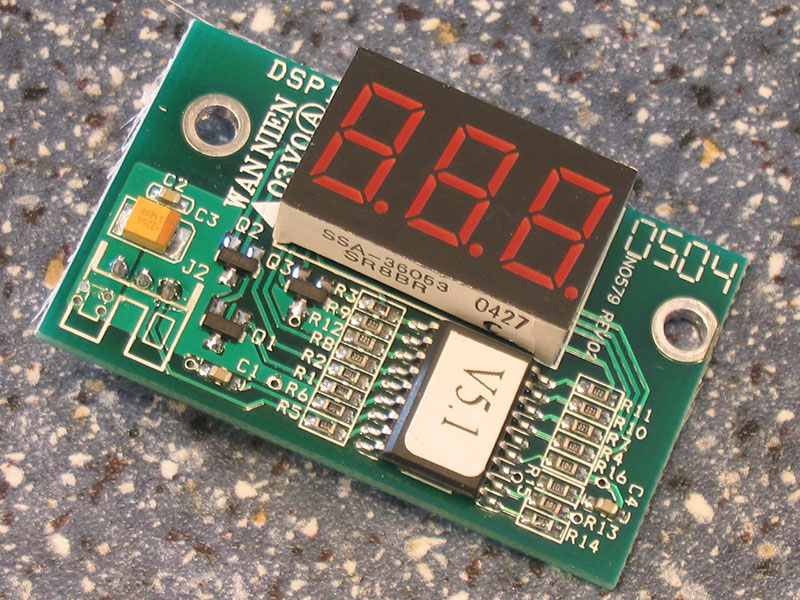
This is the heart of the Watts Viewer. A small PCB with a microcontroller on it. The microcontroller is responsible for converting the measured watts into a suitable output for the LED readout.
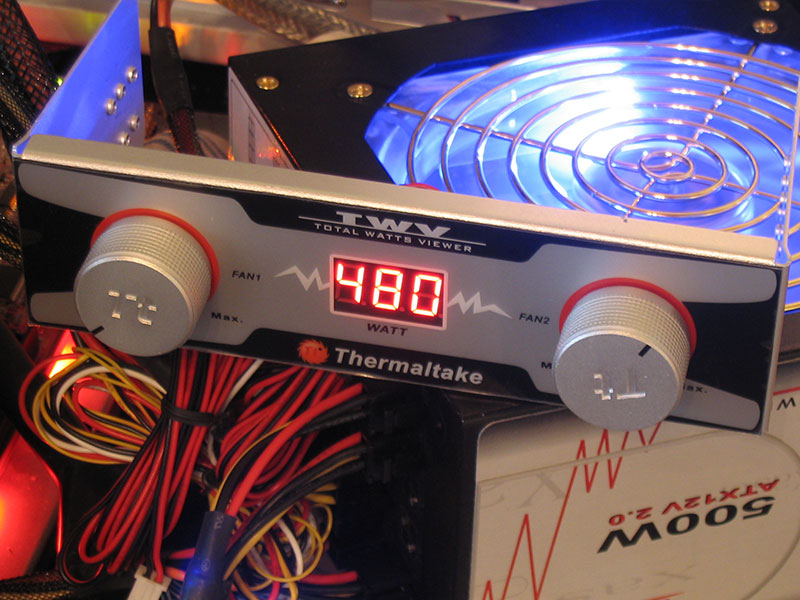
The accuracy of the Watts Viewer is good, certainly not lab grade, but good enough to get a realistic feeling of the system's power consumption.
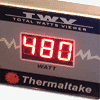
This maximum readout of 480W was achieved by adding a 120W and 100W high power resistor to the PSU output lines. When the DC side was pulling 480W, we measured 630W load on the AC side, not really efficient (76% efficiency).
Our Patreon Silver Supporters can read articles in single-page format.
Nov 13th, 2026 21:51 CST
change timezone
Latest GPU Drivers
New Forum Posts
- Tell me about your favourite graphics card (27)
- Crimson Desert (31)
- RenoDX HDR - how to view the differnce Before&After in game? (0)
- Displayport DP80 3M (10ft) cable that can achieve 80gbps stable? (5)
- I'll flash a ASUS ROG Strix RX480 O8G in Cause of Code 43, as a Newbie (1)
- Opinion on Monitor Replacement (6)
- TMOG - post your benchmark results here (16)
- no "PhysX" workable (7)
- Microsoft Exchange/365 outages? (61)
- Unallocated space in ssd , is it normal? (18)
Popular Reviews
- AMD Zen 6 Technical Deep Dive
- Corsair HX1000i Shift Crystal Review
- NZXT C1200 Platinum Review
- Upcoming Hardware Launches 2027 (Updated Nov 2026)
- ASUS ROG Strix B850-I Gaming Wi-Fi7 W Review
- Montech King 95 3D PRO Review
- NZXT H7 RGB+ Review
- NZXT H5 Review
- Phantom Blade Zero Performance Benchmark Review - 35 GPUs Tested
- XPG NIMBUS PLUS Review - Mid-range Chair With Strong Competitors
TPU on YouTube
Controversial News Posts
- NVIDIA Co-Founder and CEO Jensen Huang Officially Resigns (379)
- OpenAI CEO Argues Home PCs Waste the World's Limited DRAM Supply (152)
- NVIDIA Launches Investigation Into Jensen Huang's Relationship With Suspected Chinese Spy (136)
- Intel "Raptor Lake Next" 16-Core and 20-Core CPUs Surface (130)
- Legendary Game Studio BioWare Shuts Down Following EA Layoffs (104)
- Dell CEO Says the Memory Shortage Will Get Worse in 2027 (95)
- NVIDIA GeForce RTX 50-Series Scheduled for up to $500 Price Hike This Week (89)
- Modder Fits RTX 5090 With Four 8-Pin Connectors, Halving Current per Wire (80)