 5
5
Vortex 10 Keyboard Review - A 10th Anniversary Poker Celebration
Disassembly »Closer Examination


If you are new to a 60% form factor keyboard, your first thought must be along the lines of where are the missing keys, and where the letters on the keycaps are might well be your second thought with the Vortex 10. The former is easy enough to answer, with a 60% keyboard effectively being 60% of a full-size keyboard. It loses not only the numpad, but also the arrow-key column and the Fn row. Instead, those functions are tied to other dedicated keys via layered functions and other options that tend to be keyboard-specific. This is intended, with ergonomics and portability in mind, and no, it does not mean this comes in at 60% the cost, either.
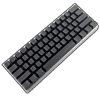
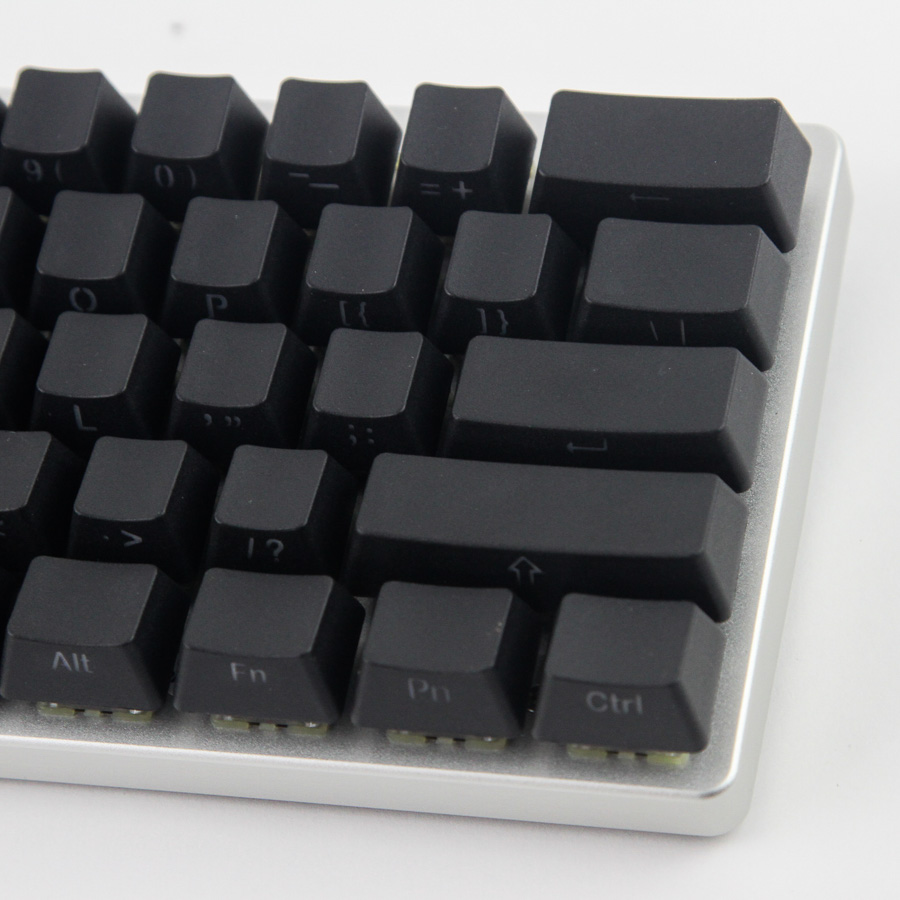
The Vortex 10 implements front as opposed to the usual top legends on the keycaps, which allows for the clean looks here. In use, it does affect visibility ever so slightly since you are limited to a shorter range of viewing angles, but in typical use, it has not been an issue for me personally. We have black keycaps on a sandblasted aluminium frame with a silver finish, with minimal bezels on three sides and a smaller-than-average bezel on top. No logos to be seen anywhere either in use, so Vortex is going all in on the minimalist look.


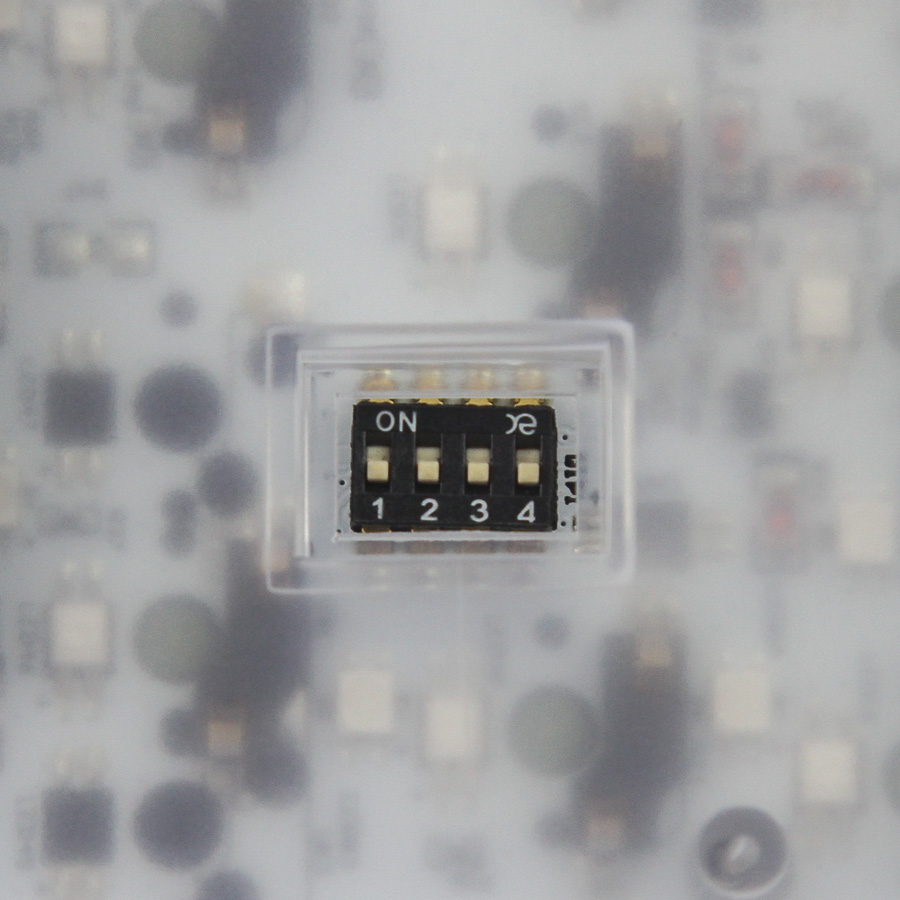
Flipping the keyboard around, we see a polycarbonate case! Now we know this keyboard is definitely not going to cost 60% of a typical mechanical keyboard; 160% seems more like it. Machining polycarbonate is not easy, and we do have a textured finish here, which allows us to look through it, but it is not as transparent as with a polished finish—there is a decent reason beyond cost savings for this we will get to later. A metal badge with the Vortex logo, product name, and certification information has been put into the middle. In addition, four large rubber pads embedded in the case add friction against the resting surface and prevent scratches to the case. With no keyboard feet here, the keyboard is elevated to a single fixed working angle out of the box. Also, we see the usual set of four dip switches we have become accustomed to on the Vortex Poker keyboards, though this is my first Vortex keyboard with those!


We saw the detachable cable on the previous page, and now we see where it plugs into. A recessed USB Type-C port is present on the left side facing away from the user, towards the USB source in most cases. The cable is shorter than average at 5' and fits into a USB Type-A port on your motherboard, and USB 2.0 suffices for power and data alike.


The side gives us a better idea of the fixed elevation and working angle. Also, in an interesting change, we have an OEM profile for the keycaps. Sure, there are five rows instead of the usual six given this smaller form factor, but they are still sculpted and angled as with the average pre-built keyboard. We also see how the aluminium frame fits over the polycarbonate case to where it's effectively a two-piece case after all. The keycaps are floating to allow for easier removal, and that puller can be used even if really a switch puller primarily. As always with Vortex, the stock keycaps are excellent, with thick PBT plastic (average wall thickness 1.45 mm) and front-located doubleshot injected legends. This means they came up with a new mold just for these, and in contrast to the dye sublimed legends we saw on previous Vortex keyboards, there is also backlighting support, all without losing the longevity.
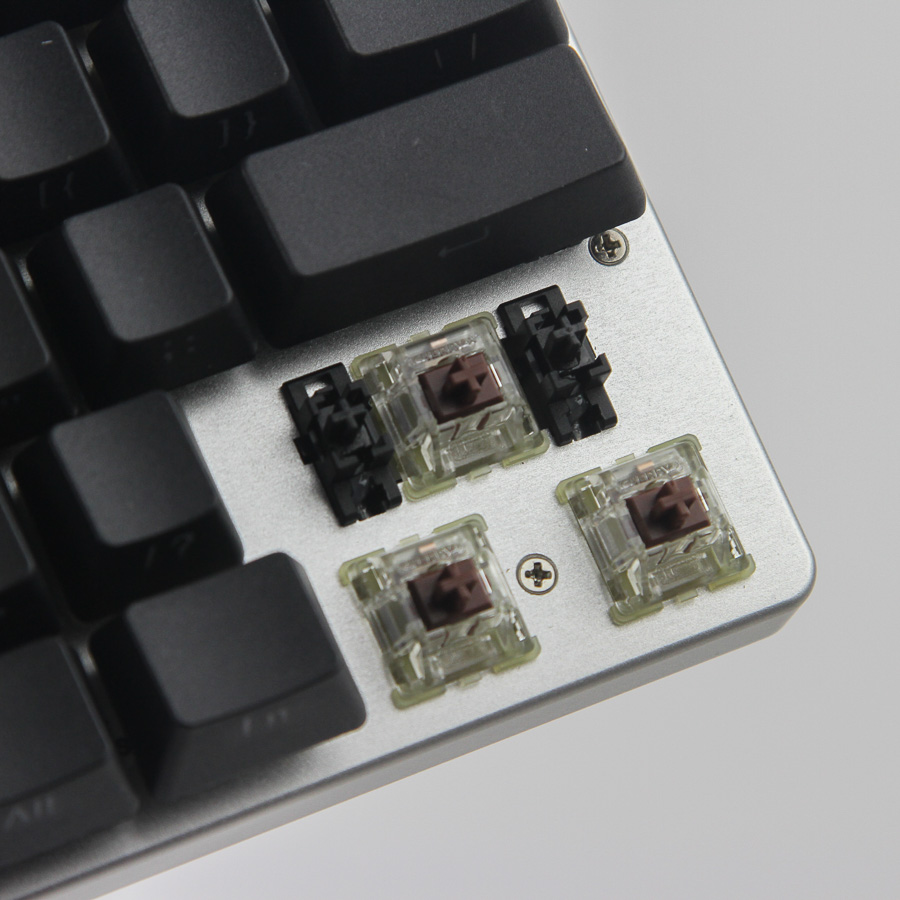


There are four switch options when buying the Vortex 10, and I'd argue there should have been a 5th switch-free option too. As it is, you can only purchase the Vortex 10 with the Cherry MX Red, Silent Red, Brown, or Blue RGB switch. I have the MX Brown version here, and these are the RGB variant with the translucent housing to allow diffused light through. The larger keycaps use Cherry stabilizers, and the PBT space bar keycap does only so much to mitigate that associated mushy feedback.


The Vortex 10 uses Gateron hot-swappable switch sockets on every single switch. Their included switch removal tool is no different from any other of the same design and works well enough in practice. You hook into the middle notches on either side of a switch and wiggle it sideways while pulling upwards. Removing a switch also clearly shows where the associated RGB LED is placed, which confirms the use of central legends for backlighting on the keycaps. I will note that one of the switches had a bent stem, which was why it was not actuating, and I had to straighten it out with needle nose pliers to get it working again. This is a risk associated with the feature, but the probability of it happening is low enough not to be a hazard.
Aug 2nd, 2025 03:17 CDT
change timezone
Latest GPU Drivers
New Forum Posts
- What's your latest tech purchase? (24429)
- Free Games Thread (4838)
- 3DMARK "LEGENDARY" (359)
- memory used for store firmware in adapters wifi usb (4)
- Samsung 870 EVO - Beware, certain batches prone to failure! (1306)
- What antivirus do you use? (61)
- Laptop WWAN SSD? (4)
- I just bought an RX570 4Gb (27)
- TechPowerUp Screenshot Thread (MASSIVE 56K WARNING) (4285)
- Question about Intel Optane SSDs (90)
Popular Reviews
- ASUS ROG Crosshair X870E Apex Review
- MSI Claw 8 AI+ A2VM Review
- Montech X5 Review
- Orbital Pathfinder Review
- Herman Miller Logitech G Embody Review - No Pain, No Gain
- Lenovo Legion 5i (15IRX10) Review - Feature-Rich and Wallet Friendly
- Lian Li HydroShift II LCD-C 360TL Review
- Upcoming Hardware Launches 2025 (Updated May 2025)
- Noctua NF-A12x25 G2 PWM Fan Review
- Lian Li O11 Dynamic Mini V2 Review
TPU on YouTube
Controversial News Posts
- AMD's Upcoming UDNA / RDNA 5 GPU Could Feature 96 CUs and 384-bit Memory Bus (138)
- AMD Radeon RX 9070 XT Gains 9% Performance at 1440p with Latest Driver, Beats RTX 5070 Ti (131)
- Intel "Nova Lake-S" Core Ultra 3, Ultra 5, Ultra 7, and Ultra 9 Core Configurations Surface (110)
- DDR6 Memory Arrives in 2027 with 8,800-17,600 MT/s Speeds (102)
- NVIDIA to Debut GeForce RTX 50-series SUPER GPUs by Christmas (101)
- AMD Sampling Next-Gen Ryzen Desktop "Medusa Ridge," Sees Incremental IPC Upgrade, New cIOD (97)
- Intel CEO Confirms SMT To Return to Future CPUs (95)
- NVIDIA Becomes First Company Ever to Hit $4 Trillion Market-Cap (94)