 8
XMG Neo 16 (A25) + Oasis Water Cooler Review - Performs Like an 18-incher
Display Testing »Disassembly and Teardown
The XMG Neo 16 A25 is a 16-inch machine packed with high-end hardware. Luckily, getting under the hood isn't much of a hassle.

Let's begin with the usual stuff, and that's the 10 Phillips head screws that hold the panel.
Start prying around the bottom edges, but go easy near the LAN connector so you don't snap anything. Save the rear for last once the other sides have popped loose.

On the inside of the metal bottom plate, there is a dedicated thermal pad for the system SSD.

The battery is a big 99.9 Wh unit, just under the maximum legal limit for flying of 100 Wh. Here, you can detach the connector from either end. While pulling it from the battery side is easier, I'm going the classic route and disconnecting it from the motherboard.
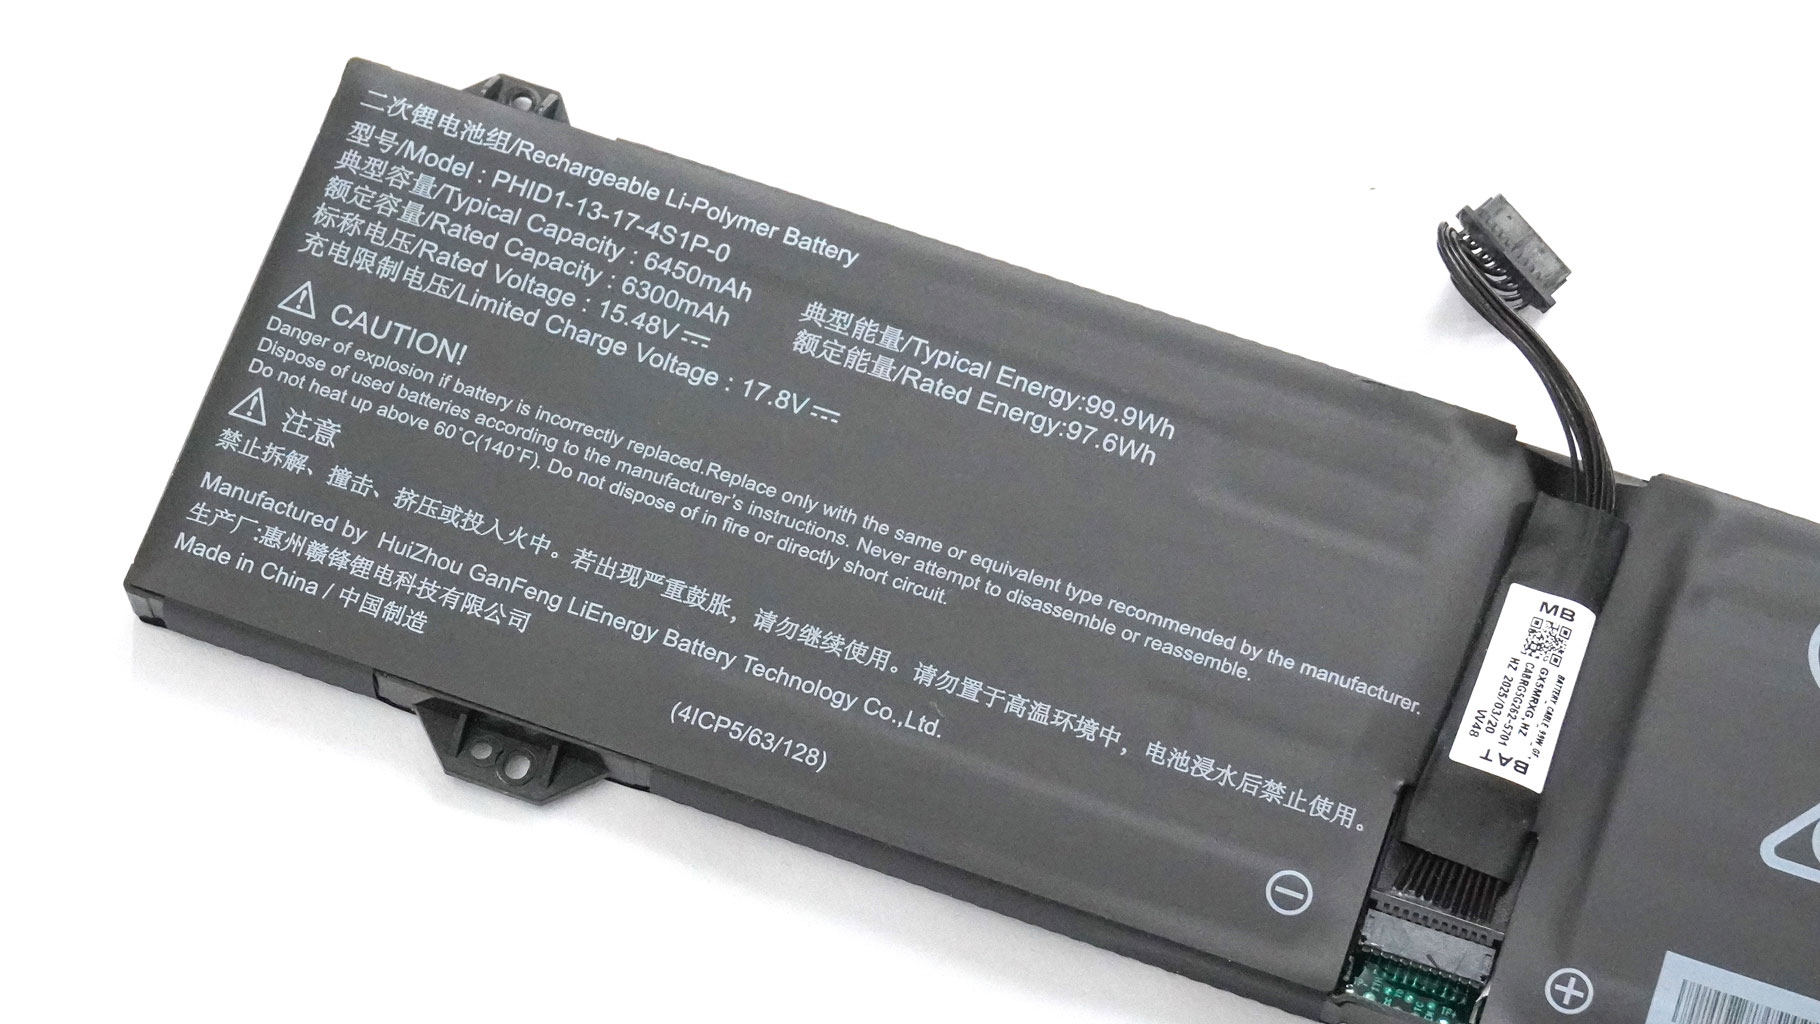
Then, undo the four screws that secure the battery. The large capacity is enough for 6 hours and 10 minutes of 4K video playback. That's not bad at all, considering the punchy hardware and the high-res Mini LED display.
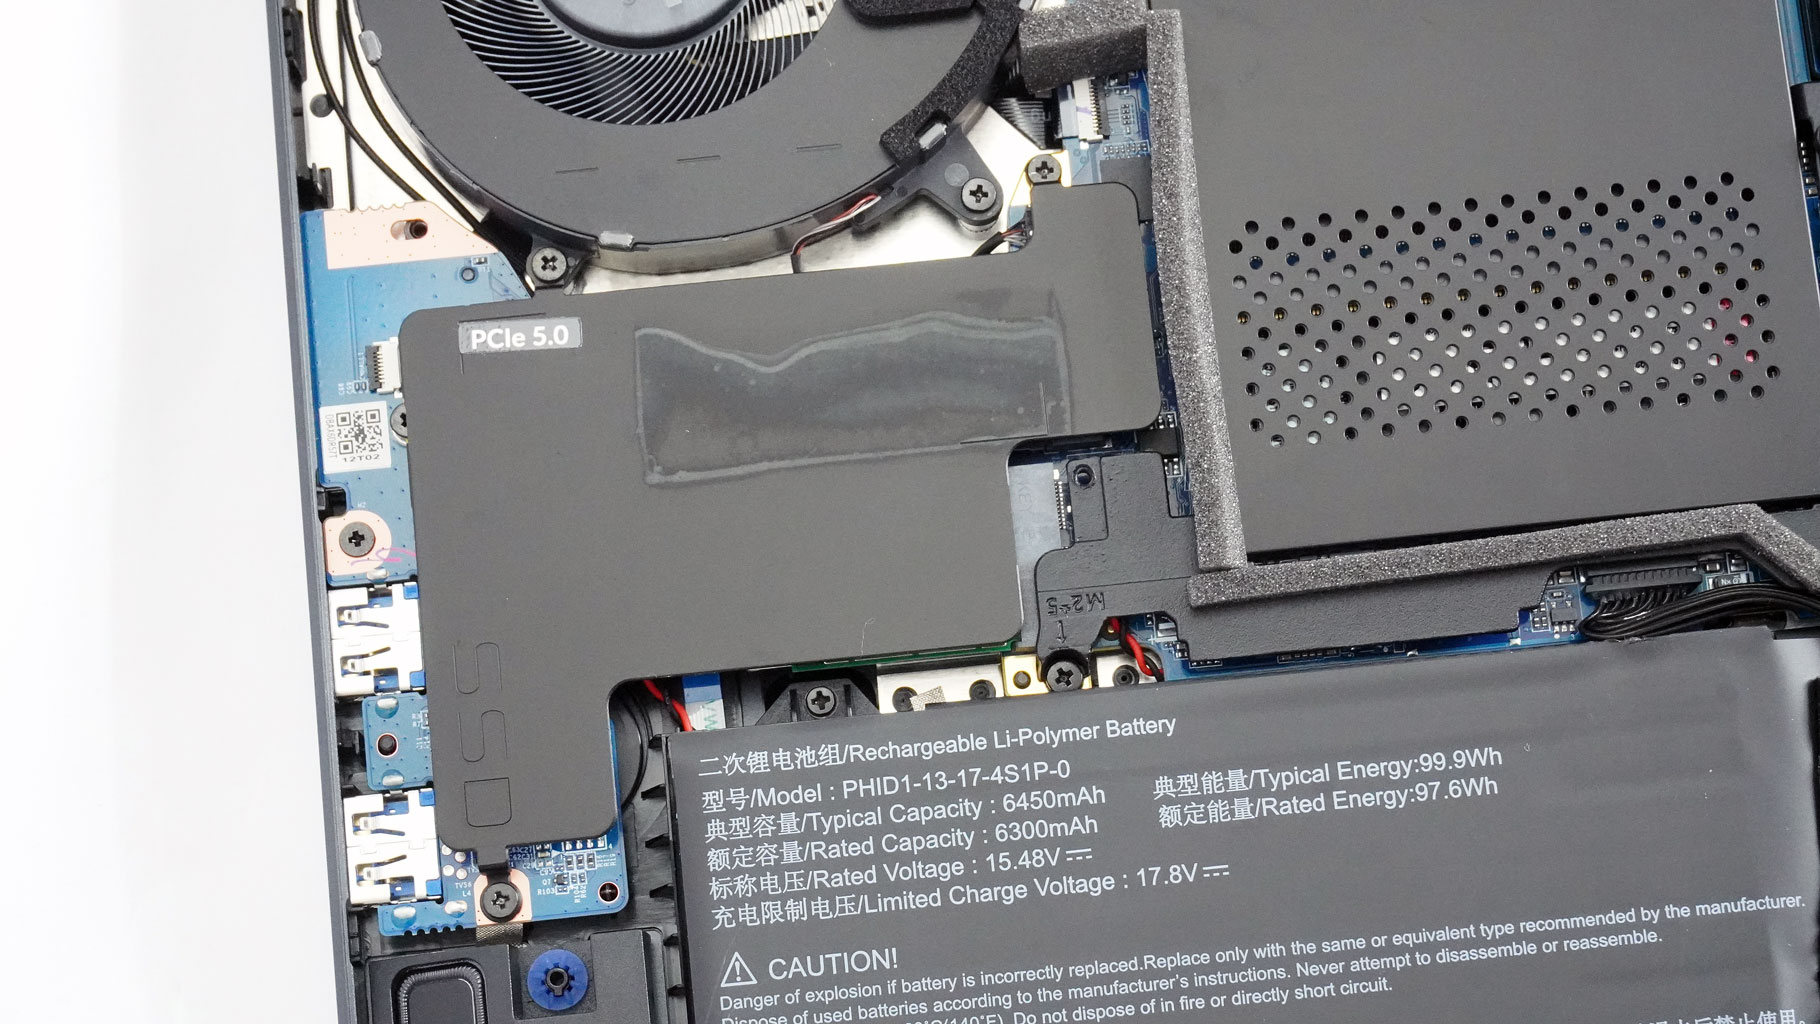
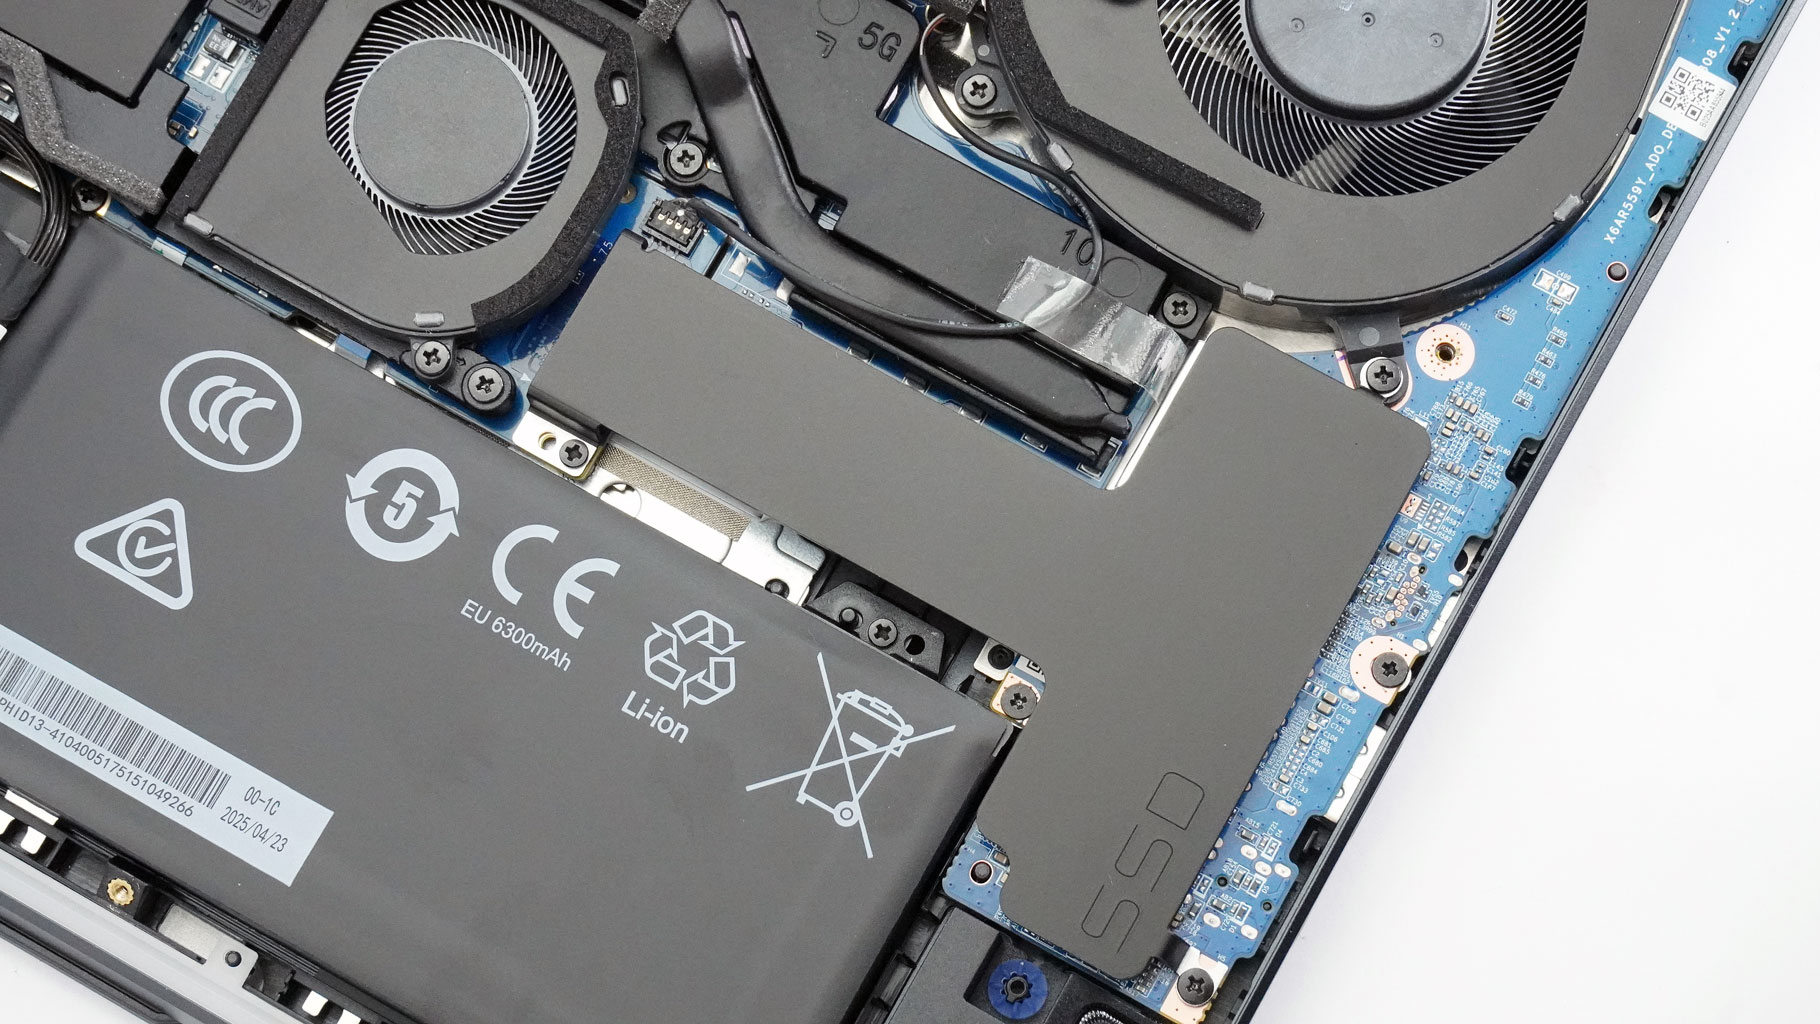
Both storage slots are topped with metal plates held by three screws - note that one screw on each plate is shared with the fan housings.
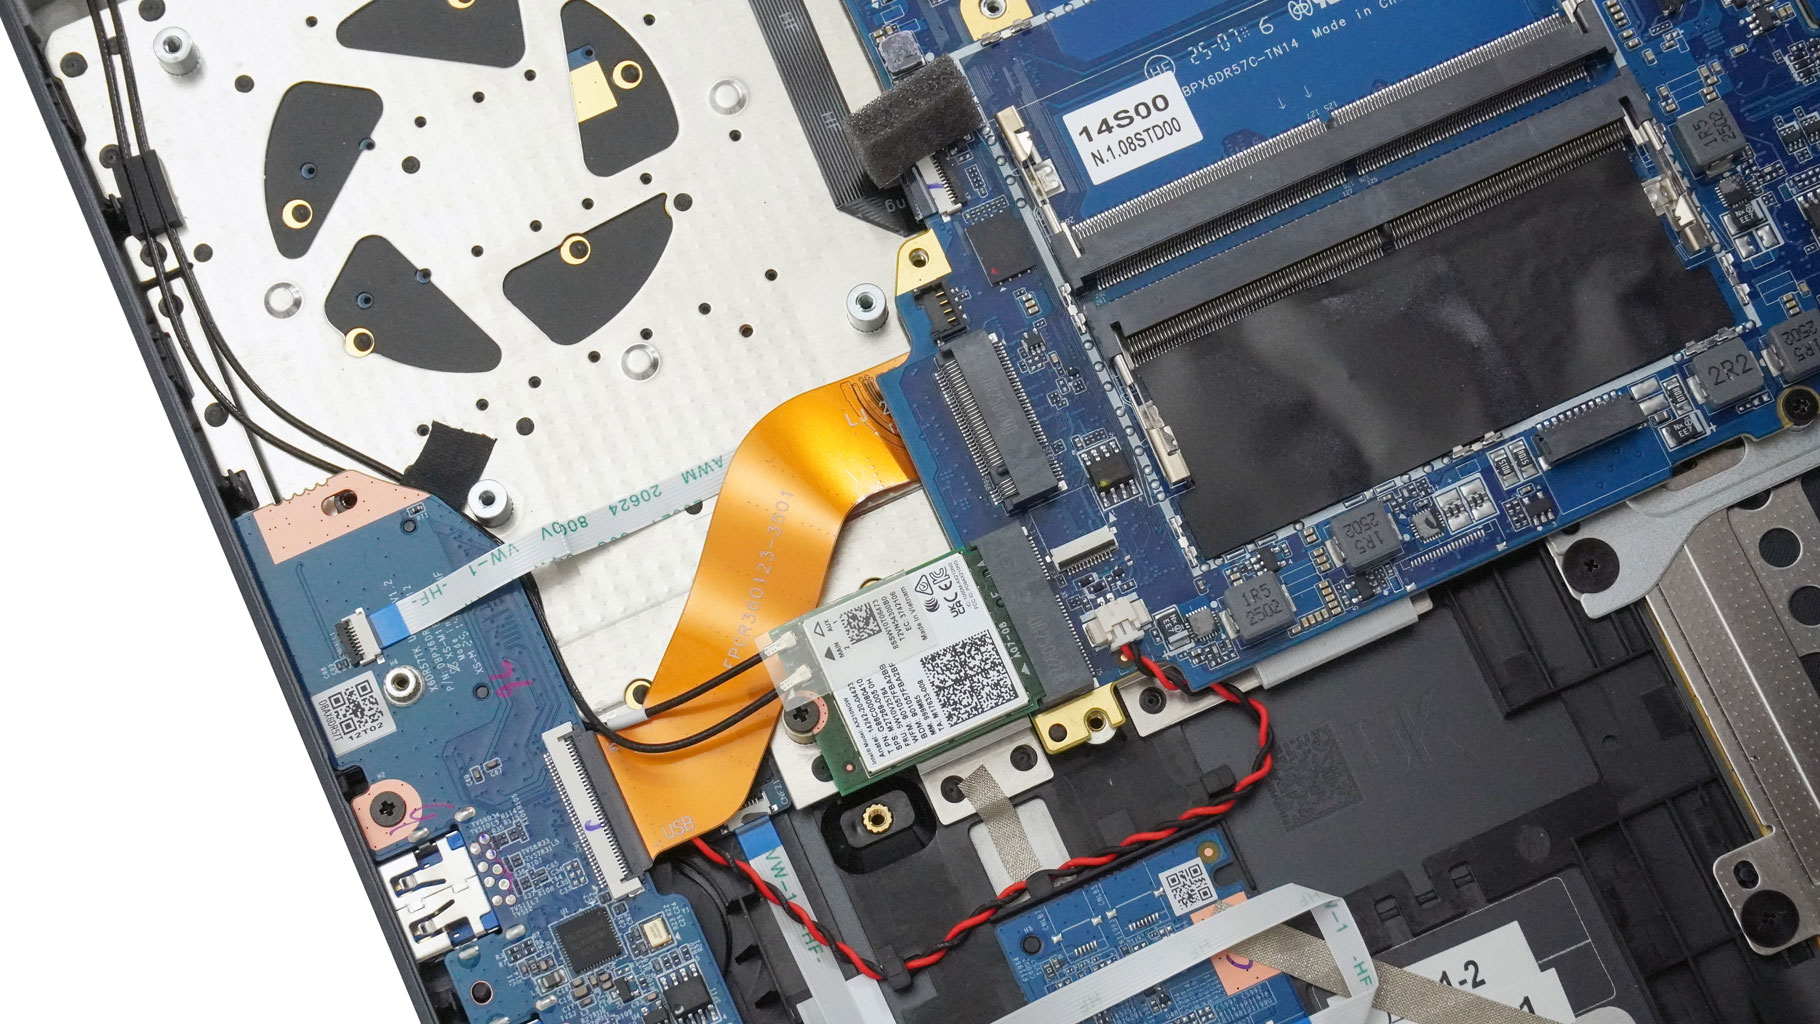
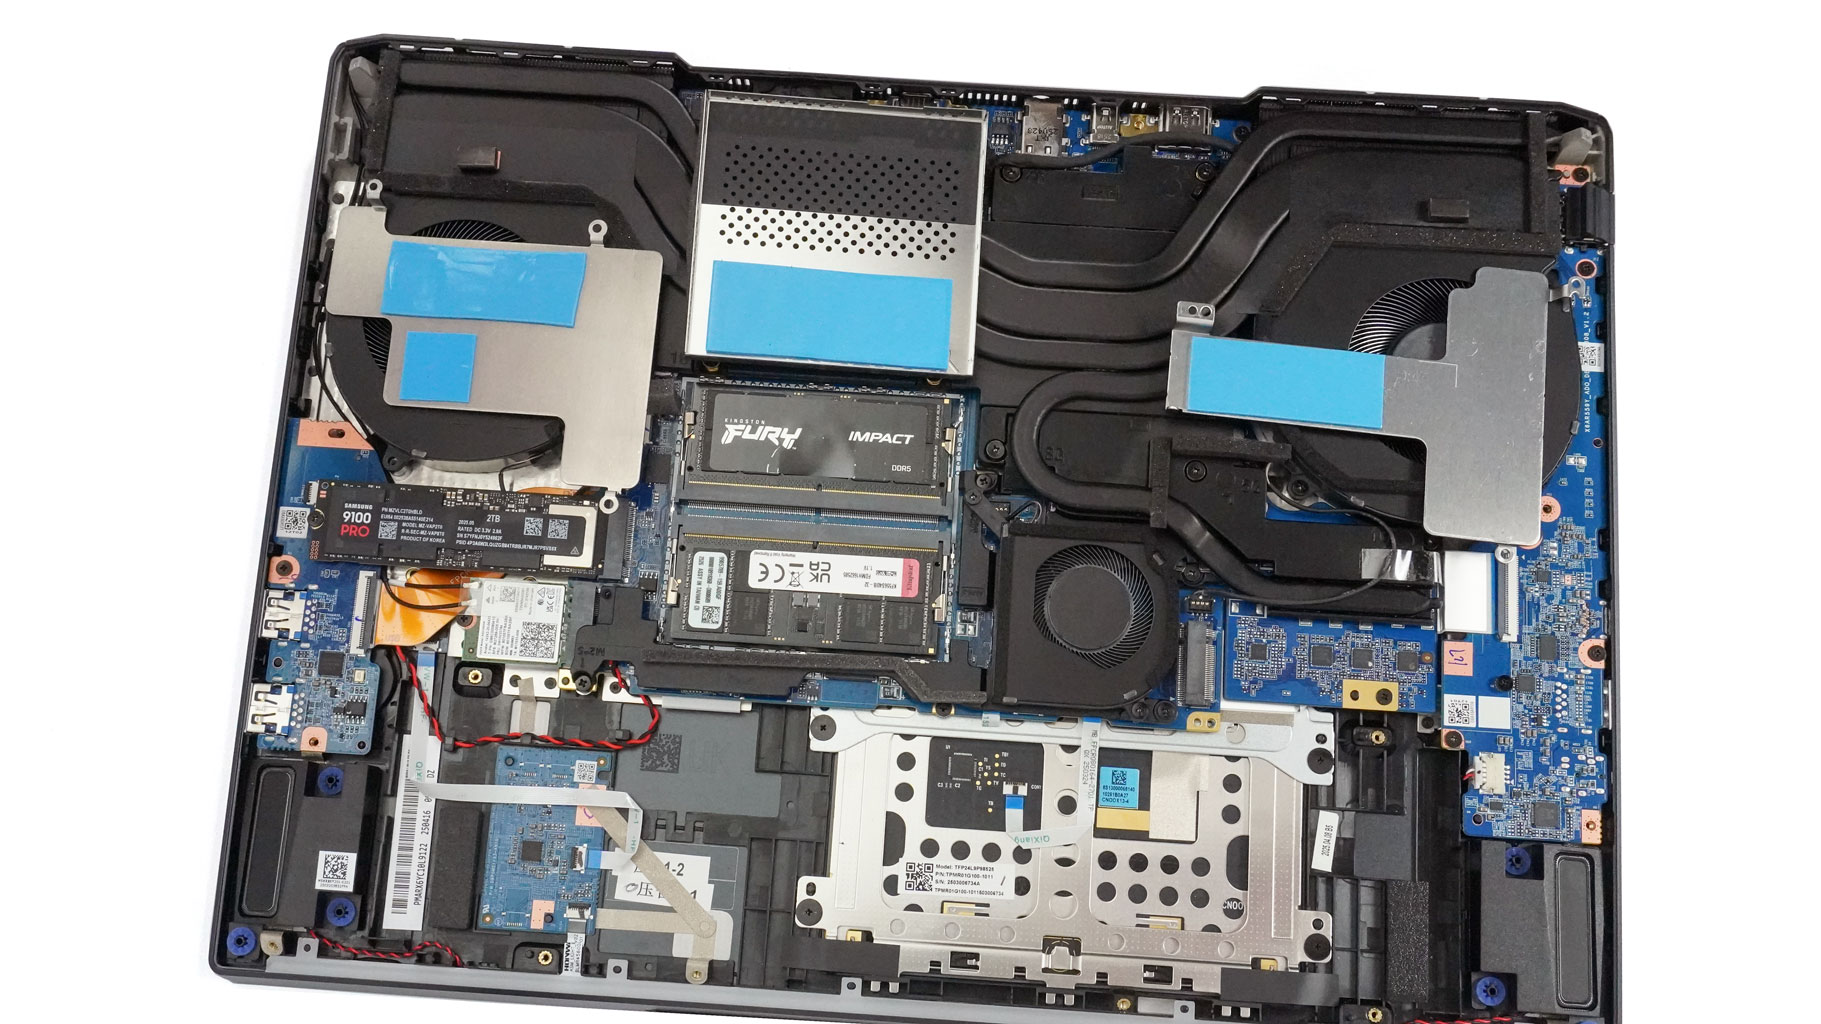
The bottom of these plates holds the cooling pads for the two slots and the Wi-Fi 6E card, which is user-replaceable. It's worth noting that the left slot supports Gen 5 NVMe drives, there's RAID 0 and 1 support as well.
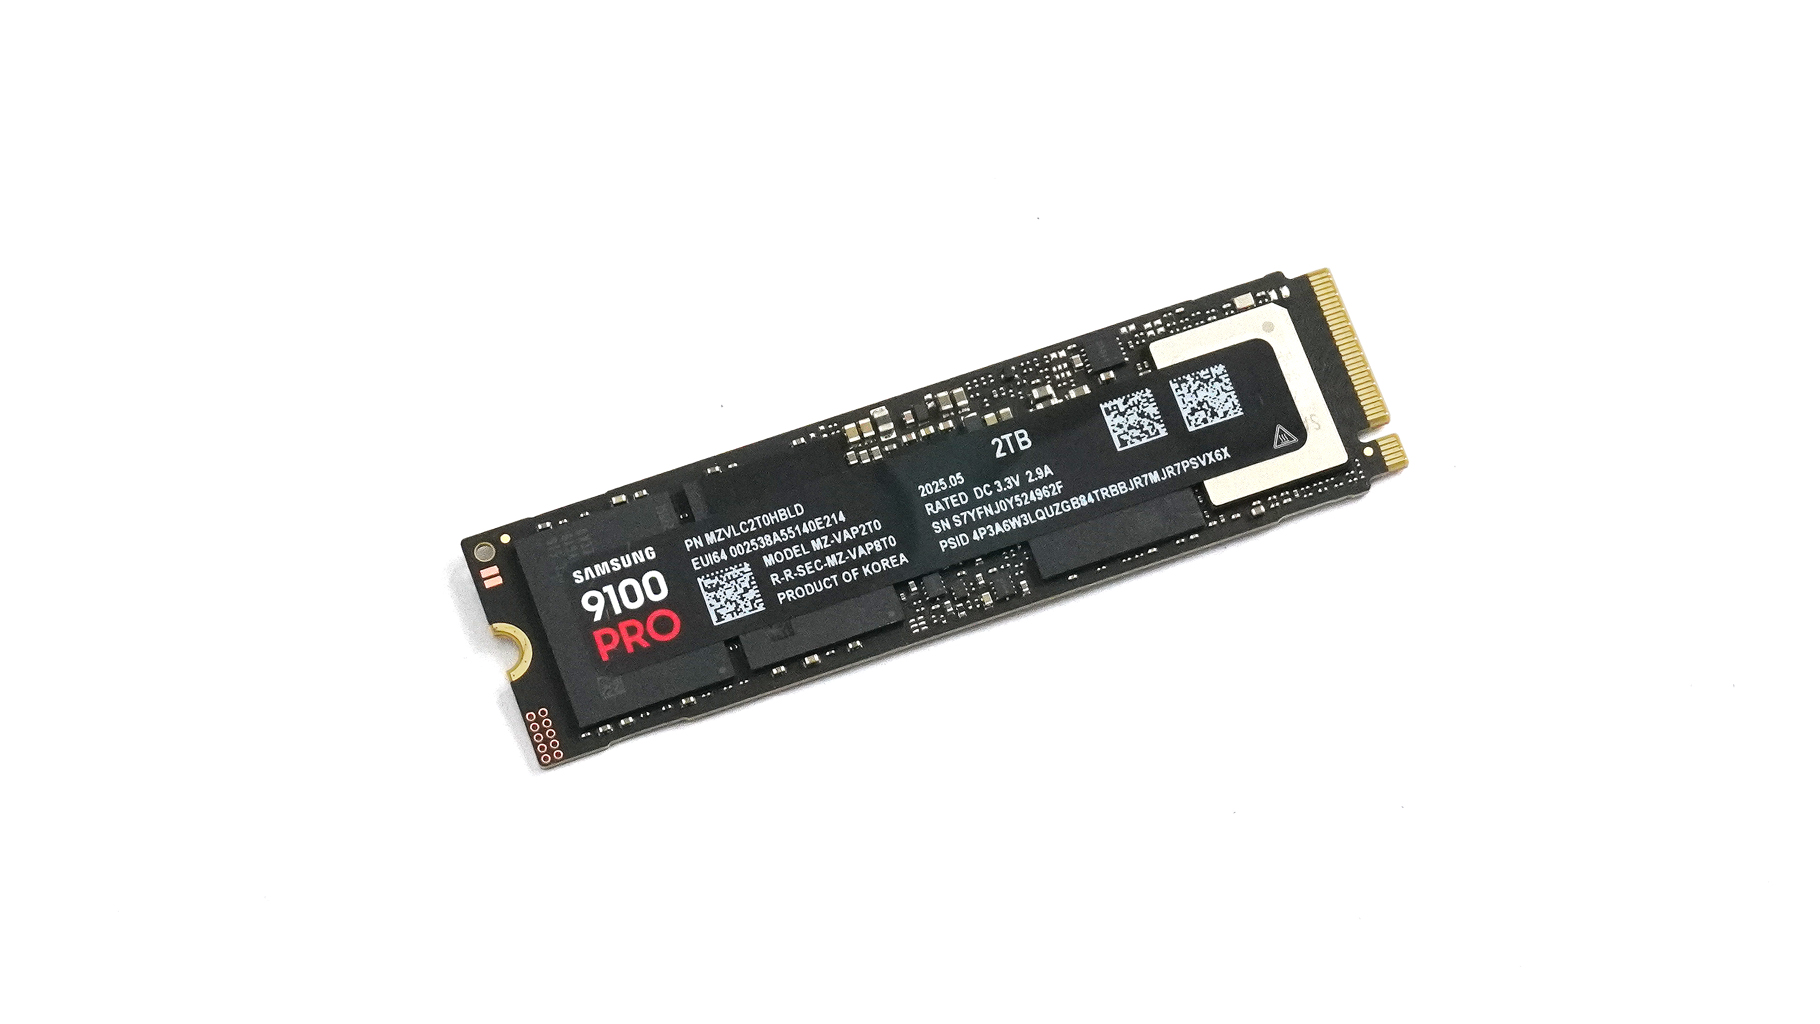
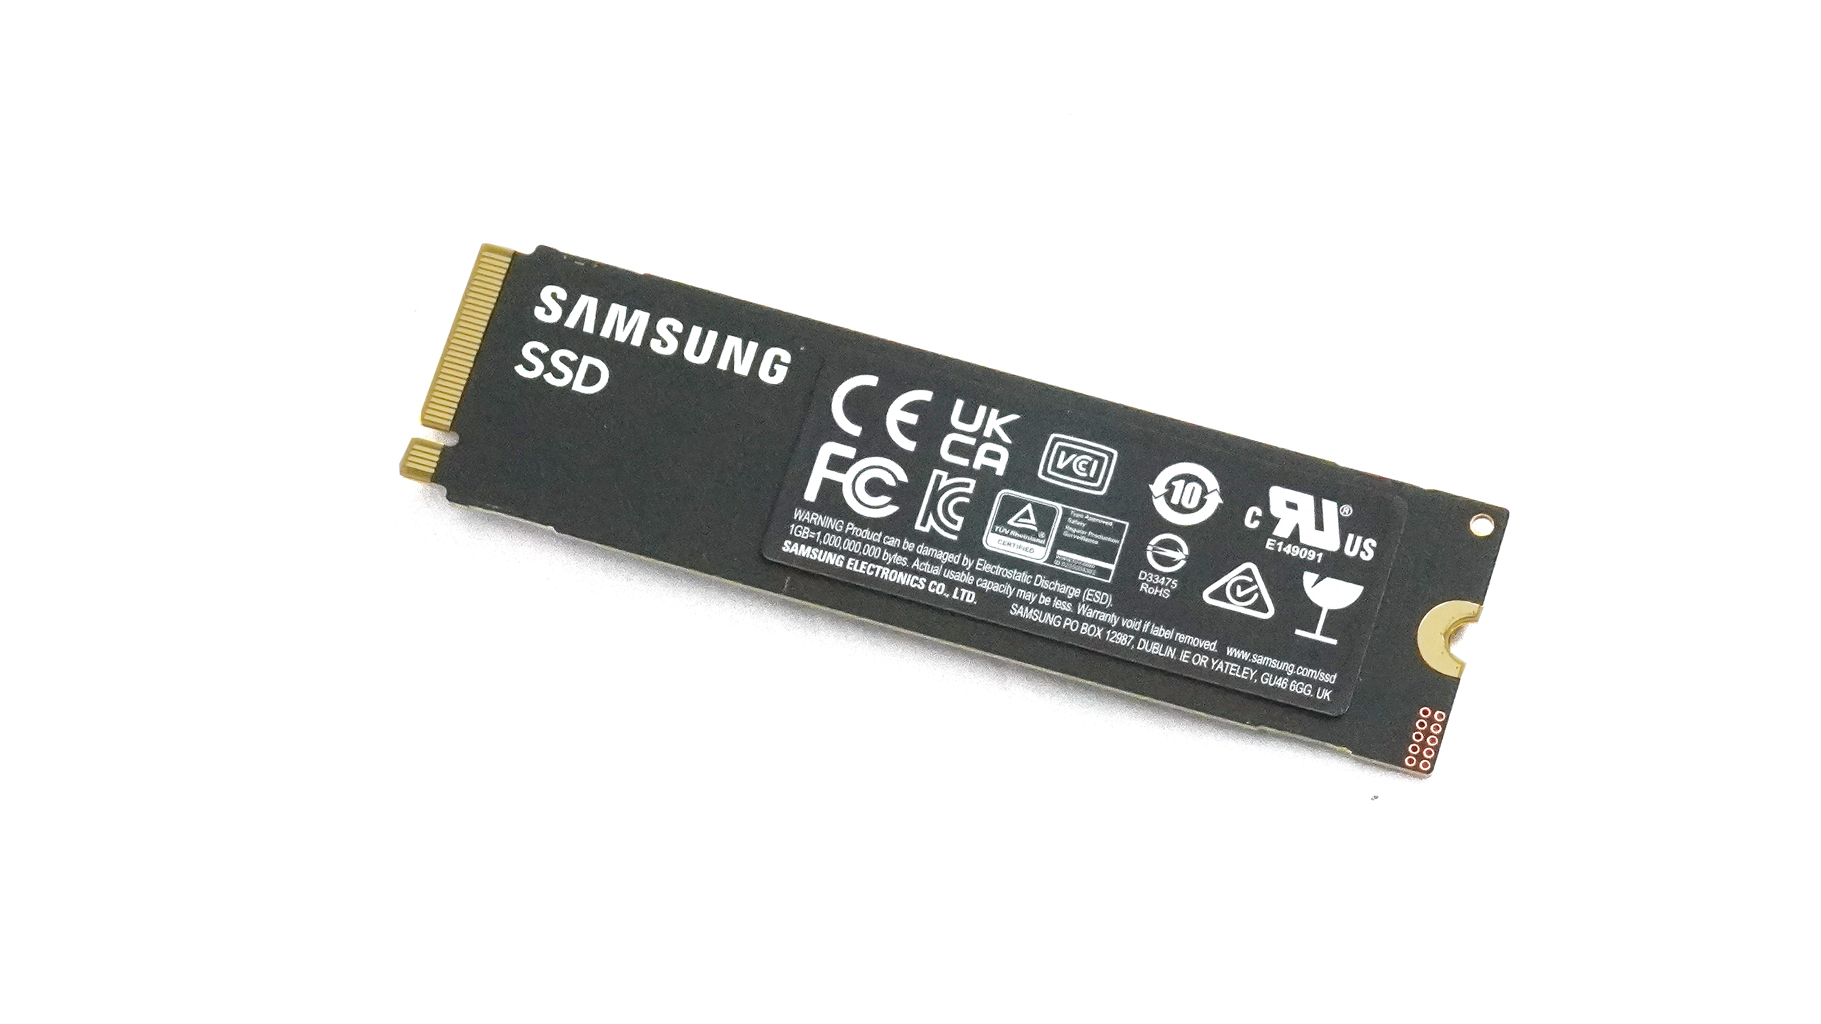
You can also take a look at the system NVMe drive.
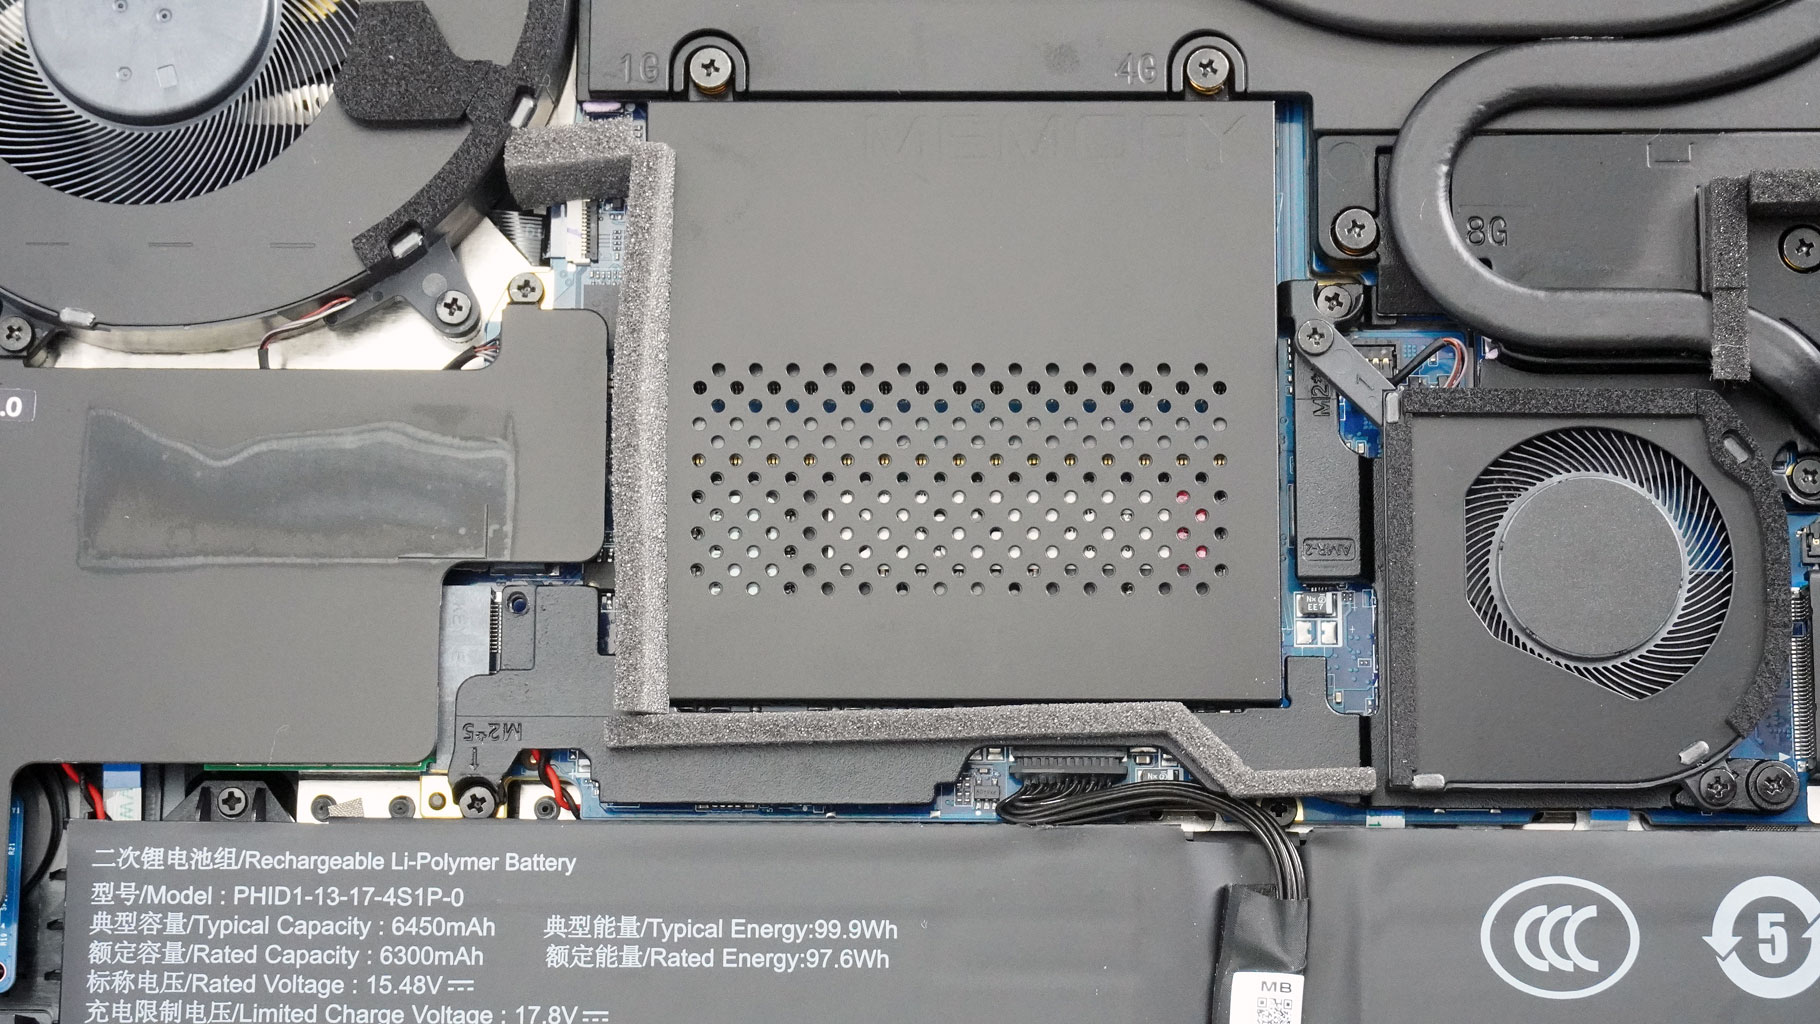
A dedicated shroud covers the memory section; just pop it off with a prying tool. Inside, there's a thermal pad for the top RAM stick, while the bottom one dissipates heat through the perforated side of the cover.
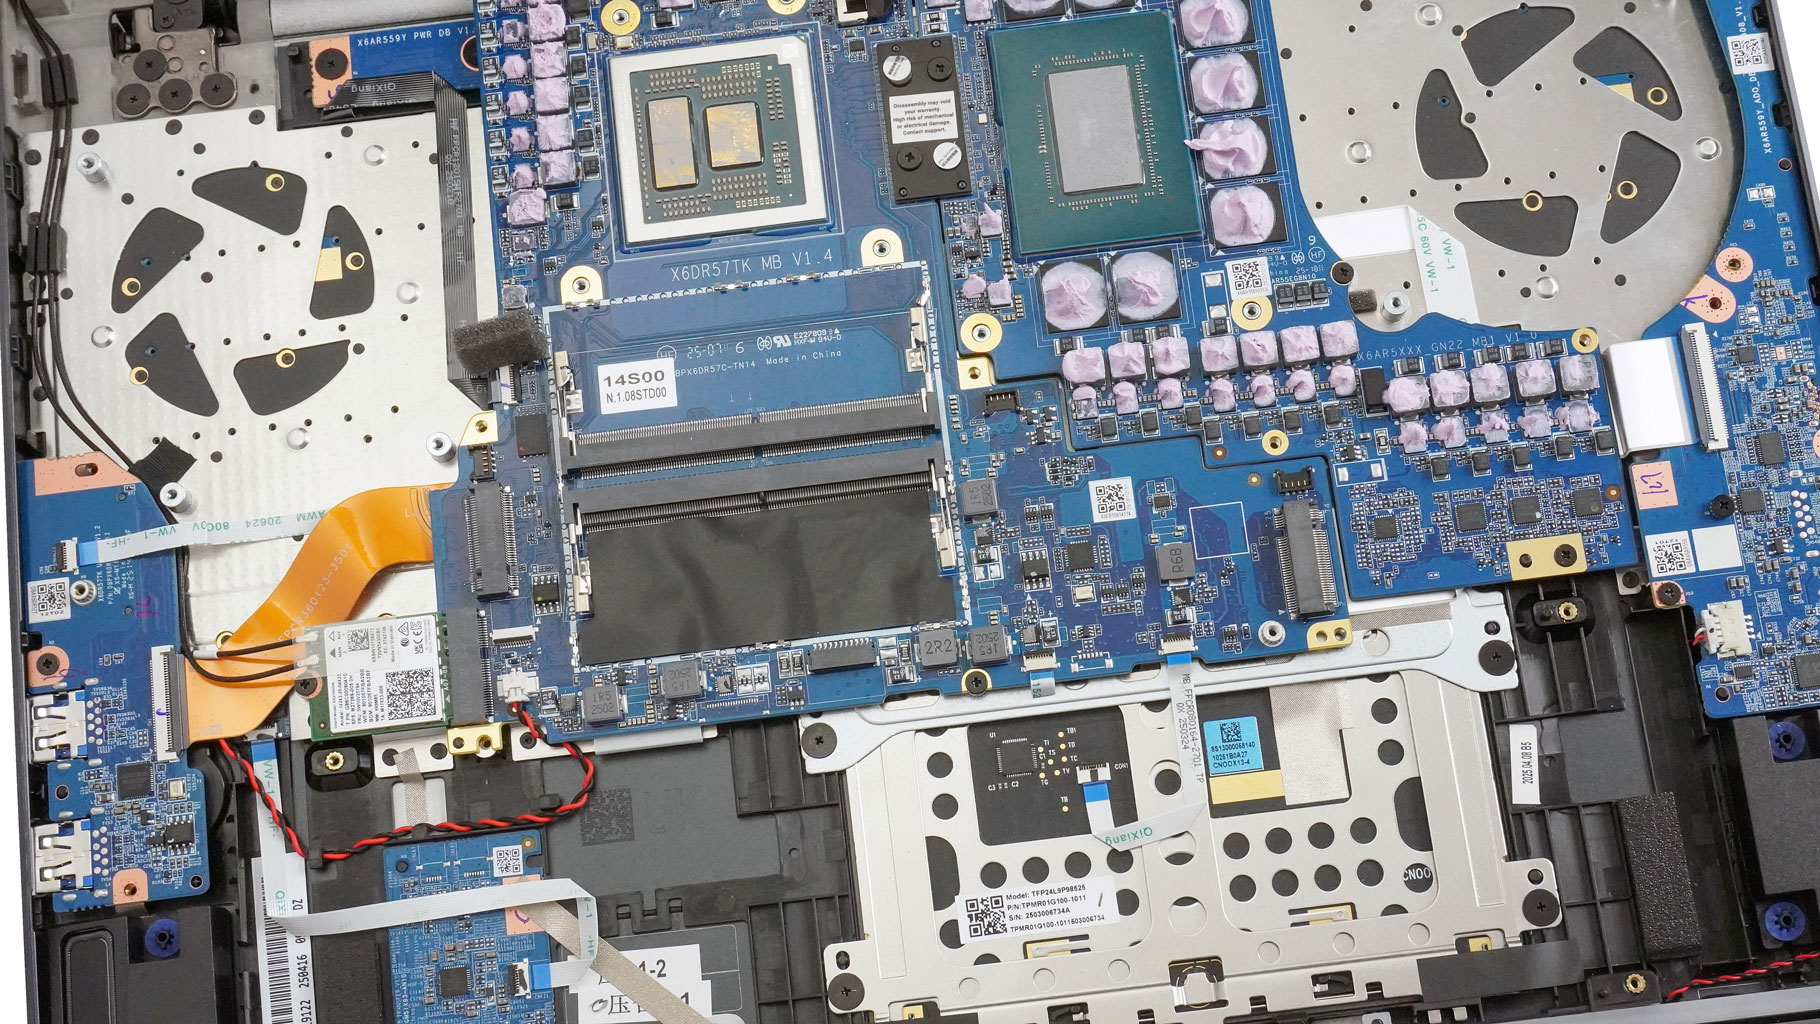
The two slots are compatible with up to 96 GB of DDR5-5600 RAM (2× 48 GB).
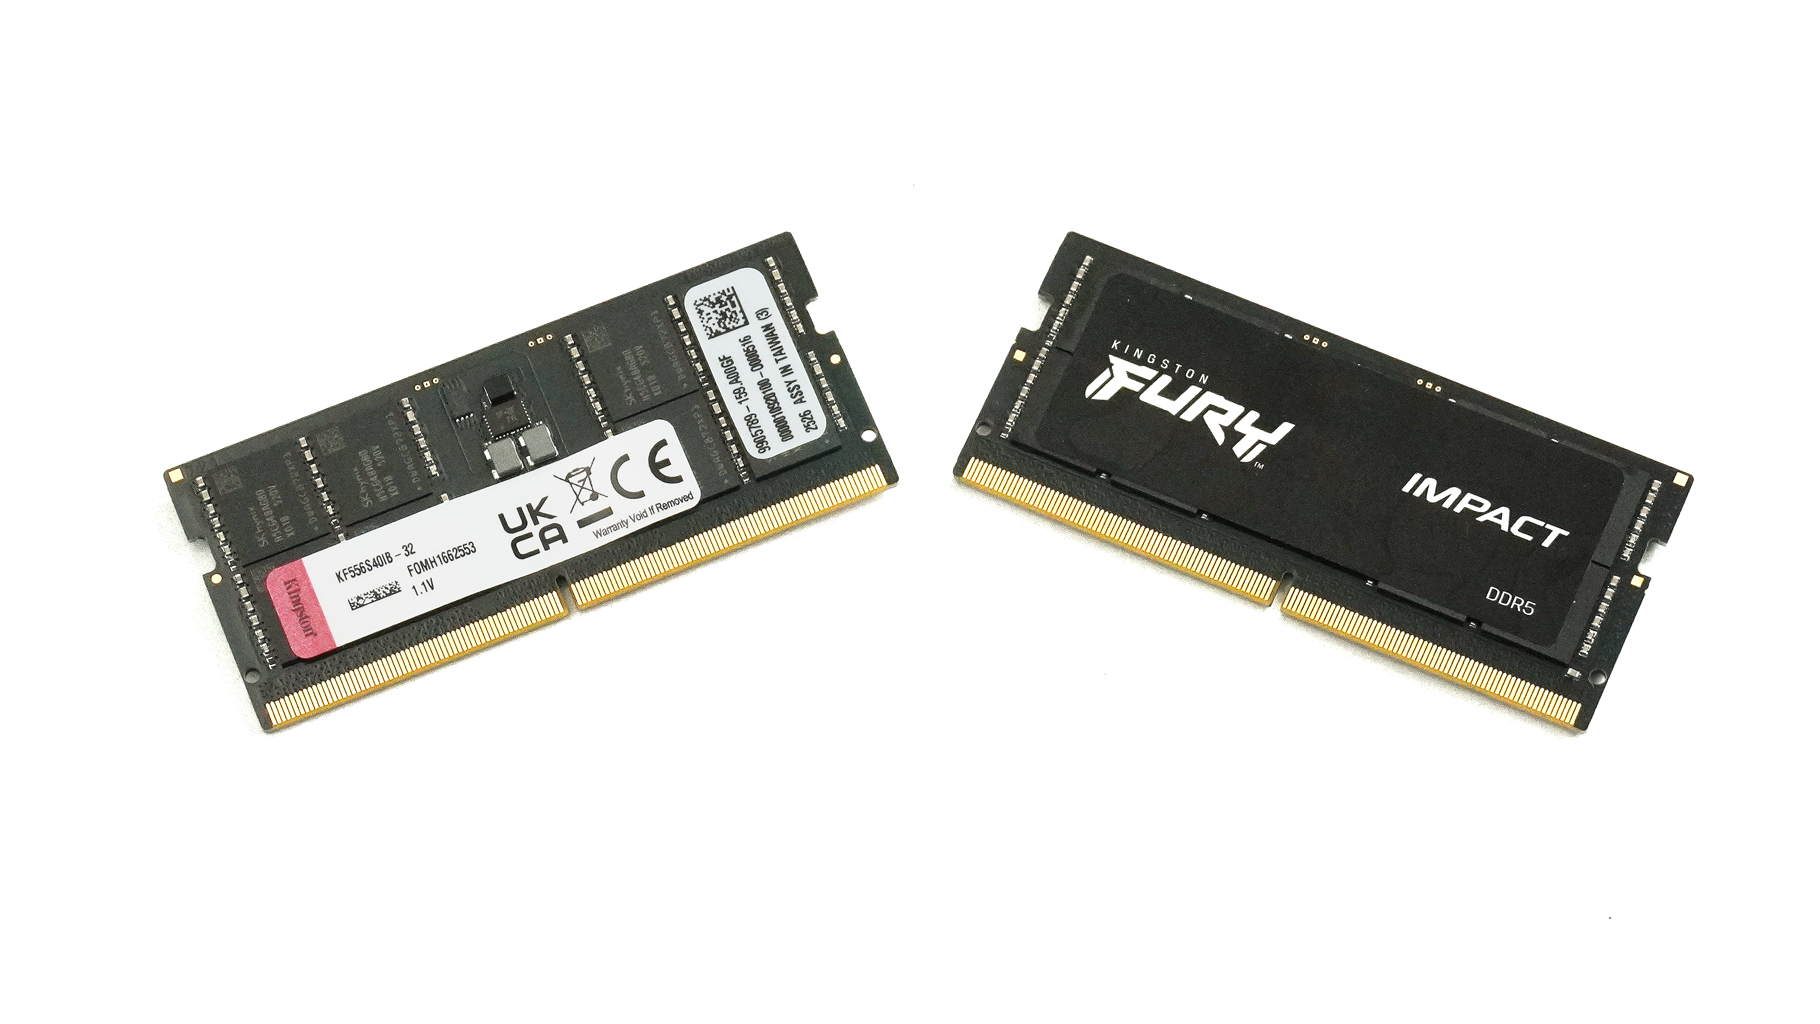
Here's a picture of the memory sticks of our laptop.
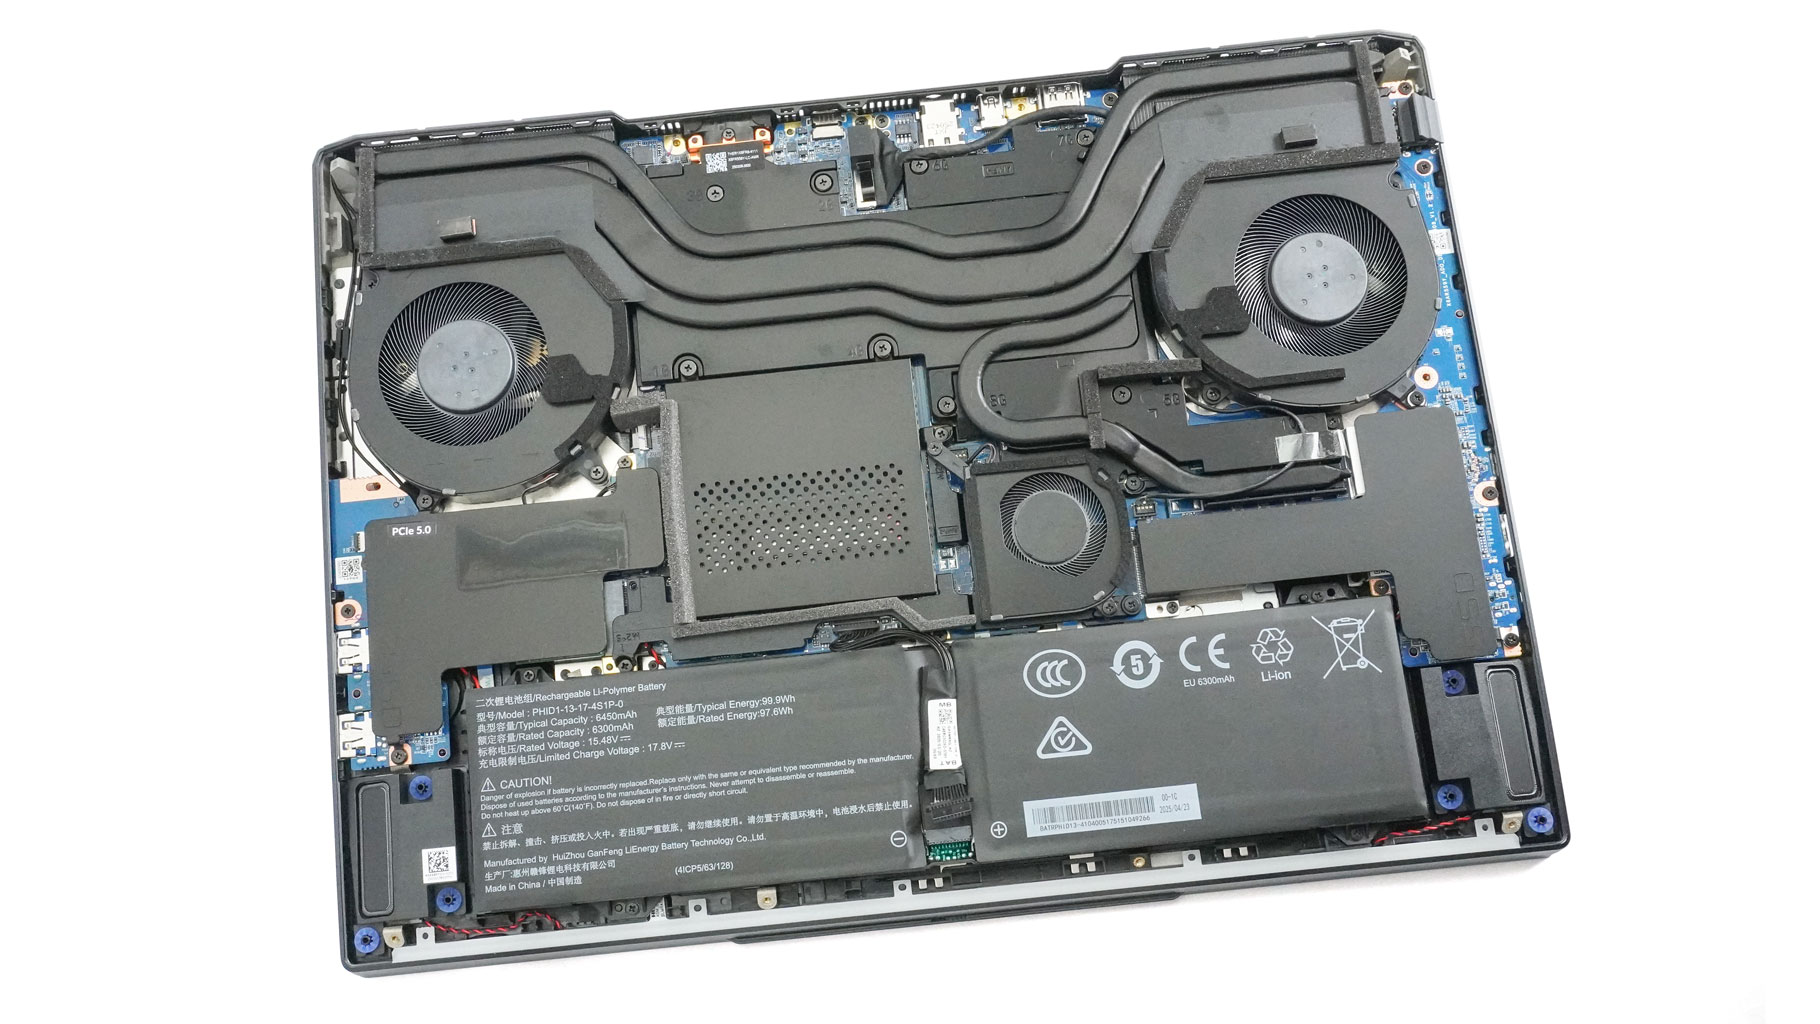
Let's take a look at the enormous cooling. It boasts two sizable fans at the top and a lower one that takes the heat away from the RAM. Three copper heatpipes are shared between the CPU and the GPU. The one in the middle is notably thicker. The small pipe on the right is solely dedicated to the graphics card and its VRM section. Massive plates cover both chips, complemented by two large heatsinks at the top. There is a metal plate above the SMD power inductors around the battery connector and the chipset. XMG clearly did their homework here - it's a beautifully engineered cooling solution.
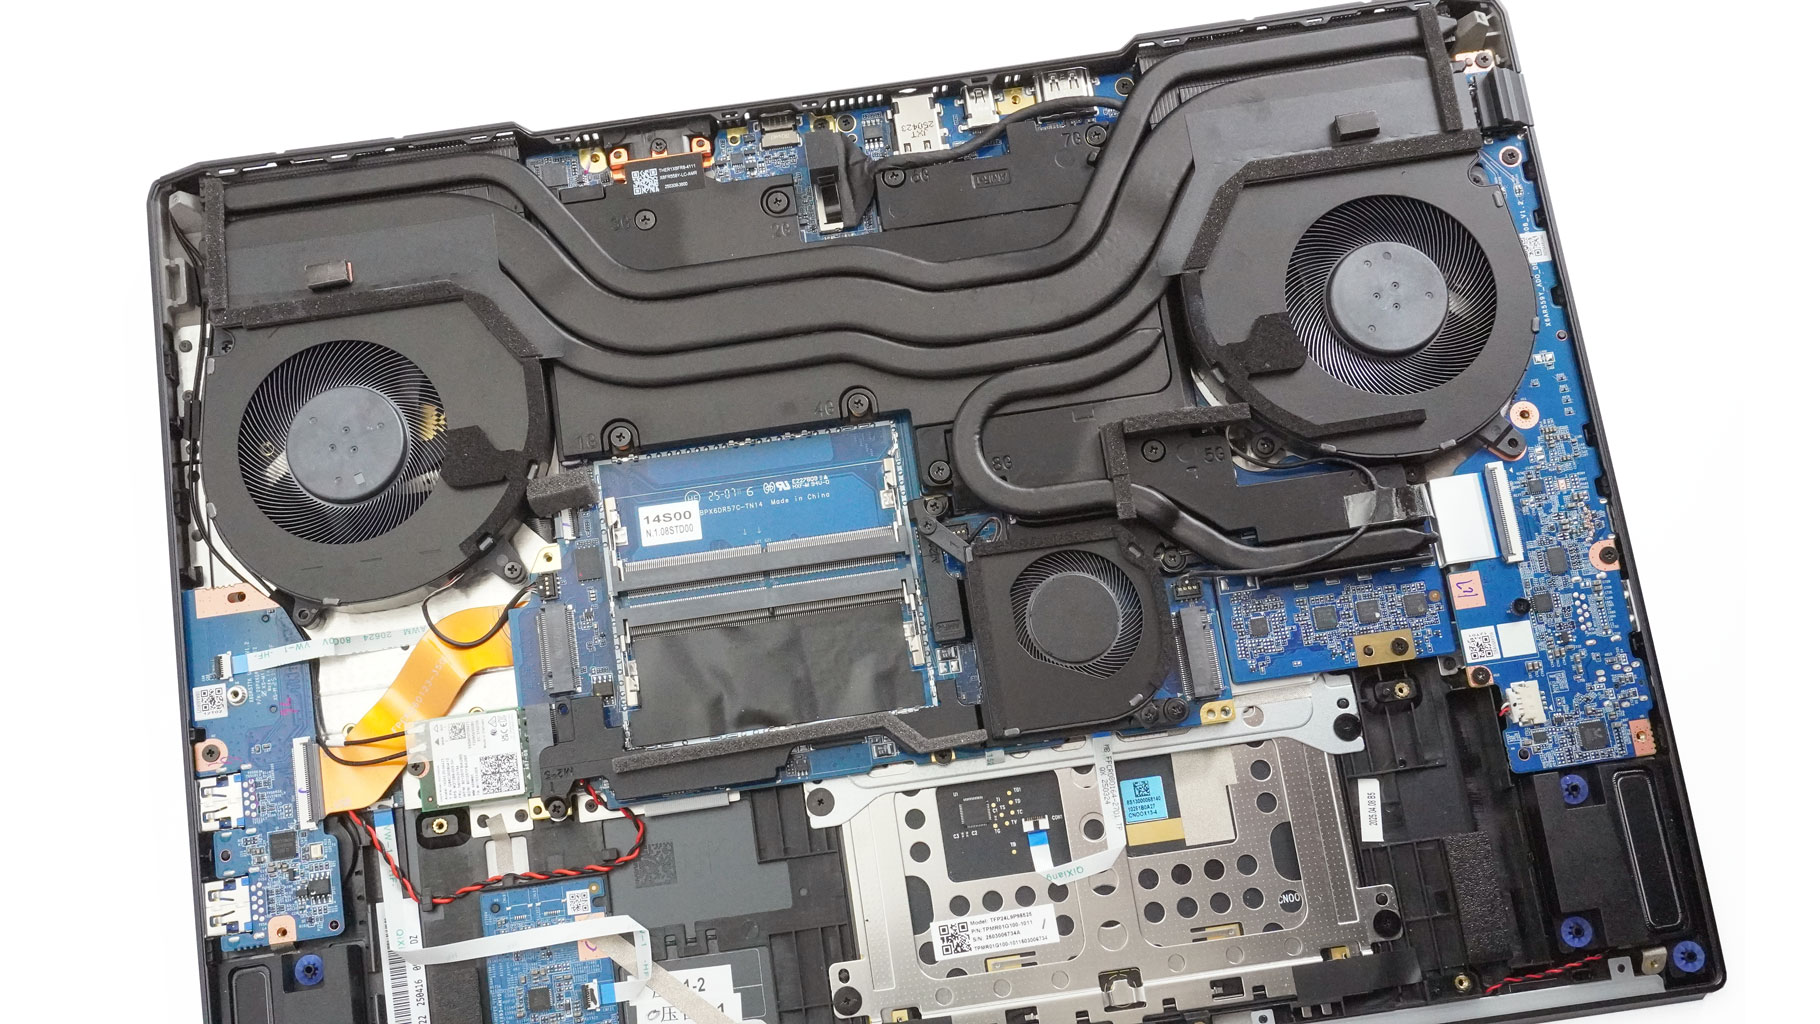
Let's not waste more time and take out the whole cooling system. Two screws hold the bottom fan.
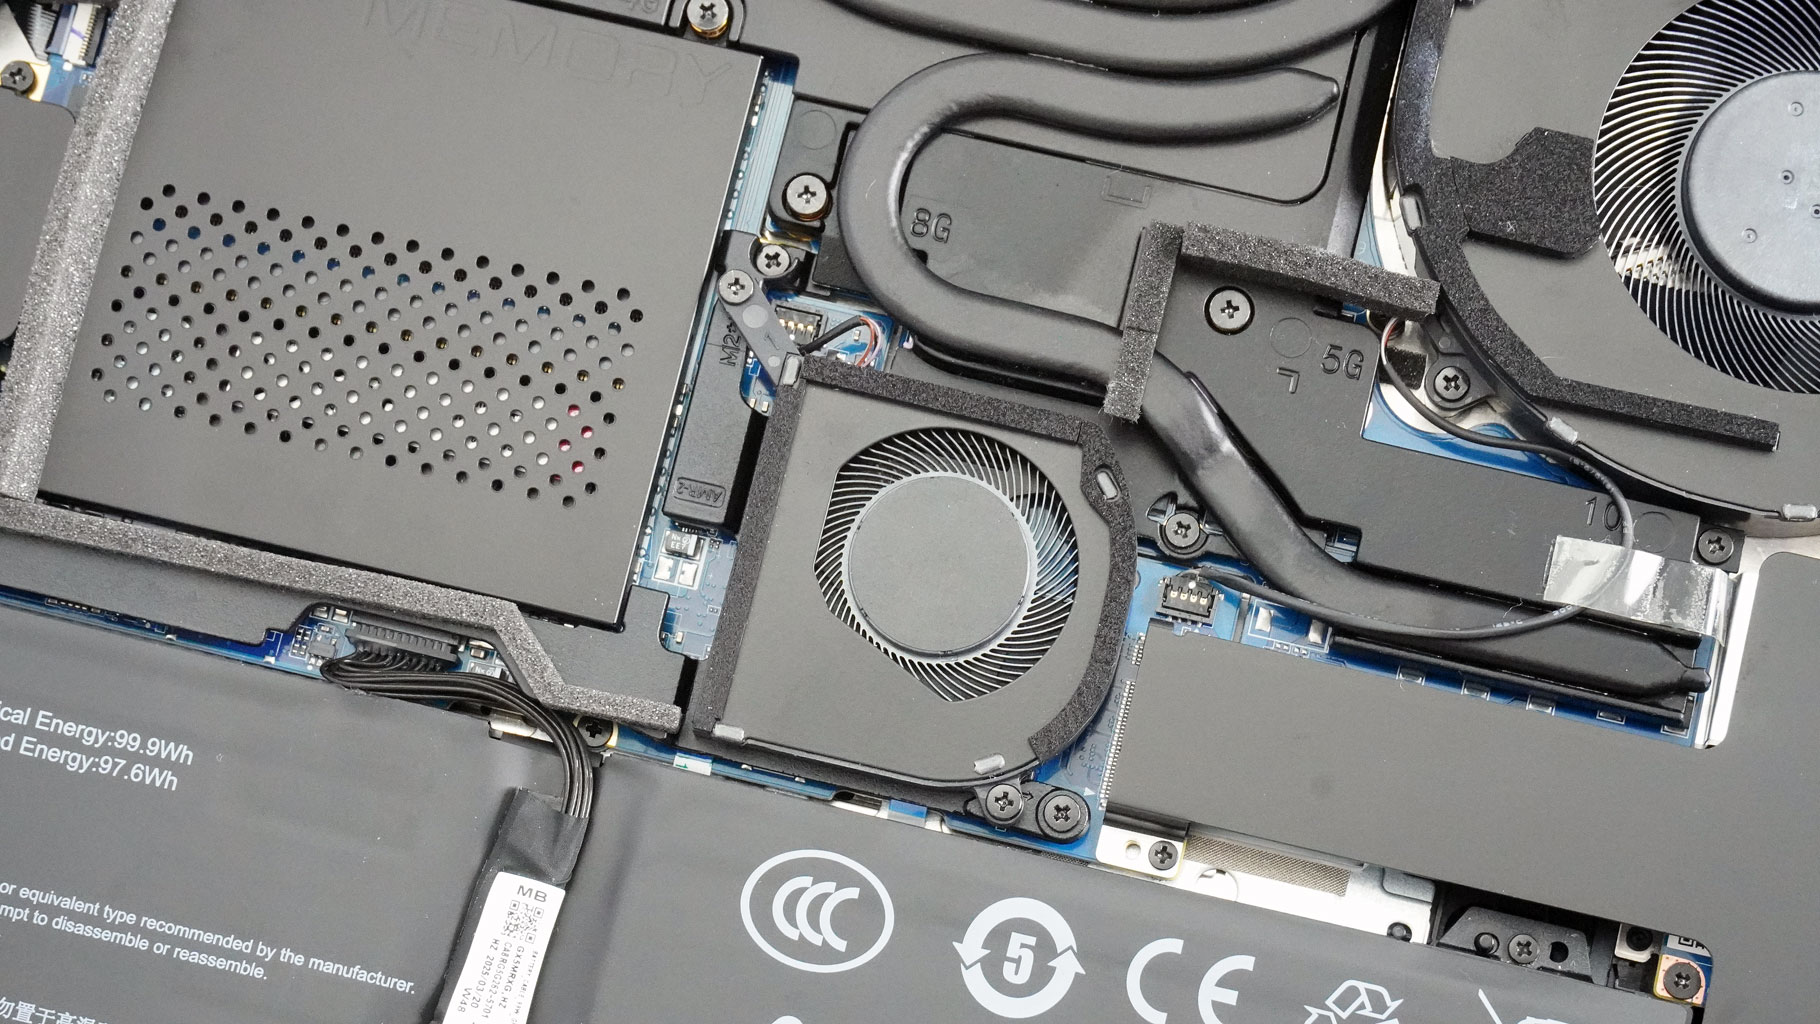
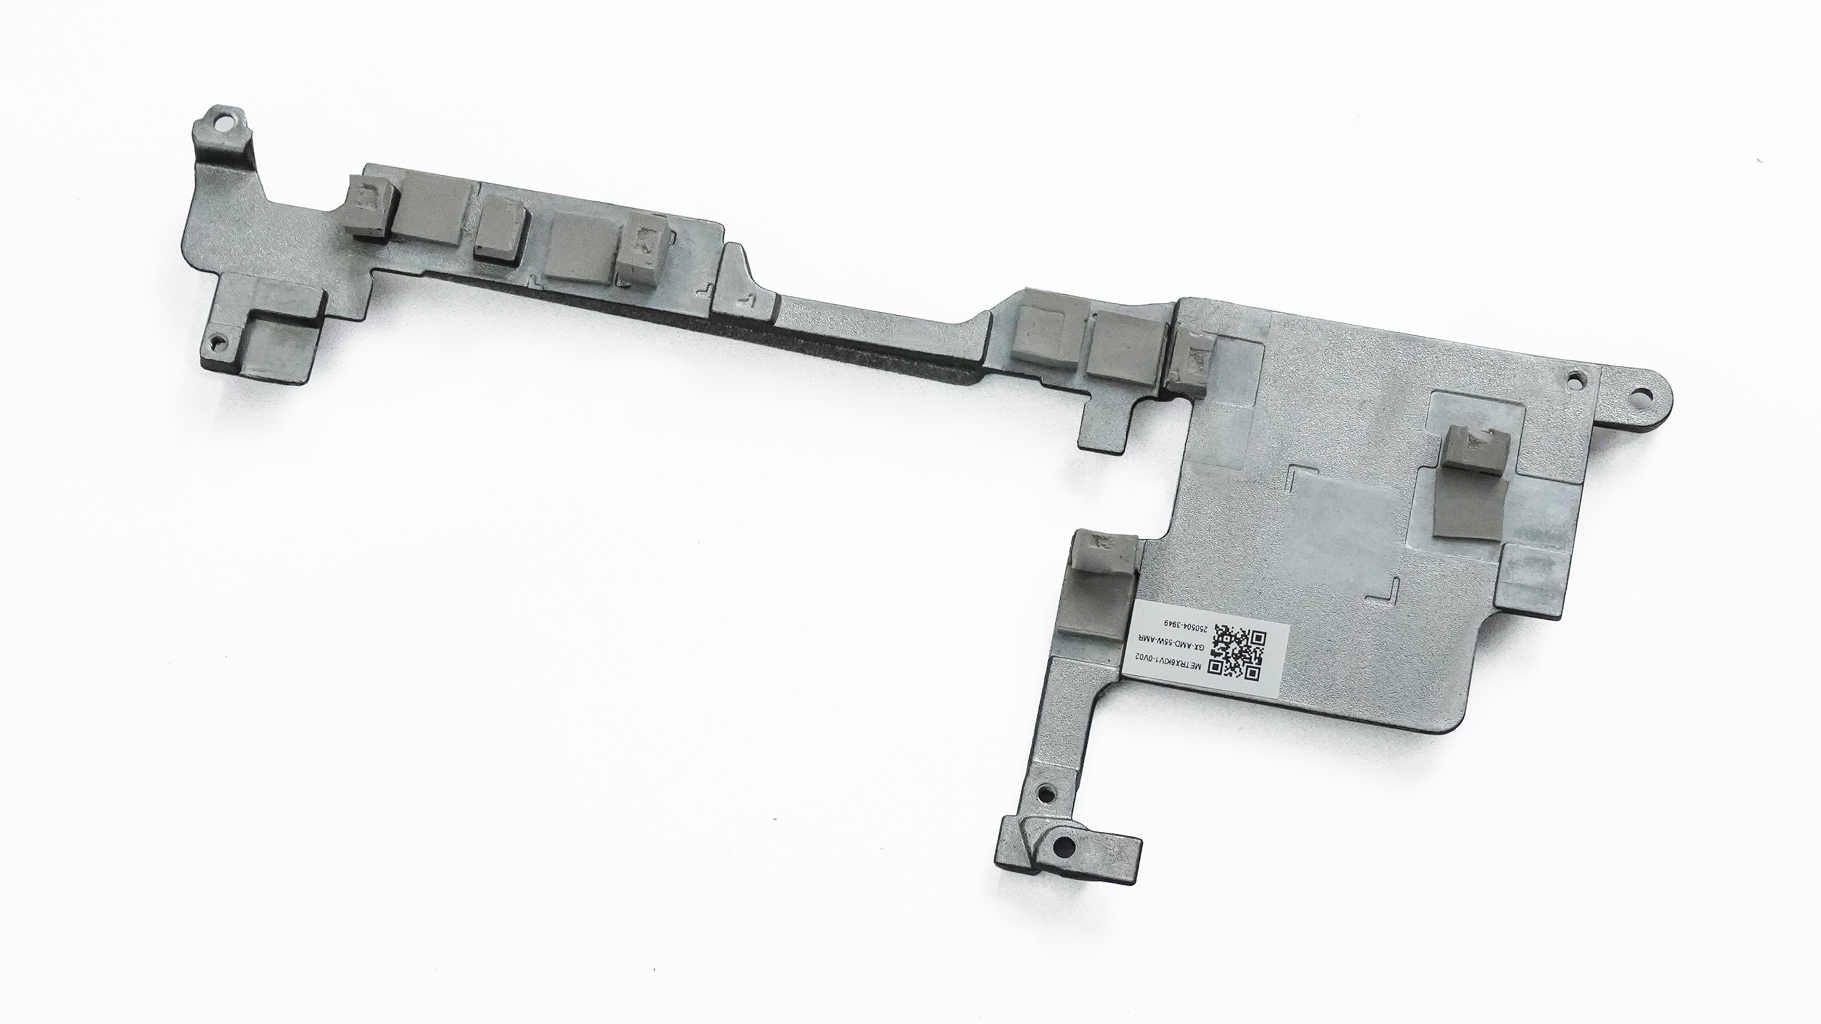
The connector is right below the unit. Just pull it up gently. Another trio of screws holds the lower separated metal plate.
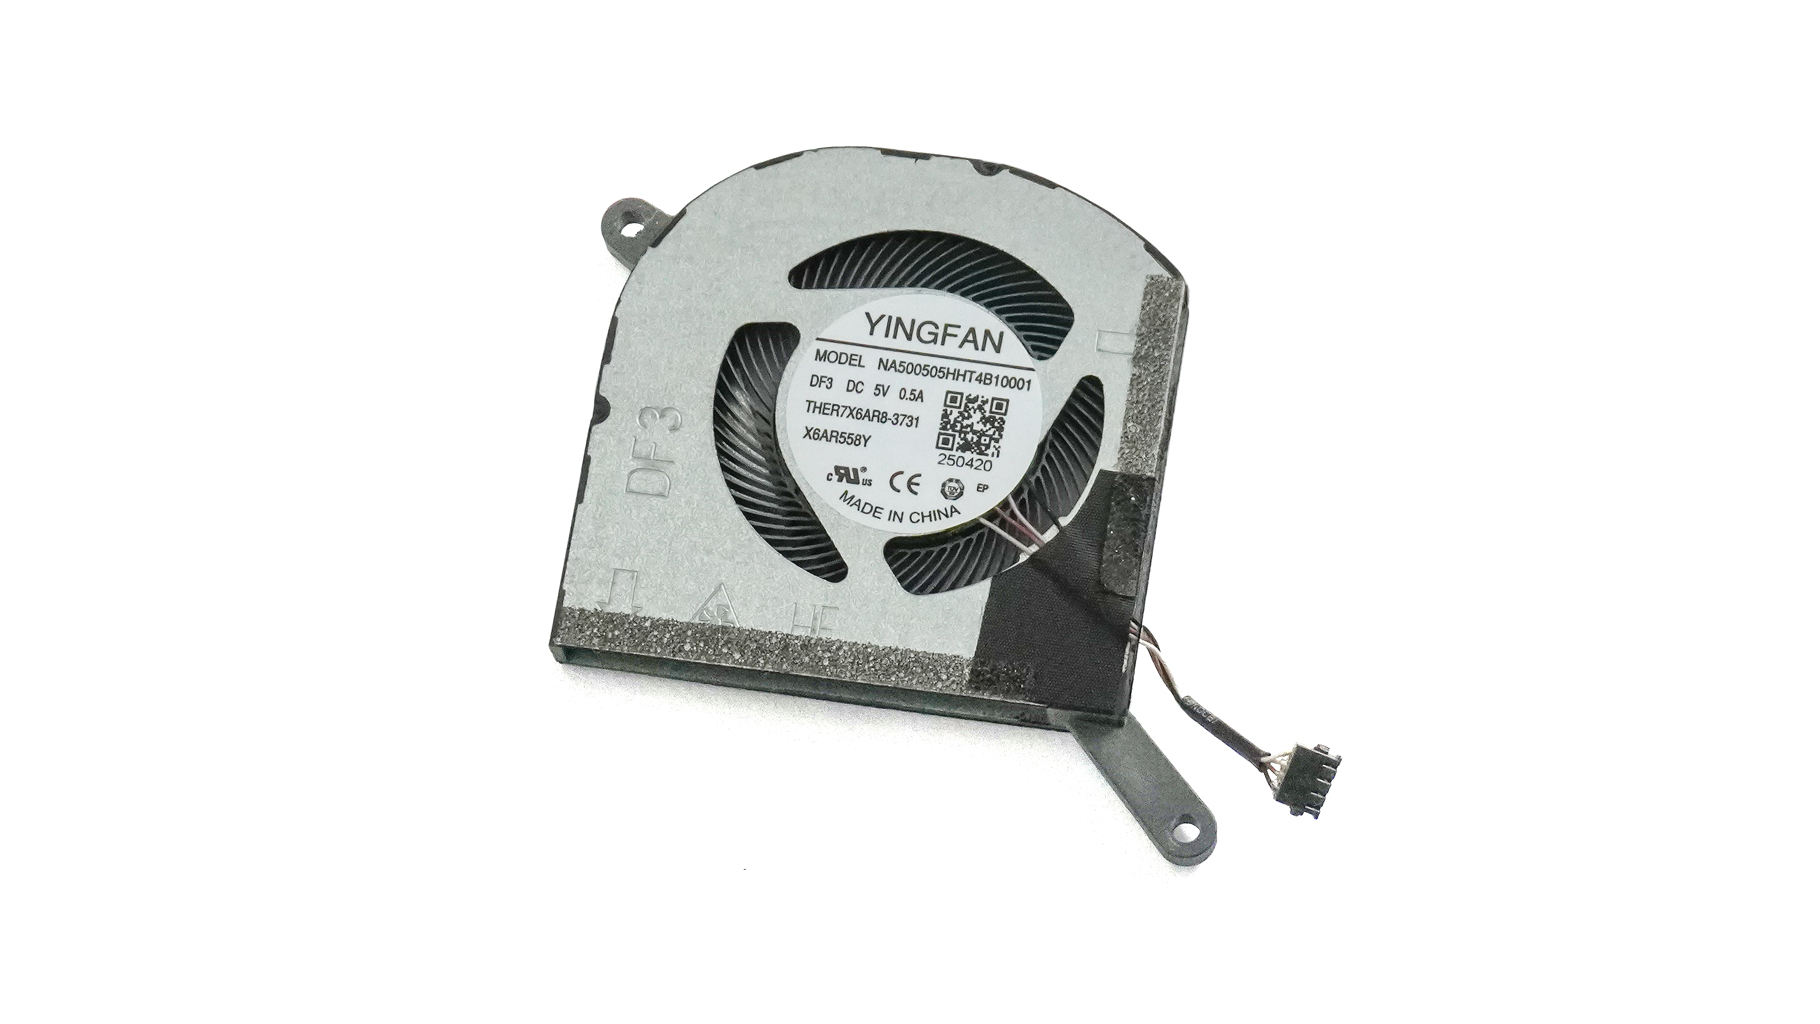
If you are curious, that's the model of the smaller fan.
Disconnect the fan connectors and undo two screws around each housing. There are four screws for the CPU plate and six more for the GPU. Remove the single screw at the top that secures the OASIS cooler socket. Raise the cooling in the section above the RAM slots.
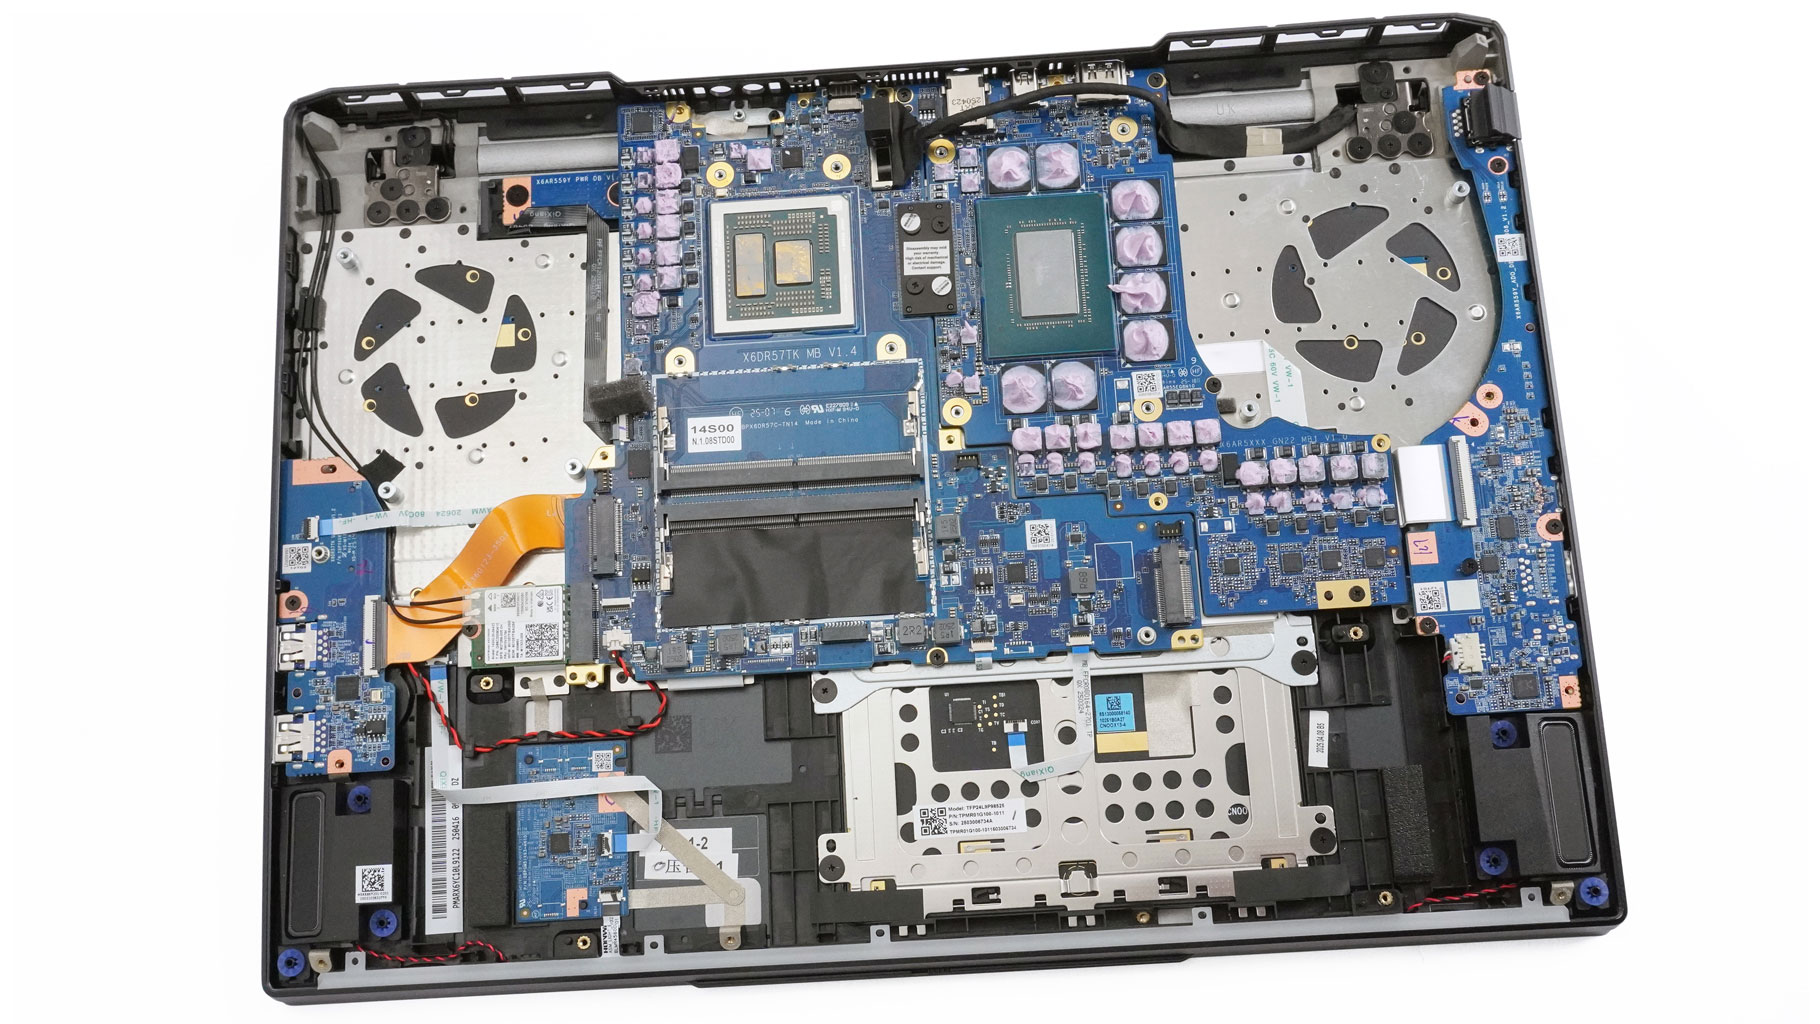
That's the view when the thermal system is fully removed.

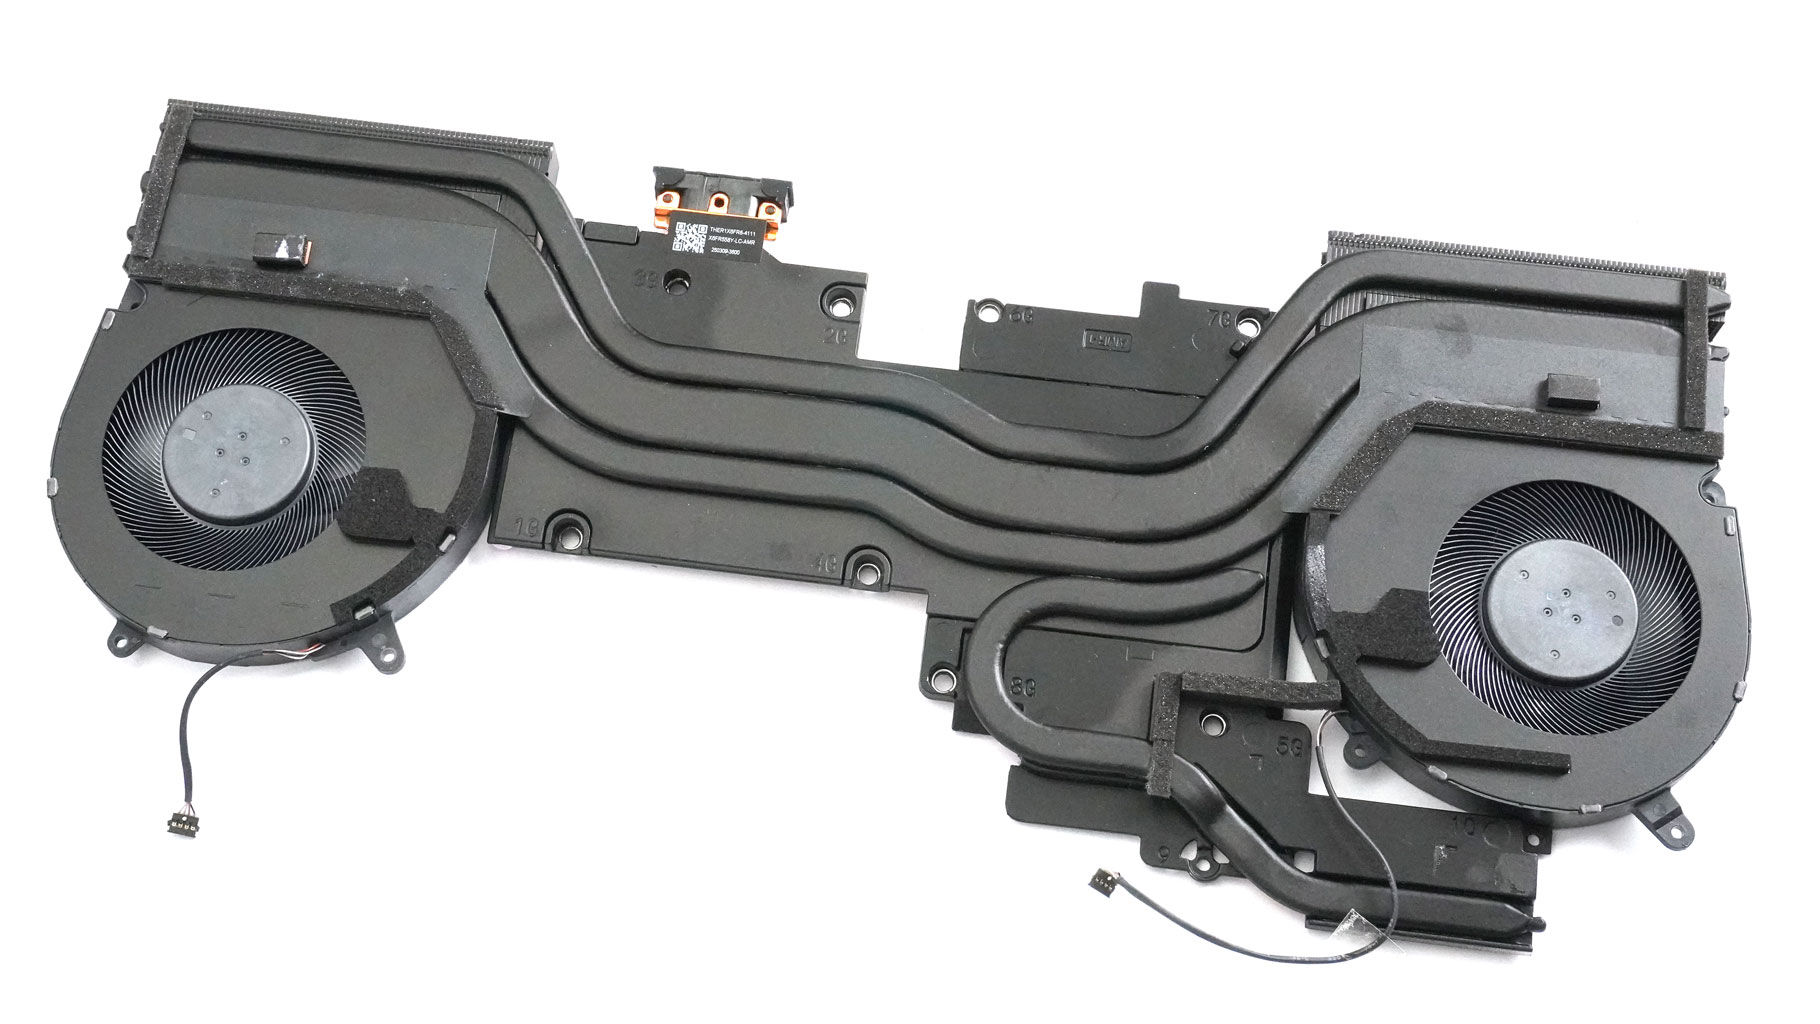
Now, we can see the massive thermal solution flipped.
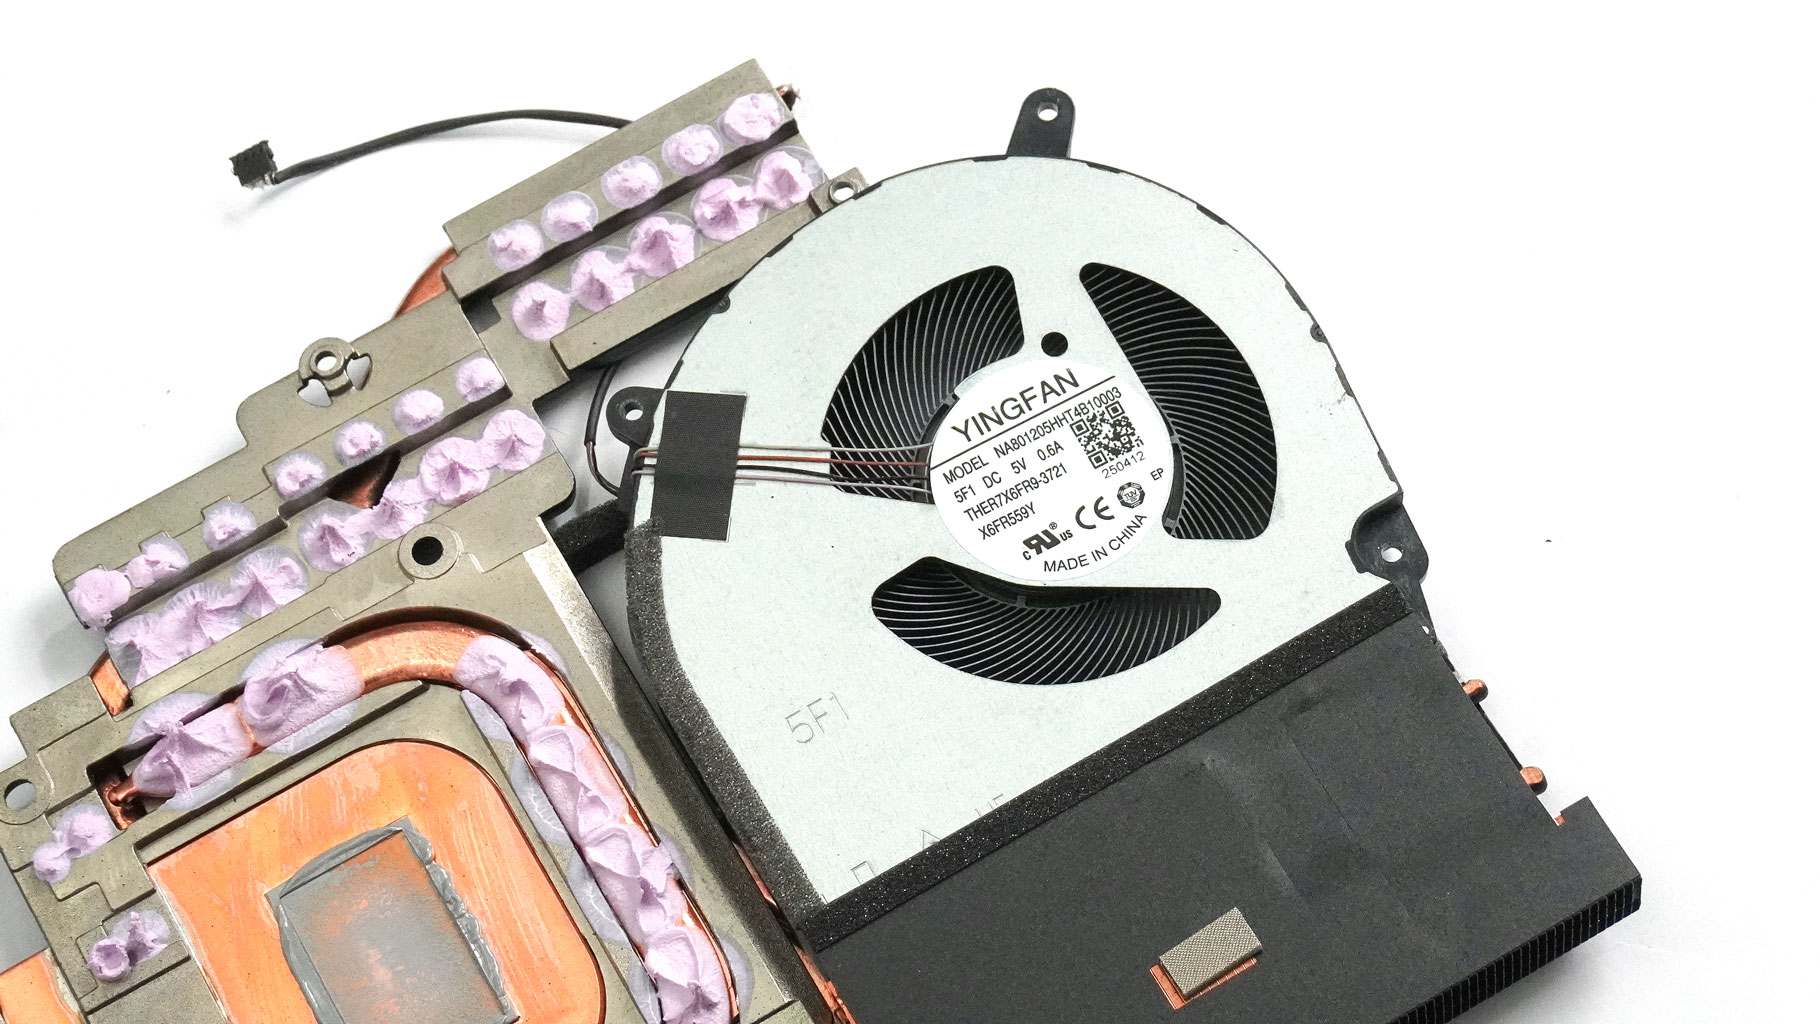
More info about the version of the main fan should always be useful for the geeks out there.

This means that the powerful AMD CPU and the NVIDIA graphics card are also revealed.
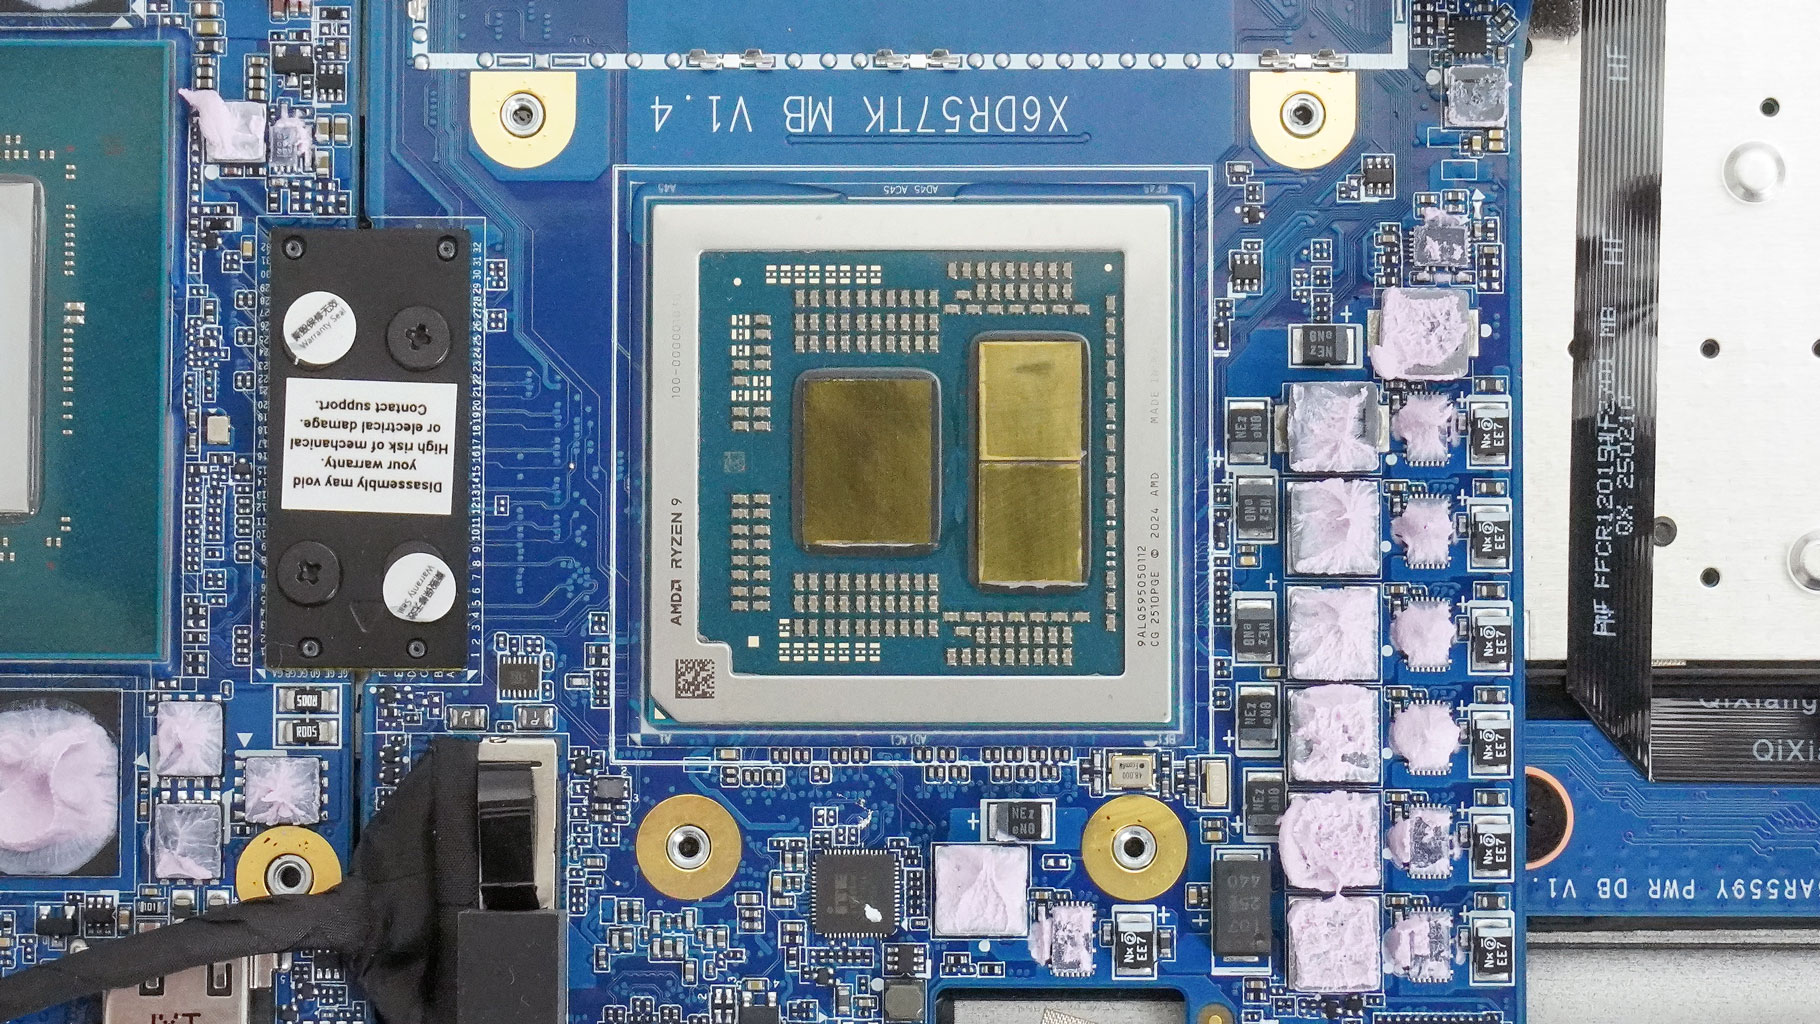

Let me show you even more stills of these chips.
Nov 20th, 2026 09:28 PST
change timezone
Latest GPU Drivers
New Forum Posts
- Anthrophics IPO (11)
- [Poll] 12V-2x6 Connector Protection: What Are You Using? (WireView / Ampinel / Equalizer / Other / Nothing) (49)
- Very unusual two gaming-pc scenarios. (28)
- GTA VI (18)
- Free Games Thread (5384)
- RX 9000 series GPU Owners Club (2243)
- RX 7600 + Ryzen 5 5600GT getting the same FPS as my old RX 6500 XT – What am I missing? (18)
- Making a game in Godot engine (13)
- Intel Core Ultra 5 processor 250K Plus (10)
- What is in your fleet, size and contents? (29)
Popular Reviews
- AMD Zen 6 Technical Deep Dive
- Ugreen NASync DXP4800 GT Review
- Corsair RM1200e (Second Generation) Review
- Acemagic Retro X3 Review
- Upcoming Hardware Launches 2027 (Updated Nov 2026)
- Pulsar Office Tour & First Look at P1 Dual-Sensor Mouse
- Biwin Black Opal NV7400 2 TB Review
- AMD Ryzen 7 9800X3D Memory Performance Scaling
- AMD Ryzen 7 9800X3D Review - The Best Gaming Processor
- Chieftec Iceberg PRO 360 DARK Review
TPU on YouTube
Controversial News Posts
- NVIDIA Co-Founder and CEO Jensen Huang Officially Resigns (490)
- Report: Jensen Huang Eyes NVIDIA Comeback (243)
- Open Letter Asking NVIDIA to Reinstate Jensen Huang Passes 115,000 Signatures (184)
- OpenAI CEO Argues Home PCs Waste the World's Limited DRAM Supply (152)
- NVIDIA Launches Investigation Into Jensen Huang's Relationship With Suspected Chinese Spy (136)
- Intel "Raptor Lake Next" 16-Core and 20-Core CPUs Surface (130)
- Legendary Game Studio BioWare Shuts Down Following EA Layoffs (104)
- Dell CEO Says the Memory Shortage Will Get Worse in 2027 (95)