 9
XMG Pro 16 (E25) Review - The High Clocker
Display Testing »Disassembly and Teardown
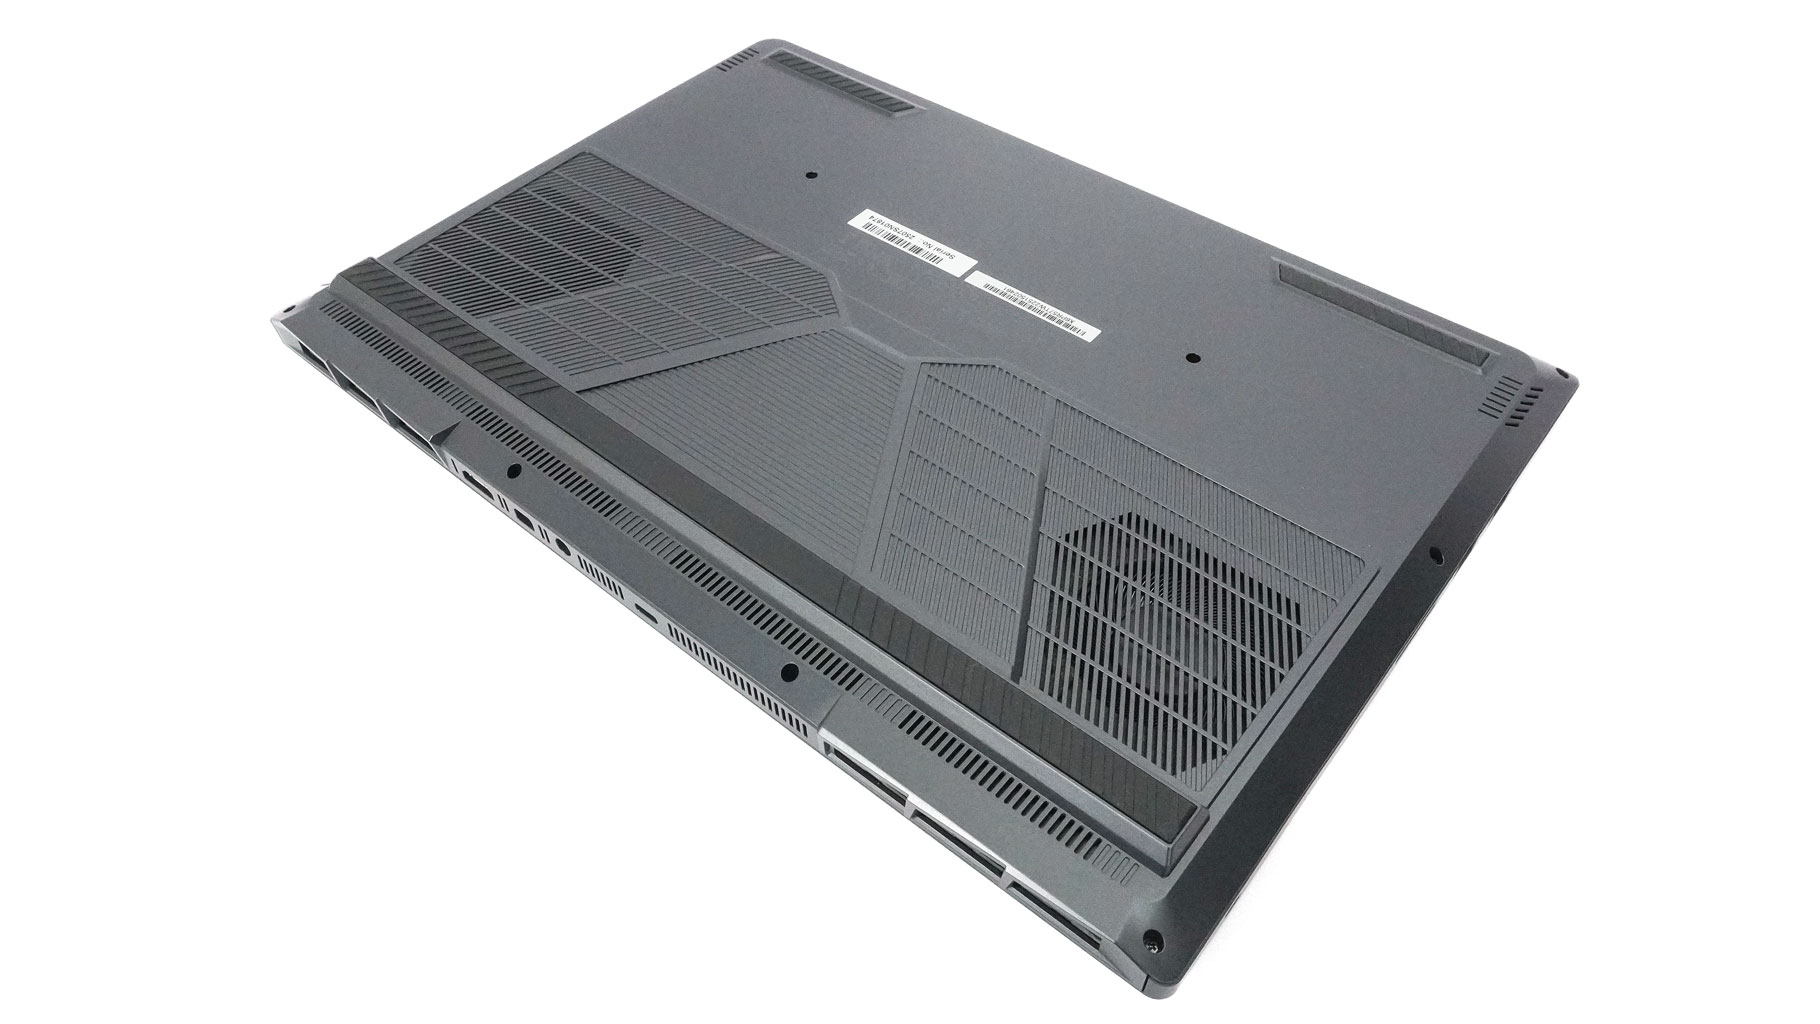
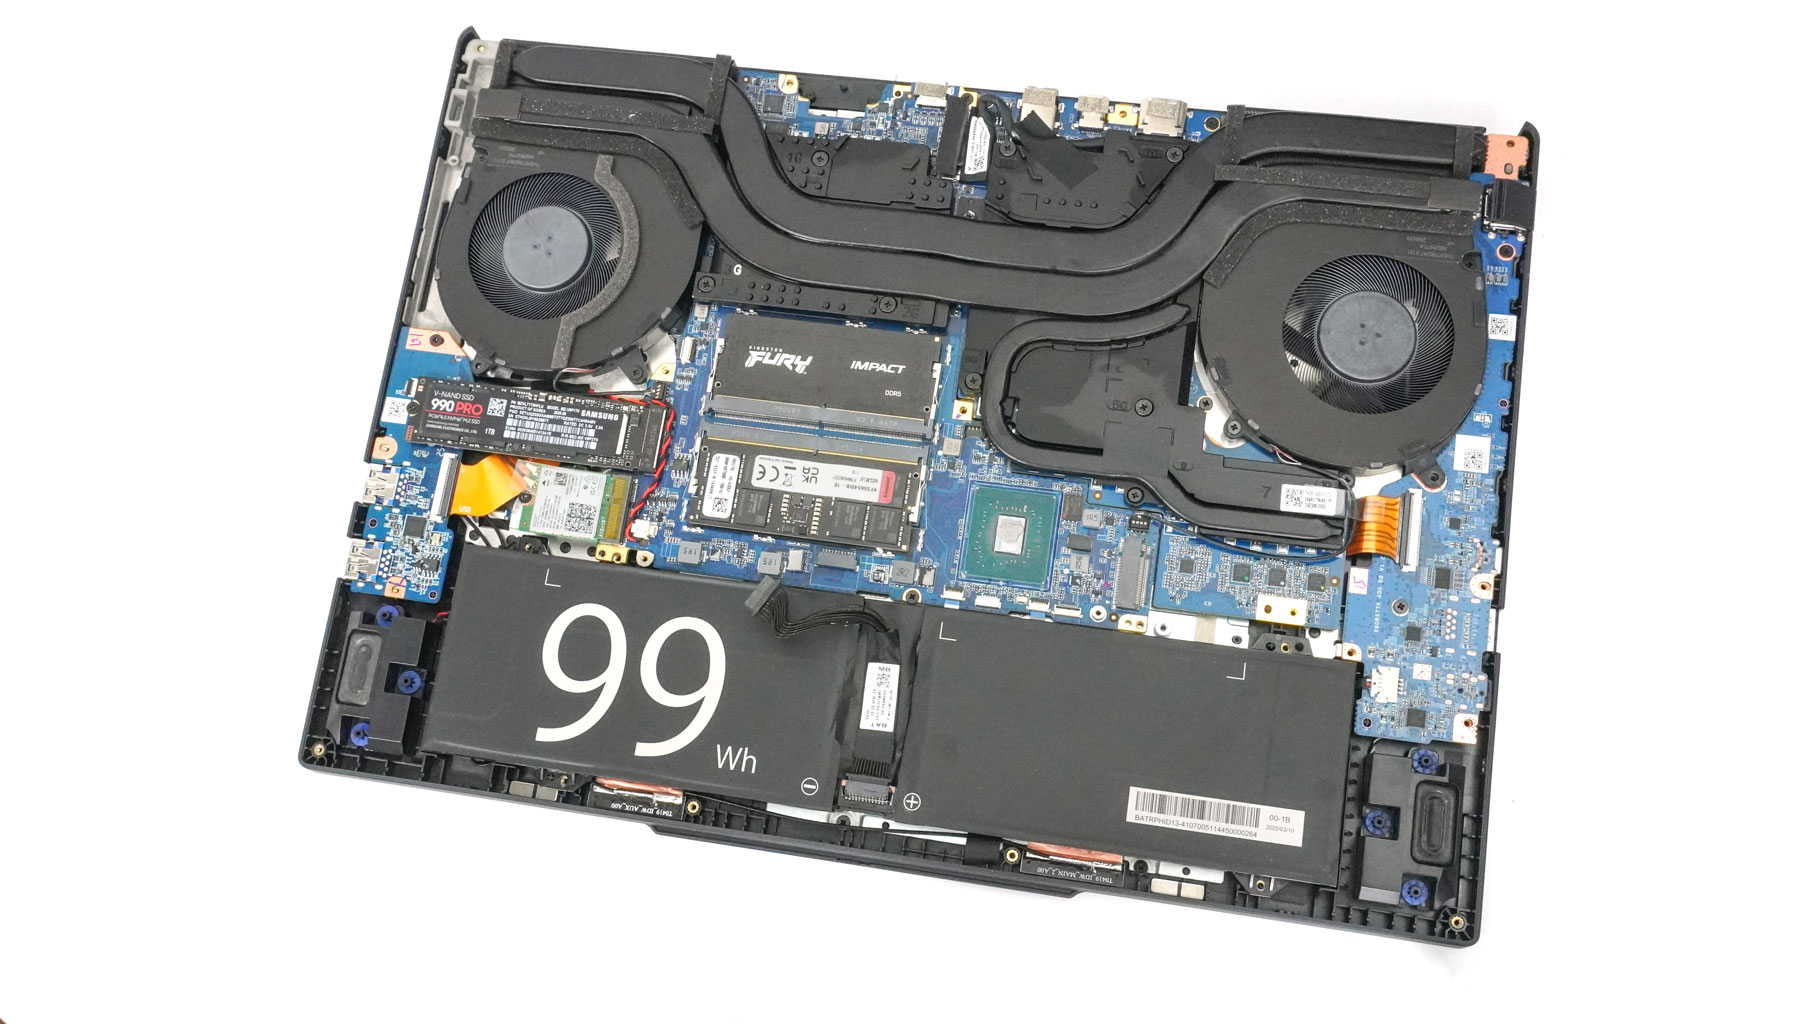
Getting into the XMG Pro 16 isn't complicated. Twelve Philips head screws stand between you and the motherboard. First, pop off the rear exhaust vents one by one, holding them firmly with both hands. As you do that, apply some pressure to the bottom plate with your wrists. In my case, I just carefully lifted the cover, and the internal clips were released. If this doesn't happen on your end, carefully twist the sides of the plate or use a thin plastic tool to fully pry the bottom off.
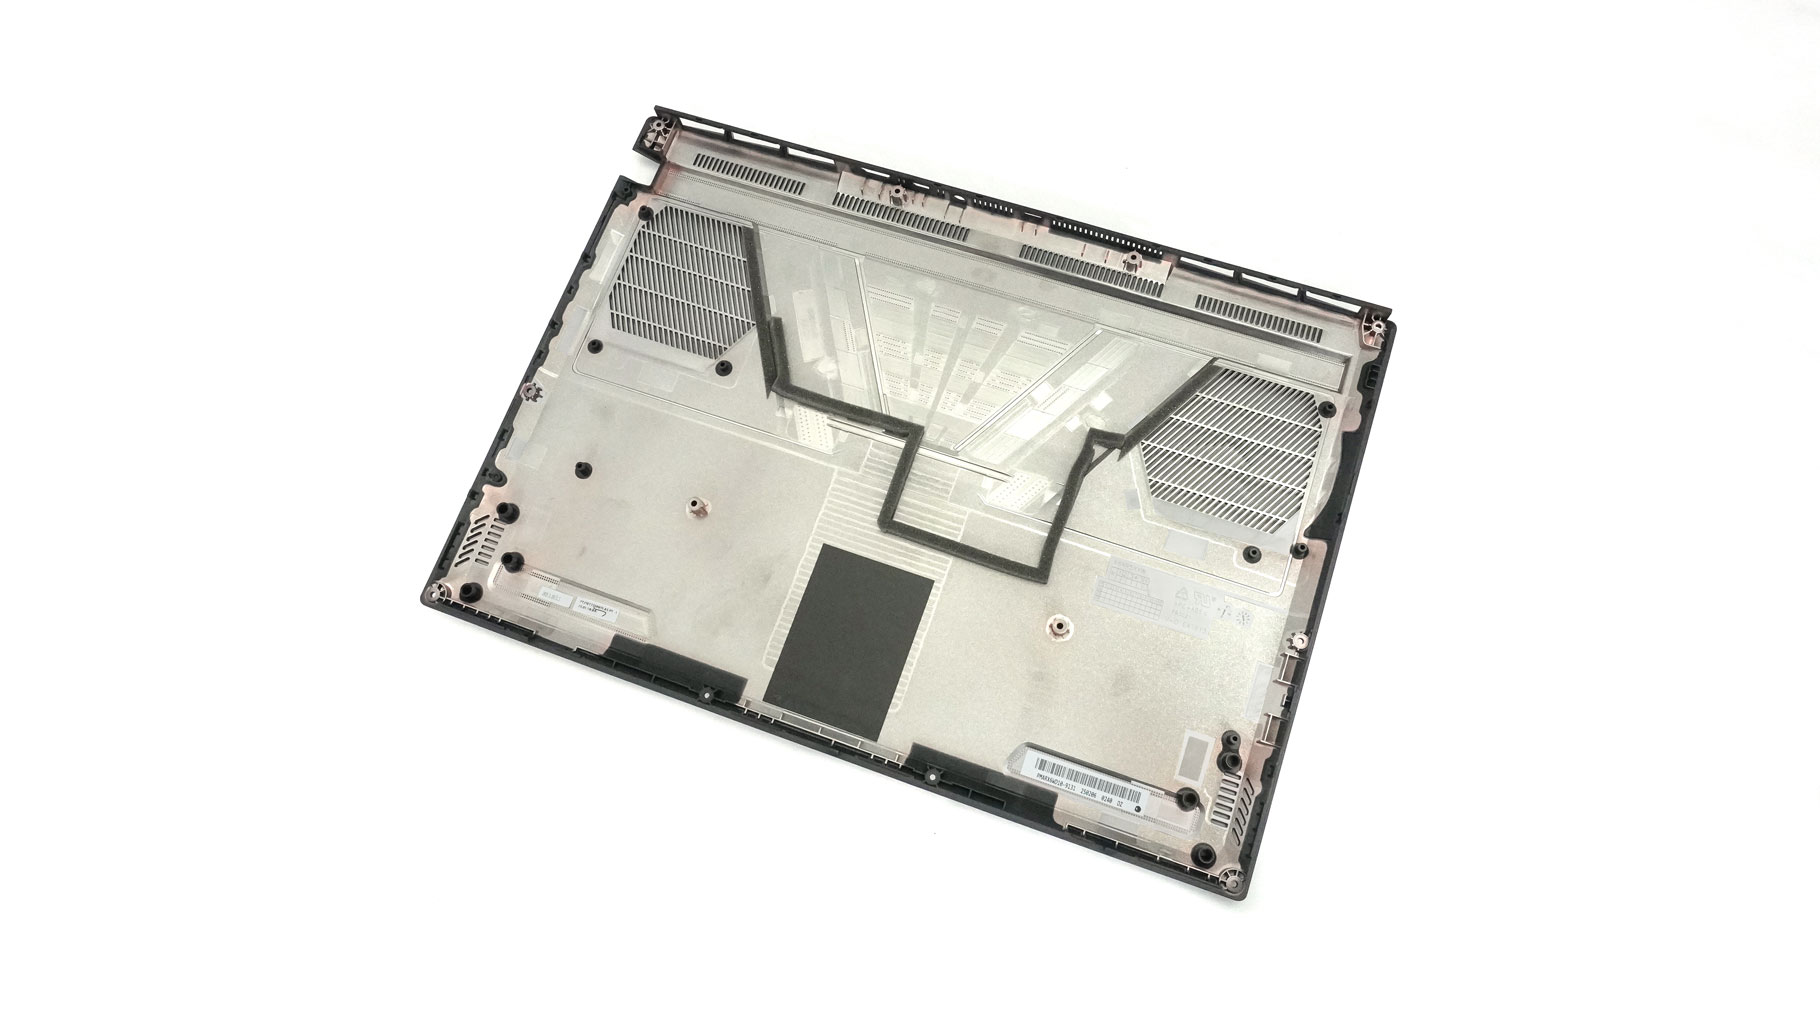
Here's a look at the plate.
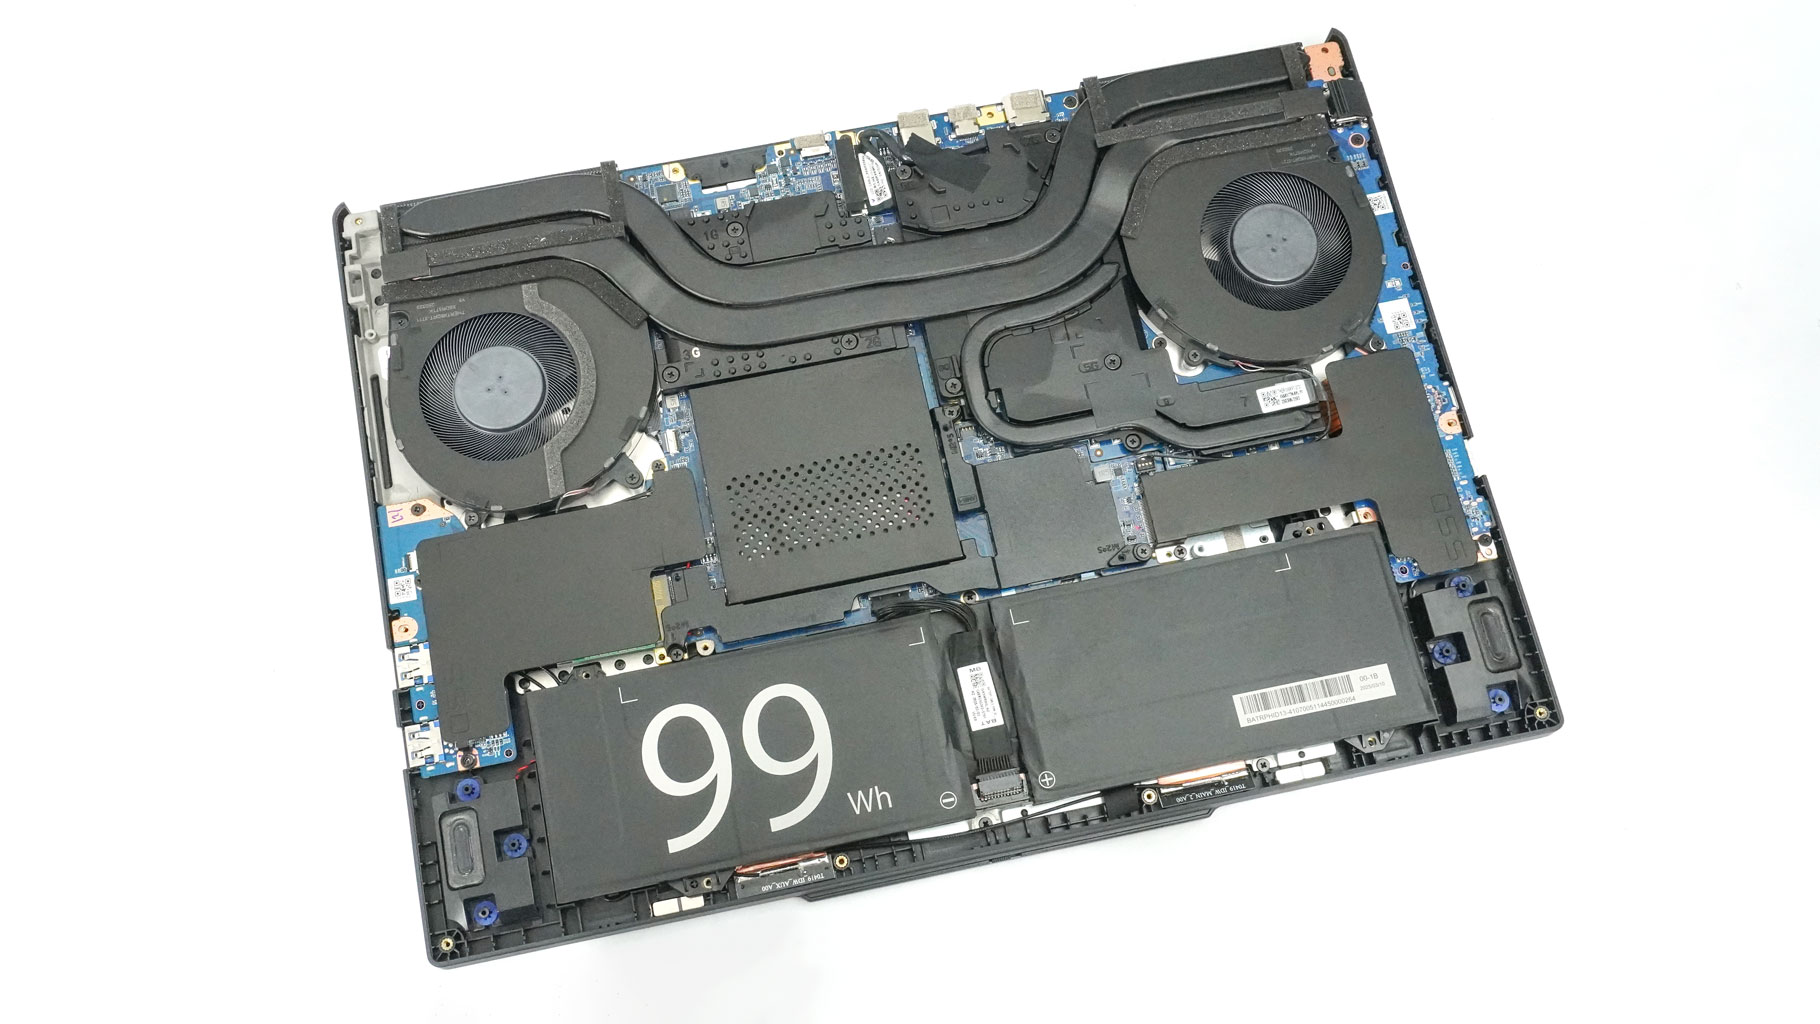
Wow, this machine looks like a tank on the inside! Great job, XMG!
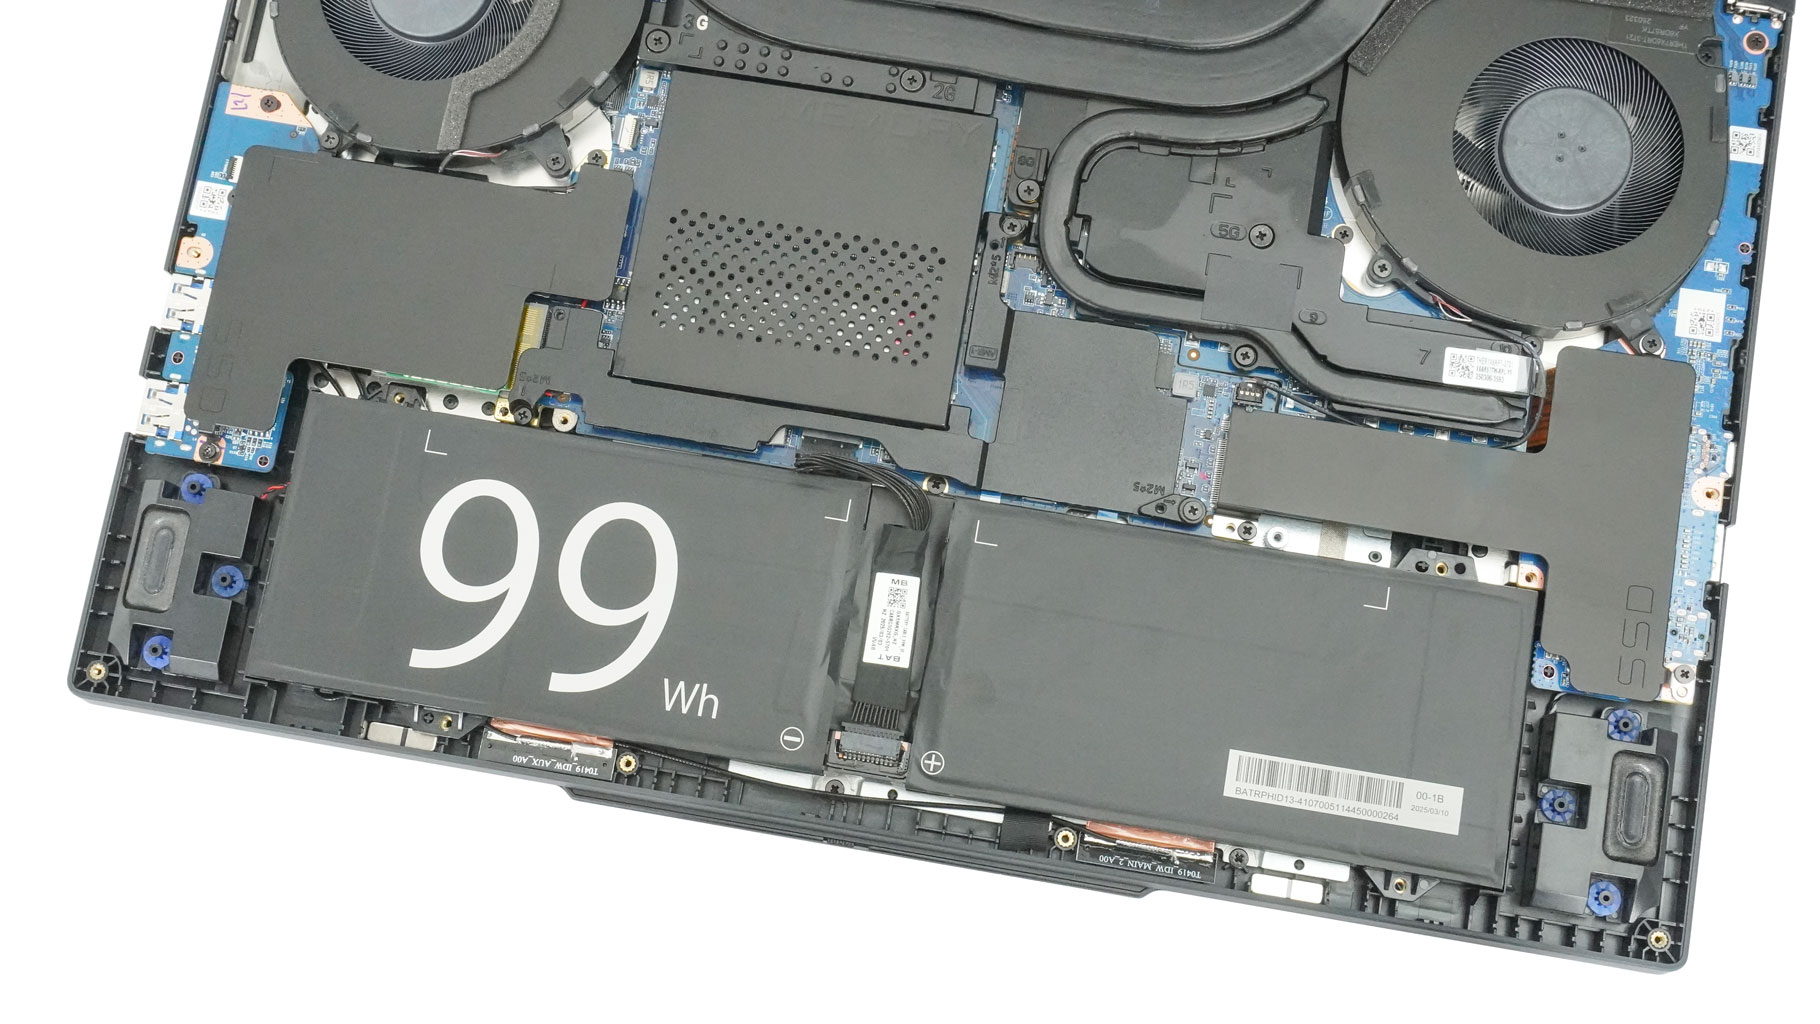
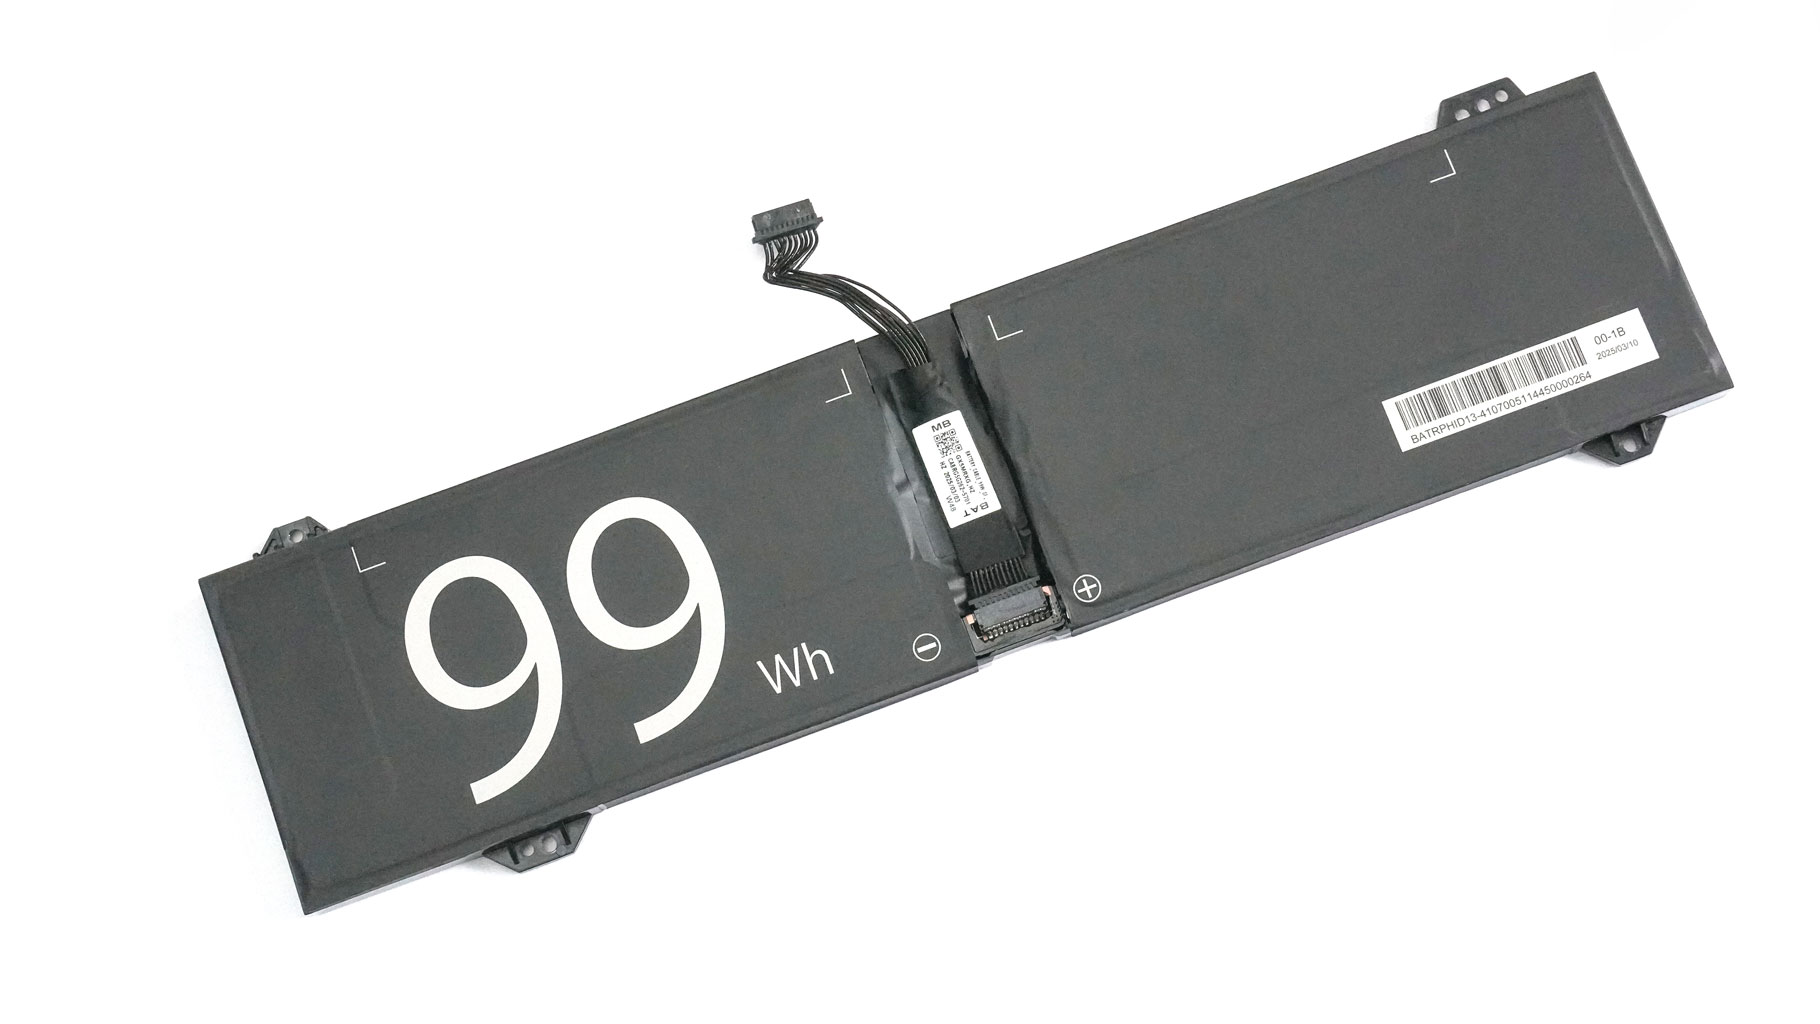
As always, our first job is to disconnect the large 99.9 Wh battery by pulling its connector downwards. Undo the four Philips heads that secure the unit. The autonomous life is decent - 5 hours and 16 minutes of 4K YouTube video playback on a single charge. Not bad considering the high-res screen and the powerful CPU.
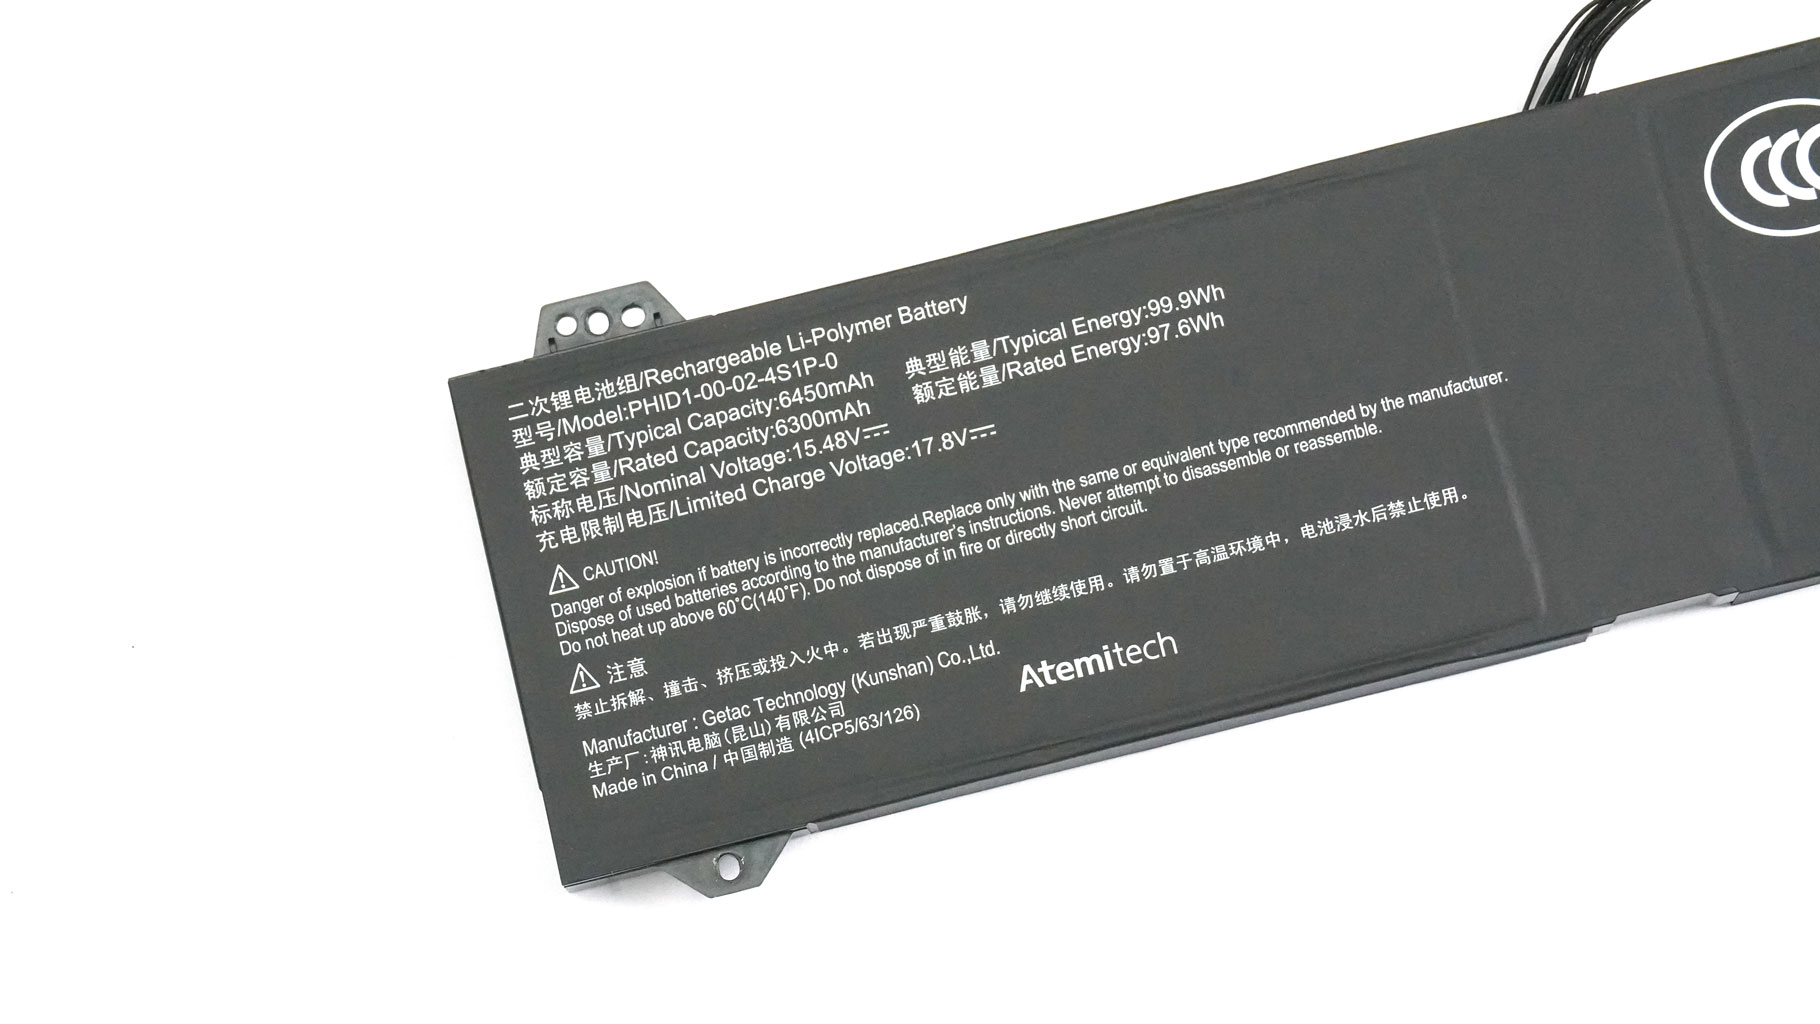
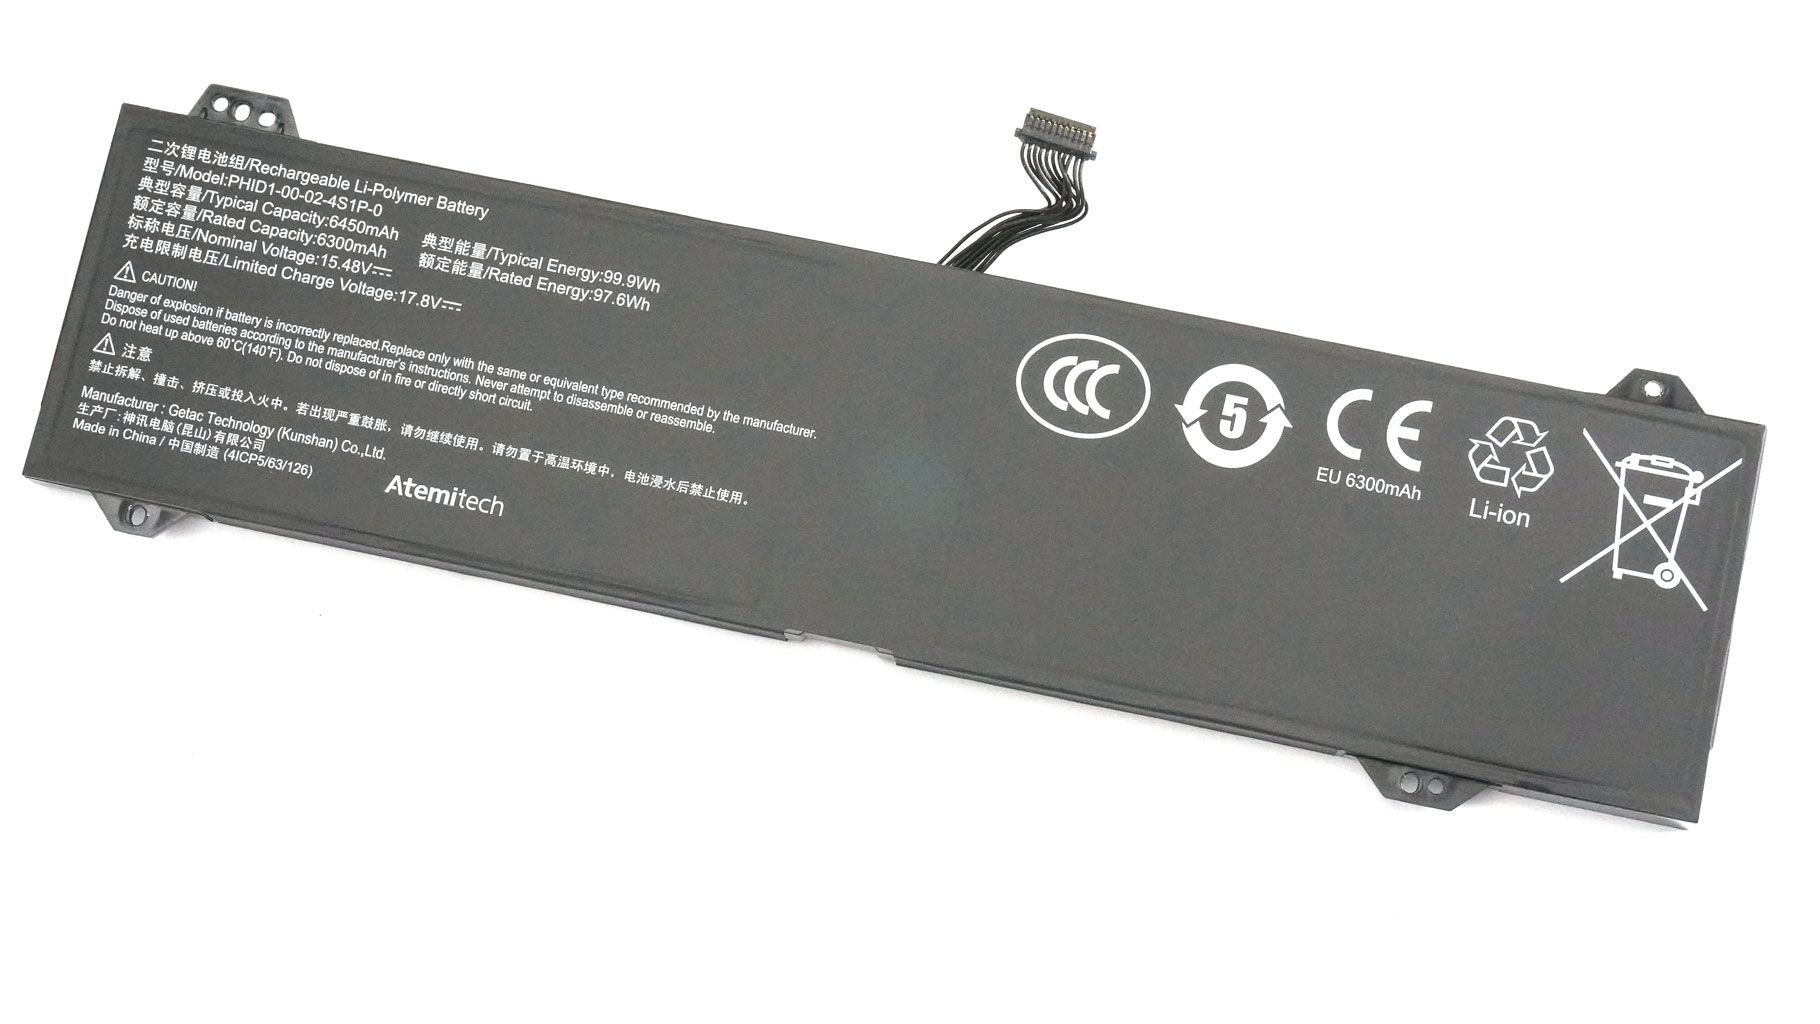
The useful battery info is on its bottom side.
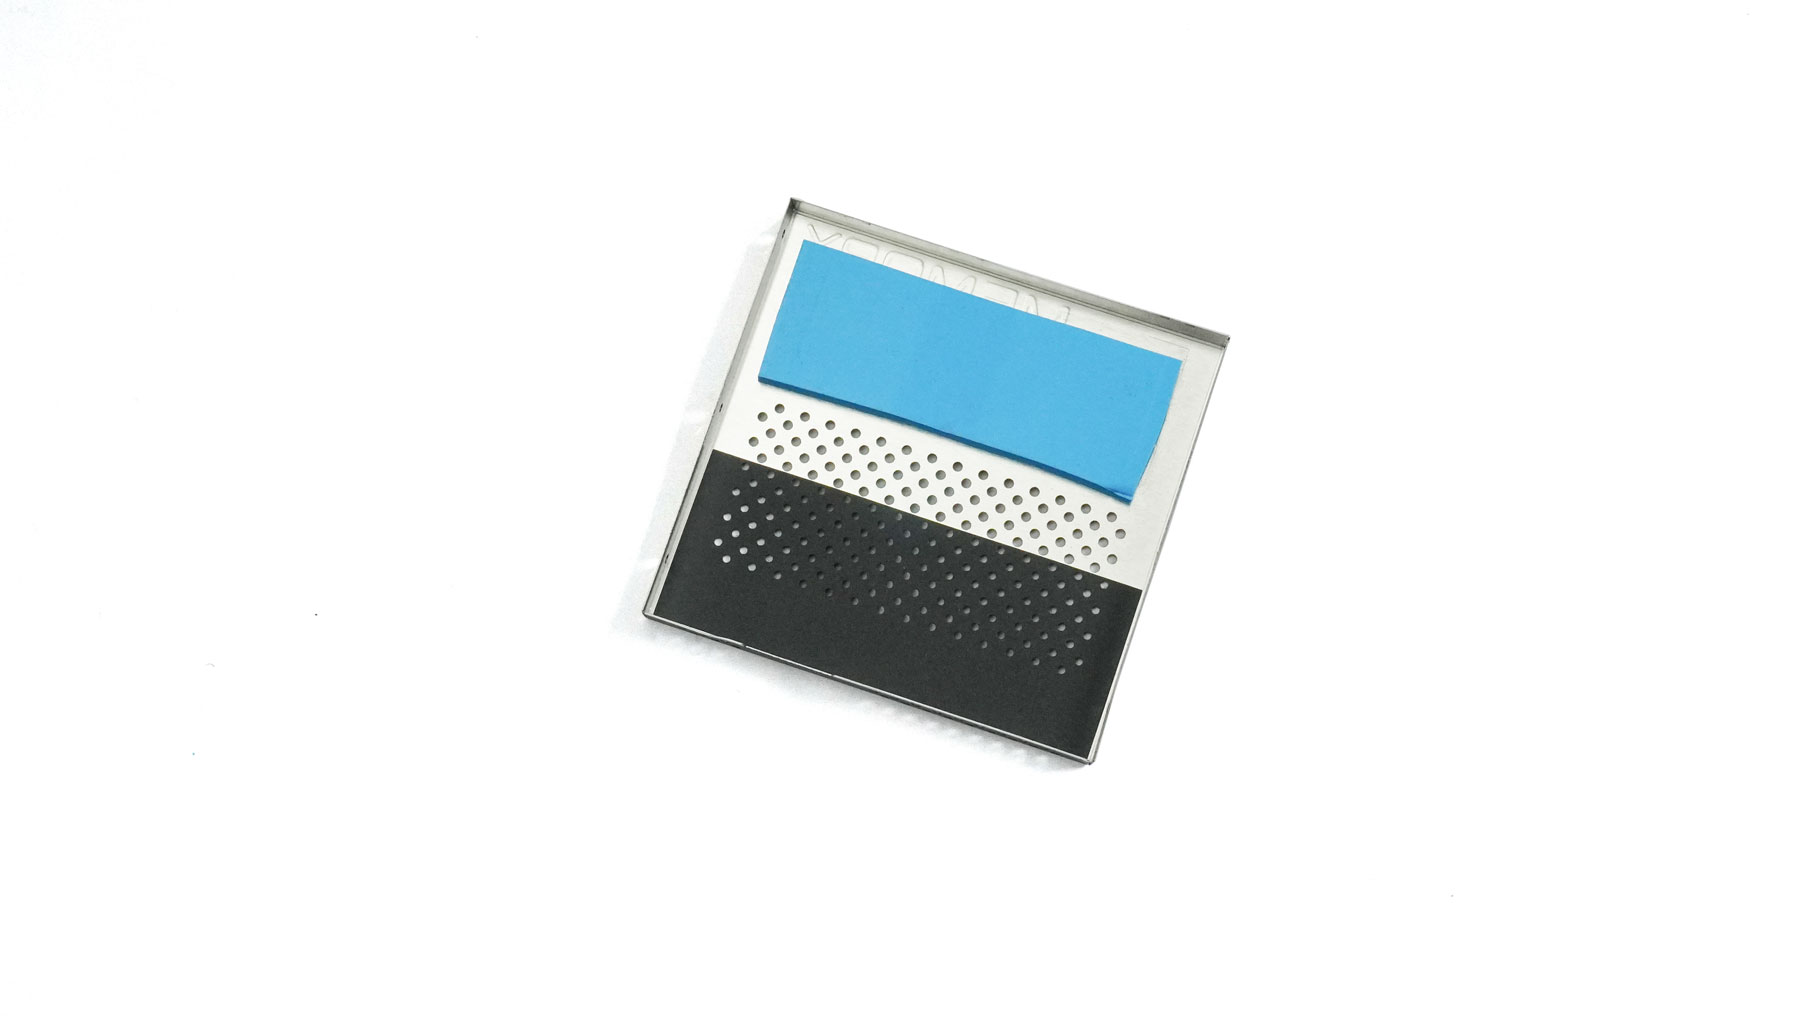
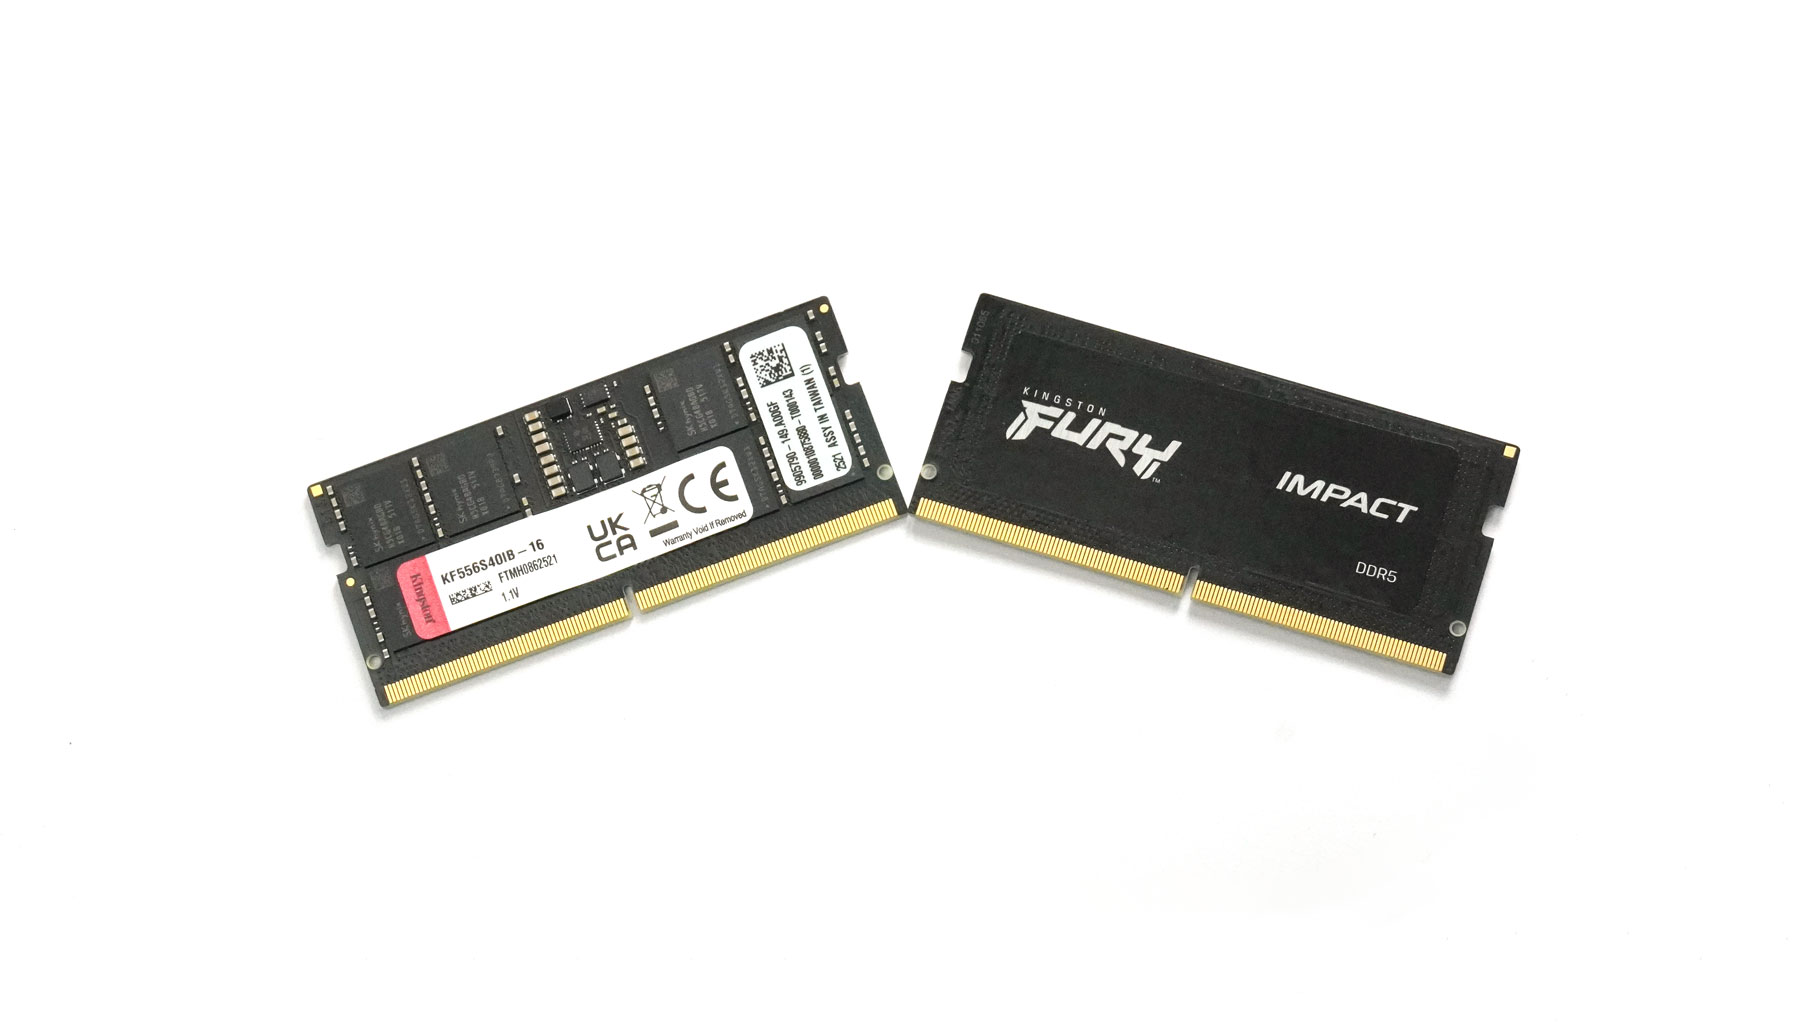
The memory has a metal cap on top that could be lifted with the aid of a lever tool. Turning over the metal cover reveals a thick thermal pad for the upper RAM module, which is positioned lower than the other. The lower module relies on the many ventilation holes in the plate for cooling.
This laptop is offered with either the Intel Core Ultra 9 275HX or the Core i9-13900HX. Our laptop has the Raptor Lake chip, and that's why the maximum amount of memory claimed by the manufacturer is 96 GB of DDR5-5600. The versions with the newer Arrow Lake chip get a speed boost to 6400 MT and support a max configuration of 128 GB, besides offering clock driver modules to sustain stable higher memory frequencies with high densities.
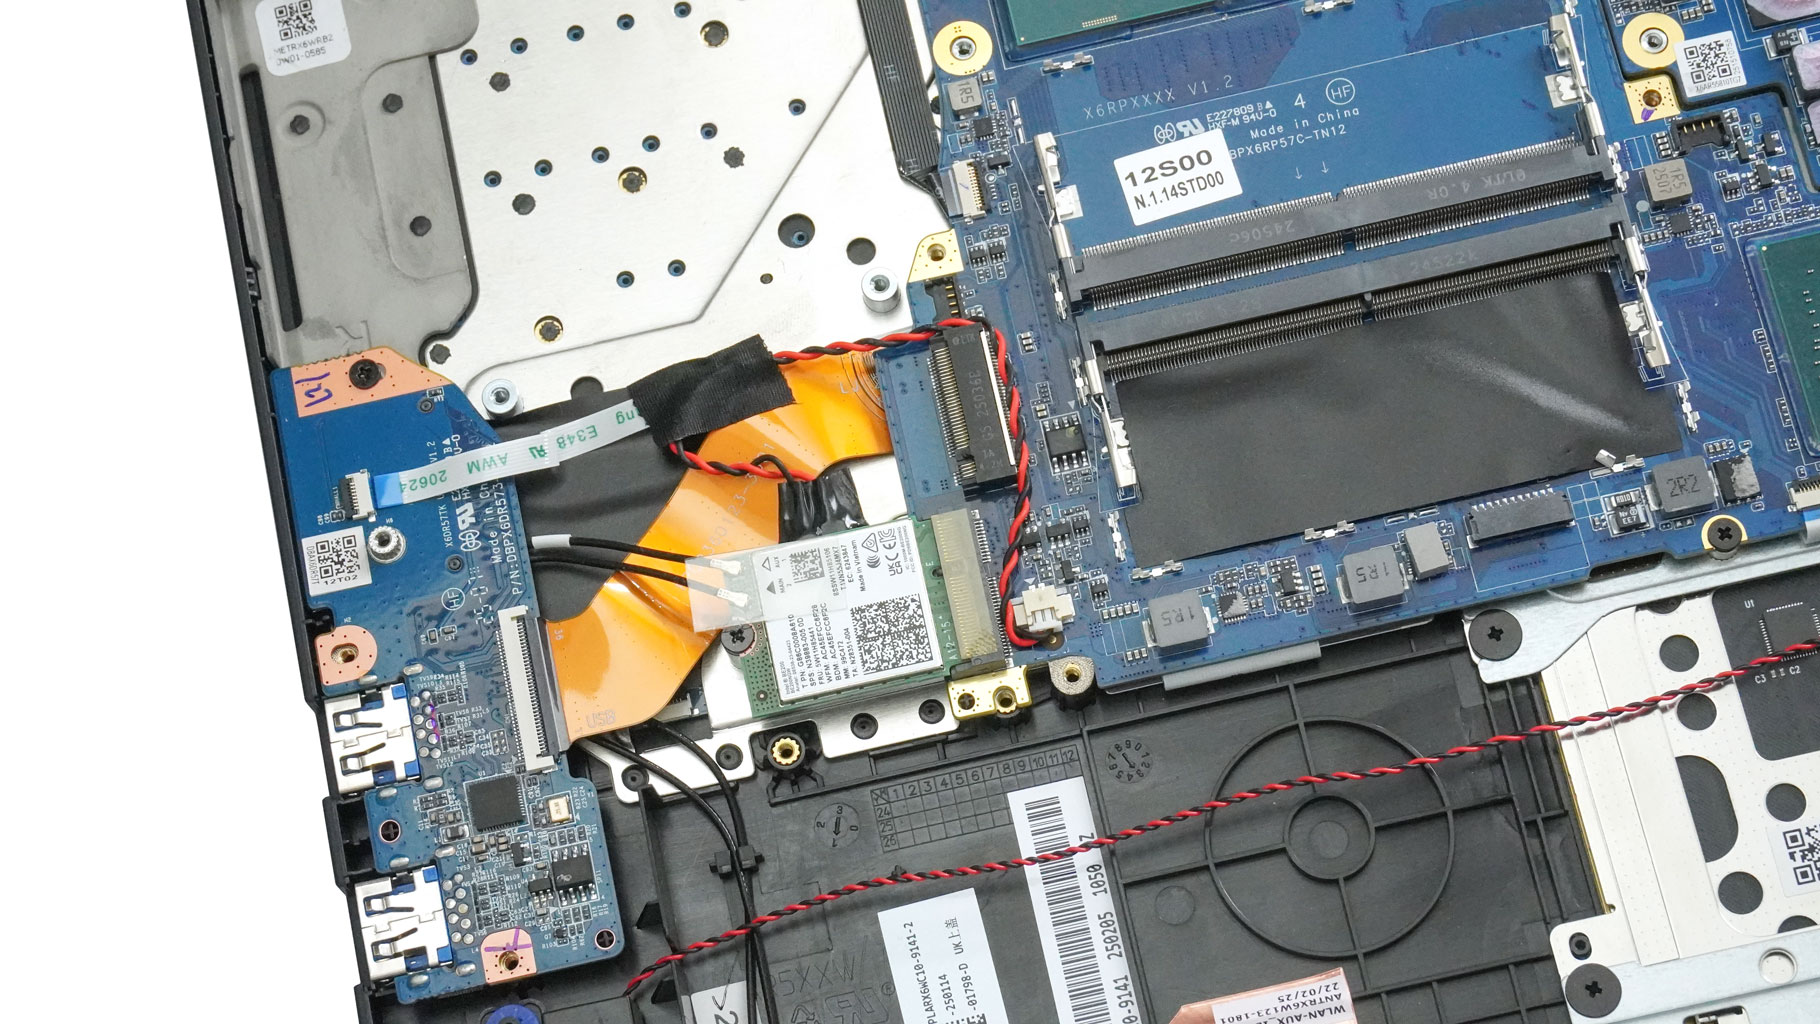
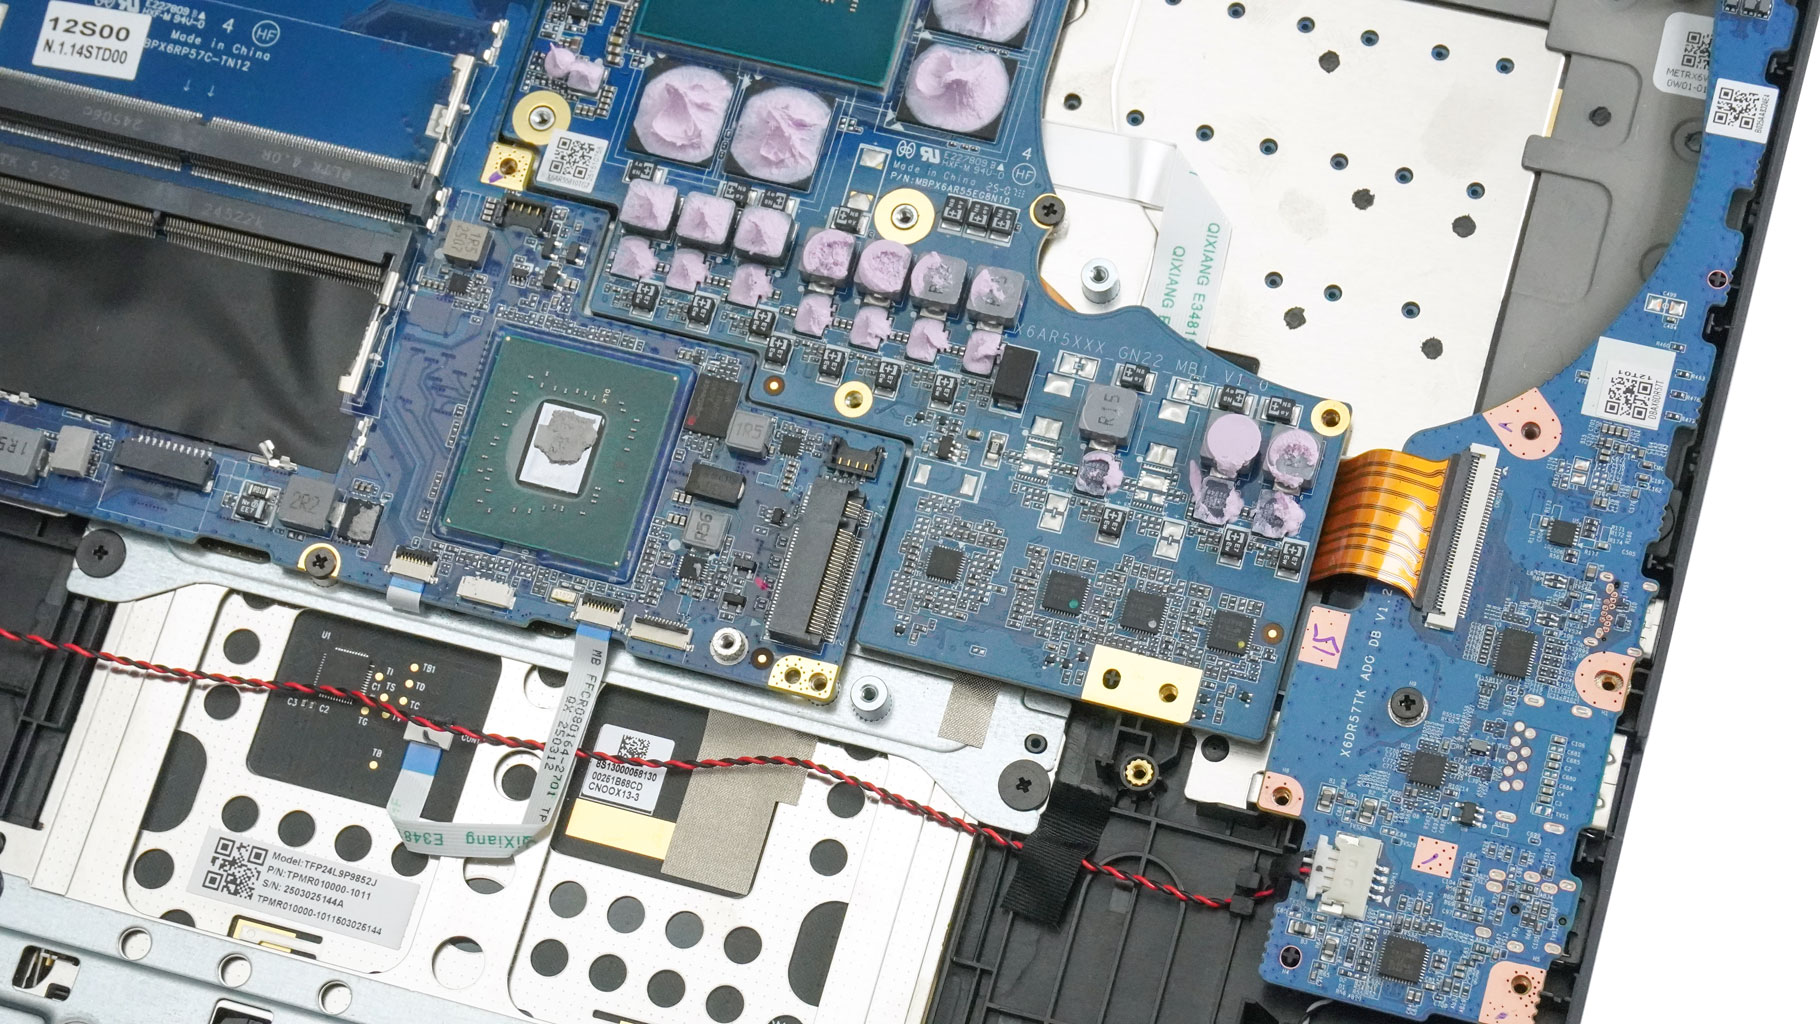
Two metal plates, each held by three Philips head screws, sit on top of the two M.2 2280 slots. Note that the top screws are also shared with the fans. The storage slots differ based on the CPU you choose. For instance, one of the slots of the models based on the newer 275HX chip is for Gen 5 drives, while the 13900HX machines like ours get two regular Gen 4 slots.
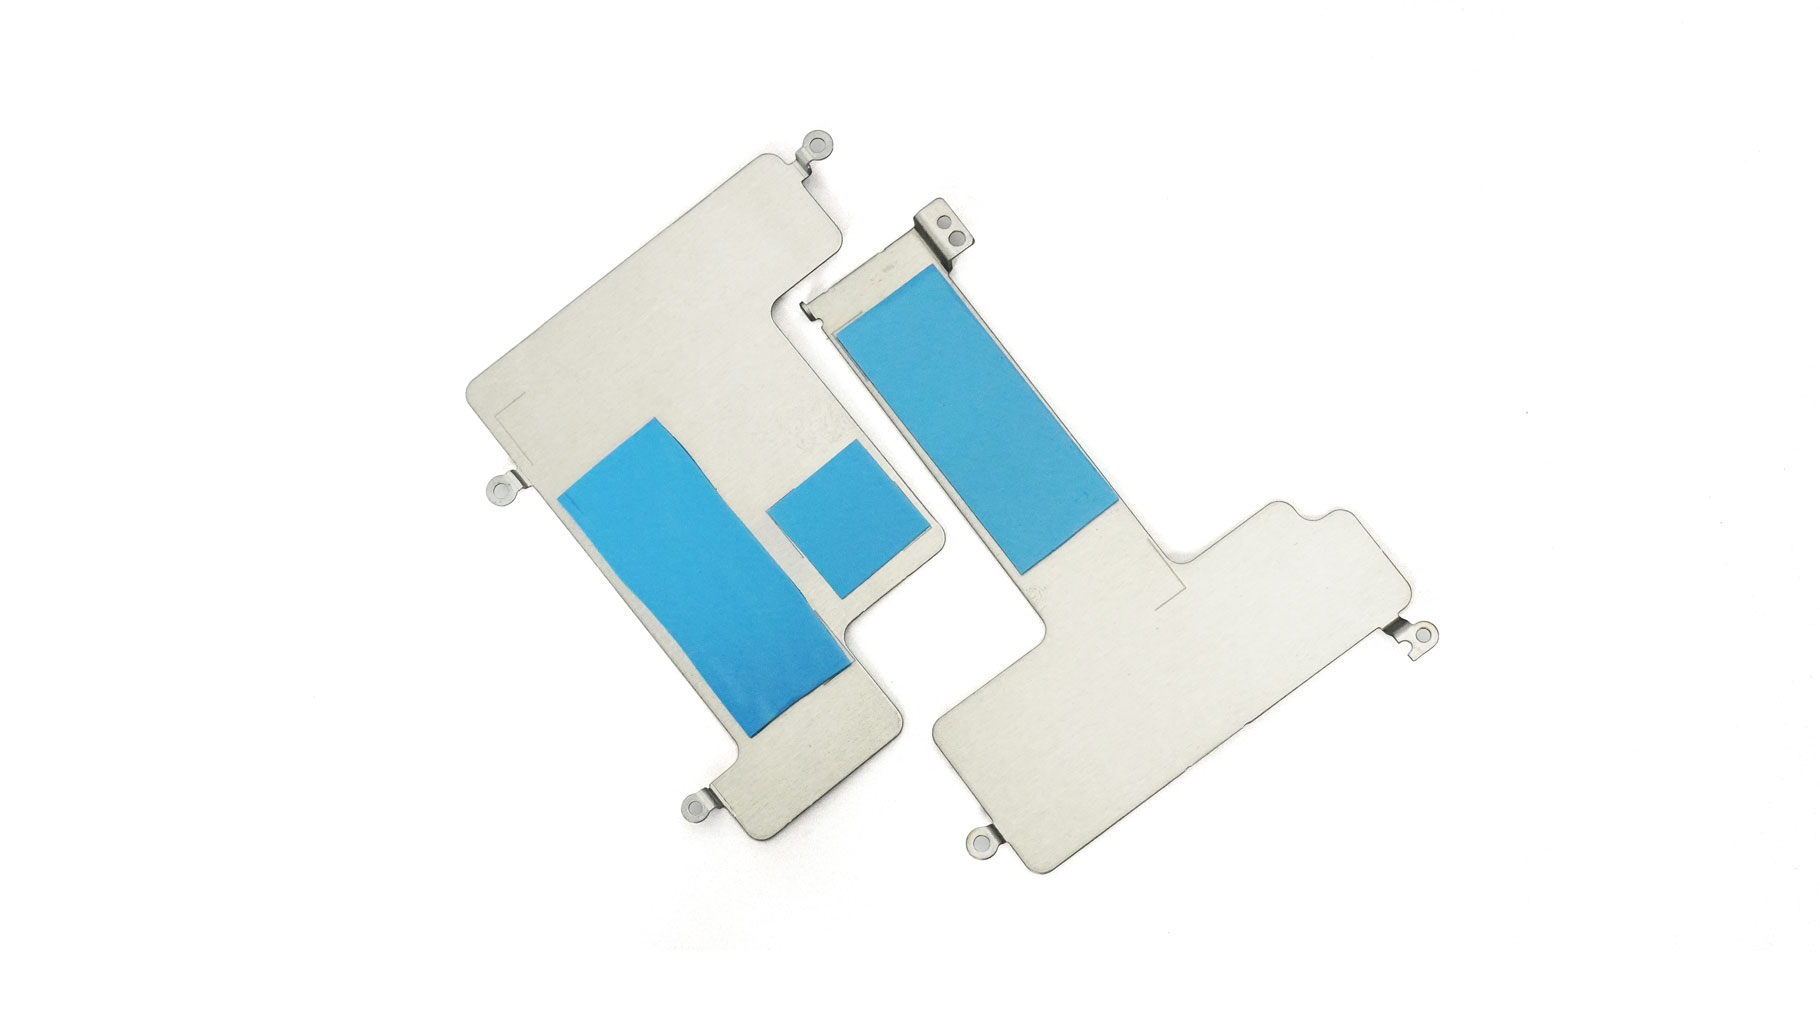
Both metal shrouds include thermal pads for the SSDs and the replaceable Wi-Fi 6E card.

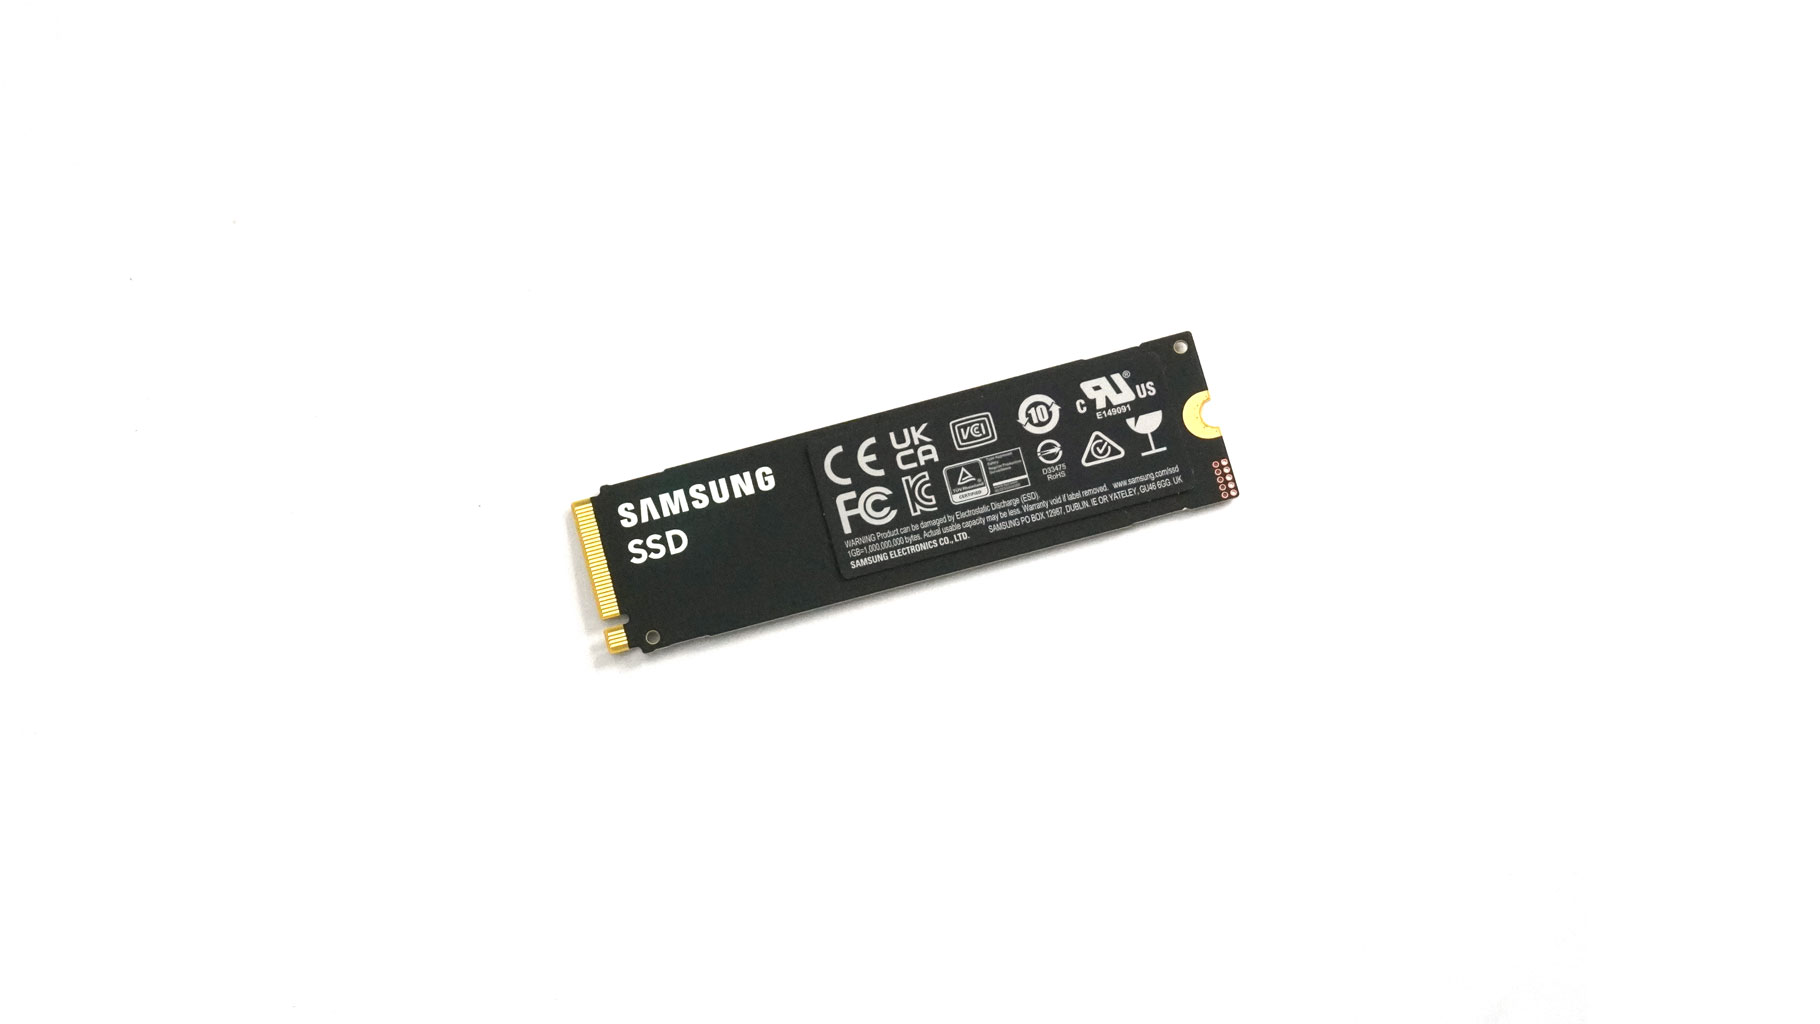
Here's the system NVMe.
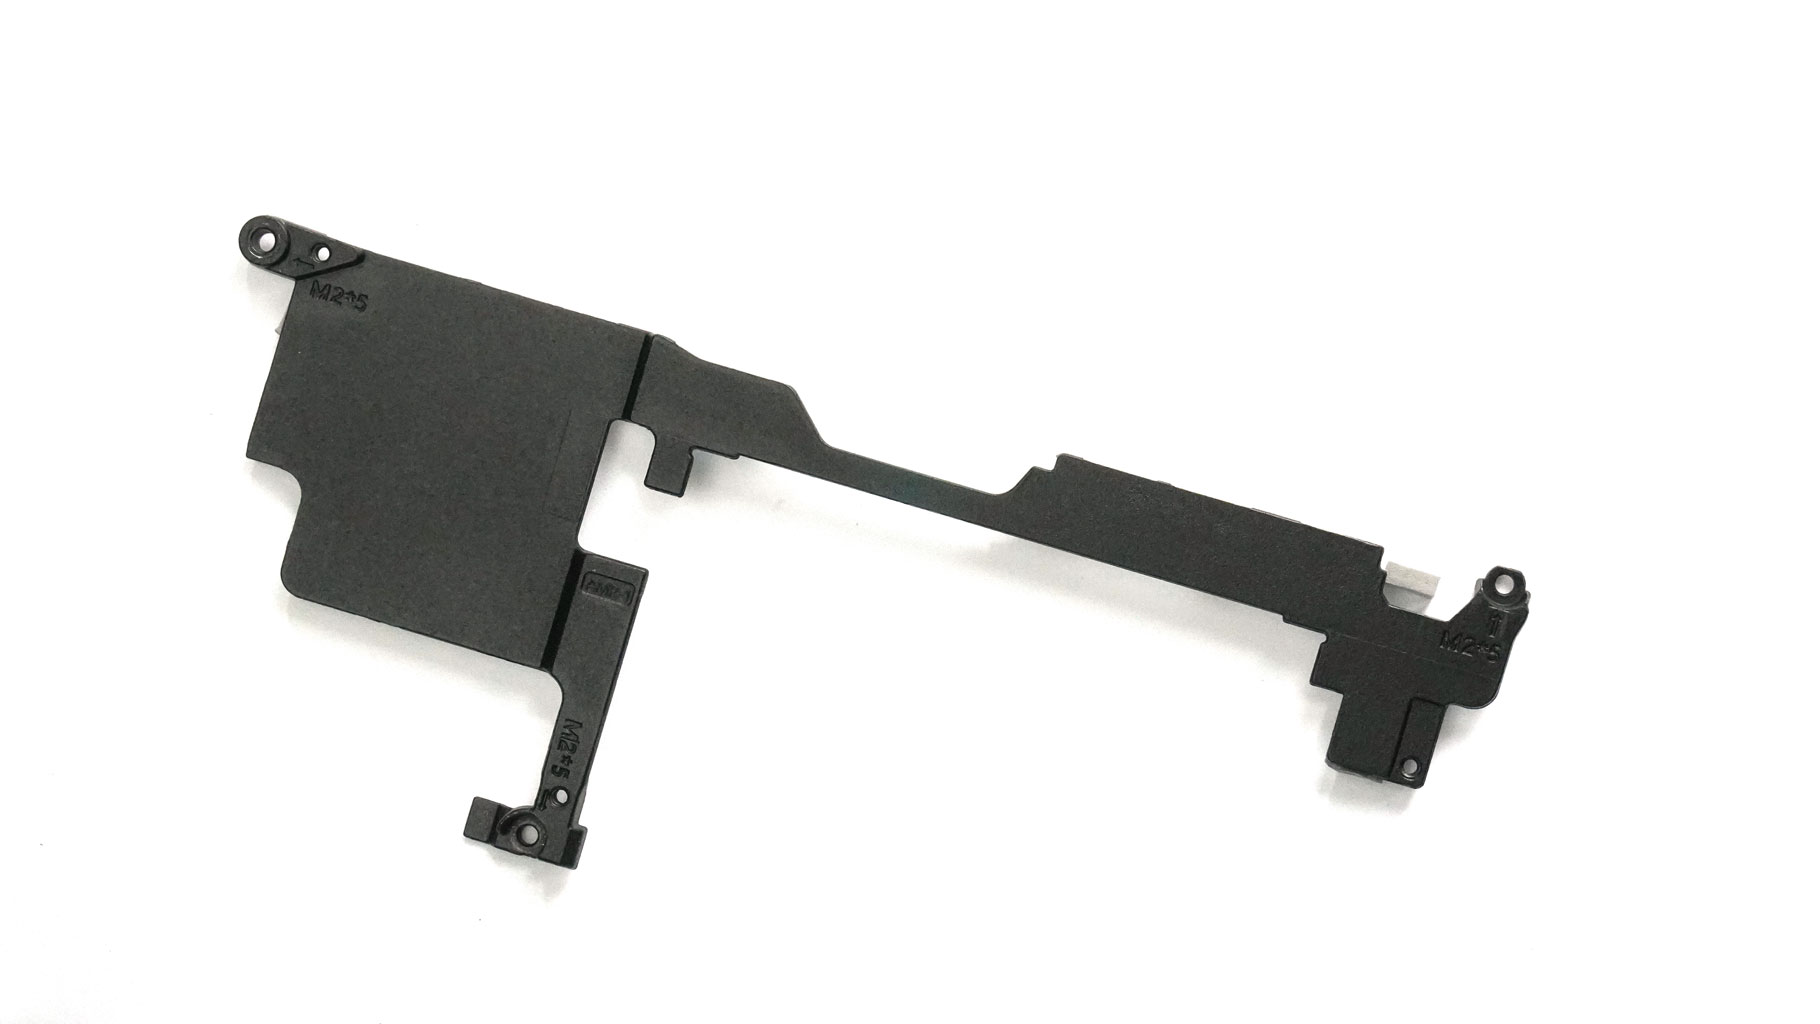
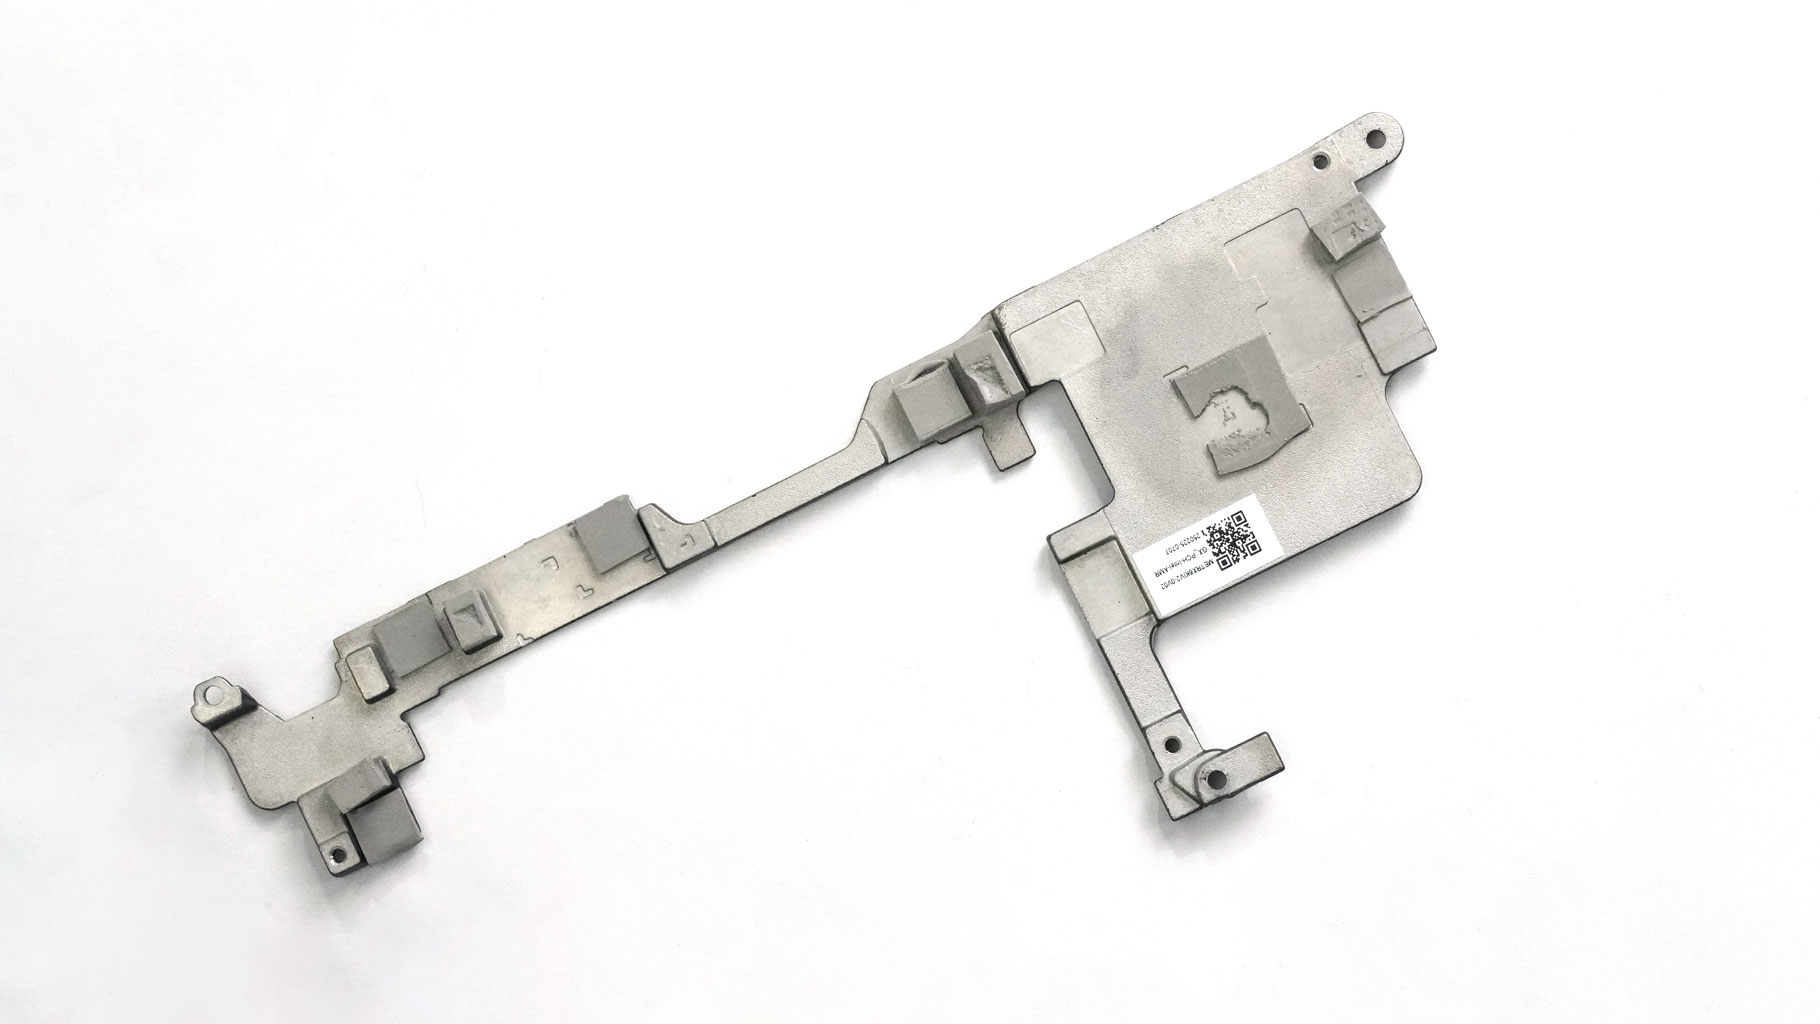
The central metal plate is fixed by another trio of Philips head screws. The small panel cools the chipset and some inductors via thermal pads.
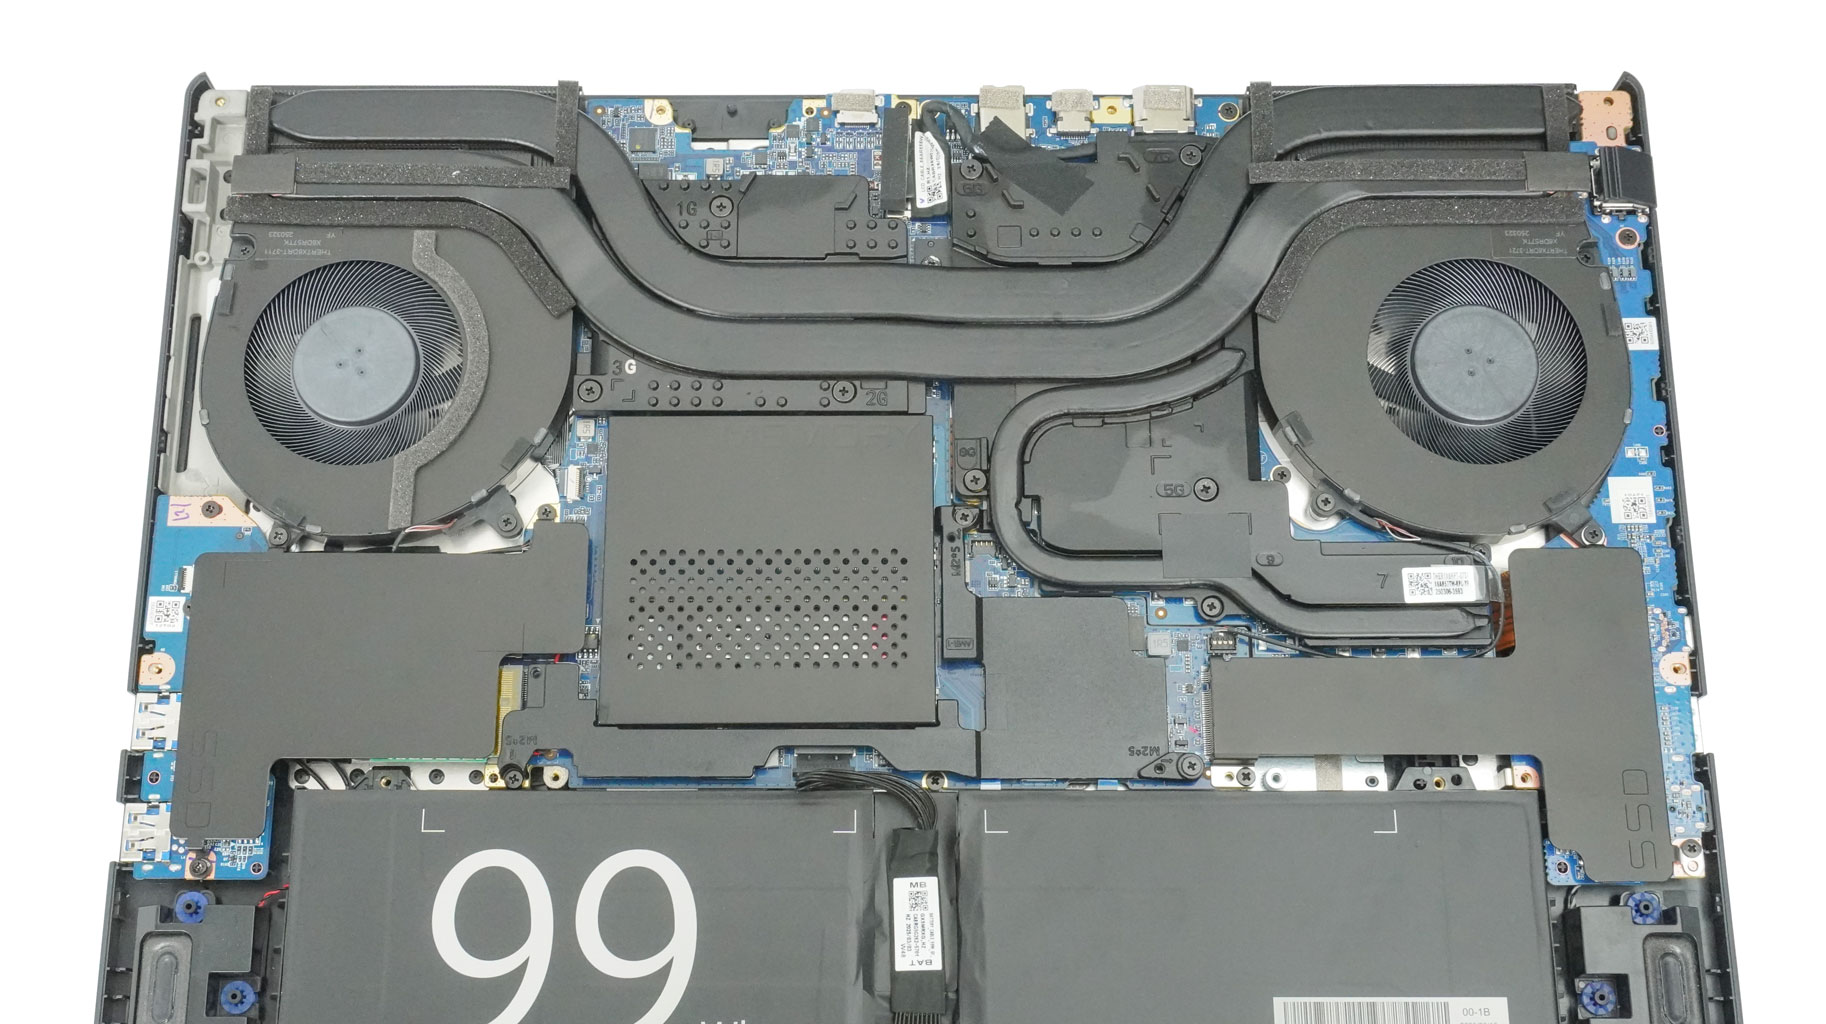
The cooling seems massive. It has two fans alongside a pair of long and extra-thick heat pipes shared between the processor and the graphics card. These pipes also connect the two top-mounted heat sinks. A sizable metal plate sits over each chip. As expected, the bigger one on the right cools the GPU and is accompanied by a small, dedicated heat pipe.
To take out the thermal system, disconnect the fan connectors. You'll find three screws around each fan, though you've already removed one with the SSD cap. The CPU plate is fixed by three screws, while the other one is secured by seven screws.
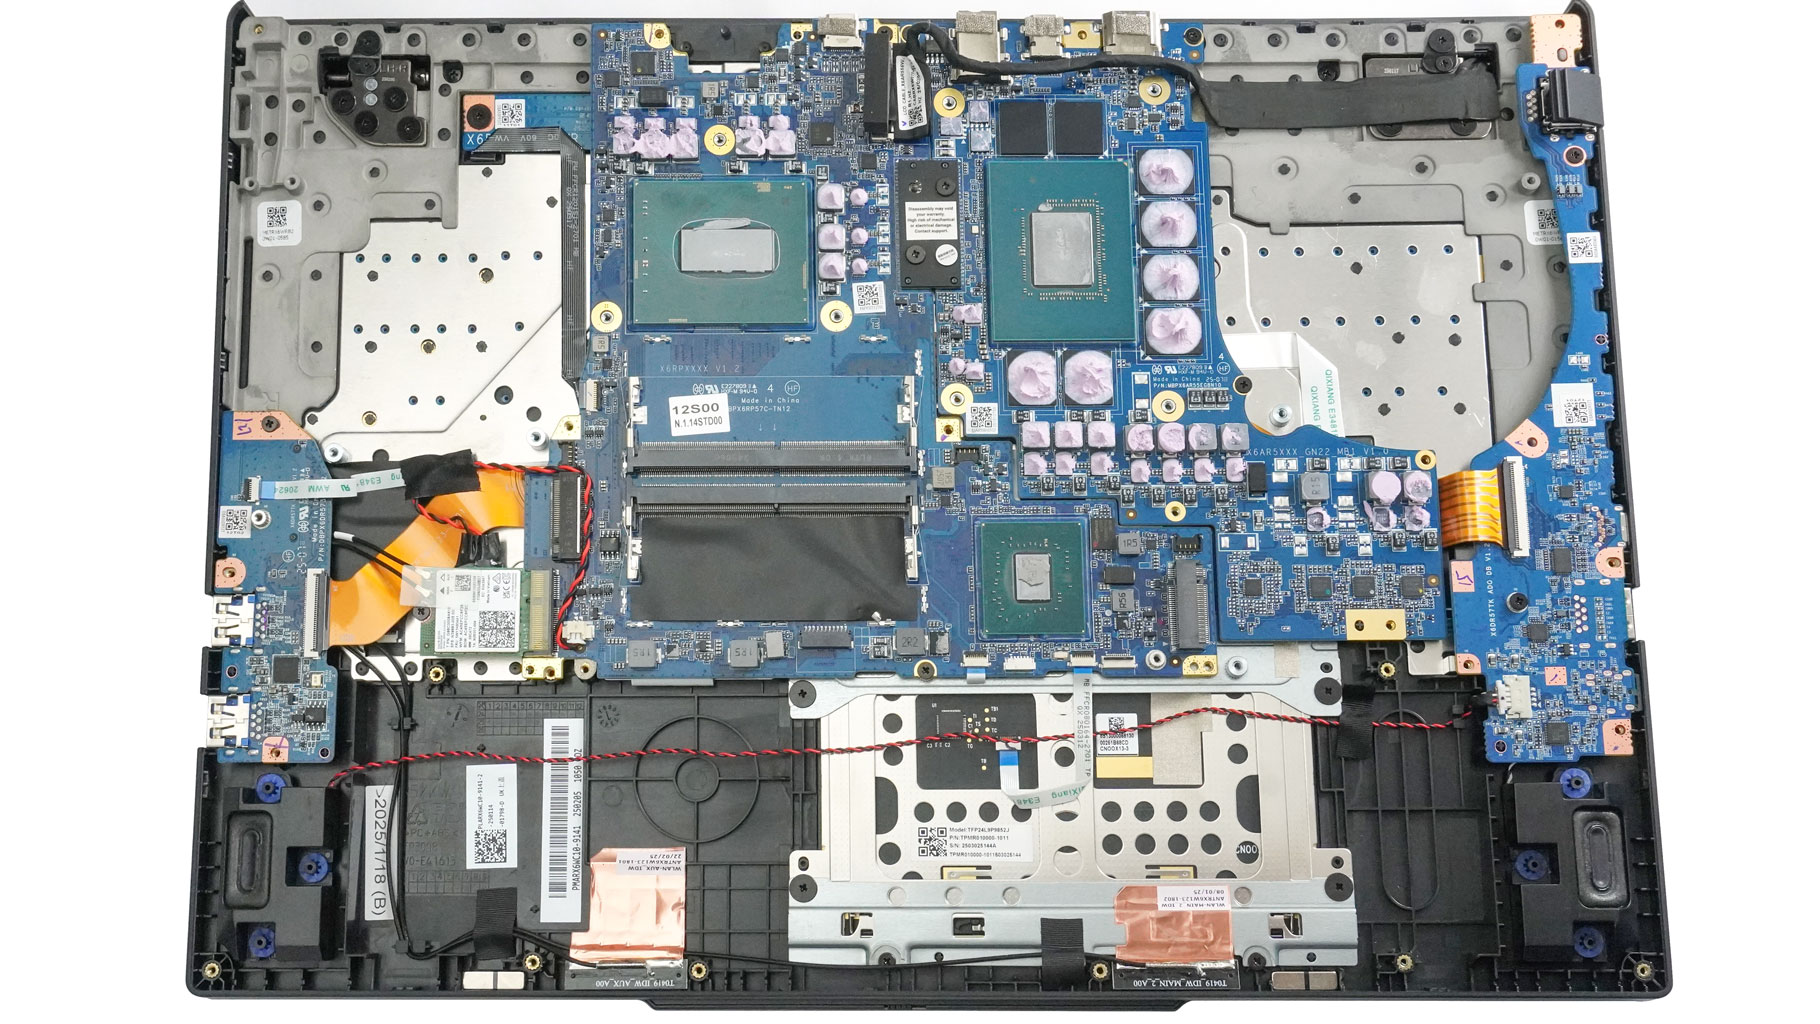
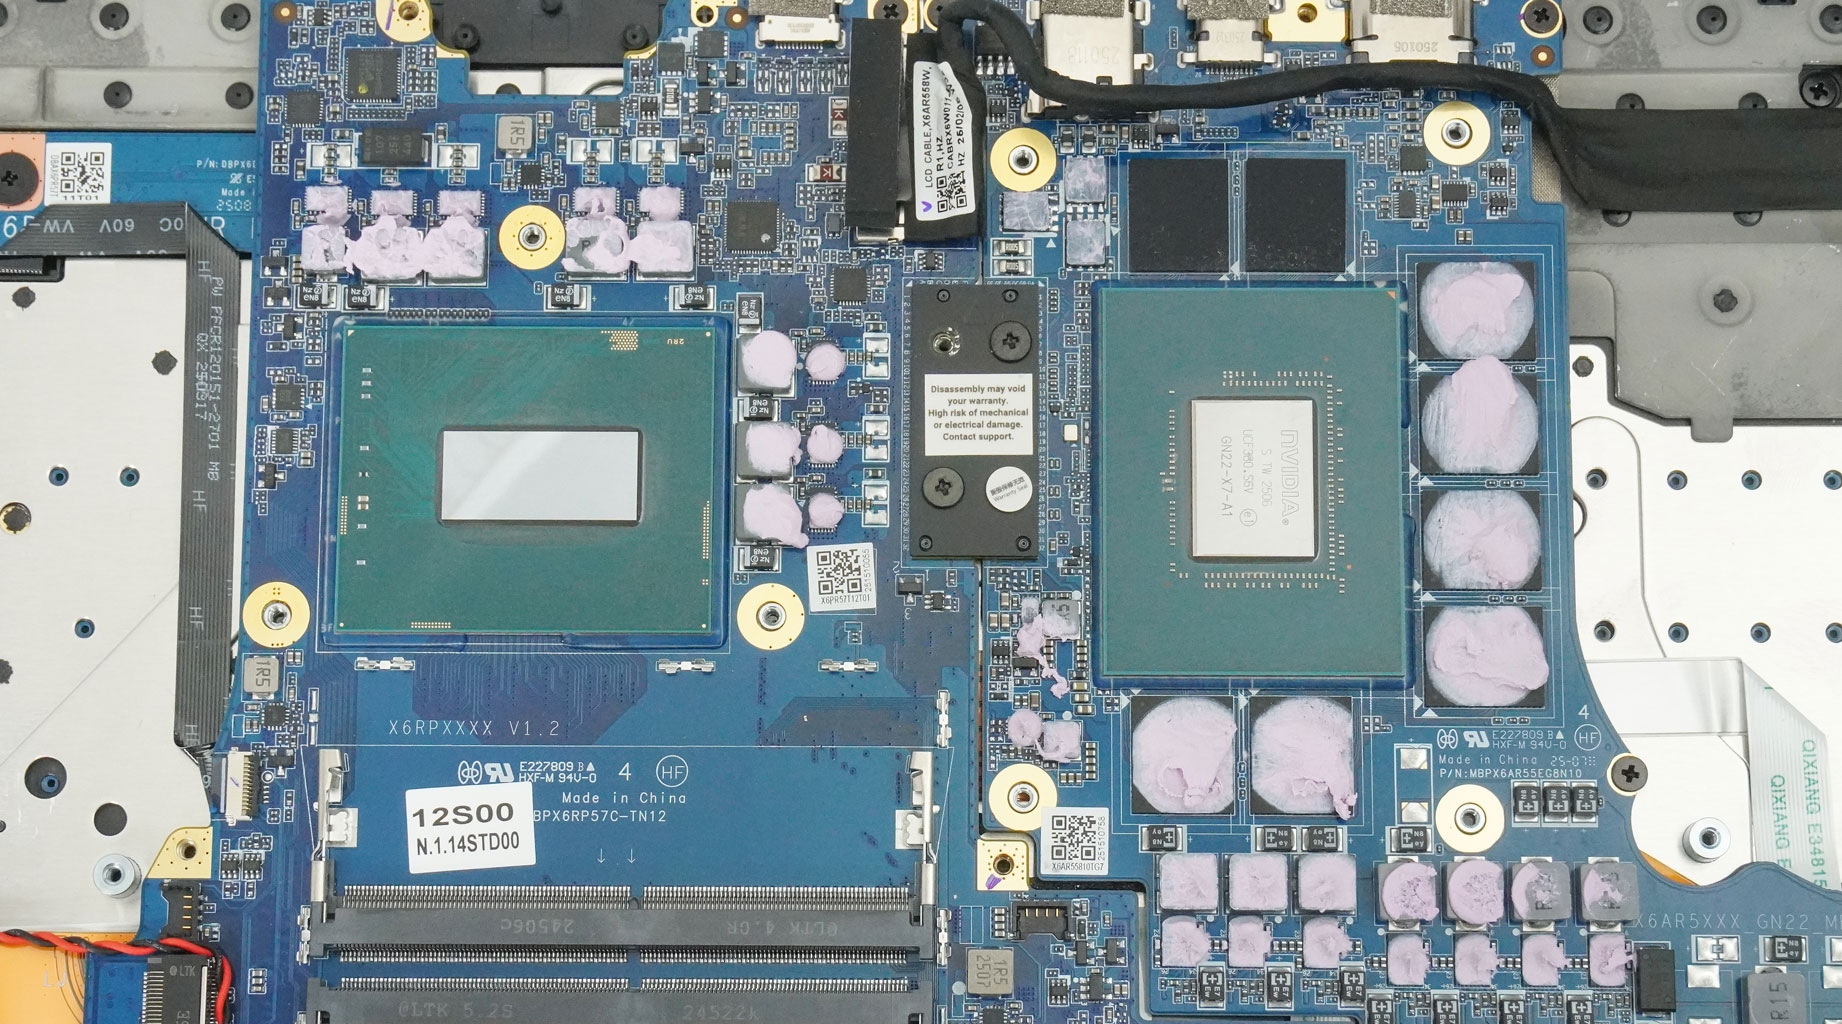
Let's pop the cooling unit with a lever tool below the CPU.
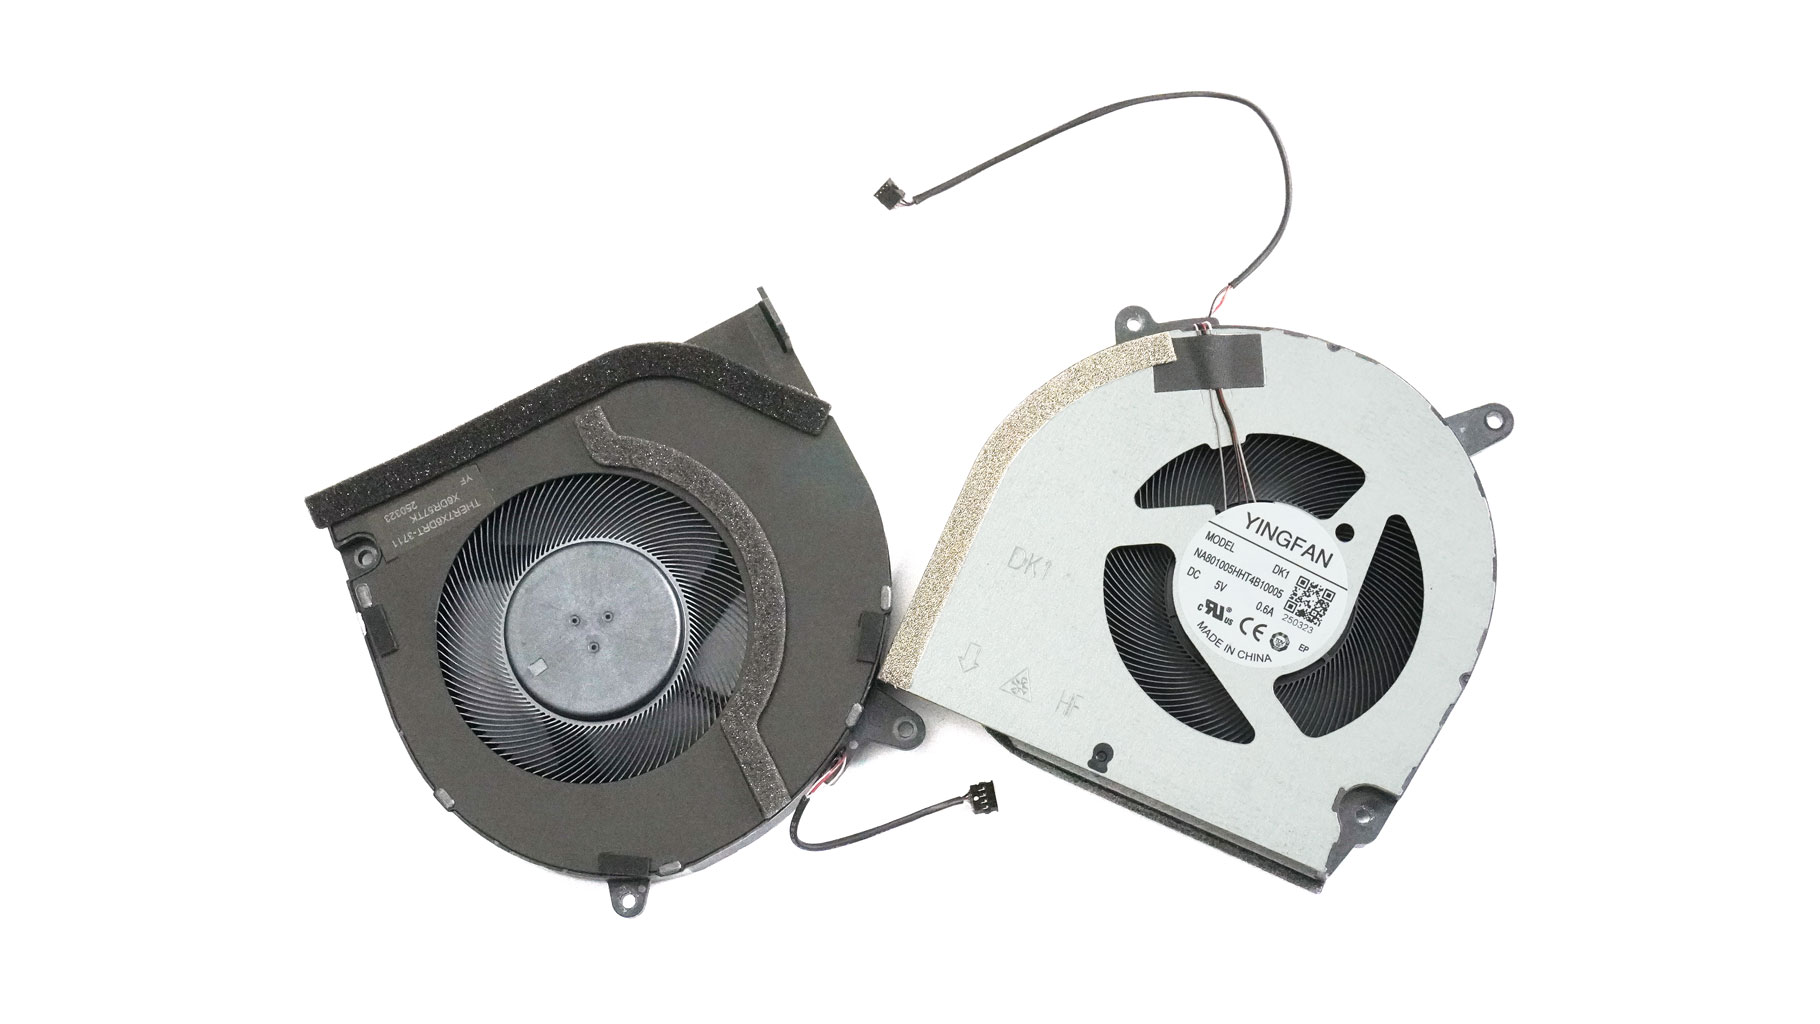
Now it's the right time to mention that the fans could be removed separately.
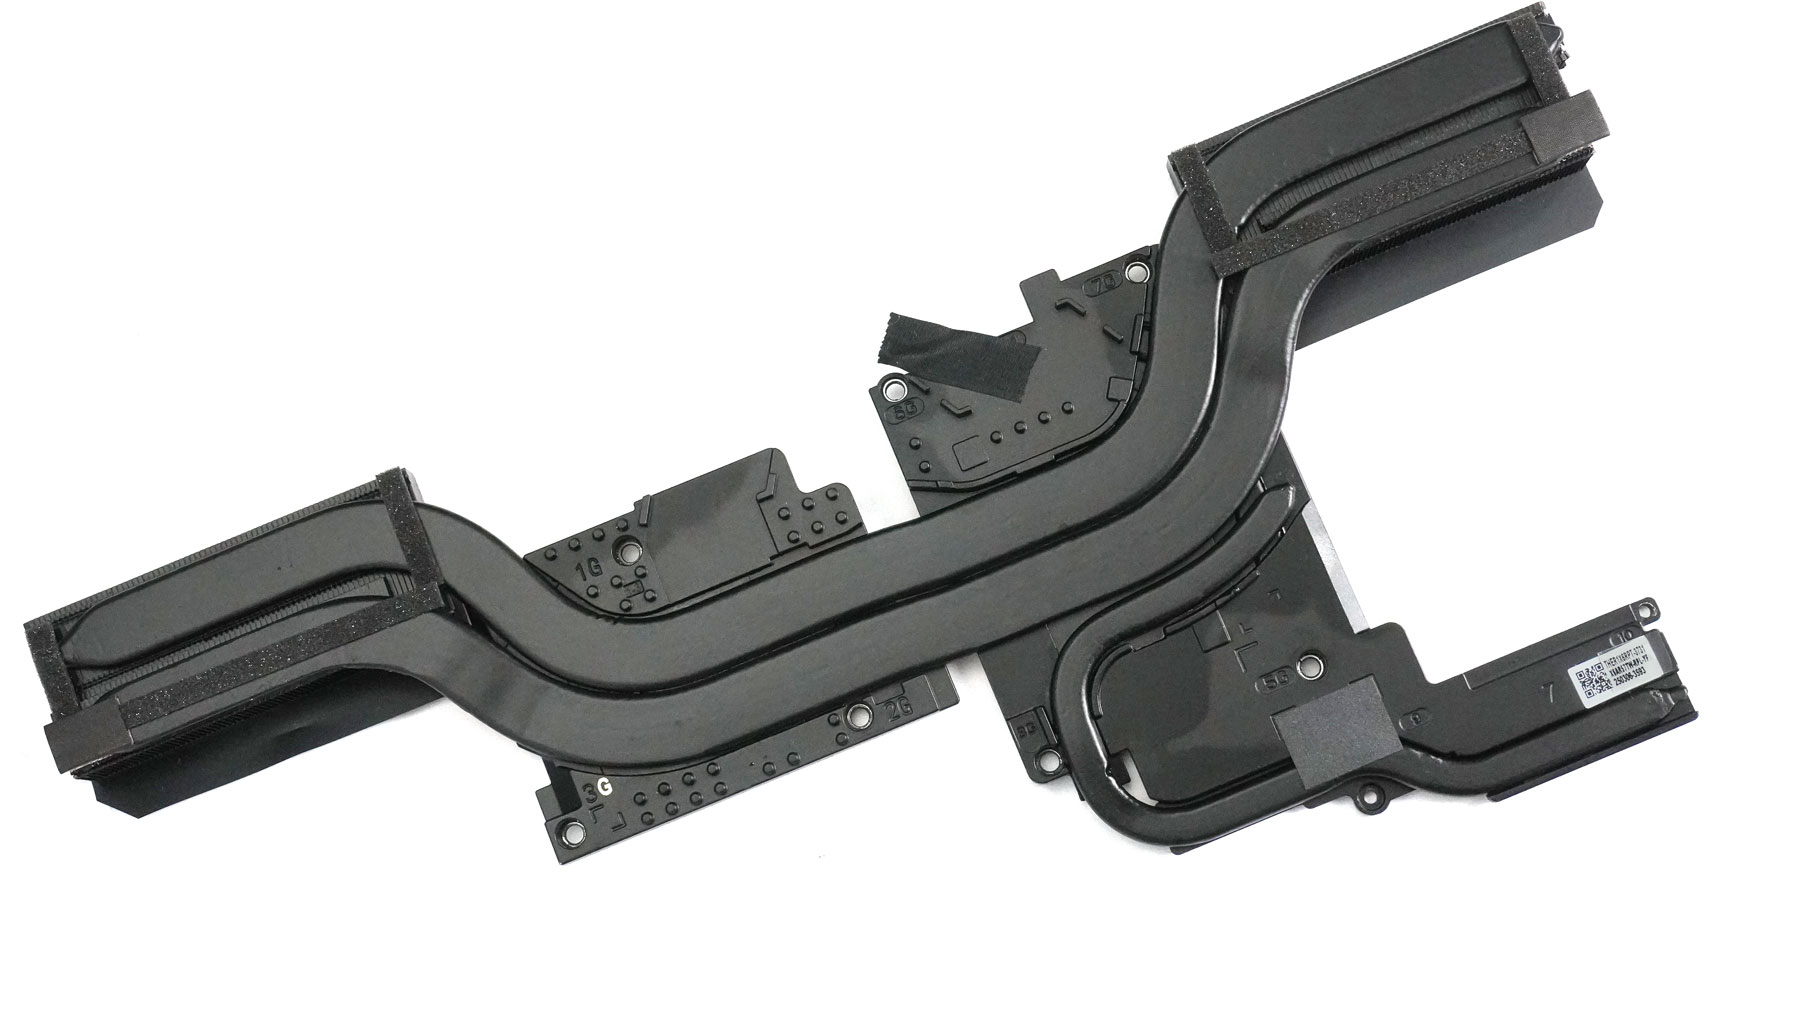
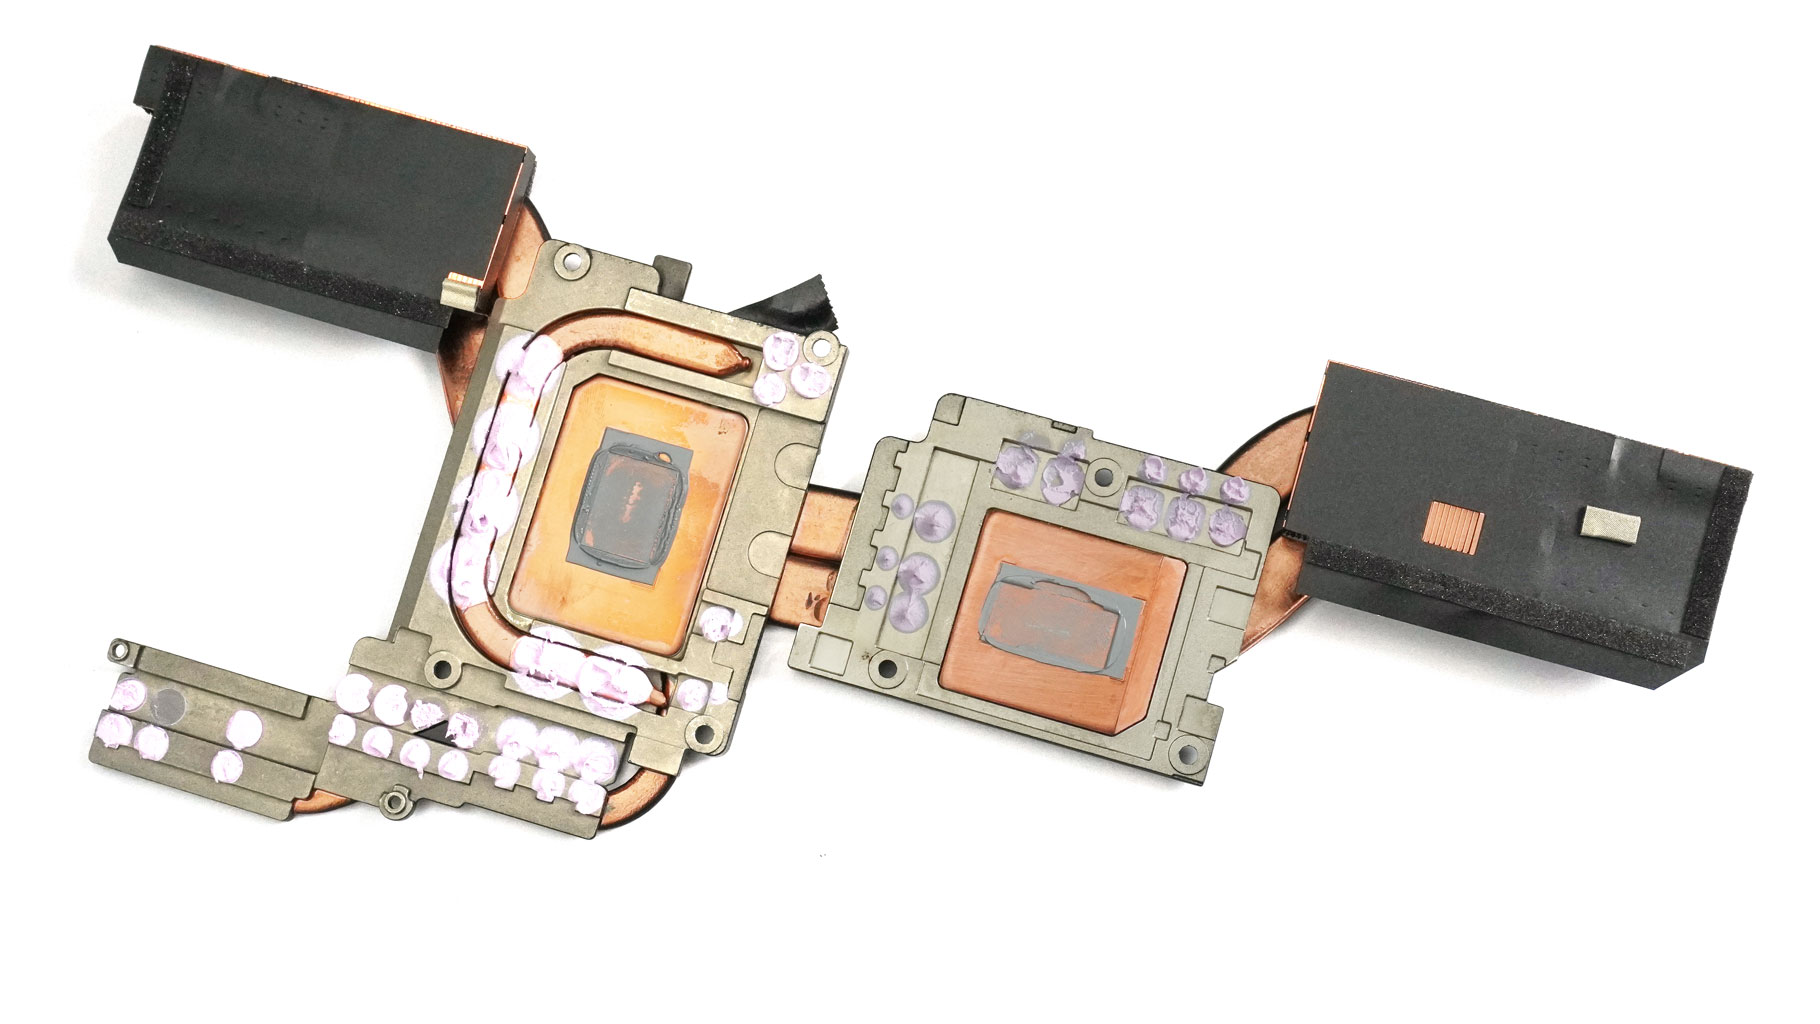
That's the cooling in its full glory!
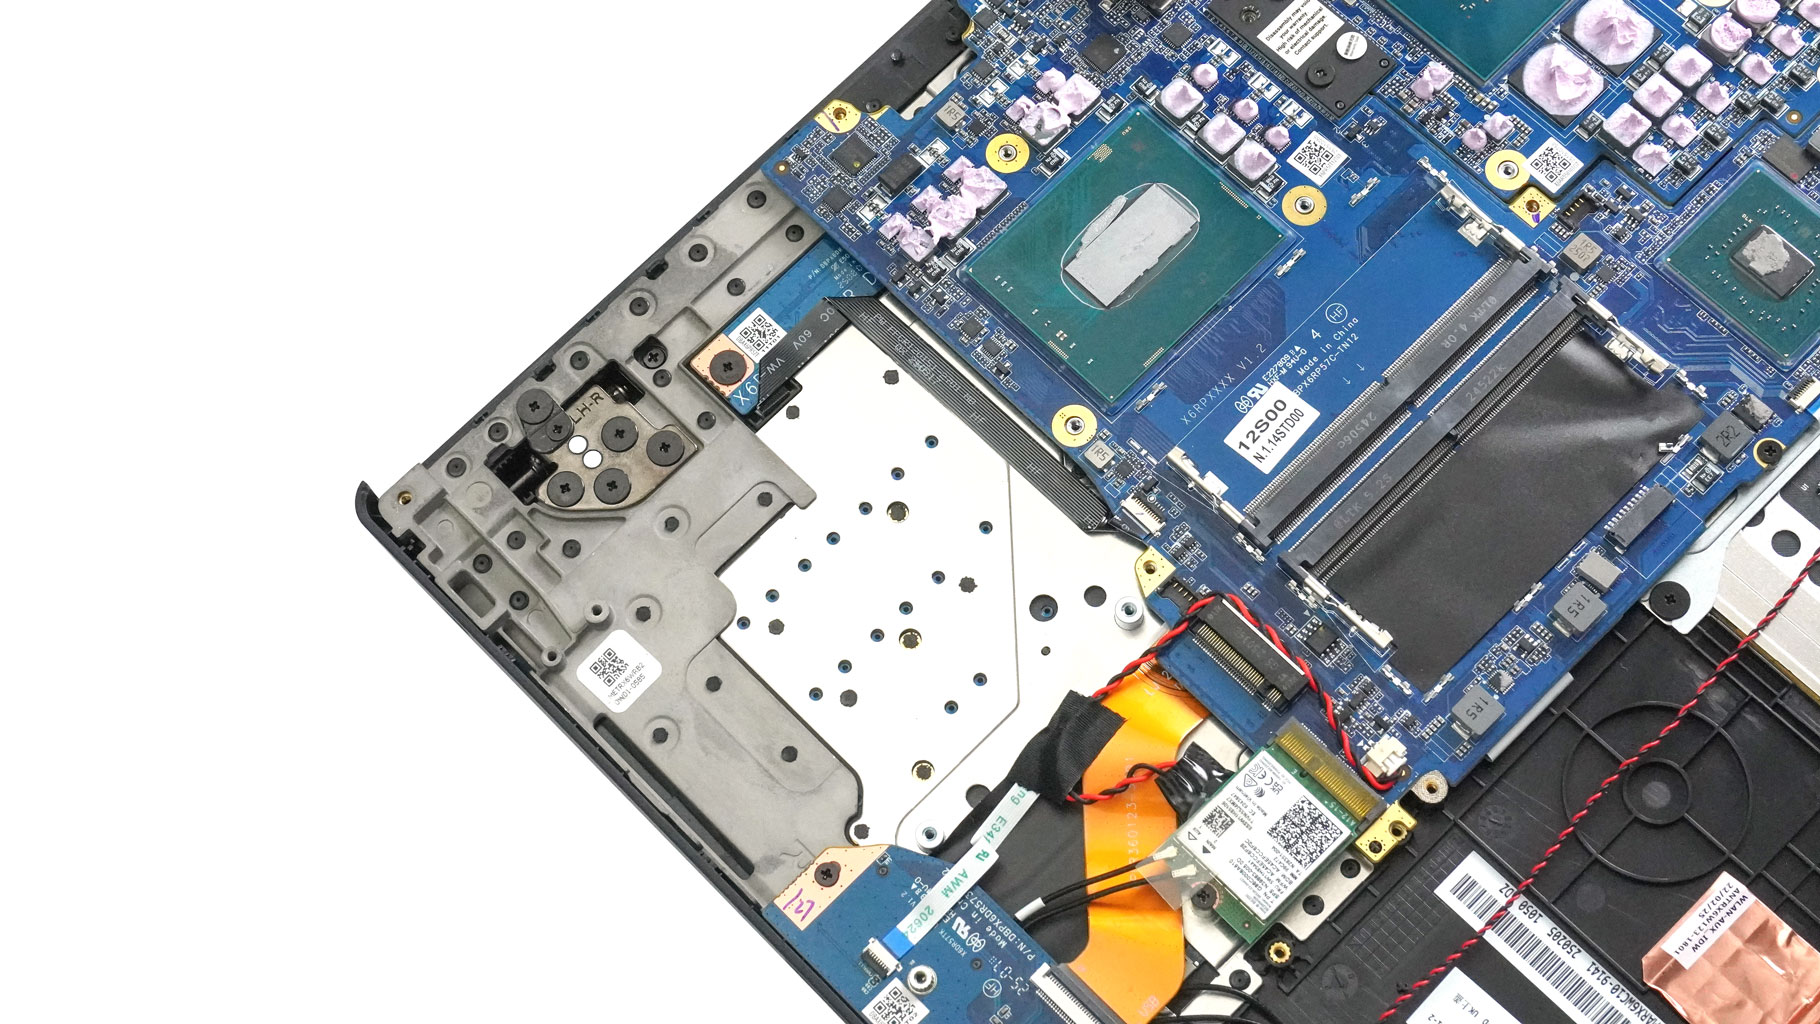
Another laptop with an inlet keyboard.
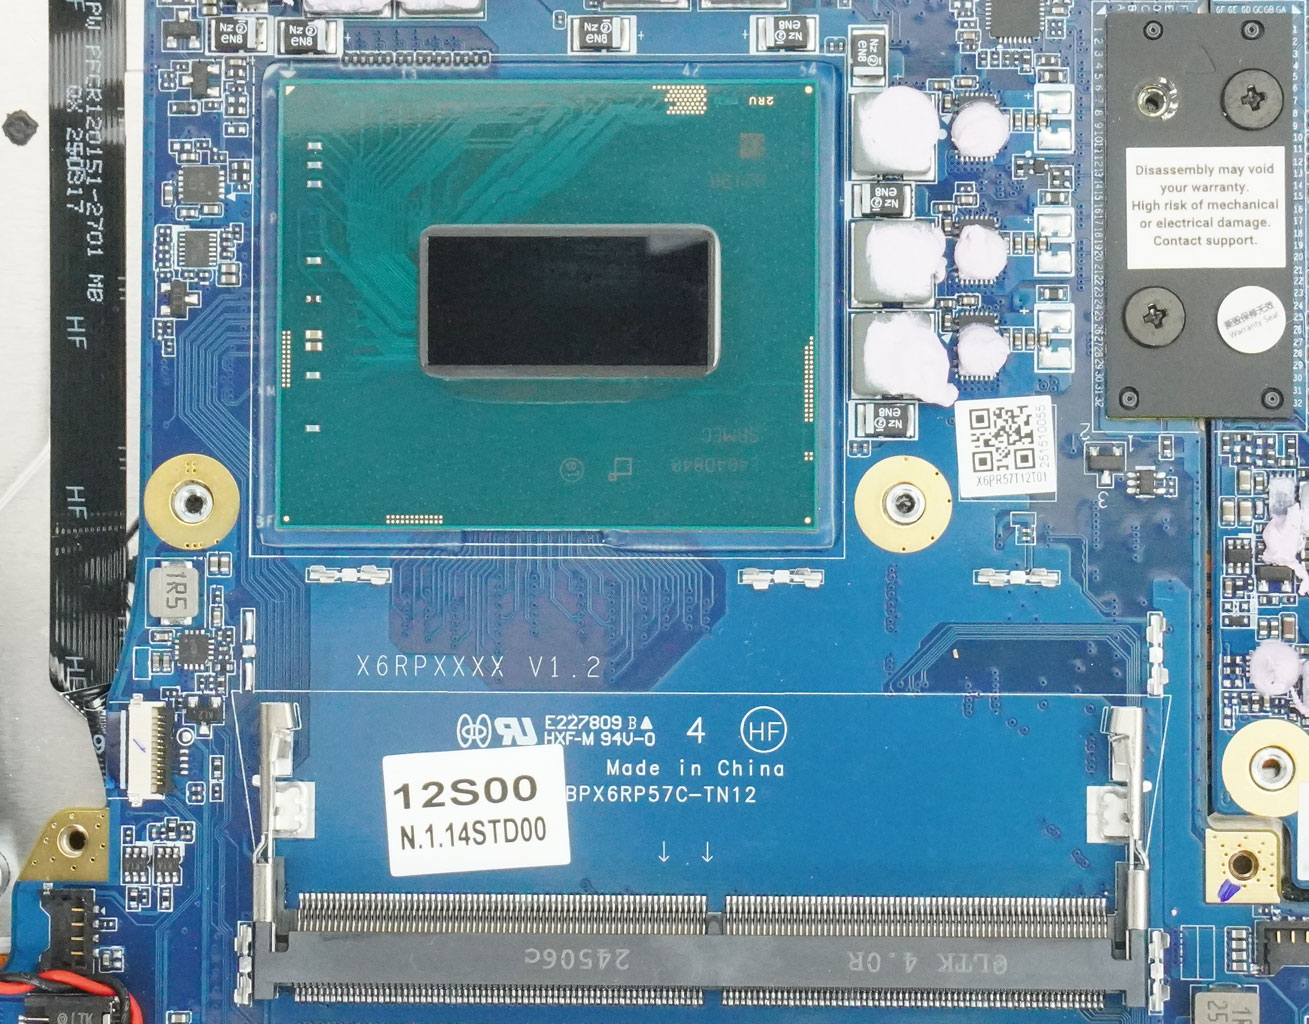
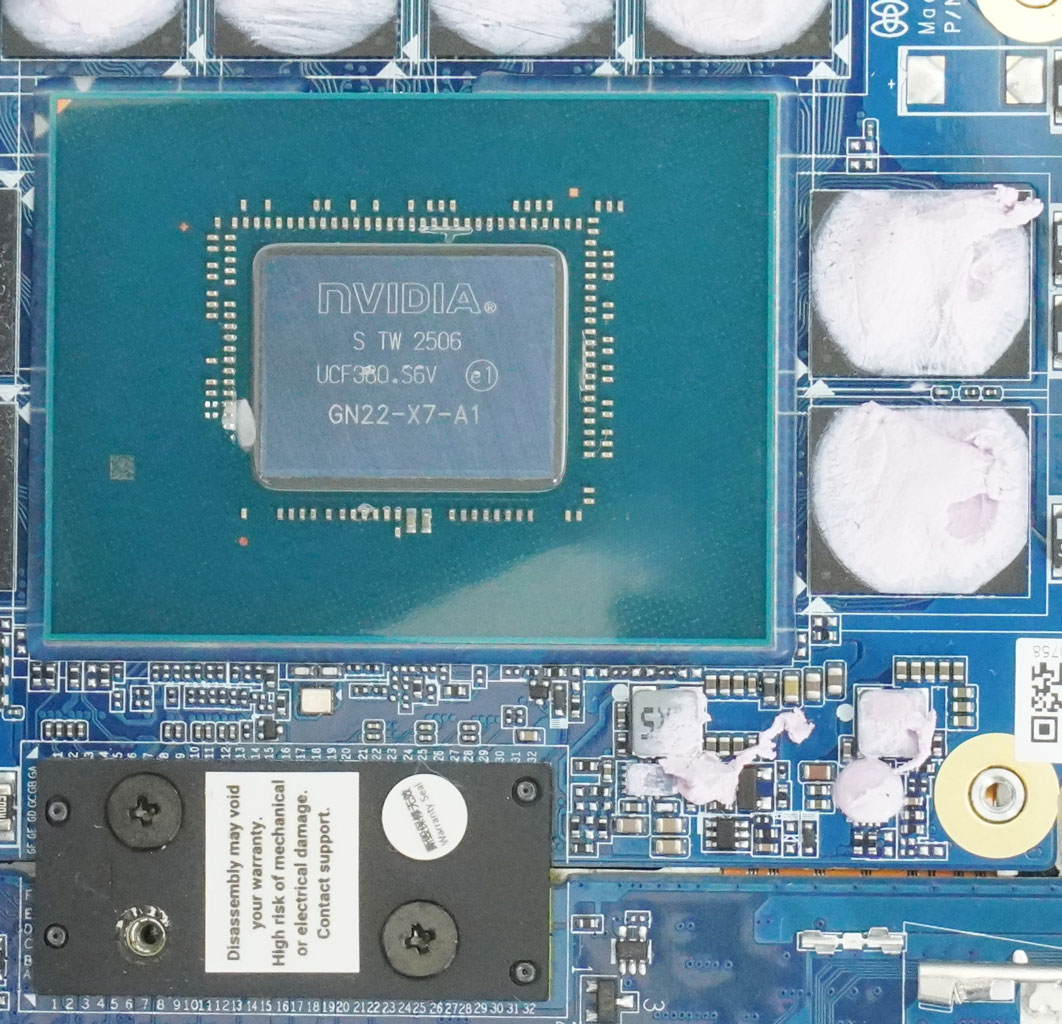
Now, we have a clear view of the CPU and the GPU.
Nov 17th, 2026 17:00 CST
change timezone
Latest GPU Drivers
New Forum Posts
- [testers wanted] Qsurfer My own QNAP Nas explorer/Search tool (6)
- Honestly, do you care about GTA VI? (129)
- Help with fixing Overclock (7)
- 9070 GRE 3.9ghz validation reached. (17)
- Local LLM General Discussion (692)
- ProArt X870E-CREATOR WIFI - Bifurcation~Complication (13)
- Last game you purchased? (1403)
- Without Jensen, PC gaming will be (33)
- [Poll] 12V-2x6 Connector Protection: What Are You Using? (WireView / Ampinel / Equalizer / Other / Nothing) (27)
- What is the latest game you finished or 100% (204)
Popular Reviews
- Acemagic Retro X3 Review
- Corsair HX1000i Shift Crystal Review
- Upcoming Hardware Launches 2027 (Updated Nov 2026)
- AMD Zen 6 Technical Deep Dive
- ASUS ROG Strix B850-I Gaming Wi-Fi7 W Review
- AMD Ryzen 7 9800X3D Review - The Best Gaming Processor
- Phantom Blade Zero Performance Benchmark Review - 35 GPUs Tested
- Chieftec Iceberg PRO 360 DARK Review
- Montech King 95 3D PRO Review
- NZXT C1200 Platinum Review
TPU on YouTube
Controversial News Posts
- NVIDIA Co-Founder and CEO Jensen Huang Officially Resigns (457)
- Open Letter Asking NVIDIA to Reinstate Jensen Huang Passes 115,000 Signatures (184)
- OpenAI CEO Argues Home PCs Waste the World's Limited DRAM Supply (152)
- NVIDIA Launches Investigation Into Jensen Huang's Relationship With Suspected Chinese Spy (136)
- Report: Jensen Huang Eyes NVIDIA Comeback (135)
- Intel "Raptor Lake Next" 16-Core and 20-Core CPUs Surface (130)
- Legendary Game Studio BioWare Shuts Down Following EA Layoffs (104)
- Dell CEO Says the Memory Shortage Will Get Worse in 2027 (95)