 3
3
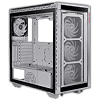
XPG Battlecruiser Review
Assembly & Finished Looks »A Closer Look - Inside
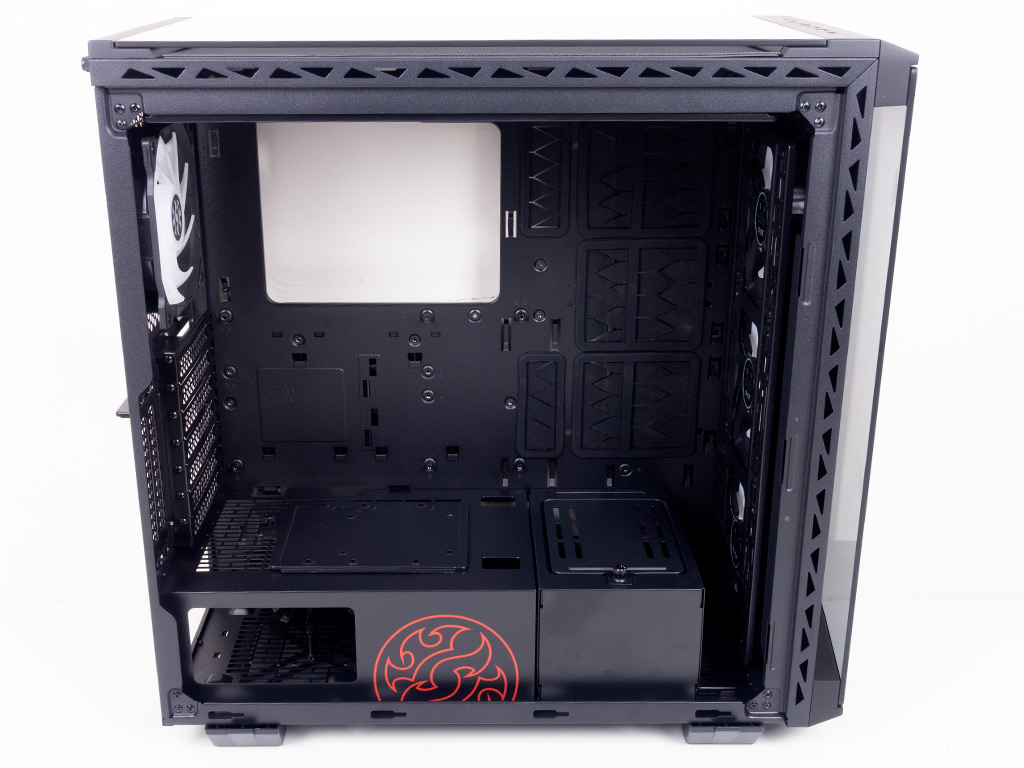
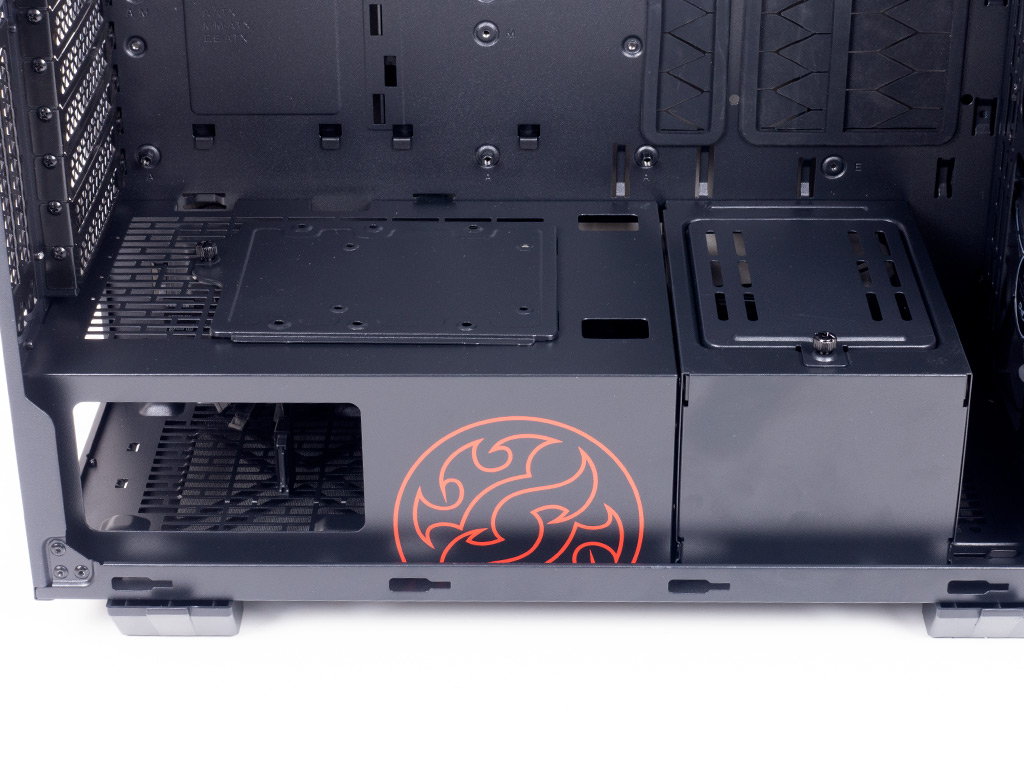
To access the interior, simply remove the thumb screws holding each side panel in place and pull them off the case. The interior of the Battlecruiser actually looks pretty elaborate because of the tooling that went into the shroud. It is actually two-parted, with the left element hiding the PSU and the right housing the two 3.5" bays. XPG also includes a plate on top of the larger shroud for either a third 3.5" drive or additional 2.5" unit, while the right element comes with a mounting element for pumps or reservoirs.


On the opposite side, you will notice the vast number of rubber grommets across the forward half of the motherboard tray. XPG is employing large grommets that are cut in a specific way to span two openings in the metal sheet, which is actually pretty cool! The only way to improve this further would have been a little screwed down plate to really pin the soft grommets in place, for example. You may also install up to three 2.5 drive here by screwing them down from the interior of the chassis, but doing so will block the cable-routing holes towards the very front of the chassis. On top of that, you will also find two 2.5" trays which do not require any screws to hold drives but do allow you to use screws should you want to.


In the front are two 3.5" drive bays which are engineered to simply slide in a drive of your choice. Once again, this is great, but odds are that the drive will have a little wiggle room, which could be annoying. Luckily, you may also sink a screw into each of these bays to eliminate such a problem. Next to and above this area you will find the three pre-installed ARGB fans. This means your hard drives will be actively cooled out of the box. There is enough space to install a thin 360 mm radiator without having to sacrifice the shroud, but you will need to remove it if you want to go all out and employ a thick radiator instead.


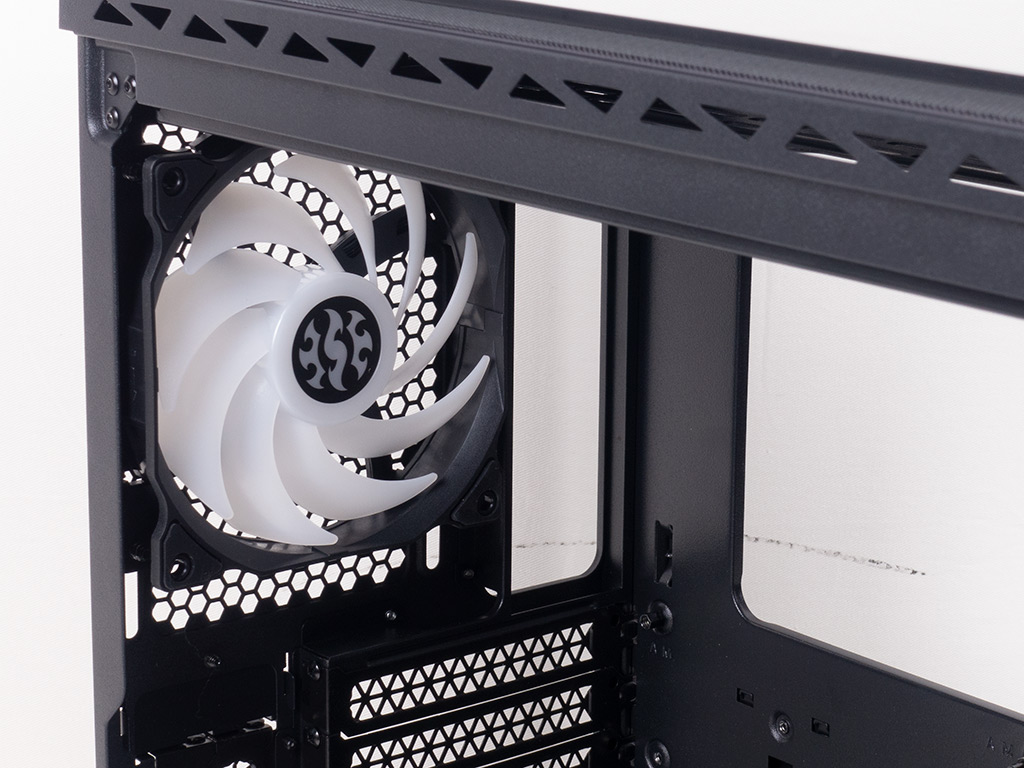
The PSU bay in the rear is essentially hidden behind the metal plate that also constitutes the motherboard tray. That having been said, there is plenty of space for long units as XPG allows for 225 mm variants to be installed here. Above that are the nine expansion slots with covers held in place by traditional screws. The rear 120 mm fan in the top is also ARGB and identical to the three units in the front, which means the XPG Battlecruiser comes with an excellent four units out of the box.

The ceiling is solely intended for venting and active cooling as you may also install three 120 mm or two 140 mm fans here. Fans of liquid cooling may opt for a 280 or 360 mm radiator as well.


All the leads within the XPG Battlecruiser are of the default variety, but XPG has gone with a 3.0 connector for the USB 3.0 Gen1 Type-C port as Gen2 requires a pretty unique cable most motherboard don't support.


All the fans come with the correct 3-pin fan headers and separate RGB connectors, so you are free to buy any retail products to easily expand the lighting elements. The built-in RGB controller is powered by SATA and comes with additional RGB connectors.
May 3rd, 2024 09:36 EDT
change timezone
Latest GPU Drivers
New Forum Posts
- ASRock Deskmini Owner's Club (29)
- What's your latest tech purchase? (20417)
- Is this Sapphire PULSE RX 5600 XT legit or fake? (31)
- Just for lolz, Post your 3DMark2001SE Benchmark scores! (85)
- Which PSU to take? (42)
- Does not show part of the data RTX 4070 VENTUS 3X E 12G OC (3)
- Arctic MX-6 shelf life is just a couple months? (81)
- Old high quality PSU, or semi-old mid-quality PSU? (50)
- Ryzen Owners Zen Garden (7290)
- Microsoft Did It Again! Beware Of Bugged Update KB5034441 (183)
Popular Reviews
- HYTE THICC Q60 240 mm AIO Review
- ASRock NUC BOX-155H (Intel Core Ultra 7 155H) Review
- Meze Audio LIRIC 2nd Generation Closed-Back Headphones Review
- Montech Sky Two GX Review
- Ugreen NASync DXP4800 Plus Review
- Upcoming Hardware Launches 2023 (Updated Feb 2024)
- Team Group T-Force Vulcan ECO DDR5-6000 32 GB CL38 Review
- MOONDROP x Crinacle DUSK In-Ear Monitors Review - The Last 5%
- AMD Ryzen 7 7800X3D Review - The Best Gaming CPU
- Logitech G Pro X Superlight 2 Review - Updated with 4000 Hz Tested
Controversial News Posts
- Intel Statement on Stability Issues: "Motherboard Makers to Blame" (232)
- Windows 11 Now Officially Adware as Microsoft Embeds Ads in the Start Menu (167)
- Sony PlayStation 5 Pro Specifications Confirmed, Console Arrives Before Holidays (117)
- AMD's RDNA 4 GPUs Could Stick with 18 Gbps GDDR6 Memory (114)
- NVIDIA Points Intel Raptor Lake CPU Users to Get Help from Intel Amid System Instability Issues (106)
- AMD "Strix Halo" Zen 5 Mobile Processor Pictured: Chiplet-based, Uses 256-bit LPDDR5X (103)
- AMD Ryzen 9 7900X3D Now at a Mouth-watering $329 (103)
- TechPowerUp Hiring: Reviewers Wanted for Motherboards, Laptops, Gaming Handhelds and Prebuilt Desktops (93)