 2
2
Corsair Carbide SPEC-OMEGA Review
A Closer Look - Inside »A Closer Look - Outside

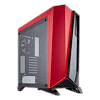
Taking a first look at the Corsair Carbide SPEC-OMEGA, it looks quite similar to the smaller ALPHA variant. Corsair has done a great job of simply growing the design to fit the larger body of the chassis.


Even so, there are numerous subtle changes that make this case a bit more elaborate than its smaller brethren. In the front, Corsair has added a little window without deviating from the overall design. In the rear, you can clearly see that the layout is quite traditional, and those more intimately familiar with Corsair cases will notice similarities to the Corsair Carbide 400Q, for example. You may jank the front panel off to reveal a 120 mm intake fan with space for two more. Additionally, you could remove the pre-installed fan and opt for two 140 mm units instead. There is plenty of room to install a 360 or 280 mm radiator here as well.
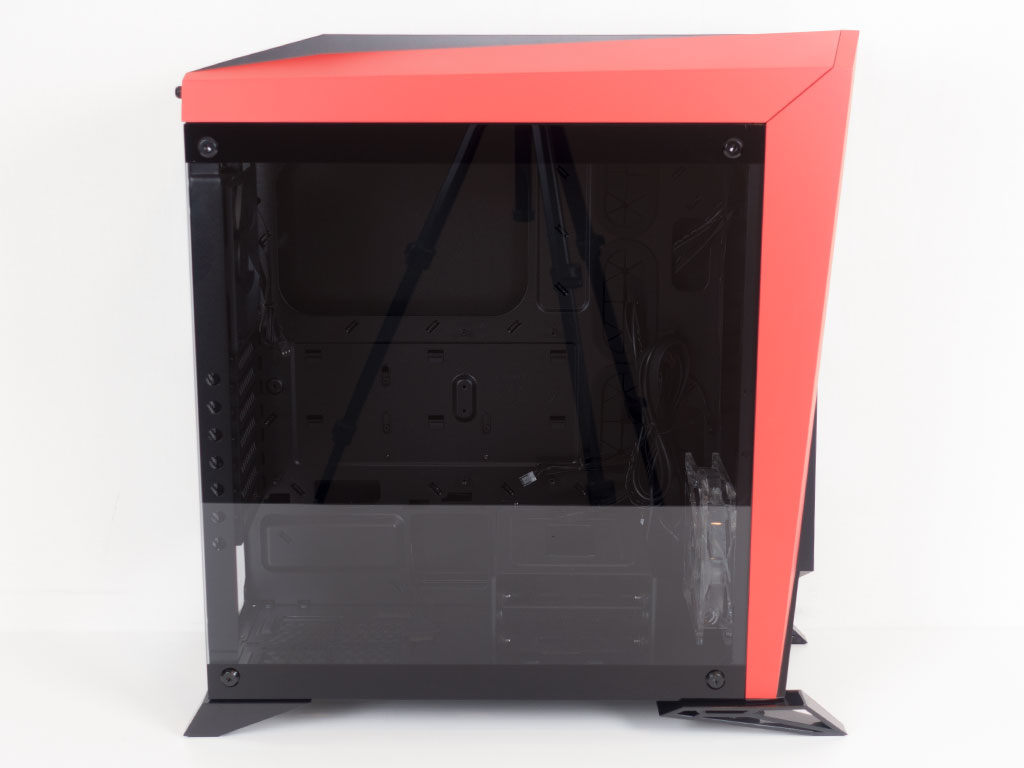

Unlike the SPEC-ALPHA, the OMEGA comes with a glass side panel instead of the cheaper acrylic variant. It is held in place by screws that require a HEX tool to undo. Unfortunately, Corsair does not include one, which means you will be left scrambling in the hopes that one of your IKEA furniture pieces happened to have come with the right one. The opposite side is completely flat and solid.

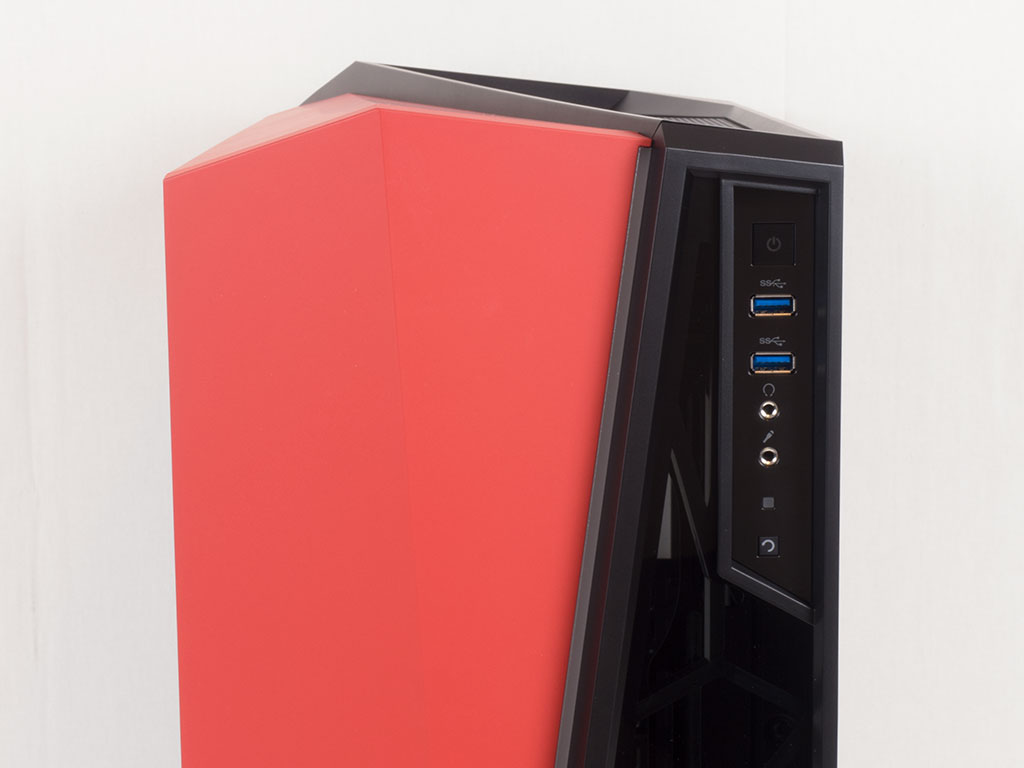
As previously mentioned, the front of the Carbide SPEC-OMEGA is a bit more elaborate with the window bit holding the company logo alongside some design elements. In the very top, you will find two USB 3.0 plugs, the usual audio I/O, and power and reset buttons. The power LED is embedded directly into the power button itself.


The PSU bay at the bottom comes with two sets of mounting holes, so you may choose to mount the power supply with its fan facing up- or downward. Above that are the seven expansion slots, each protected by its own reusable cover. In the very top is a basic 120 mm fan you may adjust in its vertical position to best suit your cooling needs.


The top of the chassis is designed in the same elaborate manner as the front, with a metal mesh element. You may pull it off after detaching two thumb screw, which reveals mounting positions for two 120 or 140 mm fans, or a radiator of up to 280 mm in size since the mounting holes have been offset to be as far away from the motherboard as possible.


A large removable dust filter on the bottom covers the opening for the PSU fan, and a single thumb screw holds the internal 3.5" hard-drive cage in place securely. You do not actually need to tip over the chassis and can simply slide the filter out towards the back of the case.
Apr 25th, 2024 21:39 EDT
change timezone
Latest GPU Drivers
New Forum Posts
- What are you playing? (20529)
- TPU's Nostalgic Hardware Club (18465)
- Post your Speedometer 3.0 Score (36)
- Size on Disk Excessively Different than Size (9)
- Dell Workstation Owners Club (3056)
- Core PL1 + GPU PL1 + Ring EDP OTHER (10)
- Best SSD for system drive (80)
- Which new games will you be buying? (315)
- BSOD if I touch the pcache offset voltage in throttlestop (i9-13900hx lenovo pro 7i) (23)
- Alphacool CORE 1 CPU block - bulging with danger of splitting? (16)
Popular Reviews
- Fractal Design Terra Review
- Thermalright Phantom Spirit 120 EVO Review
- Corsair 2000D Airflow Review
- ASUS GeForce RTX 4090 STRIX OC Review
- NVIDIA GeForce RTX 4090 Founders Edition Review - Impressive Performance
- ASUS GeForce RTX 4090 Matrix Platinum Review - The RTX 4090 Ti
- MSI GeForce RTX 4090 Suprim X Review
- Gigabyte GeForce RTX 4090 Gaming OC Review
- MSI GeForce RTX 4090 Gaming X Trio Review
- MSI GeForce RTX 4090 Suprim Liquid X Review
Controversial News Posts
- Sony PlayStation 5 Pro Specifications Confirmed, Console Arrives Before Holidays (117)
- Windows 11 Now Officially Adware as Microsoft Embeds Ads in the Start Menu (107)
- NVIDIA Points Intel Raptor Lake CPU Users to Get Help from Intel Amid System Instability Issues (106)
- AMD "Strix Halo" Zen 5 Mobile Processor Pictured: Chiplet-based, Uses 256-bit LPDDR5X (101)
- US Government Wants Nuclear Plants to Offload AI Data Center Expansion (98)
- AMD's RDNA 4 GPUs Could Stick with 18 Gbps GDDR6 Memory (88)
- Developers of Outpost Infinity Siege Recommend Underclocking i9-13900K and i9-14900K for Stability on Machines with RTX 4090 (85)
- Windows 10 Security Updates to Cost $61 After 2025, $427 by 2028 (84)