 20
20
Cougar Panzer Max Review
Assembly & Finished Looks »A Closer Look - Inside

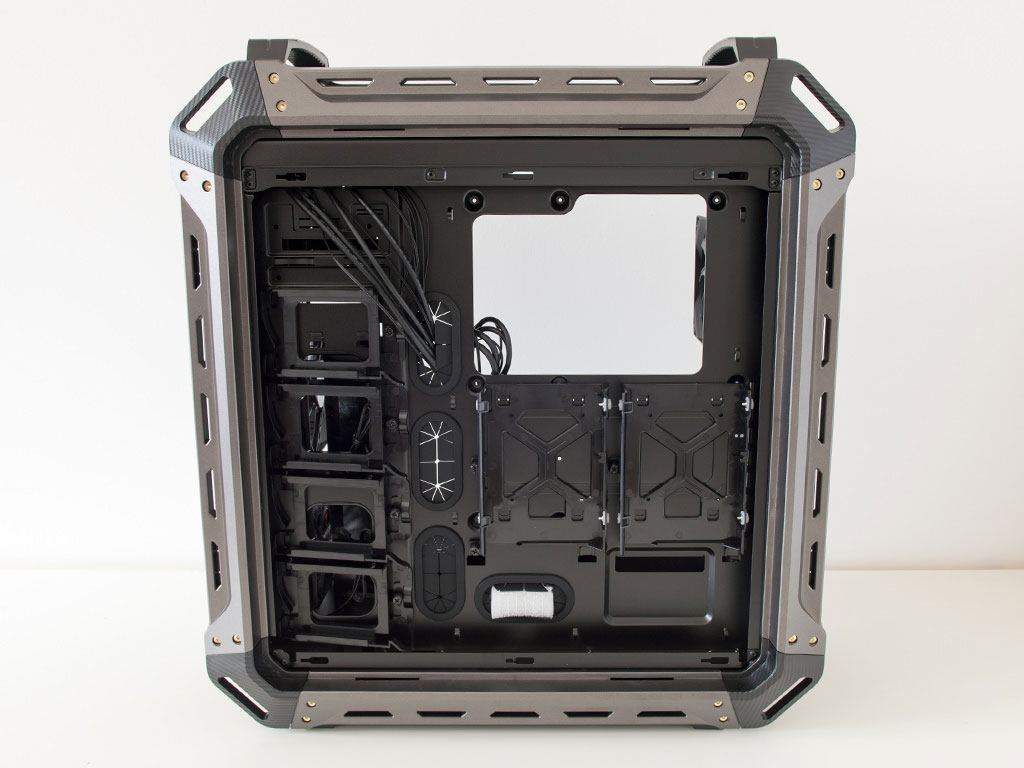
You can quickly gain access to the interior by lifting the panels off with the help of embedded latches. In comparison to the exterior, Cougar has kept the interior fairly straightforward and simple with an all-black paint job, the usual layout, and a plastic shroud on the bottom. However, looking behind the motherboard tray, it becomes apparent that there is a bit more to it than meets the eye at first sight.
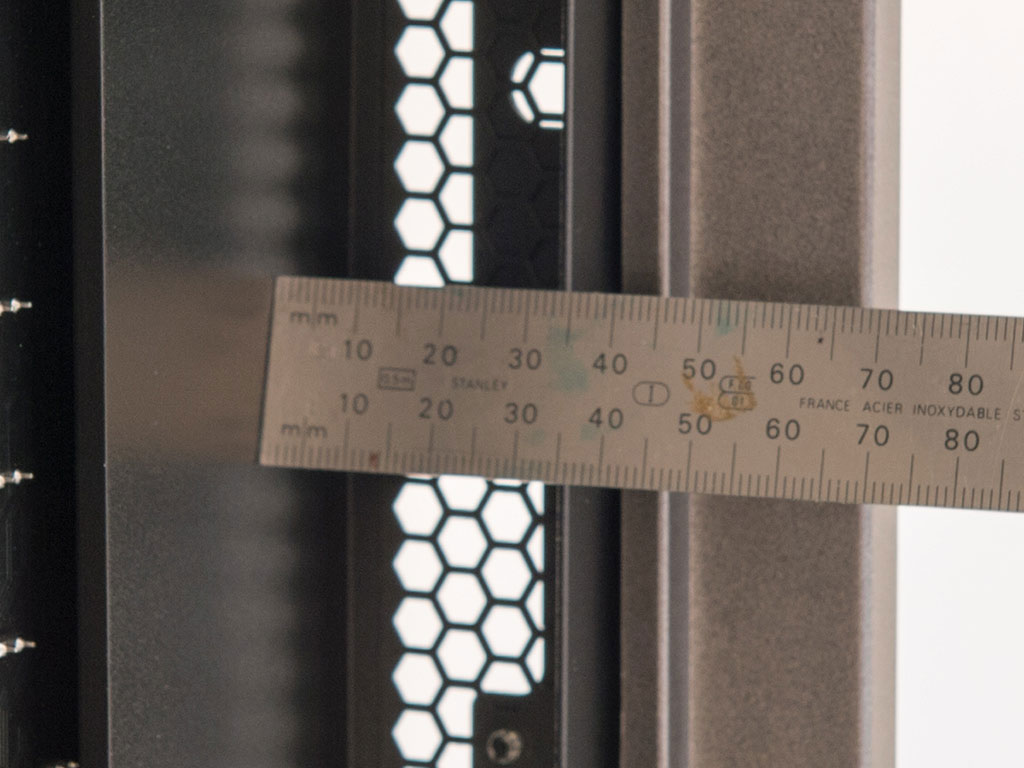
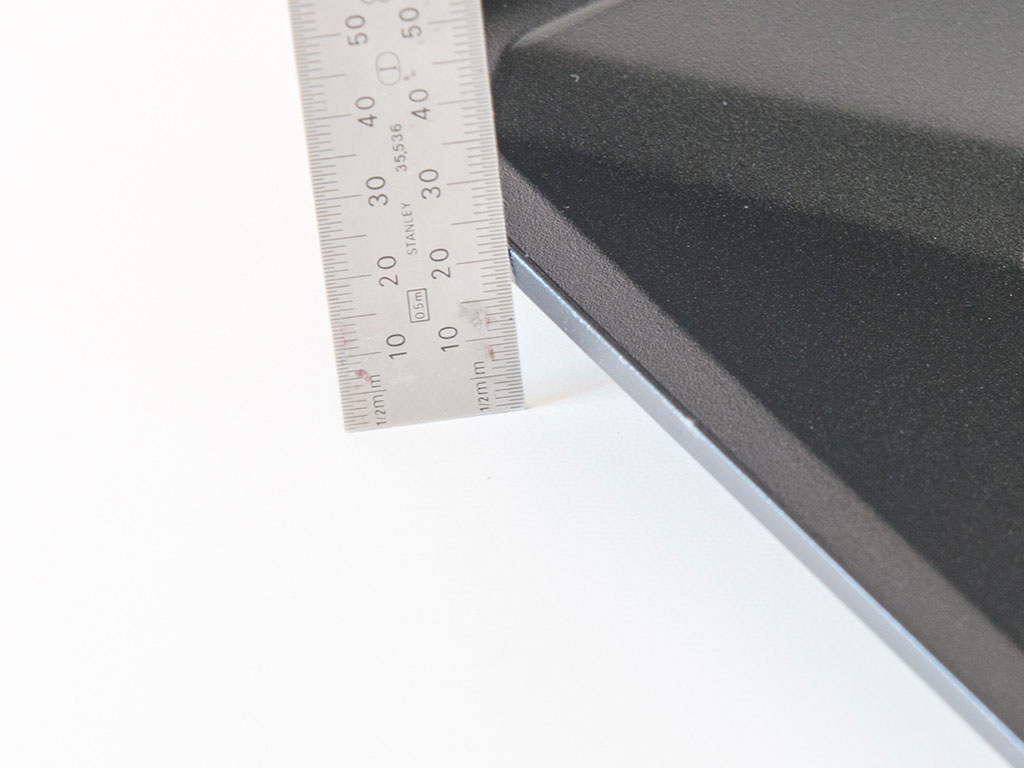
First off, there is loads of space. For starters, there is about 45 mm between the case's edge and the motherboard tray, which is more than most enclosures offer. Then, there is the bulky side panel for up to 20 more millimeters of depth, which gives you a whopping 65 mm to work with.
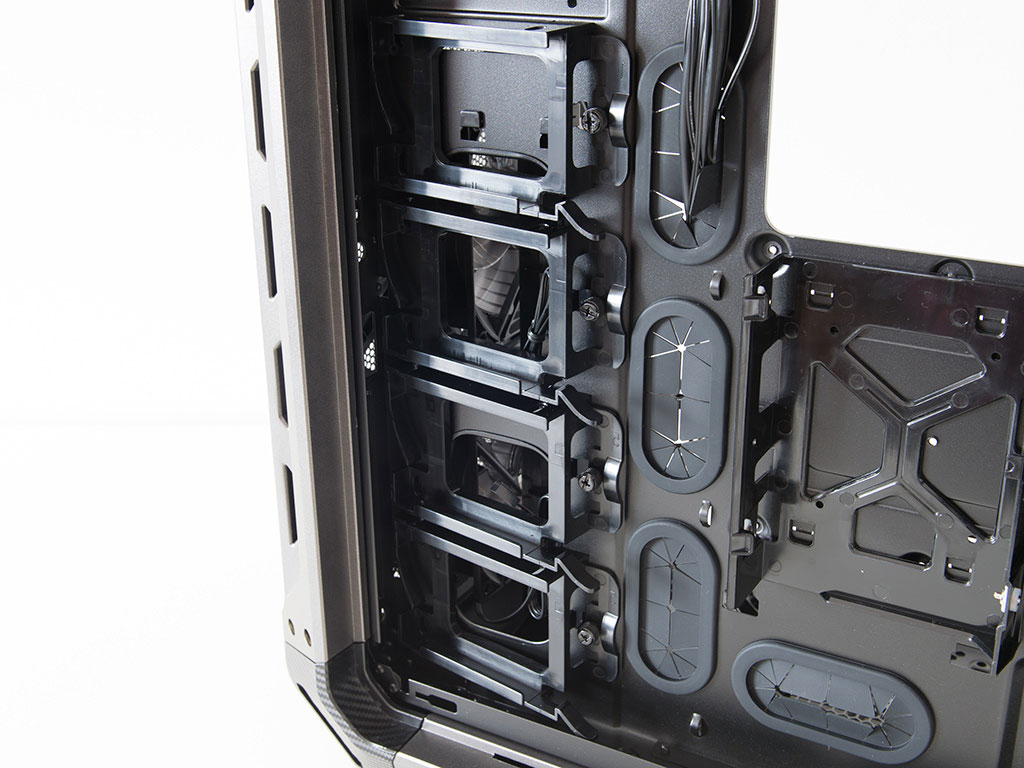
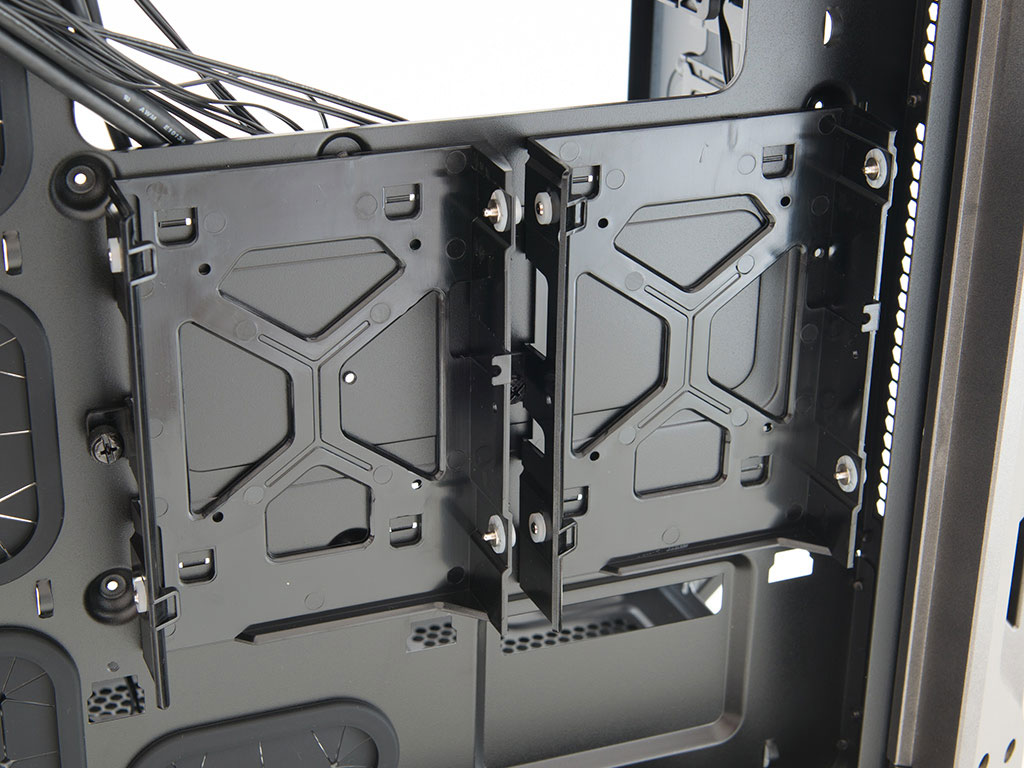
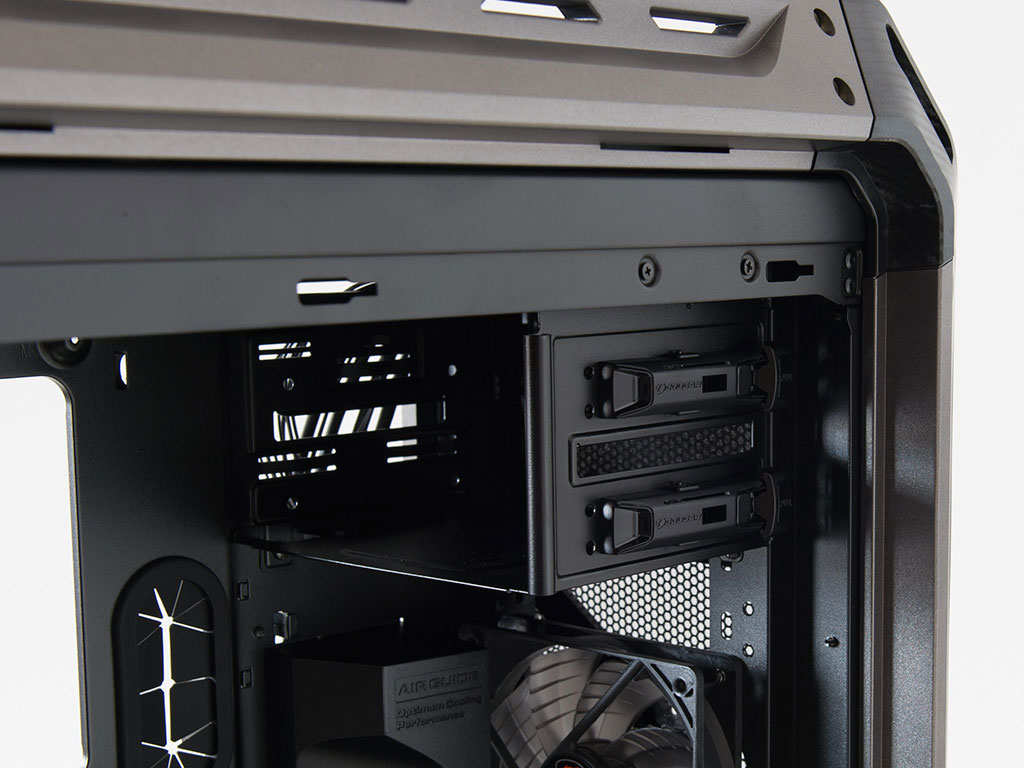
The space is utilized quite well since Cougar put four angled 2.5" drive bays into the front area. These are completely tool-less, and even though you may easily remove them, are designed in a way to allow you to slide drives in and out with ease. You will also find two 3.5/2.5" drive trays for more traditional storage units here.
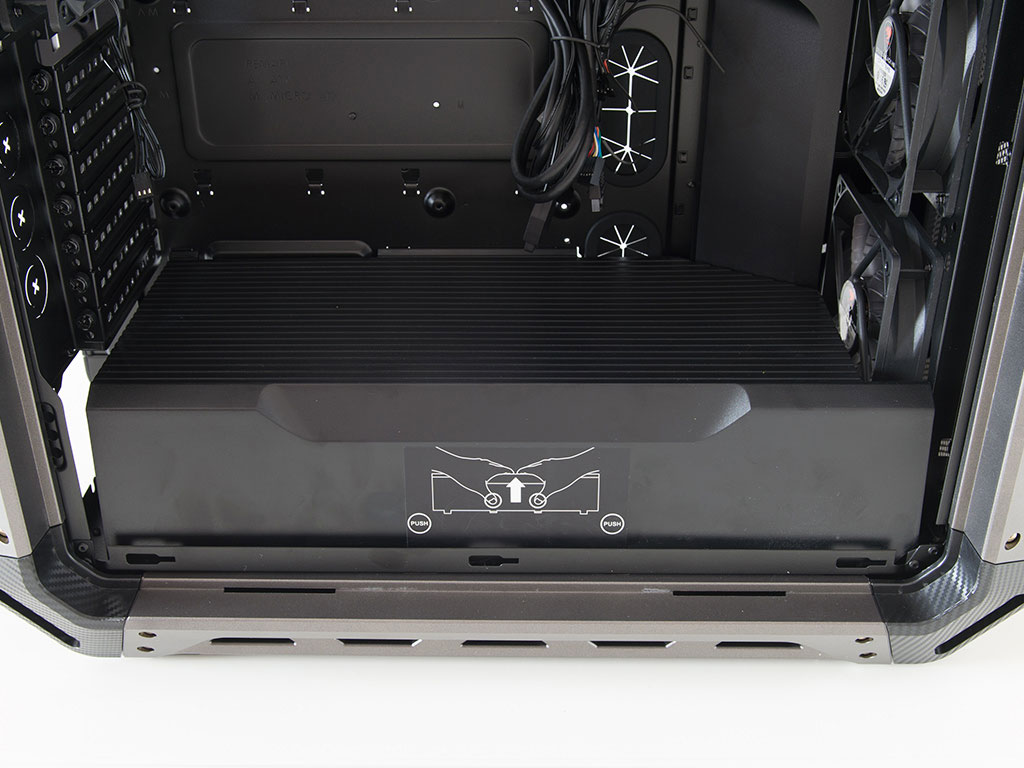
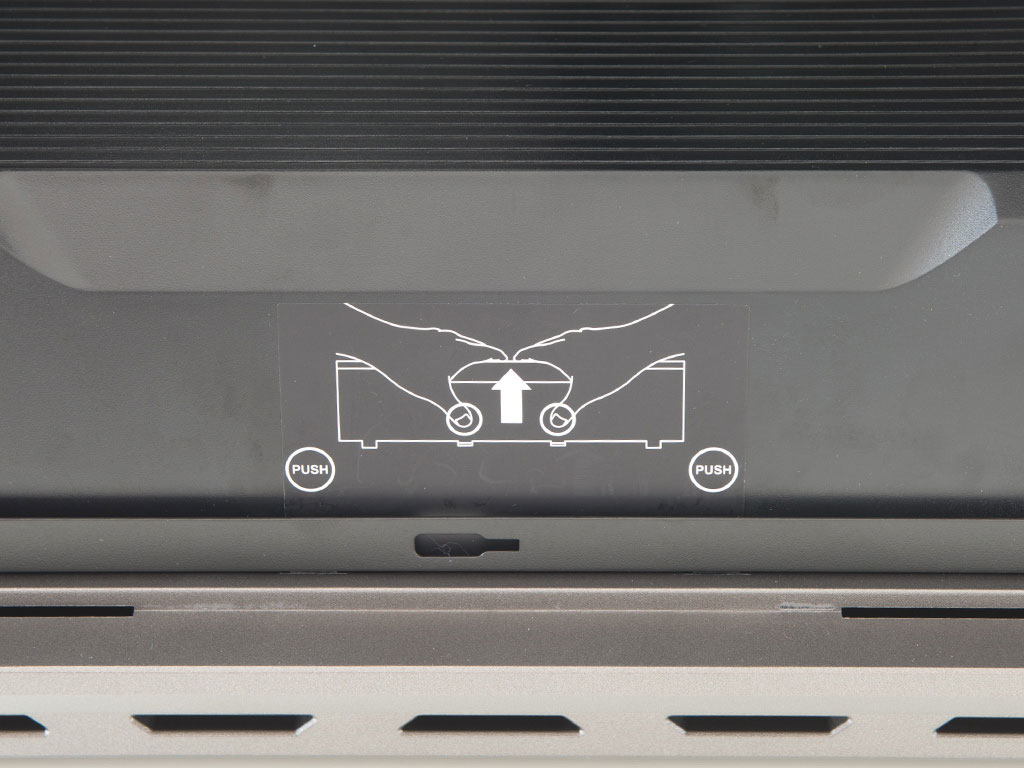
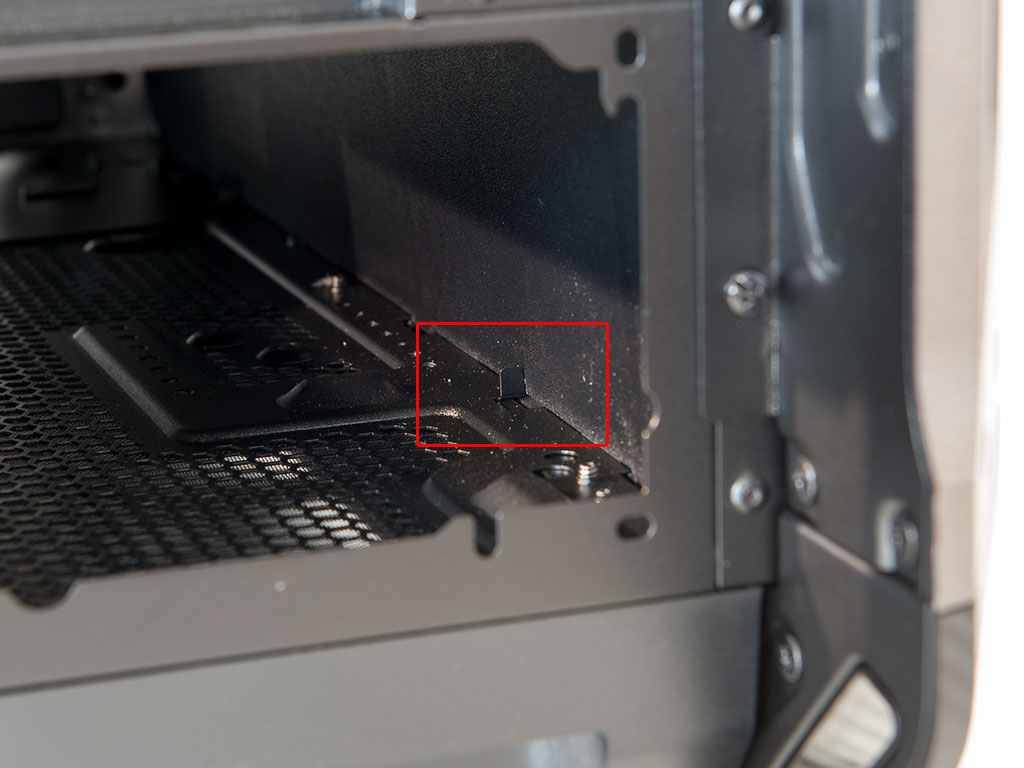
Cougar placed a solid shroud on the bottom portion of the chassis, which is a nice touch and quite the popular feature with case manufacturers right now. Unfortunately, it comes with this ugly sticker to tell you how to detach it. On top of that, I was unable to squeeze it so that the plastic pins would come out of their openings in the metal floor. Looking at the inside of the shroud, there are two bent metal pieces holding the entire thing in place, which prevented me from pushing inward to release the pins. With a bit of tough love, I bent these back onto the floor and was able to remove the cover.
It would have been nice if the shroud were made out of metal, and regardless of the material, it should have some sort of additional use besides solely covering the PSU, like holding additional drives or allowing for a pump to be placed on it. It simply looks like some wasted potential for a chassis that goes into a lot of detail in all other areas.

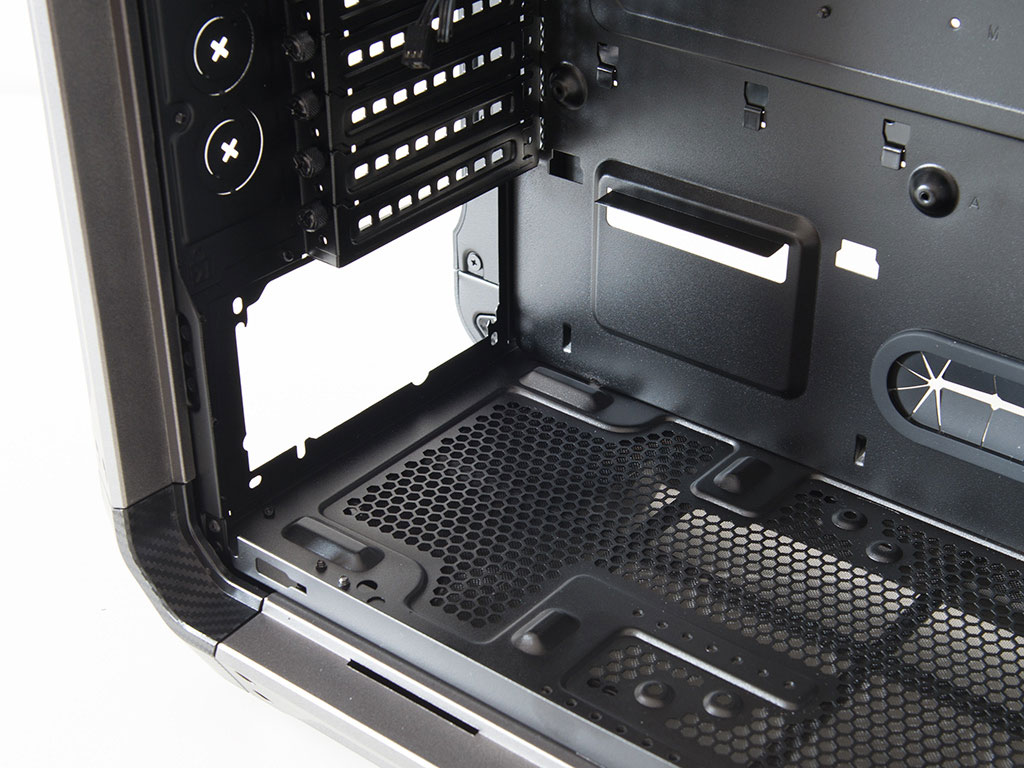
Once the shroud is removed, the interior of the Cougar Panzer Max looks quite simple but functional, and it becomes apparent that Cougar is not going to reinvent the wheel when it comes to basics like these.
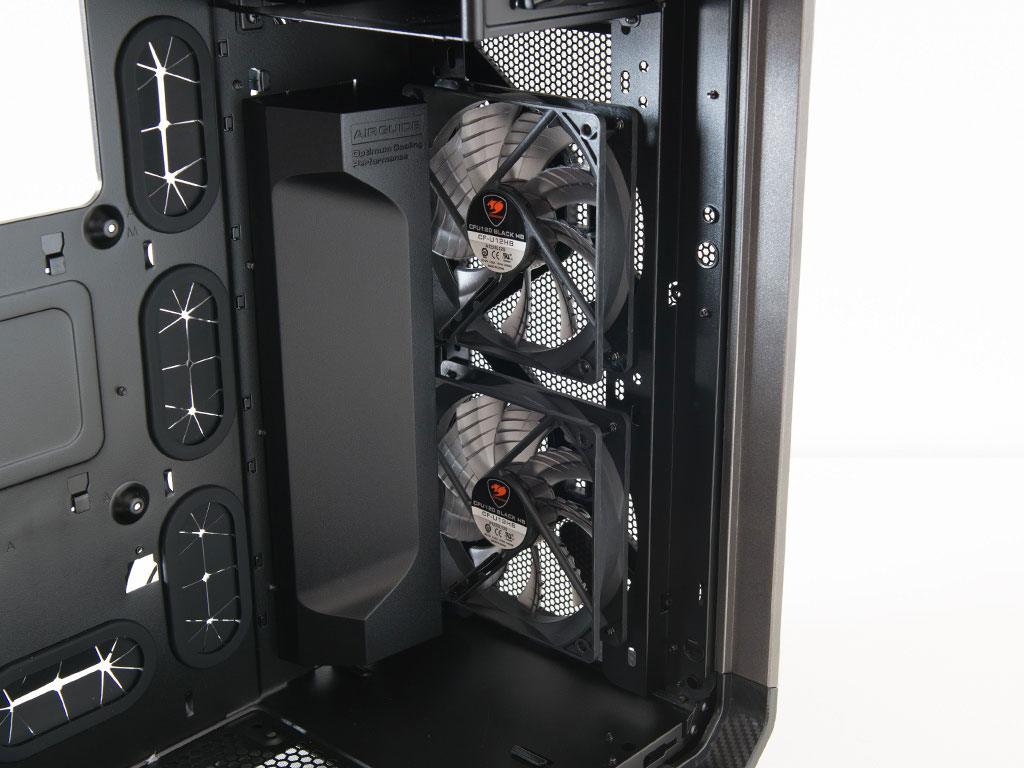
If you look closely into the front, there are two 120 mm fans that push air into the case. A plastic shroud has been placed along the left edge of the fans to divert some of the air behind the motherboard tray to cool the hard drives between the side panel and board. Above that are two 5.25" drive bays with a tool-less locking mechanism for ease of installation.
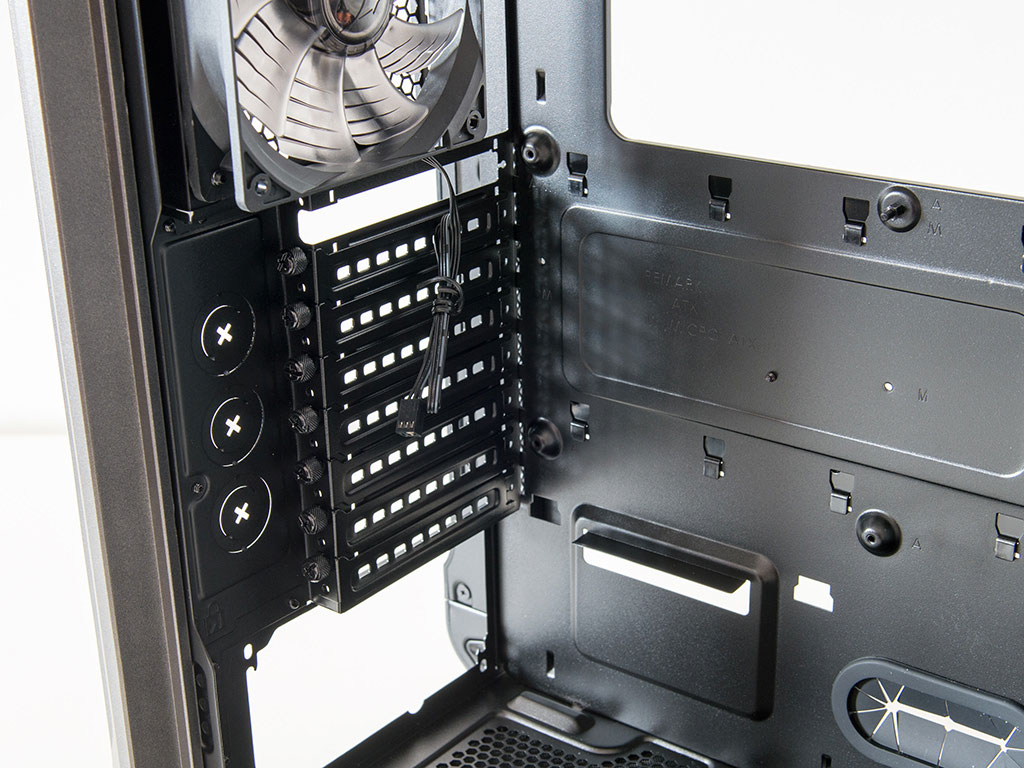
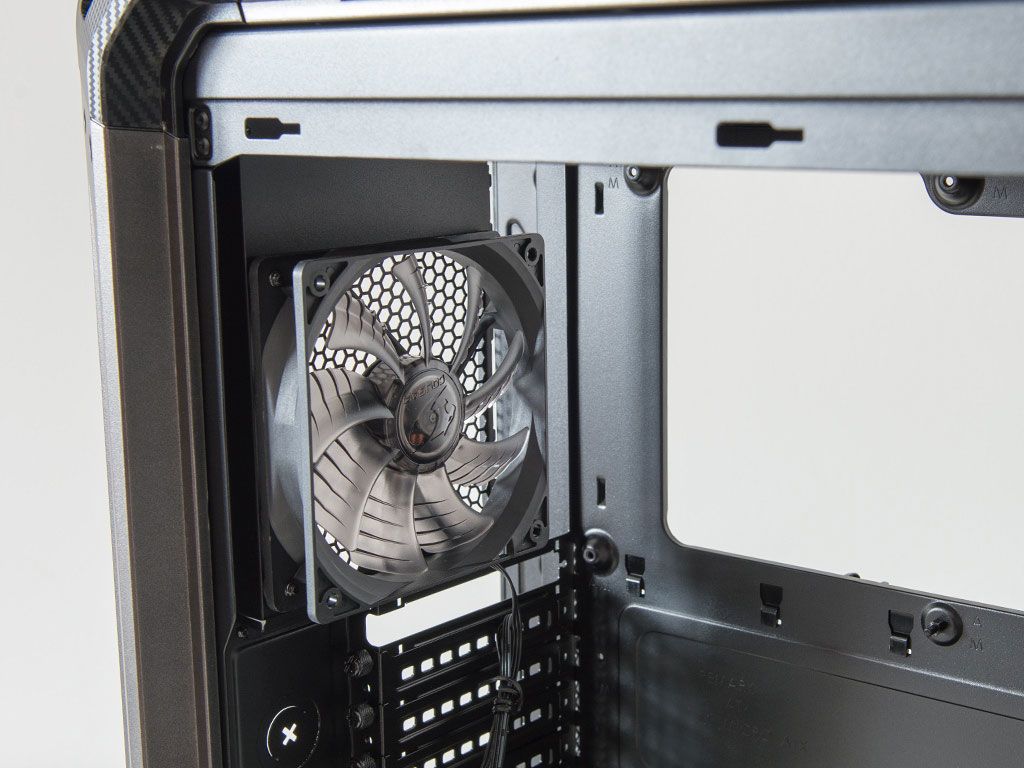
The PSU bay in the rear does not come lined with any rubber layers as an anti-vibration measure, but odds this will be an issue are slim. Above that are the eight expansion slot covers, each secured with a thumbscrew. In the very top, you will find the 120 mm fan, as previously mentioned.
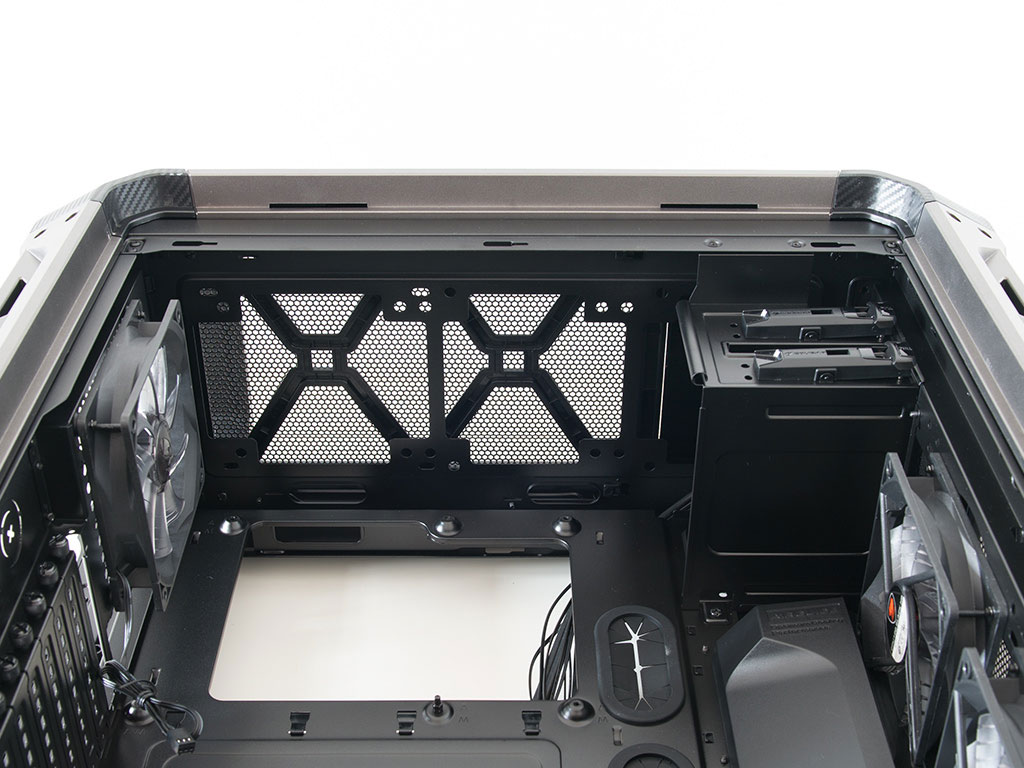
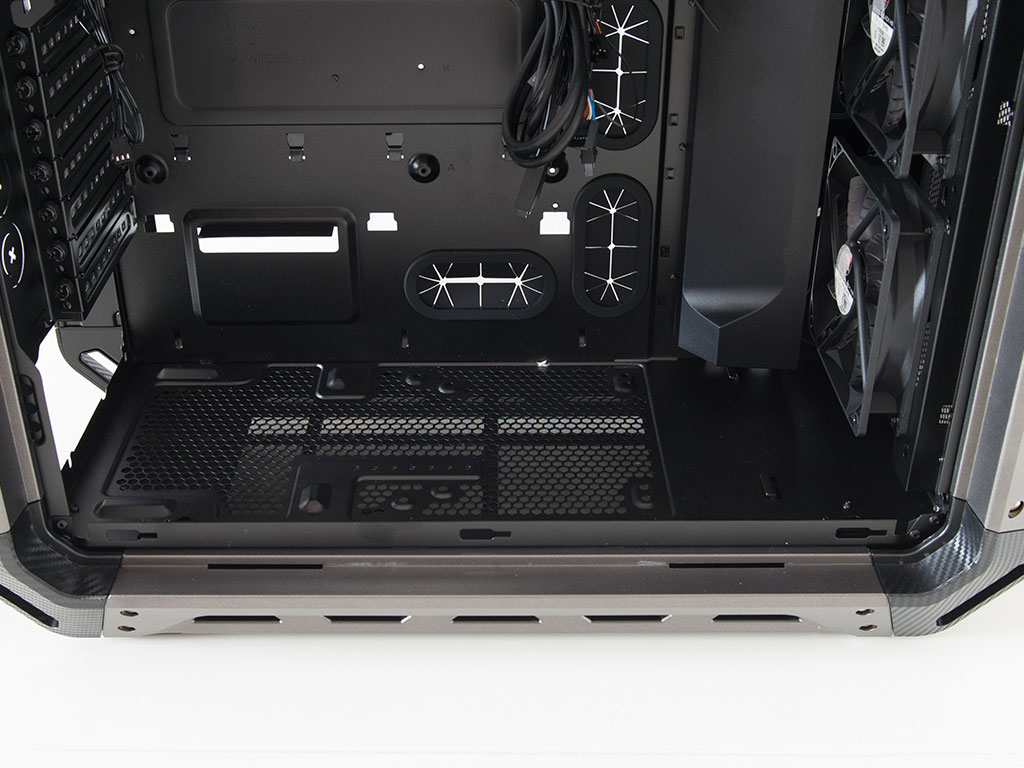
Looking at the ceiling, you can clearly see where fans or the radiator will be mounted. As you can mount the fans on top of the metal frame, you should not have to worry about blocking the top external 5.25" drive bay in most scenarios. Only extra-thick radiators could potentially get in the way of things. You may also install a single 120 or 140 mm fan to the floor of the Panzer Max, right next to the PSU bay, but whether doing so is of use is a different question.
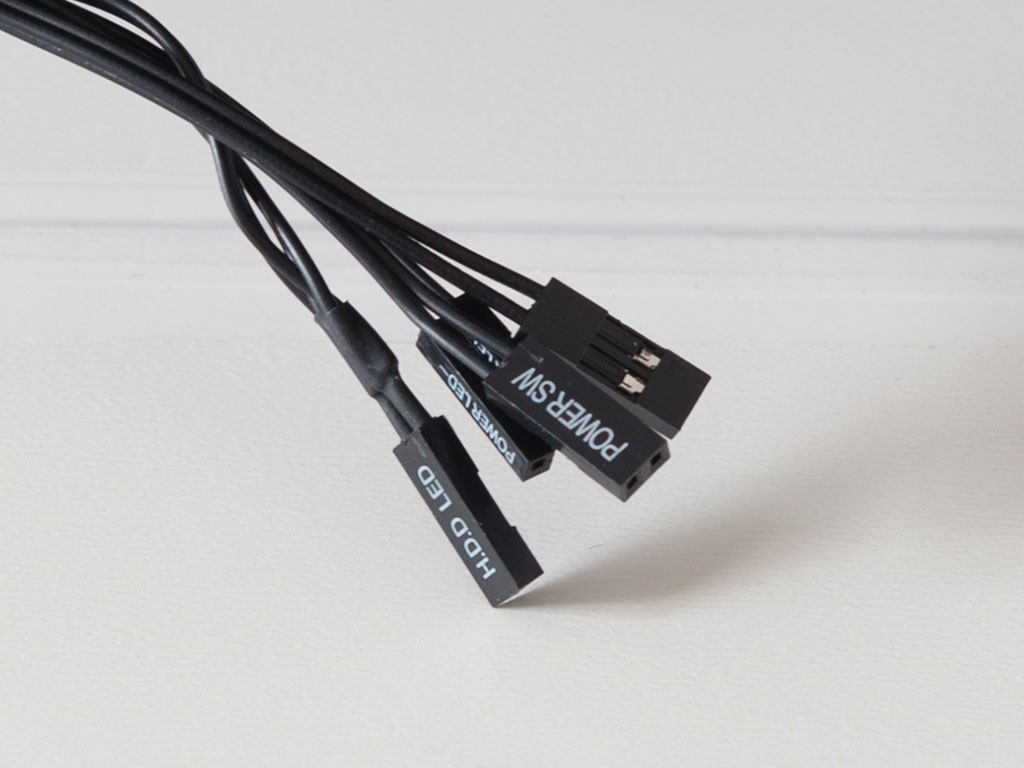
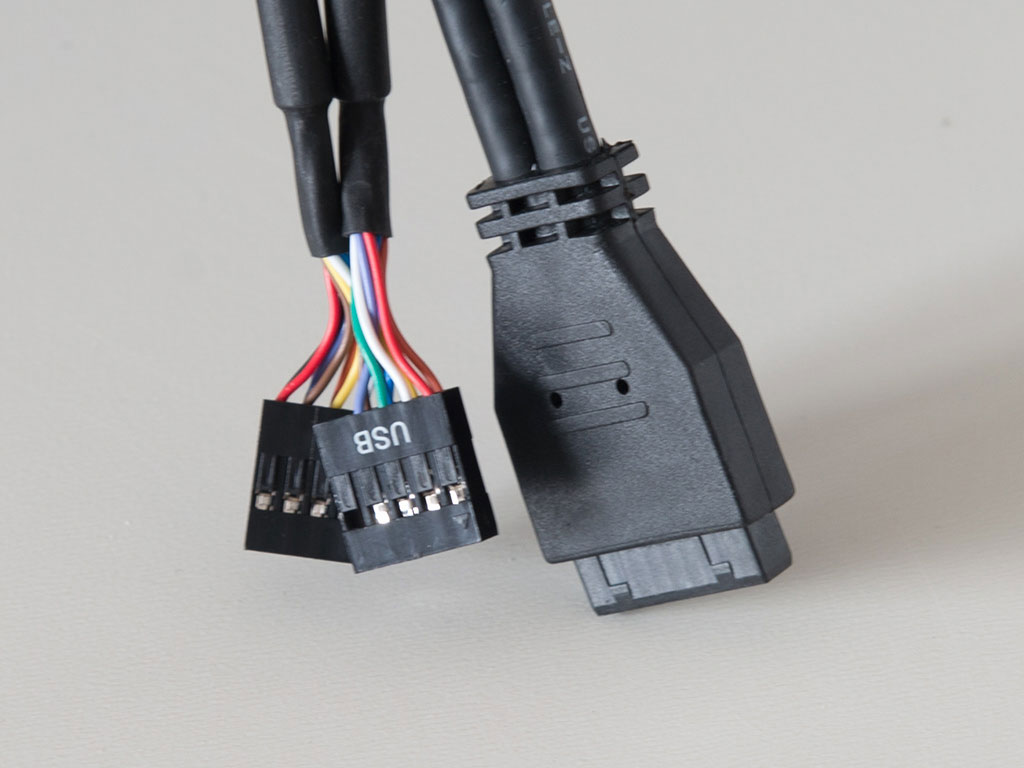

All the cables within the Cougar Panzer Max are sleeved black and are of the standard variety. You will also find a SATA power connector alongside three 3-pin fan connectors which lead to the fan controller. With the included splitters, you may connect a total of seven fans to this unit.
Apr 29th, 2024 21:09 EDT
change timezone
Latest GPU Drivers
New Forum Posts
- 7900 XTX Seriously lacking (24)
- Arctic MX-6 shelf life is just a couple months? (29)
- i7-12800HX Overheating Issues (5)
- Post your Cinebench 2024 score (452)
- Why MS buying all of these Studios is bad for Gaming (54)
- Is it better for zero RPM PSUs to place the fan on top? (32)
- windows media center addons (0)
- What are you playing? (20560)
- Asus NODE replaces ROG_EXT (38)
- Your PC ATM (34531)
Popular Reviews
- Team Group T-Force Vulcan ECO DDR5-6000 32 GB CL38 Review
- Ugreen NASync DXP4800 Plus Review
- MOONDROP x Crinacle DUSK In-Ear Monitors Review - The Last 5%
- HYTE THICC Q60 240 mm AIO Review
- Upcoming Hardware Launches 2023 (Updated Feb 2024)
- Sapphire Radeon RX 7900 GRE Pulse Review
- Computer Upgrade King Stratos Mini ITX Review
- Intel Core i7-14700K Review - Catching the 13900K
- MSI MEG Z790 ACE Review
- Intel Core i5-12400F Review - The AMD Challenger
Controversial News Posts
- Intel Statement on Stability Issues: "Motherboard Makers to Blame" (155)
- Windows 11 Now Officially Adware as Microsoft Embeds Ads in the Start Menu (154)
- Sony PlayStation 5 Pro Specifications Confirmed, Console Arrives Before Holidays (117)
- NVIDIA Points Intel Raptor Lake CPU Users to Get Help from Intel Amid System Instability Issues (106)
- AMD's RDNA 4 GPUs Could Stick with 18 Gbps GDDR6 Memory (105)
- AMD "Strix Halo" Zen 5 Mobile Processor Pictured: Chiplet-based, Uses 256-bit LPDDR5X (103)
- US Government Wants Nuclear Plants to Offload AI Data Center Expansion (98)
- TechPowerUp Hiring: Reviewers Wanted for Motherboards, Laptops, Gaming Handhelds and Prebuilt Desktops (90)