- Joined
- Jul 3, 2016
- Messages
- 760 (0.23/day)
Back in saddle! Shakedown - At Night (Kid Creme Funksta mix)
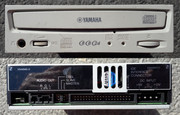
Yamaha CRW8824E - The FANtastic ODD
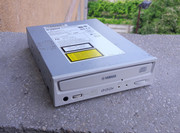
What if I told you that an Optical Disk Drive that had an active cooling fan existed? For sure, some of you might say that I'm off the rails but I'm really speaking the truth. The people from Yamaha did this back in the day. Meet the Yamaha CRW8824E CD Writer unit, a marvelous piece of tech, a treat to work on.
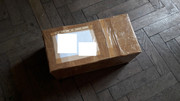
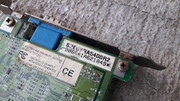
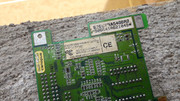
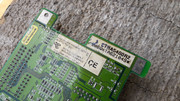
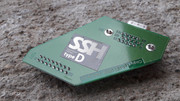
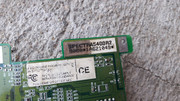
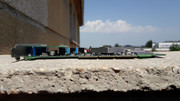
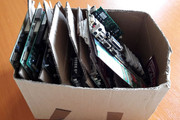
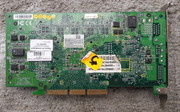
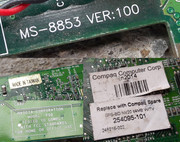
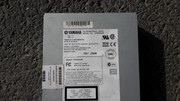
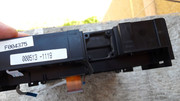
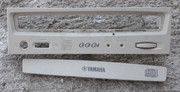
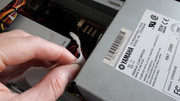
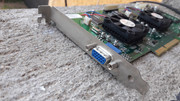
I found this ODD quite recently. My eyes popped out and I grabbed the beauty from the bottom of the cardboard box where it sat silently. Upon closer inspection I found out that it is the IDE variant. Fact mentioned clearly on the back of the unit by a nice glossy black sticker.
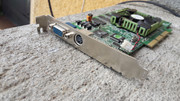
This puppy oozed quality and immediately made me think if it really was profitable to manufacture such a nice unit. Who knows?
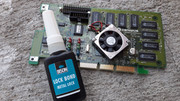
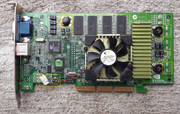
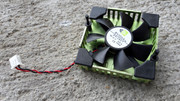
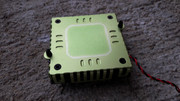
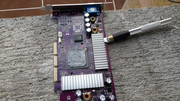
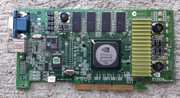
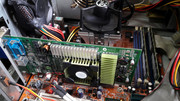
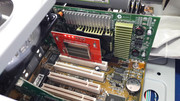
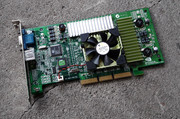
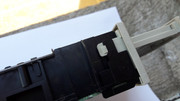
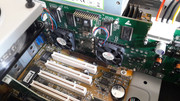
TAKE ME HOME! And take it I DID! Check out the miniature fan on the back. Something out of the ordinary for sure, at least for me. It never ceases to amaze me to see the evolution of tech from the early '90s to the late 2000s. I'm always caught off guard by what I find at the flea market, stuff that I never even knew existed. For instance, last Sunday I found an Intel RC440BX, the 3PCI 1 ISA version, damn I like that board. It begs for a nice V2 SLI action in a small unassuming case.
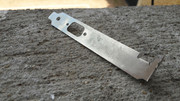
I asked politely the ODD to stick out its tongue to see if it was healthy or not. All was ok. Stuff that can be sorted in a blink of an eye.


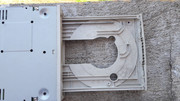
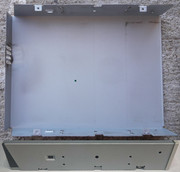
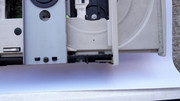
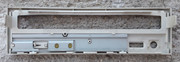
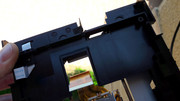
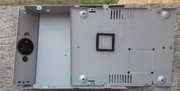
To open the unit, you first have to remove two sets of screws on the back. One set holds the metal case, top and bottom, together and the second set holds the PCB to the bottom metal plate. In a normal unit the PCB is held by a set of plastic clips. The Yamaha people took this to the extreme, screws and a PCB that had to be warped a little to be taken out of the fixing slots in the black plastic frame from inside.
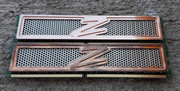
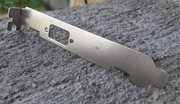
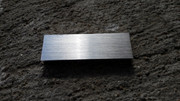
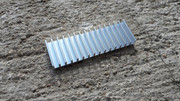
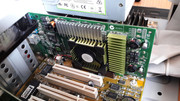
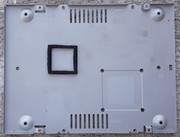
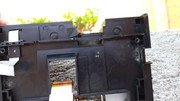
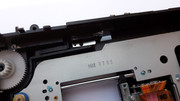
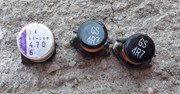
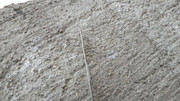
The bottom metal plate is made from high quality metal and it is quite heavy and thick. Notice the metal slots that act as vents to get air inside the unit or to equalize the pressure inside when a disk is spinning inside. I don't know the actual function of these slots and I just assume their role.
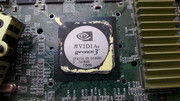
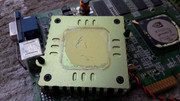
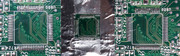
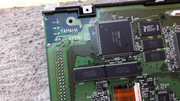
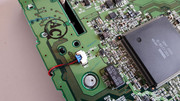
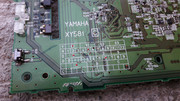
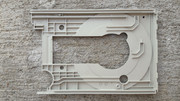
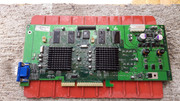
Boys we are IN! Yamaha YX581.
To remove the front bezel (the tray must be ejected) as there weren't any clips visible on the outside, after I removed the bottom metal plate I tried to unclip two white plastic retainers that were present on the inside but that proved difficult, so I backed off and tried to find an alternative.
I went on to remove the top metal shroud and I was greeted by another "quirk". On a "normal" read low cost unit, the top metal shroud comes off quite easily after you remove the screws, on the Yamaha you also have to unclip two black plastic clips on the sides.
Once I was inside I found the solution to the removal of the front bezel. Just two elegant plastic clips on the sides. Frigging slick I must say.

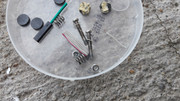
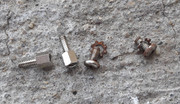
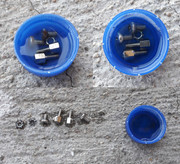
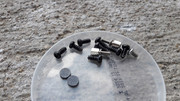
When I remove any part from anything that I want to clean or restore I always use a marker to pinpoint the exact position from where it came. A trivial aspect for some, paramount for me. What is left for me to do is to also put the same screws in the same exact orientation and position too, but I'm not there yet.
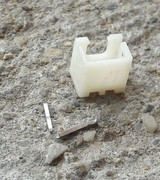
To remove the tray you must lift a small plastic clip. Be gentle. You really don't want to break it off. Unless you want some UT Ripper action when you eject a disk.
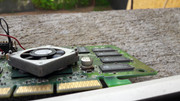
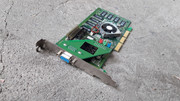
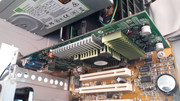
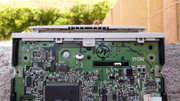
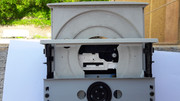
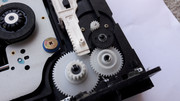
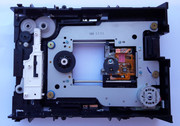
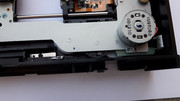
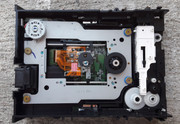
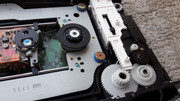
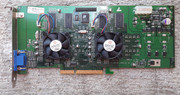
Check out the inside of the unit. No rubber belt in sight, just sprockets everywhere. I LIKE IT!!! RoboCop - I Like It
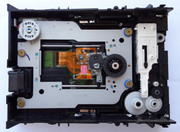
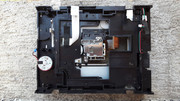
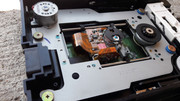
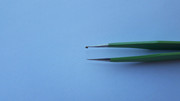
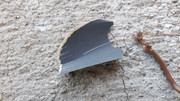
This must be the most beautiful laser head assembly that I saw to date.
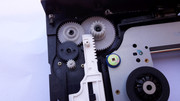
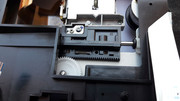
Sprockets everywhere.
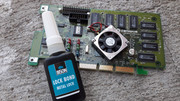
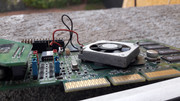
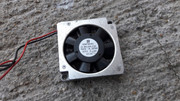
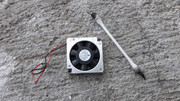
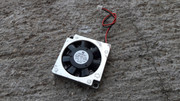
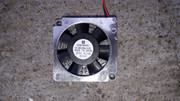
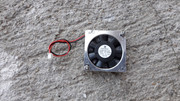
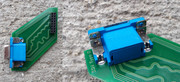
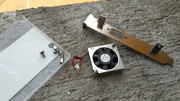
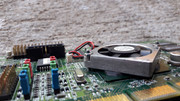
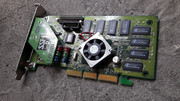
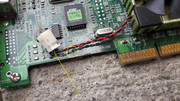
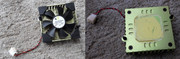
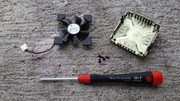
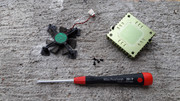
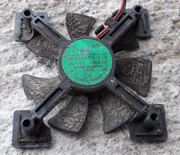
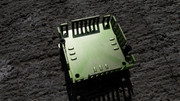
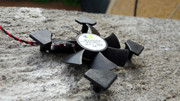
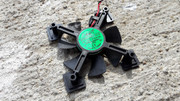
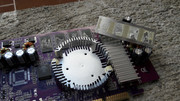
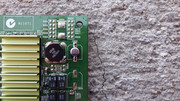
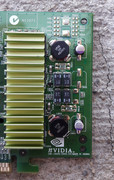
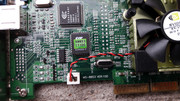
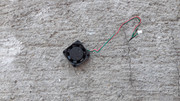
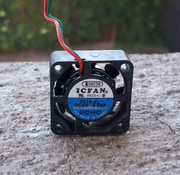
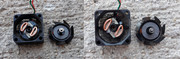
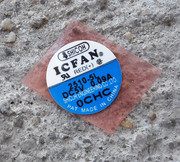
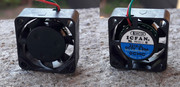
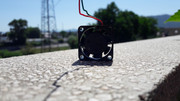
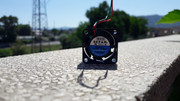
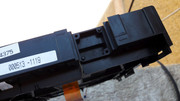
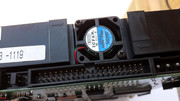
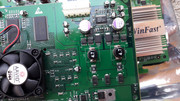
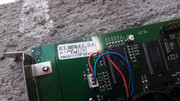
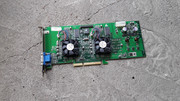
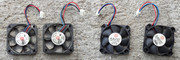
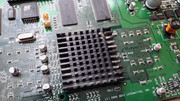
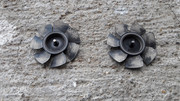
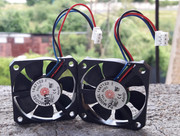
I must say that I am a FAN of your work. Do tell! SHICOH ICFAN 2510-5L DC 5V 0.09A. A 2.5cm mini precision cooling fan. KAWAII!

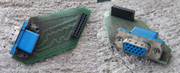
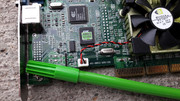
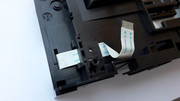
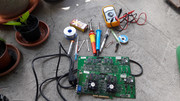
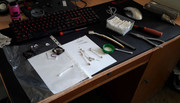
Always take pictures of every cable, connection or any other detail as you never know when you might need it.
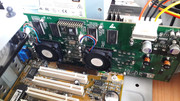
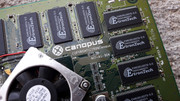
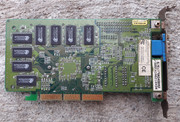
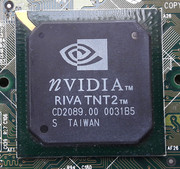
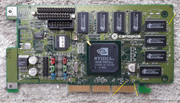
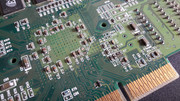
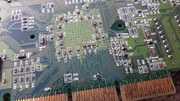
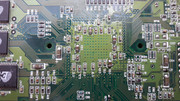
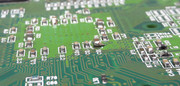
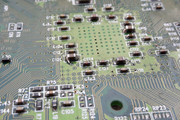
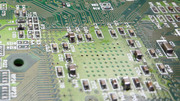
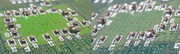
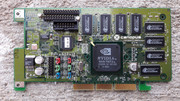
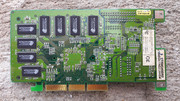
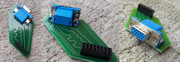
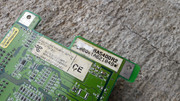
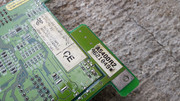
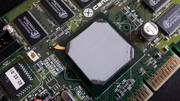
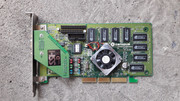
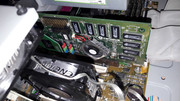
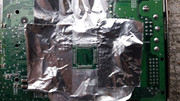
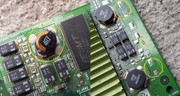
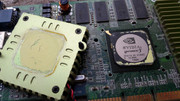
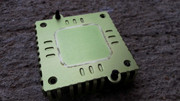
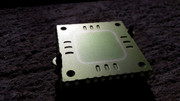
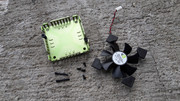
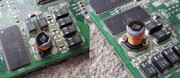
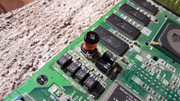
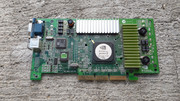
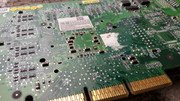
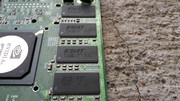
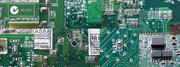
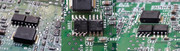
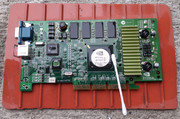
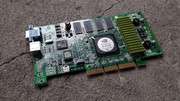
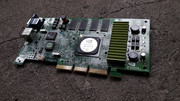
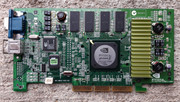
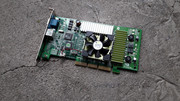
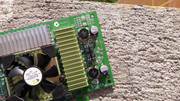
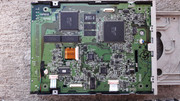
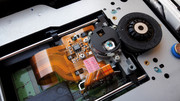
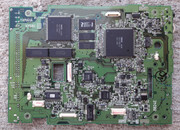
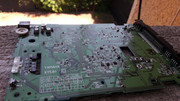
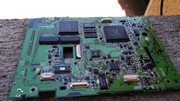
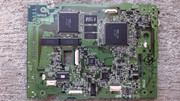
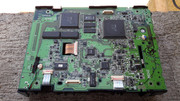
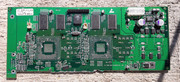
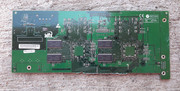
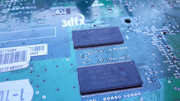
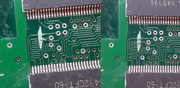
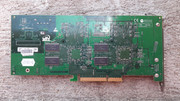
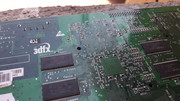
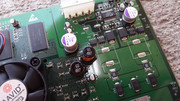
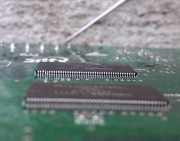
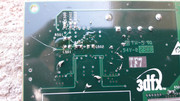
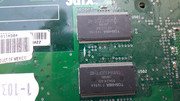
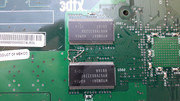
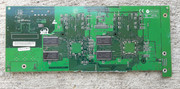
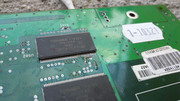
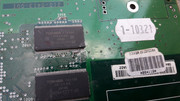
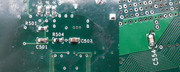
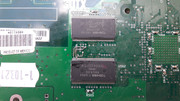
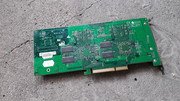
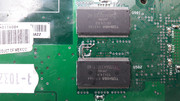
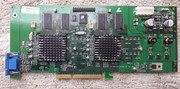
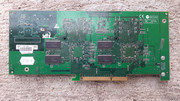
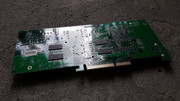
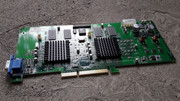
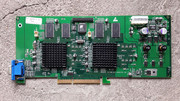
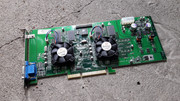
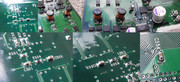
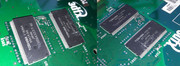
The PCB in al its glory. Look at the IC density on square cm. Damn!
While I was taking apart the unit, after I removed the ribbon cable from the PCB, when I flipped the black plastic frame I was amazed to see that the laser head moved smoothly on the rails just from gravity alone like it was on ice. This is the smoothest action I registered after I worked on 25+ ODDs over the years.
Such a nice unit. All ribbon cables beautifully routed and held down with tape or even small plastic removable clips. Damn!
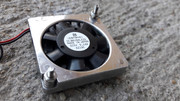
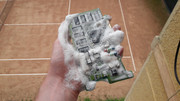
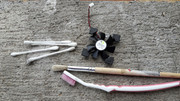
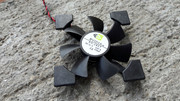
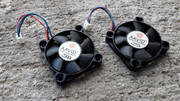
The fan was a little dusty and at first I tried to clean it without taking it apart but that was a solid NO GO.
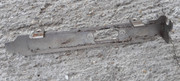
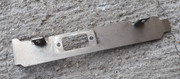
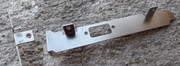
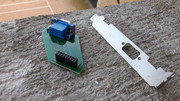
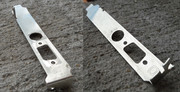
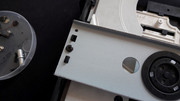
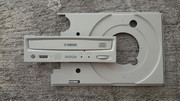
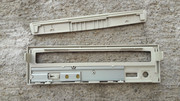
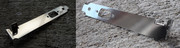
A closer inspection of the front bezel was a confirmation of the fact the the plastic retainers weren't the good route to remove the bezel from the unit. These retainers just hold a reinforcing metal plate for the buttons and LED lenses. Notice the thickness of the metal. On a normal unit, you won't usually find LED lenses, just tiny holes, and the buttons aren't held by a reinforcing plate, just a small plastic strip that either is glued or held by melted plastic tabs.
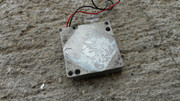
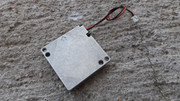
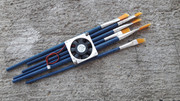
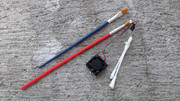
I dismantled the fan as I also didn't like the sound it made. I cleaned it with small paint brushes, cotton sticks and IPA 99%. The sticker received new 0.2mm double sided tape. No matter the size, all details are important.
After I worked on the small bits and pieces and I saw that much of the original grease was still in great shape and the unit felt solid, I decided not to take it apart entirely as I wasn't going to get more out of this. If the unit would've been really dirty I would've made the choice to dismantle it to the last nut and bolt but since it wasn't the case, I applied the KISS principle. (Keep It Simple Stupid). The inside of the unit was just tidied up using cotton sticks, microfiber cloths and IPA 99%. I didn't go overboard.
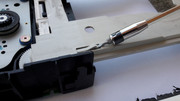
The lens was gently cleaned with IPA 99% and a microfiber cloth. I applied minute pressure and with a couple of motions I removed a thin layer of dust. This operation is always risky but I do it regardless. I do not trust high spinning cleaning disks. Had one back in the day. It made quite a racket in my 16X LG CD-ROM.
The laser head cradle is held by tiny metal strips and screws instead of plastic clips. Neat stuff. Excess engineering.
Looking great.
Small details that you usually do not see on a regular ODD.
Its mechanical! I LOVE IT!
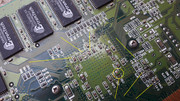
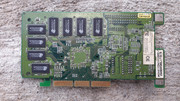
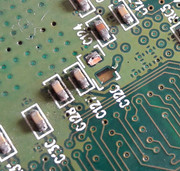
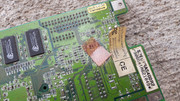
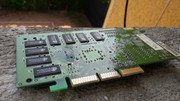
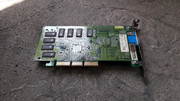
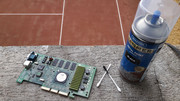
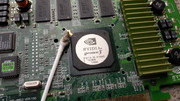
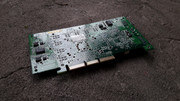
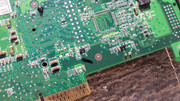
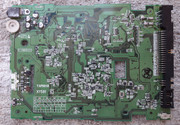
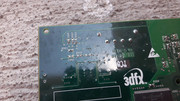
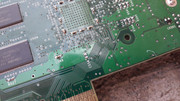
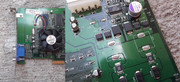
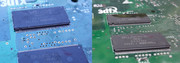
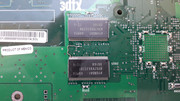
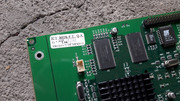
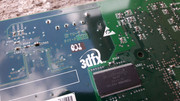
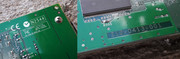
The PCB is coated in a protective lacquer, that it is easily removed by IPA 99% and leaves streaks that are quite hard to get rid of. This stuff is not like that found on motherboards, so, after a test on a small area using cotton sticks and IPA 99% I decided to clean the PCB only using a small brush made from animal hairs and I limited the use of IPA 99% just on the really dirty areas, like the rear connectors and other parts. The results were quite good.

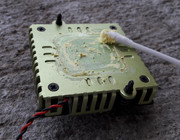
I cleaned the fan duct well.
The fan was put back and the wires were carefully routed in the same way they were. Some 0.2 mm double sided tape was required to fix some of the original cloth tape that lost its stickiness.
The plastic and metal parts were washed with water and dish soap. Some stains that were present on the front bezel have been removed with small amounts of polishing paste and cotton sticks. Some small scratches remained as I didn't want to lose some of the texture that was present on the plastics due to the use of the polishing paste.
On the road to recovery. The gears, and the laser head rails received a small amount of clear silicone grease. Also the tray rails have been lightly greased.
DONE!
If you want to know if I tested the unit before I started the restoration process I must say that I did not. Why? No reason really. Such a good looking unit can't be dead, right?
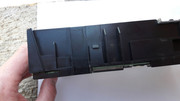
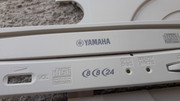
One aspect that I forgot to mention is that on the front tray cover there are also vents/tiny slots present, that get fresh air inside the unit. An over the top ODD that is for sure. This unit made my cogs turn every step I took and everywhere I looked I saw attention to detail and craftmanship. I must say that they are really not making them as they used to and this is true for many things not just computer HW.

NICE!
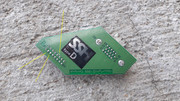
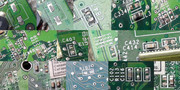
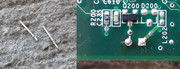
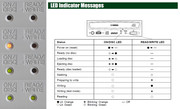
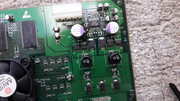
The LED action was interesting, to say the least. They even tell you if you have a disk inside. Neat stuff. The LEDs are quite nice and the amount of light they put out is carefully dosed. If you look closely to the PCB you will see that the LEDs have some kind of diffuser in addition to the lenses that are present on the front bezel.
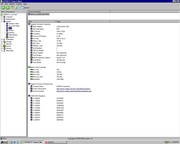
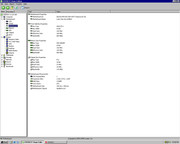
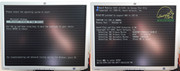
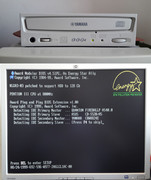
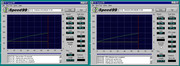
Enough chit-chat I guess. The unit was running great and at the specified speeds. The scratched CD-ROM was read brilliantly. This unit is @ 100%!
I praised this unit but I didn't say anything about the all important fan. Is such a fan doing anything? Well, I used a small piece of toilet paper and I saw that some air was moved by it. As to the real benefit of it I really can't say for sure. Maybe it has something to do in regard to the CD writing process where it might reduce the temperature inside the unit, but I have some doubts as some of the hot air from inside of the PC case is sucked inside the ODD via the vents in the bottom metal plate. Maybe the design of this unit was inspired by some car stereos or high end Hi-Fi stuff where cooling might be more important. Who knows?
Also I must mention an annoying fact. This fan is ON all the time even if you have a CD inside or not. I thought that the fan would kick in only when you use the ODD but NO SIR! It is ON ALL THE TIME. This was quite unexpected and it made me think why this design choice was made. I guess that I will never know.
It isn't loud but it has a higher pitched sound that was noticeable only when I put my ear near the unit. Also the bearing is a little grindy. I guess that much of its life, due to the very low level of wear and tear inside, this ODD just sat unused, with the tiny fan blasting away, doing nothing more than getting dust inside, a real treat to any ODD. Dusty dust dustiner checking out the premises aka all the holes, nooks and crannies.
All of the few shortcomings are only noticeable when you are really close to the unit and if the Yamaha CRW8824E would've been closed inside a case they would go unnoticed.
Now at the end, I must say again, that I really like this ODD and any respectable PC case would be insane not to want this piece of tech inside it.
gallery: https://postimg.cc/gallery/TWTfnZS
More later.
Yamaha CRW8824E - The FANtastic ODD
What if I told you that an Optical Disk Drive that had an active cooling fan existed? For sure, some of you might say that I'm off the rails but I'm really speaking the truth. The people from Yamaha did this back in the day. Meet the Yamaha CRW8824E CD Writer unit, a marvelous piece of tech, a treat to work on.
I found this ODD quite recently. My eyes popped out and I grabbed the beauty from the bottom of the cardboard box where it sat silently. Upon closer inspection I found out that it is the IDE variant. Fact mentioned clearly on the back of the unit by a nice glossy black sticker.
This puppy oozed quality and immediately made me think if it really was profitable to manufacture such a nice unit. Who knows?
TAKE ME HOME! And take it I DID! Check out the miniature fan on the back. Something out of the ordinary for sure, at least for me. It never ceases to amaze me to see the evolution of tech from the early '90s to the late 2000s. I'm always caught off guard by what I find at the flea market, stuff that I never even knew existed. For instance, last Sunday I found an Intel RC440BX, the 3PCI 1 ISA version, damn I like that board. It begs for a nice V2 SLI action in a small unassuming case.
I asked politely the ODD to stick out its tongue to see if it was healthy or not. All was ok. Stuff that can be sorted in a blink of an eye.
To open the unit, you first have to remove two sets of screws on the back. One set holds the metal case, top and bottom, together and the second set holds the PCB to the bottom metal plate. In a normal unit the PCB is held by a set of plastic clips. The Yamaha people took this to the extreme, screws and a PCB that had to be warped a little to be taken out of the fixing slots in the black plastic frame from inside.
The bottom metal plate is made from high quality metal and it is quite heavy and thick. Notice the metal slots that act as vents to get air inside the unit or to equalize the pressure inside when a disk is spinning inside. I don't know the actual function of these slots and I just assume their role.
Boys we are IN! Yamaha YX581.
To remove the front bezel (the tray must be ejected) as there weren't any clips visible on the outside, after I removed the bottom metal plate I tried to unclip two white plastic retainers that were present on the inside but that proved difficult, so I backed off and tried to find an alternative.
I went on to remove the top metal shroud and I was greeted by another "quirk". On a "normal" read low cost unit, the top metal shroud comes off quite easily after you remove the screws, on the Yamaha you also have to unclip two black plastic clips on the sides.
Once I was inside I found the solution to the removal of the front bezel. Just two elegant plastic clips on the sides. Frigging slick I must say.
When I remove any part from anything that I want to clean or restore I always use a marker to pinpoint the exact position from where it came. A trivial aspect for some, paramount for me. What is left for me to do is to also put the same screws in the same exact orientation and position too, but I'm not there yet.
To remove the tray you must lift a small plastic clip. Be gentle. You really don't want to break it off. Unless you want some UT Ripper action when you eject a disk.
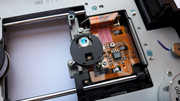
Check out the inside of the unit. No rubber belt in sight, just sprockets everywhere. I LIKE IT!!! RoboCop - I Like It
This must be the most beautiful laser head assembly that I saw to date.
Sprockets everywhere.
I must say that I am a FAN of your work. Do tell!
SHICOH ICFAN 2510-5L DC 5V 0.09A. A 2.5cm mini precision cooling fan. KAWAII!Always take pictures of every cable, connection or any other detail as you never know when you might need it.
The PCB in al its glory. Look at the IC density on square cm. Damn!
While I was taking apart the unit, after I removed the ribbon cable from the PCB, when I flipped the black plastic frame I was amazed to see that the laser head moved smoothly on the rails just from gravity alone like it was on ice. This is the smoothest action I registered after I worked on 25+ ODDs over the years.
Such a nice unit. All ribbon cables beautifully routed and held down with tape or even small plastic removable clips. Damn!
The fan was a little dusty and at first I tried to clean it without taking it apart but that was a solid NO GO.
A closer inspection of the front bezel was a confirmation of the fact the the plastic retainers weren't the good route to remove the bezel from the unit. These retainers just hold a reinforcing metal plate for the buttons and LED lenses. Notice the thickness of the metal. On a normal unit, you won't usually find LED lenses, just tiny holes, and the buttons aren't held by a reinforcing plate, just a small plastic strip that either is glued or held by melted plastic tabs.
I dismantled the fan as I also didn't like the sound it made. I cleaned it with small paint brushes, cotton sticks and IPA 99%. The sticker received new 0.2mm double sided tape. No matter the size, all details are important.
After I worked on the small bits and pieces and I saw that much of the original grease was still in great shape and the unit felt solid, I decided not to take it apart entirely as I wasn't going to get more out of this. If the unit would've been really dirty I would've made the choice to dismantle it to the last nut and bolt but since it wasn't the case, I applied the KISS principle. (Keep It Simple Stupid). The inside of the unit was just tidied up using cotton sticks, microfiber cloths and IPA 99%. I didn't go overboard.
The lens was gently cleaned with IPA 99% and a microfiber cloth. I applied minute pressure and with a couple of motions I removed a thin layer of dust. This operation is always risky but I do it regardless. I do not trust high spinning cleaning disks. Had one back in the day. It made quite a racket in my 16X LG CD-ROM.
The laser head cradle is held by tiny metal strips and screws instead of plastic clips. Neat stuff. Excess engineering.
Looking great.
Small details that you usually do not see on a regular ODD.
Its mechanical! I LOVE IT!
The PCB is coated in a protective lacquer, that it is easily removed by IPA 99% and leaves streaks that are quite hard to get rid of. This stuff is not like that found on motherboards, so, after a test on a small area using cotton sticks and IPA 99% I decided to clean the PCB only using a small brush made from animal hairs and I limited the use of IPA 99% just on the really dirty areas, like the rear connectors and other parts. The results were quite good.
I cleaned the fan duct well.
The fan was put back and the wires were carefully routed in the same way they were. Some 0.2 mm double sided tape was required to fix some of the original cloth tape that lost its stickiness.
The plastic and metal parts were washed with water and dish soap. Some stains that were present on the front bezel have been removed with small amounts of polishing paste and cotton sticks. Some small scratches remained as I didn't want to lose some of the texture that was present on the plastics due to the use of the polishing paste.
On the road to recovery. The gears, and the laser head rails received a small amount of clear silicone grease. Also the tray rails have been lightly greased.
DONE!
If you want to know if I tested the unit before I started the restoration process I must say that I did not.
Why? No reason really. Such a good looking unit can't be dead, right? One aspect that I forgot to mention is that on the front tray cover there are also vents/tiny slots present, that get fresh air inside the unit. An over the top ODD that is for sure. This unit made my cogs turn every step I took and everywhere I looked I saw attention to detail and craftmanship. I must say that they are really not making them as they used to and this is true for many things not just computer HW.
NICE!
The LED action was interesting, to say the least. They even tell you if you have a disk inside. Neat stuff. The LEDs are quite nice and the amount of light they put out is carefully dosed. If you look closely to the PCB you will see that the LEDs have some kind of diffuser in addition to the lenses that are present on the front bezel.
Enough chit-chat I guess. The unit was running great and at the specified speeds. The scratched CD-ROM was read brilliantly. This unit is @ 100%!
I praised this unit but I didn't say anything about the all important fan. Is such a fan doing anything? Well, I used a small piece of toilet paper and I saw that some air was moved by it. As to the real benefit of it I really can't say for sure. Maybe it has something to do in regard to the CD writing process where it might reduce the temperature inside the unit, but I have some doubts as some of the hot air from inside of the PC case is sucked inside the ODD via the vents in the bottom metal plate. Maybe the design of this unit was inspired by some car stereos or high end Hi-Fi stuff where cooling might be more important. Who knows?
Also I must mention an annoying fact. This fan is ON all the time even if you have a CD inside or not. I thought that the fan would kick in only when you use the ODD but NO SIR! It is ON ALL THE TIME. This was quite unexpected and it made me think why this design choice was made. I guess that I will never know.
It isn't loud but it has a higher pitched sound that was noticeable only when I put my ear near the unit. Also the bearing is a little grindy. I guess that much of its life, due to the very low level of wear and tear inside, this ODD just sat unused, with the tiny fan blasting away, doing nothing more than getting dust inside, a real treat to any ODD. Dusty dust dustiner checking out the premises aka all the holes, nooks and crannies.
All of the few shortcomings are only noticeable when you are really close to the unit and if the Yamaha CRW8824E would've been closed inside a case they would go unnoticed.
Now at the end, I must say again, that I really like this ODD and any respectable PC case would be insane not to want this piece of tech inside it.
gallery: https://postimg.cc/gallery/TWTfnZS
More later.
Last edited:


")