 19
ASUS ProArt PA401 Wood Edition Review
A Closer Look - Inside »A Closer Look - Outside

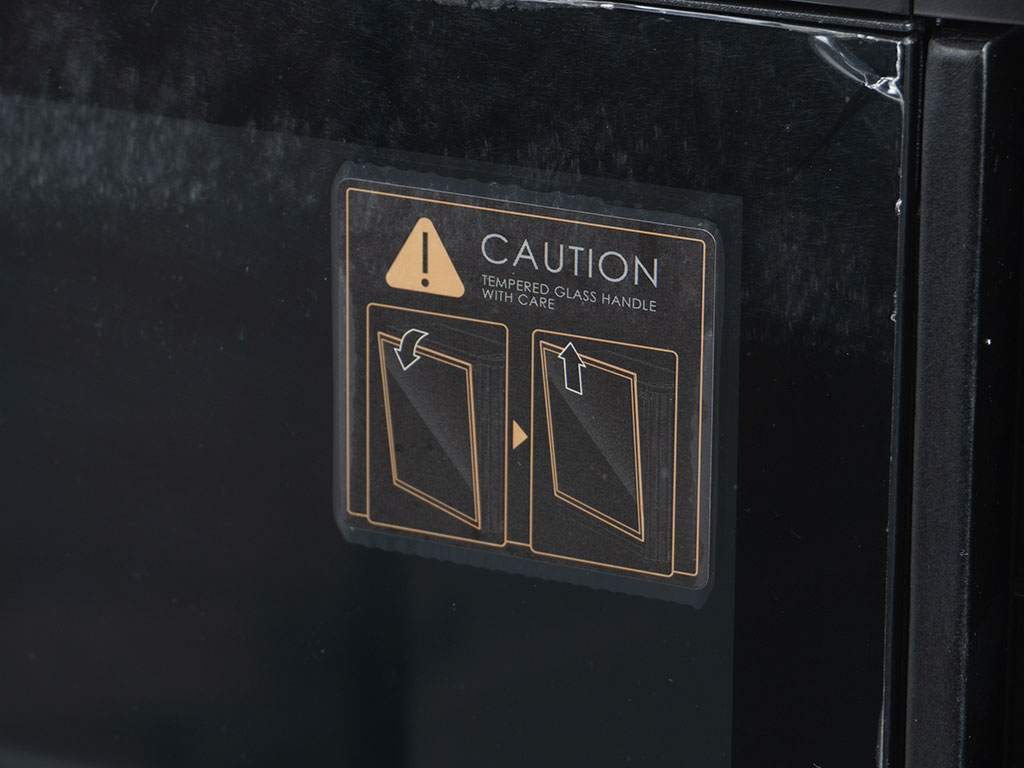
Out of the box, the ASUS ProArt PA401 Wood Edition looks quite unique with the vertical, dark wood slats running down the front and wrapping around the sides a bit. In terms of general material mix, the body of the chassis feels solid, but the plastic elements do stick out a bit more than we would have liked. That said, this is purely a subjective opinion. A sticker underneath the protective layer of the glass lets you know how to gain access to the interior. Fortunately that was easy enough to peel off as well.
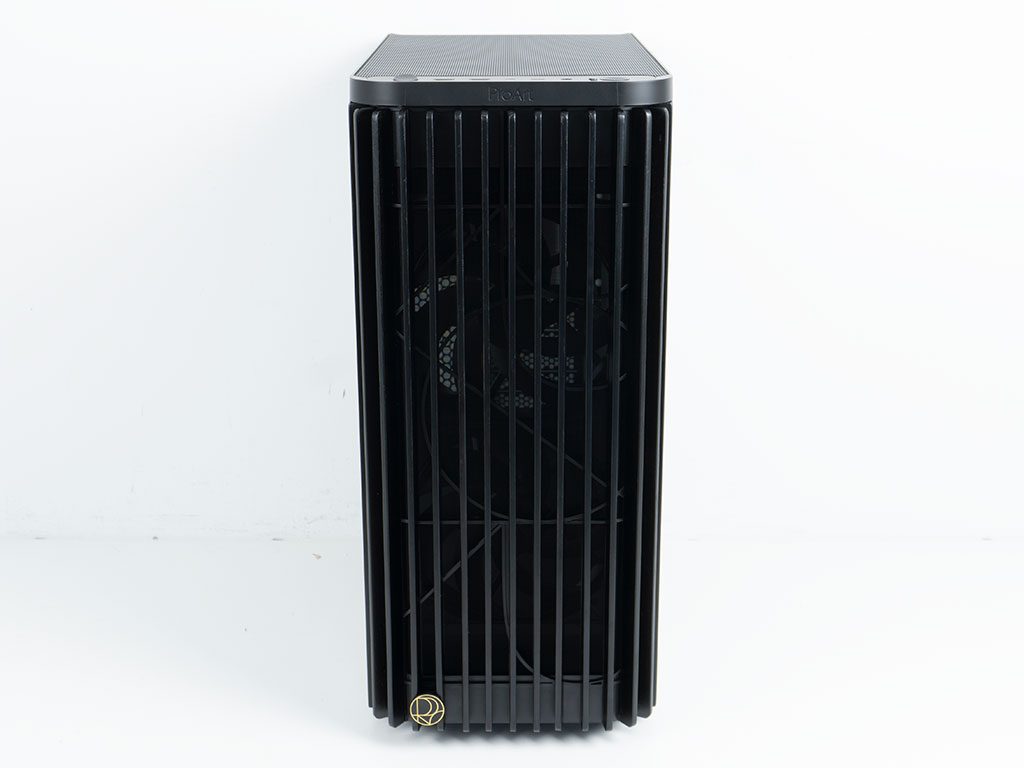
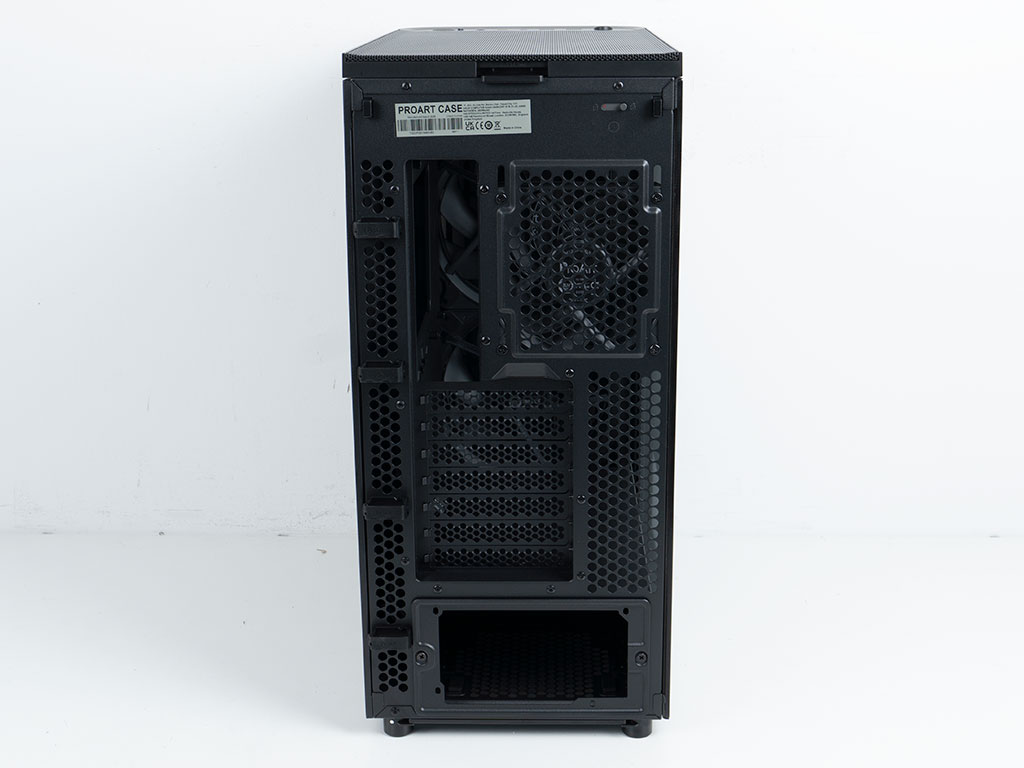
Looking at the case from the front, the wooden elements are almost unnoticeable as they are black as well. Once again, purely subjectively speaking, ASUS could have made them pop more if they opted for something like walnut or a dark brown stain. If you look closely, you can see that the ProArt branding continues behind wooden elements, which is a nice design choice. In the rear, you will see a classic, modern layout with the PSU at the bottom of the chassis. As the rear fits a 120 mm fan pretty snugly, it also means that you are likely limited to a 120 mm fan based air cooler, as the PA401 is pretty compact and slim in general.

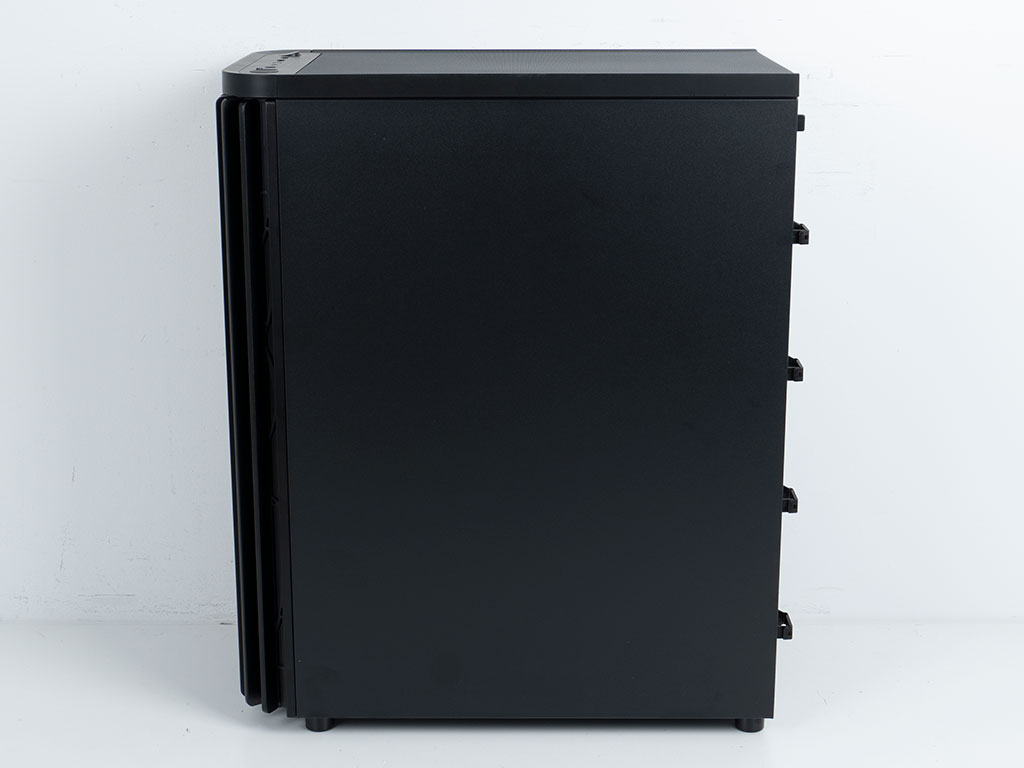
The main side panel is all glass and framed nicely in black. Thanks to the lack of tint, you will be able to see all your hardware without issue. On the opposite side, there is a solid steel panel.
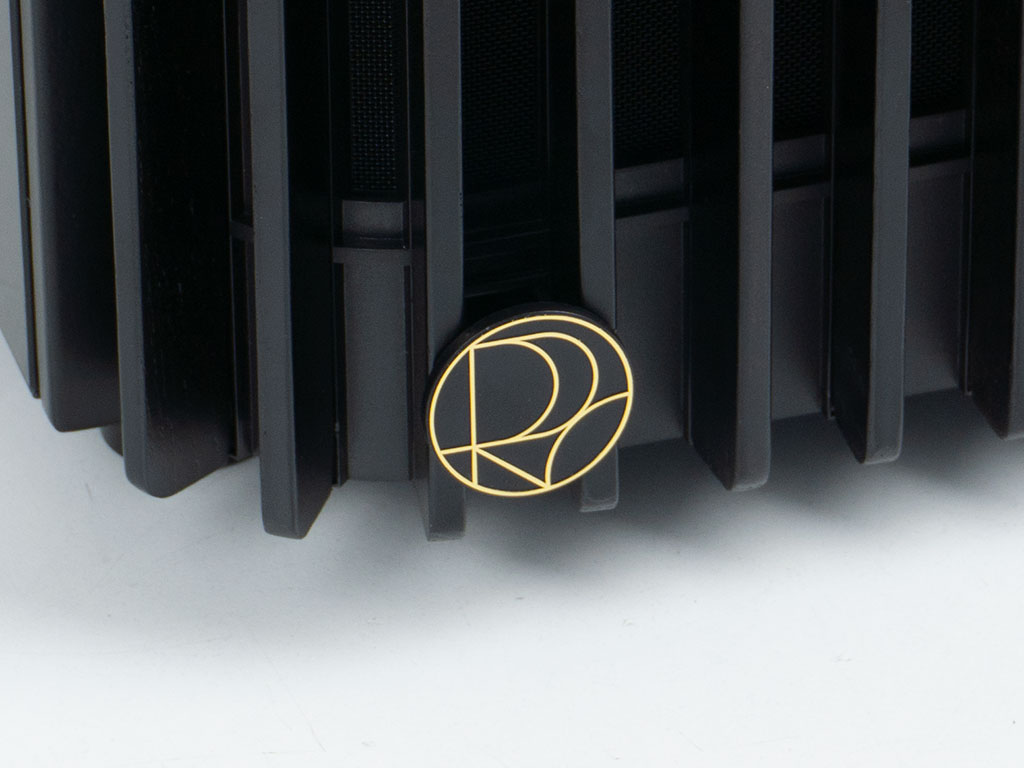
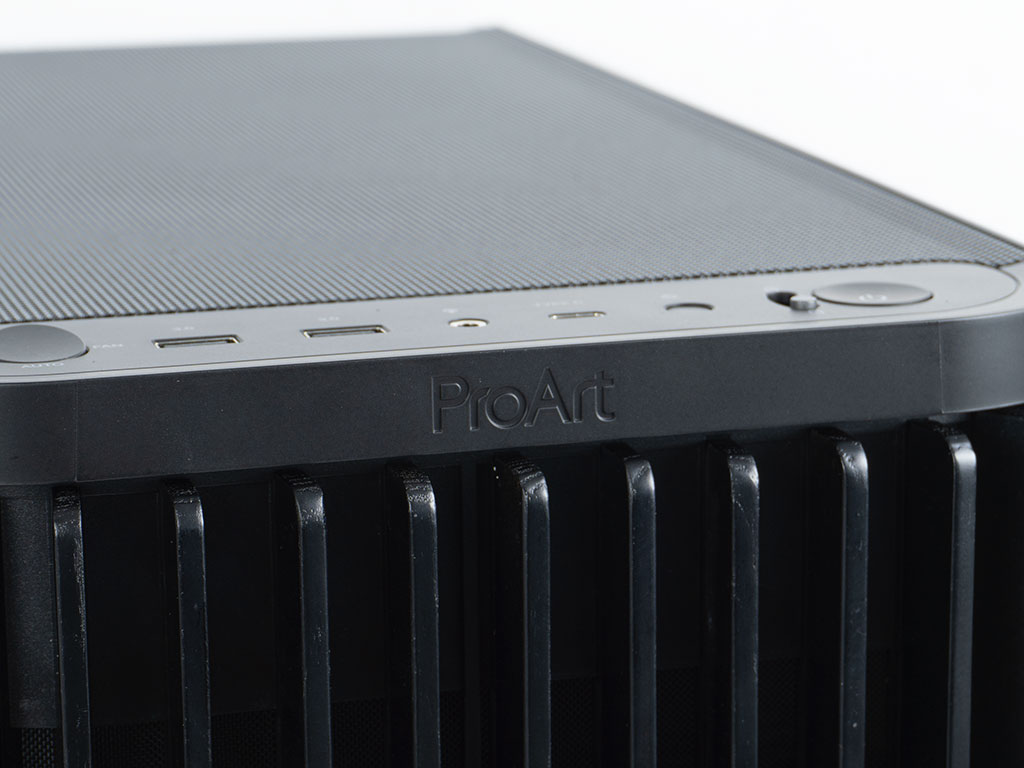
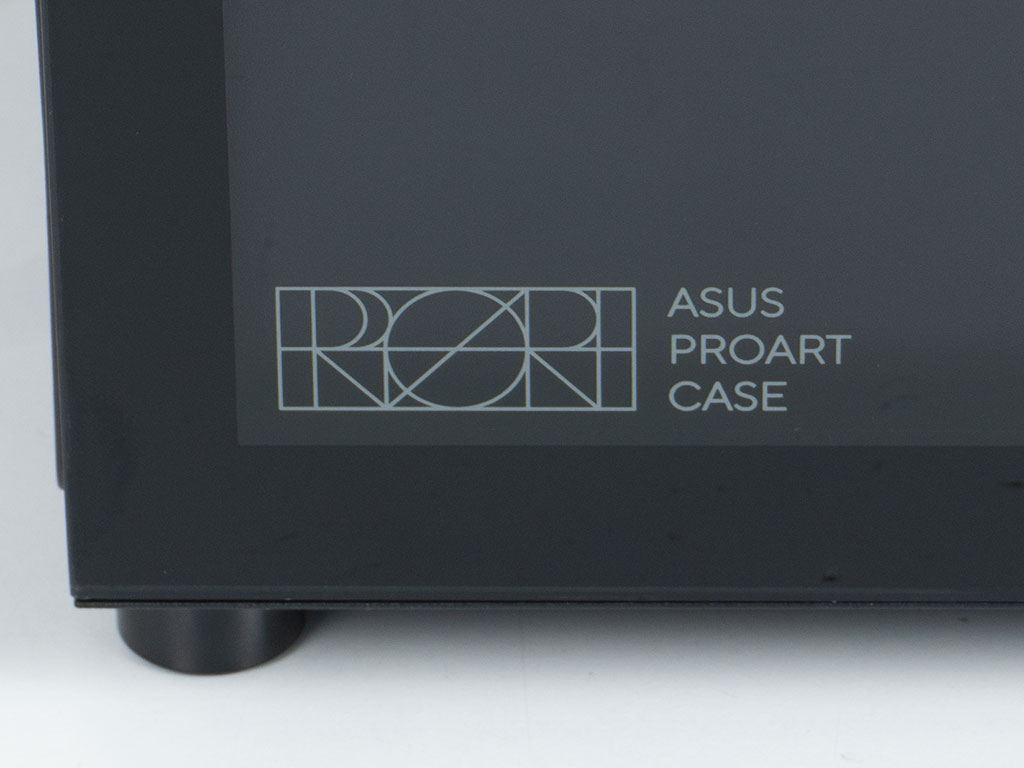
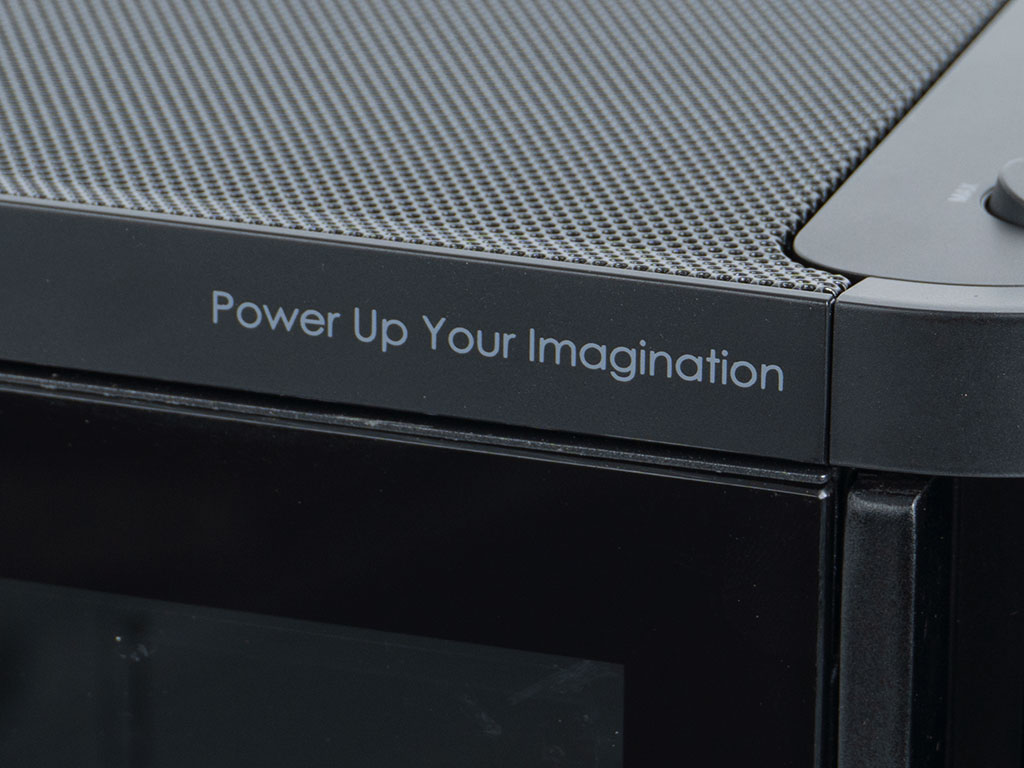
ASUS has really gone all out and branded the case. Besides the subtle, embedded element in the front, there is ProArt branding here in the form of a button as well as at the top edge. That top is a good example why the plastic feels out of place, as you can clearly see square mold marks, which is really unfortunate. Even the glass panel has a super clean print on the inside as well as a print of "Power Up Your Imagination" on the side of the top cover.
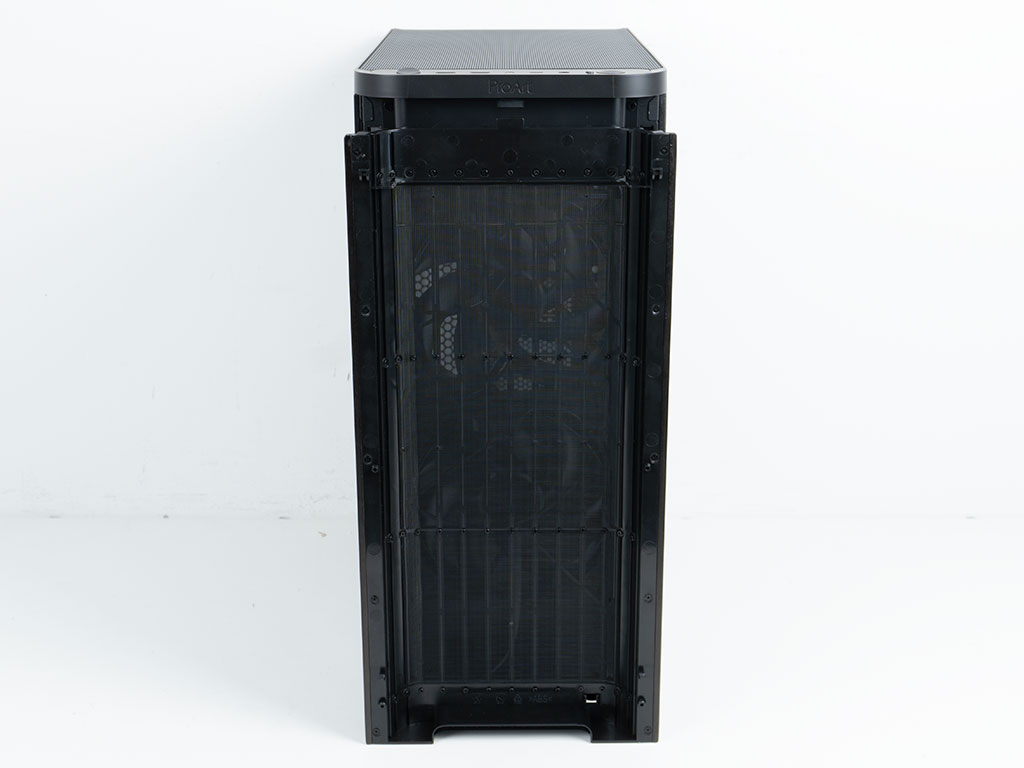

You may pull off the front to gain access to the fans behind it. The front comes equipped with an embedded fine mesh layer to keep out dirt and grime. It is fascinating to see that ASUS has used a total of 52 individual small screws to secure the wooden strips to the front, so the assembly process of this is certainly quite the effort. Behind it, there are two 160 mm wide, 32 mm thick intake fans, with the metal frame of the ProArt PA401 really built around these or 140 mm units. It is nice to see, that ASUS included the biggest possible units inside the chassis.
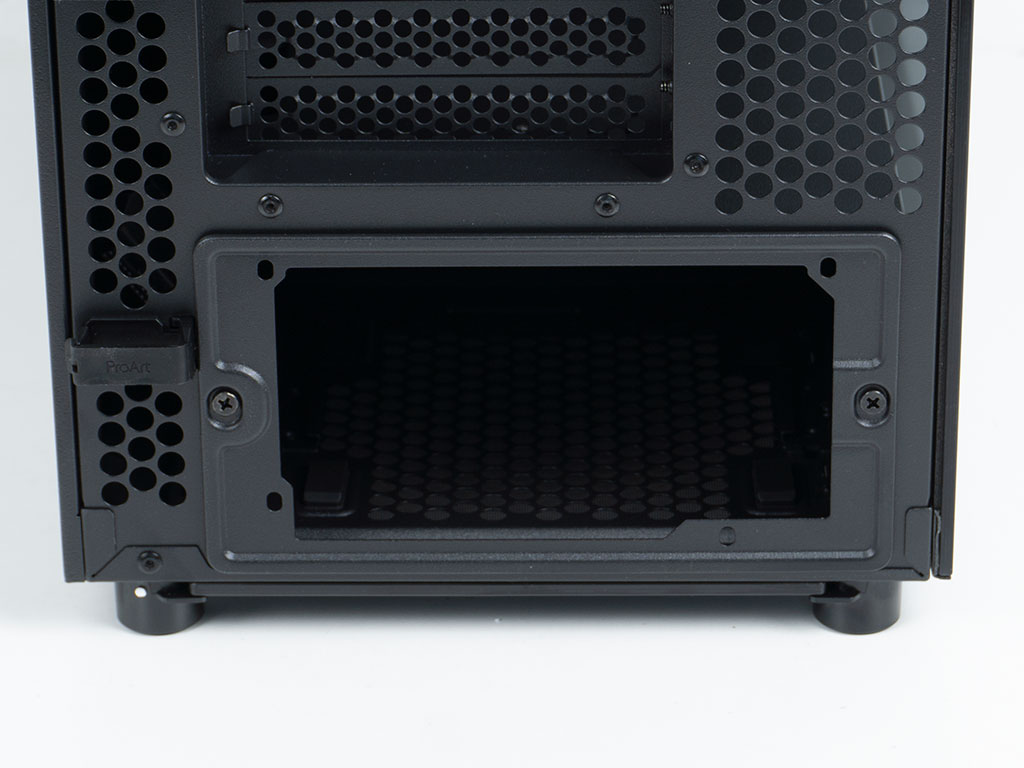
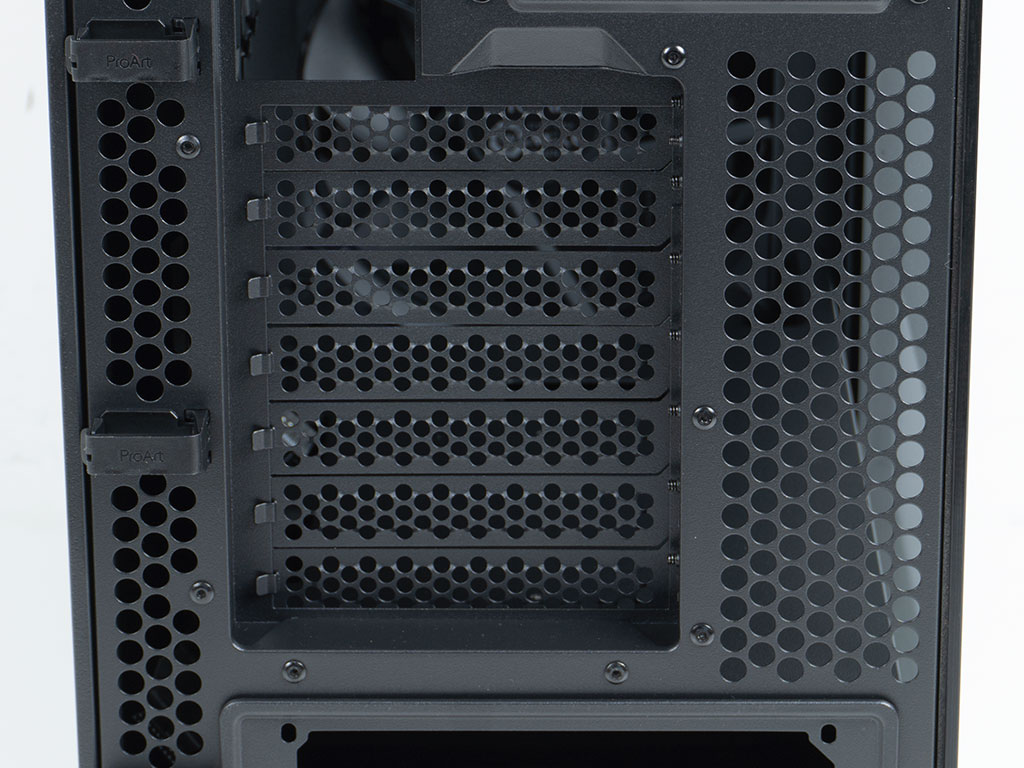
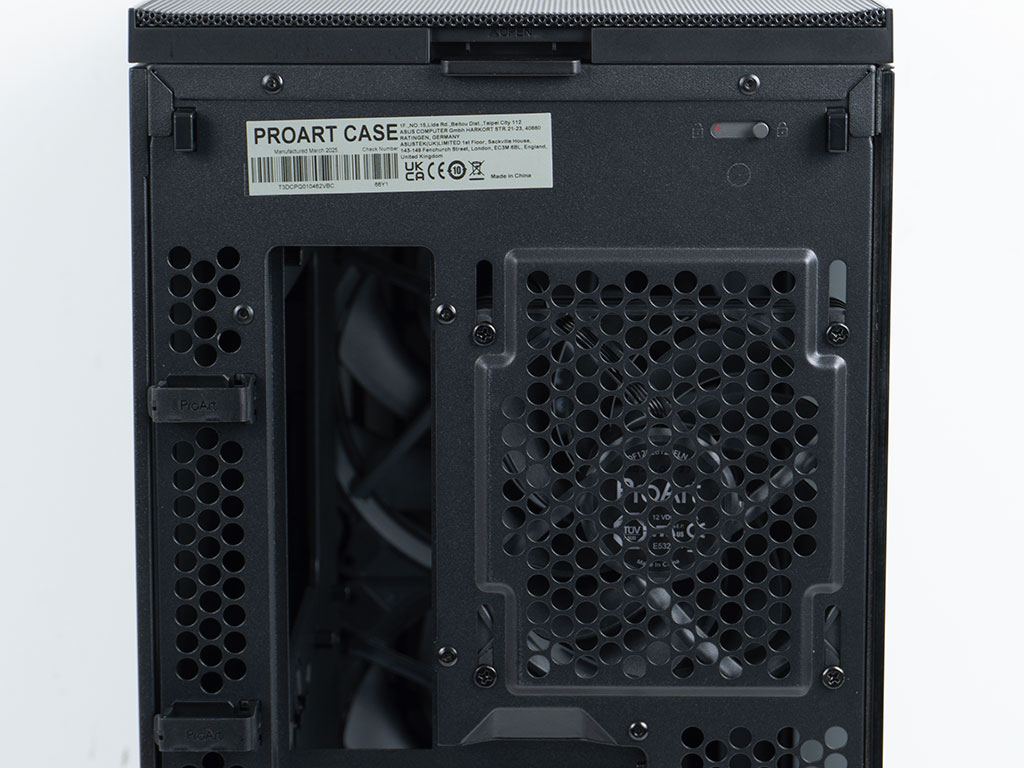
Taking a closer look at the rear, the PSU bay comes equipped with a mounting frame, meaning that you will have to slide your unit into the chassis during assembly. The frame is secured by two classic screws. While thumb screws could have been nicer, you will need a screwdriver during this step of your build process anyway. Above that are the seven expansion slots, which are fully enclosed inside the case. The individual slot covers mean that you can change up your build any time and reuse them as needed. As ASUS has designed the chassis to allow for that vertical GPU plate to replace these covers, this whole section is bridge-less as well. In the very top, you will find a 120 mm exhaust fan mounted to elongated holes, so you can slide it vertically to suit your needs. Thanks to some extra room at the very top, a 240 / 280 mm AIO should fit in the ceiling as well.

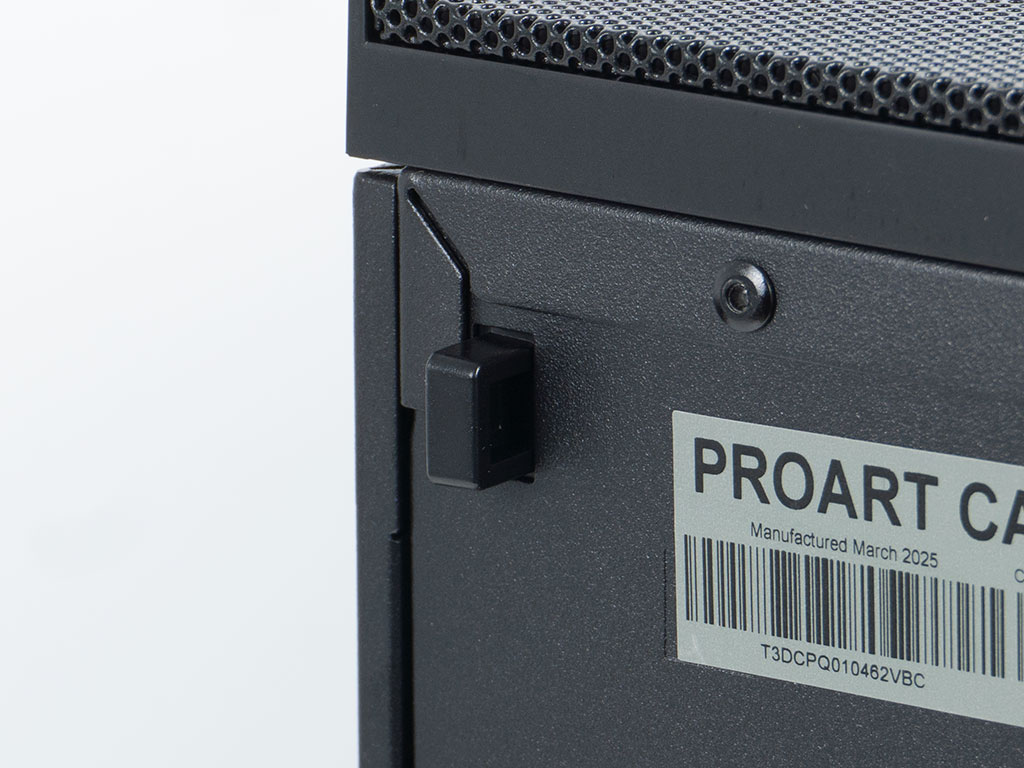
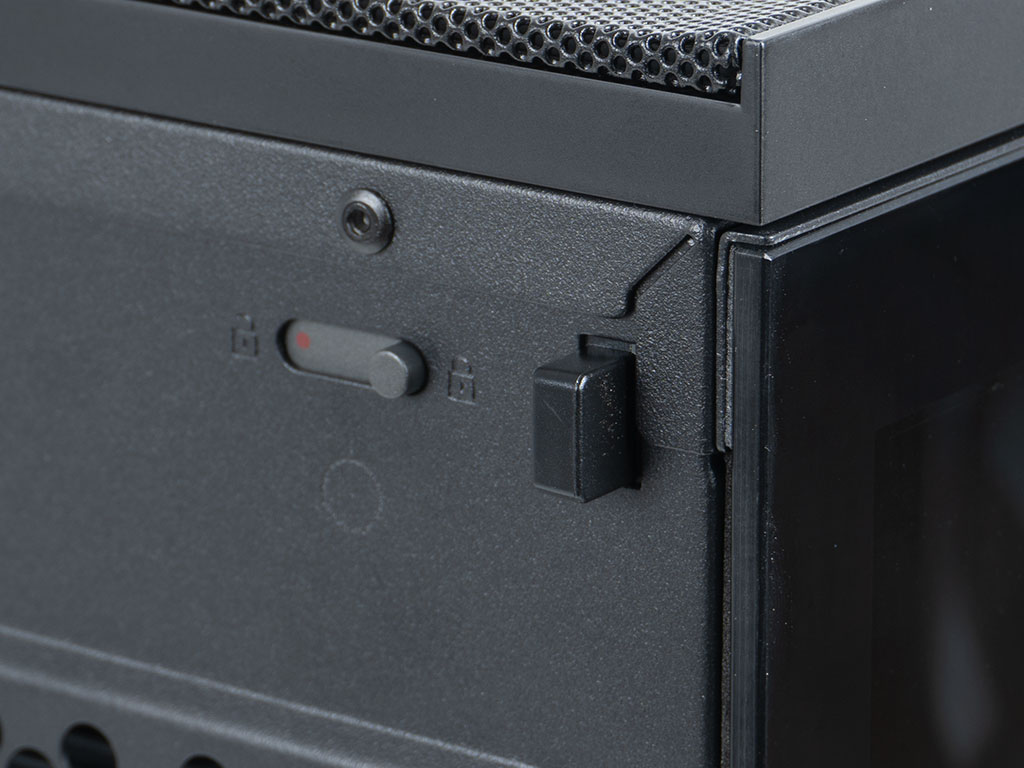
ASUS has also included four plastic cable routing clips running down the left edge of the rear panel. This will allow you properly cable manage the exterior wires without much issue. The only drawback is the fact that you might have more wiring that would need to fit into these, and Velcro straps would provide more flexibility. Both side panels are completely screwless, sporting spring-loaded buttons that will release each panel when pressed. The main side even has a sliding lock so that you won't detach the glass by mistake.

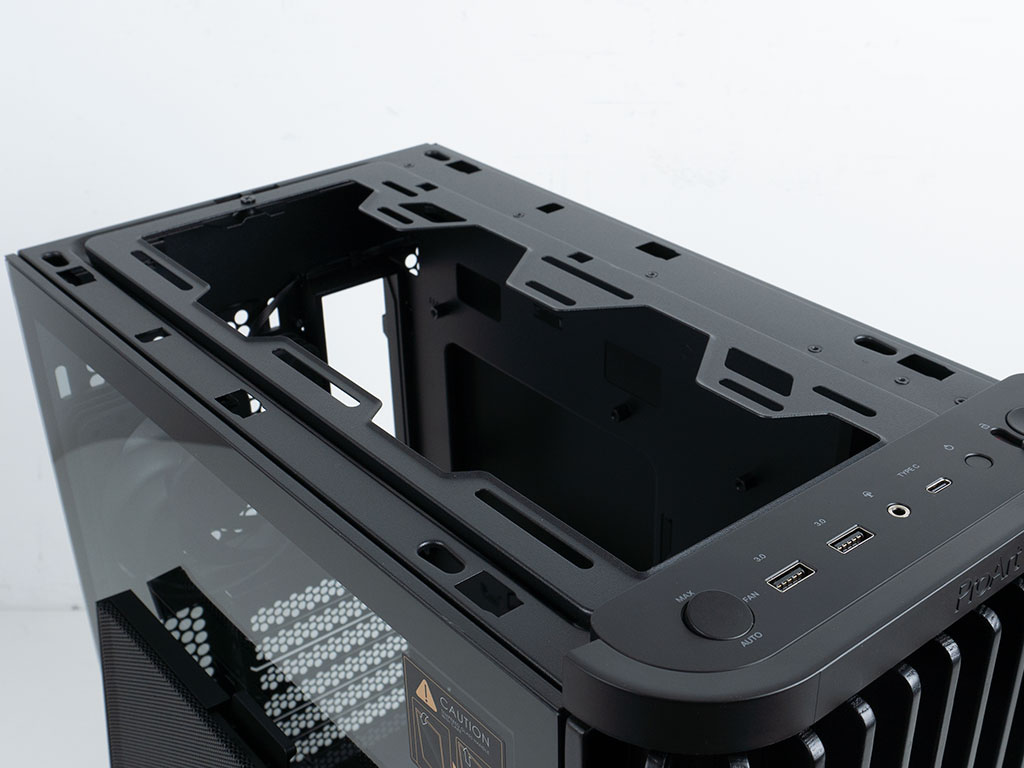
The top is essentially a metal mesh layer framed onto a plastic layer. It is recessed slightly to give it some depth and is held in place by a plastic clip in the rear. Underneath it, you will find a removable mounting frame which can be used for two 120 or 140 mm fans or an AIO of up to 280 mm. As a single, centered screw is used to secure it, there is a bit of play that could have easily been avoided by instead having two screws—one at each corner.

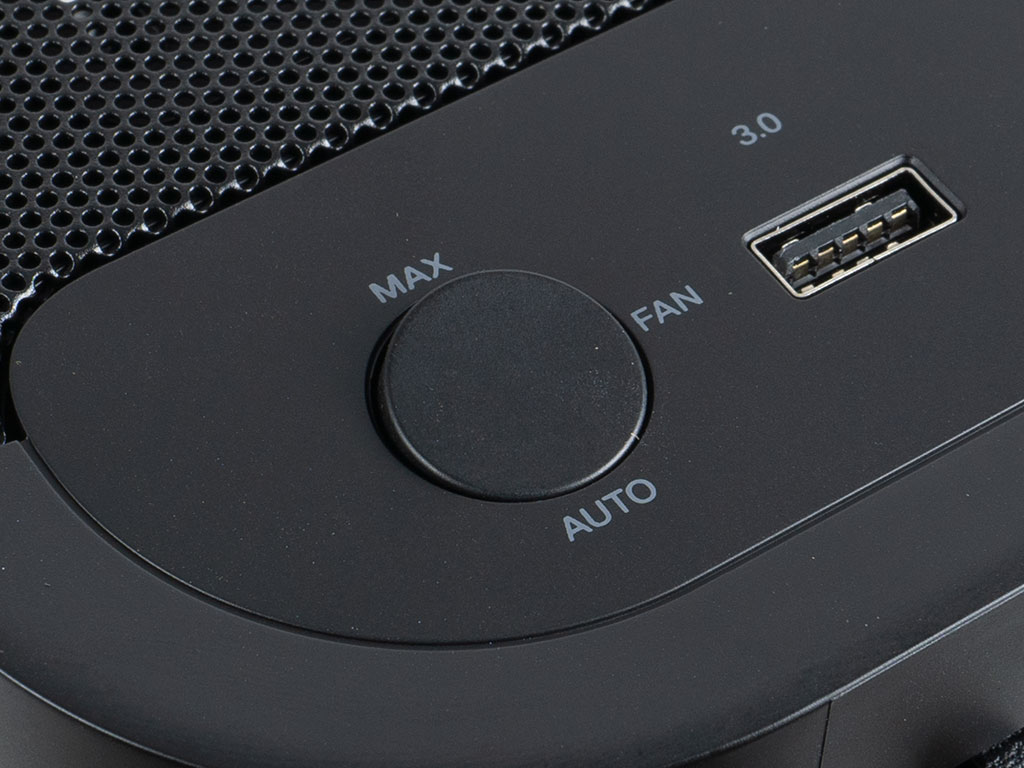

In front of that, the ASUS ProArt PA401 comes equipped with the usual set of USB 3.0, audio and USB-C ports. On top of that the case has a basic integrated fan switch where you can pick between allowing for motherboard control or running them at 100% speed. While that is nice, there really is no reason for this type of feature. Any motherboard these days is more than capable of running the fans at variable speeds, as needed. In other words, you will likely never use the MAX setting deliberately. On the other end of the I/O panel, there is another sliding lock for the reset and power buttons. This, on the other hand, is useful, as it prevents you from accidentally interrupting any long-running operations like rendering 3D objects or video.

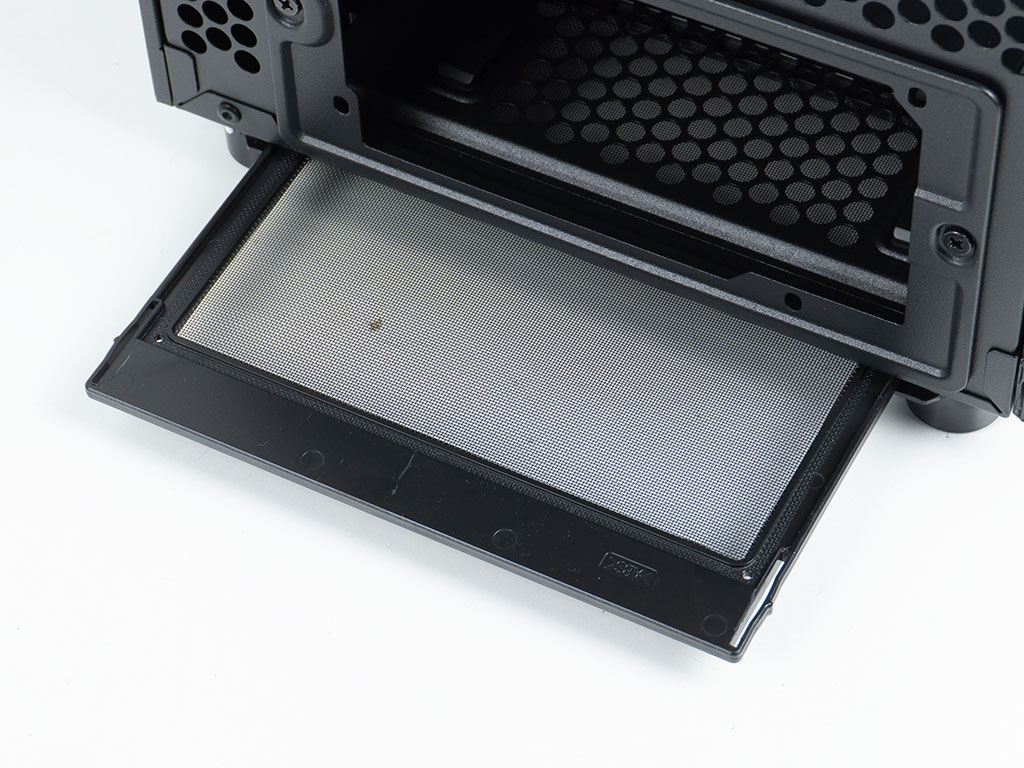
On the underside, you will find a fine mesh cover to protect the PSU from dirt. It may be pulled out the back for easy cleaning.
Nov 22nd, 2026 09:37 CST
change timezone
Latest GPU Drivers
New Forum Posts
- Intel D270 (0)
- How to prevent OLED burn damage due to PC freezes or power outtages? (55)
- Making a game in Godot engine (16)
- Gigabyte AORUS RTX 5080 MASTER – Up to 30°C GPU Hotspot Delta! Is This Normal, a Cooling Defect, or Should I RMA? (13)
- [Intel AX1xx/AX2xx/AX4xx/AX16xx/BE2xx/BE17xx] Intel Modded Wi-Fi Driver with Intel® Killer™ Features (634)
- Ryzen or Intel system (19)
- Your PC ATM (36450)
- Mysteries of the Sun (306)
- The TPU UK Clubhouse (27290)
- TPU's Nostalgic Hardware Club (22196)
Popular Reviews
- Microsoft Surface Laptop Ultra Review - The Next-gen Arm Laptop
- Corsair RM1200e (Second Generation) Review
- Pulsar Office Tour & First Look at P1 Dual-Sensor Mouse
- Upcoming Hardware Launches 2027 (Updated Nov 2026)
- Ugreen NASync DXP4800 GT Review
- AMD Ryzen 7 9800X3D Review - The Best Gaming Processor
- Biwin Black Opal NV7400 2 TB Review
- AMD Zen 6 Technical Deep Dive
- Phantom Blade Zero Performance Benchmark Review - 35 GPUs Tested
- AMD Ryzen 7 5800X3D 10th Anniversary Review
TPU on YouTube
Controversial News Posts
- NVIDIA Co-Founder and CEO Jensen Huang Officially Resigns (492)
- Report: Jensen Huang Eyes NVIDIA Comeback (262)
- Open Letter Asking NVIDIA to Reinstate Jensen Huang Passes 115,000 Signatures (184)
- OpenAI CEO Argues Home PCs Waste the World's Limited DRAM Supply (152)
- NVIDIA Launches Investigation Into Jensen Huang's Relationship With Suspected Chinese Spy (136)
- Intel "Raptor Lake Next" 16-Core and 20-Core CPUs Surface (130)
- NVIDIA GeForce RTX 50-Series Scheduled for up to $500 Price Hike This Week (89)
- Intel Razor Lake Gets a 12 P-Core bLLC Chip With No E-Cores, Per Leak (86)