 73
Intel Panther Lake Review - The Efficiency King That Can Game
Display Testing »Disassembly and Teardown
The ASUS Zenbook DUO UX8407 is an impressive dual-screen machine featuring vibrant OLED panels and those brand-new Panther Lake CPU options. Let's see what it takes to crack open this little beast.


The bottom cover is held by 12 Torx screws - note that five of them are tucked under the kickstand. There's a small service latch in the center held by two screws; underneath, you'll find the main connectors. The first is for the battery. Just slide up the metal cap and pop the connector from both ends. The second one is for the extra display.
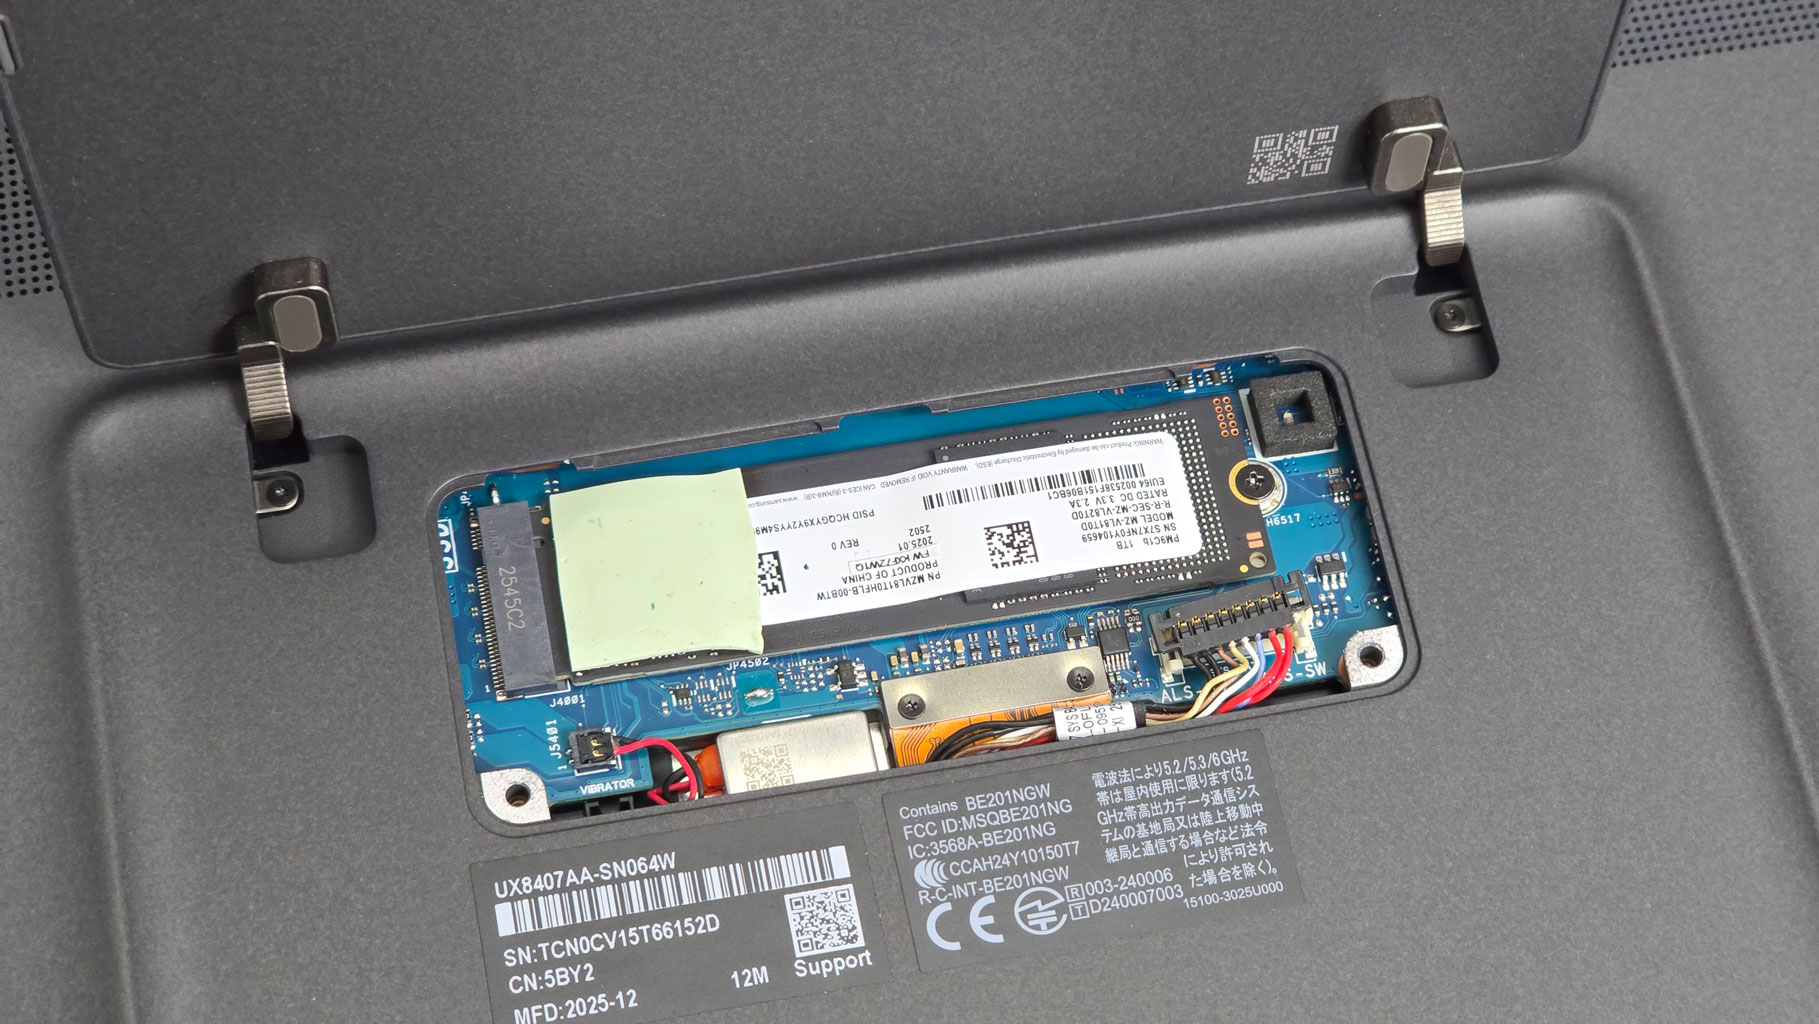

You've got direct access to the M.2 slot for 2280 Gen 4 SSDs. It's a huge step up from last year's model, where the storage was a lot tougher to reach. The NVMe drive here is also cooled by a thermal pad.
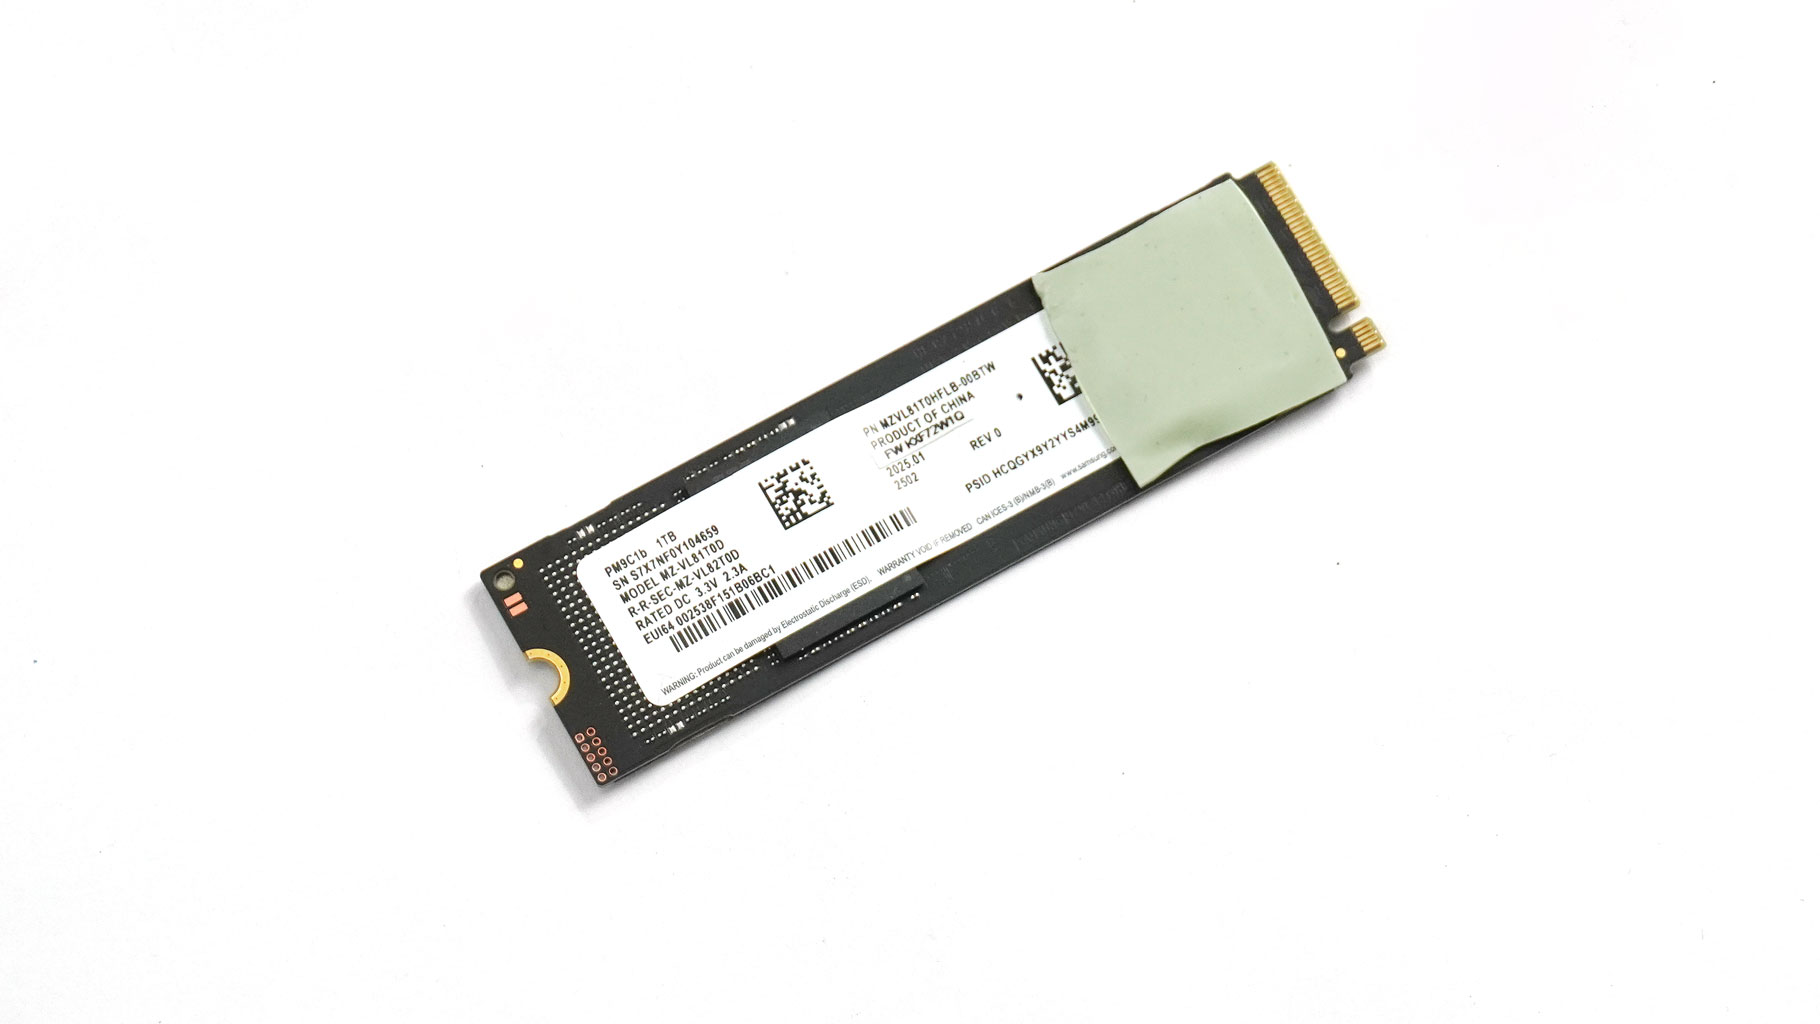
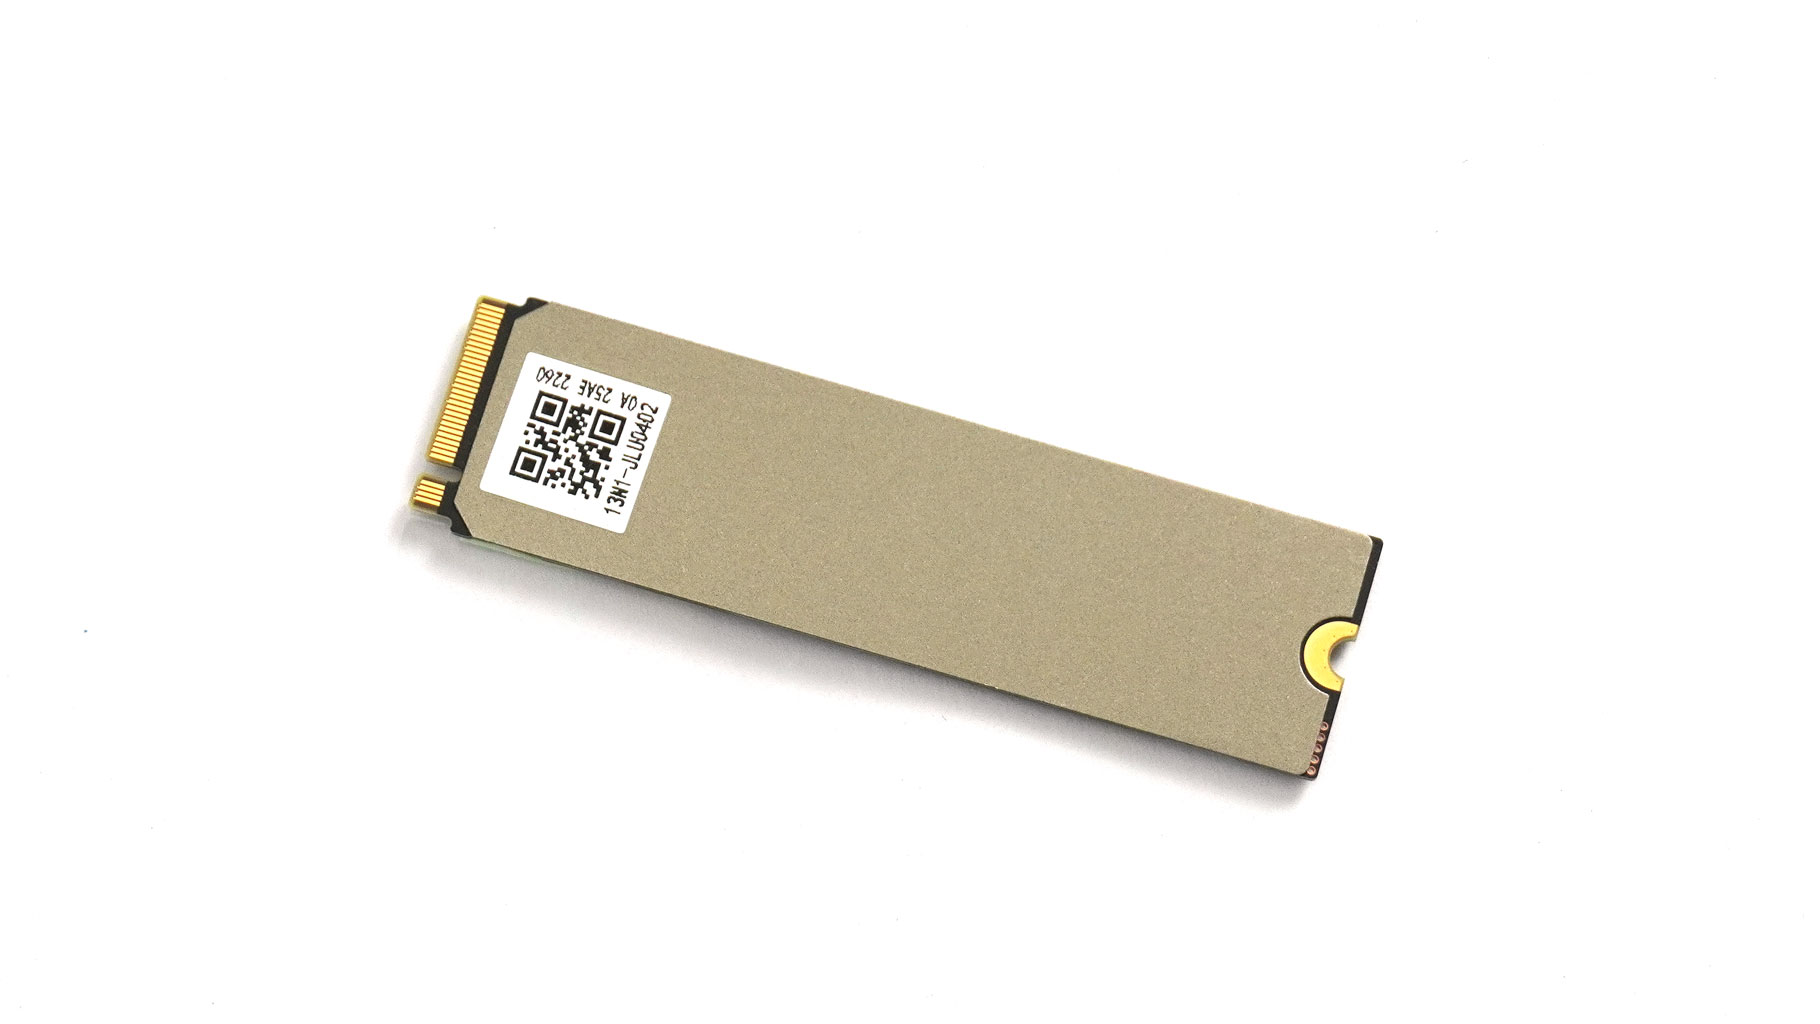
Here are some stills of the installed storage drive and the slot.
Now, flip the laptop over and use a thin plastic tool to pry around the edges of the second panel. Take it slow and steady, sliding the tool along to pop the internal clips one by one. The edge nearest the hinge is actually glued down with double-sided adhesive tape. Because of that, getting the panel back to "factory condition" is a bit of a gamble.
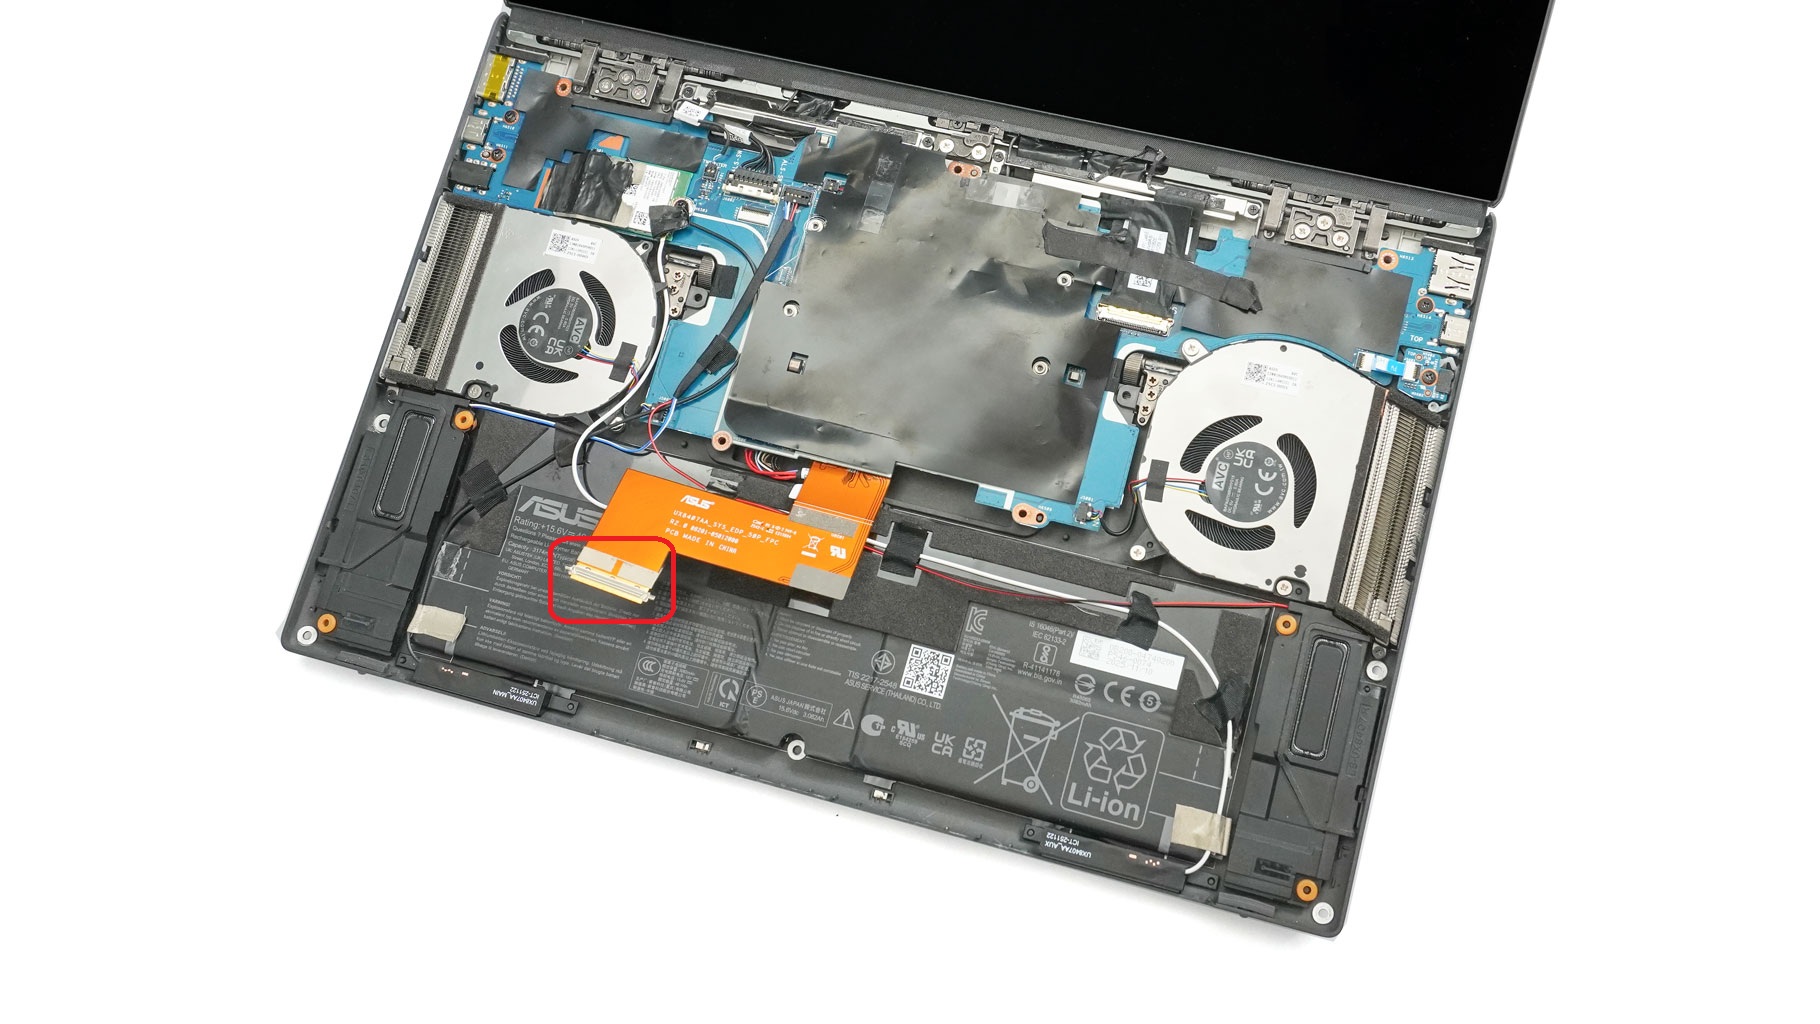
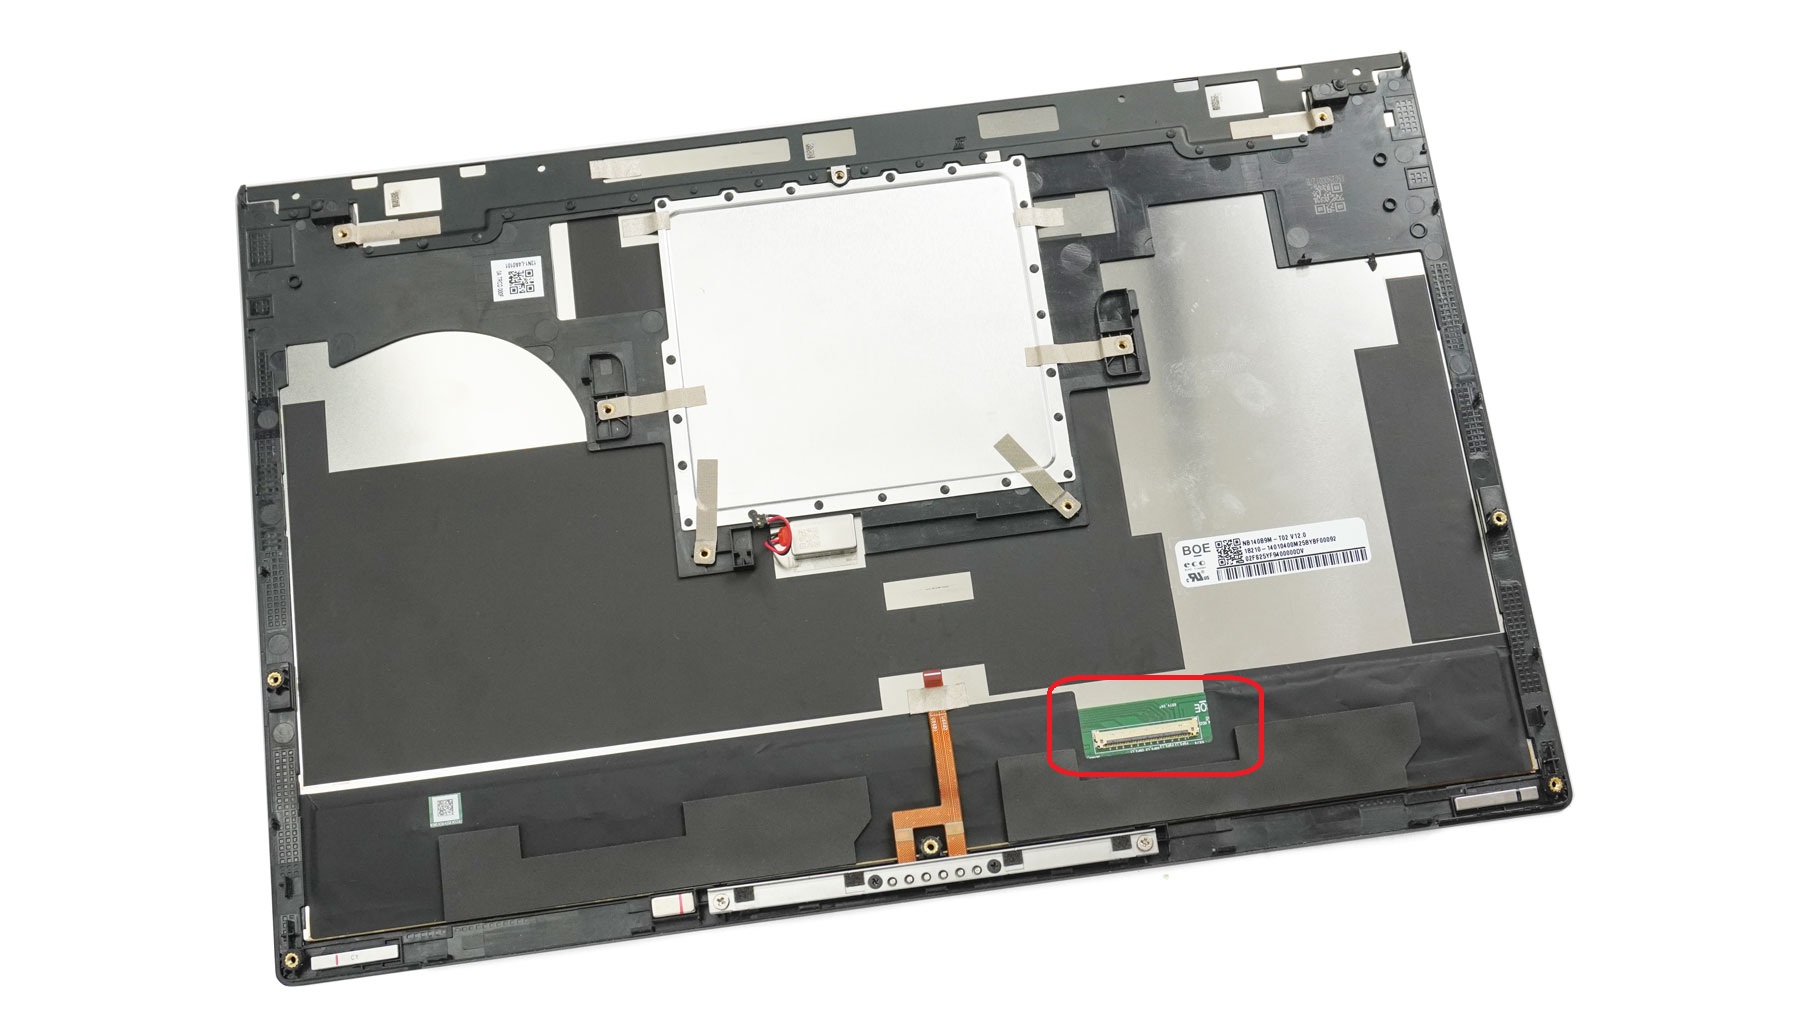
Gently lift the front of the screen and unplug the cable underneath. With that disconnected, you can fully remove the second panel from the chassis. Of course, you can take a look at the other side of the display.
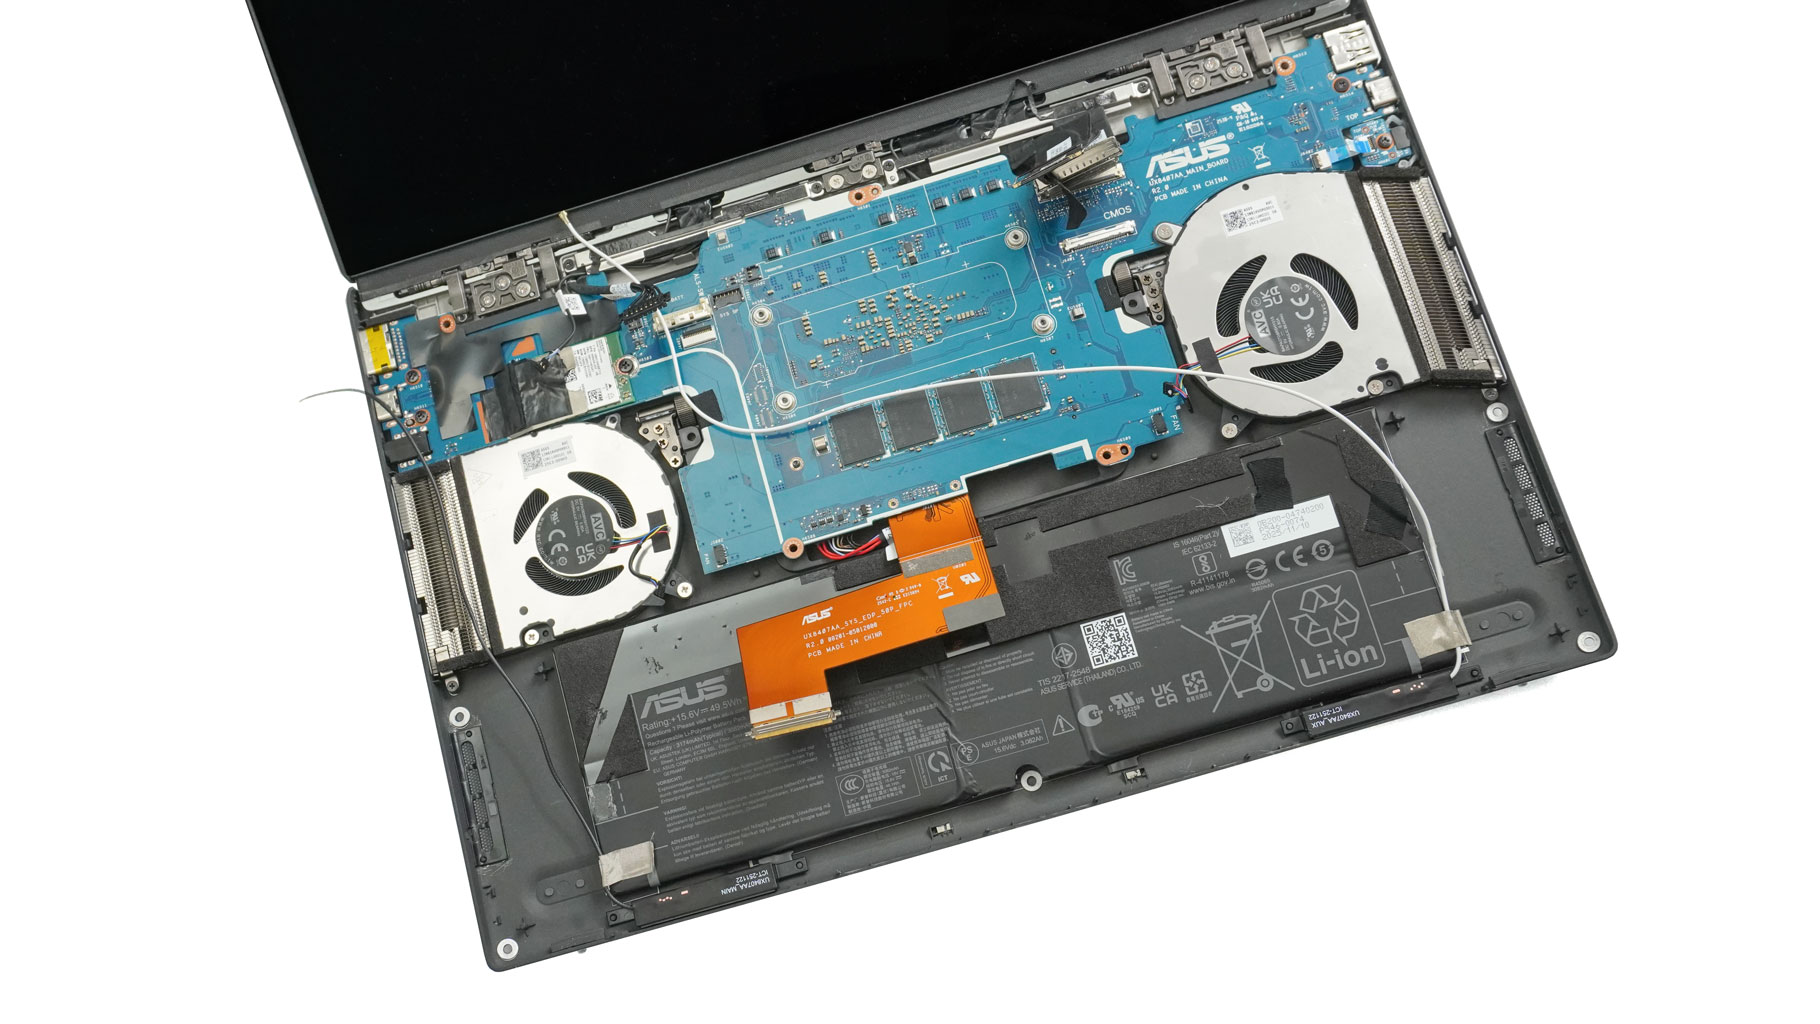
There's a bit of a cable nest around the main body, but we'll start by peeling back the thin film in the center. Detach the two connectors on the right and remove the tape that is glued to them, and also hold the plastic film.
Next, unclip the Wi-Fi antenna cables and pull the single screw to slide the card out. You have to deal with some thermal foil as well. Then, unseat the three connectors on the right.
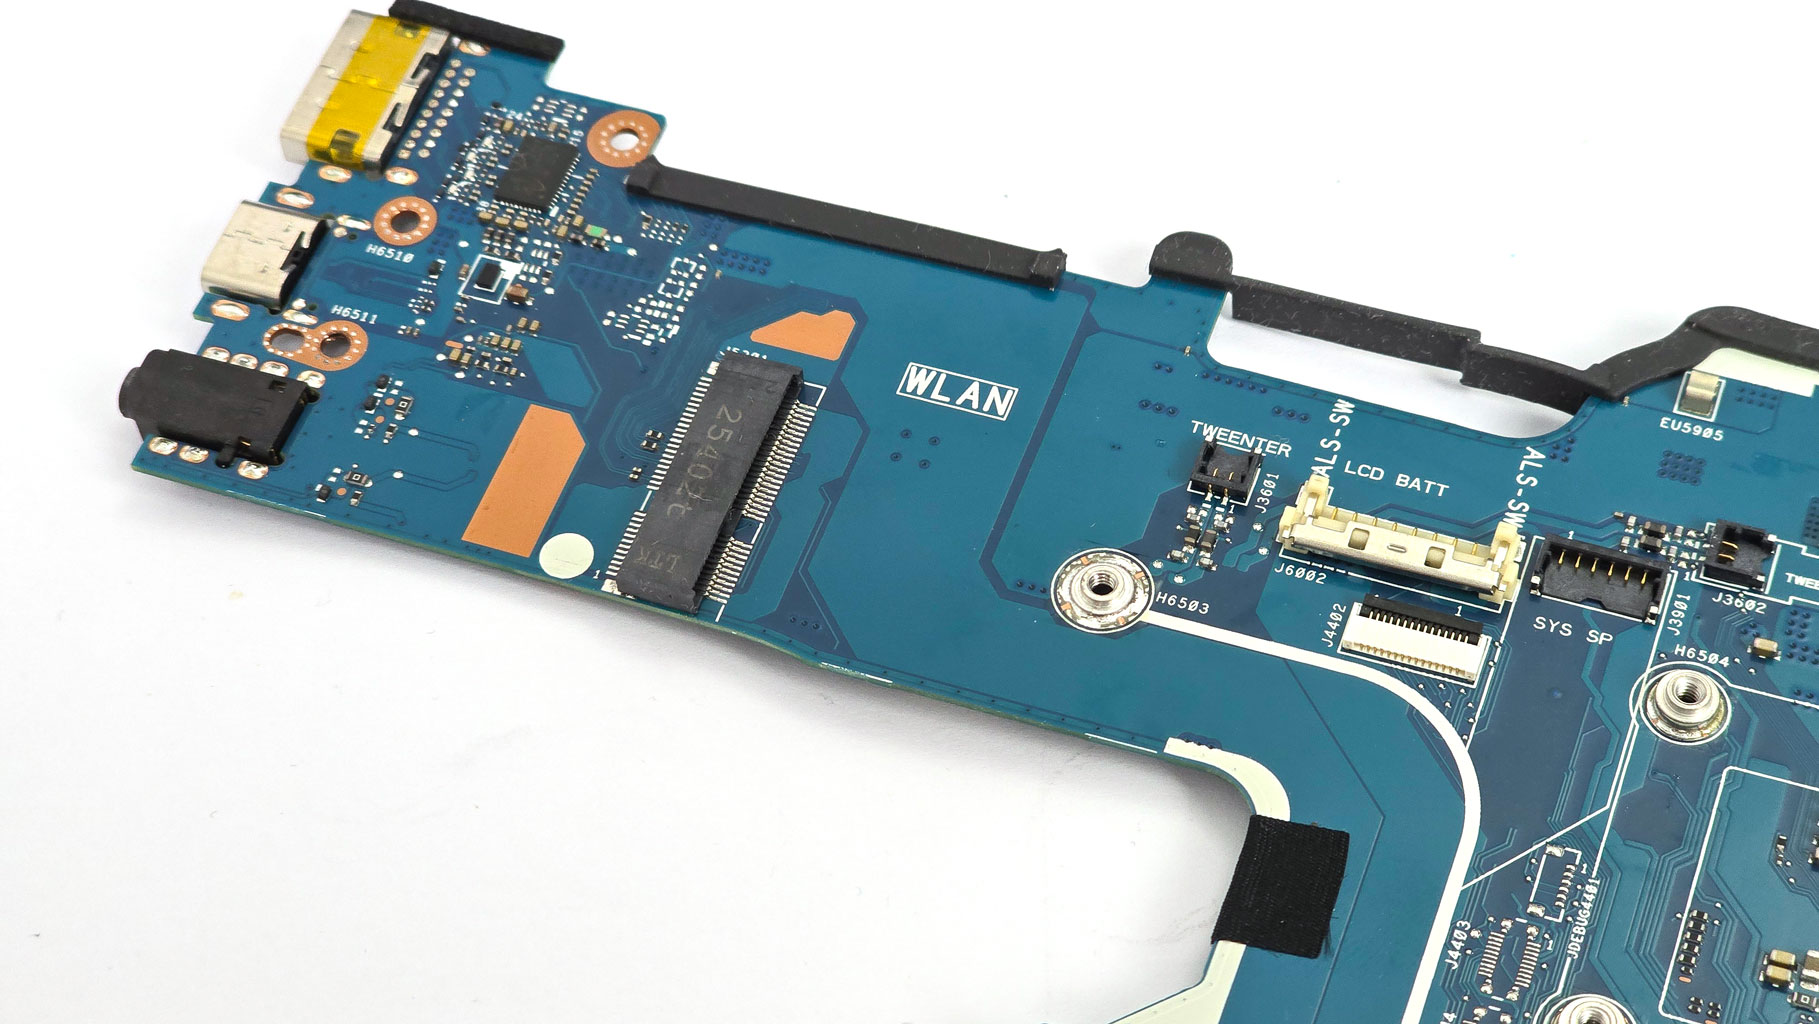
That's the 2230 slot for the wireless unit.
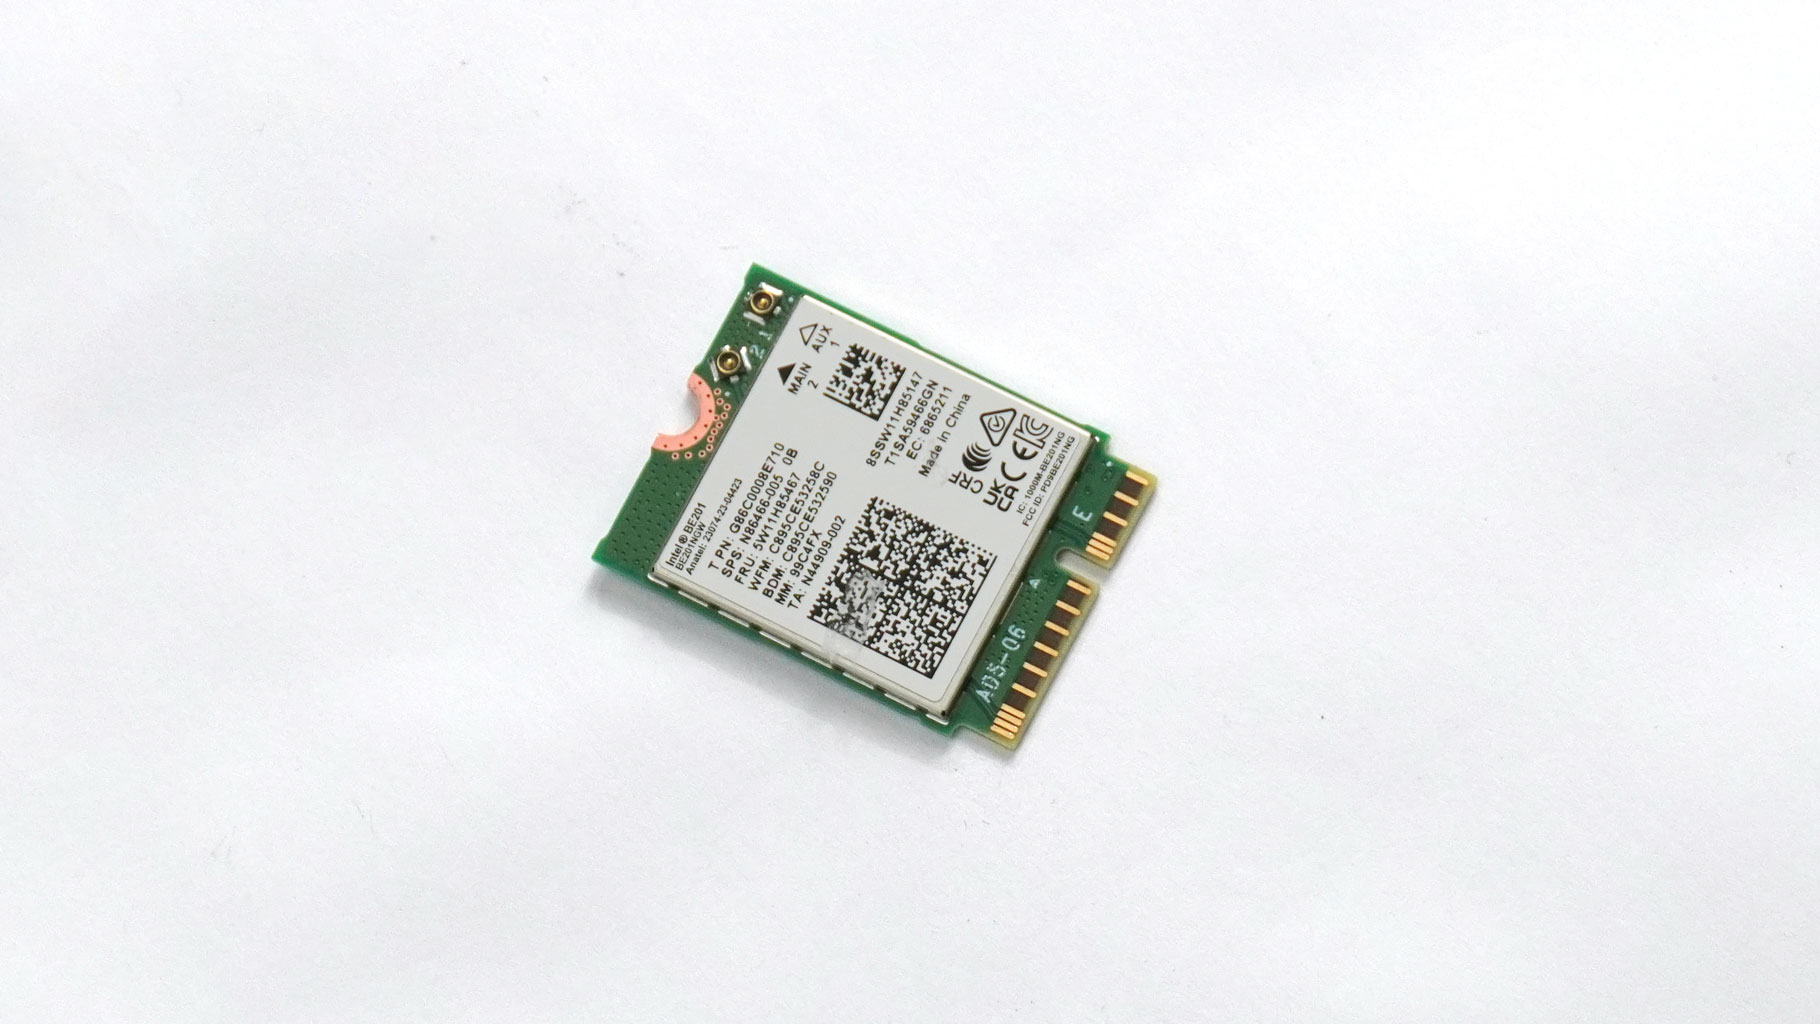
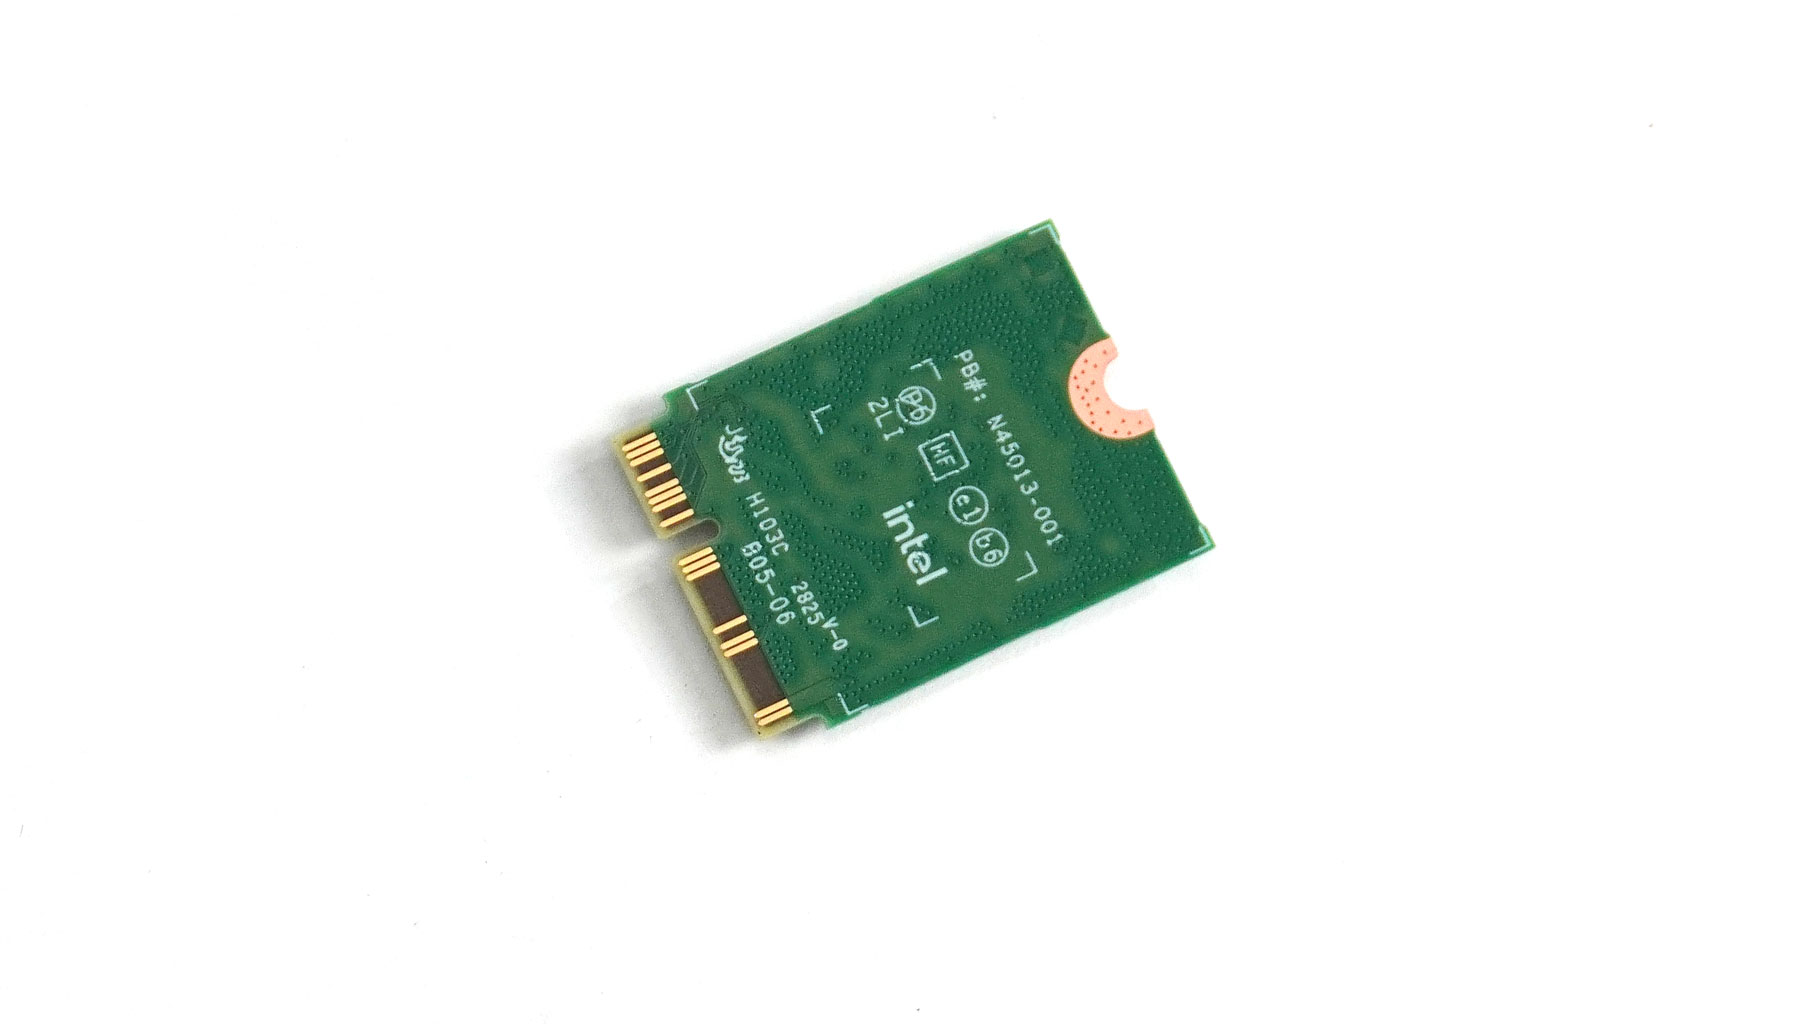
Let's take a look at the Wi-Fi 7 model.
The next step is to carefully untangle the Wi-Fi and speaker cables; they're taped down and stacked along the battery housing.
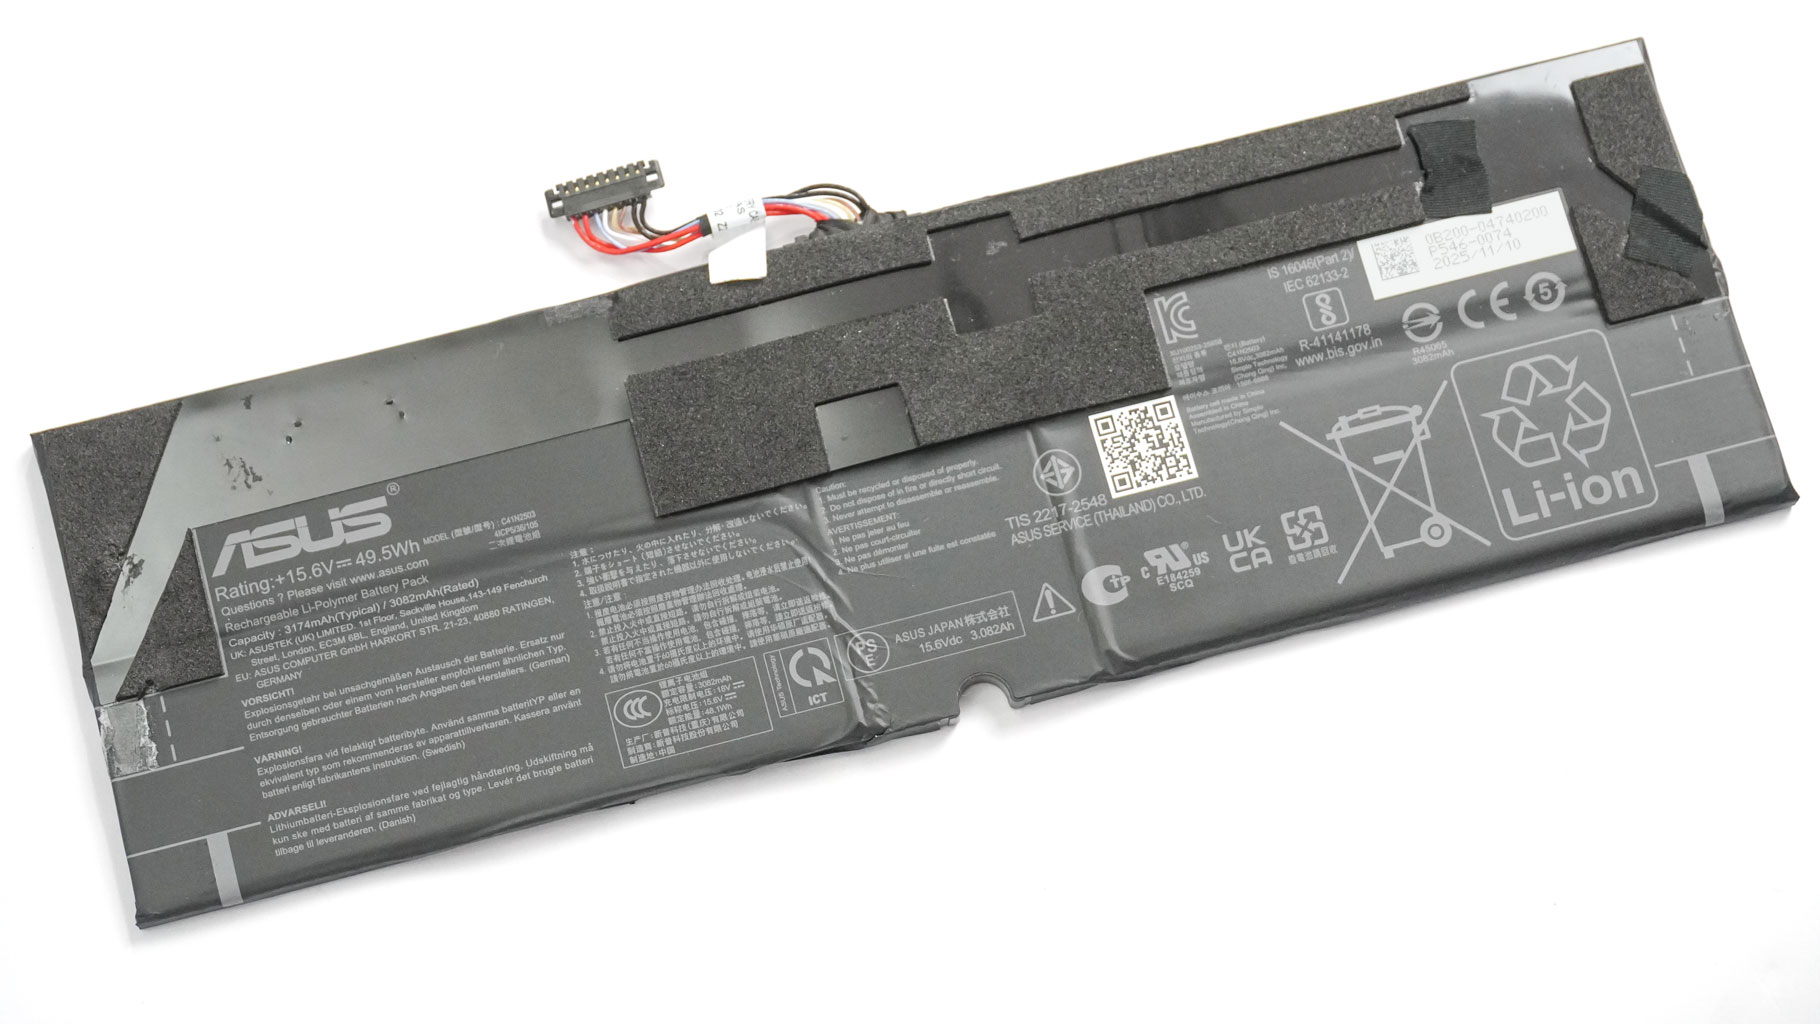
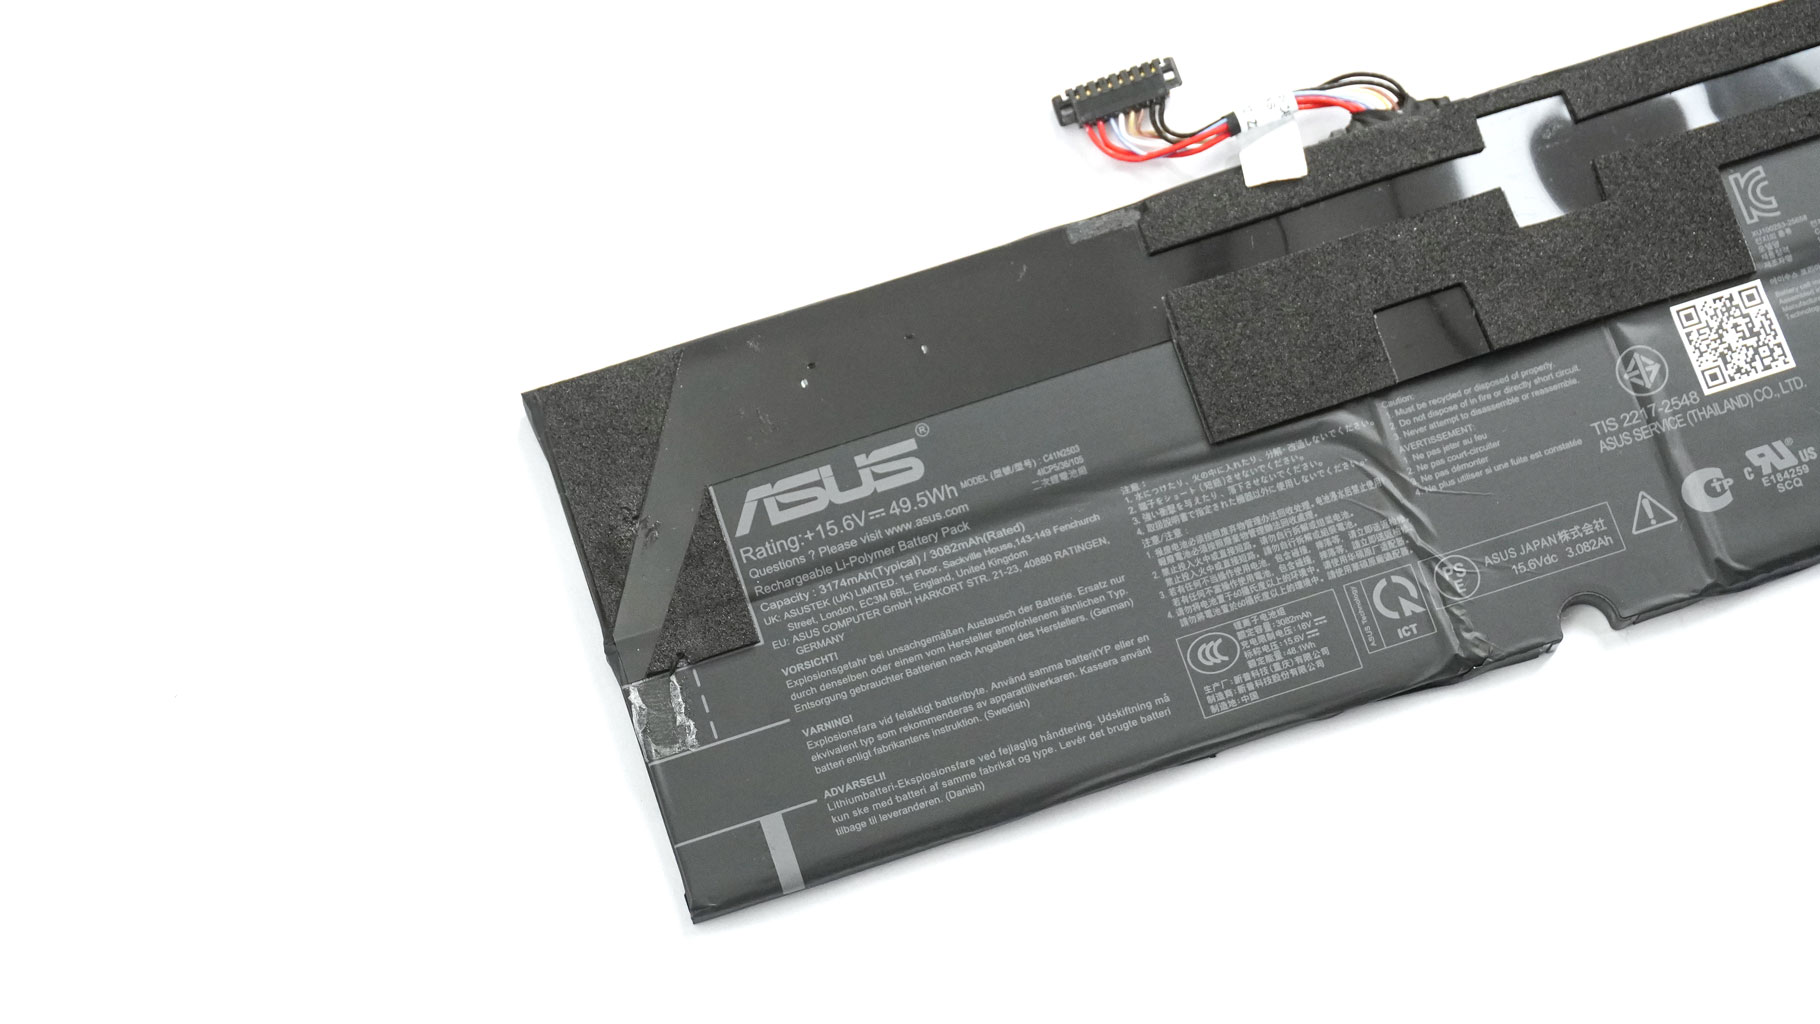
Here we have one half of the massive 99 Wh battery system. Its connector is already detached. Decide wisely if you actually need to pull this unit - it's heavily glued to the chassis, and you risk damaging the cells if you aren't careful. If you must, a thin metal spudger is your best bet for prying it loose.
Let's talk about the autonomous life, which is great - 20 hours of watching 4K YouTube videos on a single charge! I have to admit that's a spectacular result.
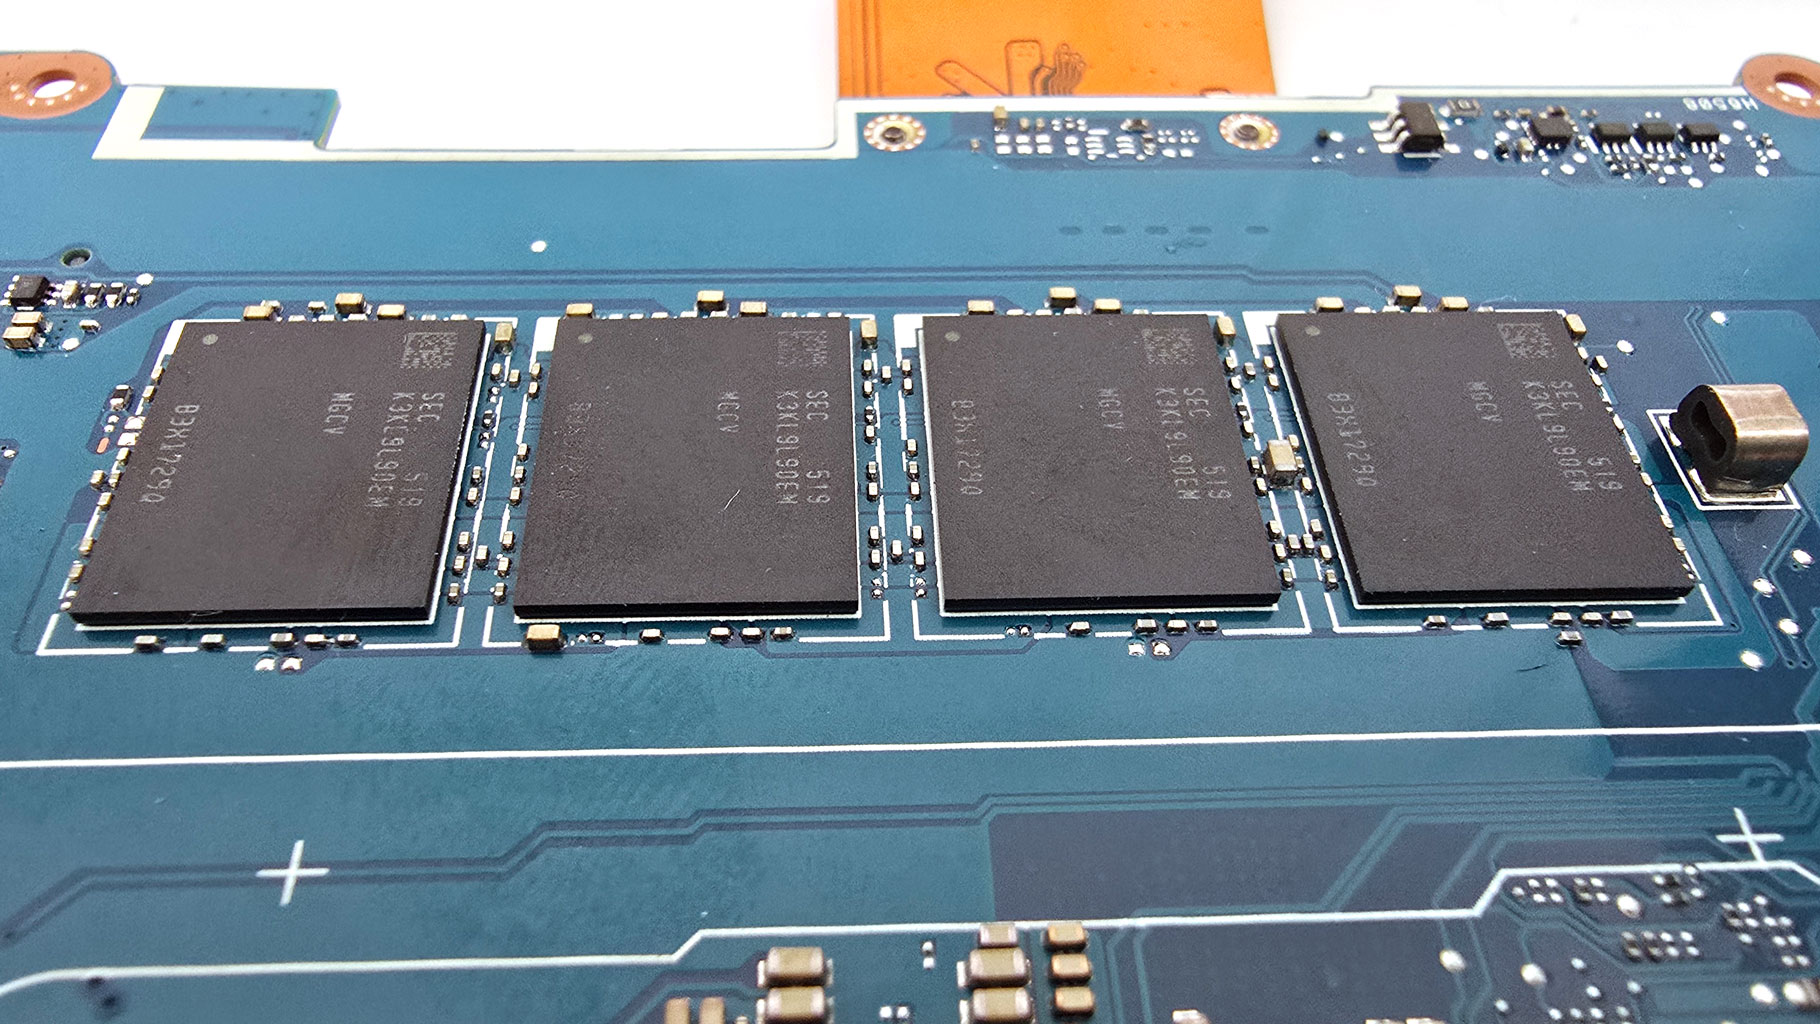
The memory is soldered. You get up to 32 GB of LPDDR5x-9600 RAM.
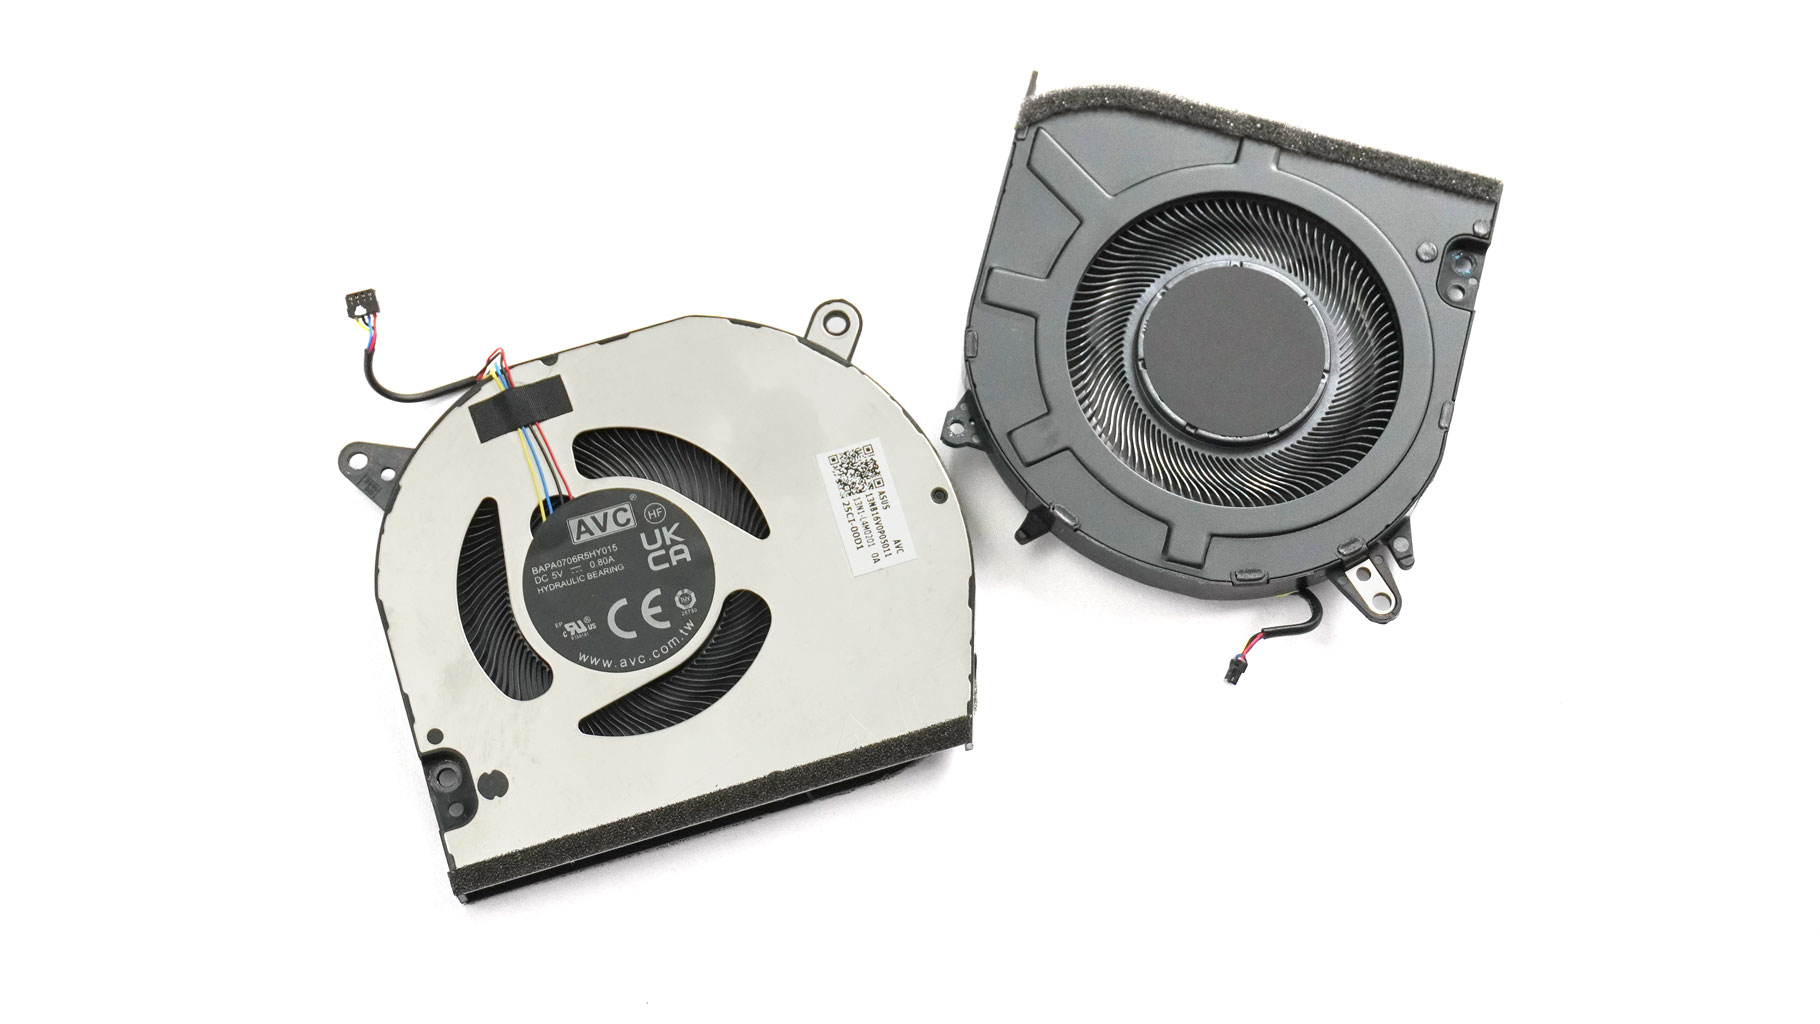
The fans can be taken out individually; just pull their connectors and undo the three screws around each housing.
Next, remove the two sets of screws visible above the heatsinks and unplug the small ribbon cable on the right. Each heatsink is secured by a single screw at the bottom.
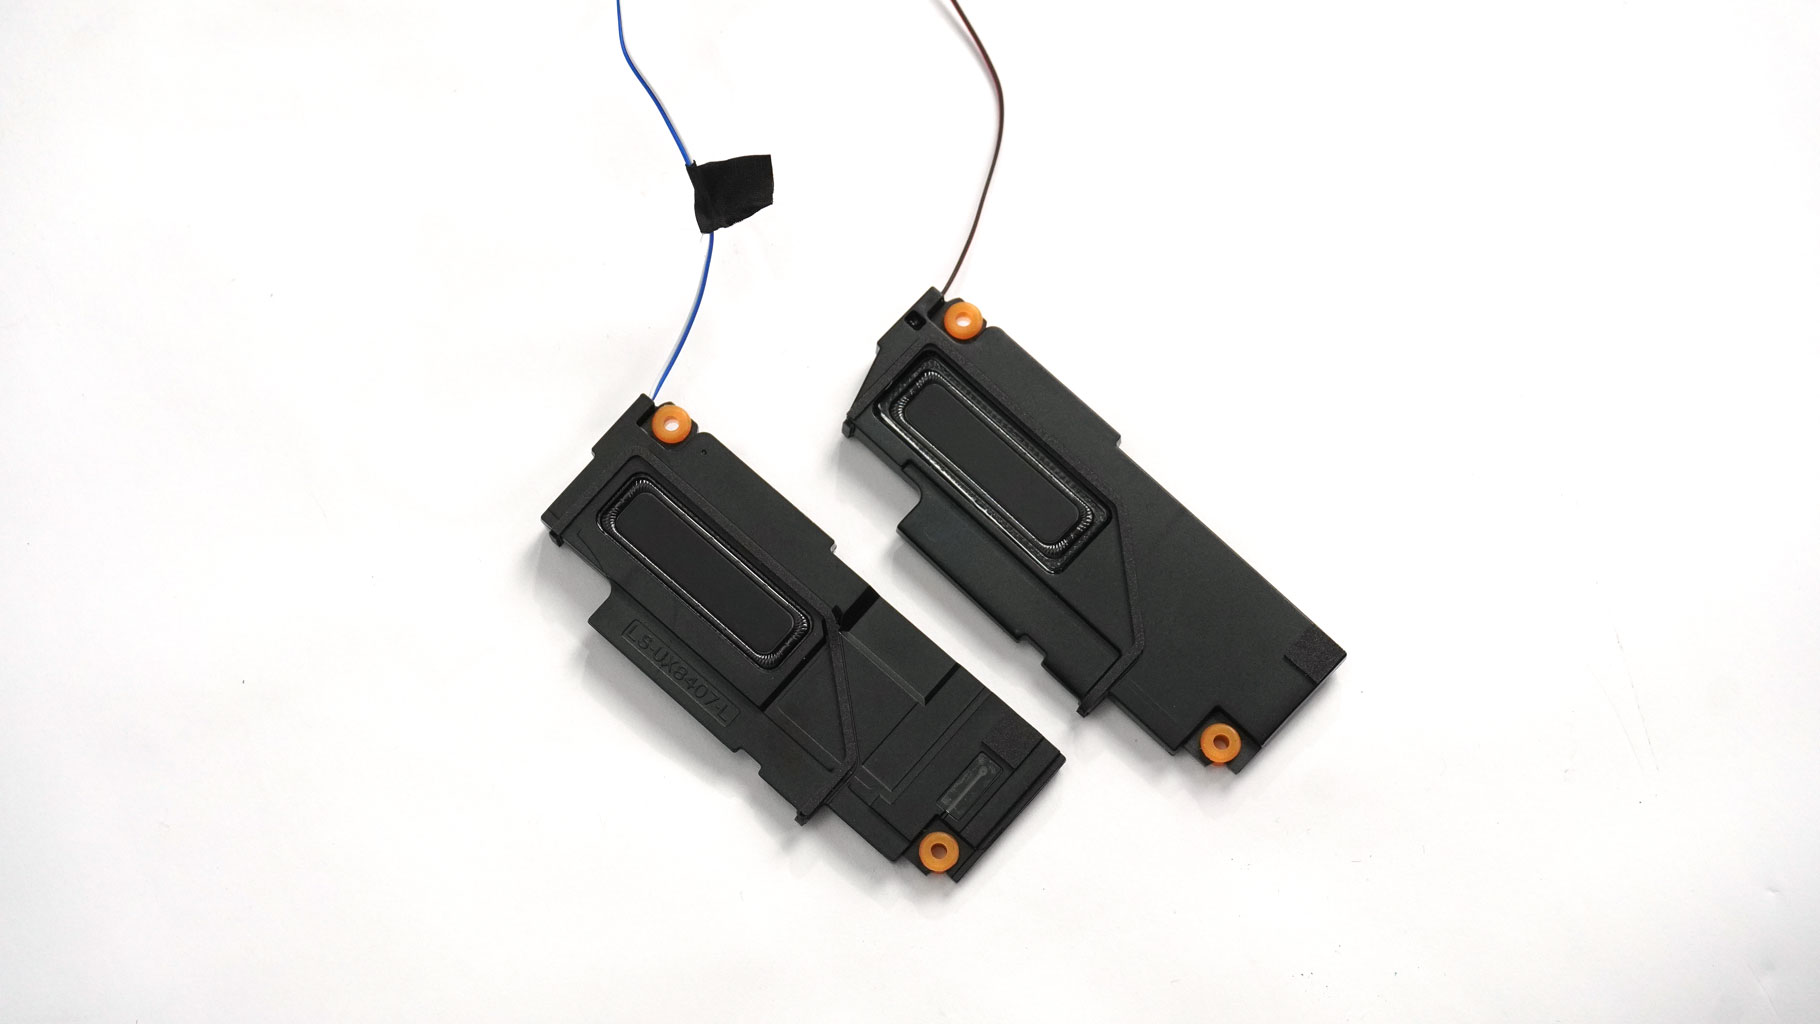
For the audiophiles out there, that's the speakers.
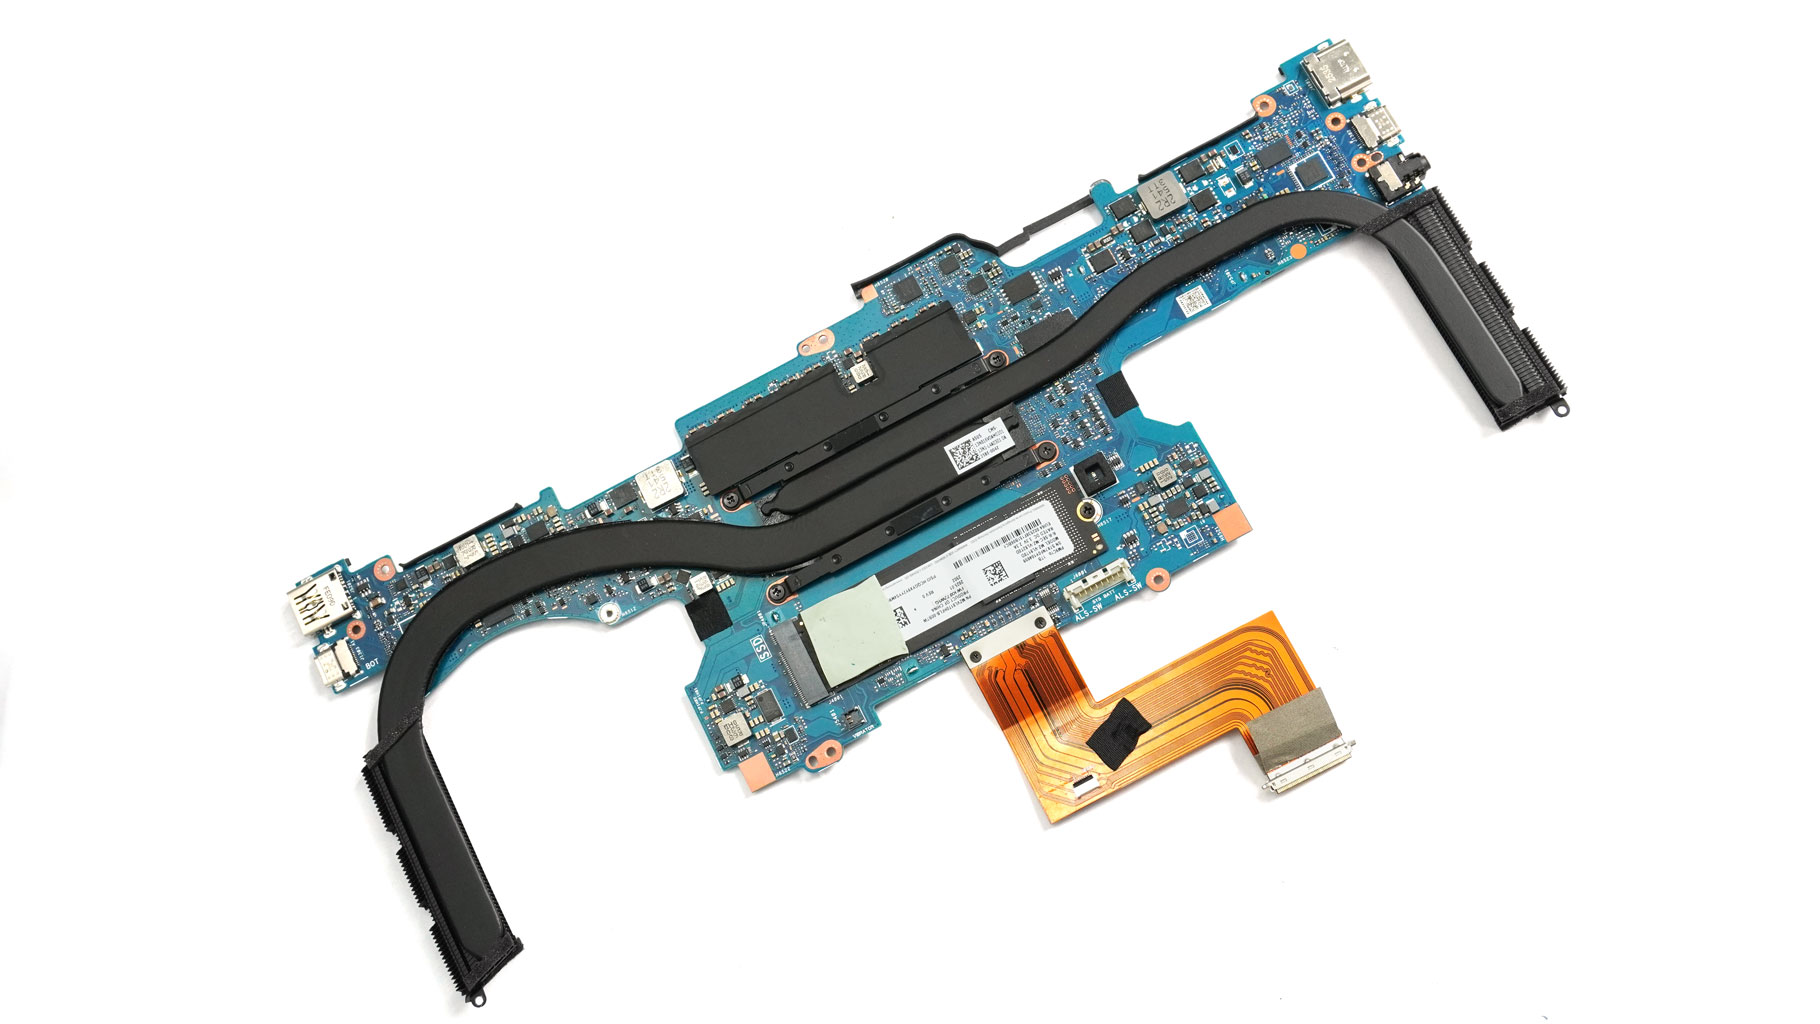
Finally, you can lift the motherboard.
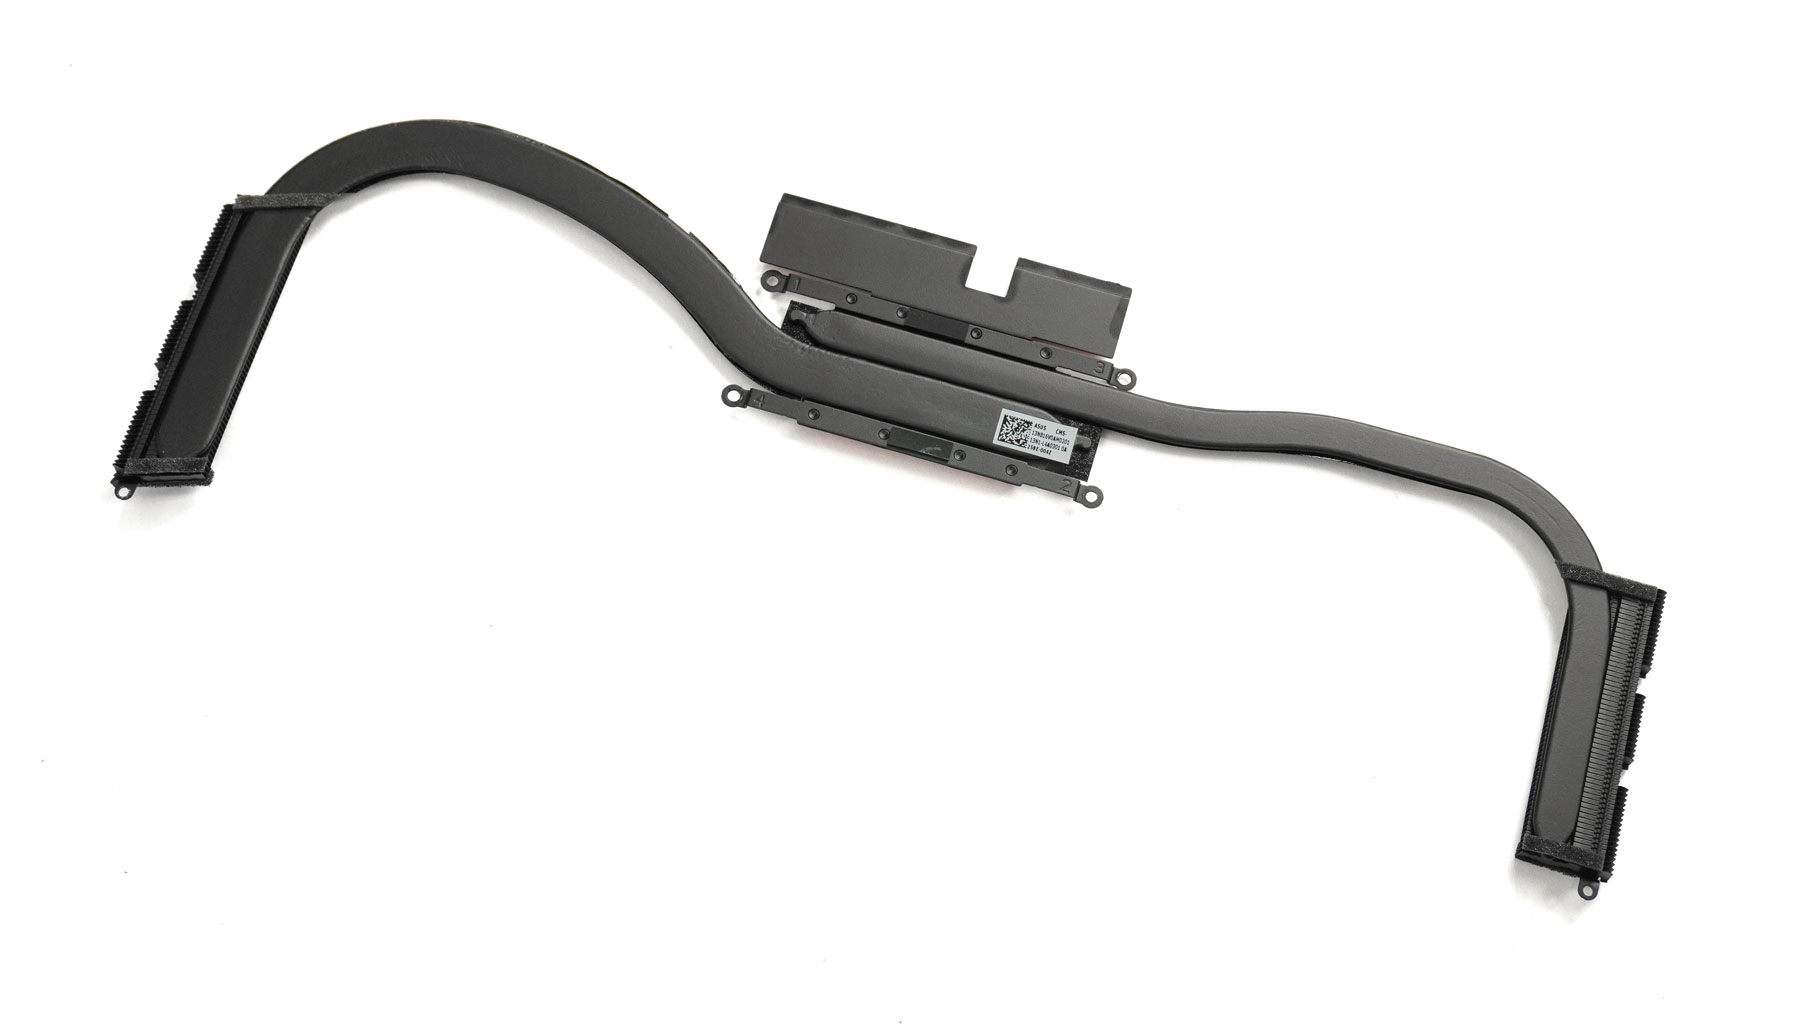
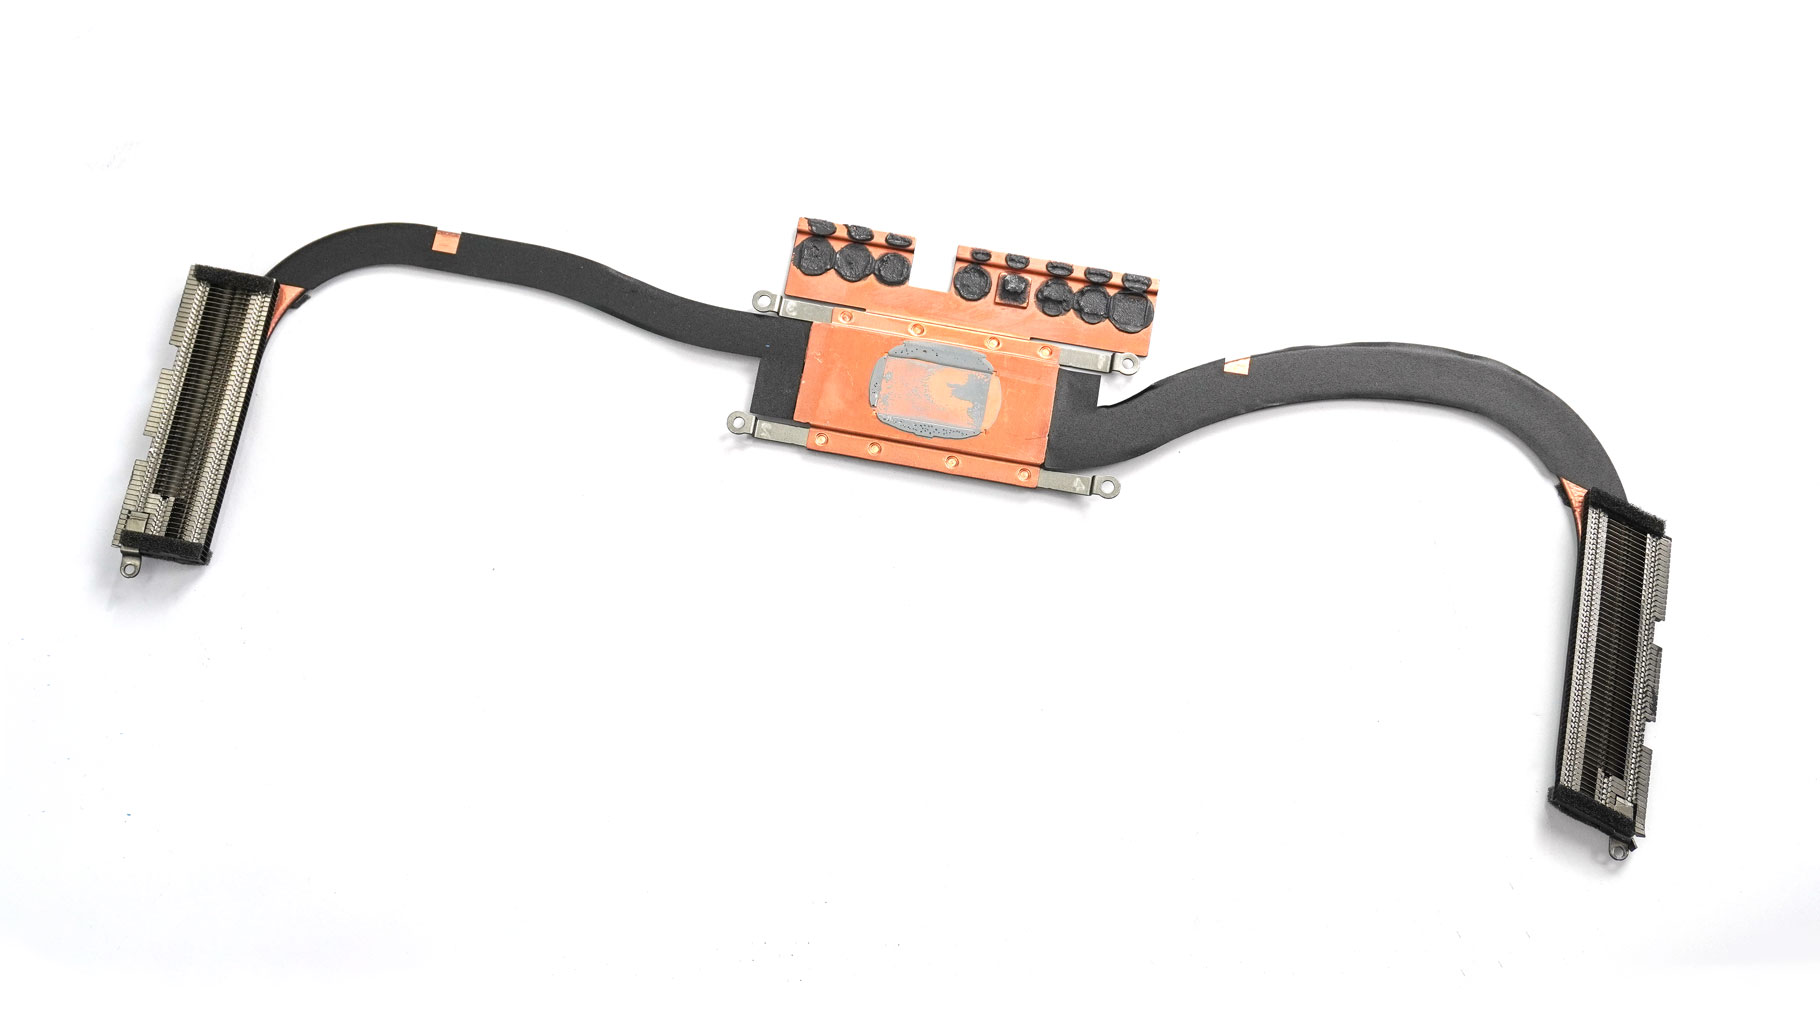
Aside from the duo of fans that are already removed, the cooling comprises two heat pipes, a pair of heatsinks, and a decently big heat spreader above the CPU. You just have to undo four screws around the chip before popping the thermal system with a lever tool.
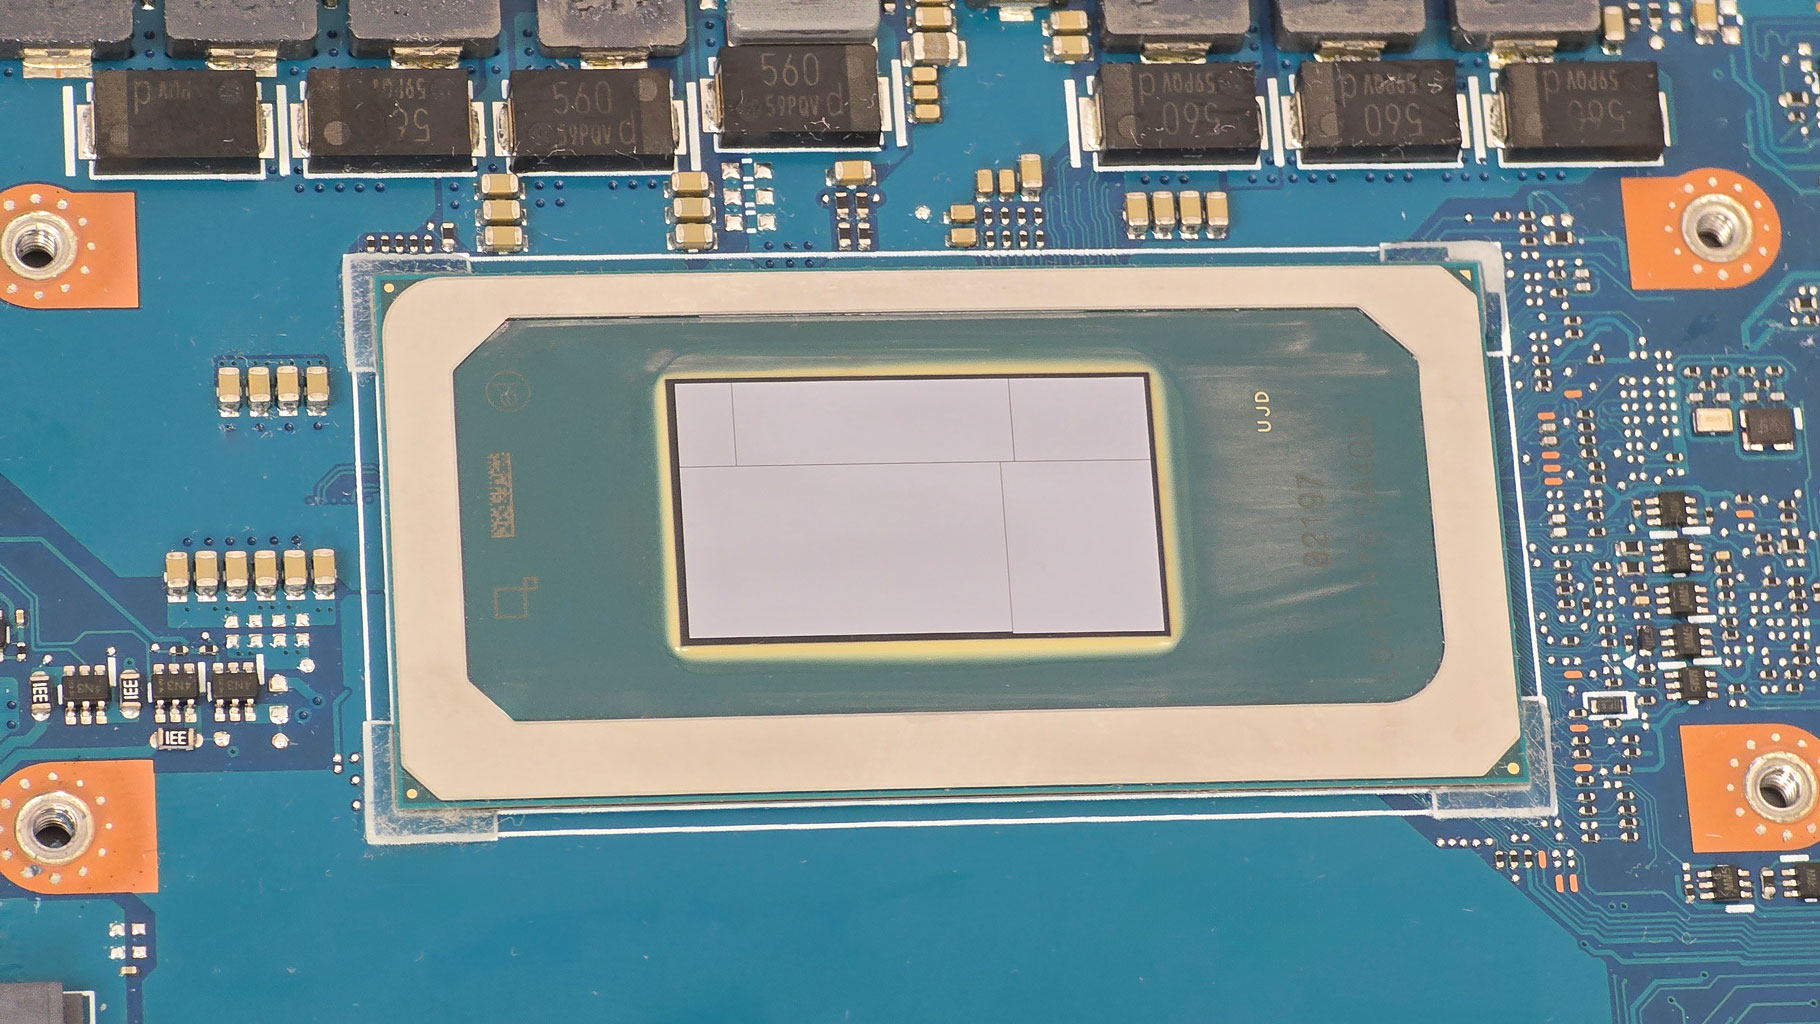
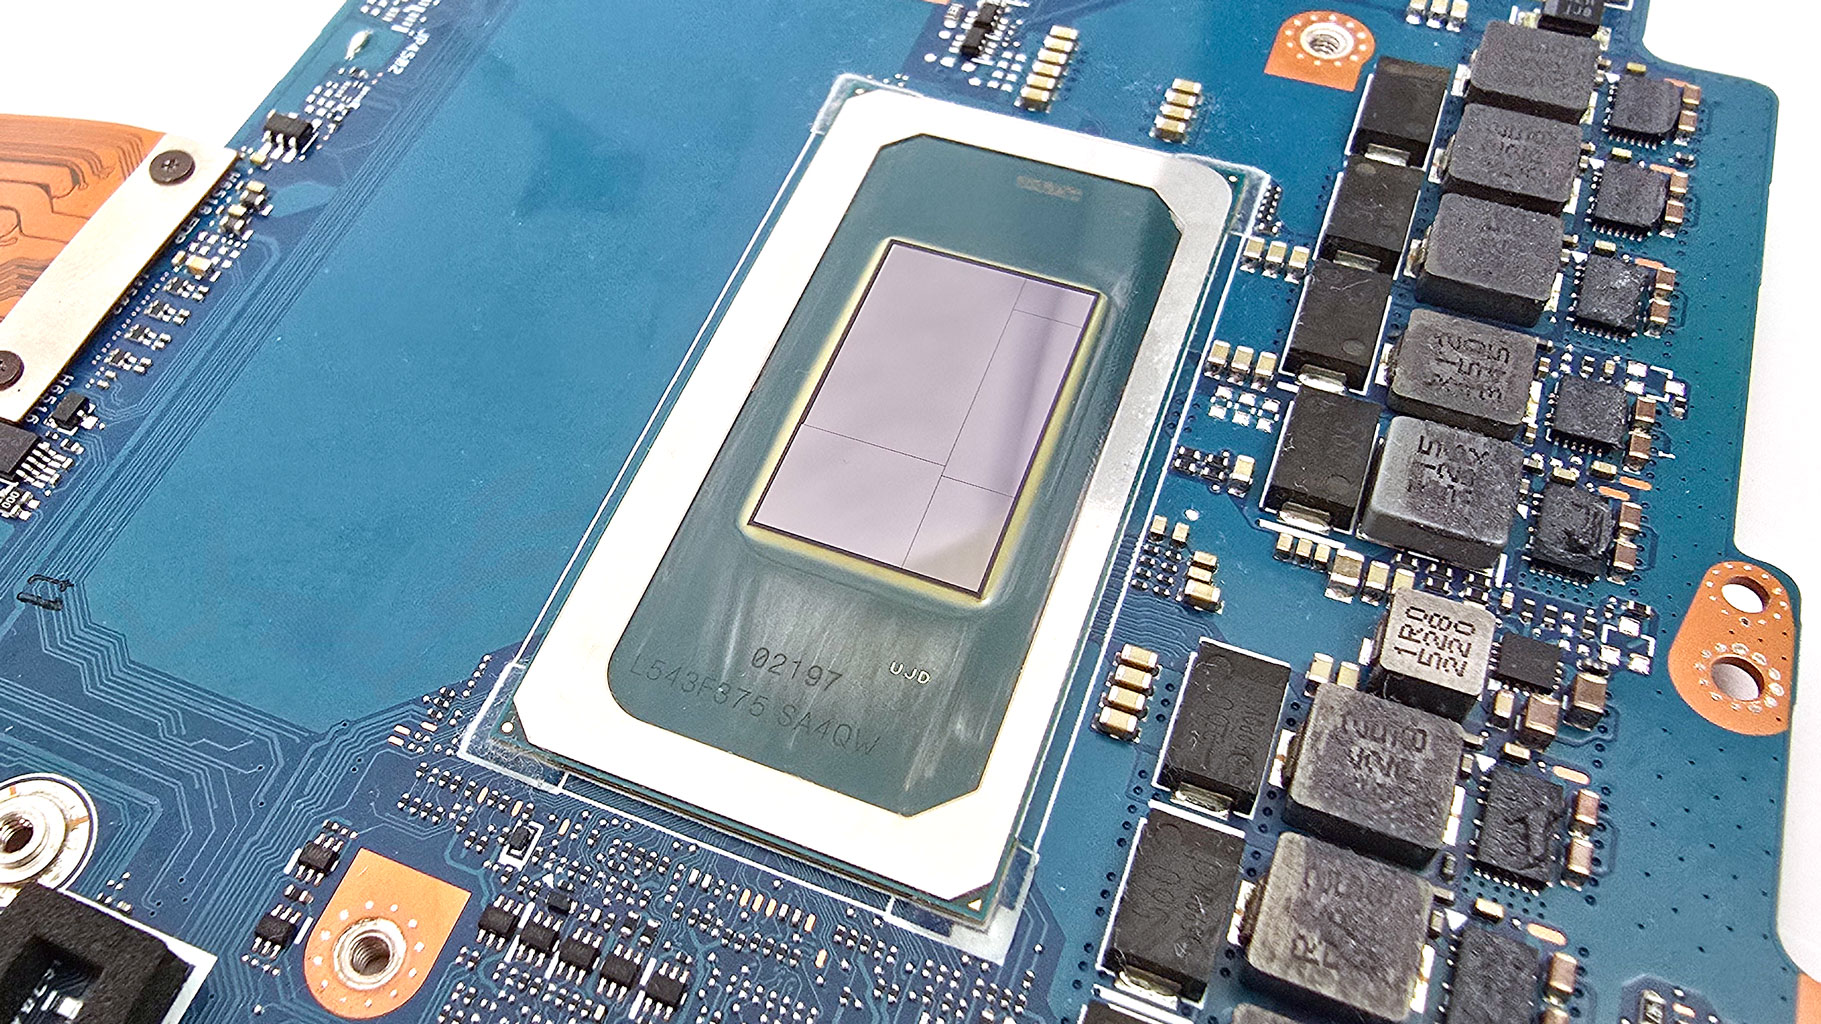
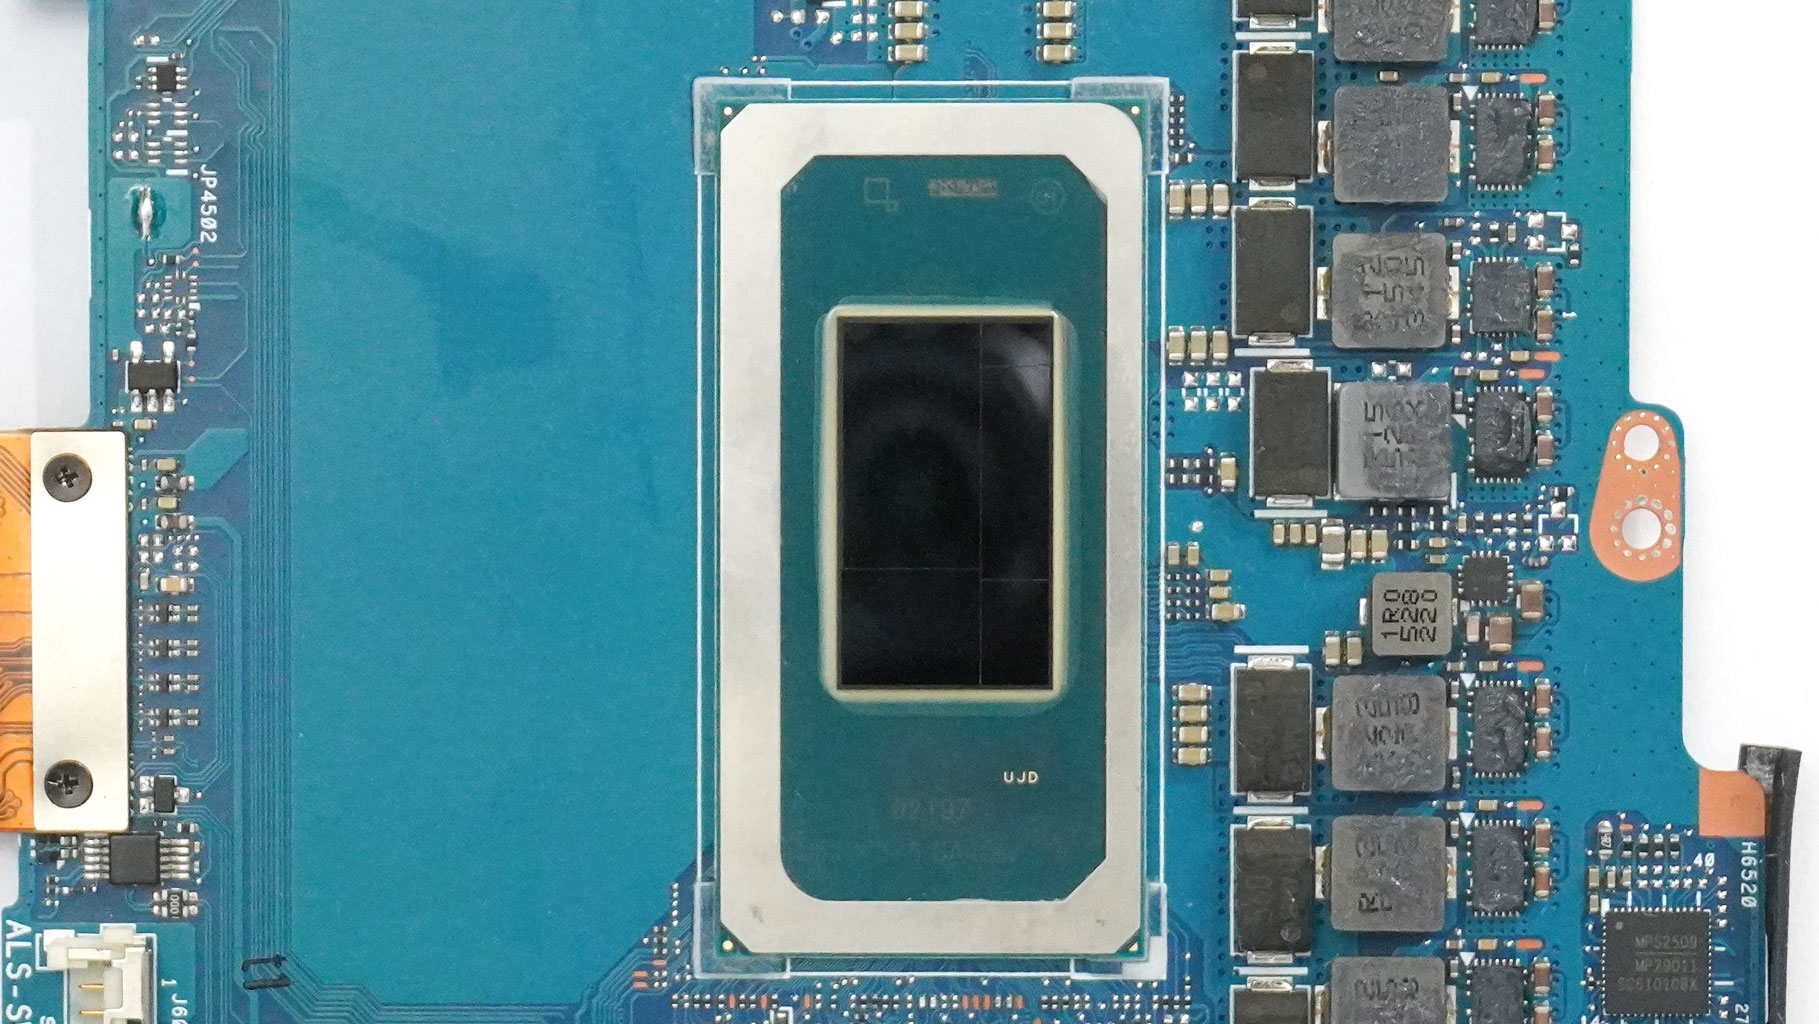
And there it is: the 16-core Panther Lake Intel Core Ultra X9 388H in all its glory!
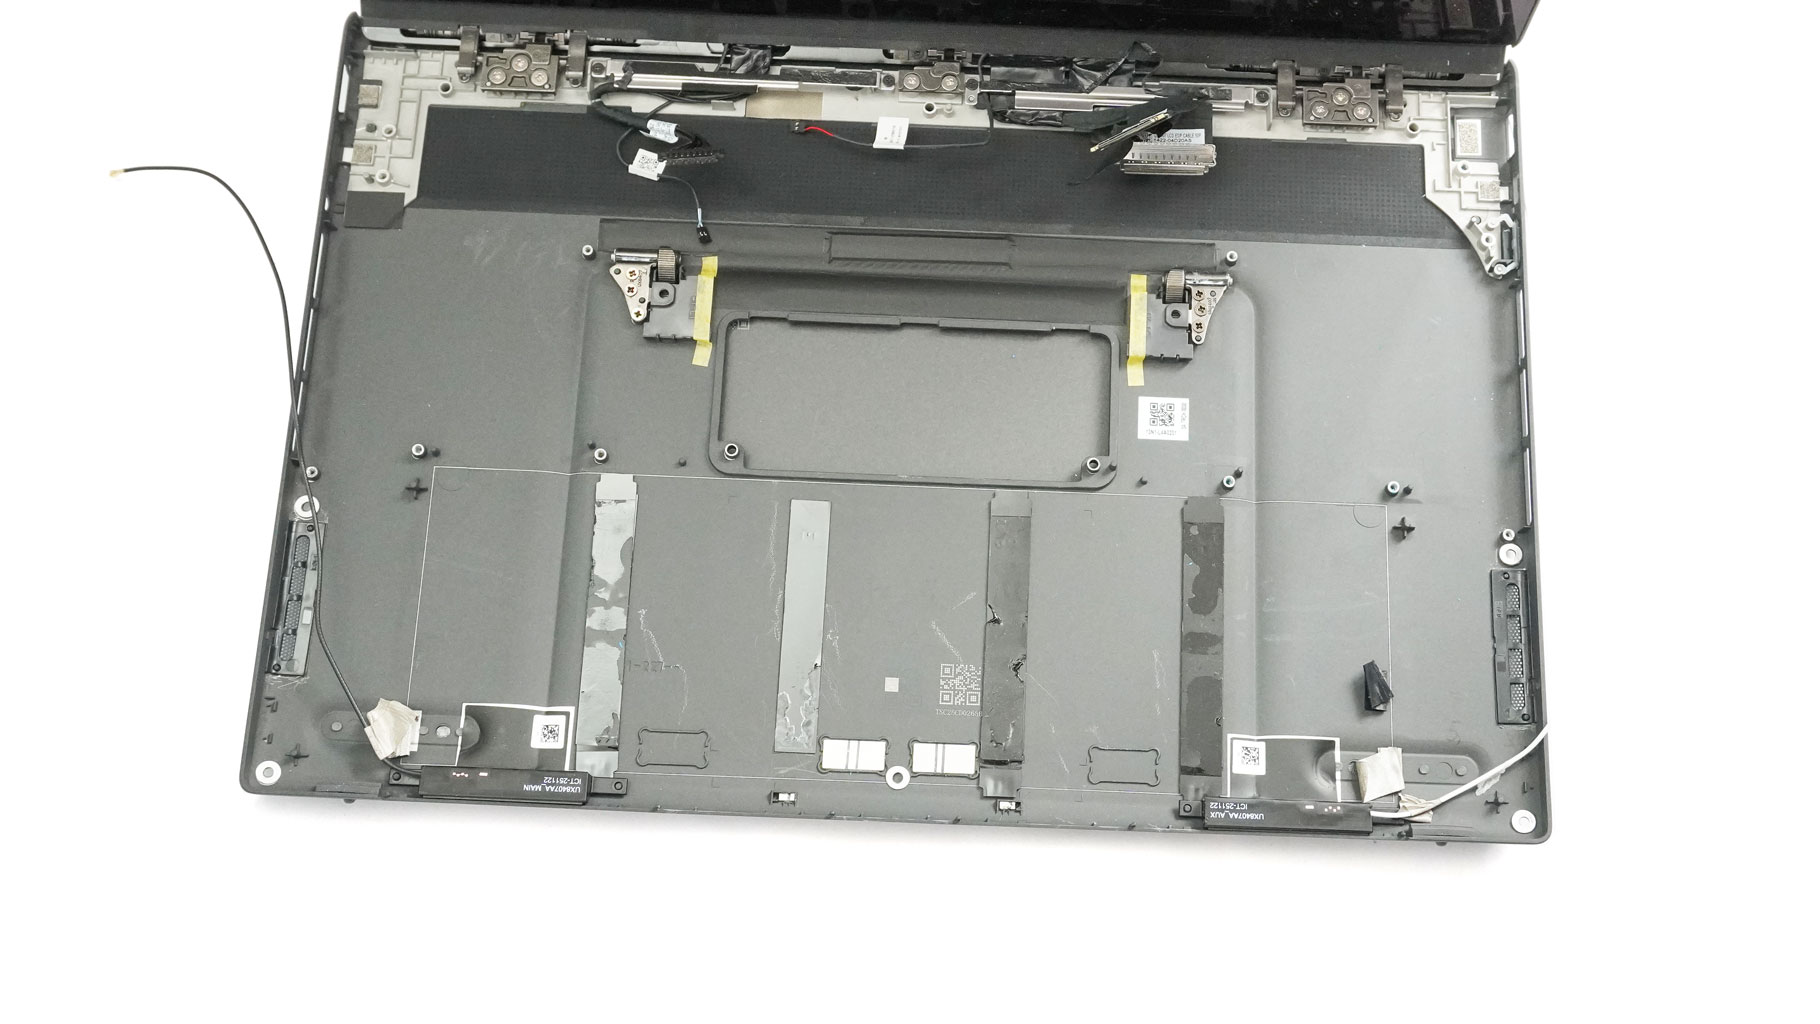
Now, the chassis is motherboard free!
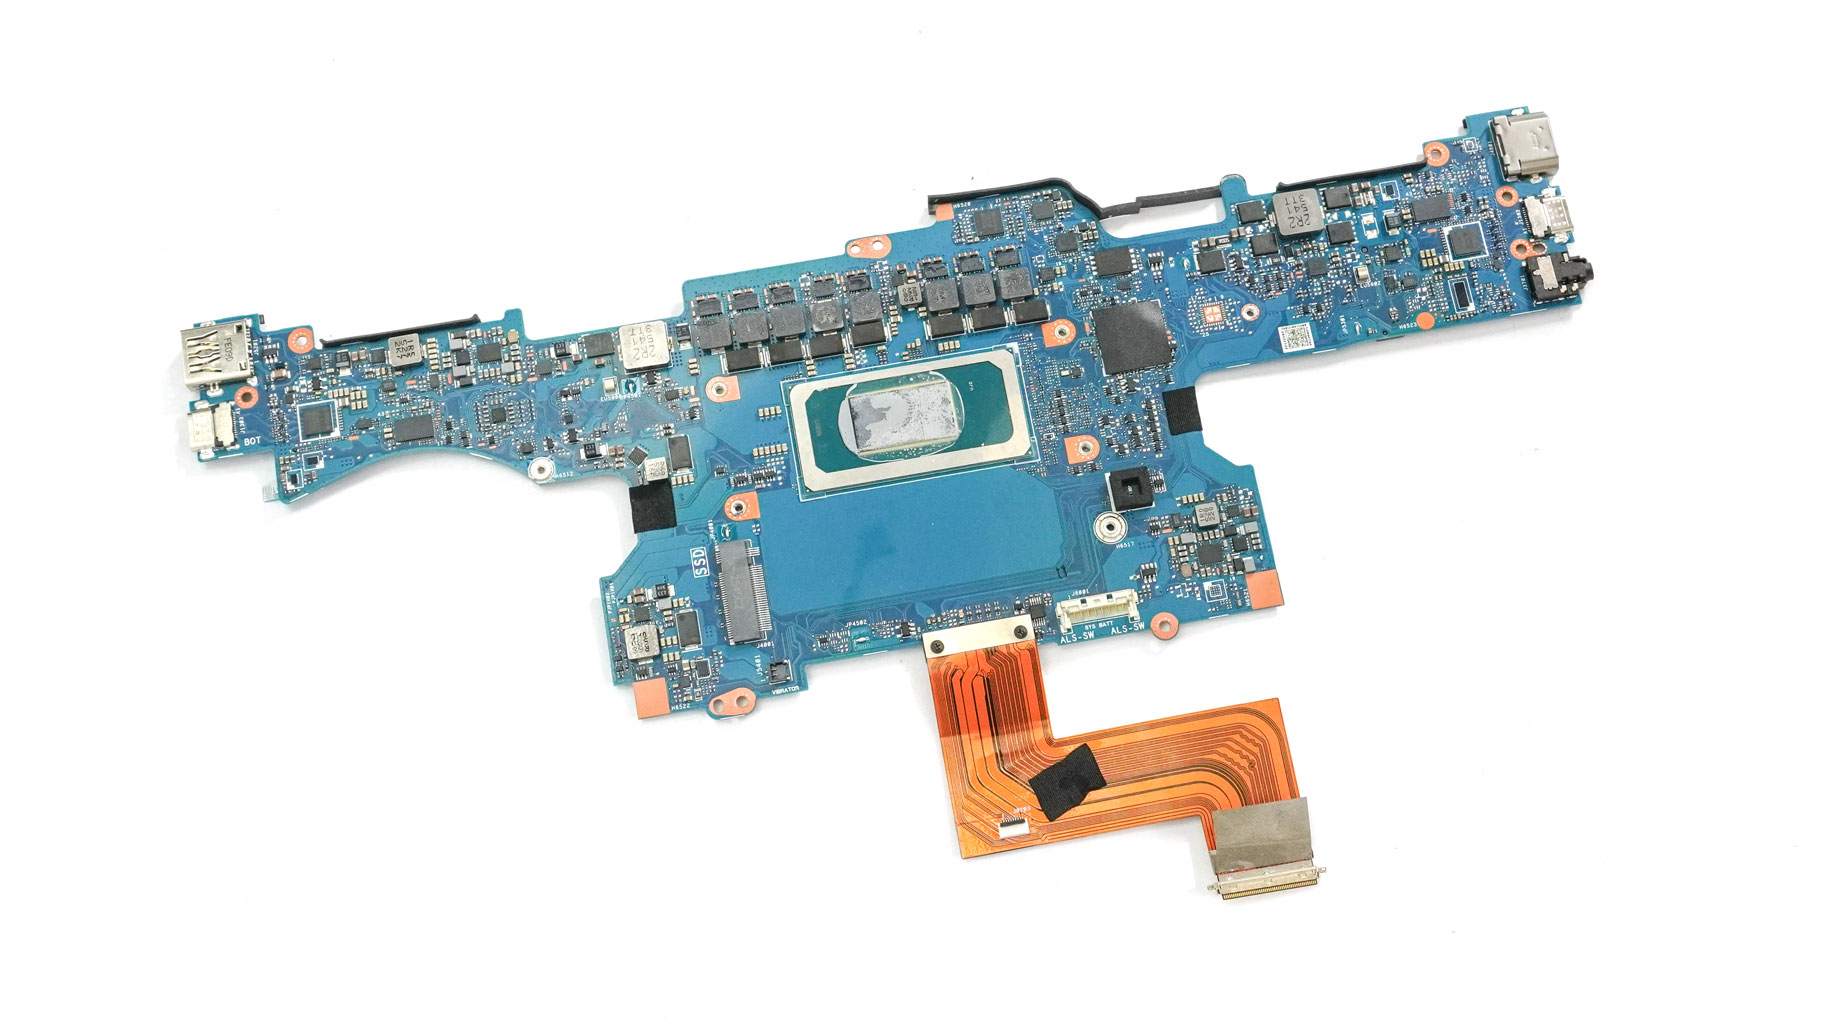
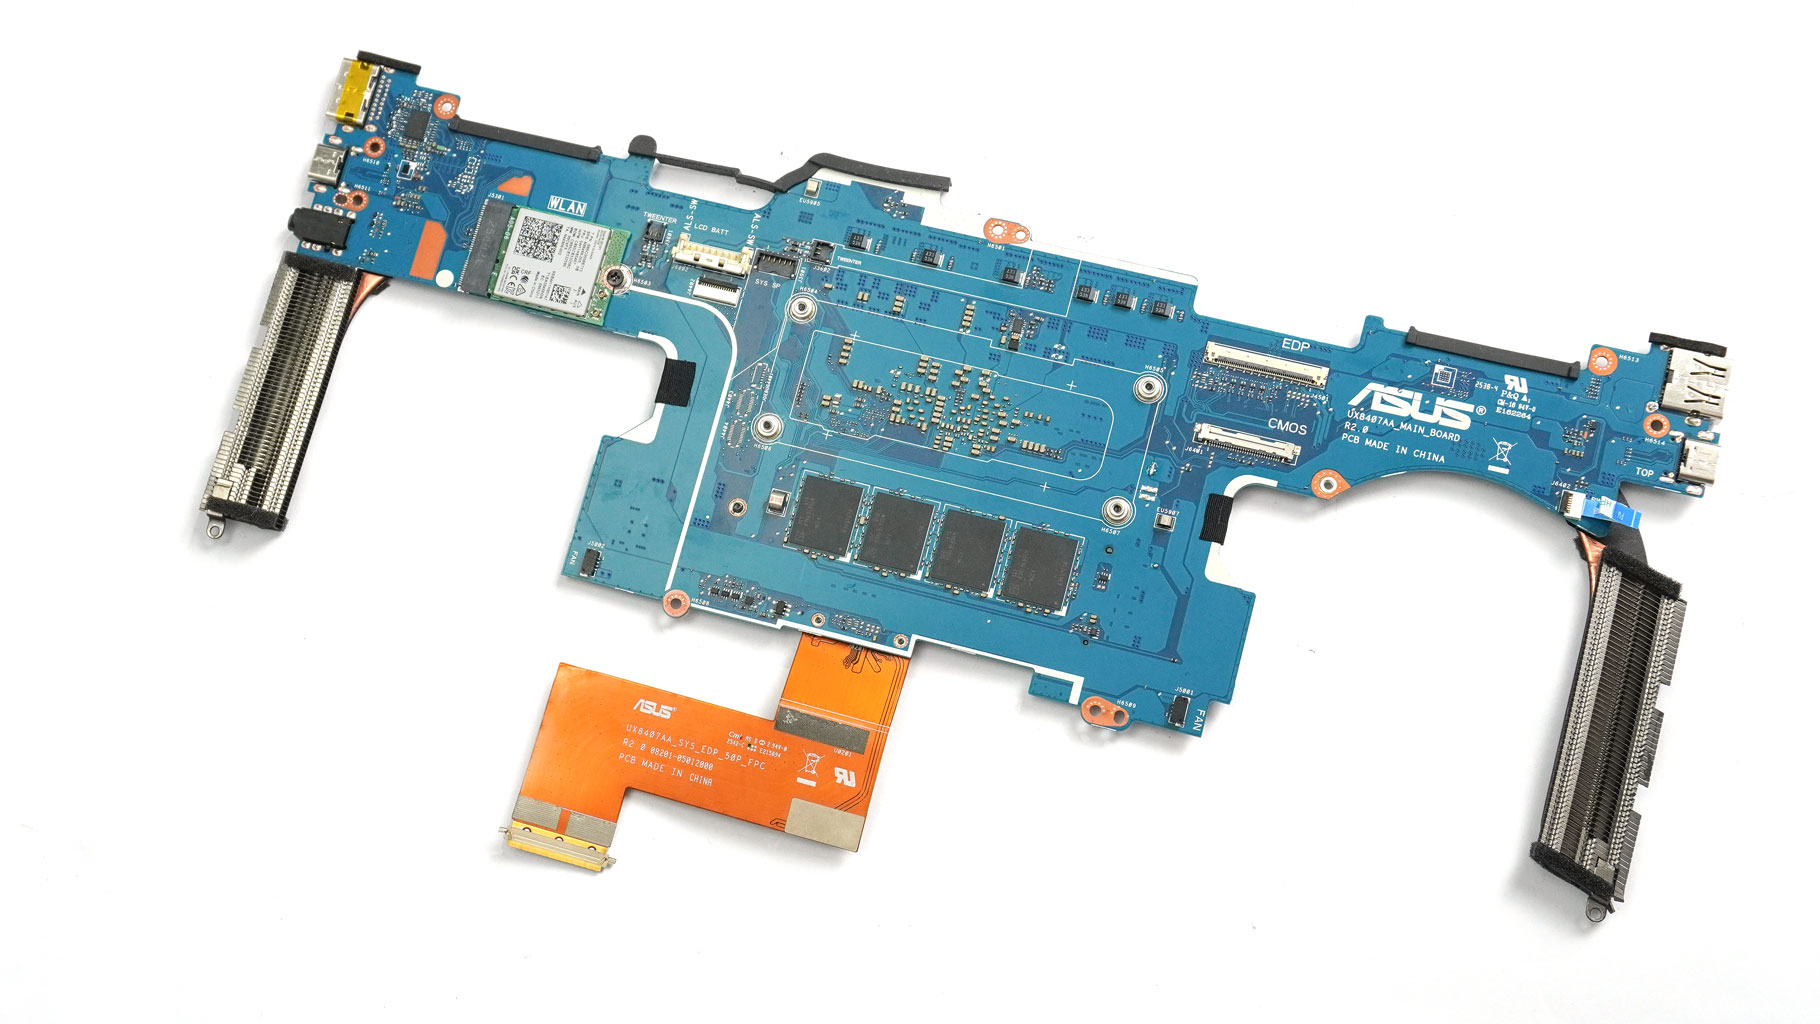
Speaking of which, let's have a sneak peek at the mainboard.
Nov 14th, 2026 14:00 CST
change timezone
Latest GPU Drivers
New Forum Posts
- Your PC ATM (36420)
- Tell me about your favourite graphics card (72)
- What can the FX 8320 do today? Here is the answer. (35)
- auto-closed by somethings by actions (1)
- What card do I get for VR? (30)
- no "PhysX" workable (10)
- TPU's Nostalgic Hardware Club (22162)
- Slow SSD read speeds - help! (7)
- Ddr4 instead of ddr5 for 9060xt 8 gb over 5060 8 gb (7)
- Microsoft Exchange/365 outages? (62)
Popular Reviews
- AMD Zen 6 Technical Deep Dive
- ASUS ROG Strix B850-I Gaming Wi-Fi7 W Review
- Corsair HX1000i Shift Crystal Review
- NZXT C1200 Platinum Review
- Upcoming Hardware Launches 2027 (Updated Nov 2026)
- Montech King 95 3D PRO Review
- NZXT H7 RGB+ Review
- NZXT H5 Review
- Phantom Blade Zero Performance Benchmark Review - 35 GPUs Tested
- XPG NIMBUS PLUS Review - Mid-range Chair With Strong Competitors
TPU on YouTube
Controversial News Posts
- NVIDIA Co-Founder and CEO Jensen Huang Officially Resigns (402)
- OpenAI CEO Argues Home PCs Waste the World's Limited DRAM Supply (152)
- NVIDIA Launches Investigation Into Jensen Huang's Relationship With Suspected Chinese Spy (136)
- Intel "Raptor Lake Next" 16-Core and 20-Core CPUs Surface (130)
- Legendary Game Studio BioWare Shuts Down Following EA Layoffs (104)
- Dell CEO Says the Memory Shortage Will Get Worse in 2027 (95)
- NVIDIA GeForce RTX 50-Series Scheduled for up to $500 Price Hike This Week (89)
- Modder Fits RTX 5090 With Four 8-Pin Connectors, Halving Current per Wire (80)