 10
10
EK-Momentum MSI Z390 MEG Ace Monoblock Review
Liquid Flow Restriction »Installation and Lighting
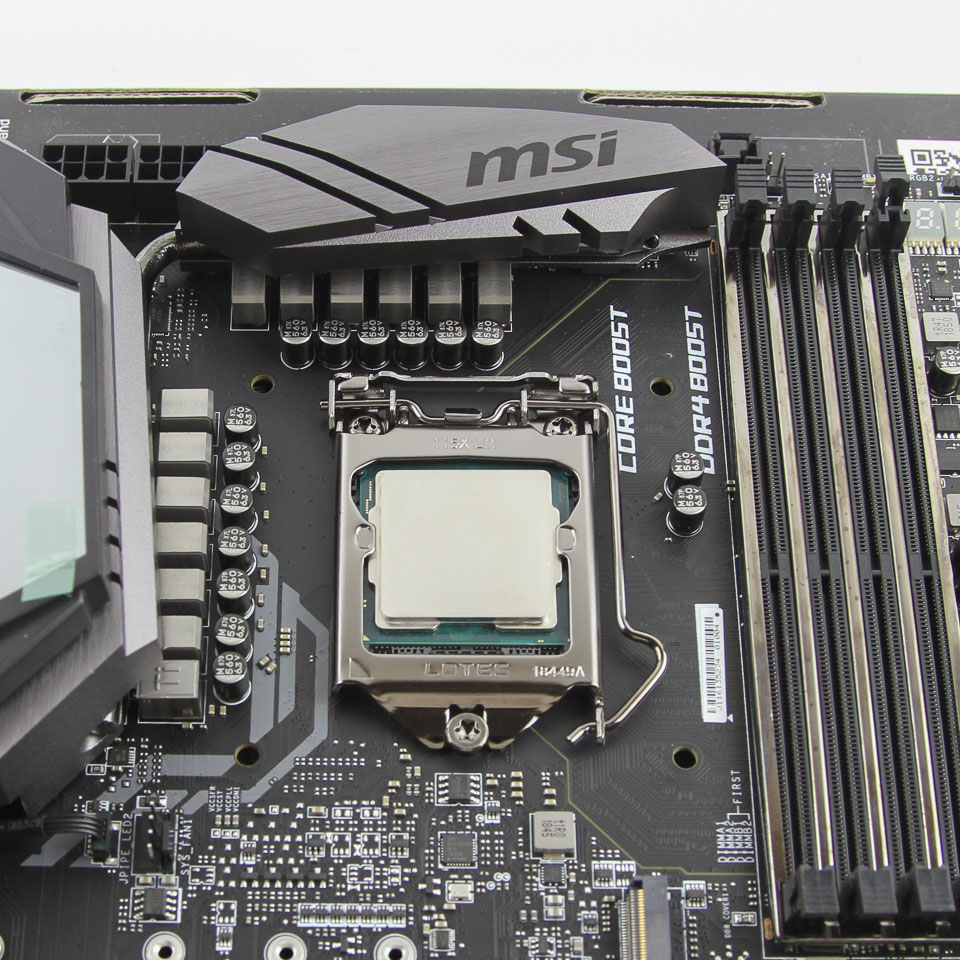

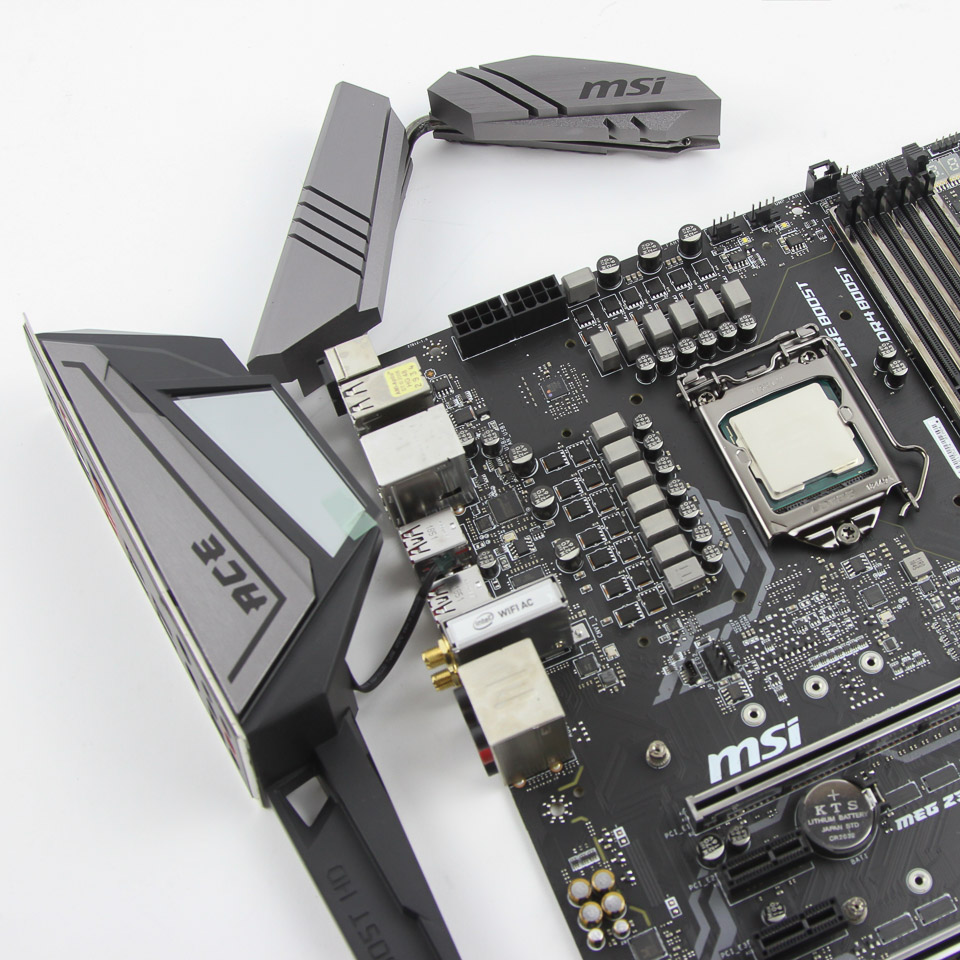
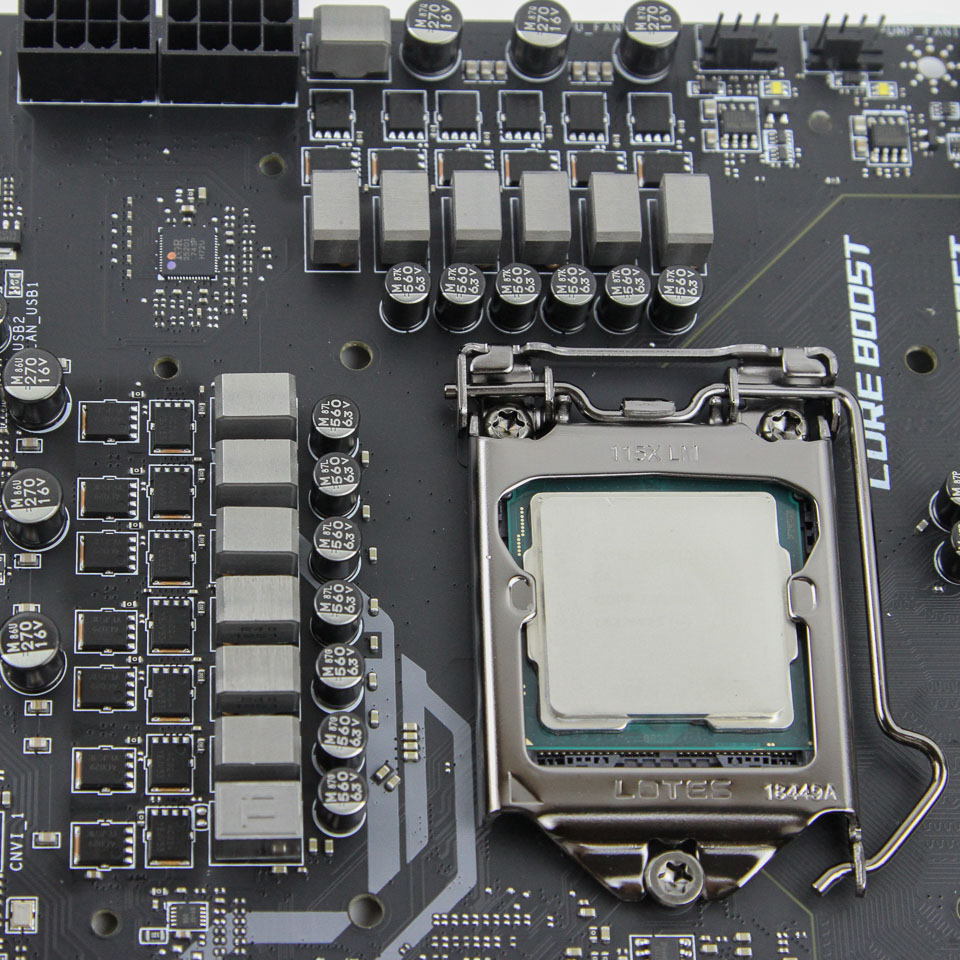
Installation of the EK-Momentum MSI Z390 MEG Ace monoblock is involved because it requires the removal of the stock VRM heatsinks specific to the MSI MEG Z390 Ace motherboard first, and there are seven screws on the back that need to be removed as outlined in the manual (four for the metal VRM heatsink and three for the plastic cover that can be installed again for aesthetics). Removing the plastic cover is tricky because small plastic nibs go through the motherboard, as well as cutouts for the I/O on the motherboard via the integrated I/O shield on top of a small cable for the LEDs in here. The VRM heatsink consists of two pieces of finned metal with a heatpipe going through as seen above, and removing it exposes the two VRM sets and capacitors that are cooled by the monoblock in addition to the CPU.


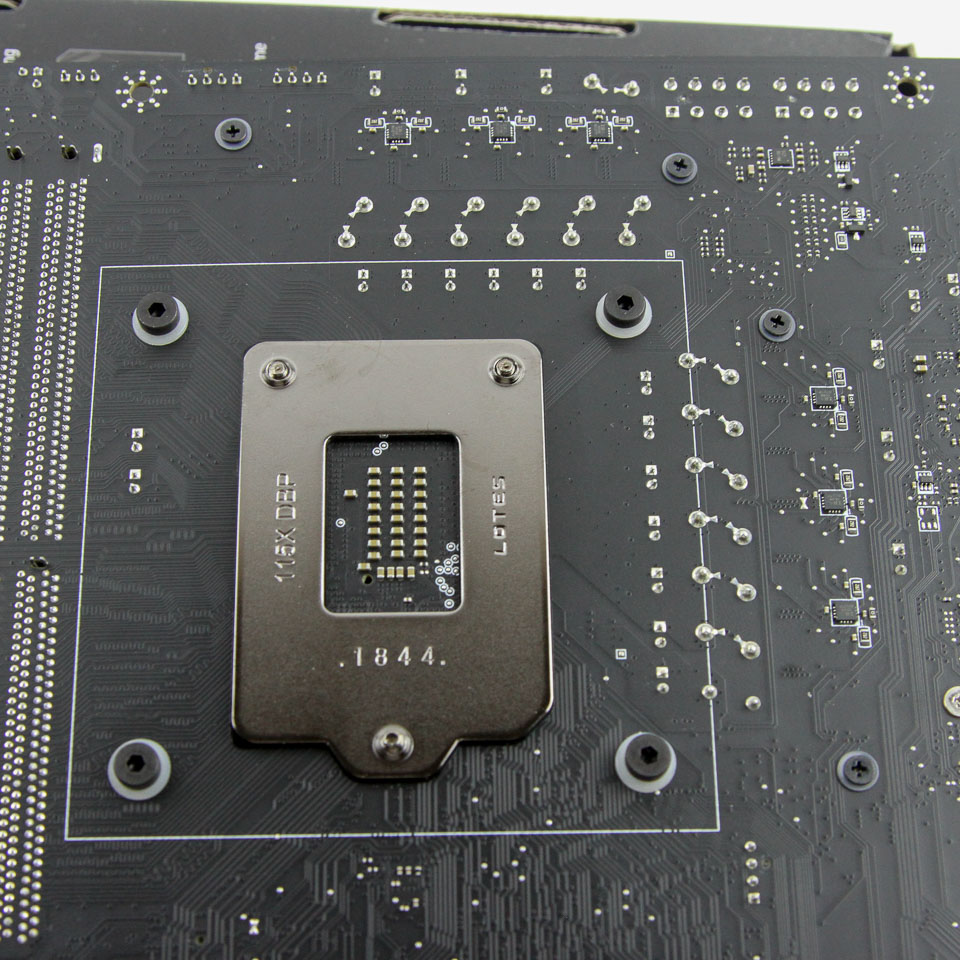
Use the provided thermal pads on the two sets, which will require cutting them to length and removing both plastic covers on either side of the pads. With that done, apply some thermal paste to the CPU IHS, as well as the sticky plastic washers to the underside of the bare standoffs on the monoblock. These will help guide the monoblock into place and provide enough of a sticky surface to keep it in place as you screw the monoblock in through the underside with the provided screws and plastic washers. EK provides enough thermal paste to try again if you mess up, and you may want to use a raised working surface with the I/O ports hanging off the side for a level contact angle during installation.


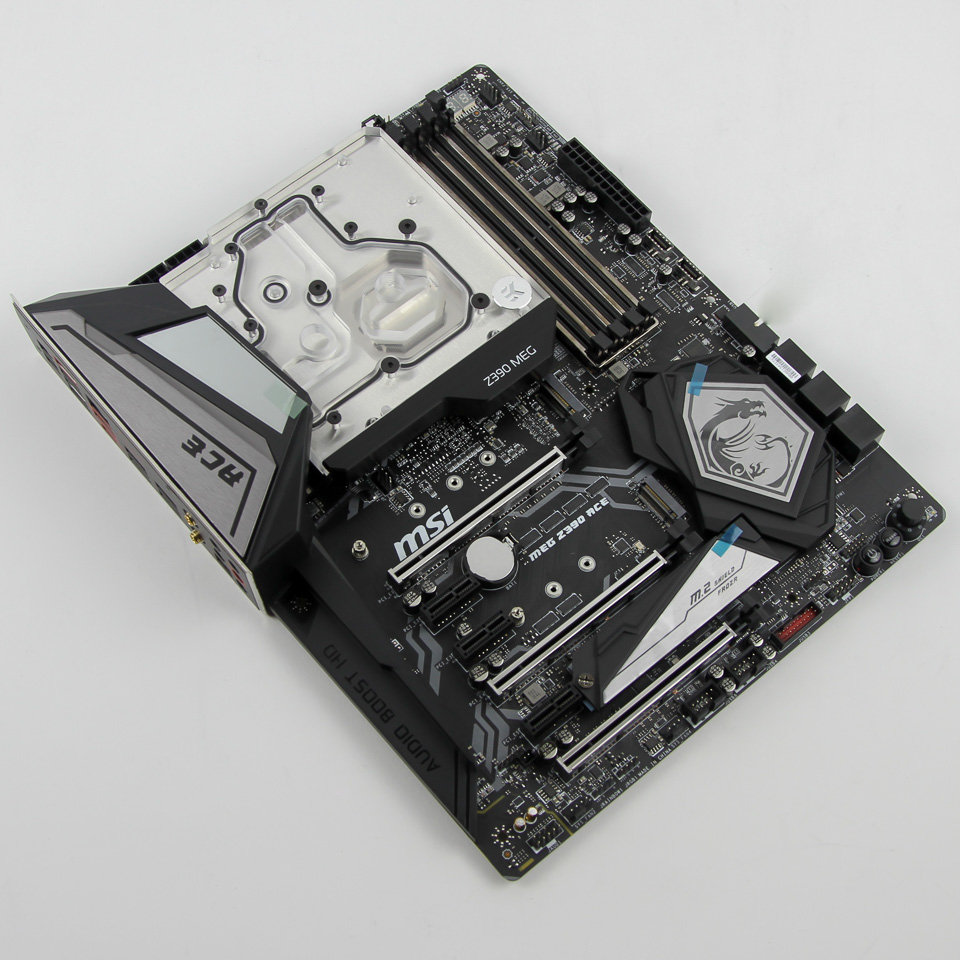
Route the LED cable via the plastic I/O cover—the cover can now be screwed back into place—and out the back through the bottom for good cable management, which allows for a snug fit of the 3-pin, 5 V dRGB header on the motherboard. Be sure to have the arrow where the header pinout begins with "+5 V" to prevent electrical shorting. Once done, the finished look is quite nice, if I say so myself, a good example of why monoblocks make for a statement piece in a custom-cooled PC build.

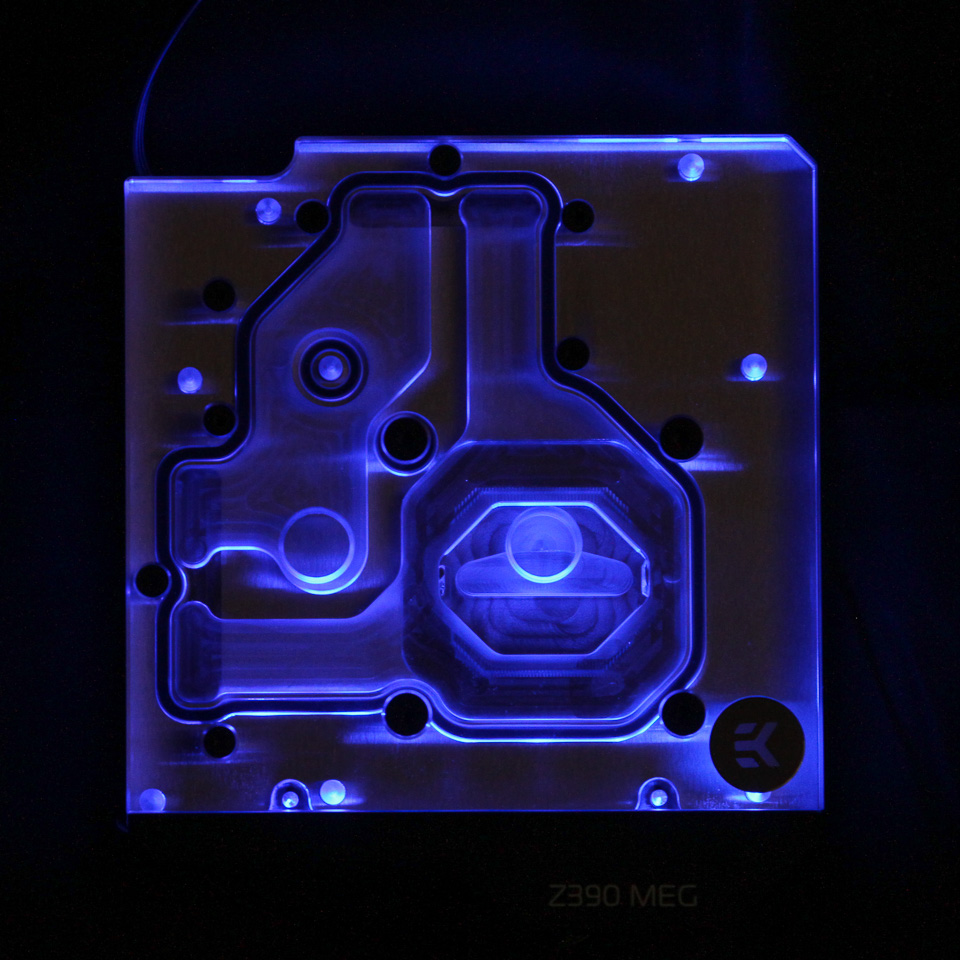

Here is a look at some of the various lighting options, be it static or dynamic. As mentioned before, I appreciate EKWB going with a more standard solution with onboard control for various mainstream motherboard makers rather than a proprietary solution. With LEDs only at the bottom and shining upward, lighting is not as uniform or diffused as I would have preferred, but there is no perfect solution here as it would not involve more acetal housing and a larger footprint/smaller top. Having coolant flow through does help diffuse lighting more than air, so keep that in mind when using the media above as a general representation of the lighting in the block by itself.
May 15th, 2024 20:32 EDT
change timezone
Latest GPU Drivers
New Forum Posts
- WD Red vs Blue (0)
- 20 Years? (11)
- Ryzen Owners Zen Garden (7358)
- Silly question about upcoming CPU Upgrade (11)
- Air makes its way from the reservoir into the radiator. (78)
- Laptop i7 11800H Throttling Immediately (13)
- 24-pin connector won’t snap onto motherboard (3)
- AM5 boot times improve RADICALLY with memory context restore enabled (68)
- Would you pay more for hardware with AI capabilities? (16)
- RMAd every single component in my PC, and it's still crashing (11)
Popular Reviews
- Homeworld 3 Performance Benchmark Review - 35 GPUs Tested
- Enermax REVOLUTION D.F. X 1200 W Review
- Upcoming Hardware Launches 2023 (Updated Feb 2024)
- ZMF Caldera Closed Planar Magnetic Headphones Review
- Lofree Edge Ultra-Low Profile Wireless Mechanical Keyboard Review
- Corsair MP700 Pro SE 4 TB Review
- AMD Ryzen 7 7800X3D Review - The Best Gaming CPU
- ASUS Radeon RX 7900 GRE TUF OC Review
- ThundeRobot ML903 NearLink Review
- Sapphire Radeon RX 7900 GRE Pulse Review
Controversial News Posts
- Intel Statement on Stability Issues: "Motherboard Makers to Blame" (267)
- AMD to Redesign Ray Tracing Hardware on RDNA 4 (227)
- Windows 11 Now Officially Adware as Microsoft Embeds Ads in the Start Menu (172)
- NVIDIA to Only Launch the Flagship GeForce RTX 5090 in 2024, Rest of the Series in 2025 (152)
- AMD Hits Highest-Ever x86 CPU Market Share in Q1 2024 Across Desktop and Server (137)
- AMD RDNA 5 a "Clean Sheet" Graphics Architecture, RDNA 4 Merely Corrects a Bug Over RDNA 3 (124)
- AMD's RDNA 4 GPUs Could Stick with 18 Gbps GDDR6 Memory (114)
- AMD Ryzen 9 7900X3D Now at a Mouth-watering $329 (104)