 12
Geekom Geekbook X14 Pro Review - The Ultra-Light Wasp
Display Testing »Disassembly and Teardown
The Geekom X14 Pro - a super-light and thin 14-inch machine. Let me show you how to open it for servicing.
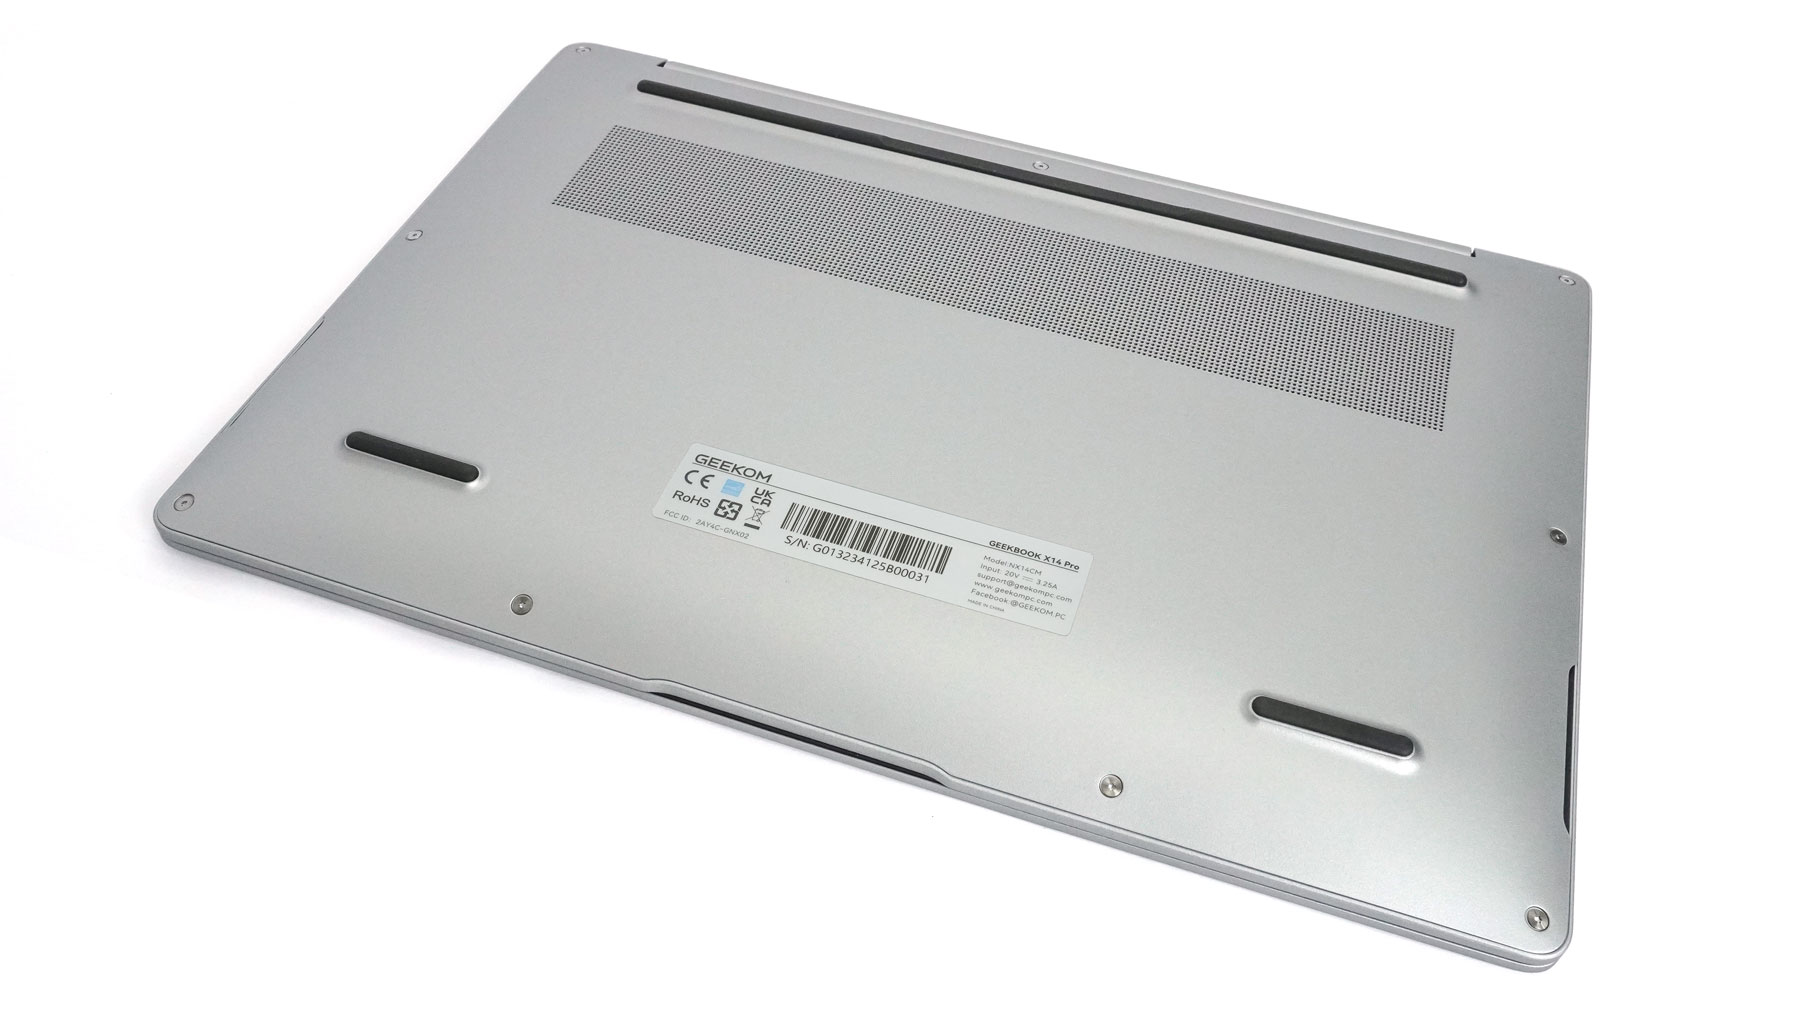
To get inside, undo the 11 Torx screws securing the bottom panel. Use a pry tool to pop the panel in the area behind the hinges, near the top edges. Then, pop one of the corners with a thin plastic tool and work your way around all sides. You can make it easier by popping the clips near the speaker cutouts, but don't insert the tool too deeply since you can damage the speakers.
There's a tiny internal clip right in the center that's incredibly annoying, but don't rush and push too much because you can bend the metal plate. The build feels solid, though - even when I gave the panel a harsh twist.
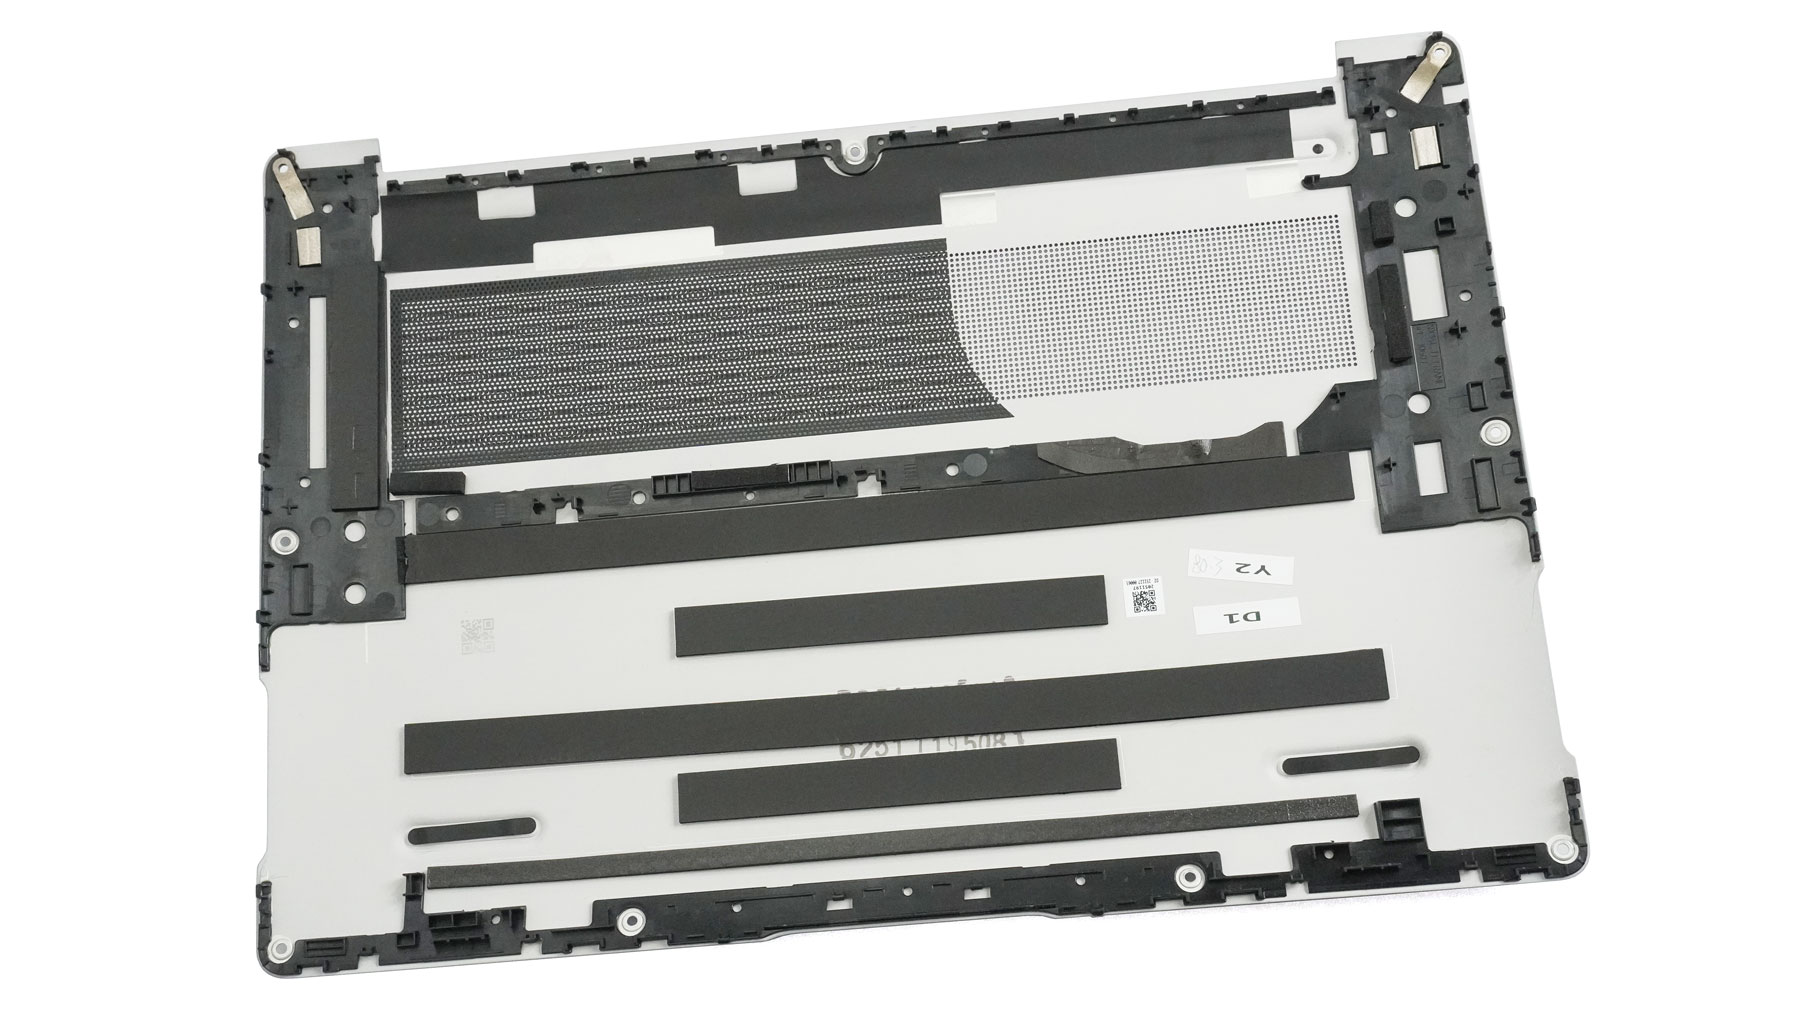
When the metal bottom is flipped, we can see a dust filter for the fan and soft padding above the battery.
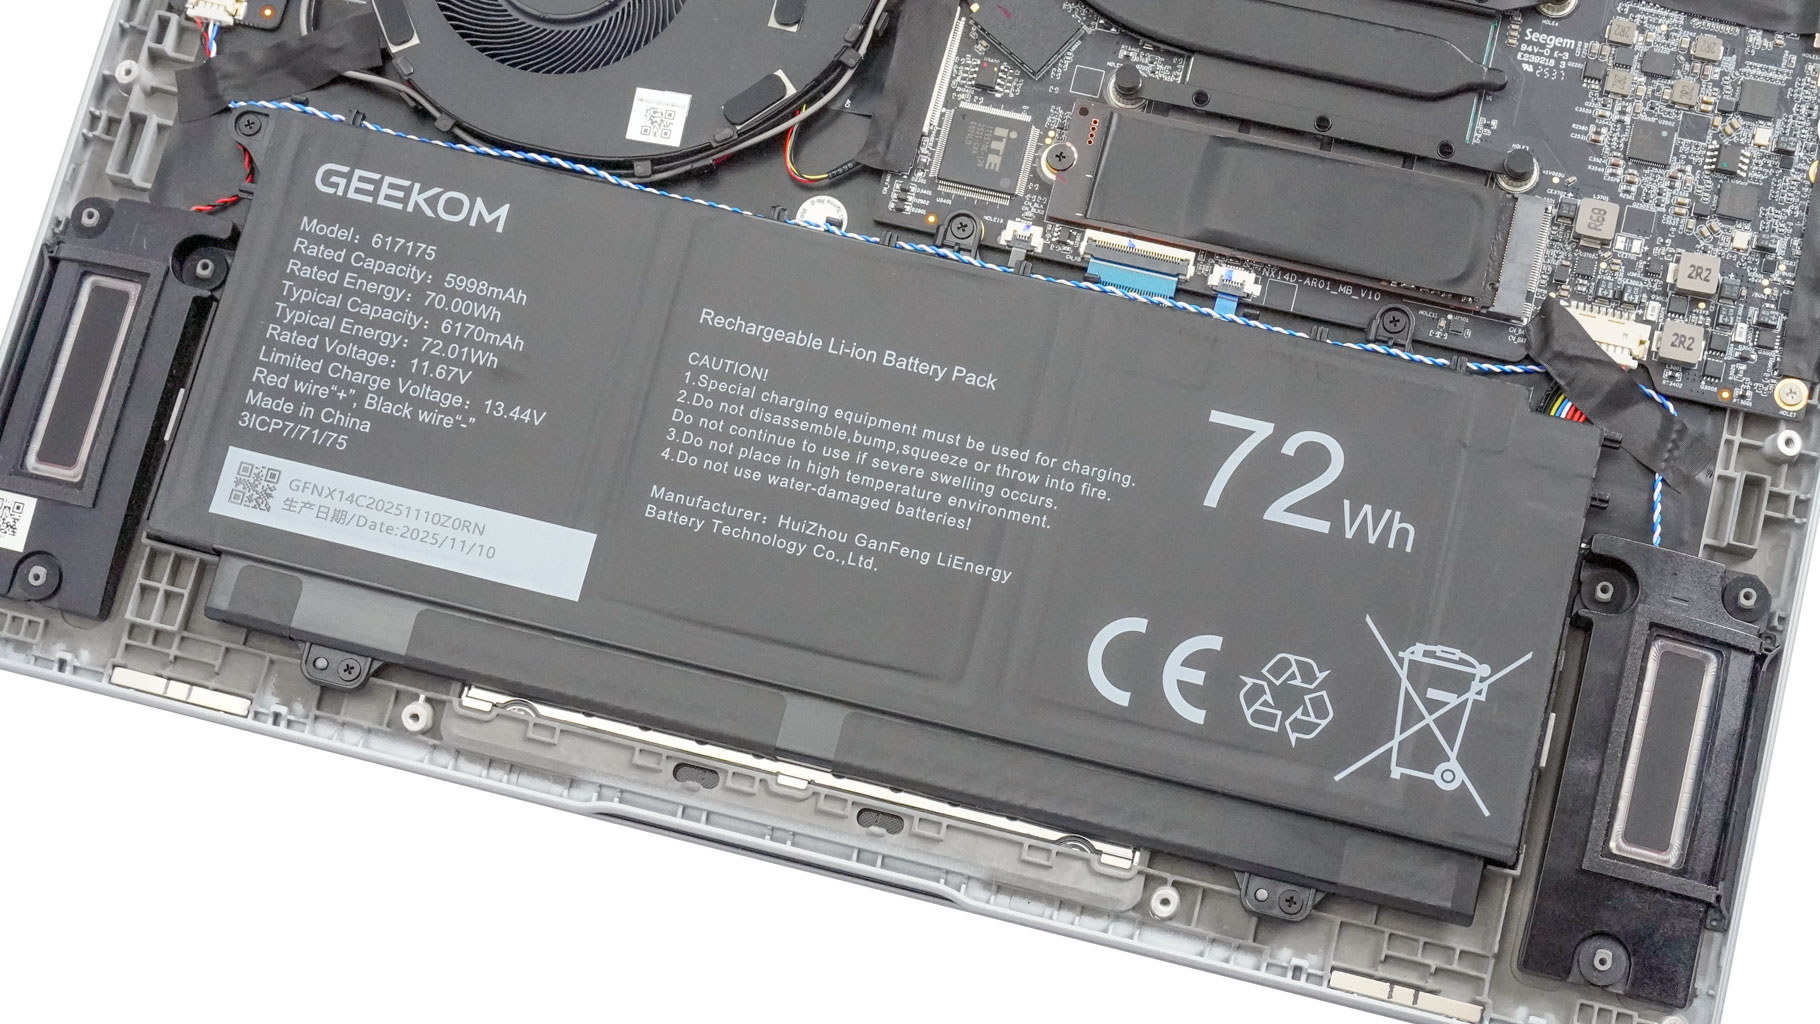
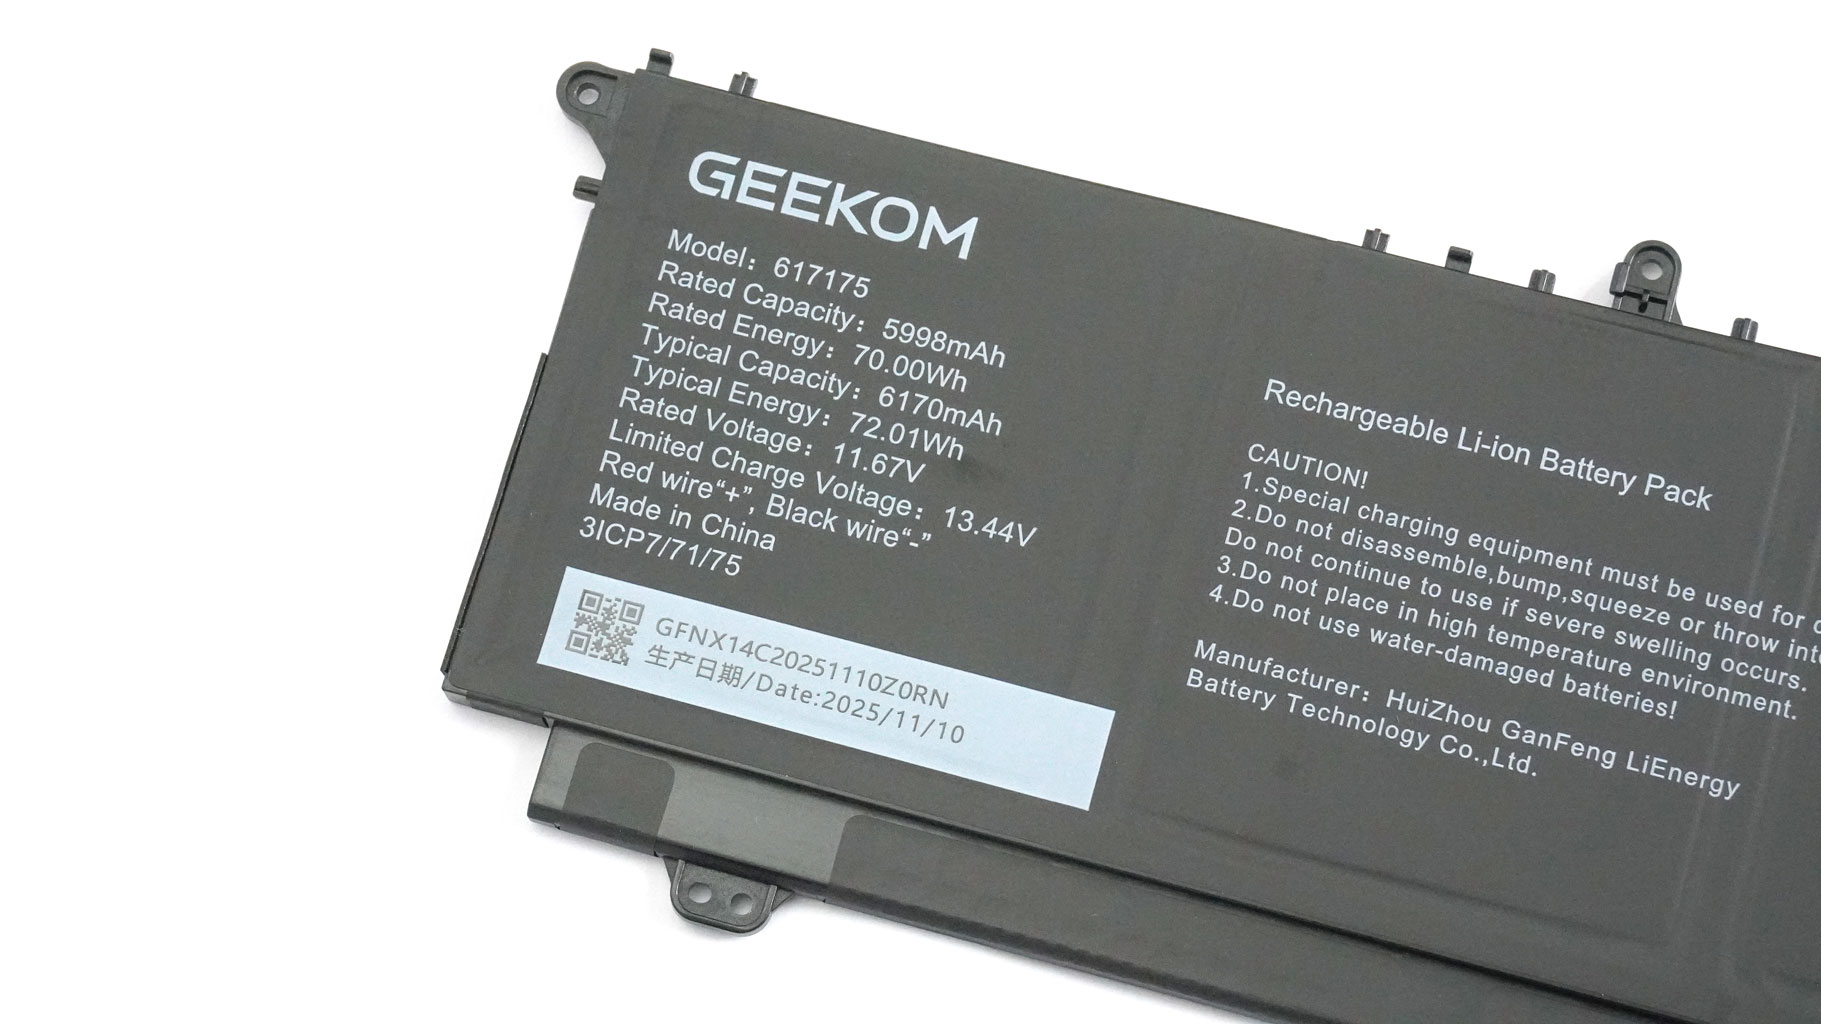
To remove the 72 Wh battery, first disconnect the battery cable in the top right by pulling it down. Then, undo the five Phillips head screws that fix the unit to the base. Carefully untangle the speaker cables around the upper side of the battery housing. The autonomous life is actually quite respectable, a bit above nine hours of 4K YouTube video playback. Pretty good result for a notebook with a high-res display and a 45 W CPU.
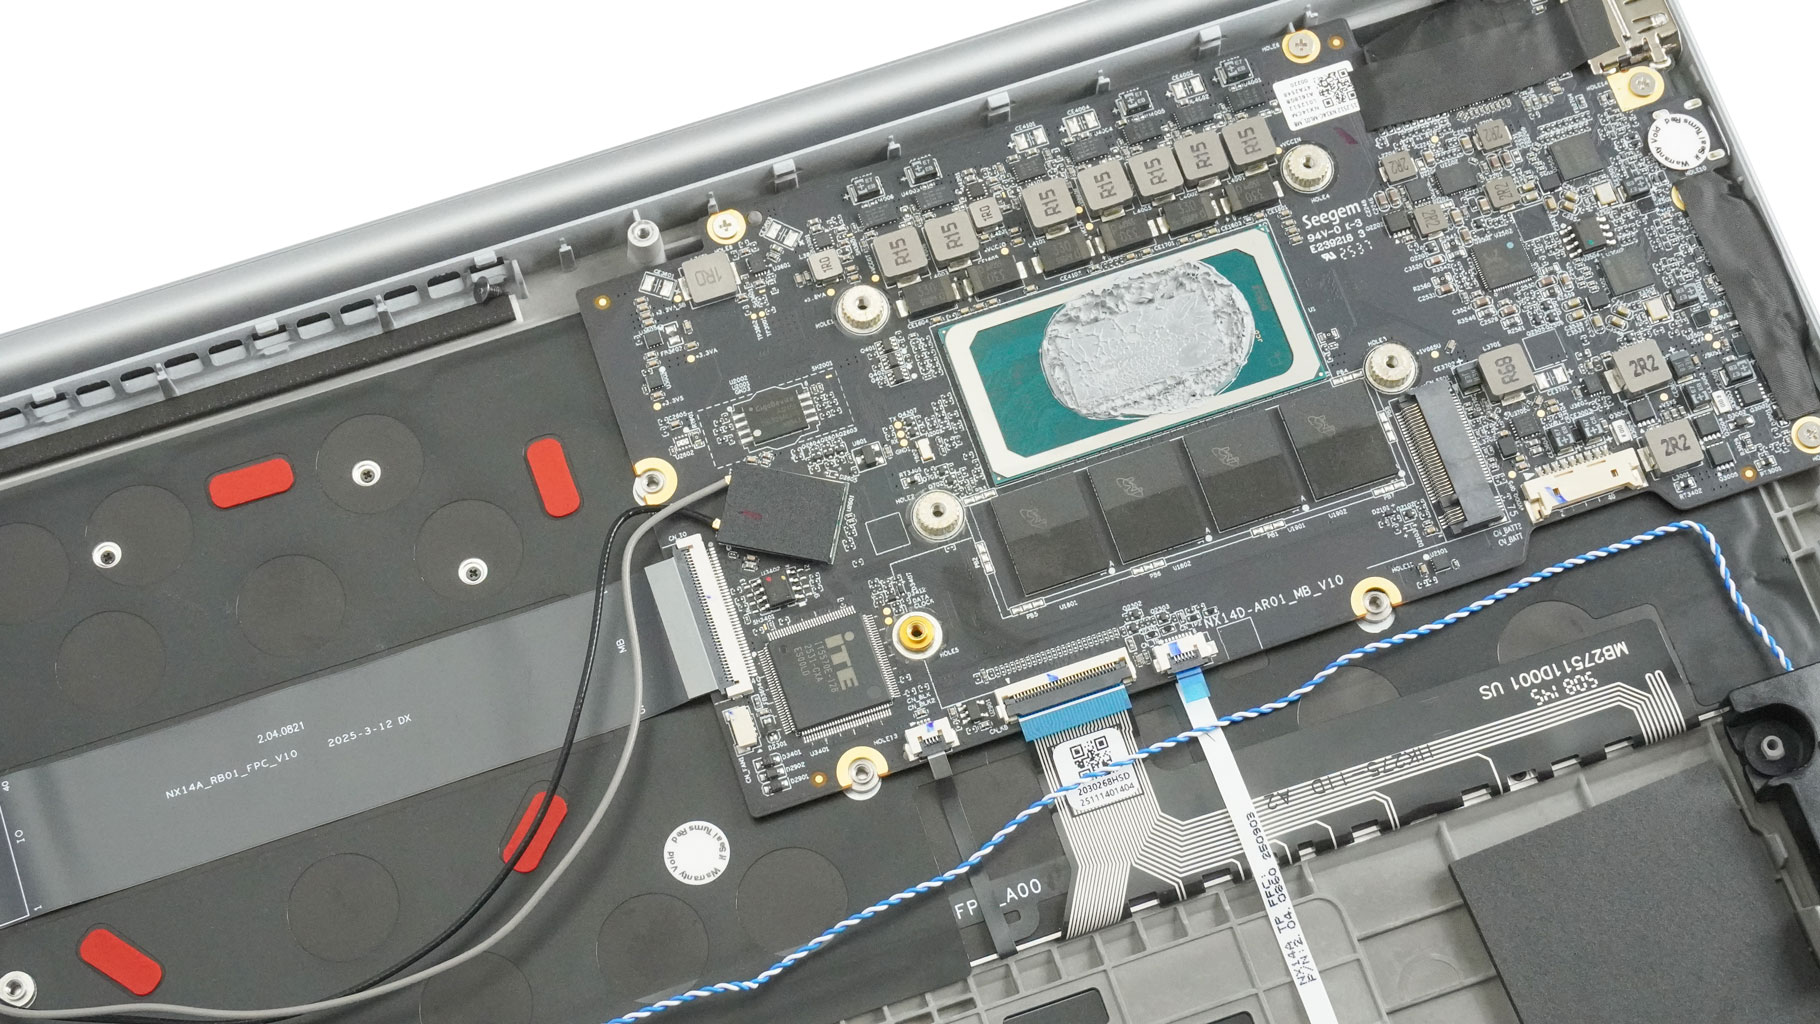
You get just one M.2 slot for 2280 Gen 4 SSDs. The NVMe drive is additionally cooled by a long thermal pad from below. As you can see, the memory is soldered. Still, 32 GB of LPDDR5x RAM is a reasonable amount for daily or office work. The Wi-Fi 6E card isn't upgradable.
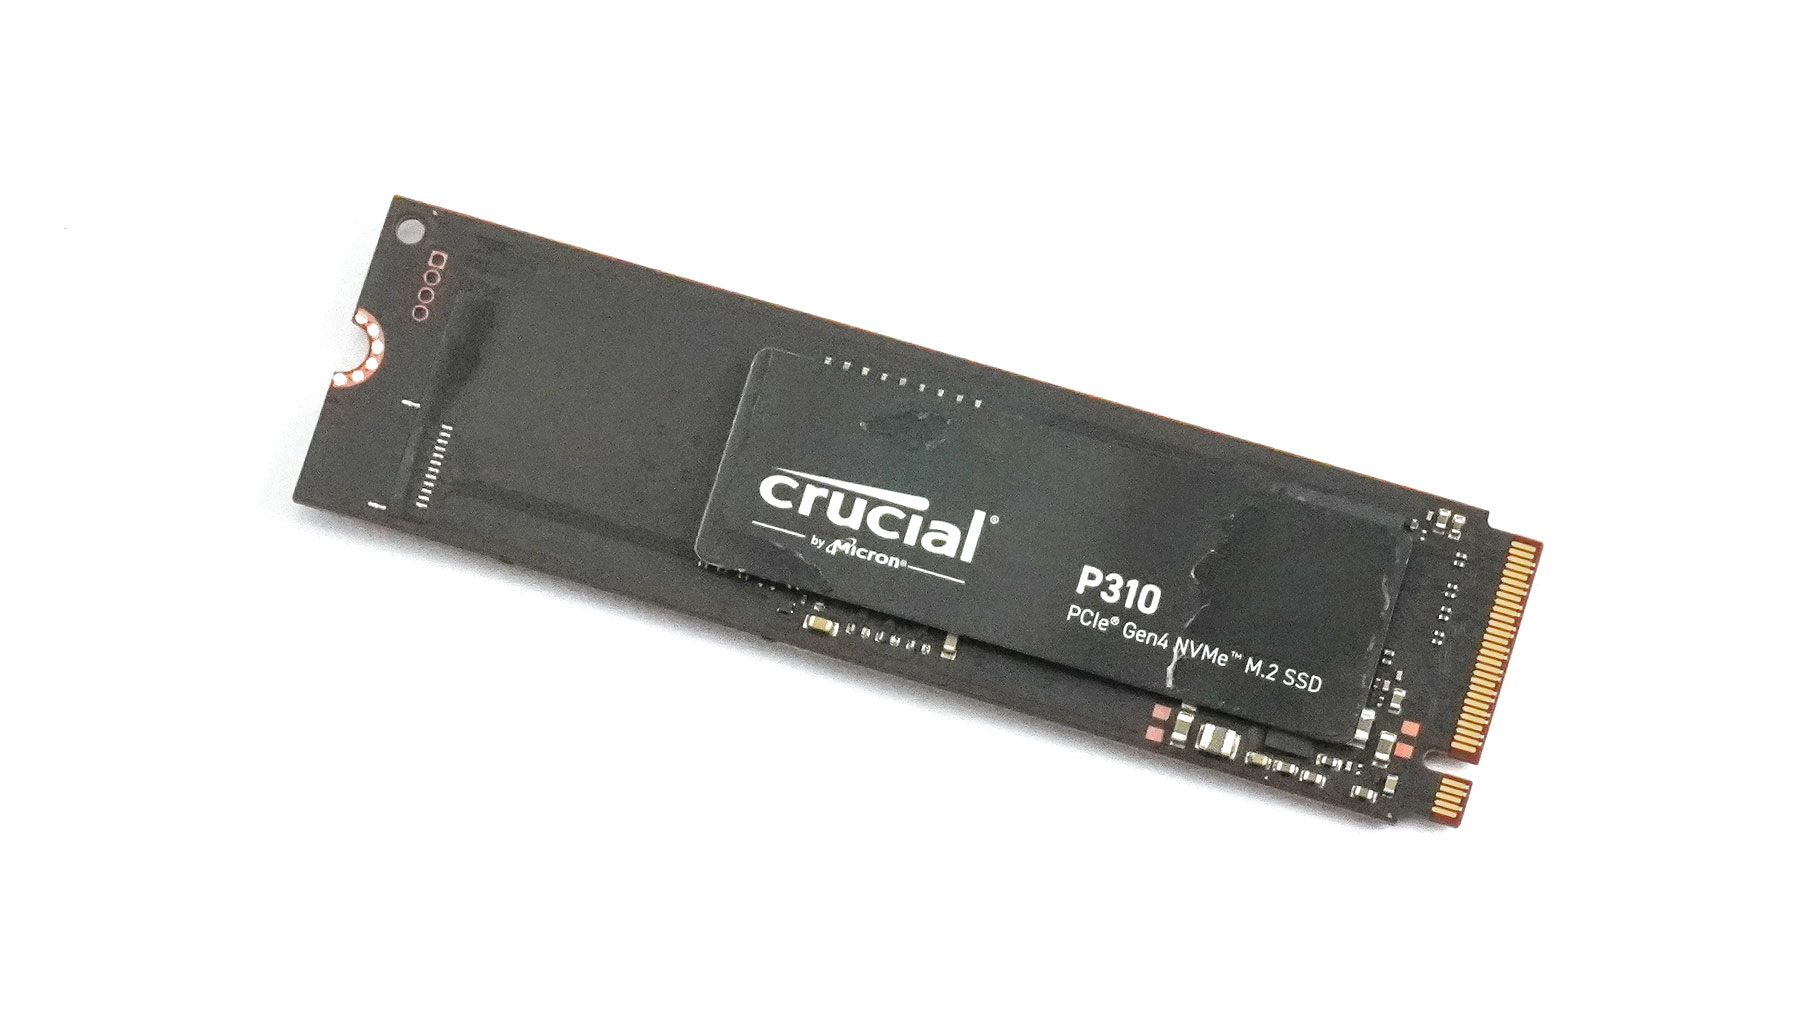
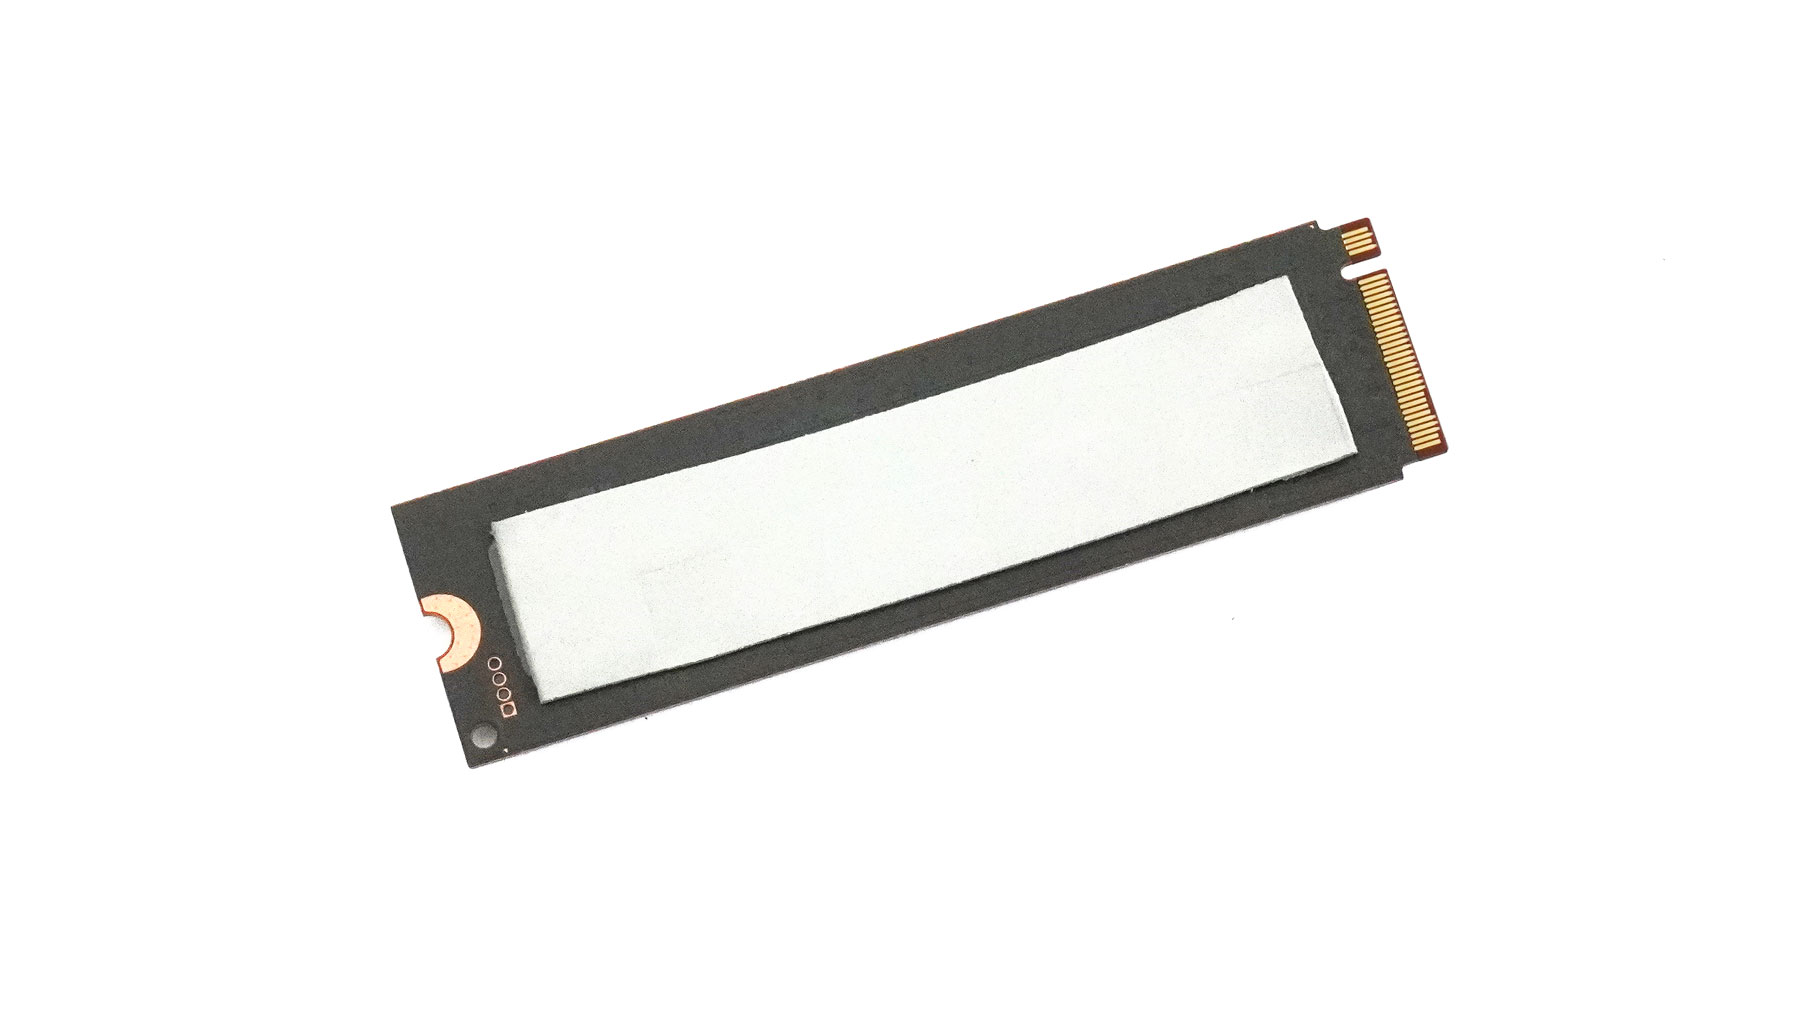
The SSD of this laptop.
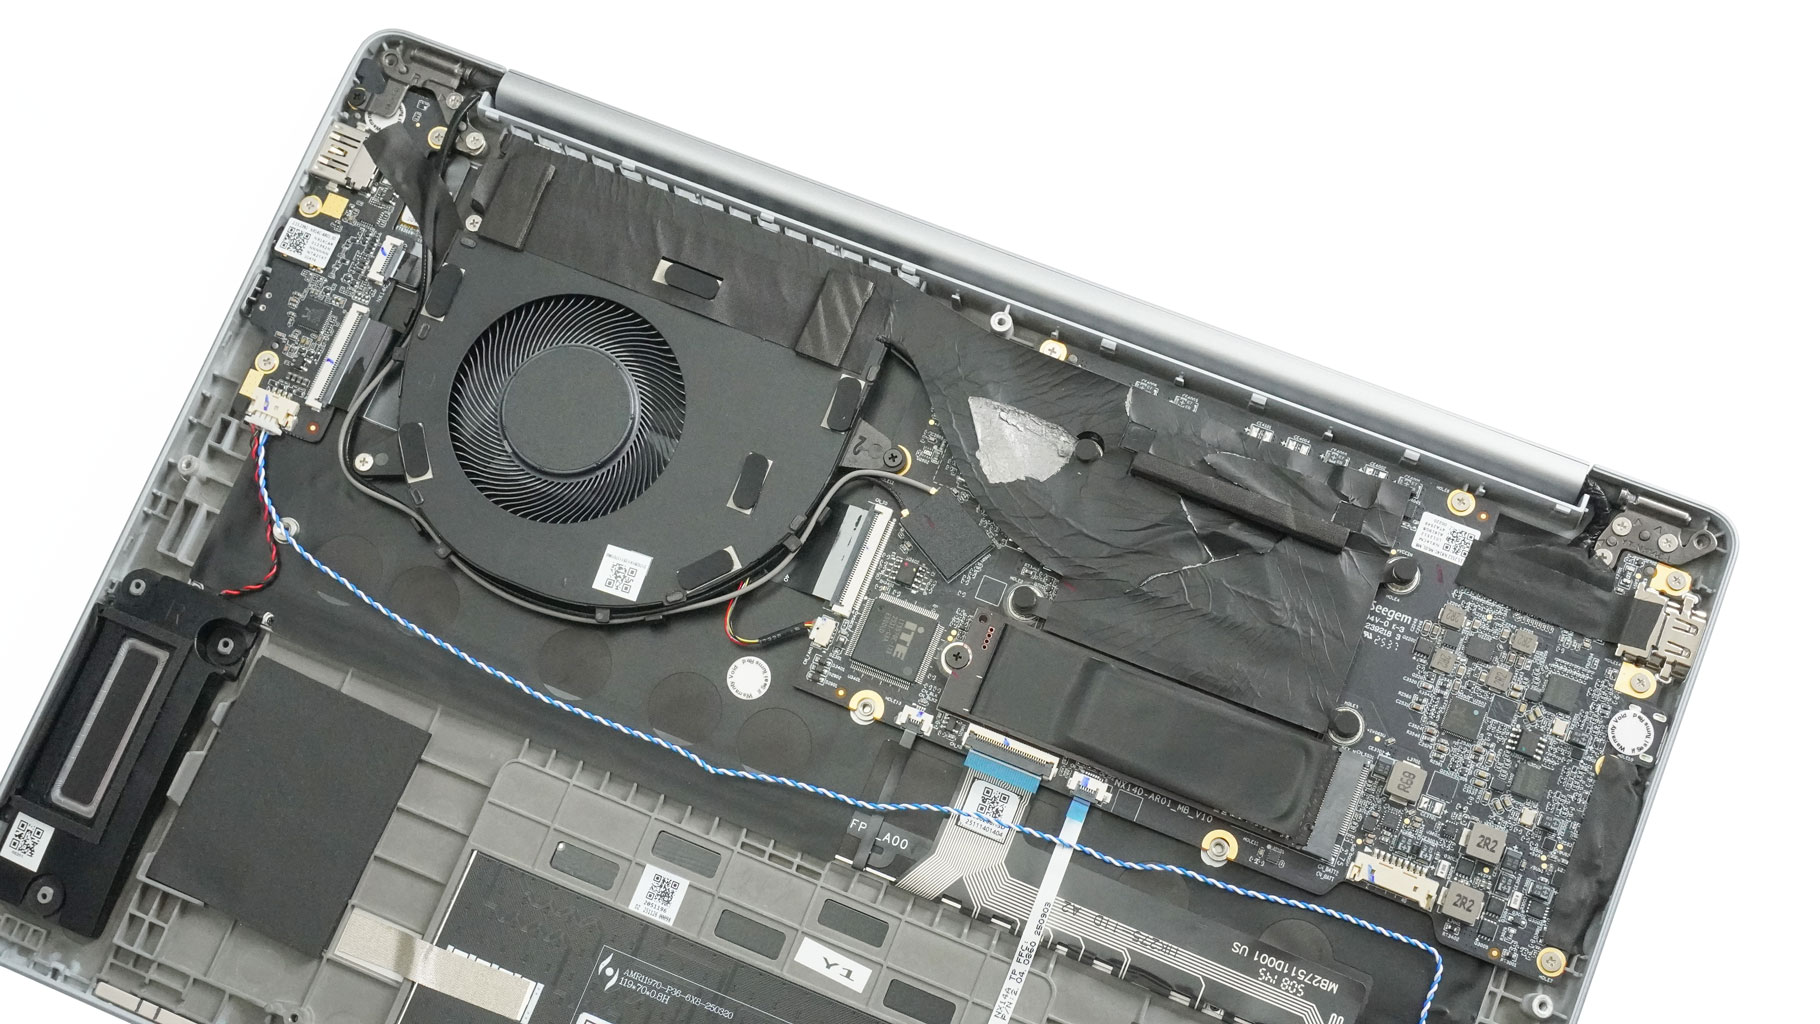
Now, let's take a look at the cooling. It's covered in a plastic film that has to be peeled off. I'm a bit impatient, so the cover didn't exactly survive my "intervention" intact.
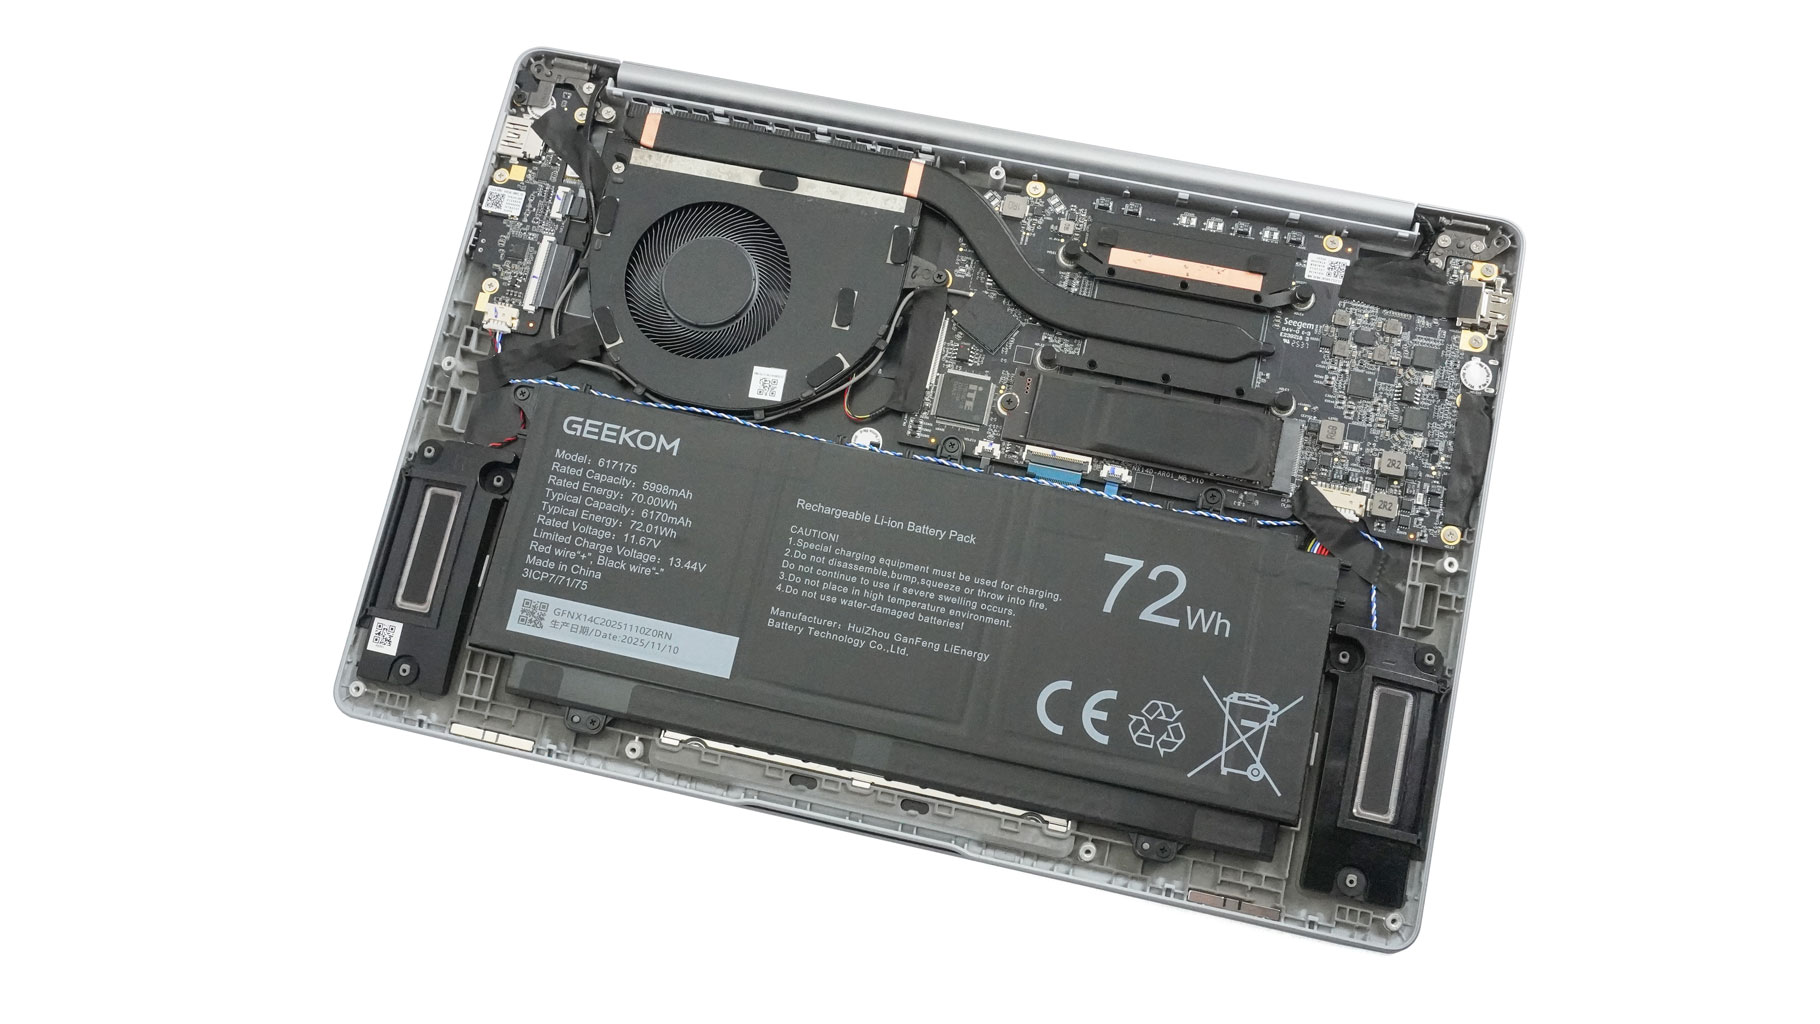
The thermal system comprises one large fan, a single long heat pipe, a heatsink on top, and a heat spreader above the processor and its VRM.
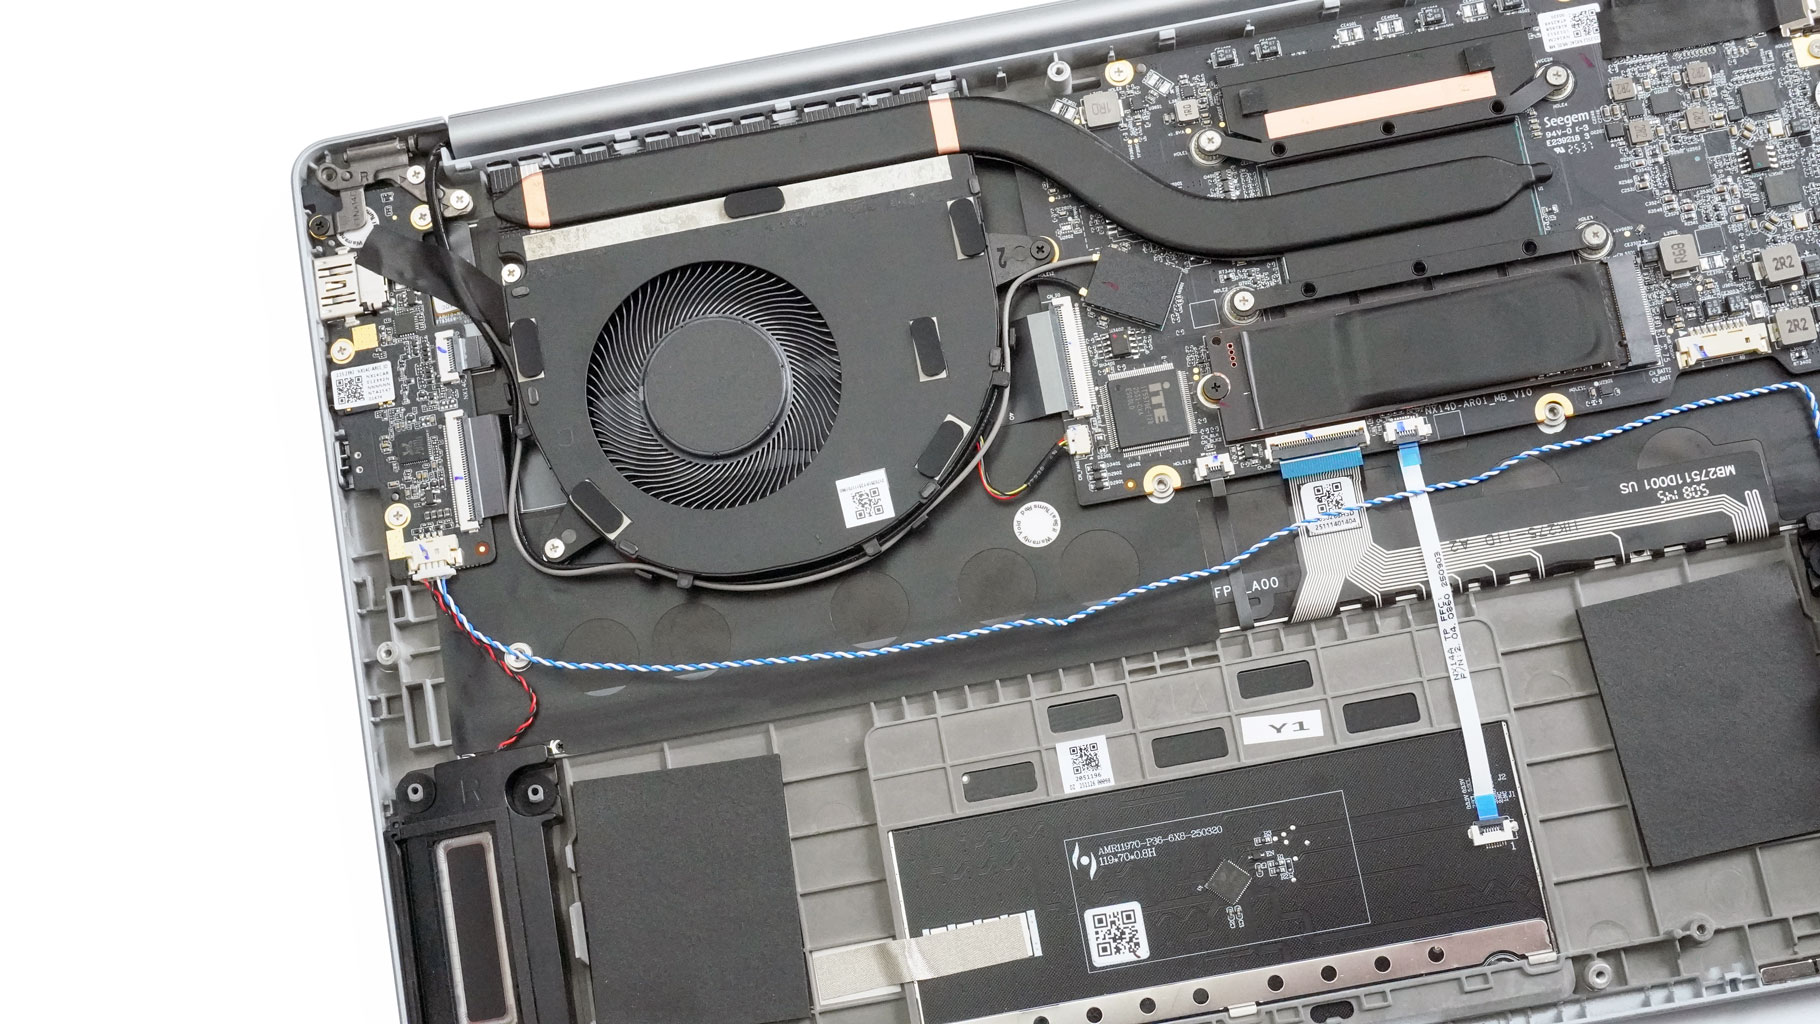
Let's detach the cooling. Start by unplugging the fan connector, then peel back the tape on the bottom right, and remove the three screws around the cable-dense housing. Carefully untangle those cables before lifting the fan out.
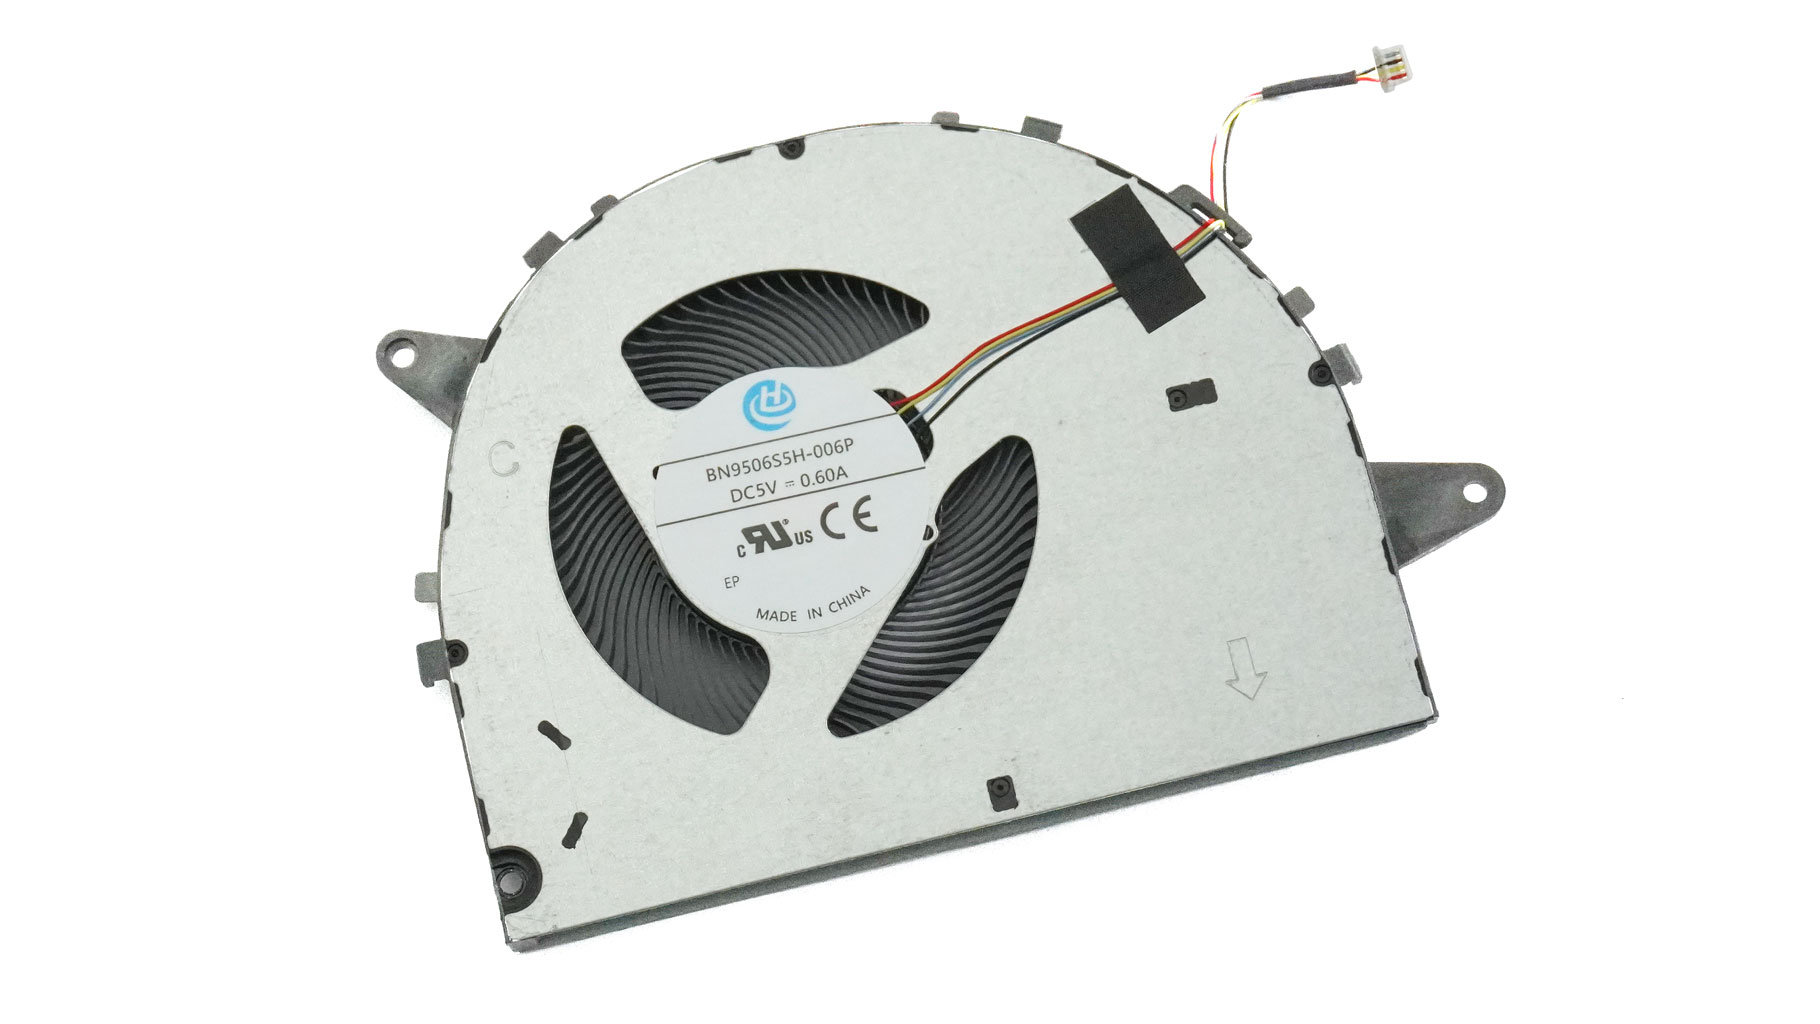
The fan isn't soldered to the thermal unit.
The heat spreader is held in place by four screws with rubber feet on top. Unglue them first. Pry the heat pipe close to the chip with a lever tool.
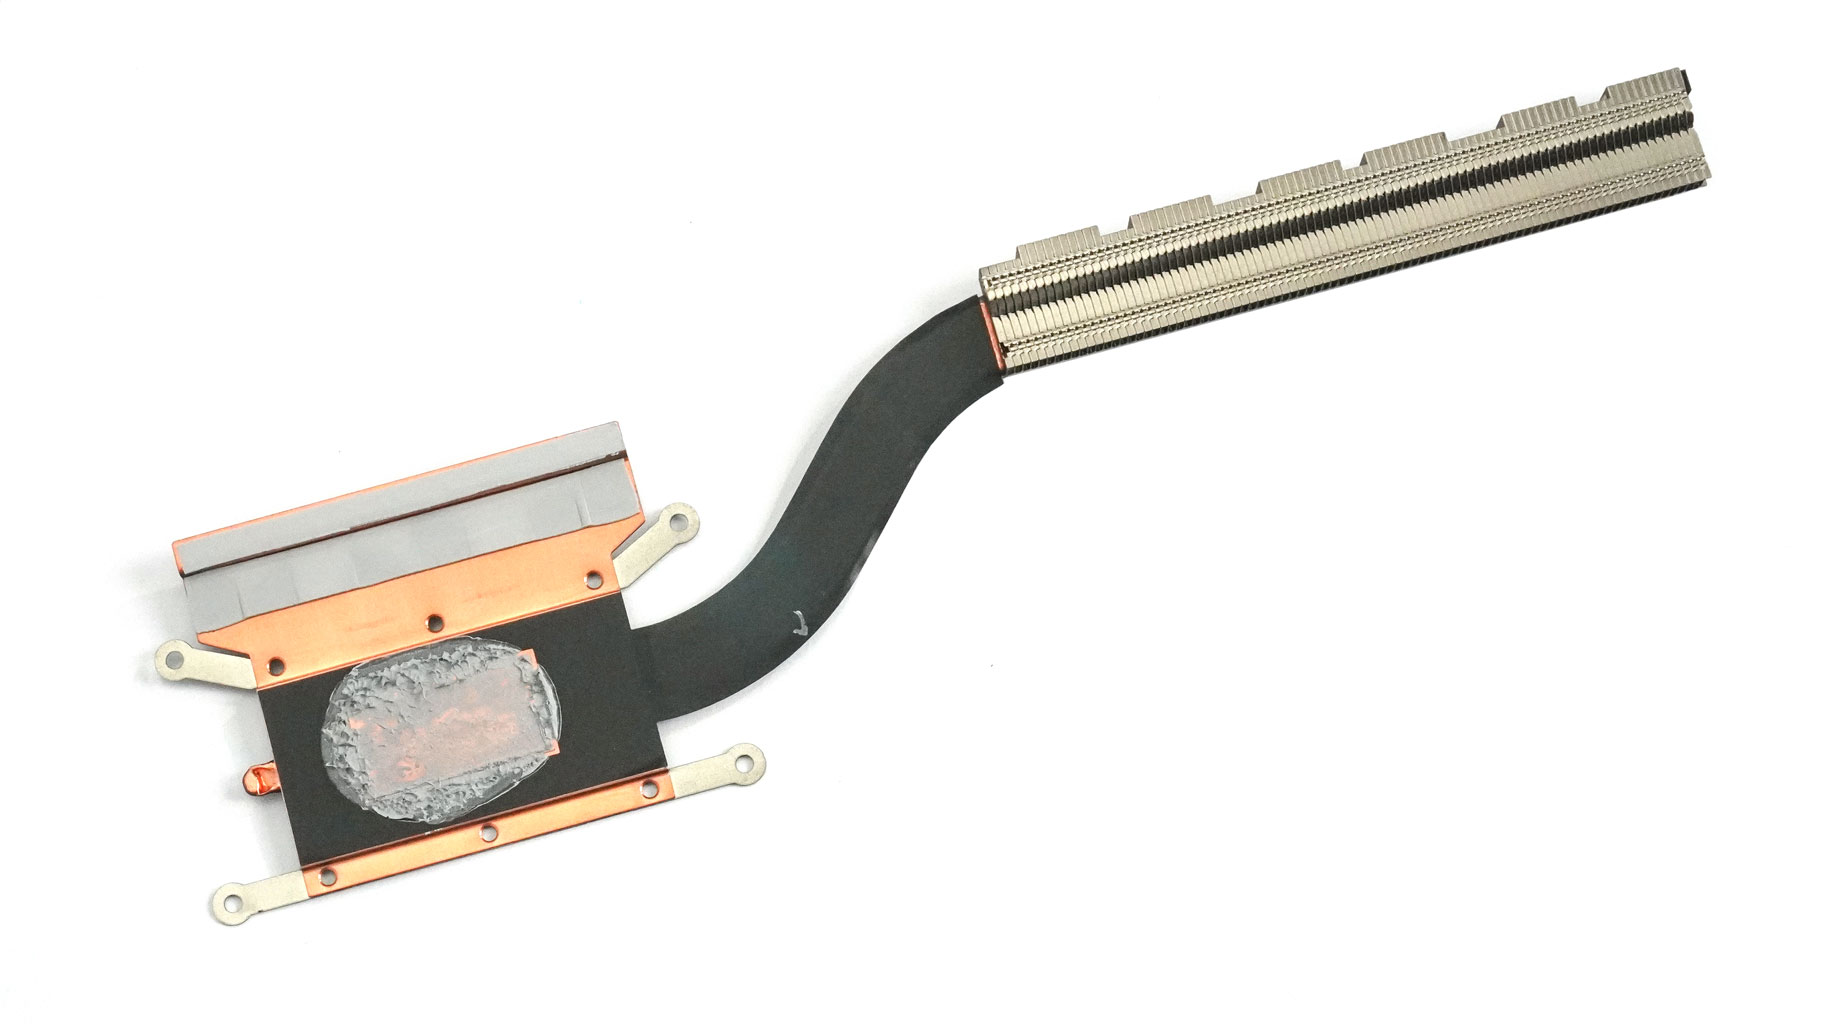
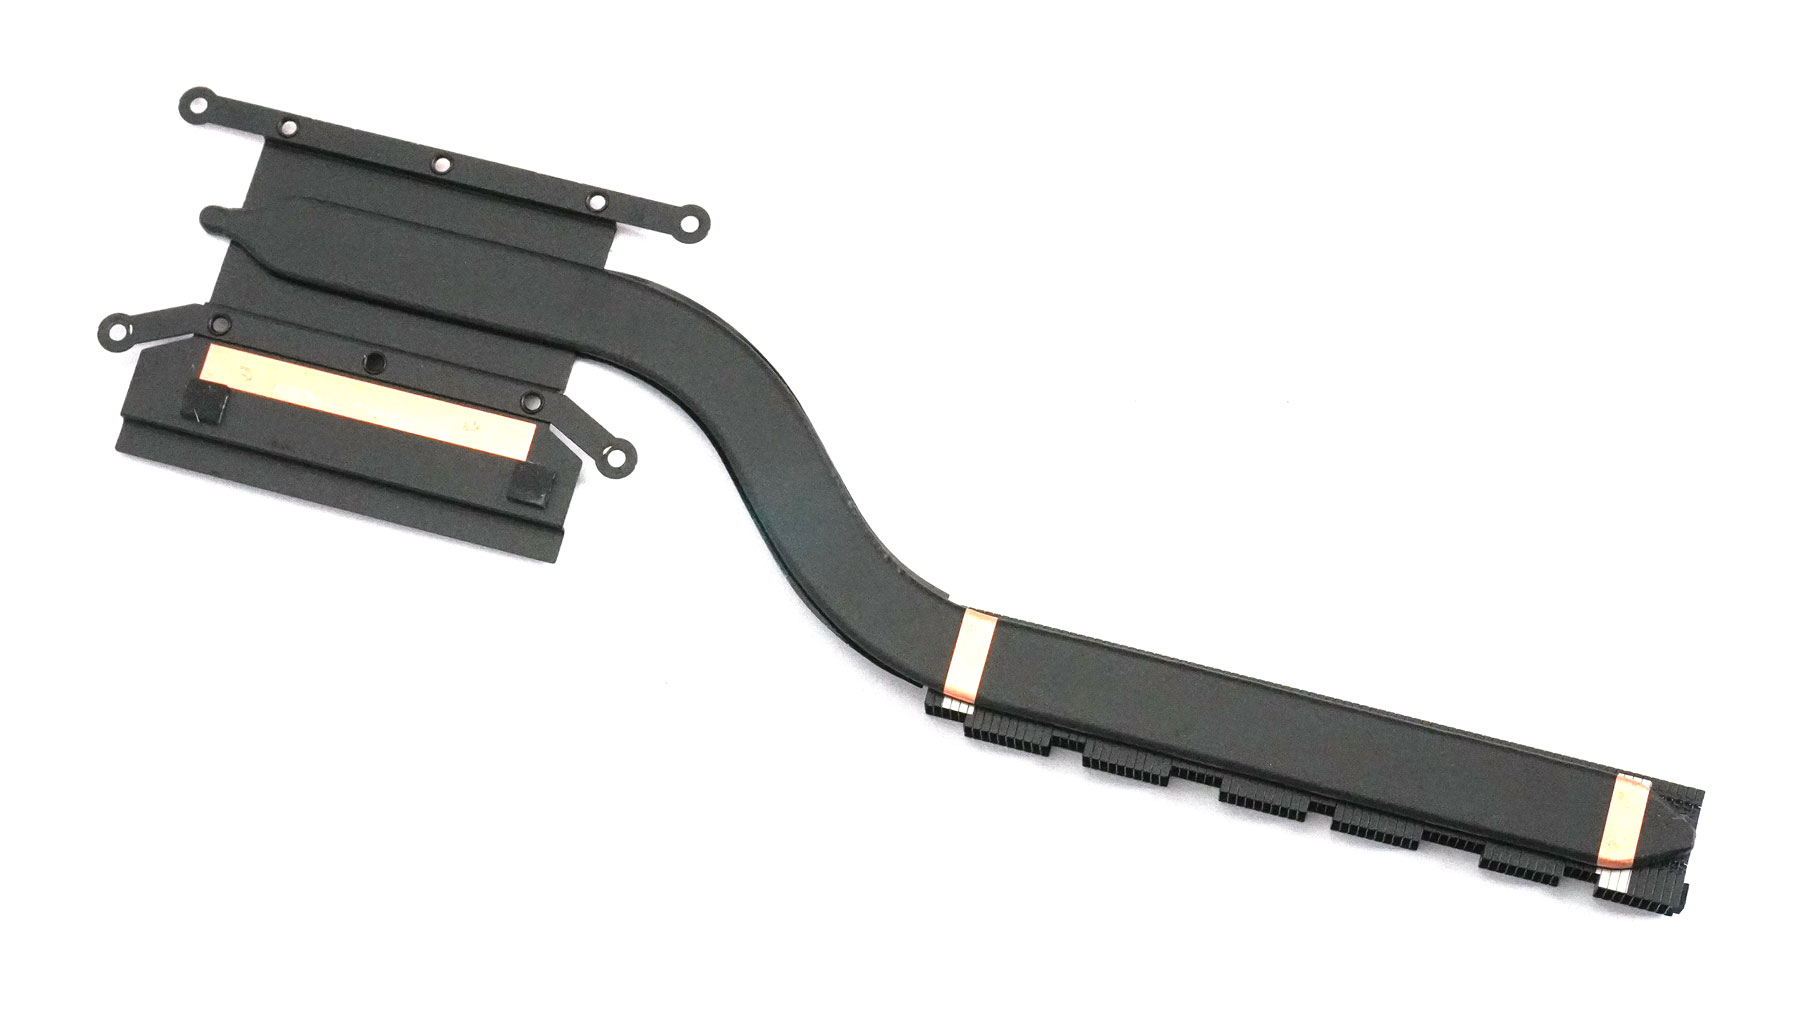
Here's how the cooling looks when it's detached.
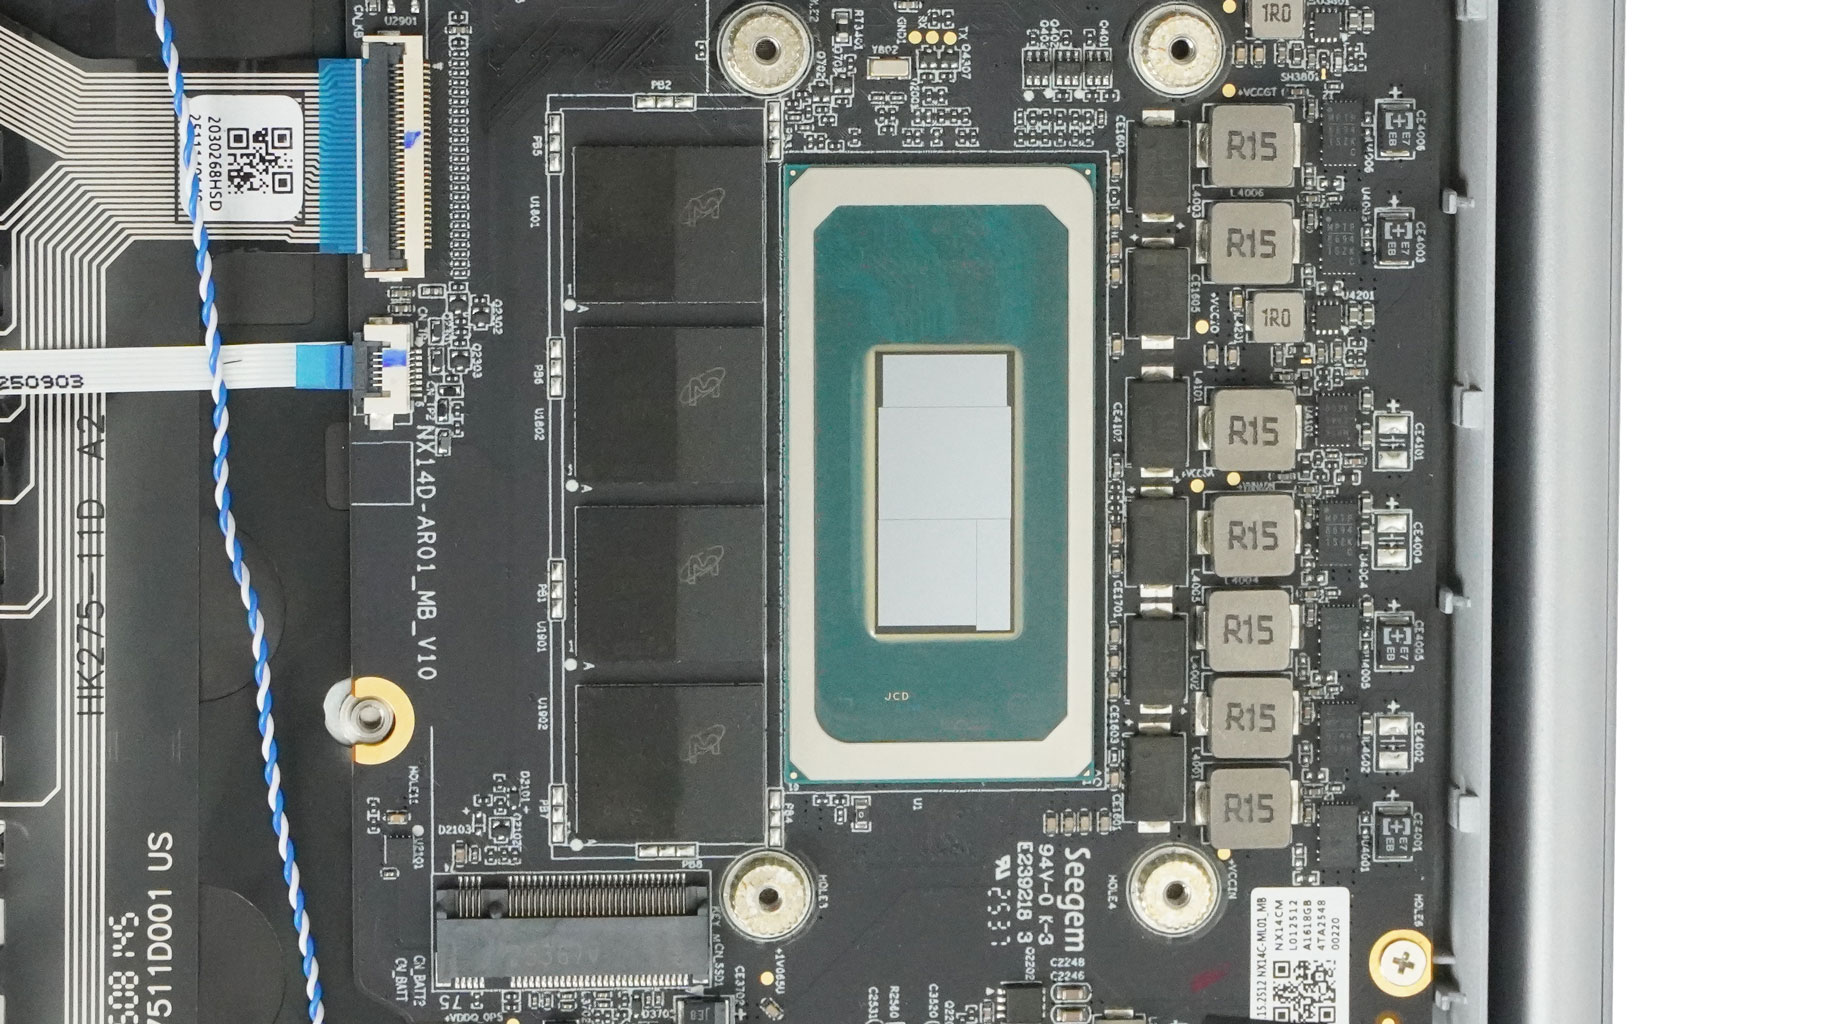
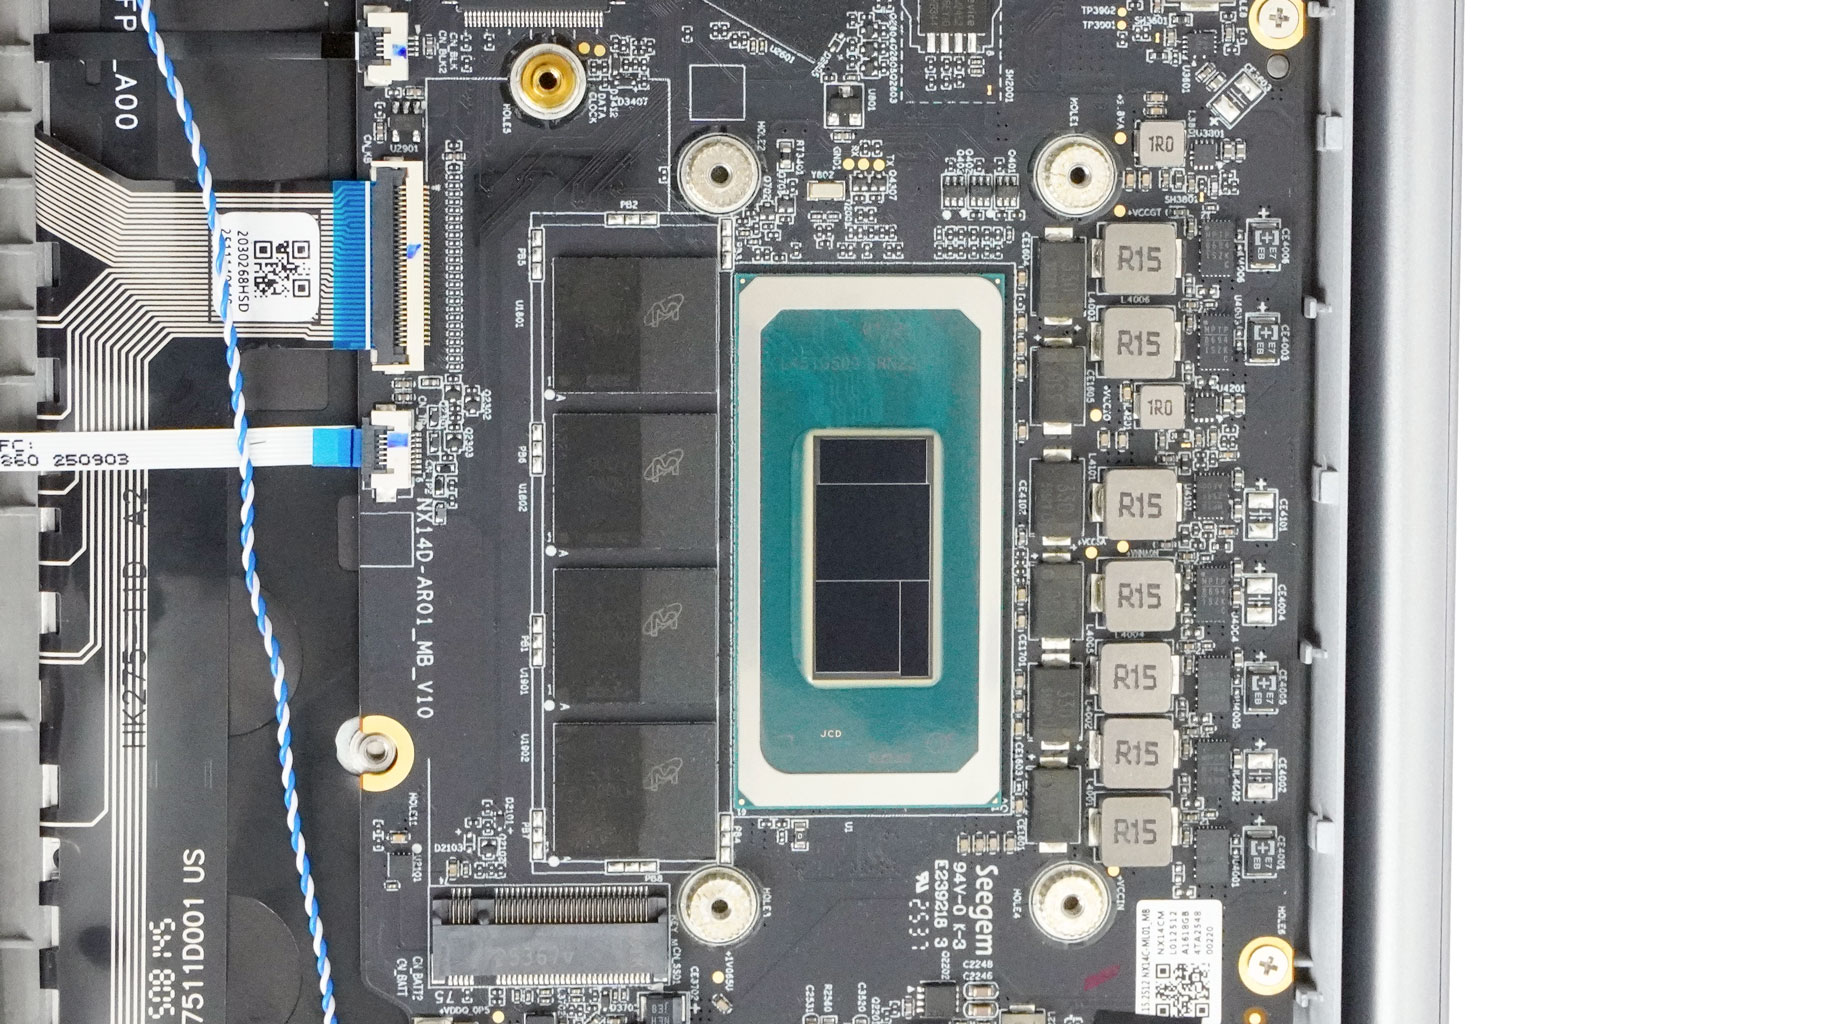
Now, the Meteor Lake CPU is exposed.
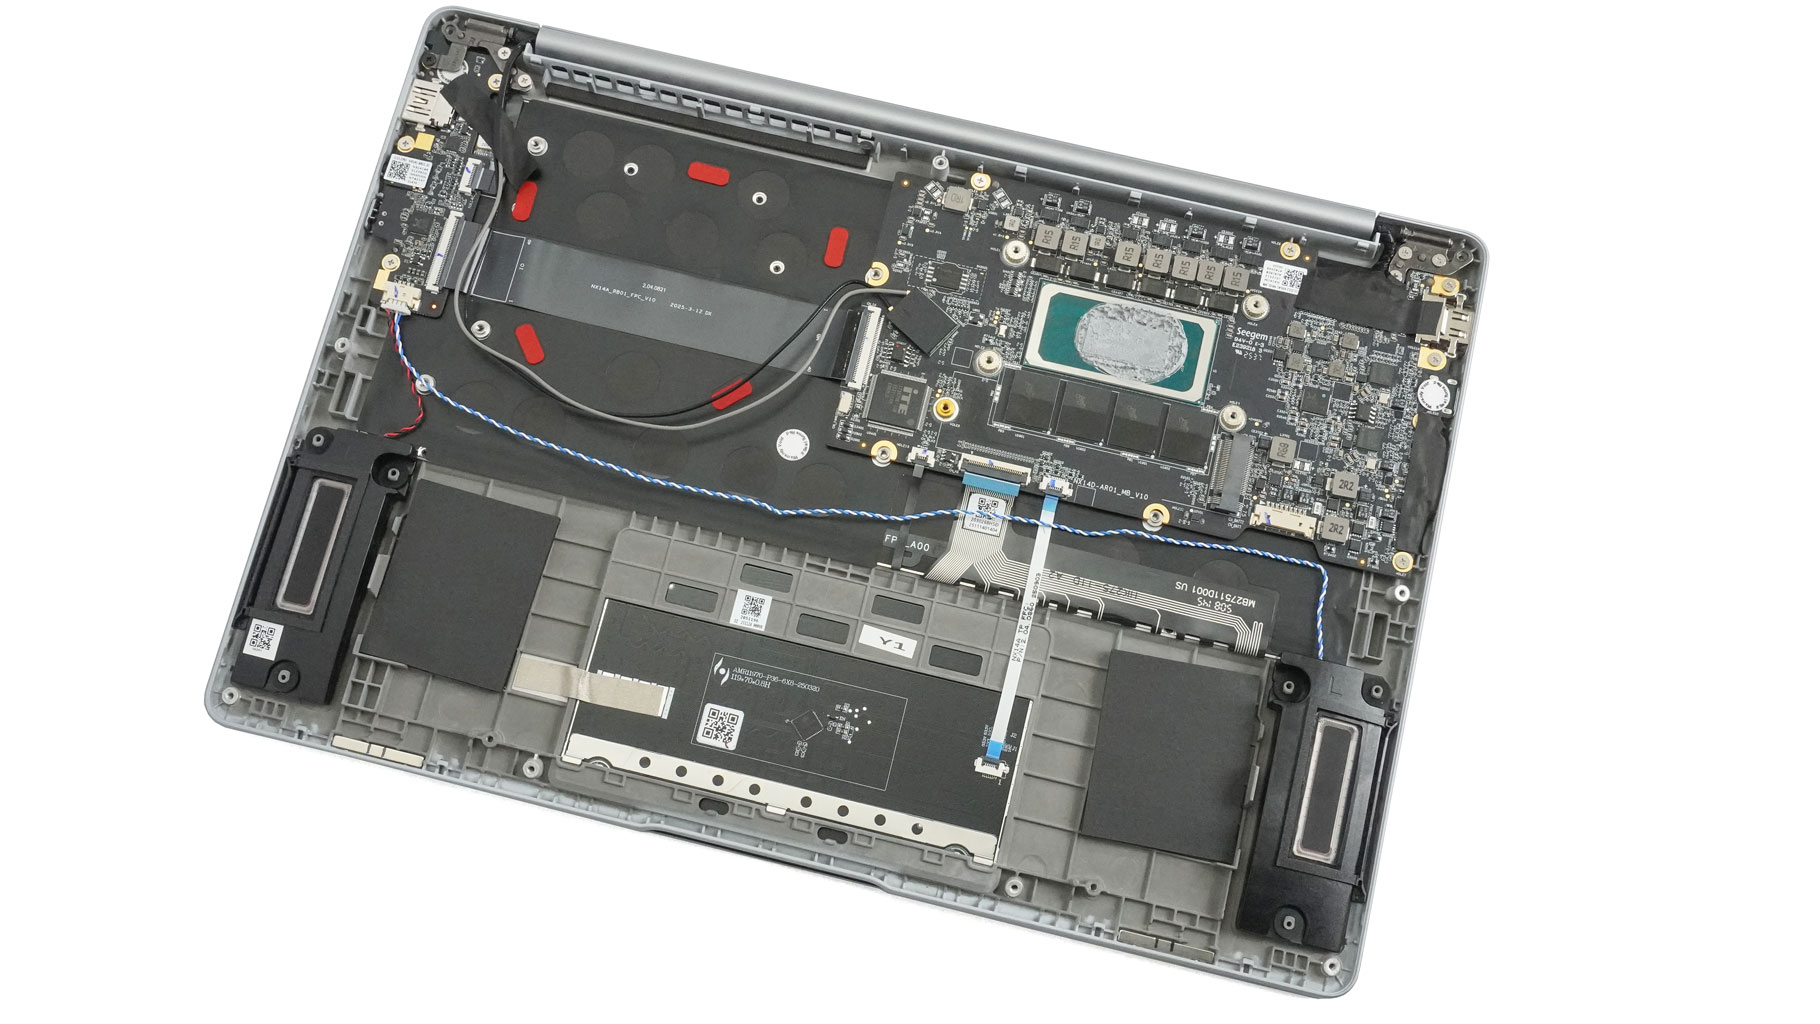
The same applies to the motherboard.
Nov 15th, 2026 01:21 CST
change timezone
Latest GPU Drivers
New Forum Posts
- Honestly, do you care about GTA VI? (31)
- Optical Disc Drive owners club (210)
- WarpCoreBench scores! (46)
- Bought MAX-P495 - Which model? (32)
- "Legacy Control Panel" won't install (1)
- Tell me about your favourite graphics card (84)
- Planning for Prolonged High Prices and Maintaining What You Already Have (72)
- What can the FX 8320 do today? Here is the answer. (47)
- Recommendations Wanted - Affordable Enterprise SSD for Boot (3)
- [INTEL]-How To Update Your Microcode for Intel HX 13/14th Gen. CPUs Laptops/Mobile Easily. (260)
Popular Reviews
- AMD Zen 6 Technical Deep Dive
- ASUS ROG Strix B850-I Gaming Wi-Fi7 W Review
- Corsair HX1000i Shift Crystal Review
- Upcoming Hardware Launches 2027 (Updated Nov 2026)
- Montech King 95 3D PRO Review
- NZXT C1200 Platinum Review
- NZXT H7 RGB+ Review
- NZXT H5 Review
- Phantom Blade Zero Performance Benchmark Review - 35 GPUs Tested
- AMD Ryzen 7 9800X3D Review - The Best Gaming Processor
TPU on YouTube
Controversial News Posts
- NVIDIA Co-Founder and CEO Jensen Huang Officially Resigns (408)
- OpenAI CEO Argues Home PCs Waste the World's Limited DRAM Supply (152)
- NVIDIA Launches Investigation Into Jensen Huang's Relationship With Suspected Chinese Spy (136)
- Intel "Raptor Lake Next" 16-Core and 20-Core CPUs Surface (130)
- Legendary Game Studio BioWare Shuts Down Following EA Layoffs (104)
- Dell CEO Says the Memory Shortage Will Get Worse in 2027 (95)
- NVIDIA GeForce RTX 50-Series Scheduled for up to $500 Price Hike This Week (89)
- Modder Fits RTX 5090 With Four 8-Pin Connectors, Halving Current per Wire (80)