 12
Gigabyte MO32U24 Review - Penta Tandem Hits Its Stride
Picture Quality, Uniformity & Viewing Angles »Controls and OSD
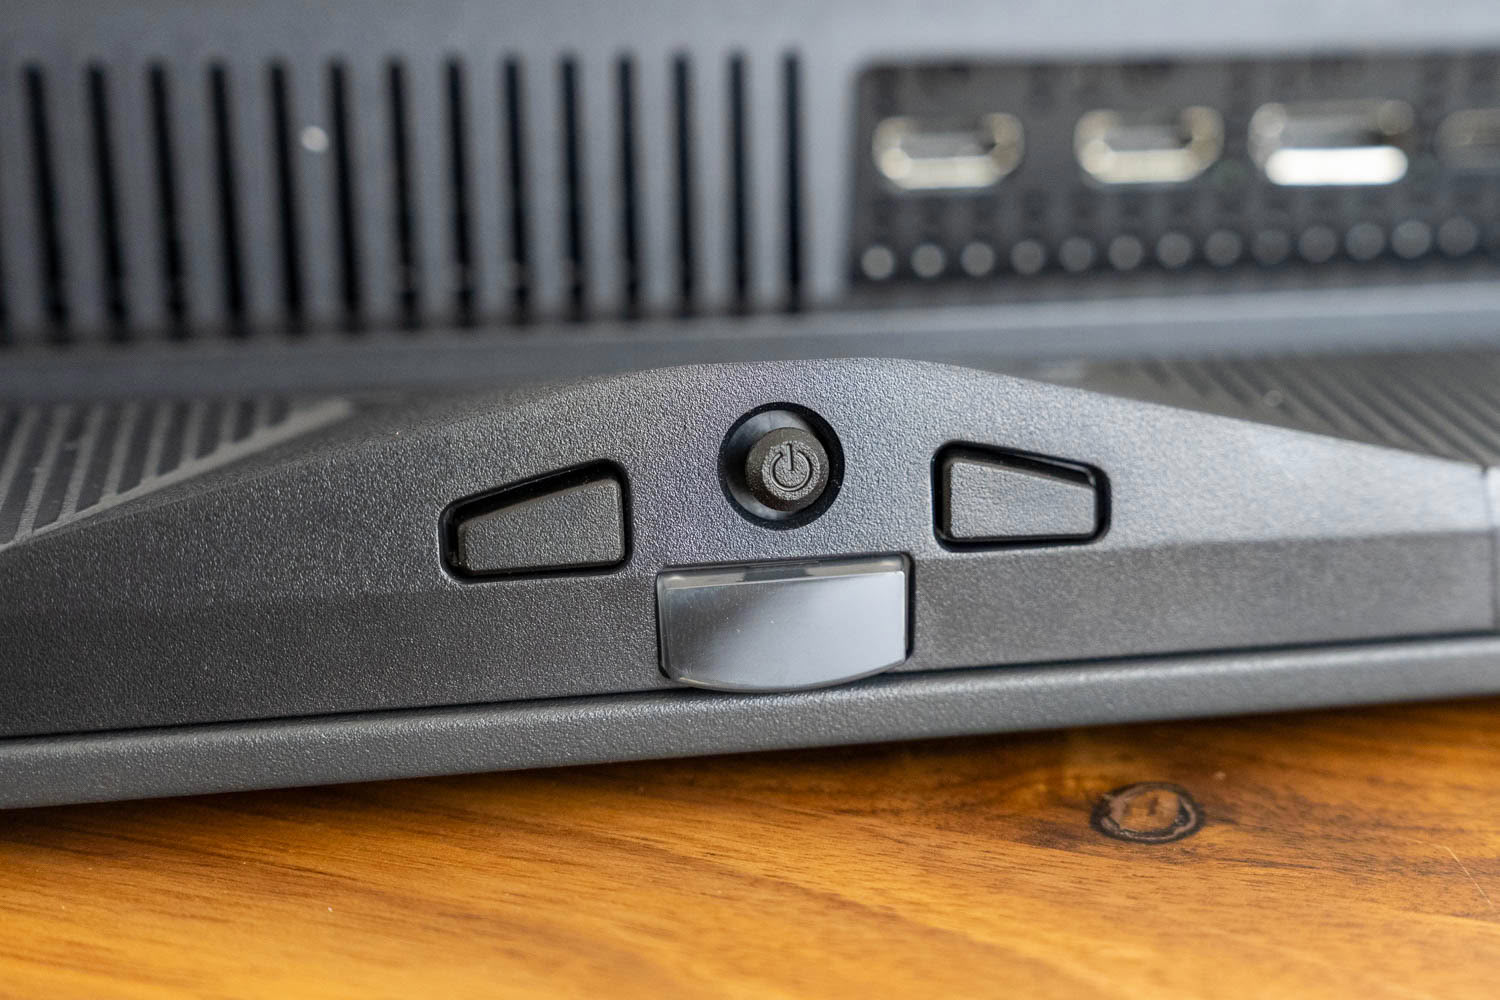
The controls sit at the bottom of the panel, beneath the Gigabyte logo. A four-way joystick is recessed into the underside with a flat button on either side. Everything faces downward rather than backward, which means you find it by feel from underneath instead of leaning around the chassis, and after a day or two your hand goes straight there. The joystick itself has a firm, well-defined action in all four directions and a distinct click on press.
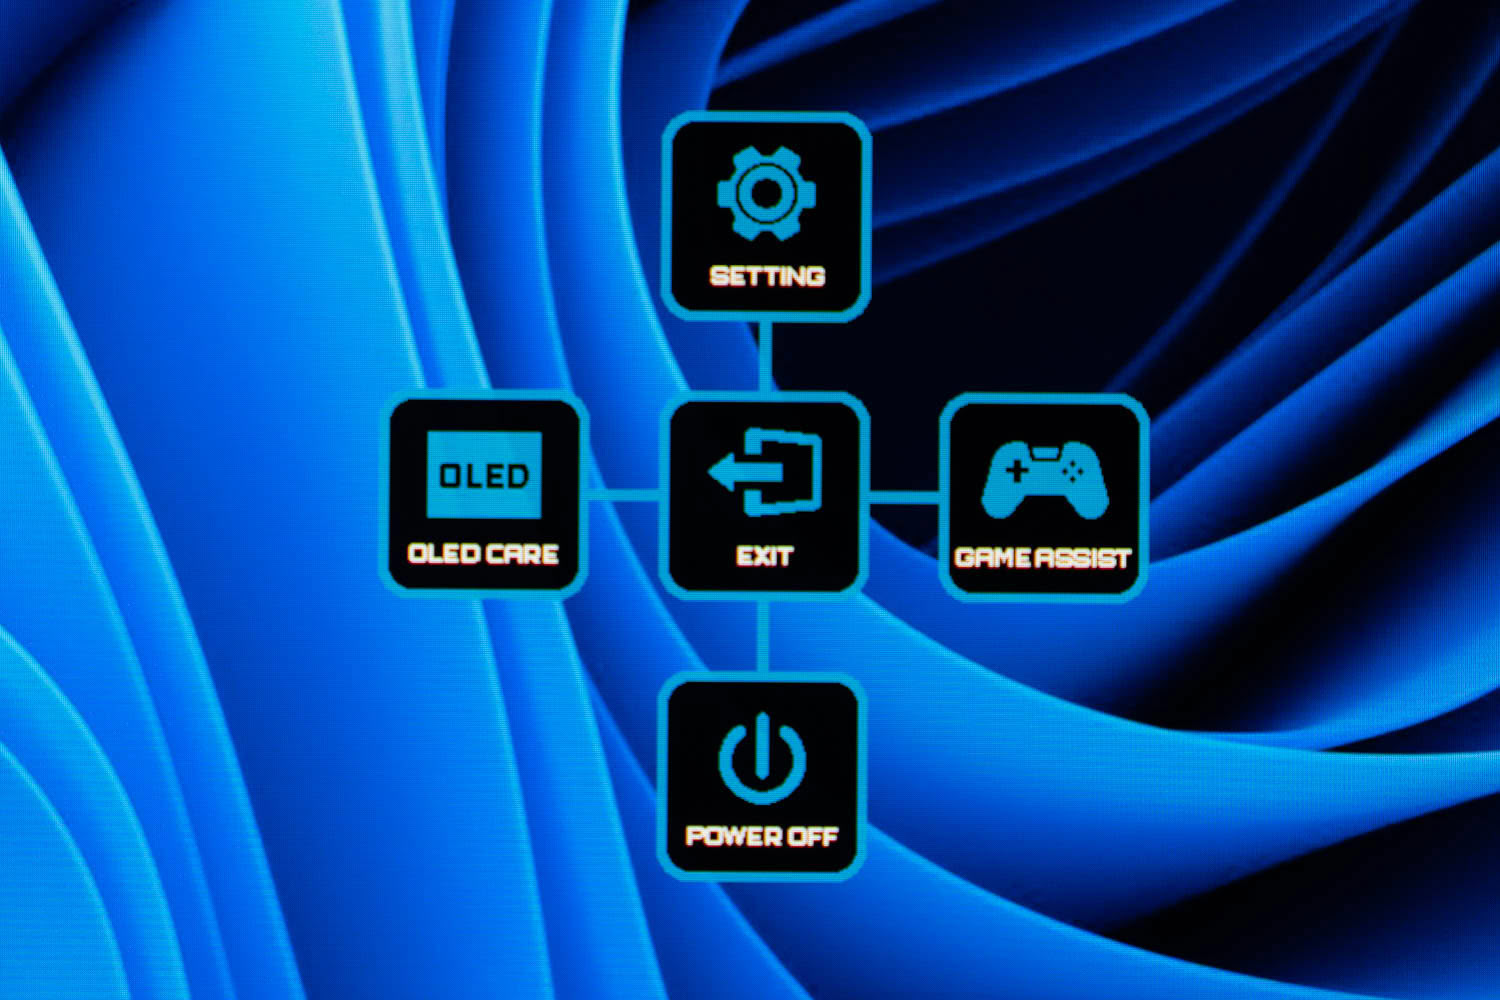
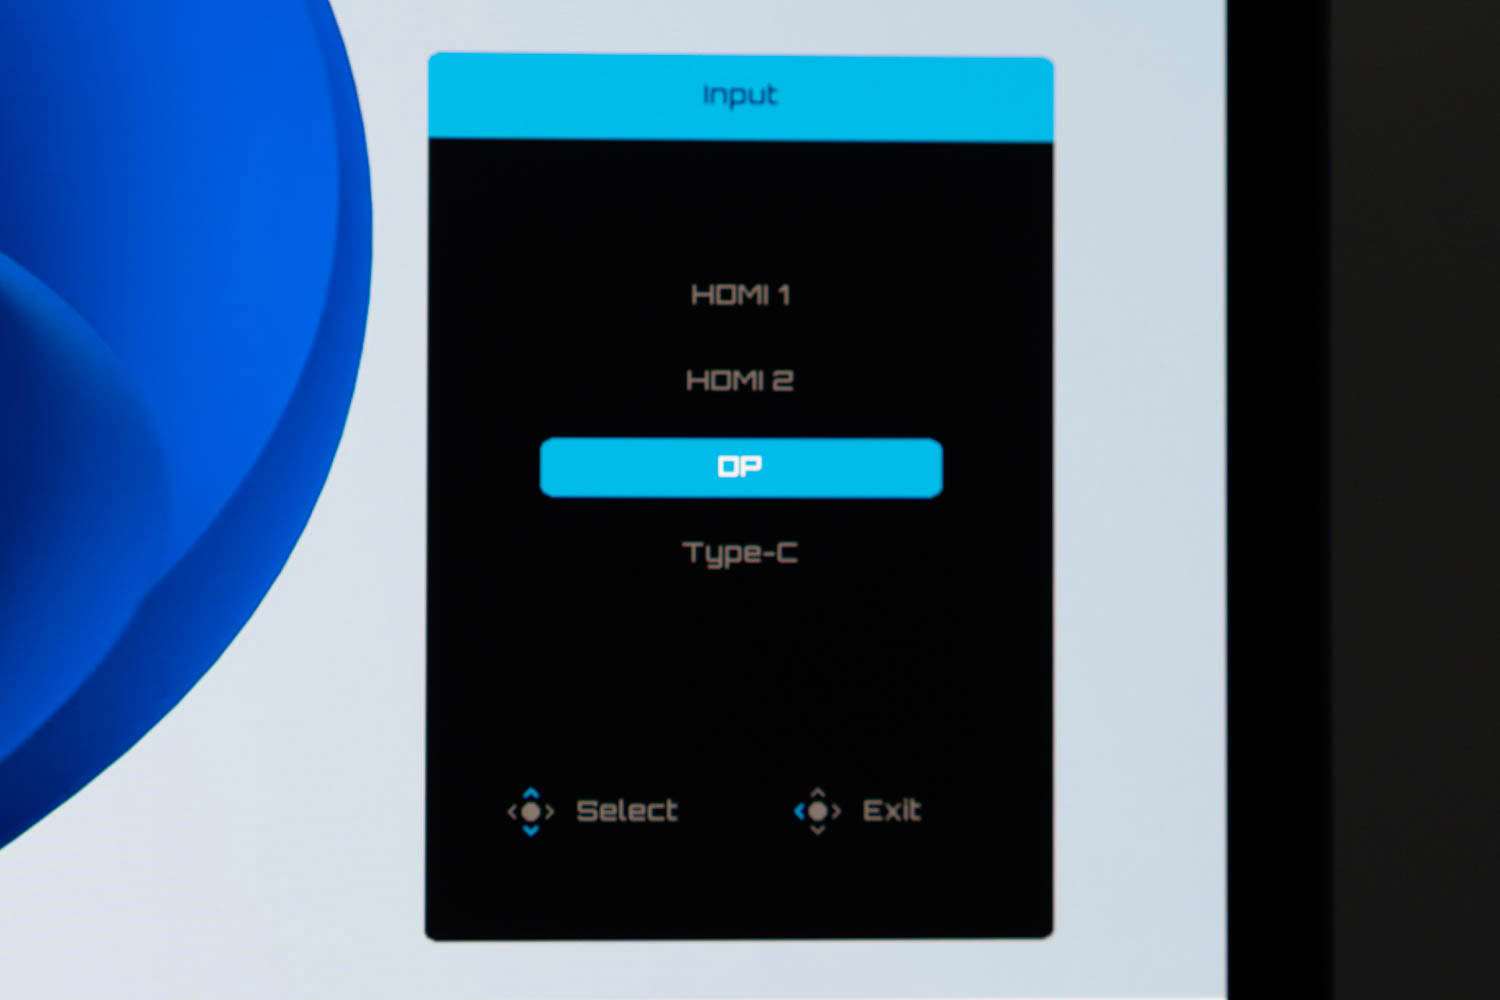
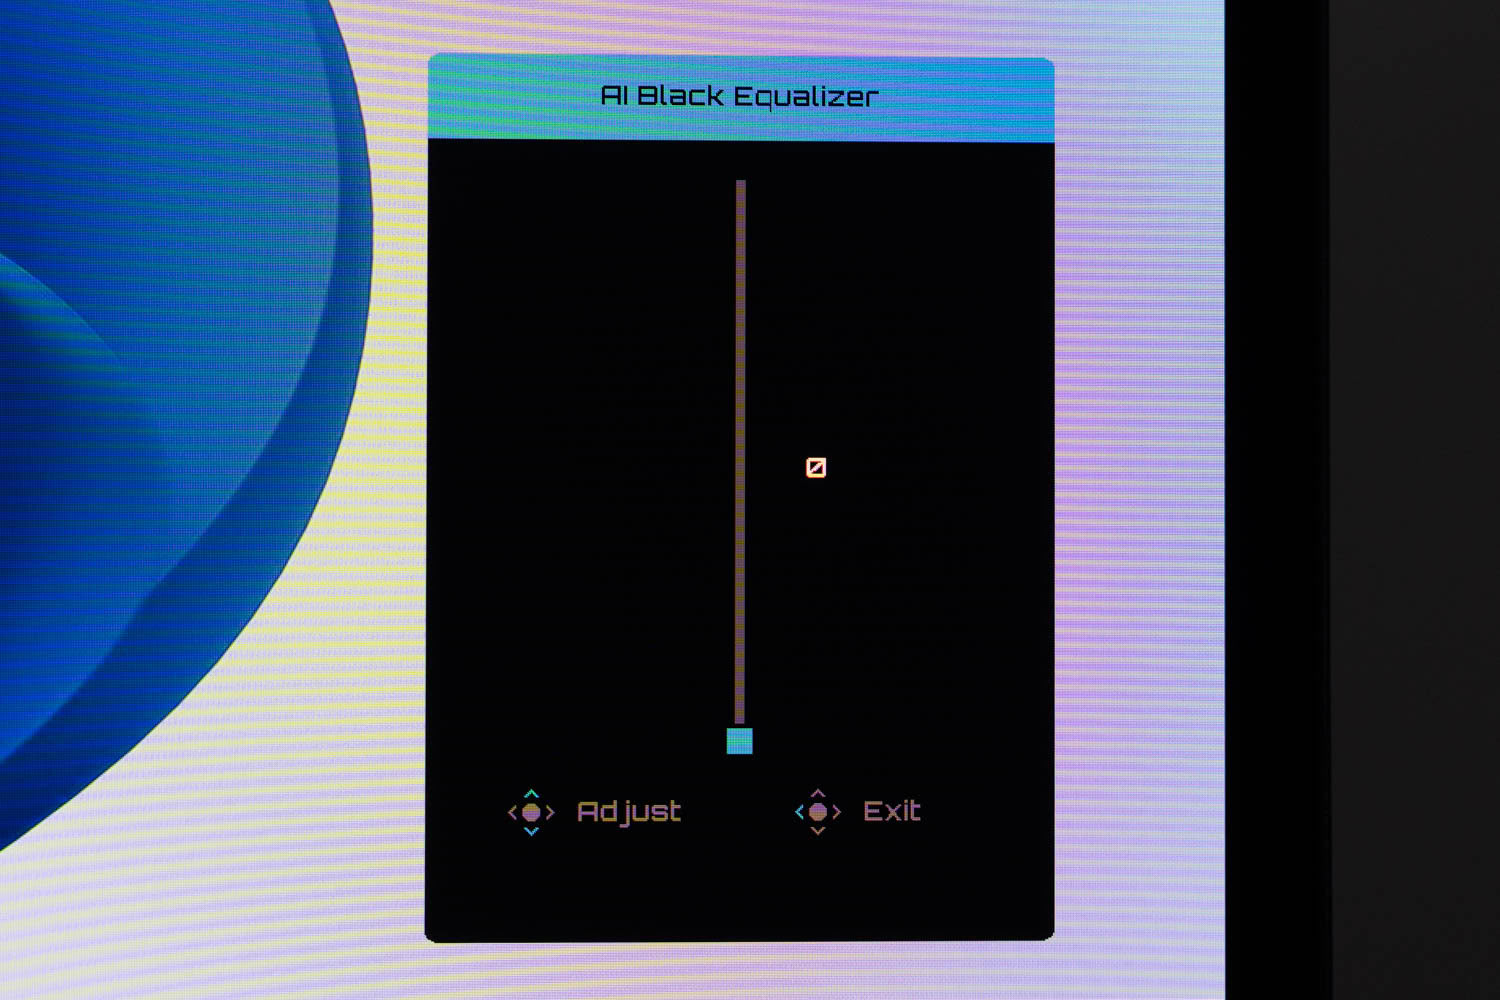
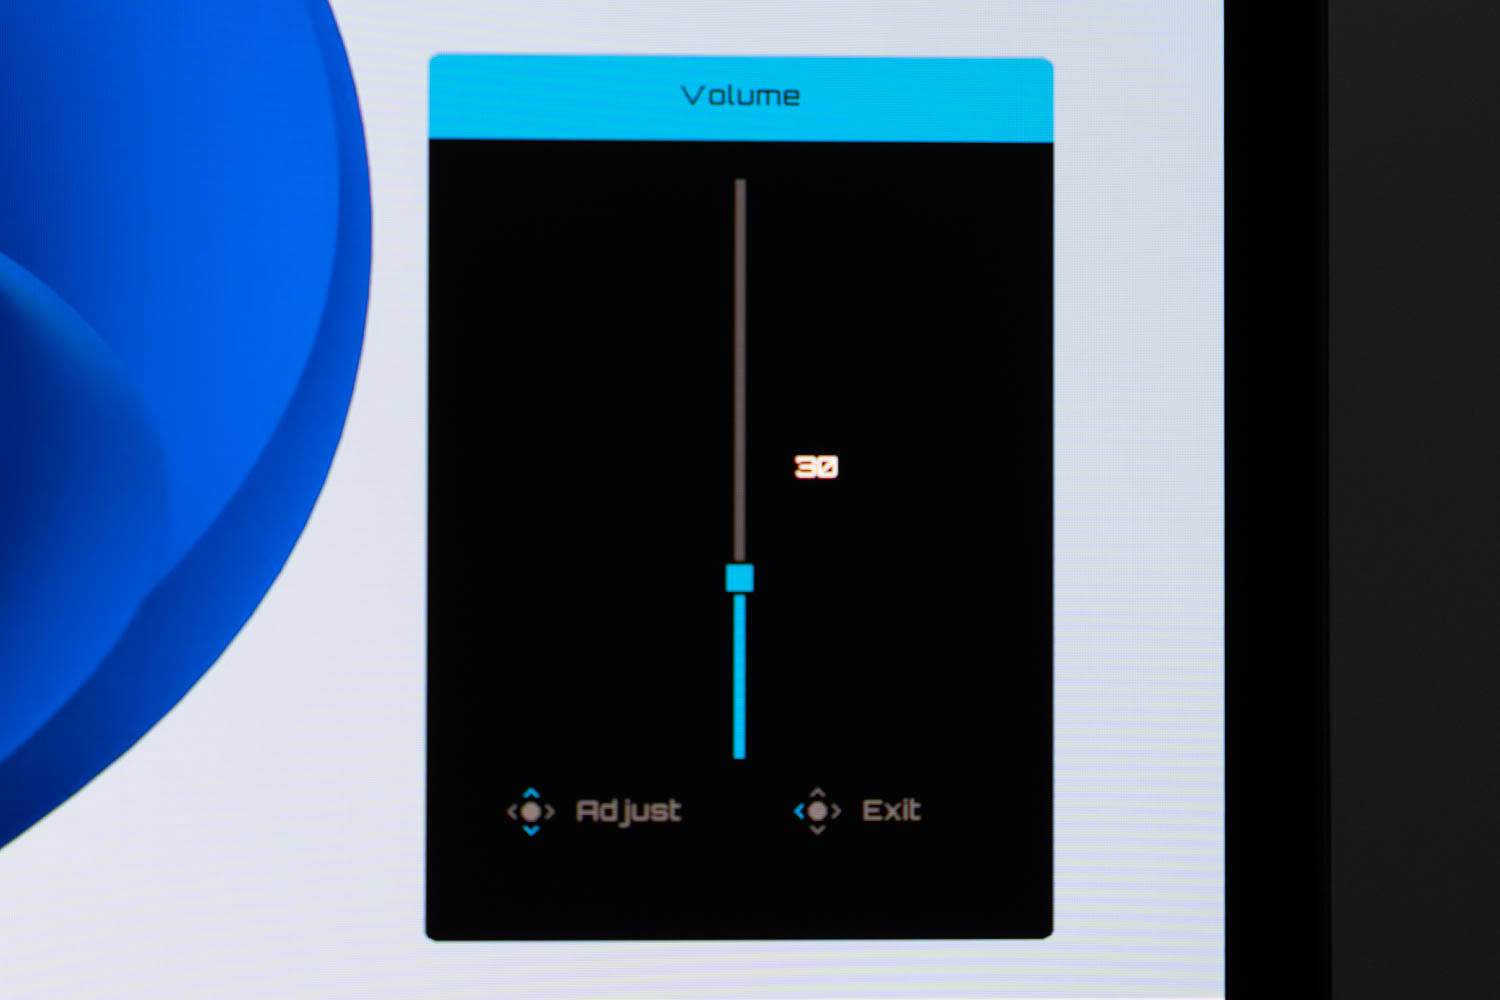
Pressing the joystick brings up a compass-style hub with Settings at the top, OLED Care on the left, Game Assist on the right, Power Off at the bottom and Exit in the center. Putting OLED Care one press away from the desktop rather than three levels into a settings tree is the right call on a panel where people are going to check on the maintenance routines regularly. Nudging the joystick in a direction instead of pressing it jumps straight to one of four assigned sliders, which out of the box are Picture Mode, Input, AI Black Equalizer and Volume. Each opens as a compact standalone panel rather than the full menu, so switching profiles or sources takes two motions and nothing covers the screen while you do it.
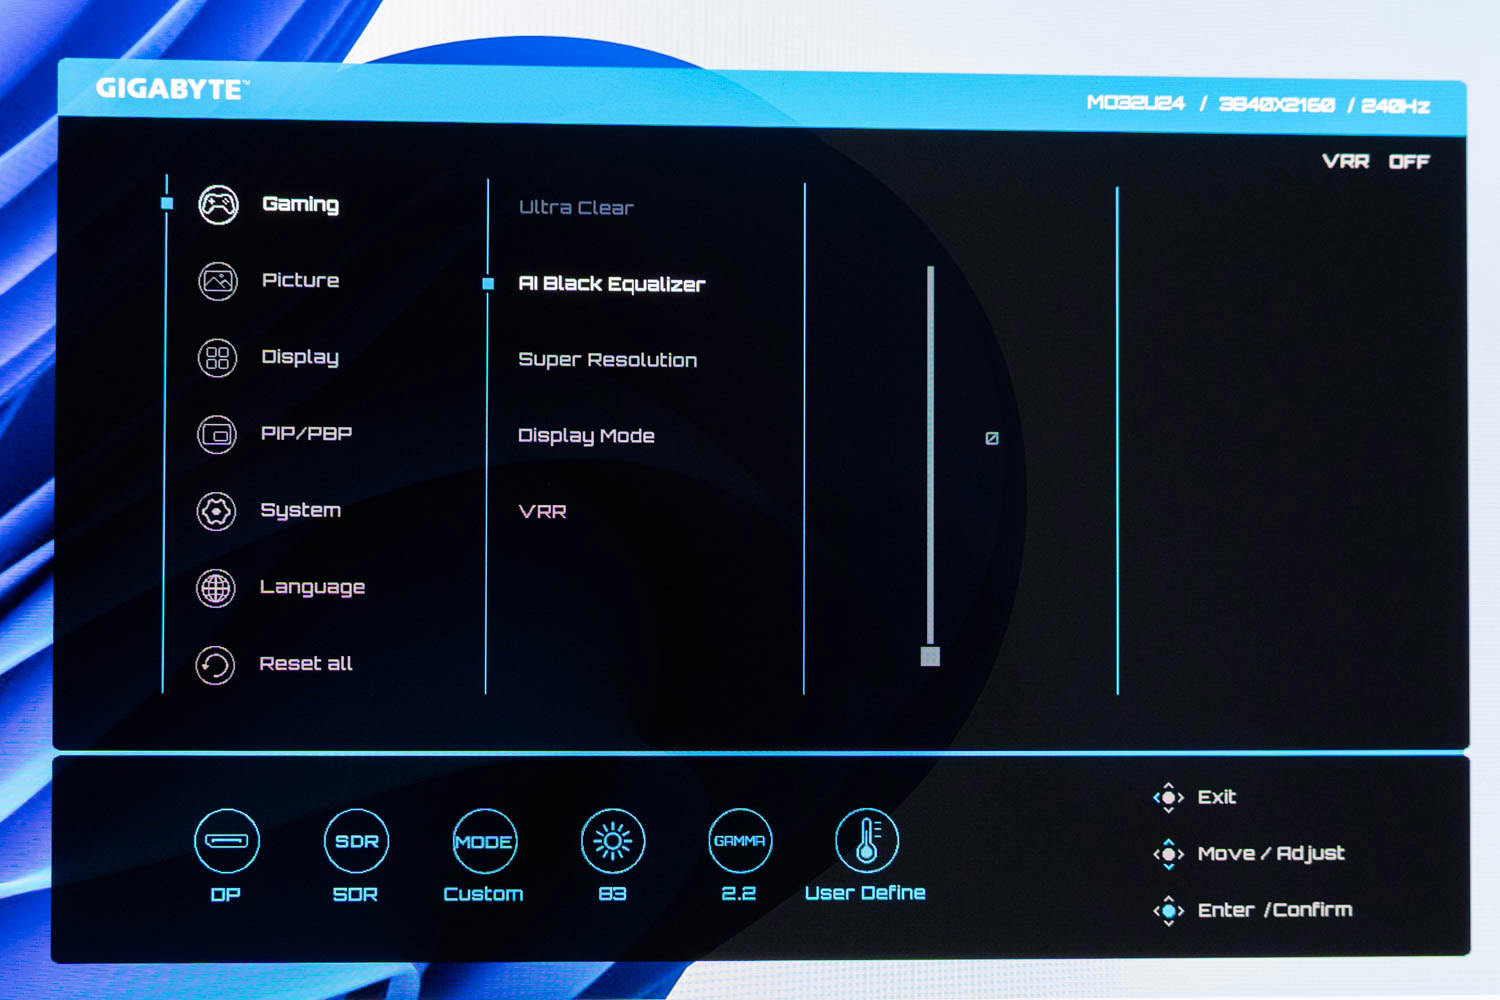
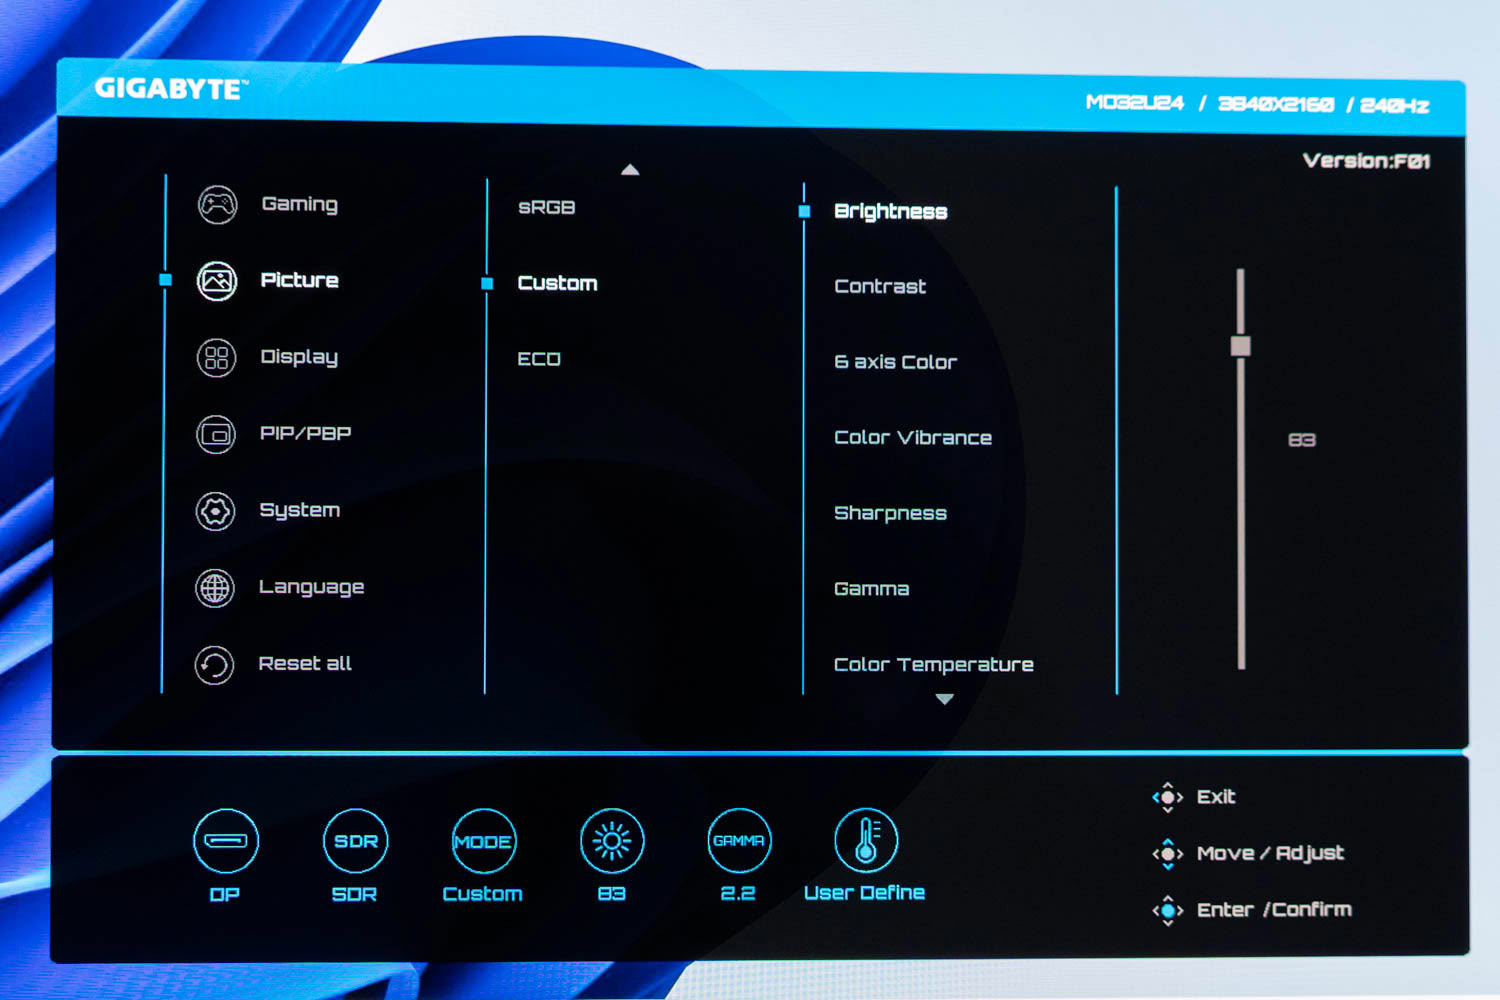
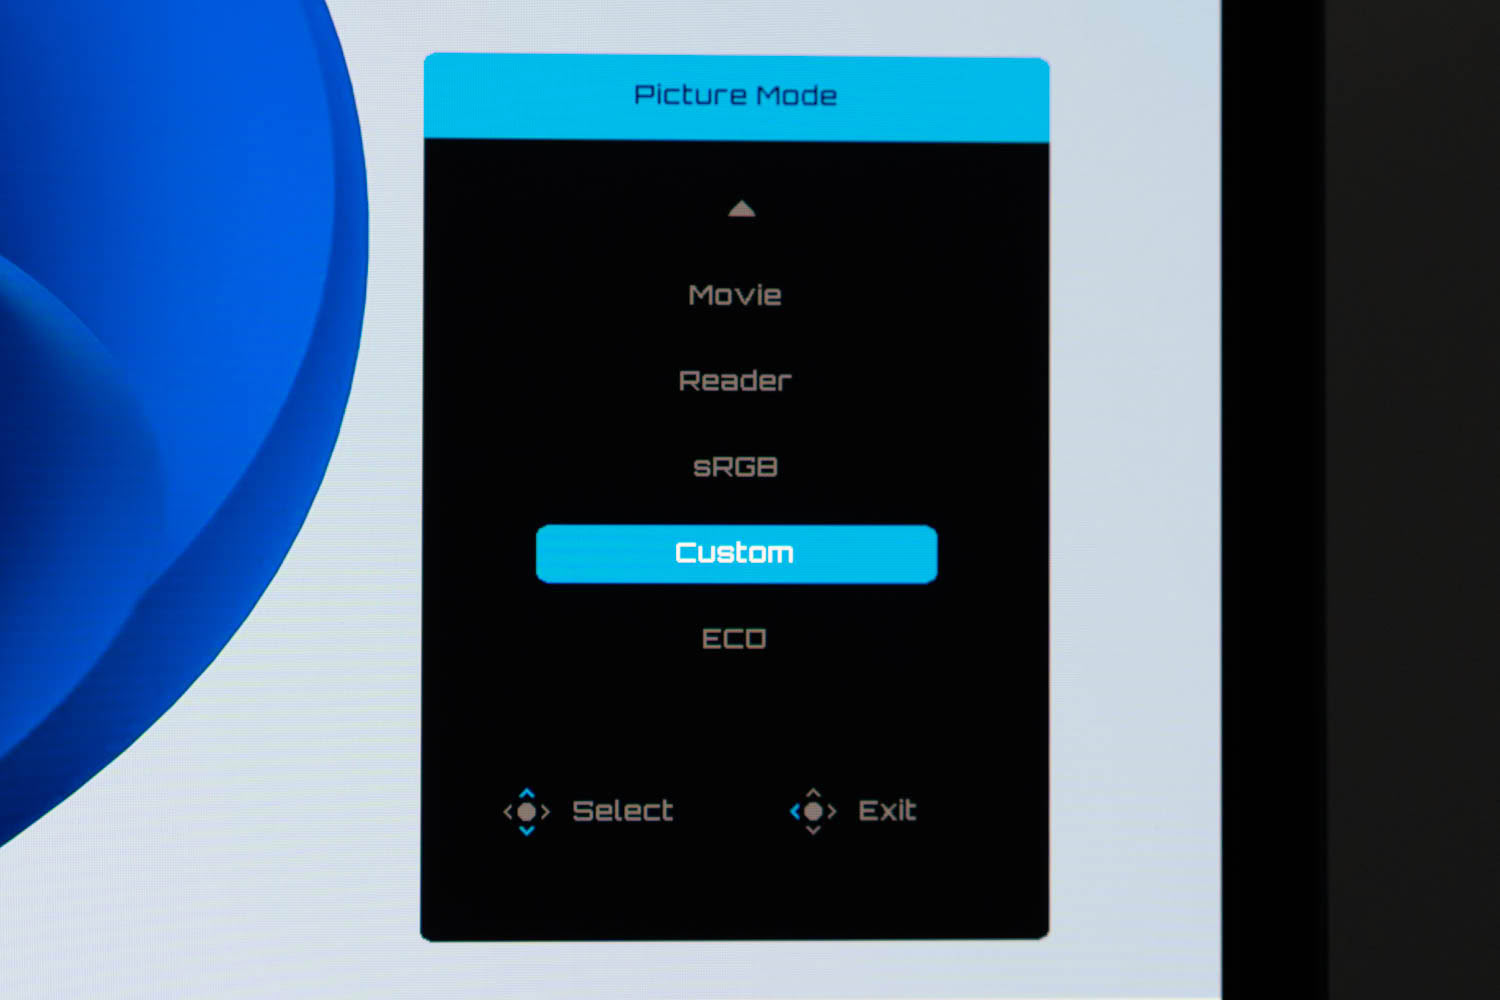
The full menu opens from Settings and lays itself out in columns, top-level categories on the left, each selection expanding into the next column to the right rather than replacing what you were looking at. The header carries the model name, active resolution and refresh rate, with the VRR state and the firmware version in the opposite corner, and a persistent bar along the bottom reports input, dynamic range, picture mode, brightness, gamma and color temperature at a glance. That bar is genuinely useful, because it tells you whether a setting actually took effect without any menu diving. Gaming holds Ultra Clear, AI Black Equalizer, Super Resolution, Display Mode and VRR. Picture opens with the profile list, sRGB, Custom, ECO and further up Movie, Reader and the gaming presets, and each profile carries its own independent set of adjustments underneath: brightness, contrast, 6 axis color, color vibrance, sharpness, gamma and color temperature. This is where the two-value correction described later in this review is made.
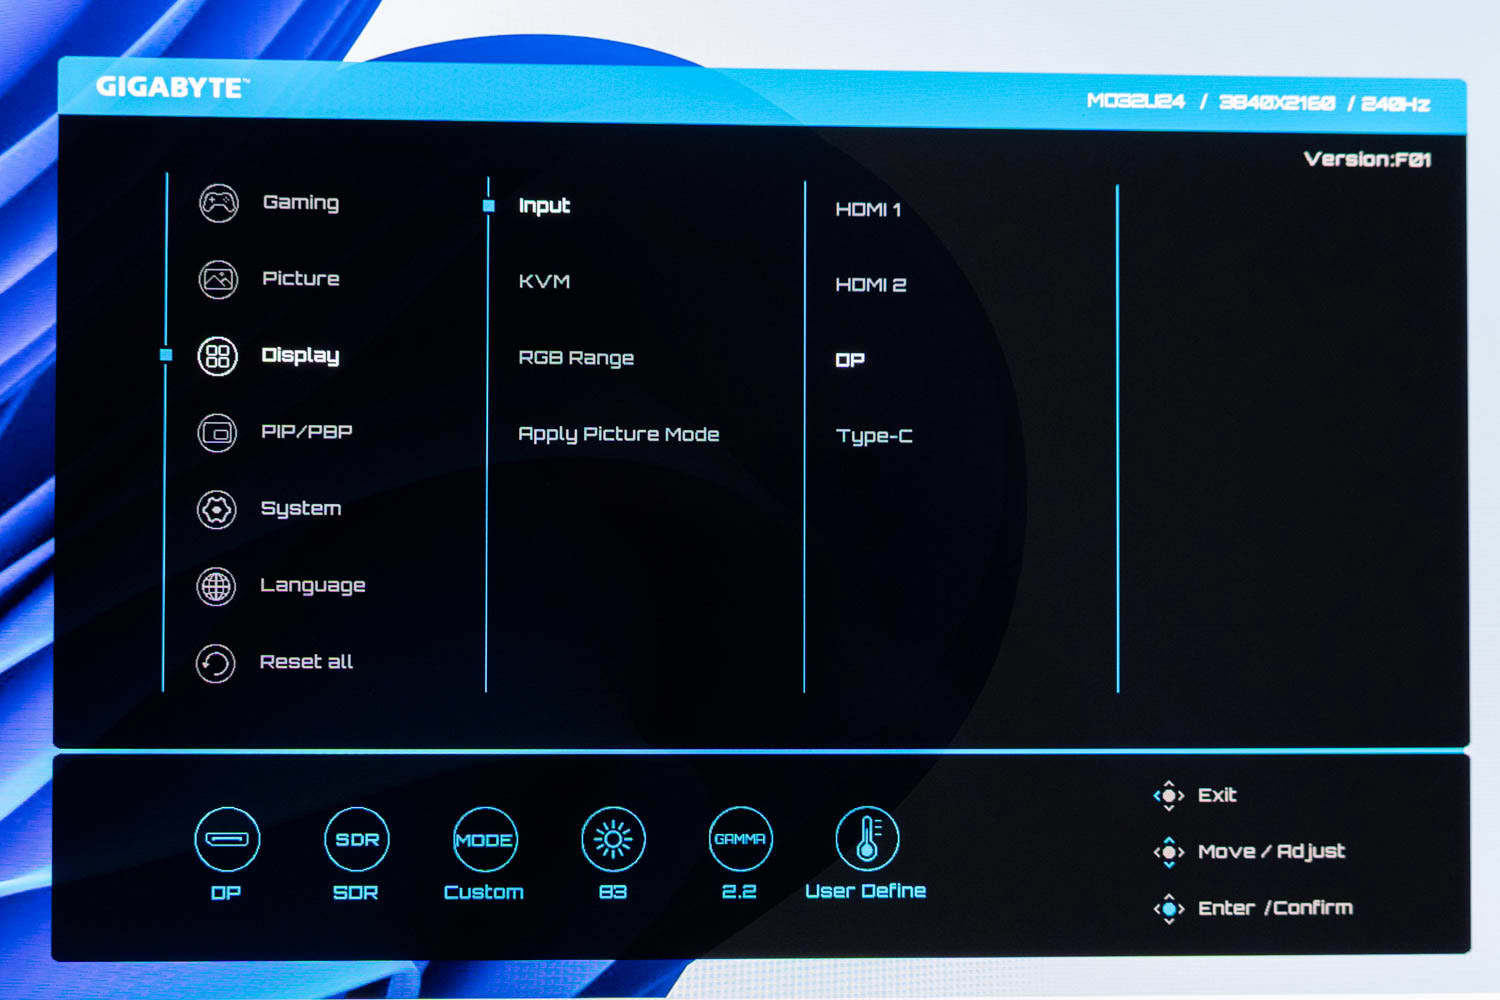
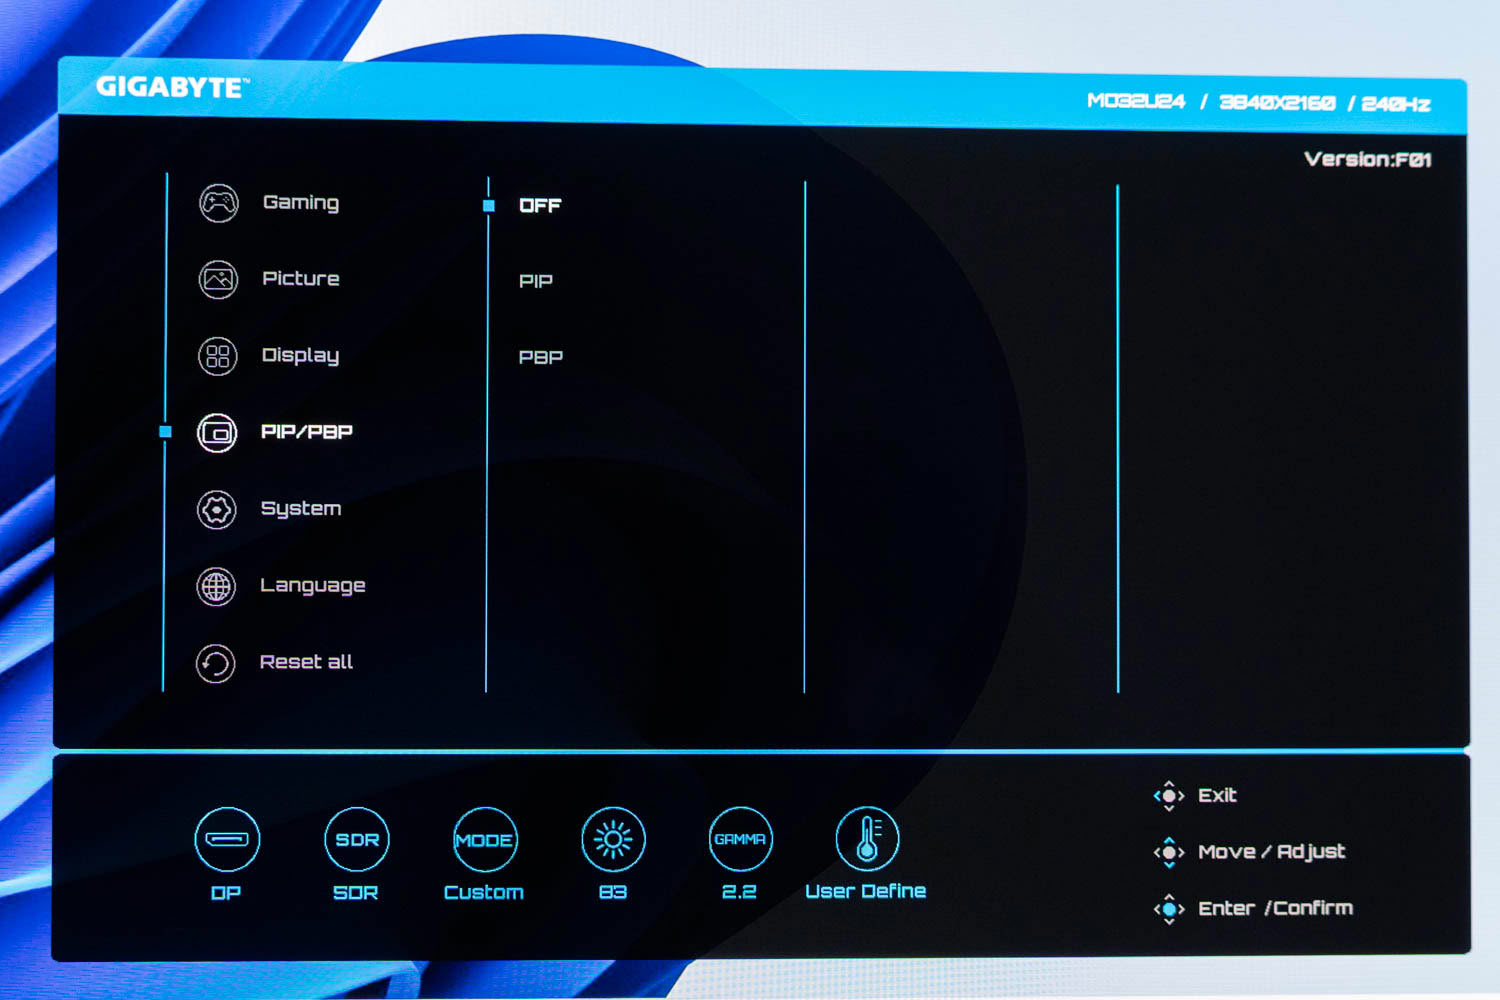
Display gathers Input, KVM, RGB Range and Apply Picture Mode. That last entry does more than the name suggests, since it ties a picture profile to a specific input, so a console on HDMI 2 can sit in Movie while the PC on DisplayPort keeps the corrected Custom profile with nothing to switch by hand. PIP/PBP is a plain three-way choice between off, picture-in-picture and picture-by-picture.
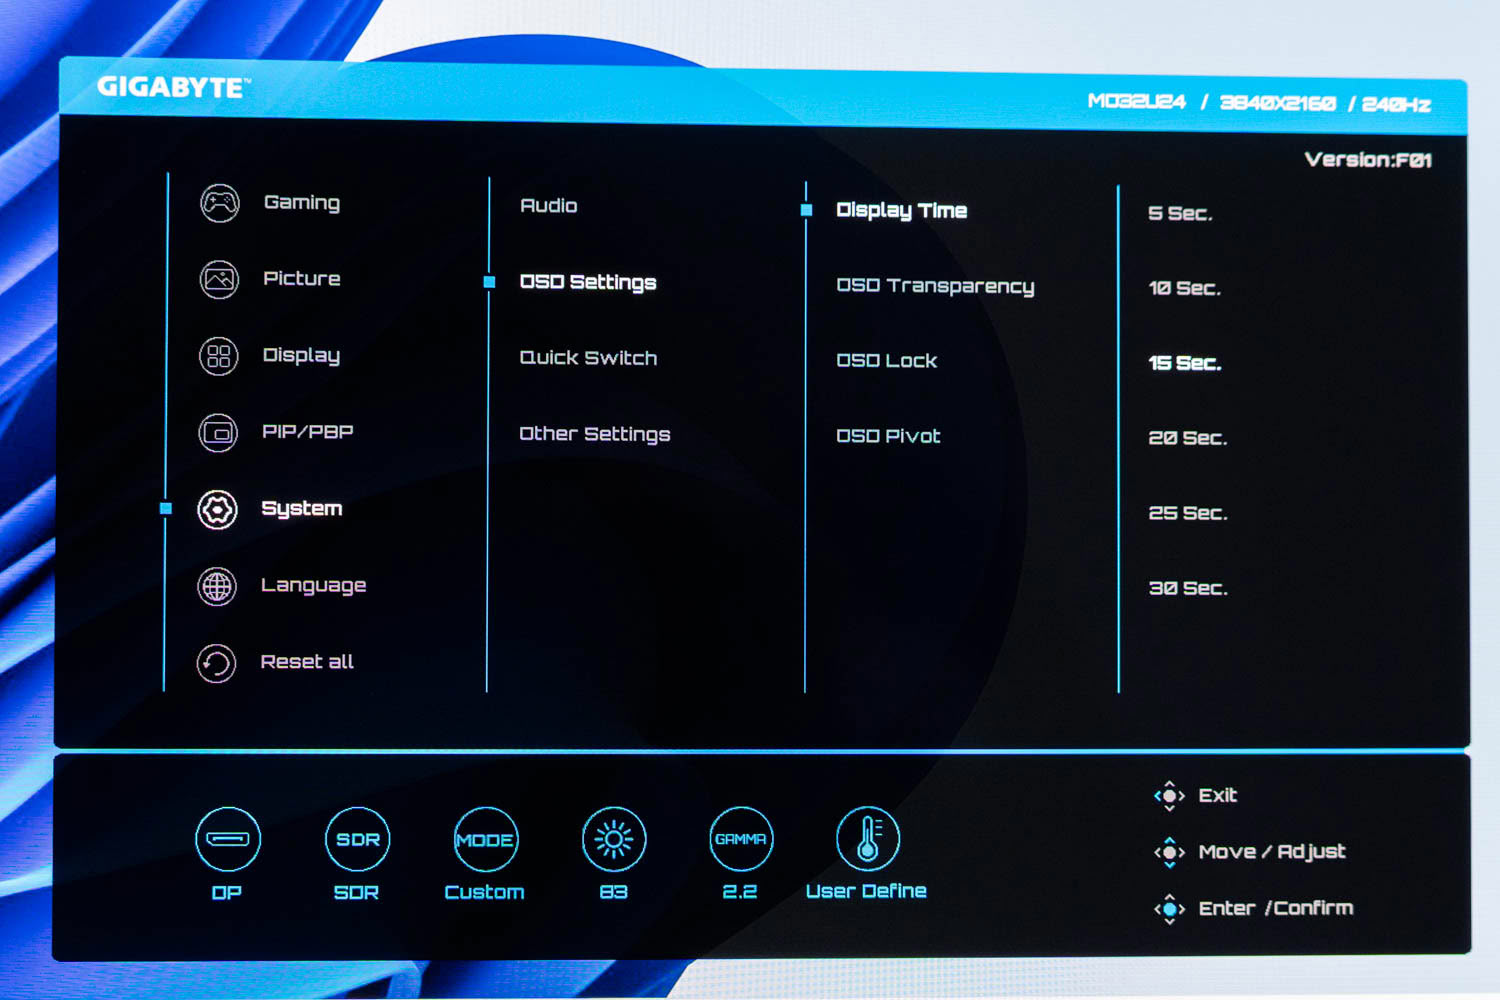
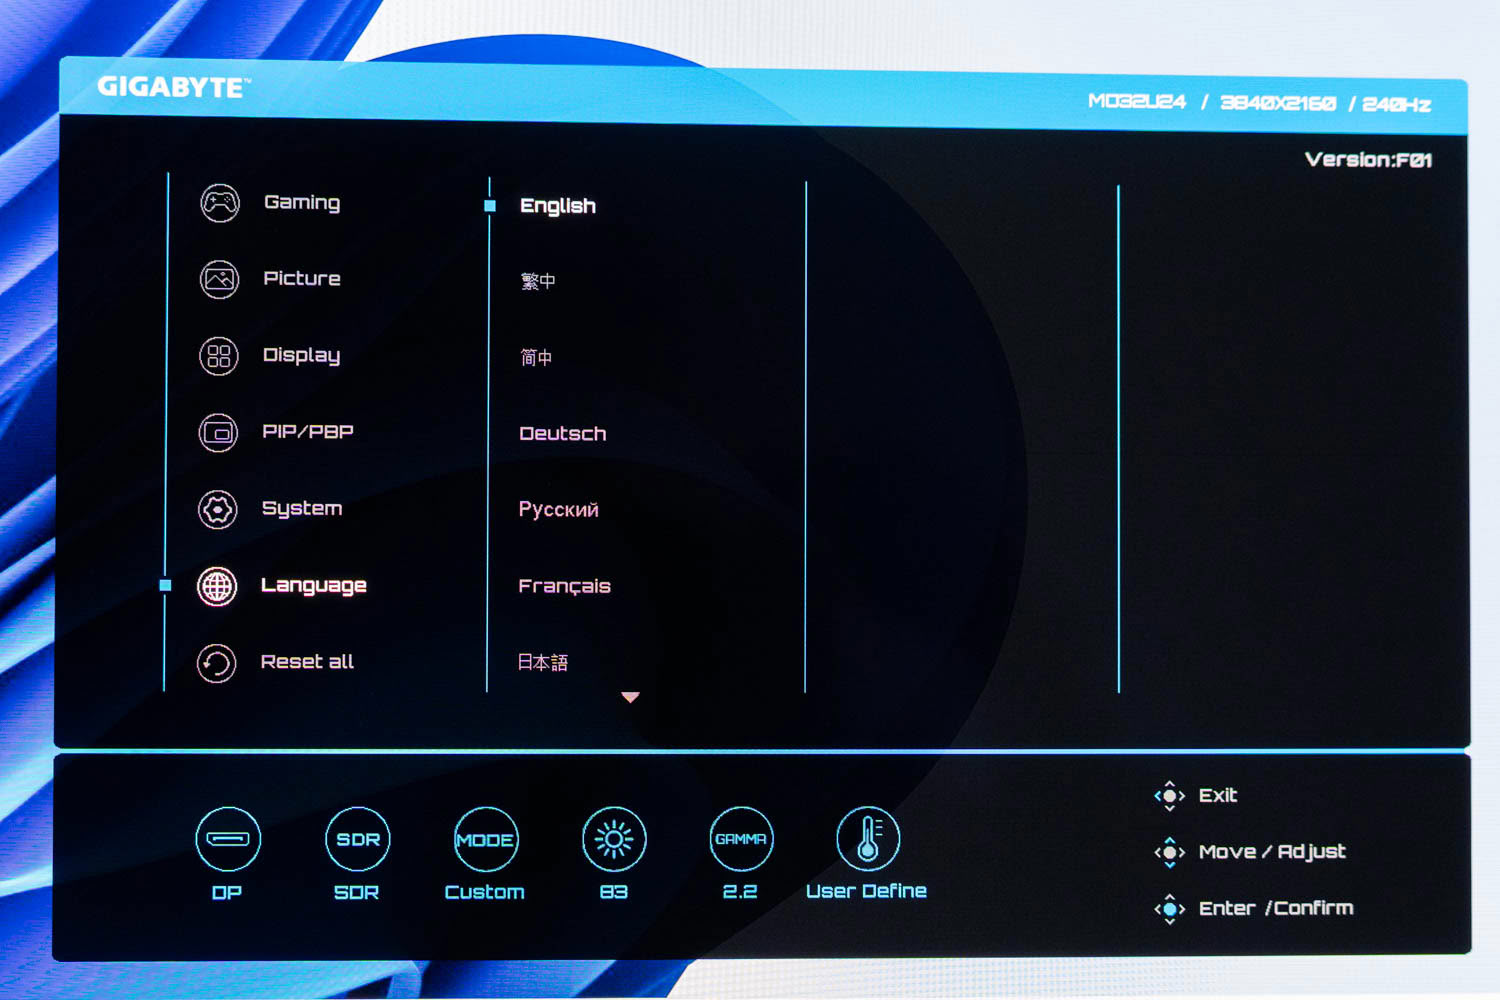
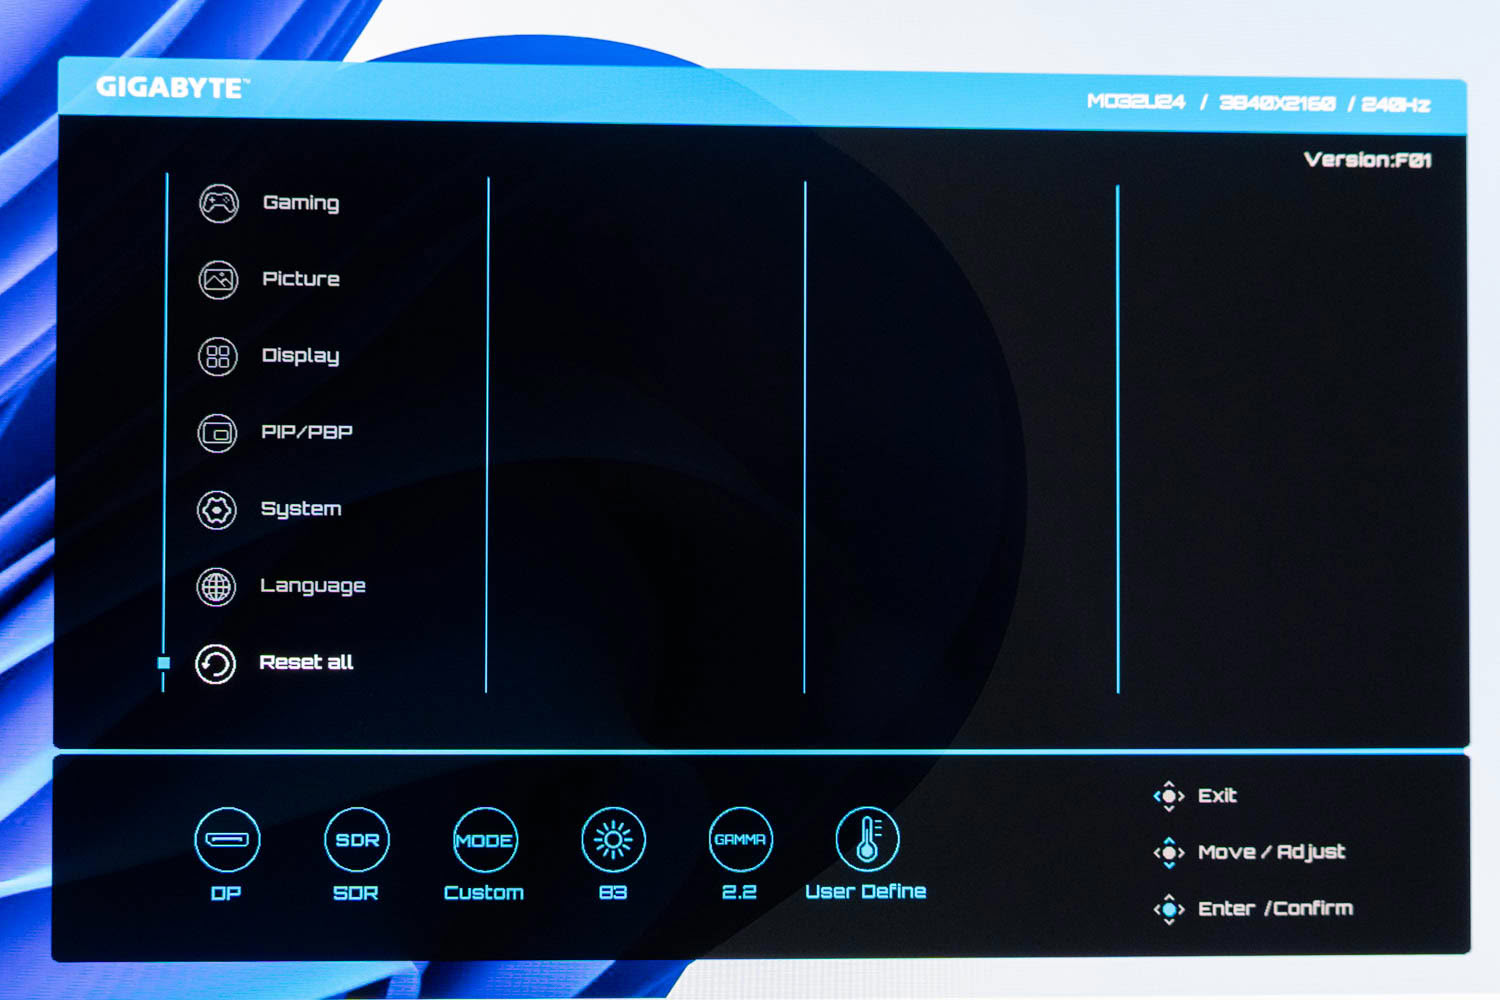
System covers Audio, OSD Settings, Quick Switch and Other Settings. OSD Settings handles display time, transparency, lock and pivot, the last of which rotates the menu along with the panel when you use the pivot, and Quick Switch is where you reassign the four joystick directions from the defaults listed above. Language and Reset All close out the structure.
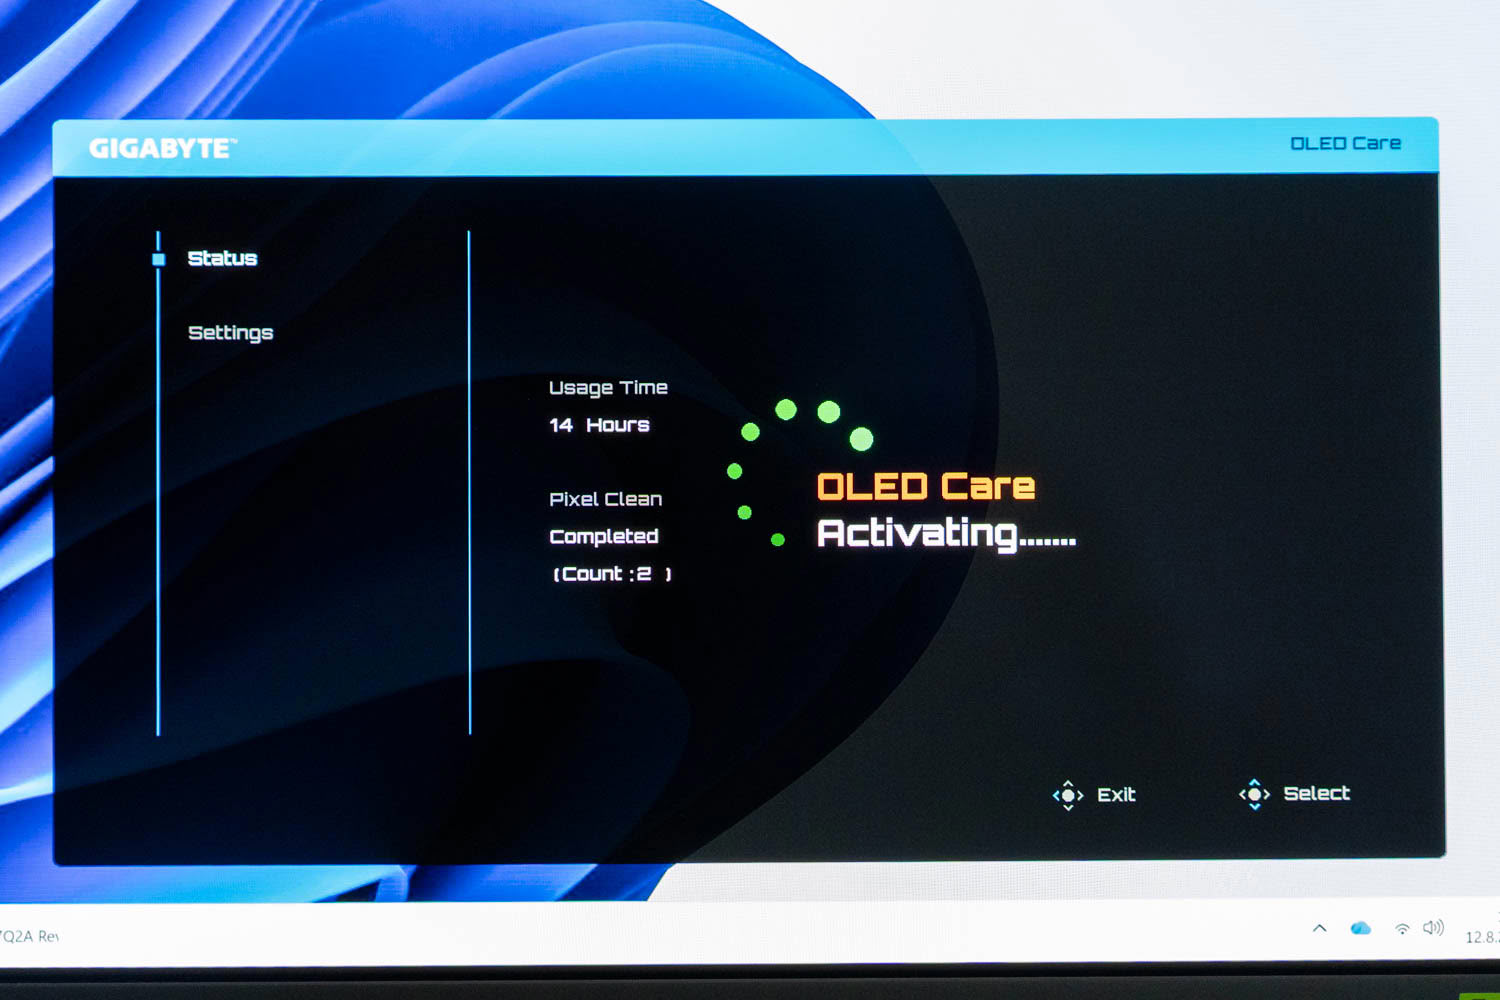
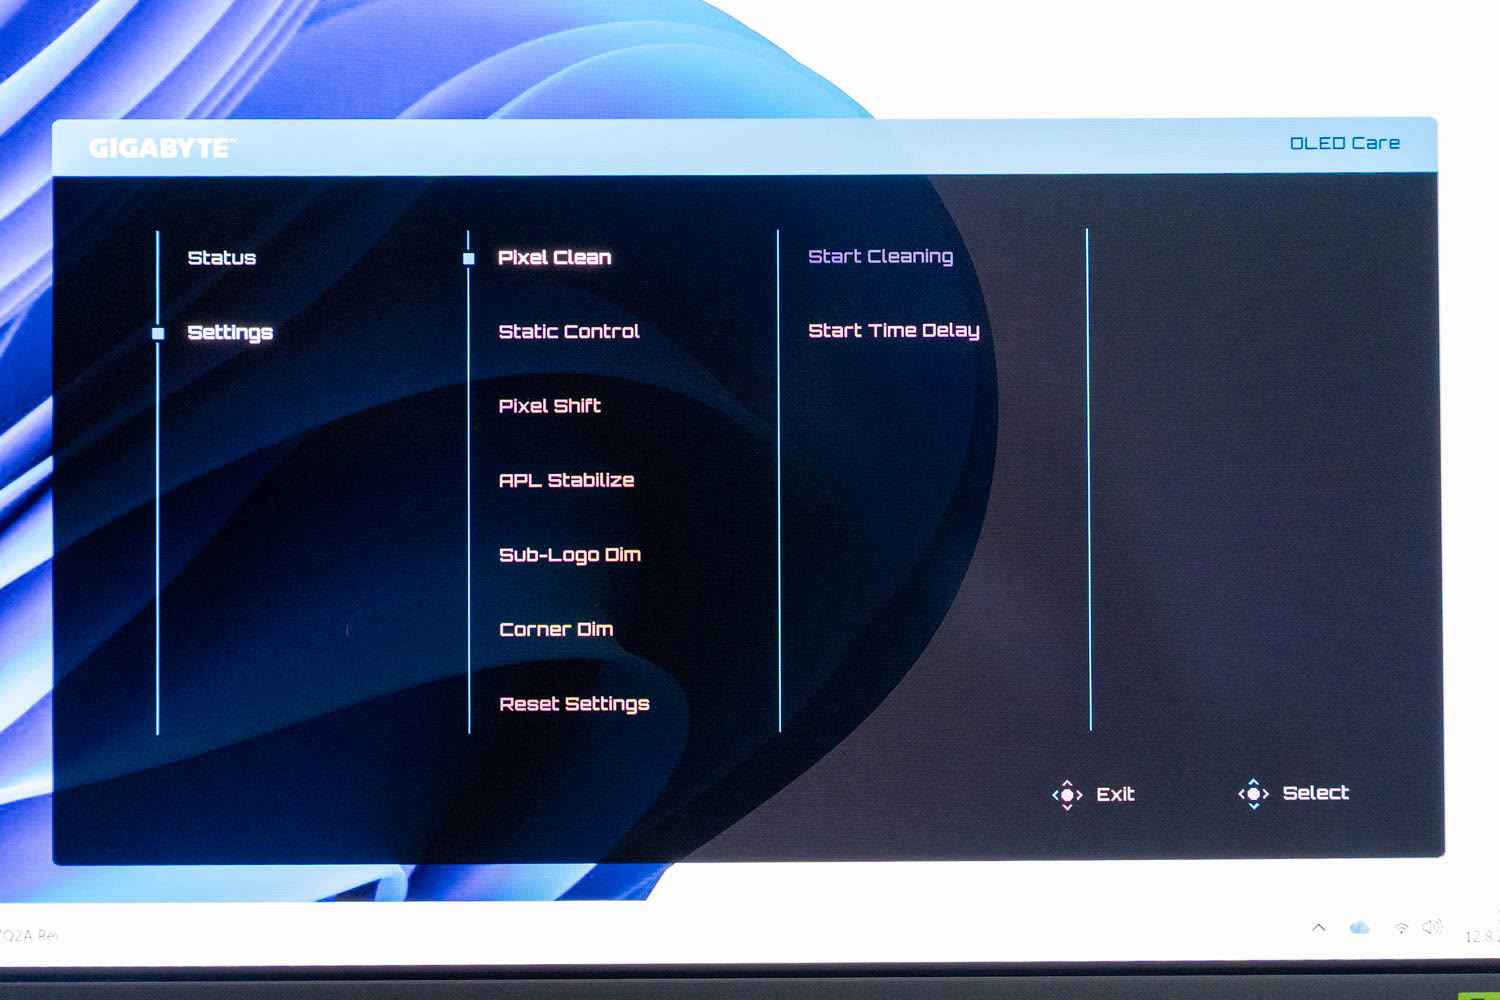
OLED Care opens in its own interface with two panes. Status reports cumulative usage time and how many pixel compensation cycles the panel has completed, which is a small thing that turns out to be reassuring on a display you are going to own for years. Settings holds Pixel Clean, Static Control, Pixel Shift, APL Stabilize, Sub-Logo Dim, Corner Dim and a reset. Pixel Clean can be triggered immediately through Start Cleaning or deferred through Start Time Delay so the routine waits for idle time rather than interrupting whatever you are doing. The individual protection algorithms are covered in the burn-in section later in this review.
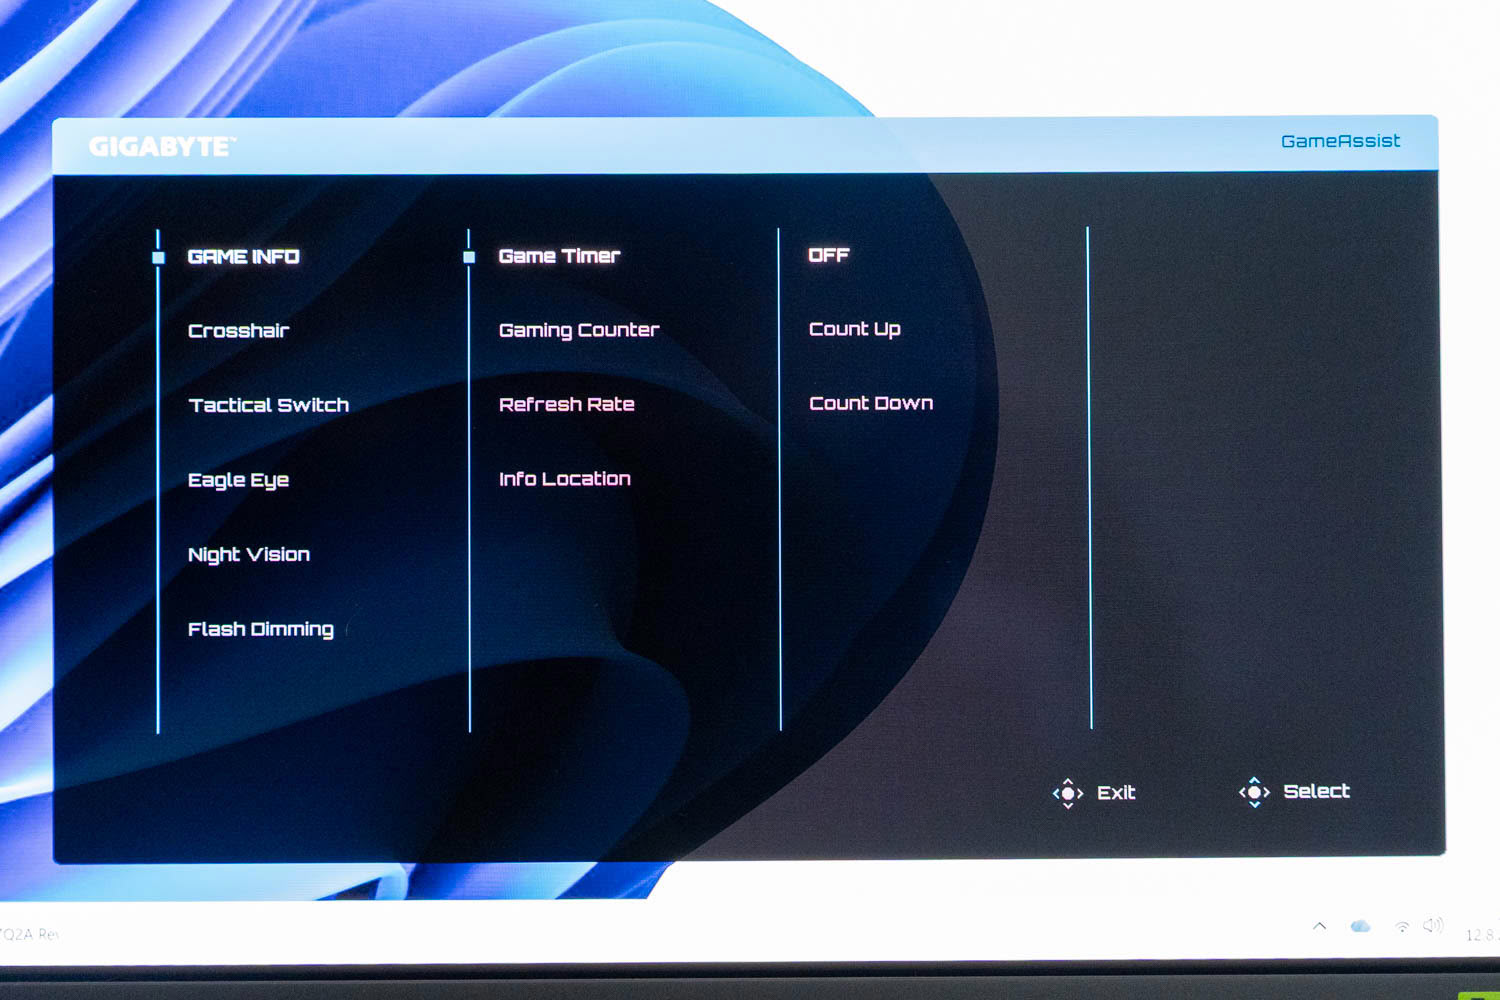
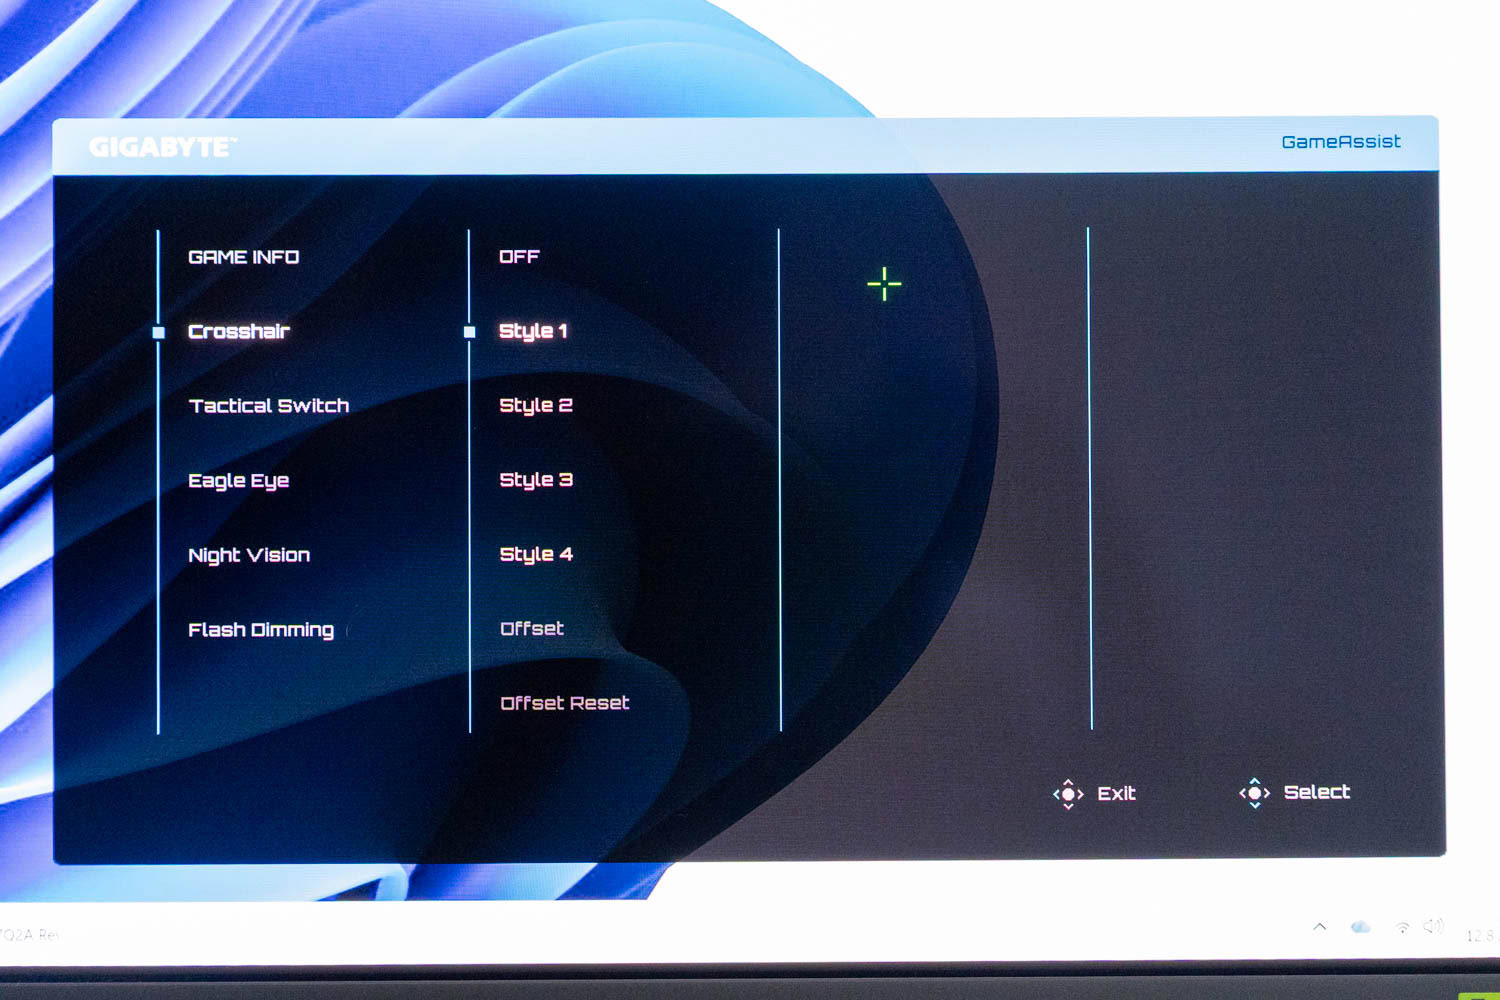
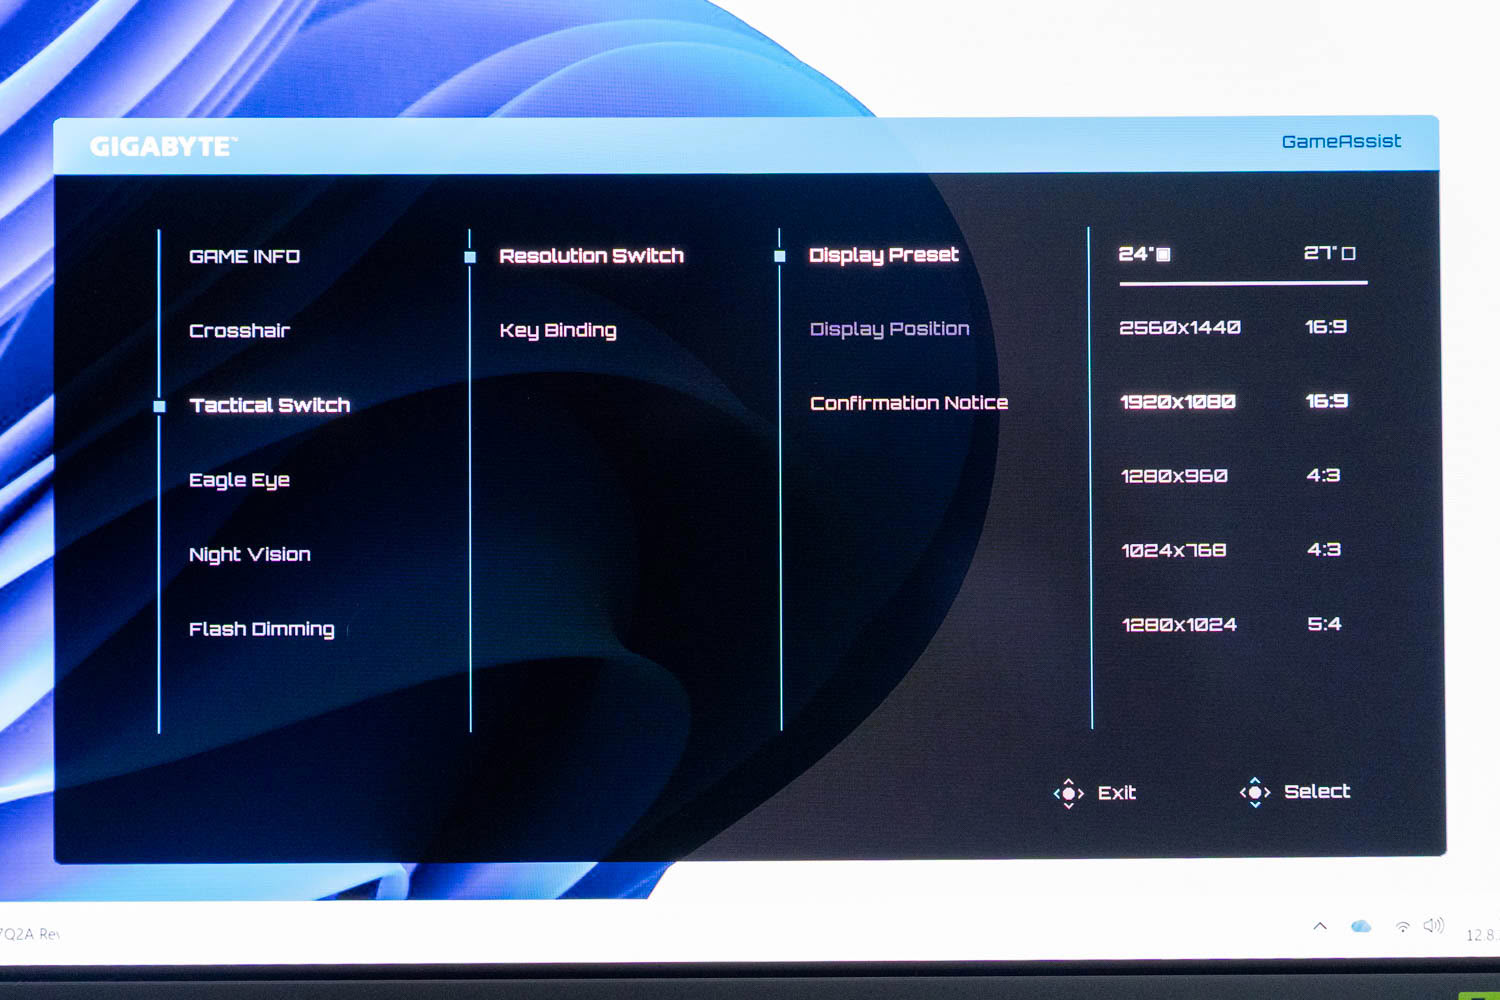
Game Assist has its own interface as well, reached from the compass rather than the main tree, and collects six tools. Game Info drives the on-screen overlays, a count-up or count-down timer, a gaming counter, a refresh rate readout, and a selector for where any of it lands on screen. Crosshair offers four reticle styles with an offset adjustment and a reset for it. Eagle Eye magnifies a chosen region of the screen, Night Vision and Flash Dimming handle visibility in dark scenes and brightness spikes respectively, and both are described in more detail further on. Tactical Switch is the one worth pausing over, since it is what the hardware button next to the joystick actually triggers. It presents two display presets, 24-inch and 27-inch, each offering 2560×1440 and 1920×1080 in 16:9, 1280×960 and 1024×768 in 4:3, and 1280×1024 in 5:4, along with a display position setting, a confirmation prompt and the key binding itself. The 24-inch preset shrinks the active area on a 32-inch panel down toward the middle of your vision, which is a long-standing preference among competitive shooter players who came up on smaller displays, and pairing that with a stretched 4:3 or 5:4 resolution makes enemy models wider and easier to hit. Having it on a physical button rather than buried in Windows display settings is the whole point.
Nov 18th, 2026 12:16 CST
change timezone
Latest GPU Drivers
New Forum Posts
- Honestly, do you care about GTA VI? (141)
- Wireless Internet sharing between PC and router both-ways, is it possible? (17)
- My Final Barrier to Exclusively Using Linux has Fallen (Azure Virtual Desktops) (9)
- Ghetto Mods (4883)
- Very unusual two gaming-pc scenarios. (3)
- [Intel AX1xx/AX2xx/AX4xx/AX16xx/BE2xx/BE17xx] Intel Modded Wi-Fi Driver with Intel® Killer™ Features (633)
- RX 580 2048SP 8GB Samsung – Black Screens in Games, Looking for a Compatible BIOS (2)
- DTS DCH Driver for Realtek HDA [DTS:X APO4 + DTS Interactive] (2812)
- Time to upgrade CPU and MOBO (31)
- Primary DisplayPort Monitor Not Waking After Driver Updates 621.01 and 621.14 (9)
Popular Reviews
- Acemagic Retro X3 Review
- Upcoming Hardware Launches 2027 (Updated Nov 2026)
- AMD Zen 6 Technical Deep Dive
- ASUS ROG Strix B850-I Gaming Wi-Fi7 W Review
- Corsair HX1000i Shift Crystal Review
- Biwin Black Opal NV7400 2 TB Review
- Chieftec Iceberg PRO 360 DARK Review
- AMD Ryzen 7 9800X3D Review - The Best Gaming Processor
- Phantom Blade Zero Performance Benchmark Review - 35 GPUs Tested
- Montech King 95 3D PRO Review
TPU on YouTube
Controversial News Posts
- NVIDIA Co-Founder and CEO Jensen Huang Officially Resigns (477)
- Open Letter Asking NVIDIA to Reinstate Jensen Huang Passes 115,000 Signatures (184)
- Report: Jensen Huang Eyes NVIDIA Comeback (184)
- OpenAI CEO Argues Home PCs Waste the World's Limited DRAM Supply (152)
- NVIDIA Launches Investigation Into Jensen Huang's Relationship With Suspected Chinese Spy (136)
- Intel "Raptor Lake Next" 16-Core and 20-Core CPUs Surface (130)
- Legendary Game Studio BioWare Shuts Down Following EA Layoffs (104)
- Dell CEO Says the Memory Shortage Will Get Worse in 2027 (95)