 17
Lenovo IdeaPad Slim 3 15AHP10 Review - The Imperfect Daily Driver with a Powerful CPU
Display Testing »Disassembly and Teardown

The disassembly process of the Lenovo IdeaPad Slim 3 15AHP10, which is also known as Lenovo IdeaPad Slim 3 (15 Gen 10), doesn't require a lot of effort. The bottom panel is held in place by seven T5 Torx head screws. Then, flip the laptop over, because the plate's edge is close to the top of the main body you'll need to pry it open from the base.

Pop one of the top corners and work your way around the sides and the front. Insert a thin plastic tool into one of the edges to create a gap, then use another tool to gradually pop open the bottom. Check if all the internal clips are fully released. If not, try to completely detach the plate using your hands or the plastic tool.
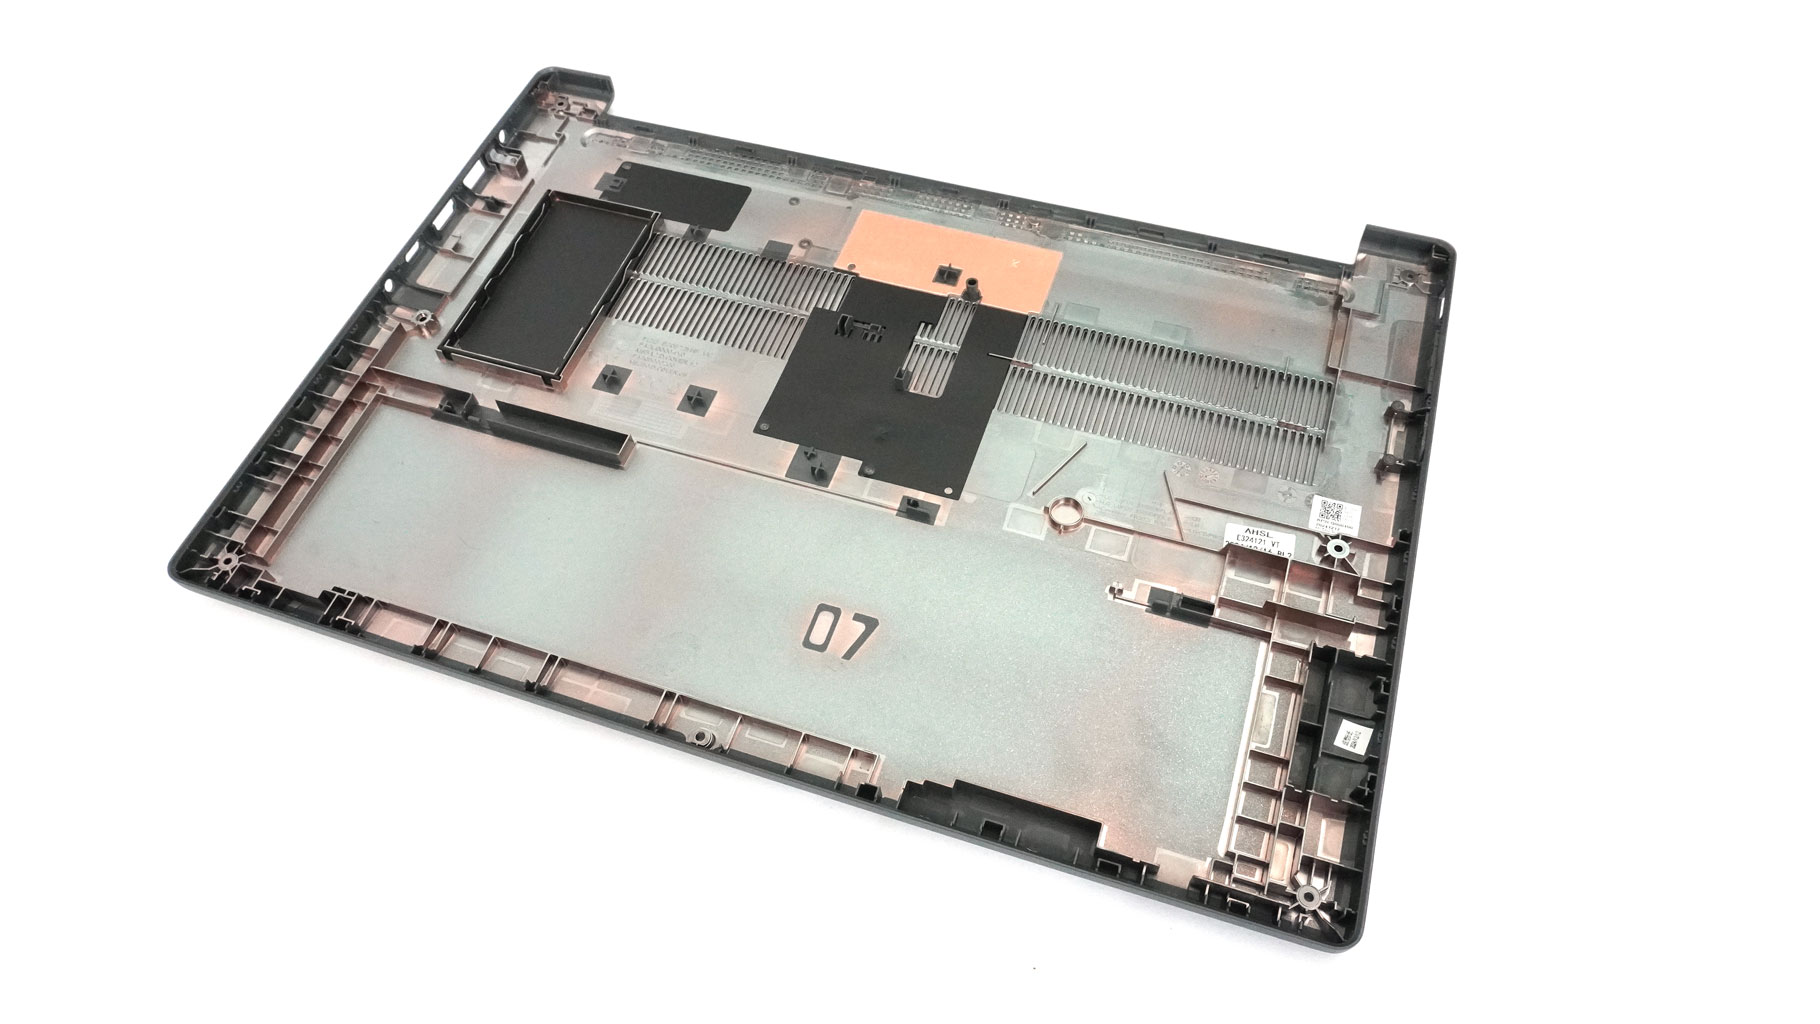
There is a metal socket on the inside of the bottom plate that covers the memory, providing shielding.
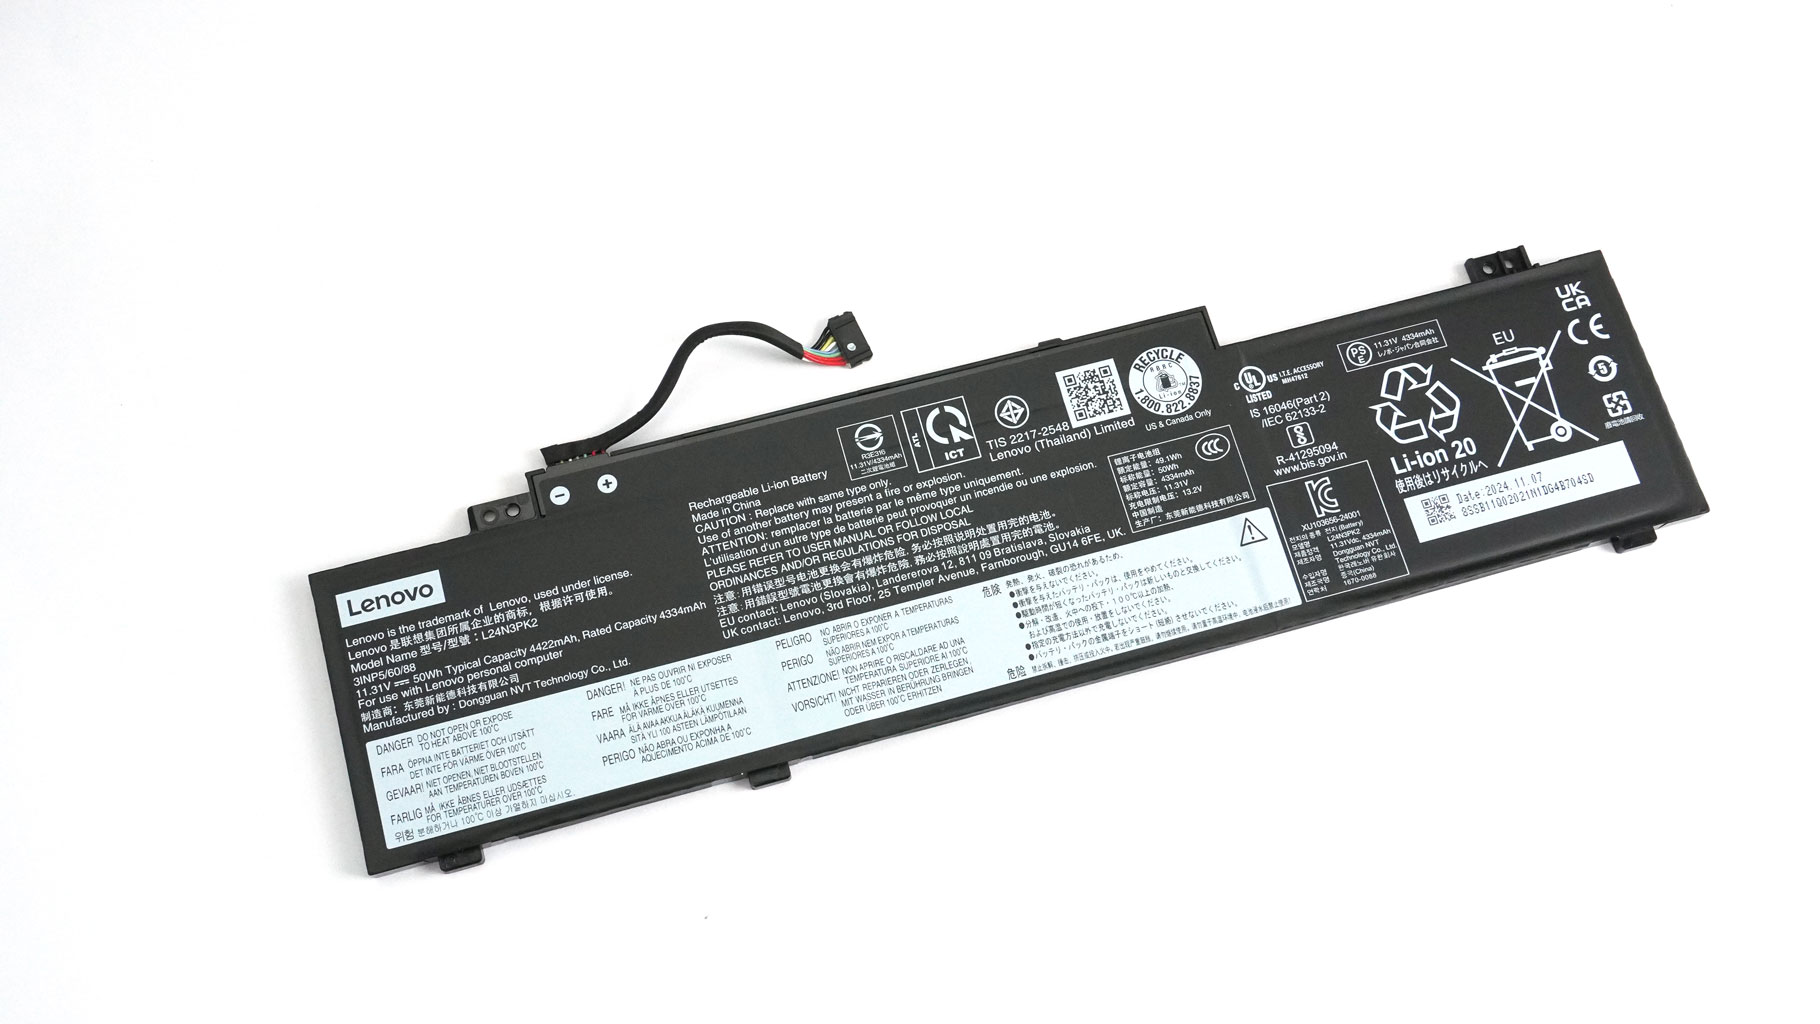

This device comes with the standard 50 Wh battery. If you want longer battery life, Lenovo offers a 60 Wh option.
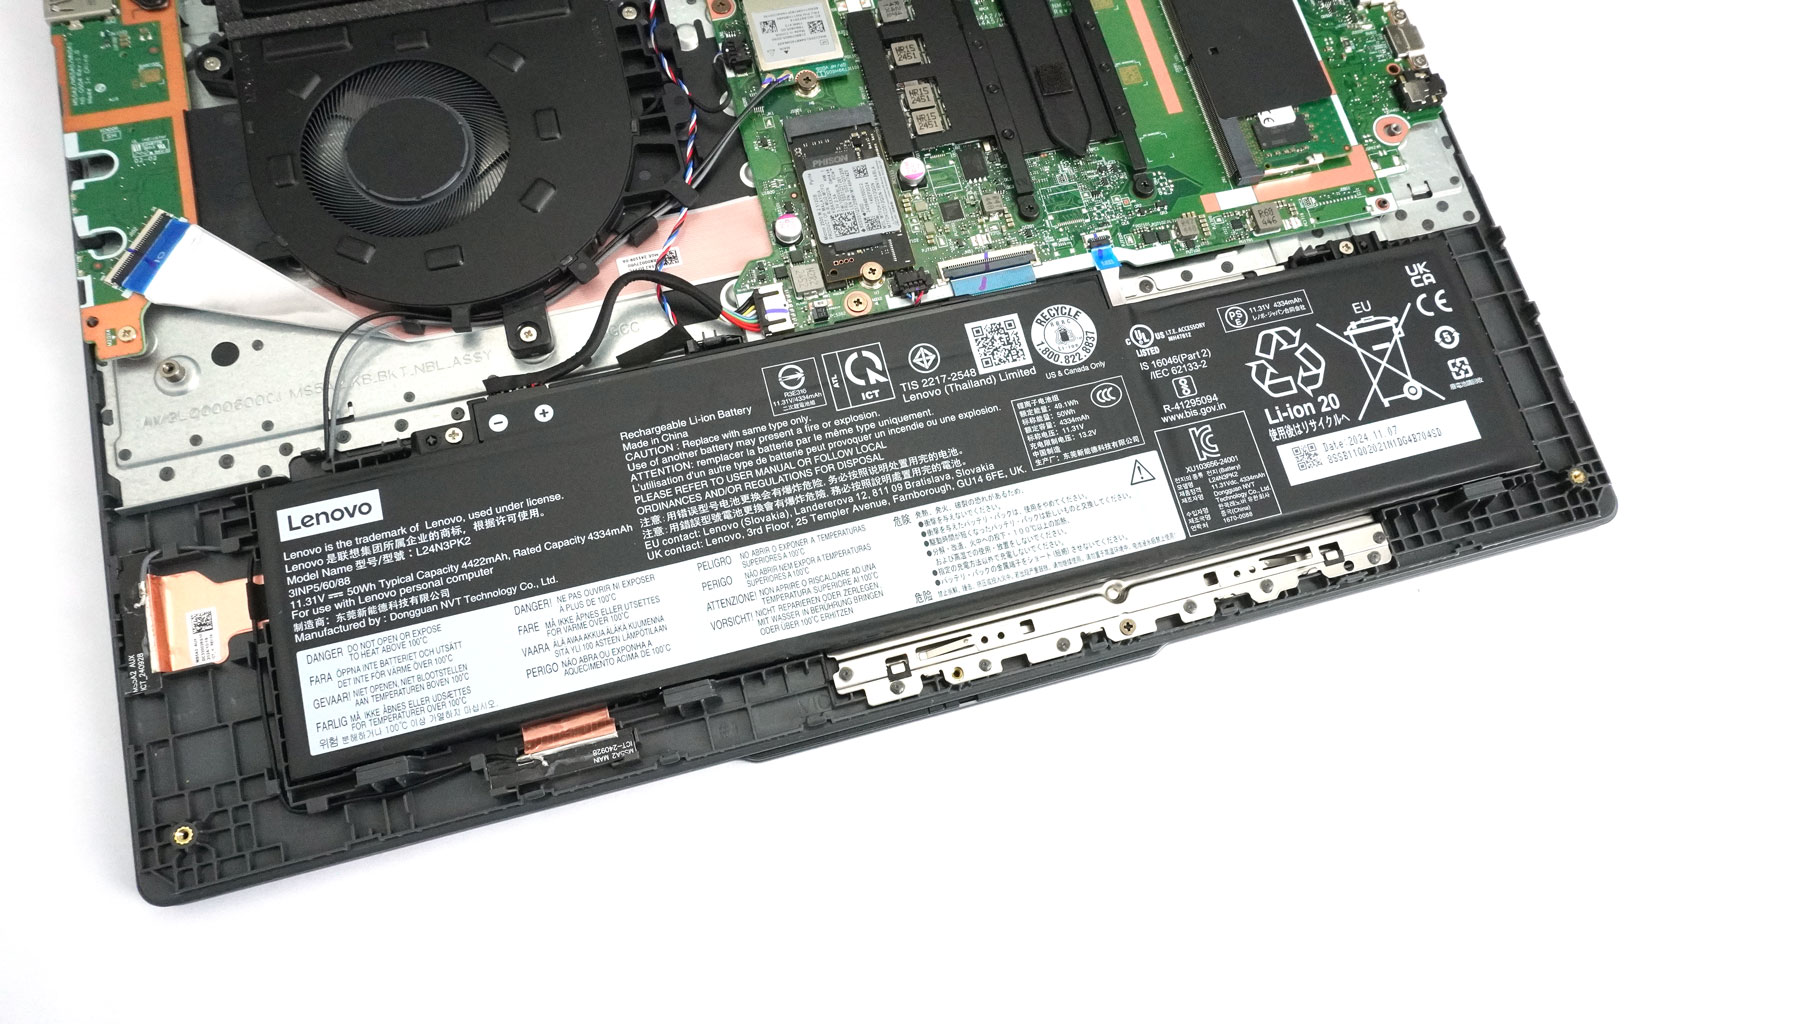
To remove the battery, slide its connector to the left and undo the two screws that fix it to the chassis. Then, lift the front and push the battery towards the cooling. The autonomous life is decent for a laptop in this price range. The modest capacity is enough for more than five hours of watching 4K YouTube videos.
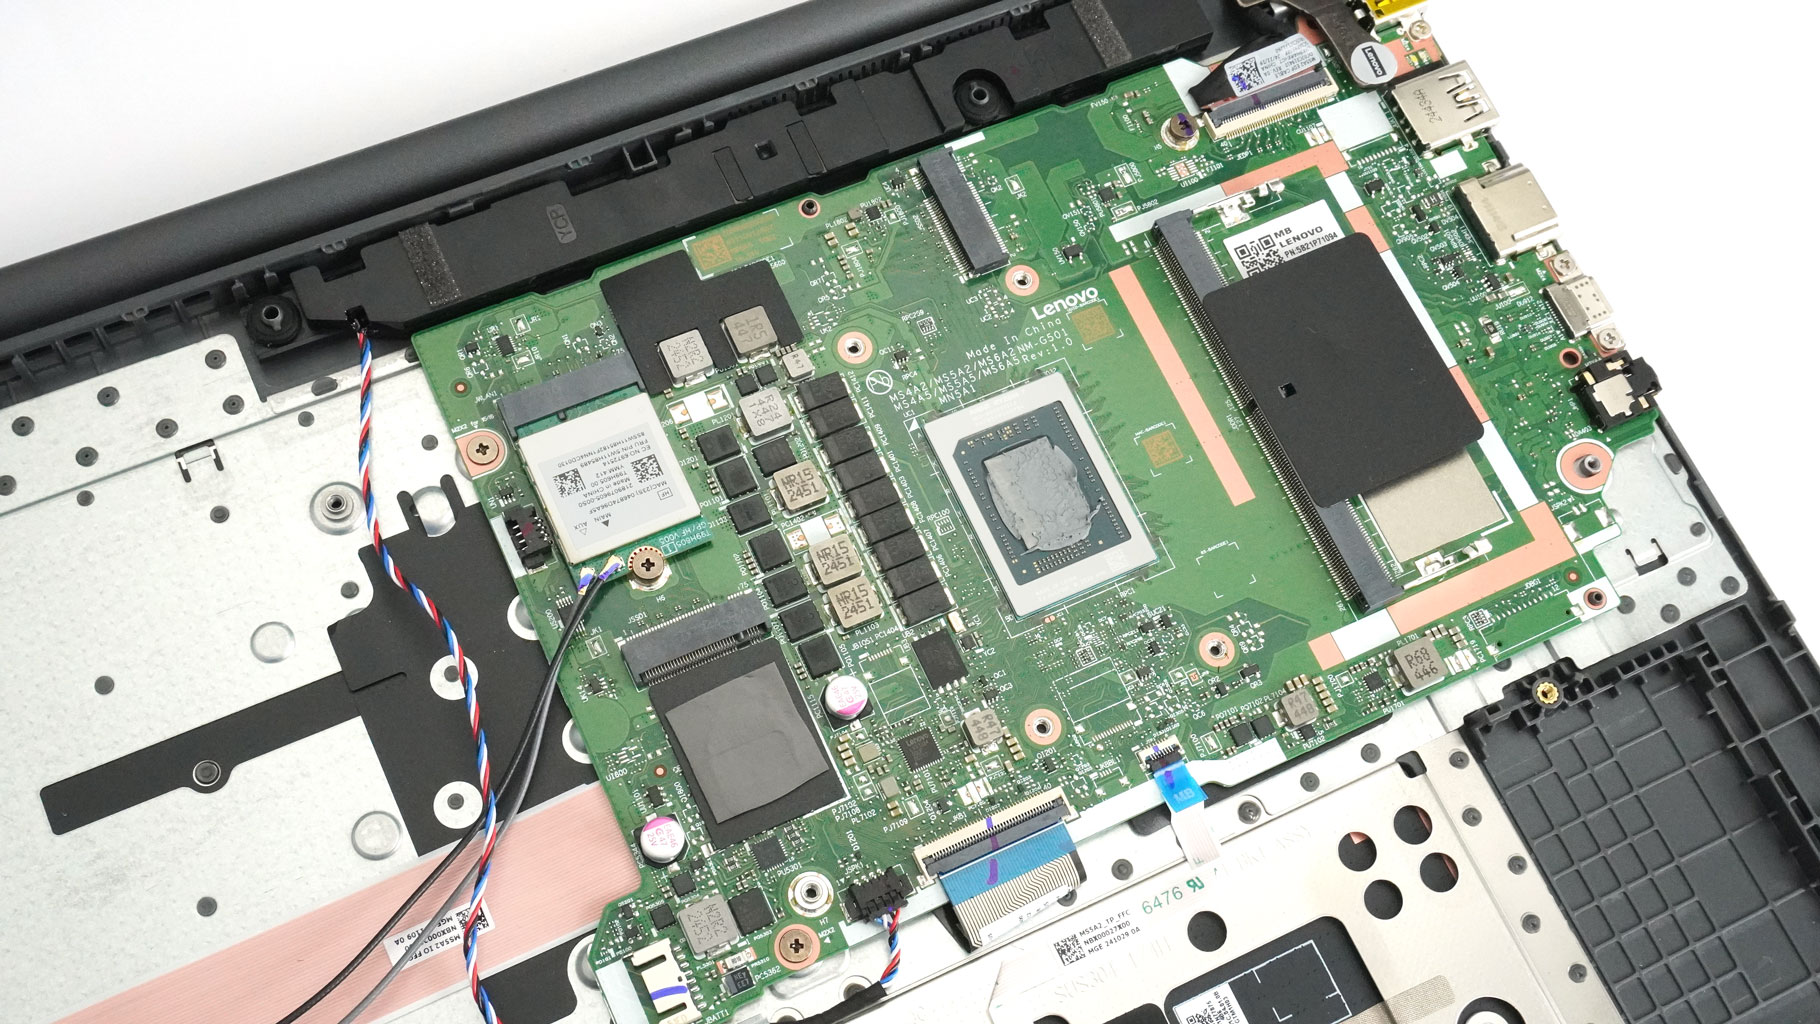
All machines of this series come with 8 GB of soldered RAM. On the bright side, you do get a SODIMM slot for upgrading to more memory.
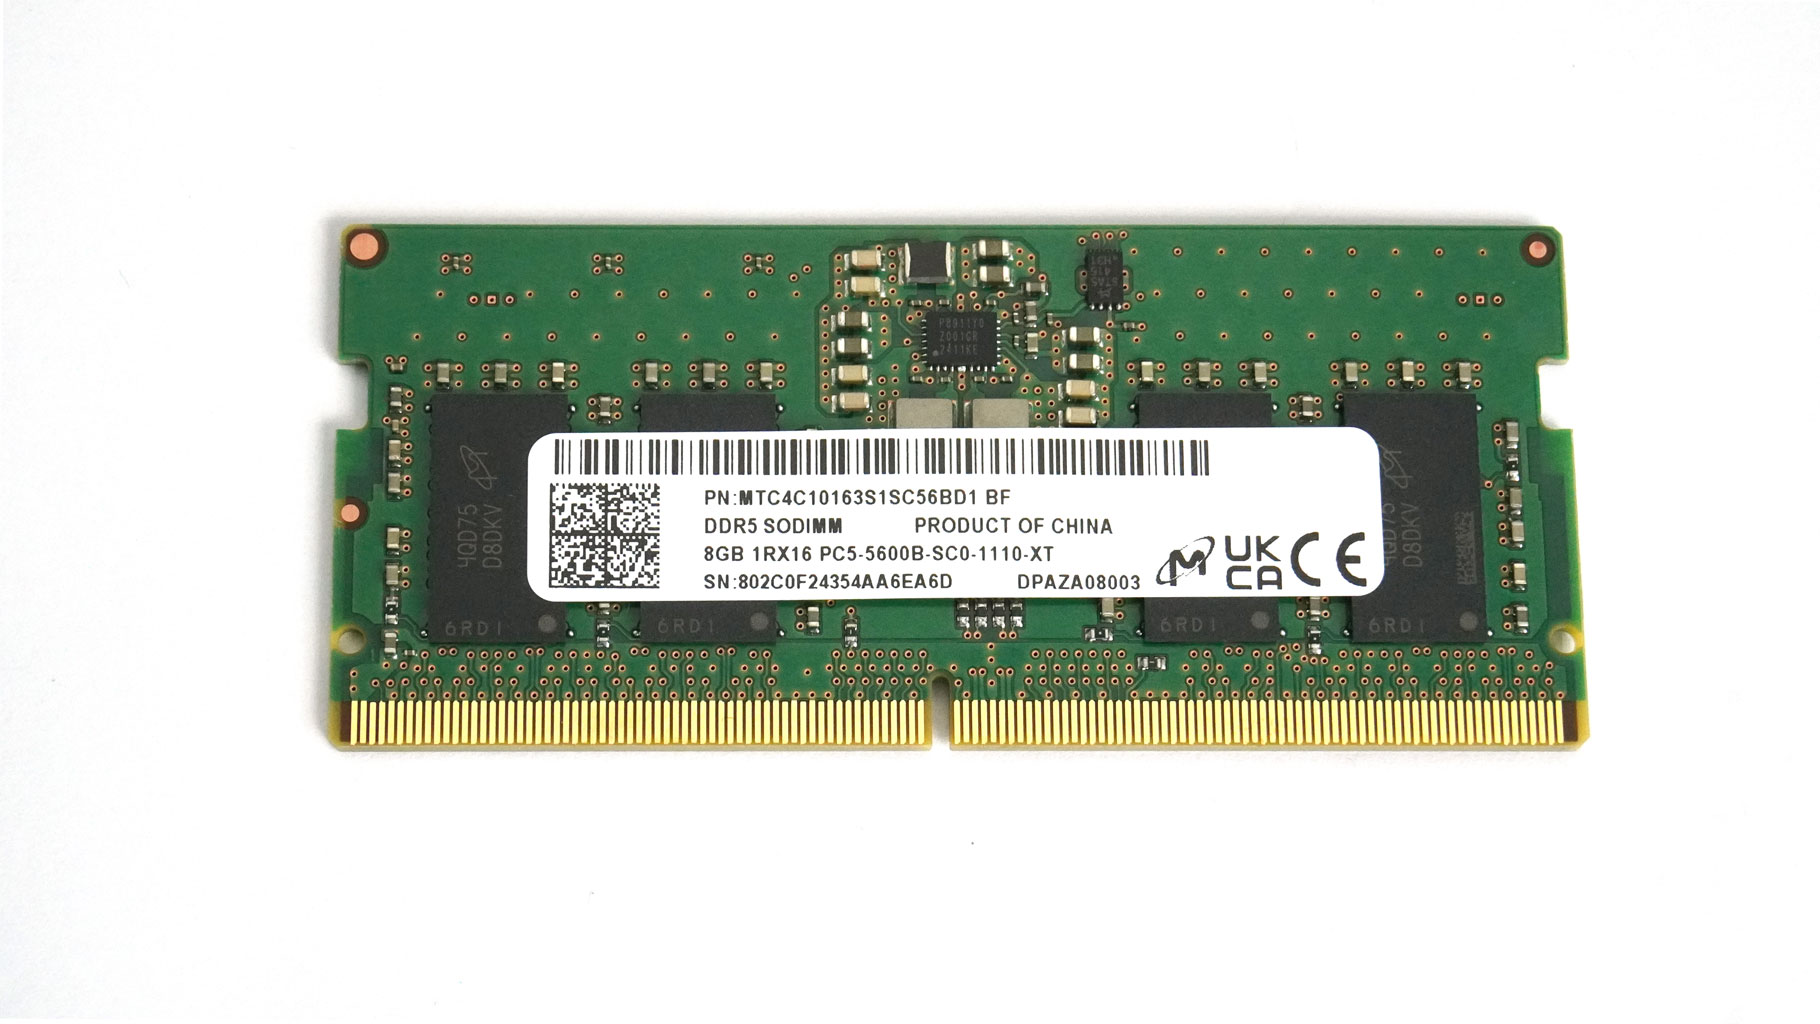
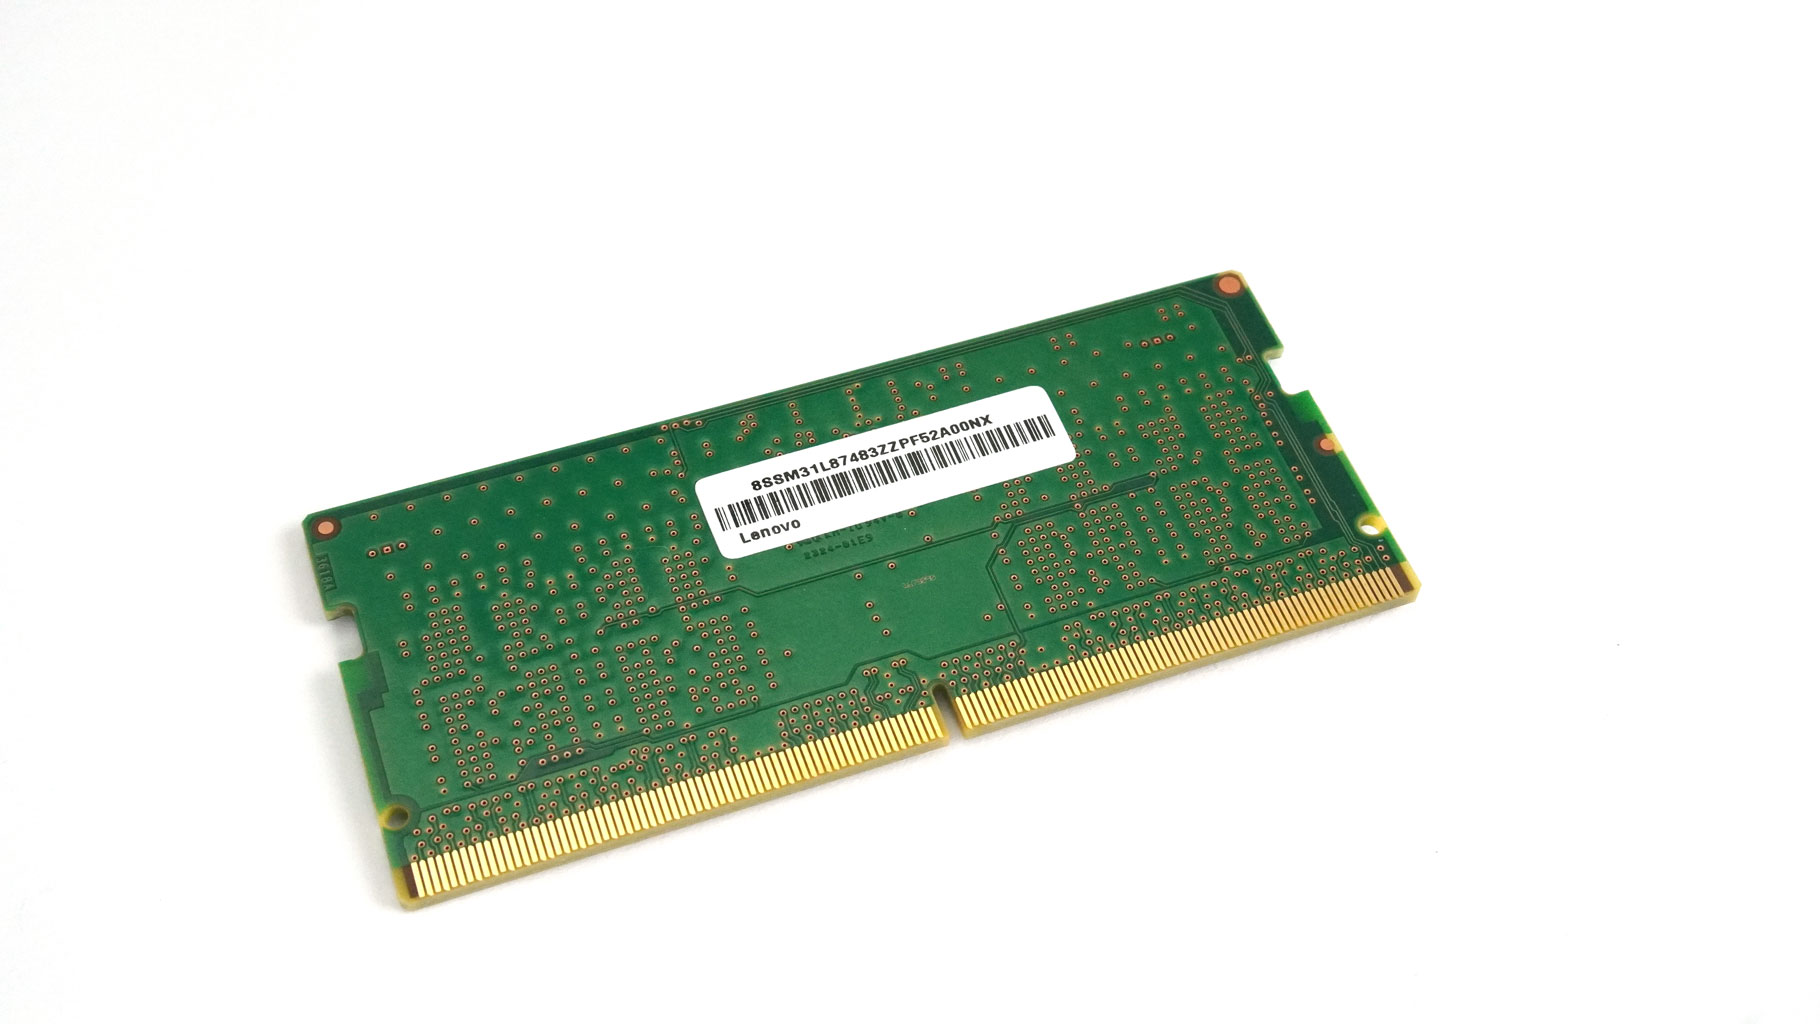
The manufacturer states that it fits up to 16 GB DDR5-5600 MHz modules. You might even be able to run an even bigger amount of memory since the Zen 4 processor supports up to 256 GB, and 32 GB DDR5 SODIMM modules are fairly common.
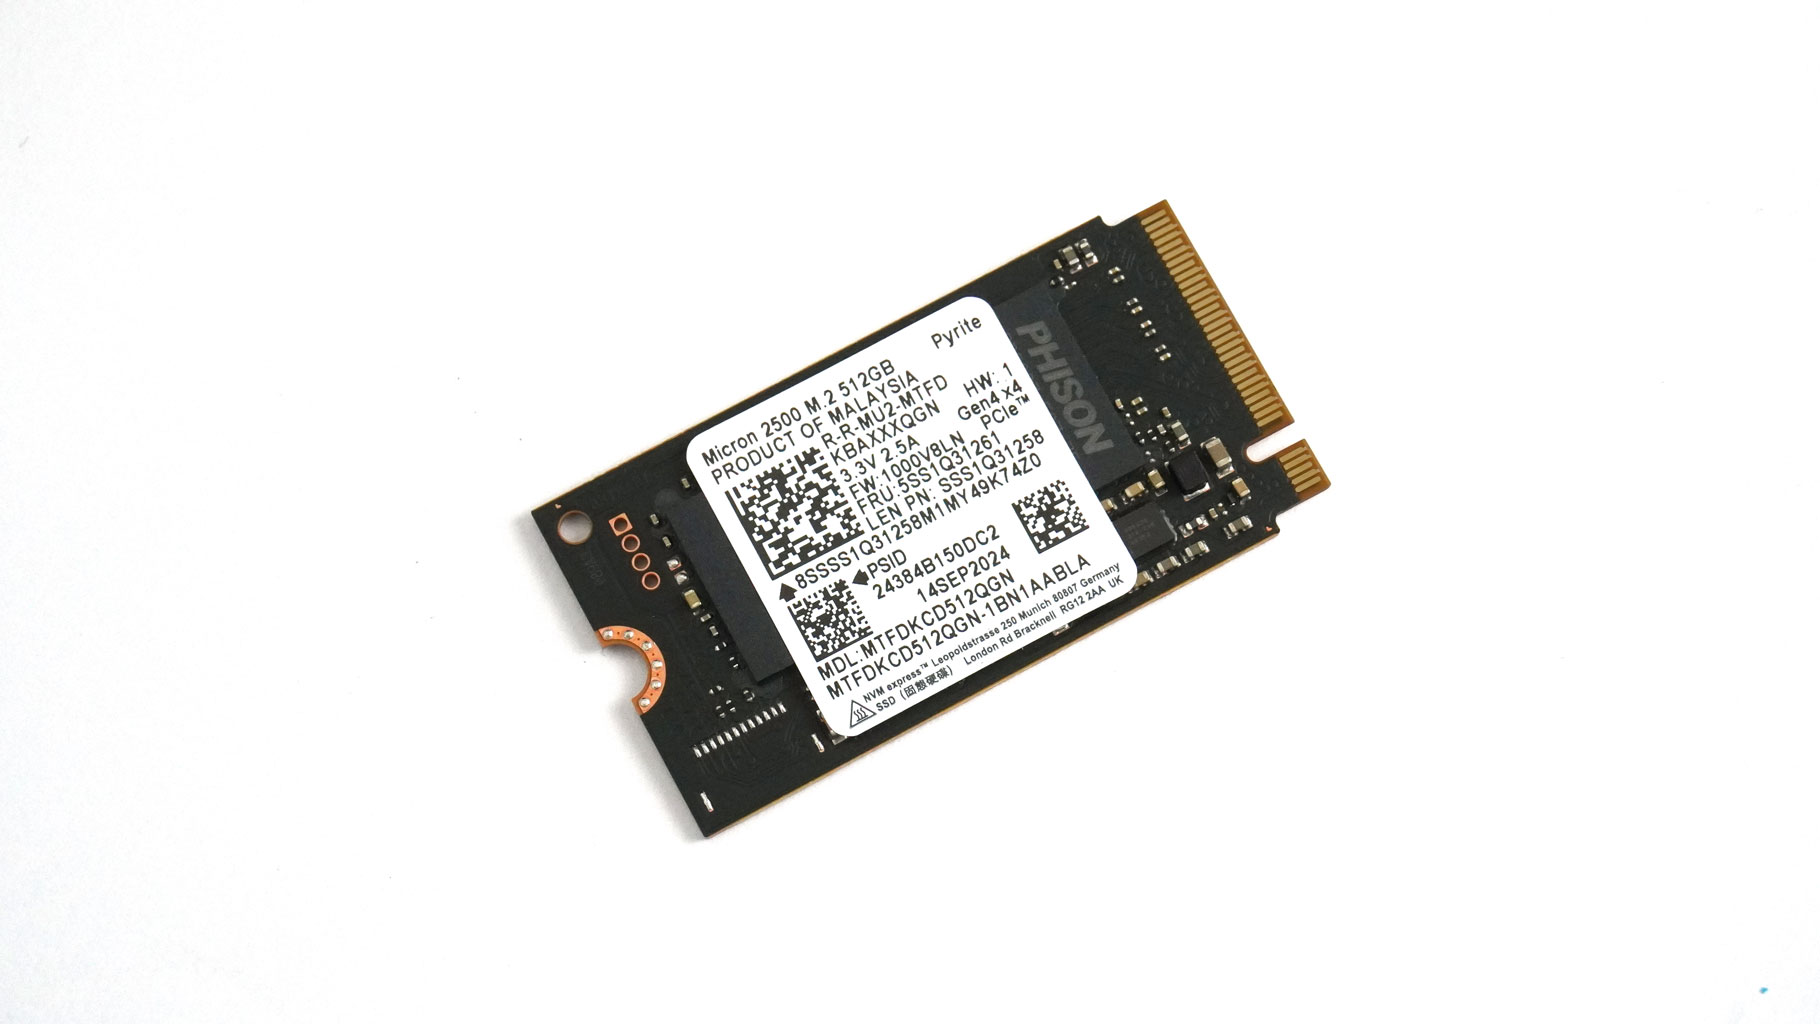

The storage options are surprisingly good for a budget notebook. The pair of 2242 M.2 slots can handle Gen. 4 SSDs. The system drive is cooled by a thermal pad underneath.
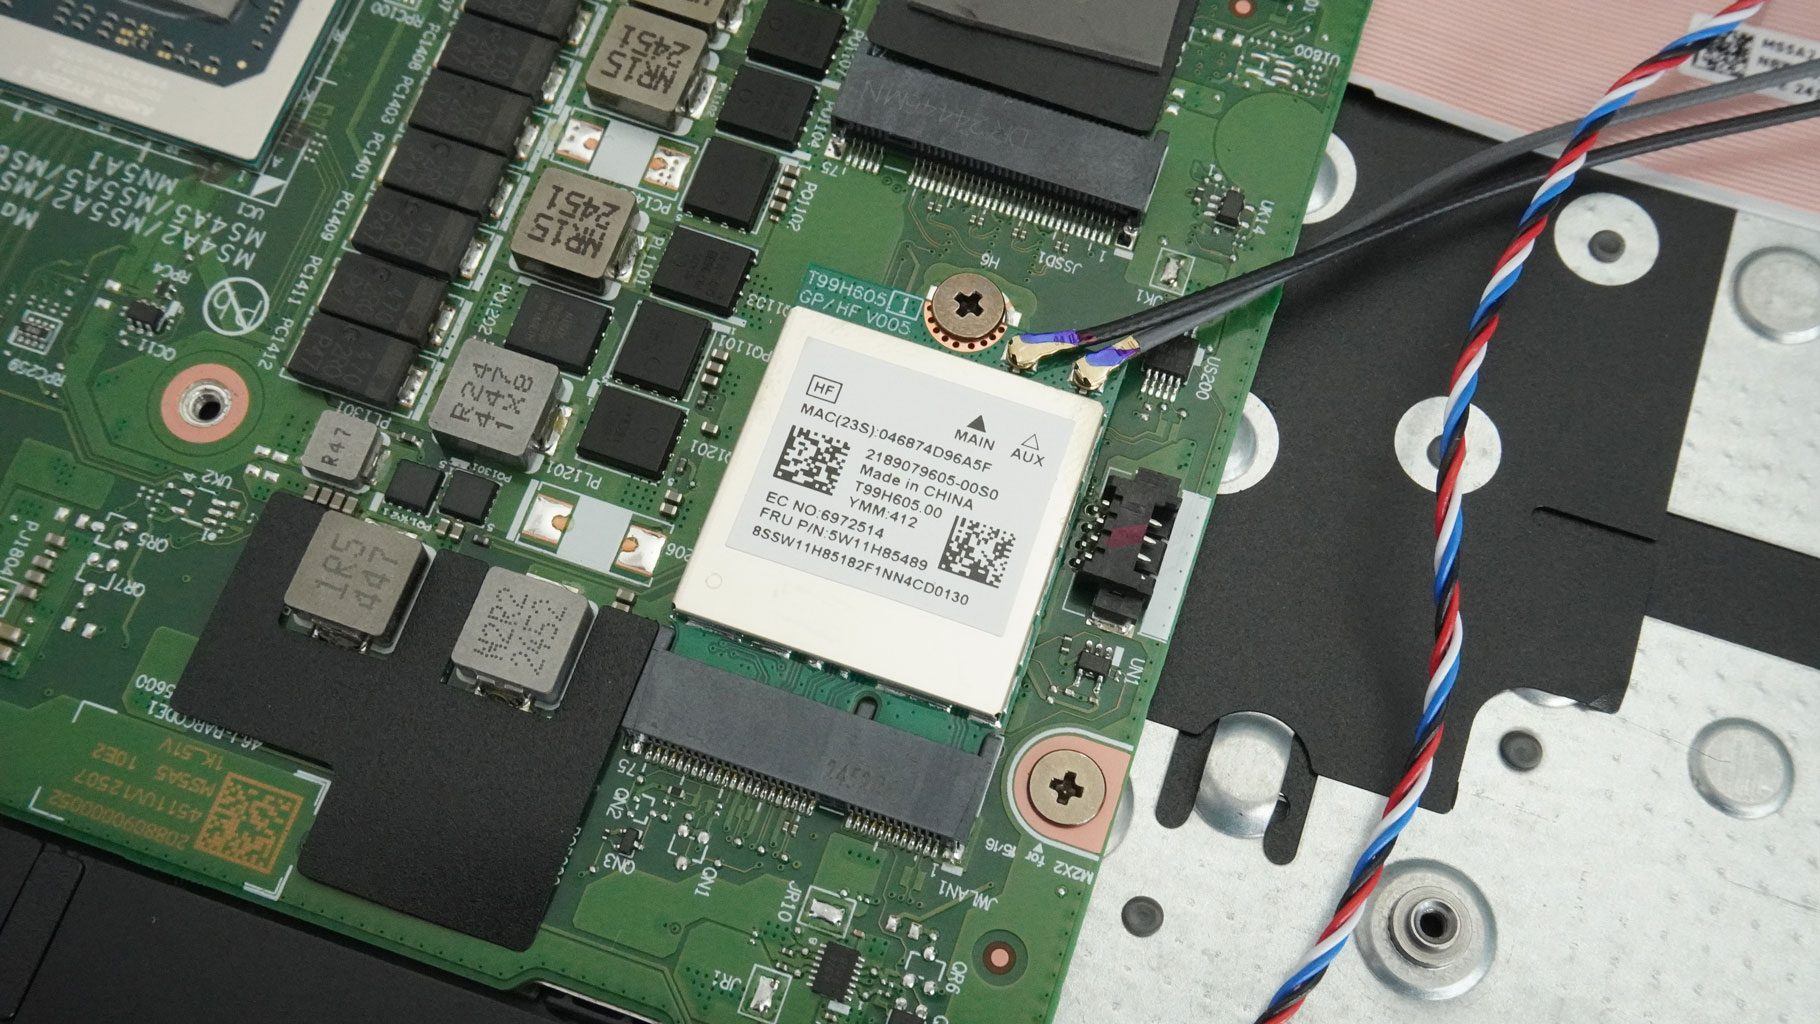
The Wi-Fi card is also upgradable.

The cooling system is as simple as it gets: one fan, a single heat pipe, a heatsink on top, and a small heat spreader over the CPU. To fully remove the cooling, undo the three Philips head screws around the fan and the four captive ones that surround the processor. Carefully untangle all the cables around the fan housing and unplug the connector. Gently lift the cooling, making sure not to bend the heat pipe.
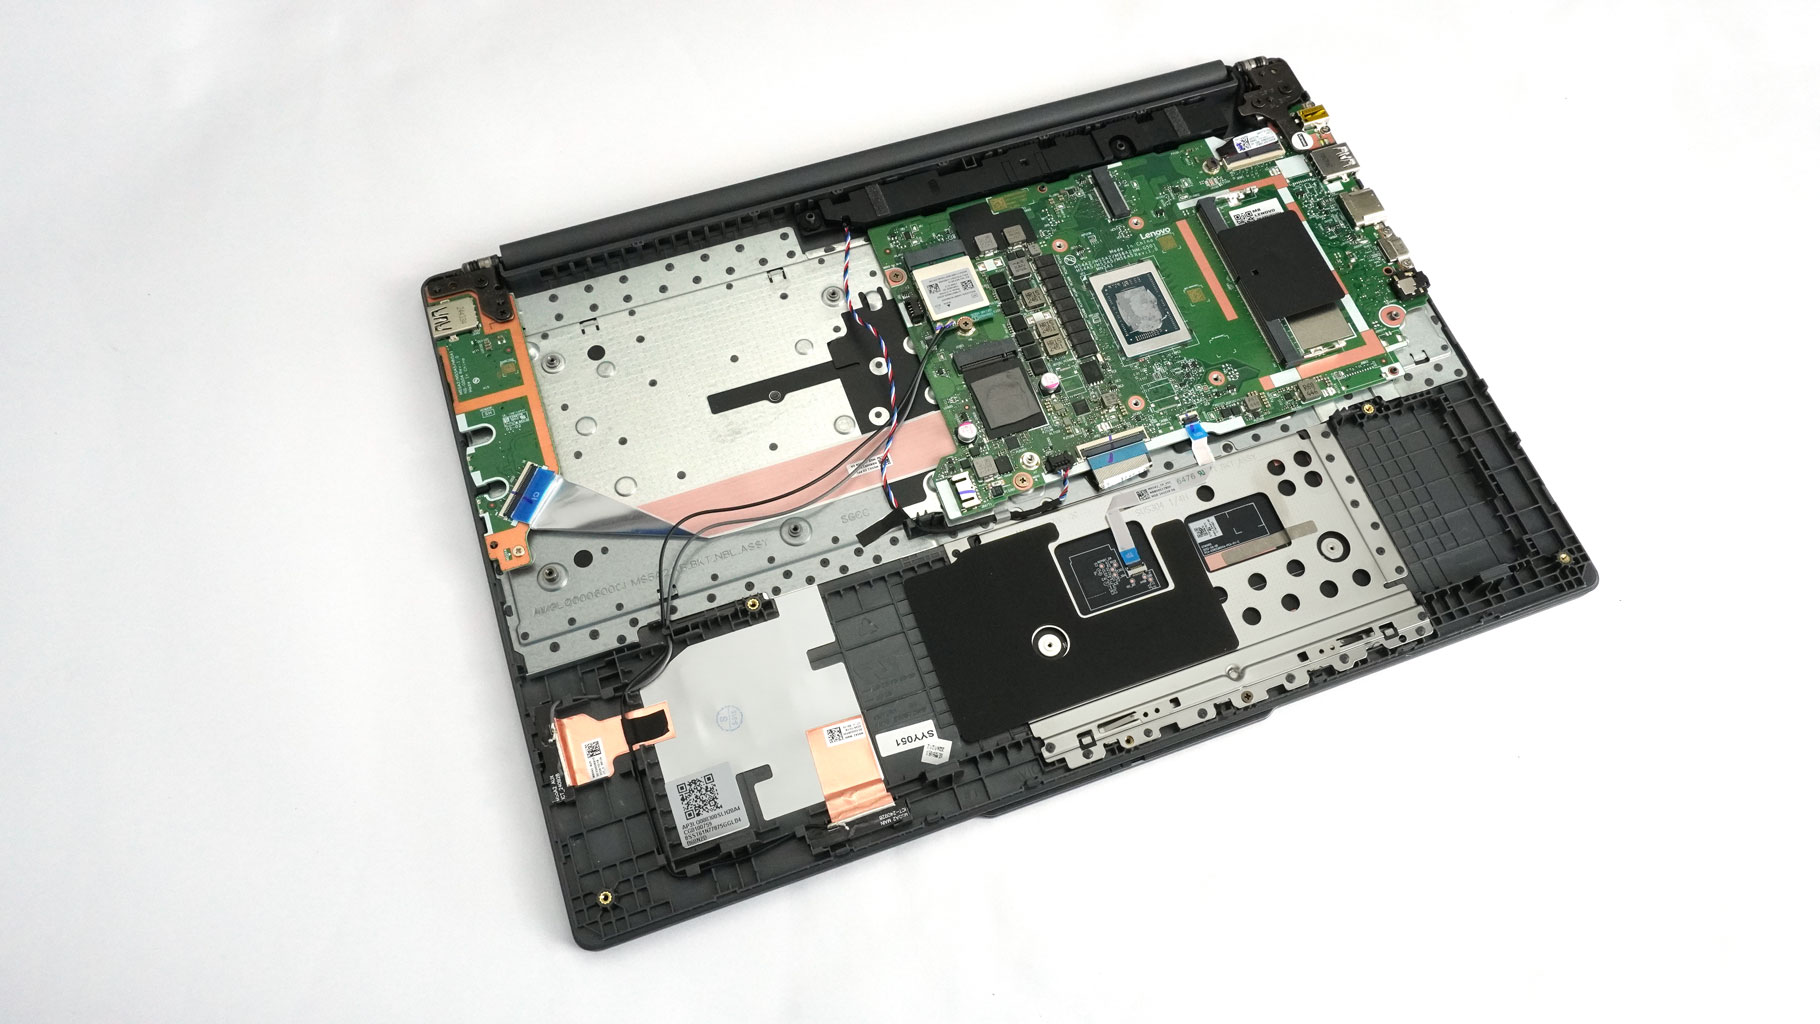
This gives a much clearer picture of how small the motherboard actually is.
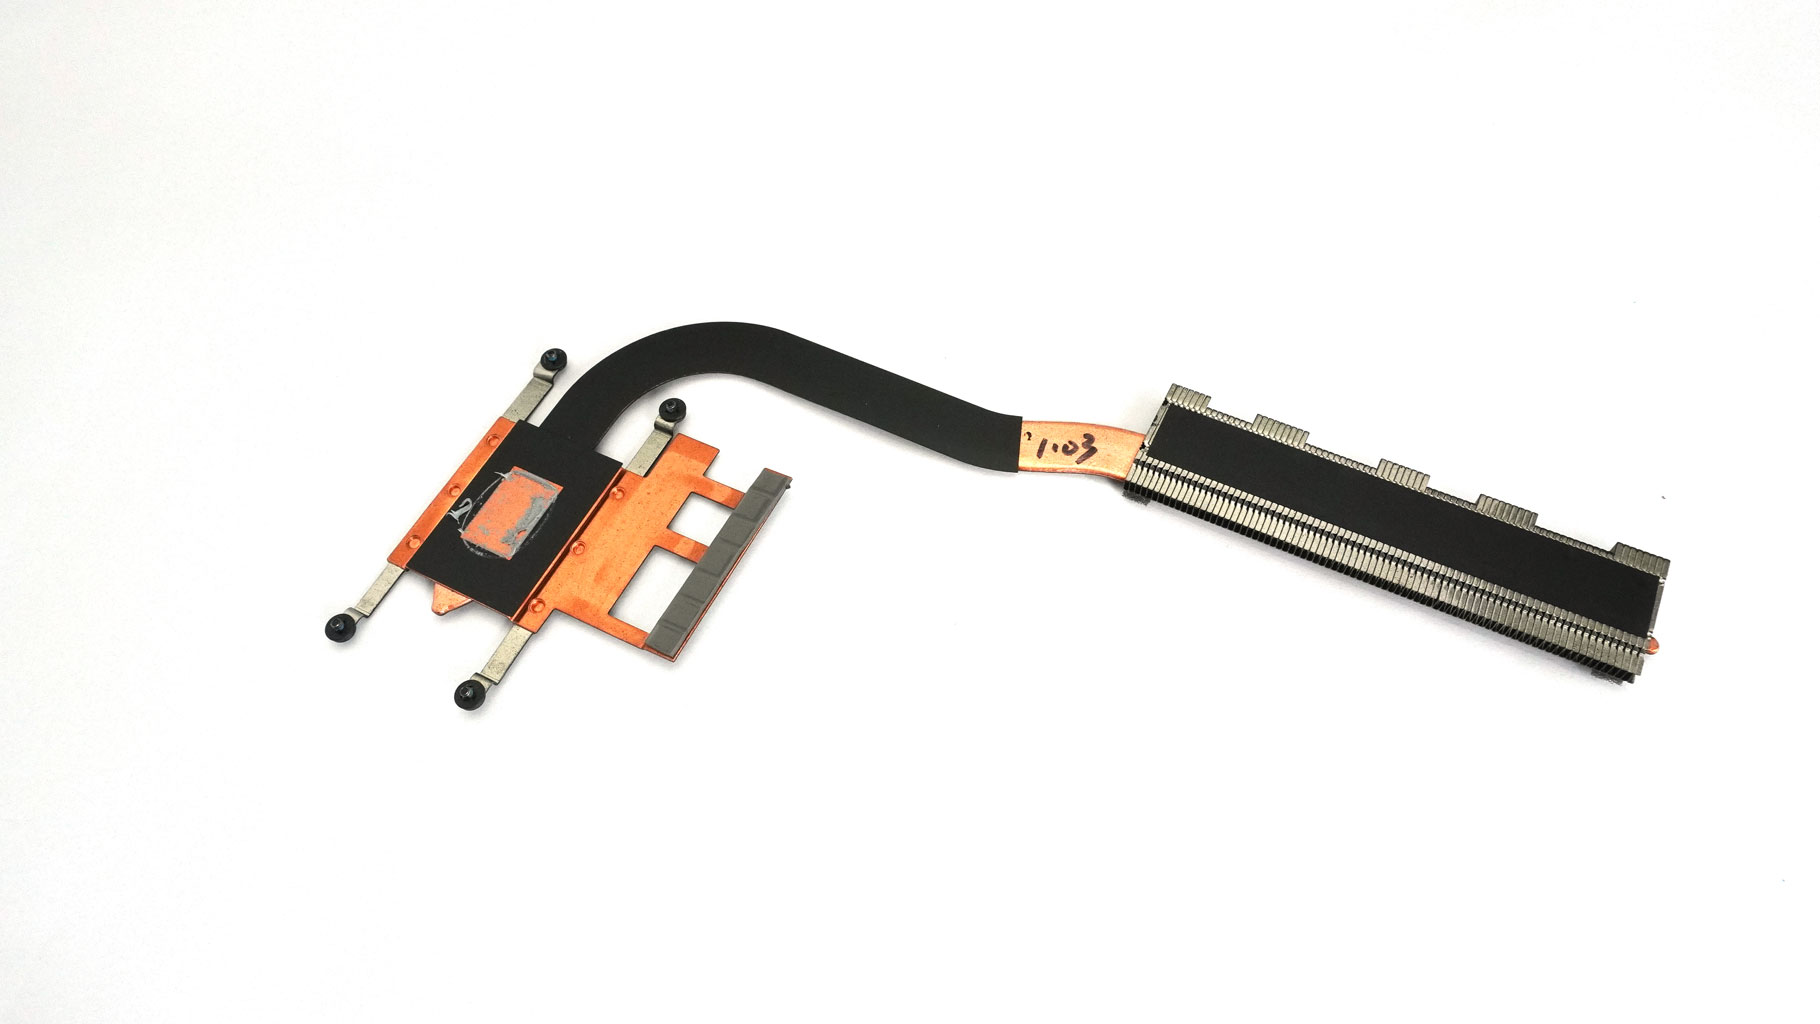
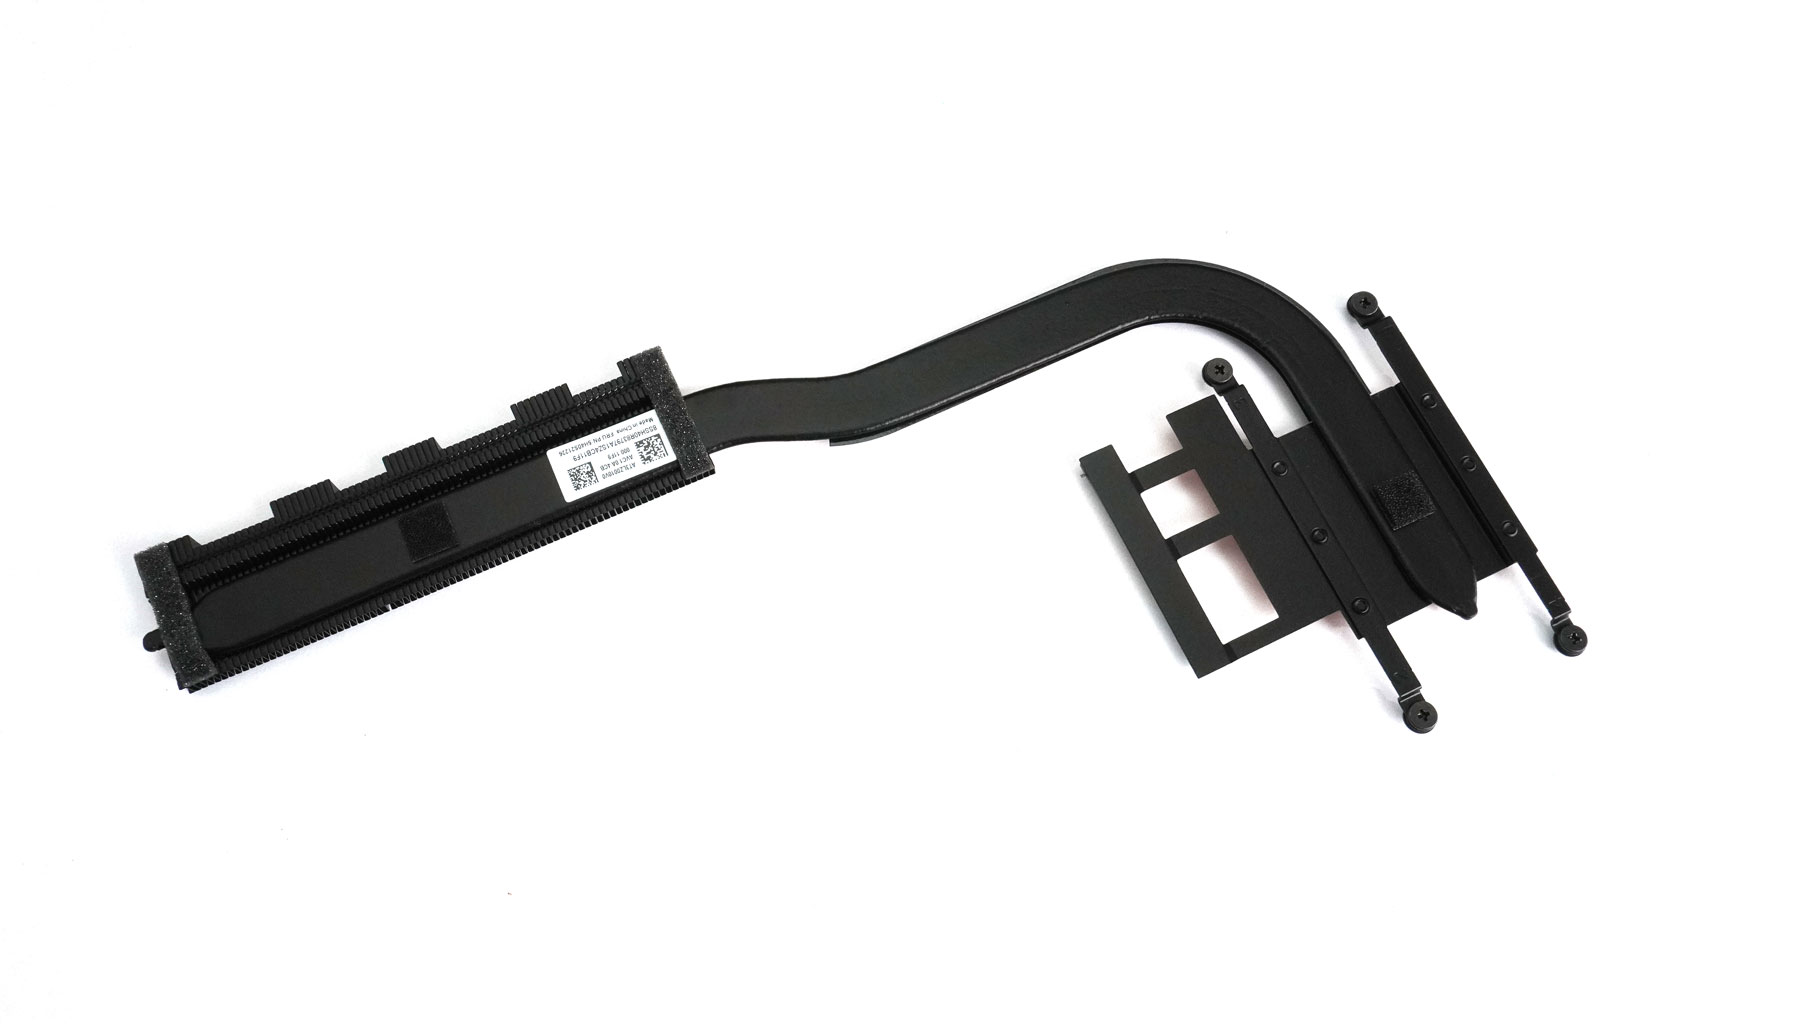
Here's how the basic thermal system looks like from the bottom.
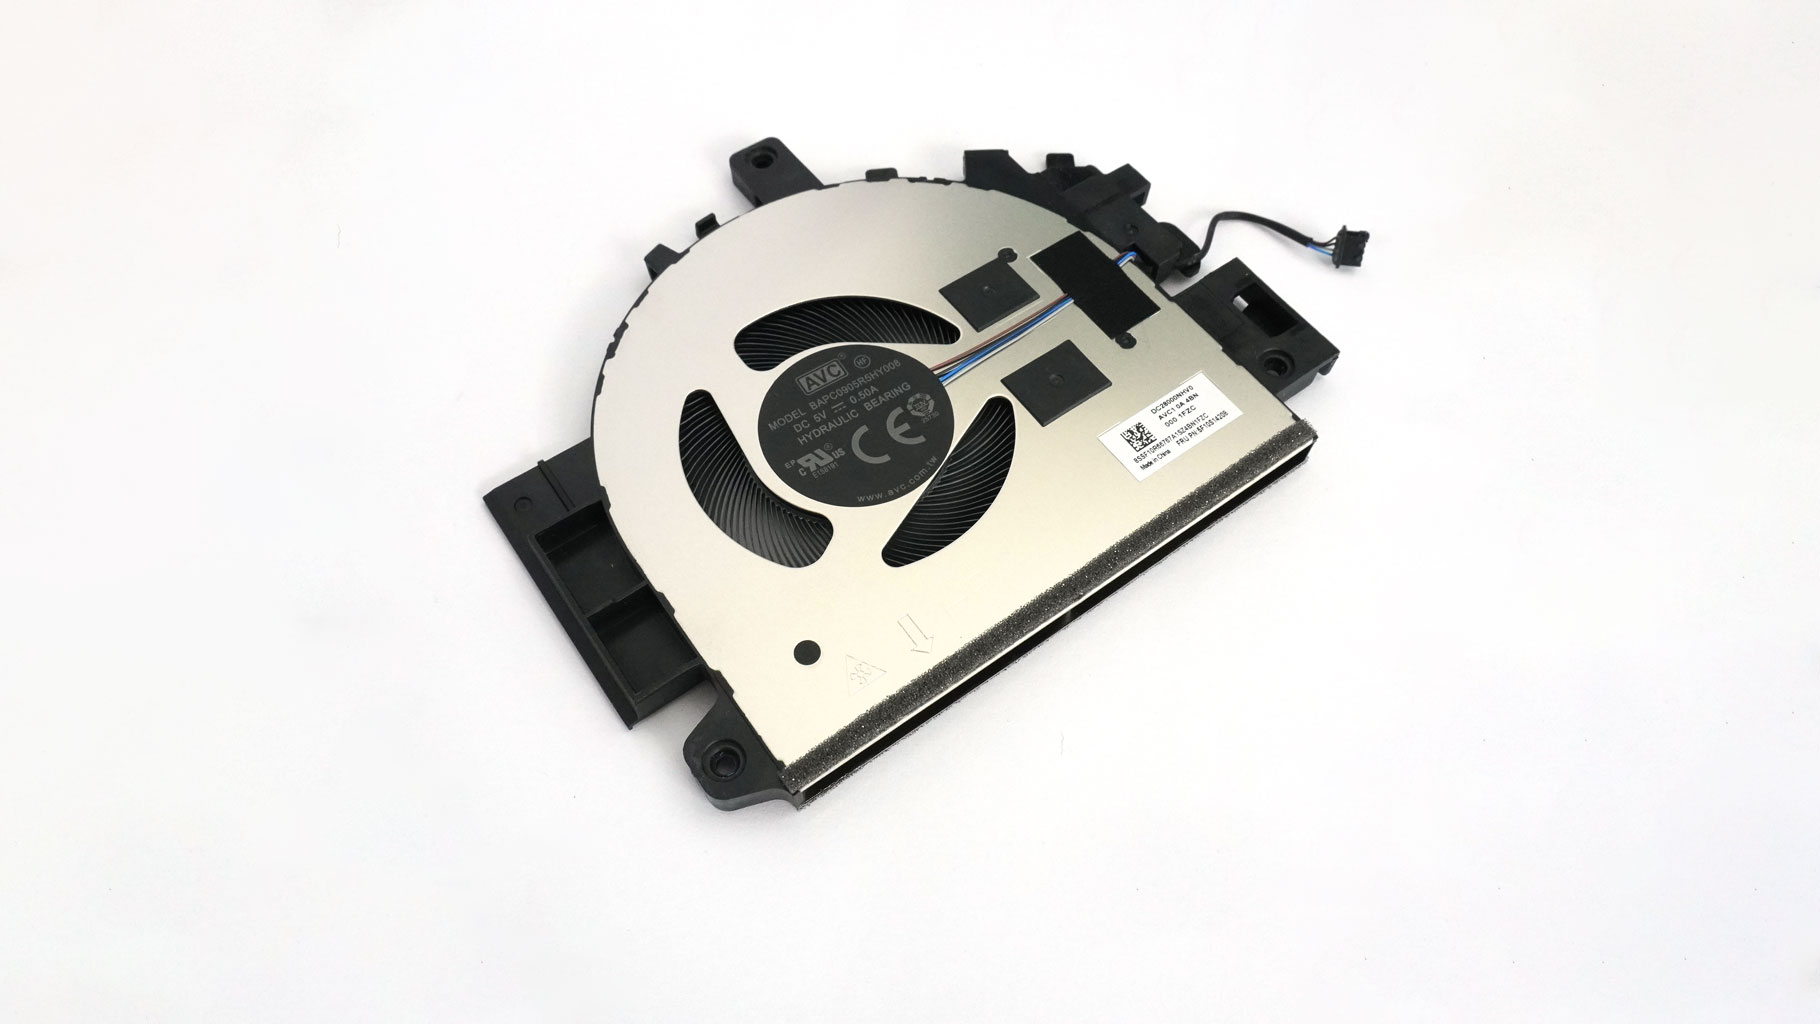
And that's the fan model.
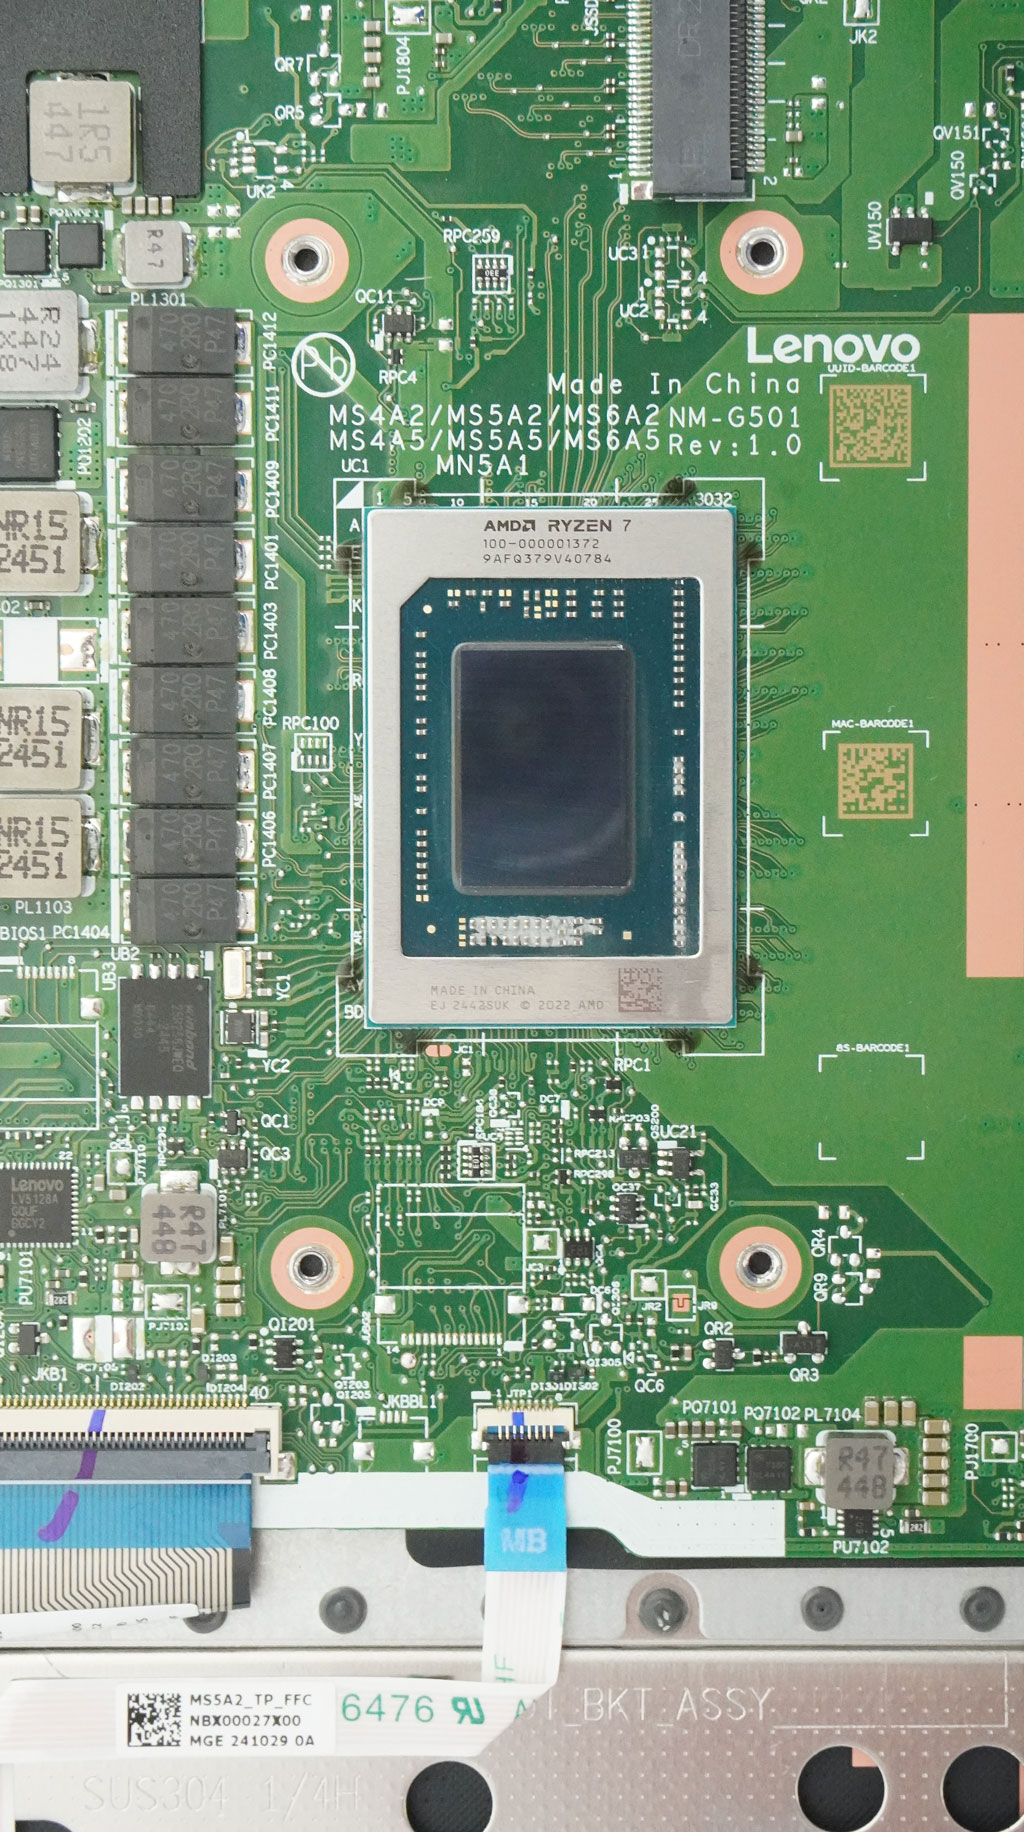
Now we can spot the Zen 4 chip.
Nov 13th, 2026 07:34 PST
change timezone
Latest GPU Drivers
New Forum Posts
- Microsoft Exchange/365 outages? (39)
- To AiO CPU Cooler users? (5)
- I won't download games that are larger than 30–40 GB. (107)
- Slow SSD read speeds - help! (2)
- Any other old-timers here planning to play WoW Forever? (150)
- Requesting original VBIOS for Gigabyte RX 5700 XT GAMING OC 8G Rev 2.0 (Micron) (0)
- Home page search by category (6)
- Windows 11 General Discussion (7727)
- Warning for Windows 10 and 11 users running newer AMD GPU drivers (58)
- TPU's Nostalgic Hardware Club (22150)
Popular Reviews
- AMD Zen 6 Technical Deep Dive
- Corsair HX1000i Shift Crystal Review
- NZXT C1200 Platinum Review
- Upcoming Hardware Launches 2027 (Updated Nov 2026)
- Montech King 95 3D PRO Review
- NZXT H7 RGB+ Review
- NZXT H5 Review
- Phantom Blade Zero Performance Benchmark Review - 35 GPUs Tested
- XPG NIMBUS PLUS Review - Mid-range Chair With Strong Competitors
- Gigabyte Z890I Aorus Ultra Review
TPU on YouTube
Controversial News Posts
- NVIDIA Co-Founder and CEO Jensen Huang Officially Resigns (353)
- OpenAI CEO Argues Home PCs Waste the World's Limited DRAM Supply (152)
- NVIDIA Launches Investigation Into Jensen Huang's Relationship With Suspected Chinese Spy (136)
- Intel "Raptor Lake Next" 16-Core and 20-Core CPUs Surface (130)
- Legendary Game Studio BioWare Shuts Down Following EA Layoffs (104)
- Dell CEO Says the Memory Shortage Will Get Worse in 2027 (95)
- NVIDIA GeForce RTX 50-Series Scheduled for up to $500 Price Hike This Week (89)
- Modder Fits RTX 5090 With Four 8-Pin Connectors, Halving Current per Wire (80)