 21
LYNK+ GeForce RTX 5090 Modular AIO Review
Circuit Board Analysis »The Radiator

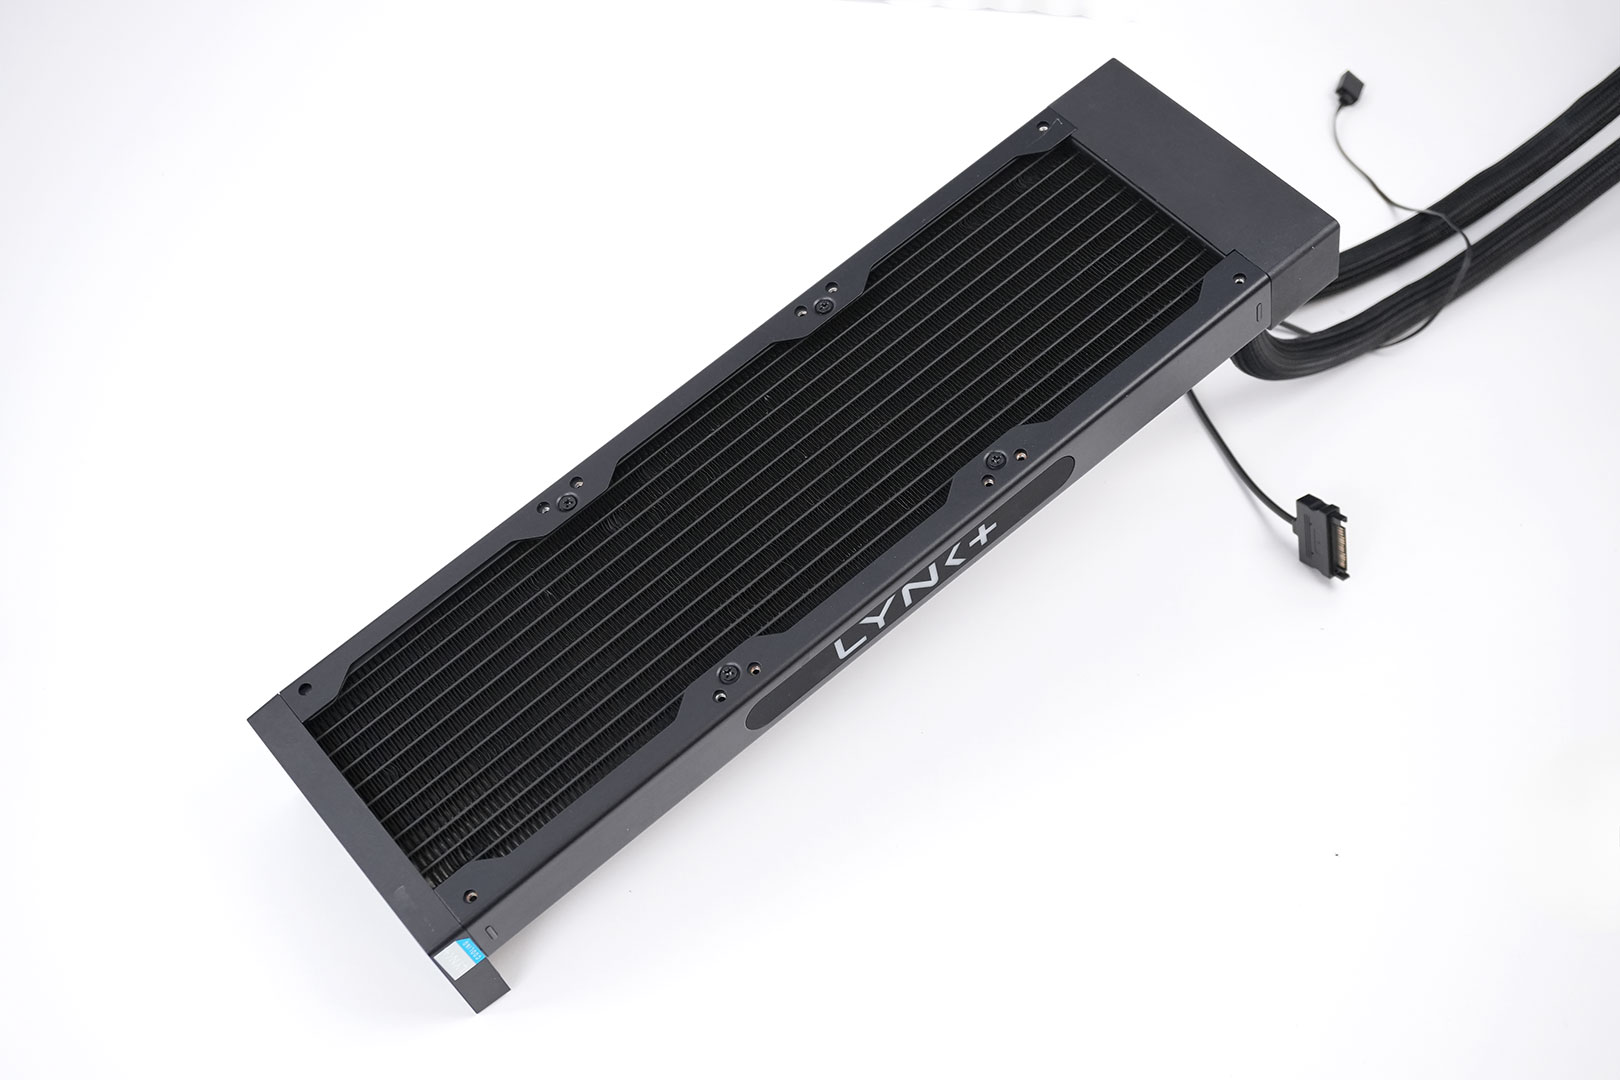
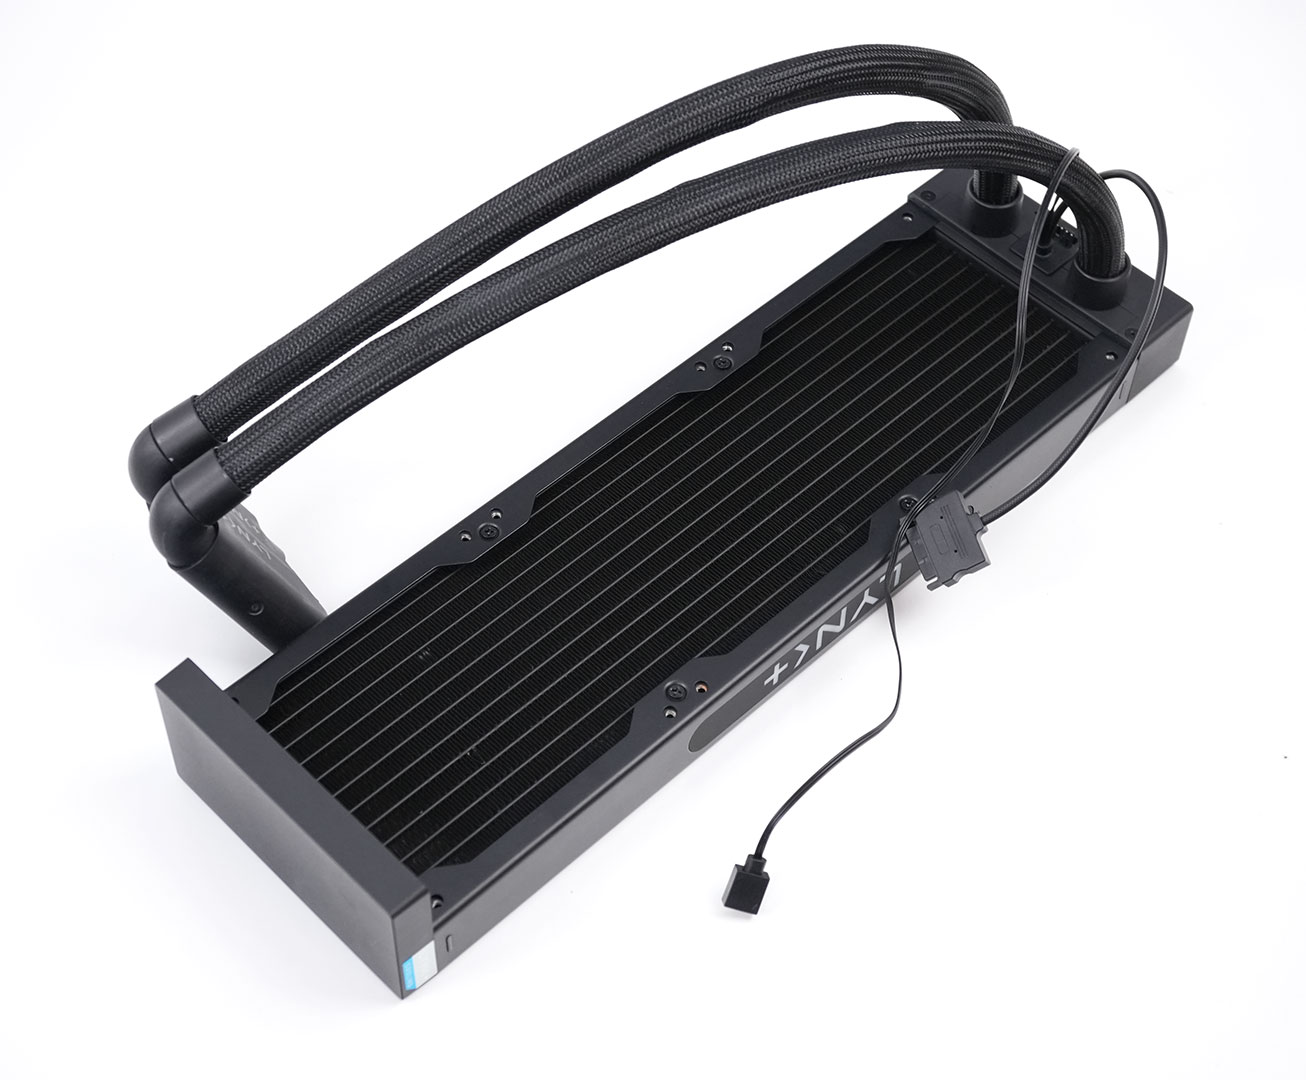
The radiator is a standard 360 mm radiator with a housing that contains the pump. Note the SATA power cable here and the RGB cable, which is optional. Not connecting the RGB will keep the lighting off.

There is a single fan header available, which you can use to connect the three fans on the radiator in a daisy-chained configuration. Right next to that, marked in red, is a little LED that is constant white when everything is working properly, but it can flash, too, to indicate various error states.
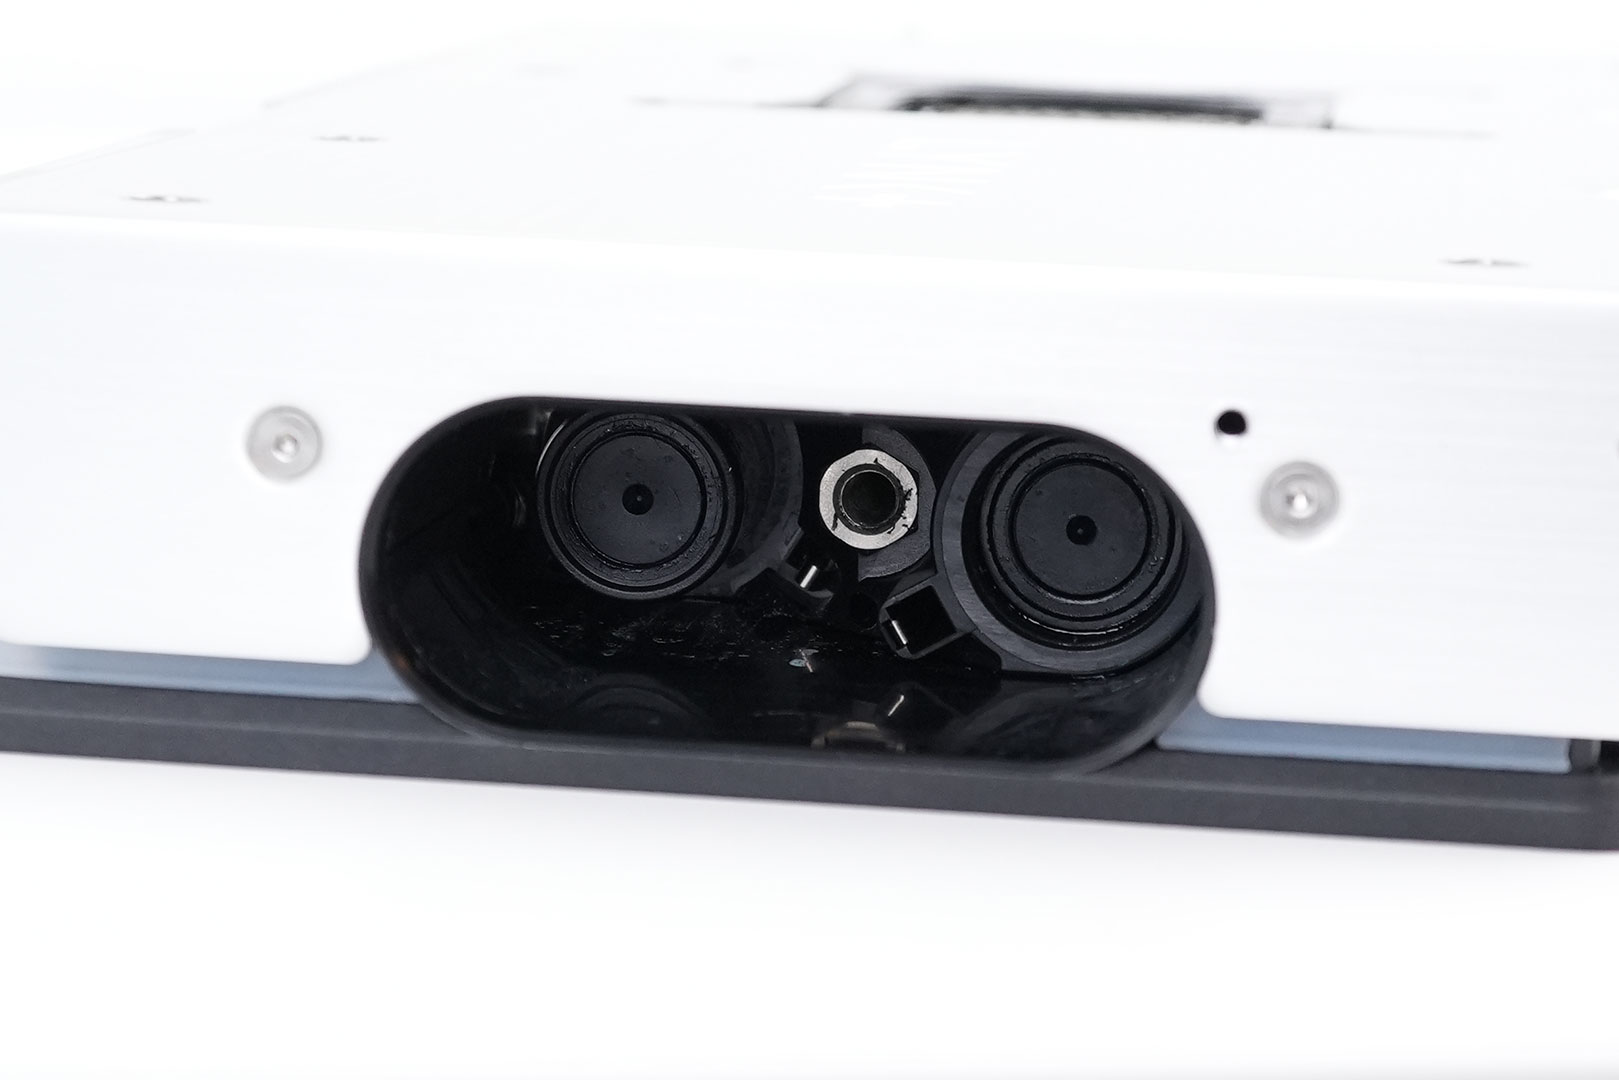
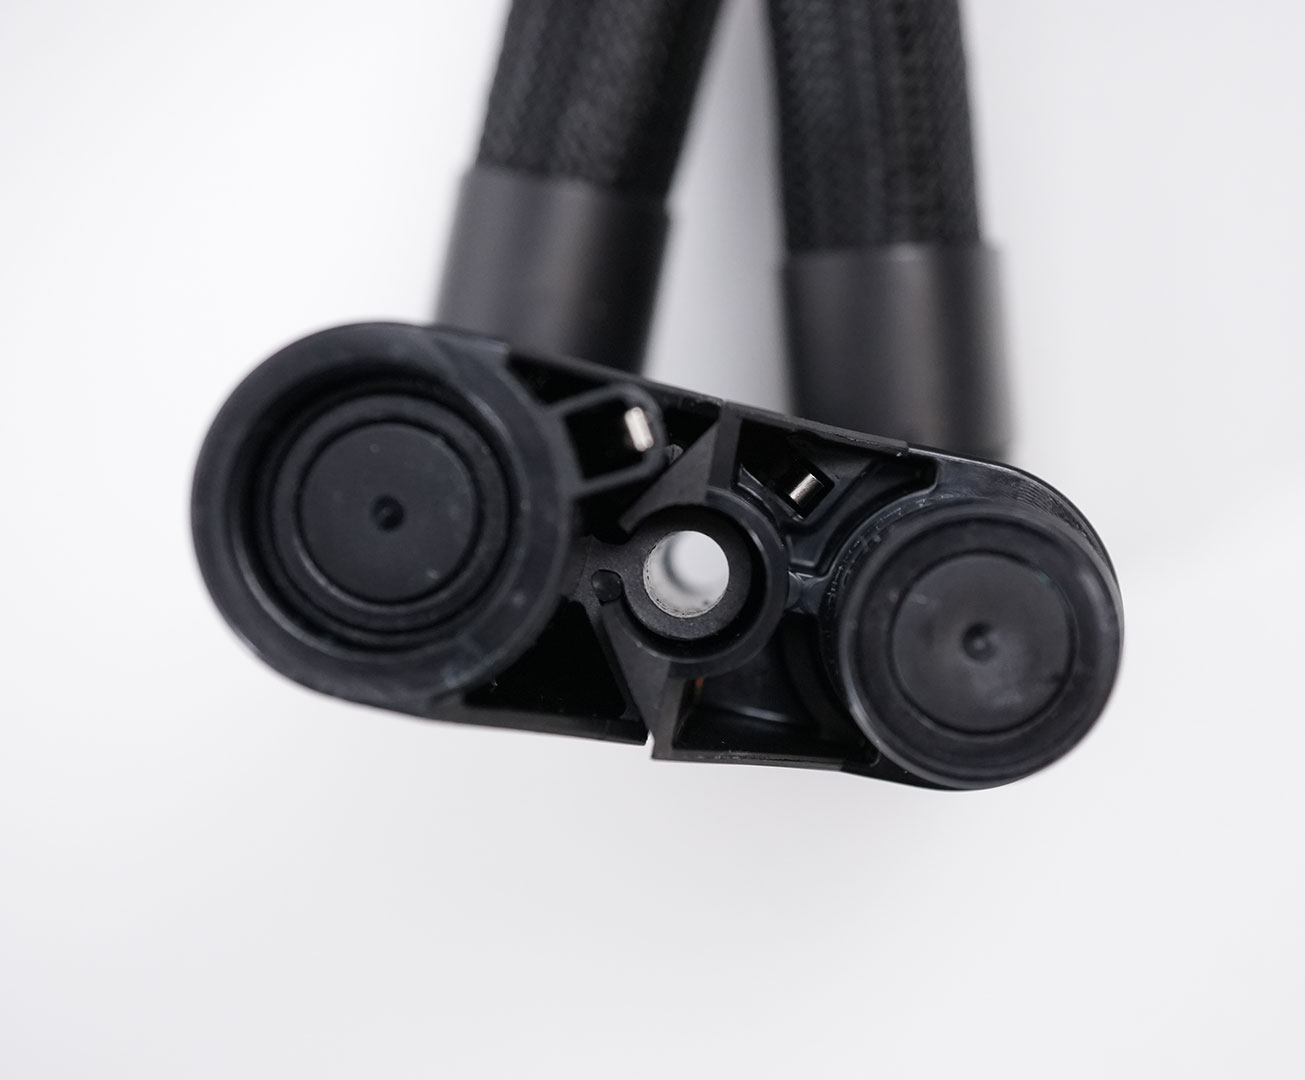

This is where the magic happens. The quick connects are designed to not leak any liquid, so you can just remove them during installation and nothing will spill or have to be refilled. The liquid is not water: "The coolant is specially developed by us; everything comes prefilled and no refilling necessary."
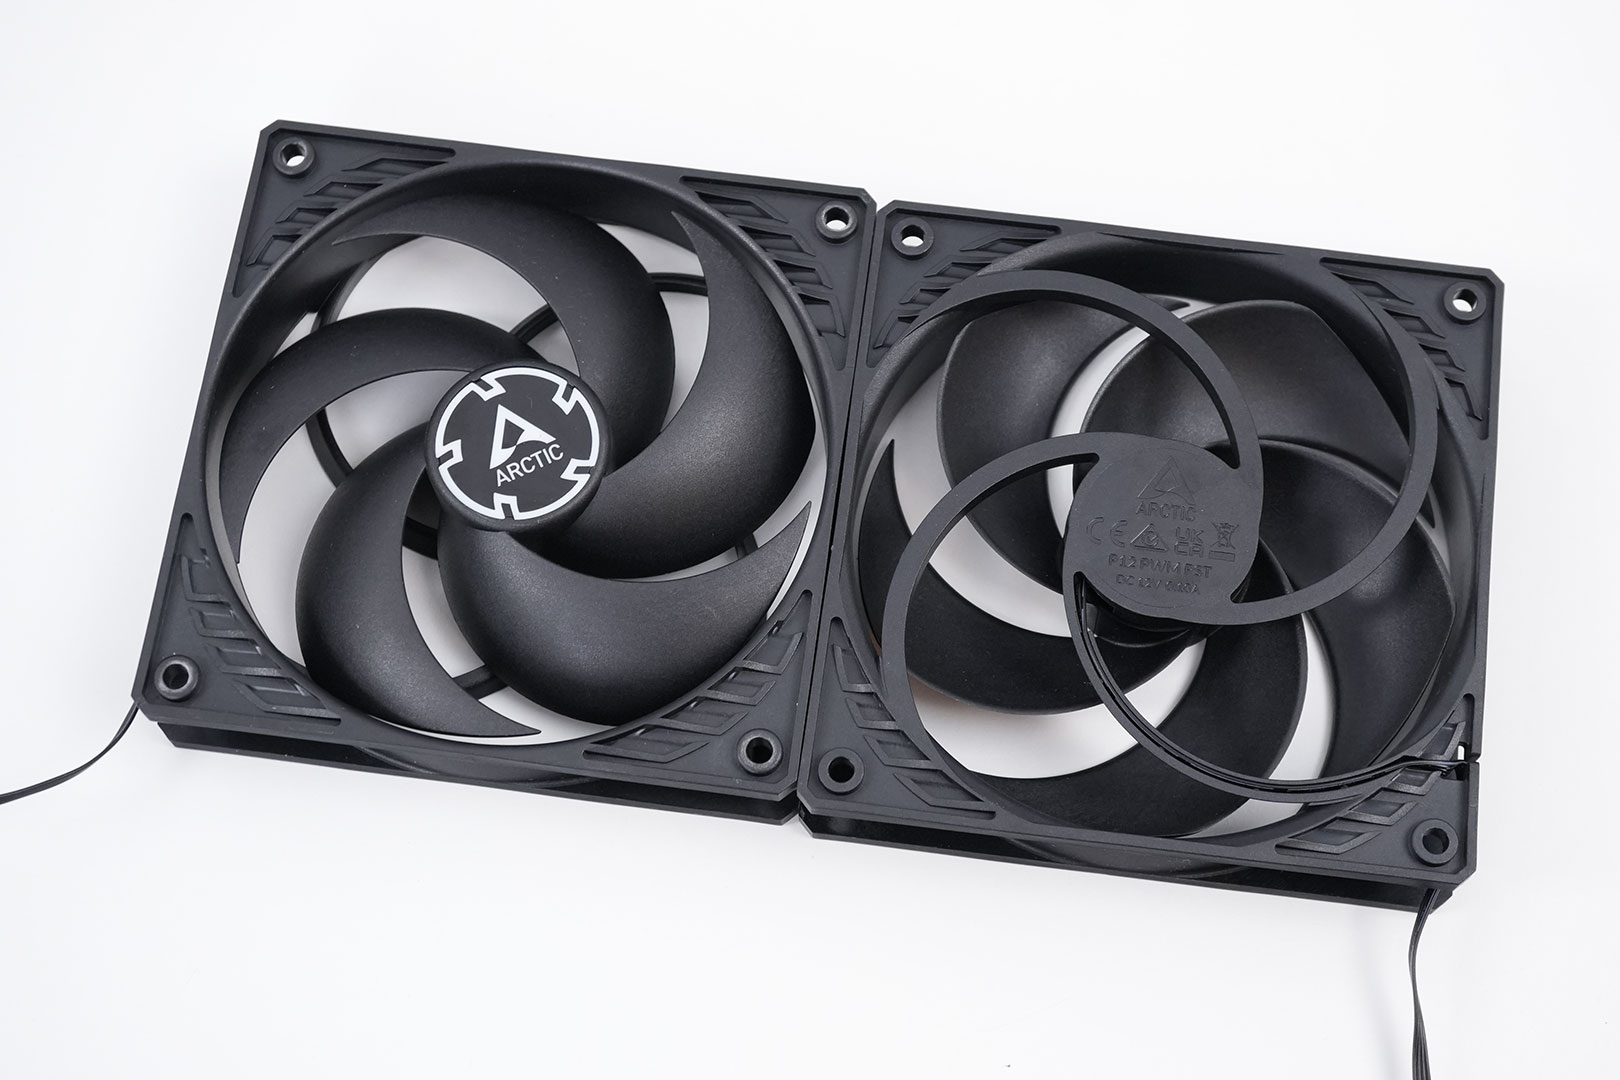
Included with my review sample were three Arctic P12 PWM fans, but you can really use any other 120 mm fan.
Installation
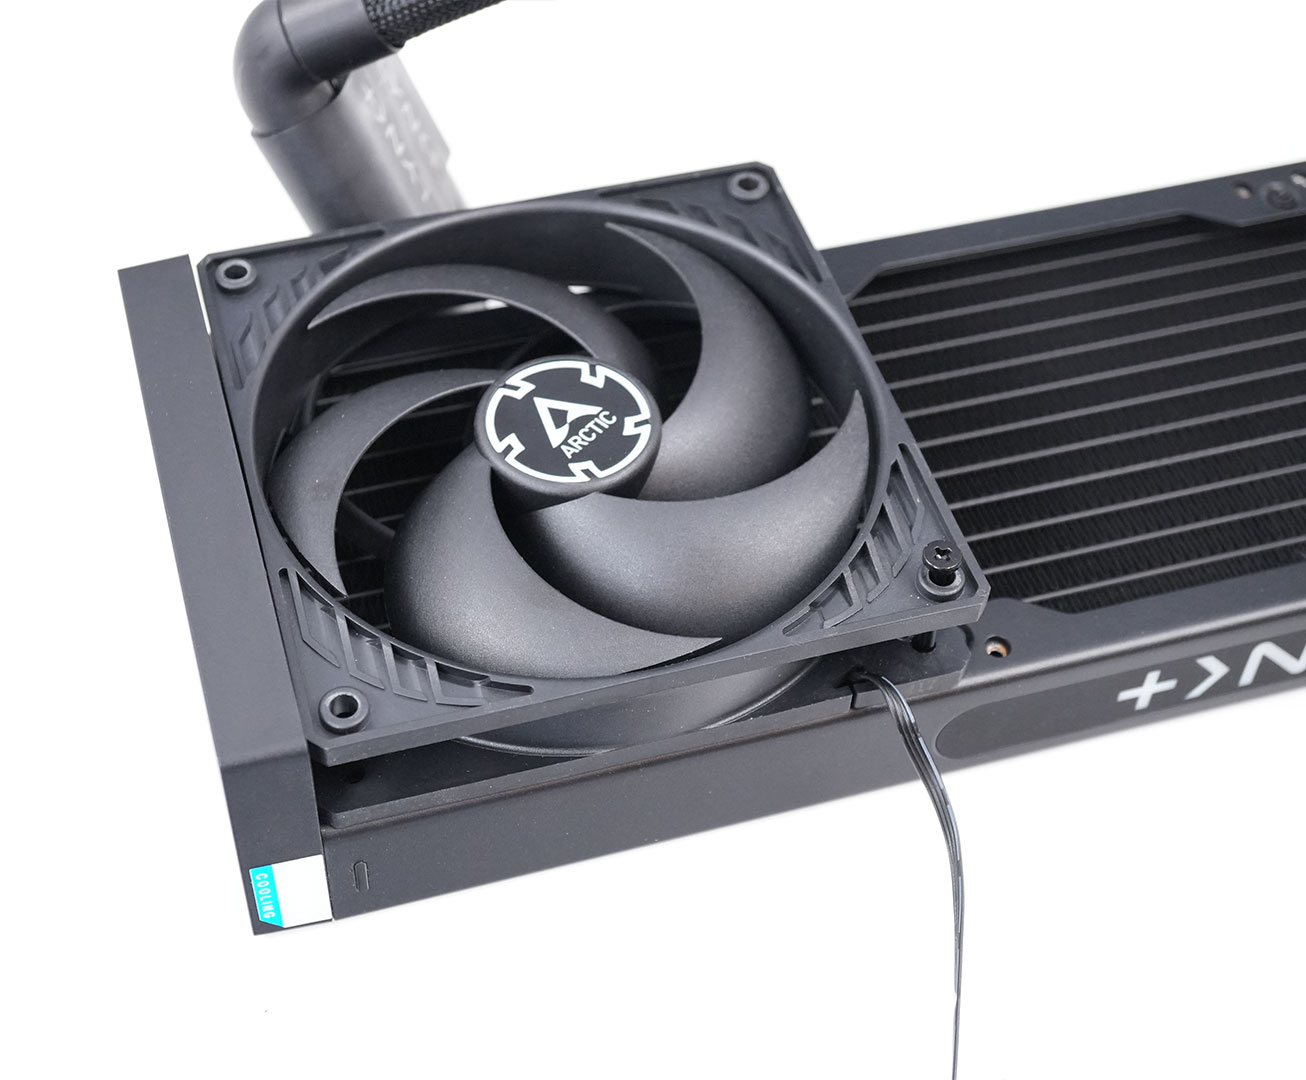
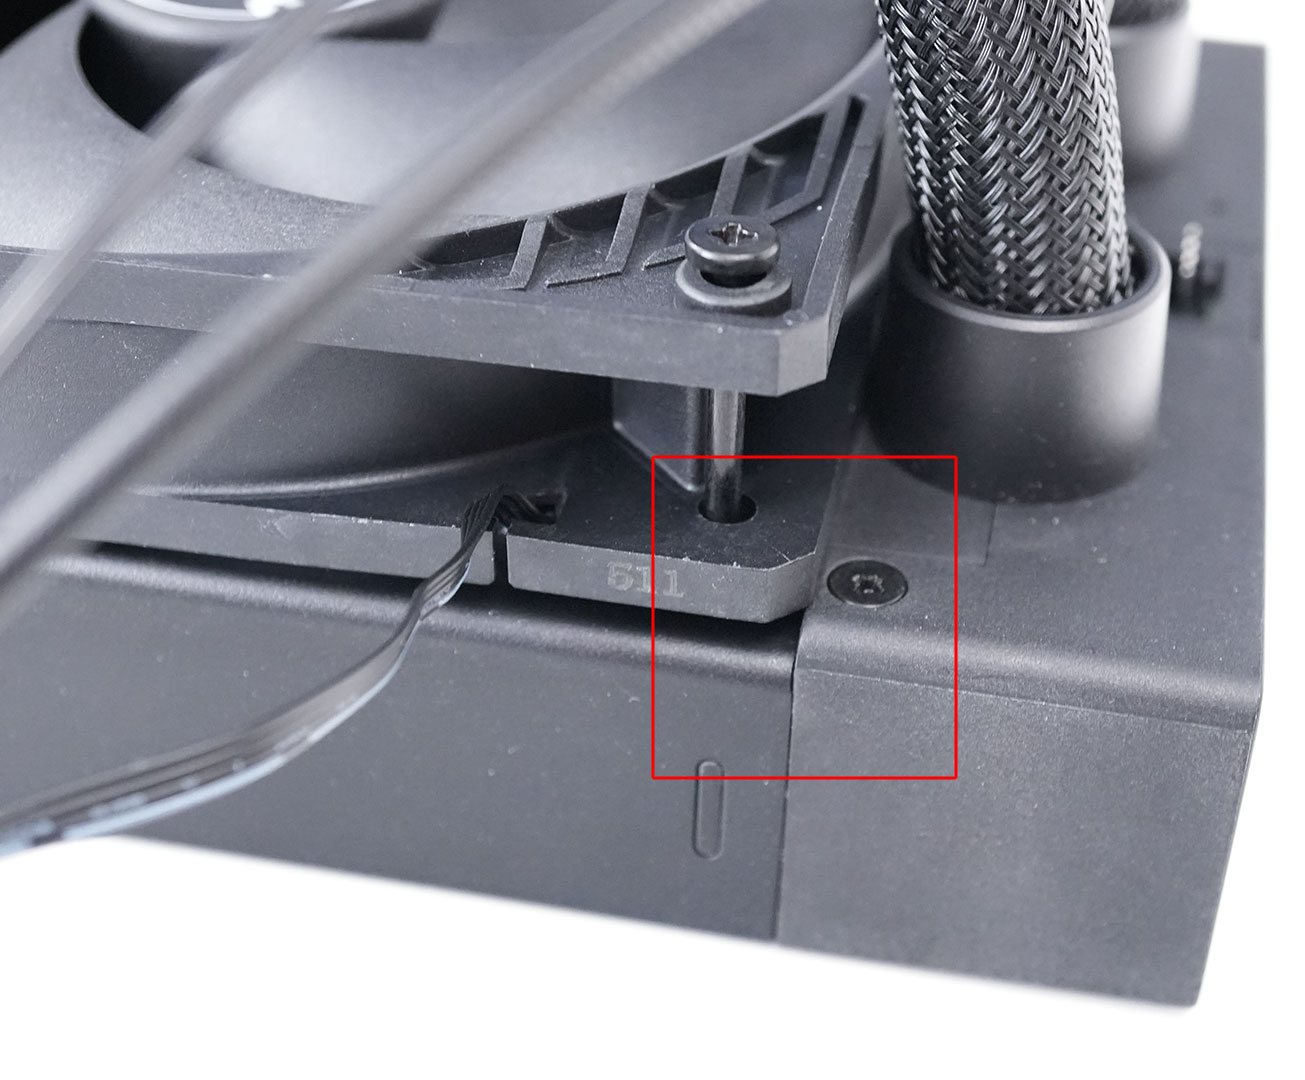
To begin, attach the fans to the radiator. As shown in the second photo, the space is quite limited, so avoid tightening the screws completely at first. Instead, secure them fully only after all three fans have been positioned correctly.
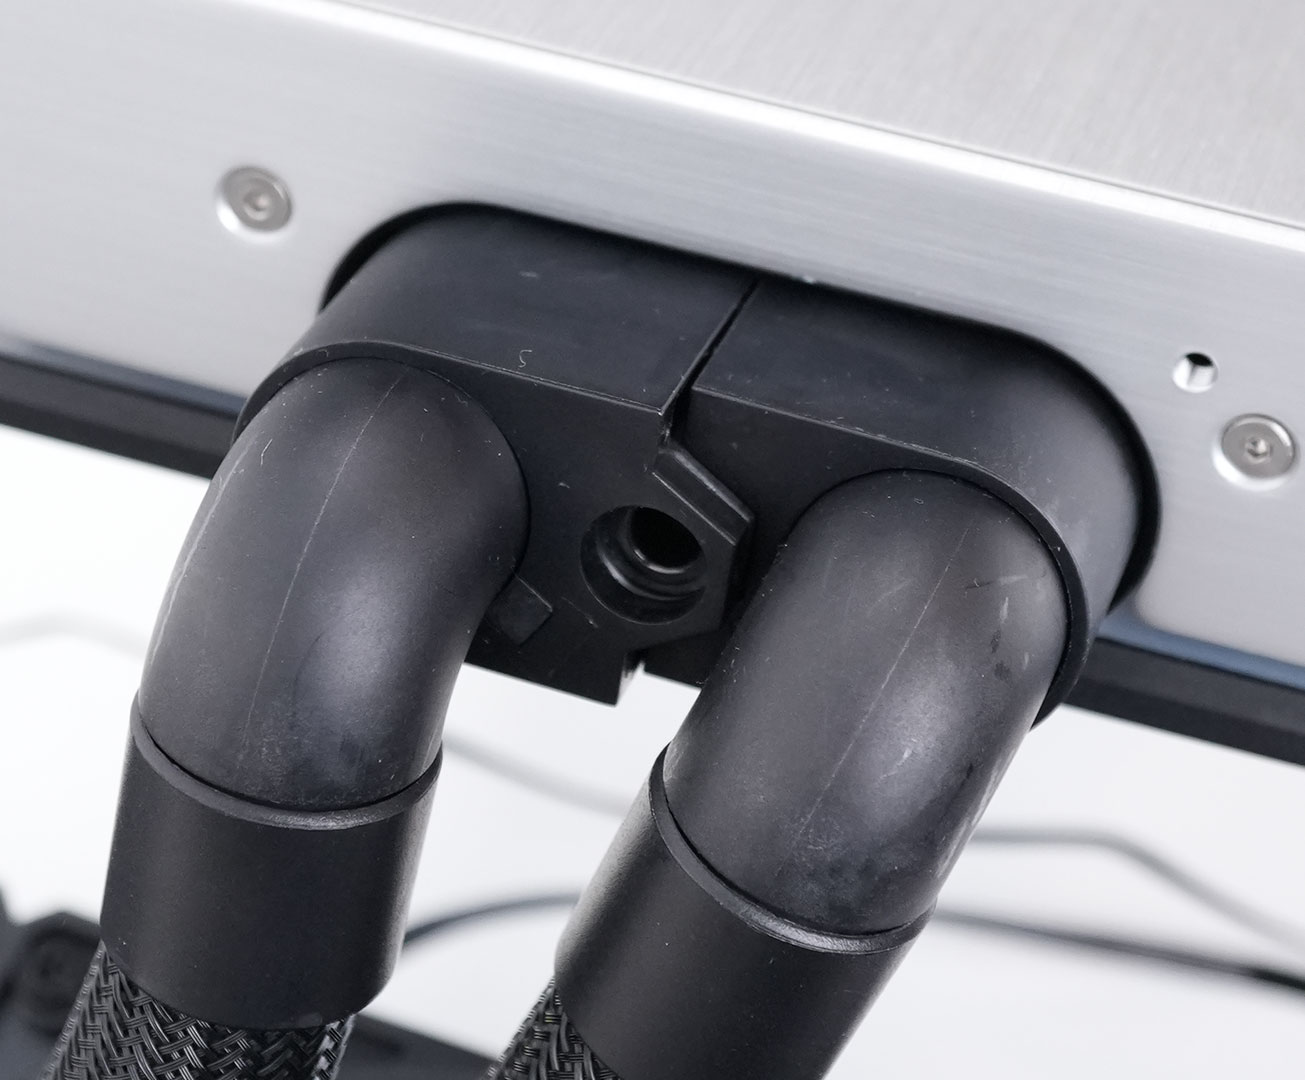
Next, the tubing has to be connected to the GPU. To do that just insert it, there is only one way it will fit.
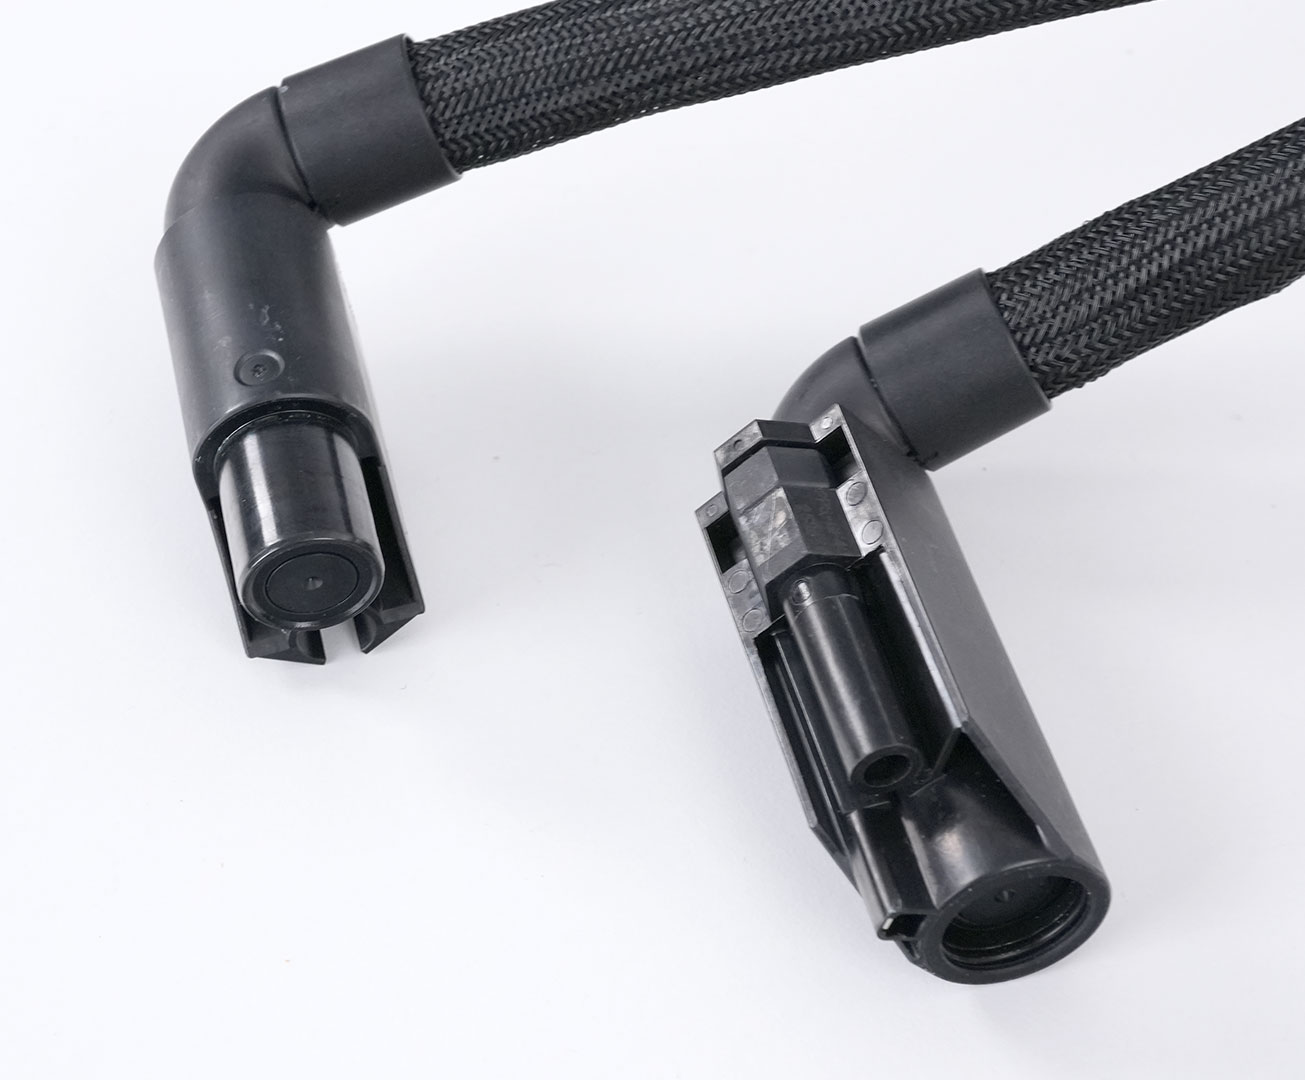
Do note that the two pieces can be separated easily, which lets you realign them or route them through small spaces. The "ends" can also be rotated, to help align, depending on the direction you're setting up the routing.


Insert the large included screw and tighten it using the provided tool. Simply pressing down won't be effective; you must rely on the screw's torque. The screw will come to a hard stop when fully tightened, leaving no ambiguity about whether you are finished.
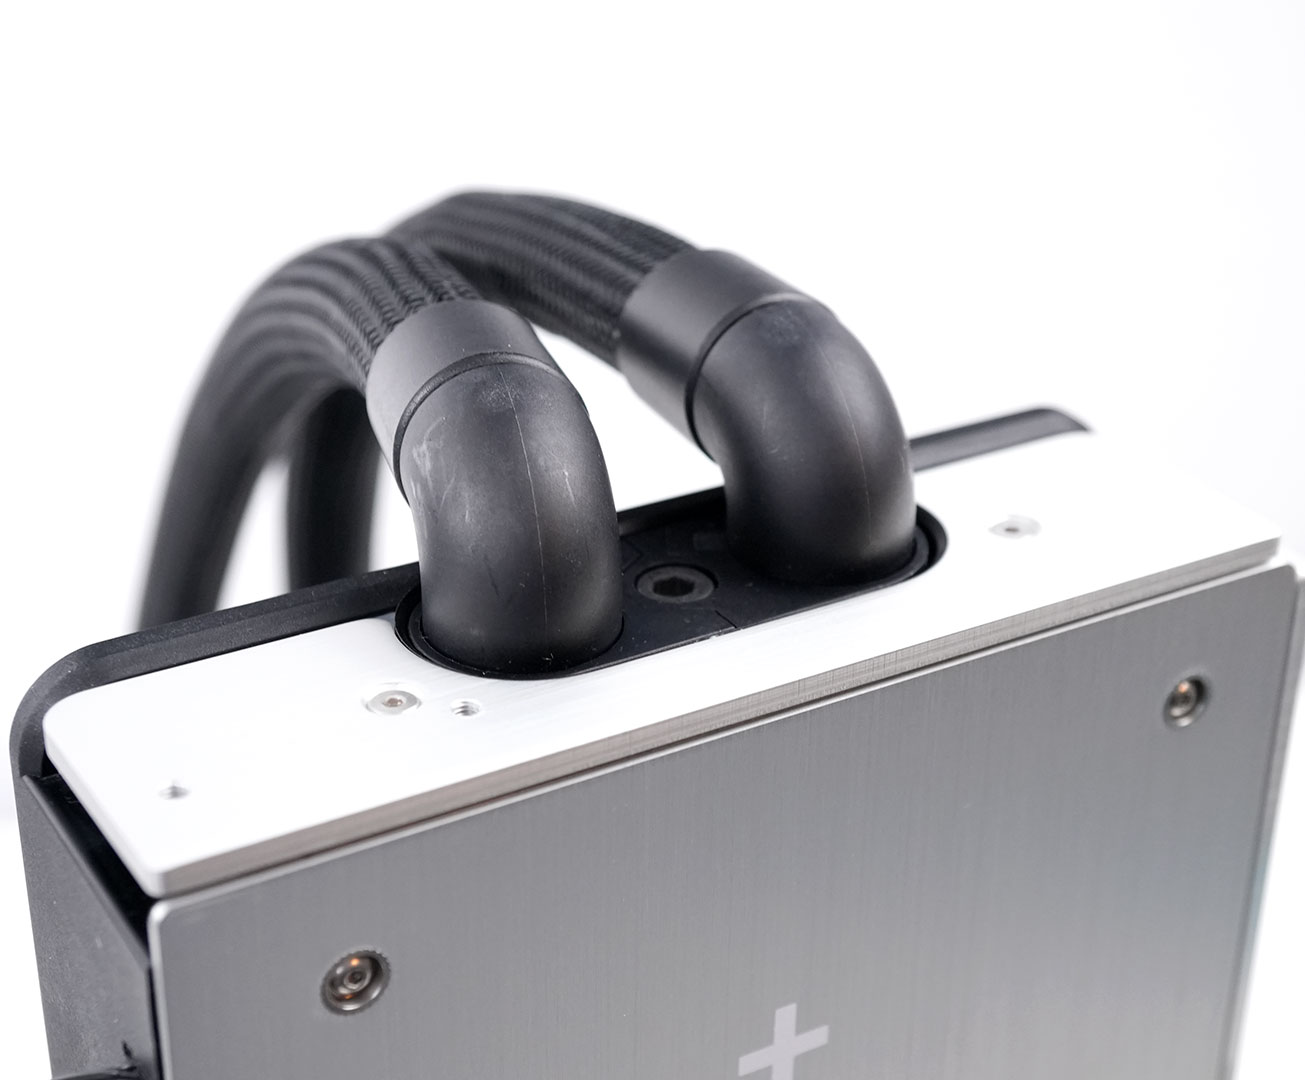
When done, it looks very nice, like a single piece.

To disassemble the system, simply remove the screw, and the connector will come out easily. No pulling or force is required. I took this photo immediately after running at full load and disconnecting the system. As you can see, there is a slight liquid "film," but it's only a tiny amount that will evaporate within minutes.
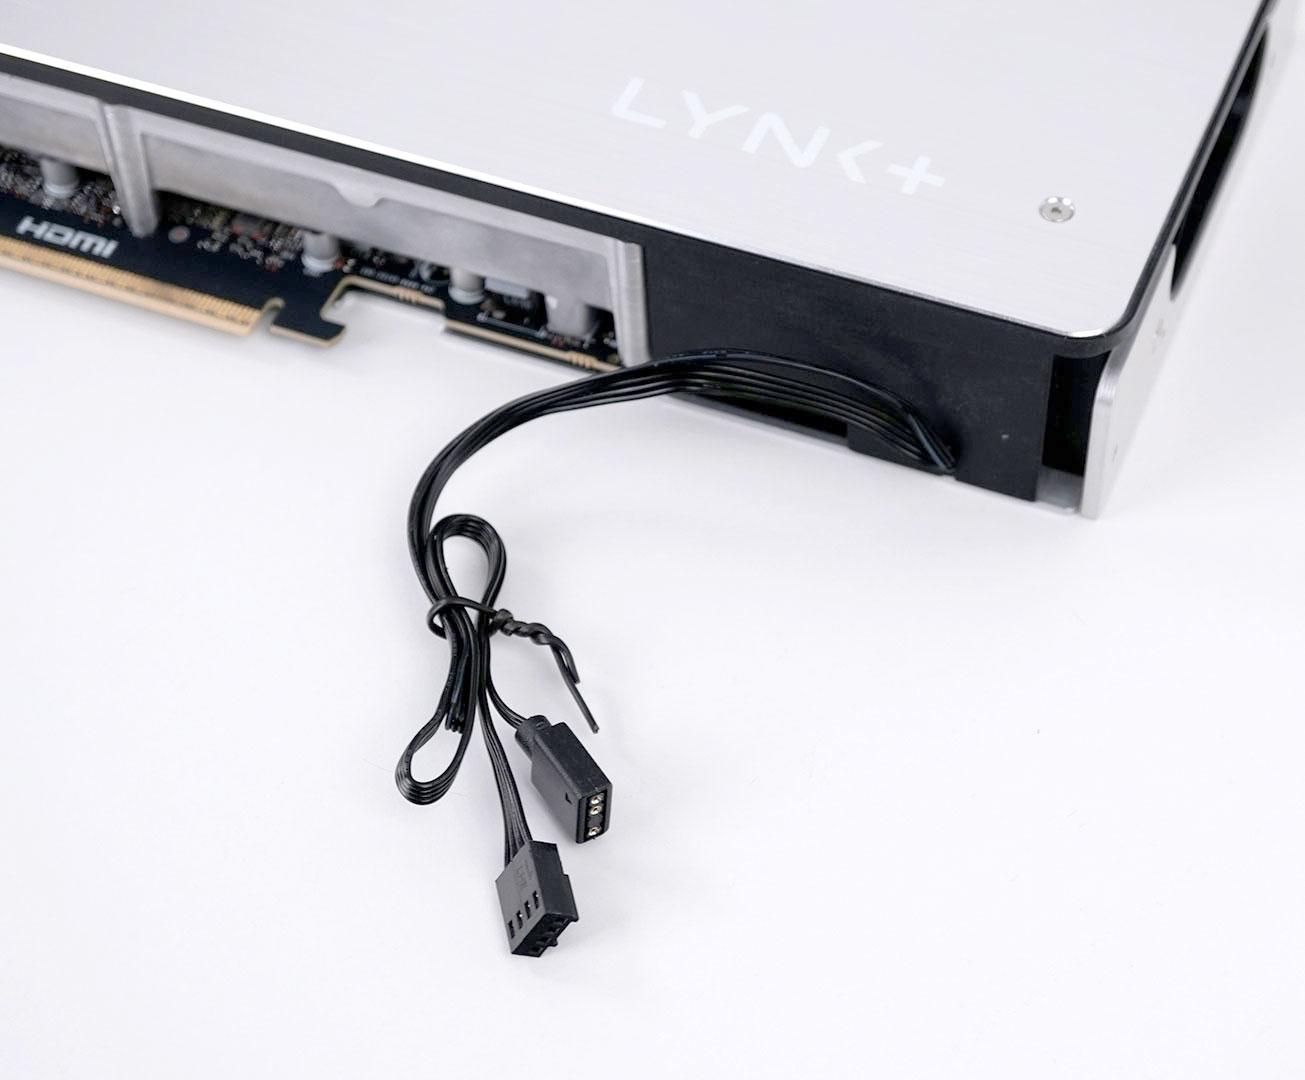
Finally, connect the PWM cable to your motherboard to provide an RPM signal for the pump and fans. When not connected, both pump and fans will run in a safe mode. The second cable is for RGB. Here, too, if it's not connected, the lighting is off.
Software Setup
The fans on the radiator are controlled by a PWM signal that's fed into the LYNK+ system, typically from your motherboard.The following configuration is recommended, but you can really use anything that gives you a PWM signal.
- Set a fan header on the motherboard to PWM mode in your BIOS. This is a hard requirement, because the microcontroller in LYNK+ will look at the PWM pin signal, not at the curve of the output voltage.
- Install Fan Control (free and open-source).
- Link the RPM sensor from the motherboard with the right output.
- Link the GPU temperature to the fan speed of the motherboard PWM.
- Use one of the predefined fan curves or your own.
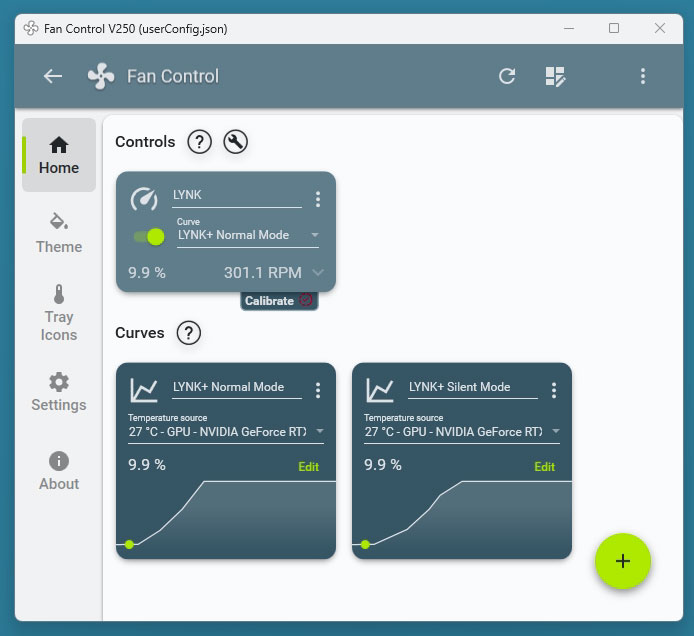
Here's a screenshot of the Fan Control final setup I used.
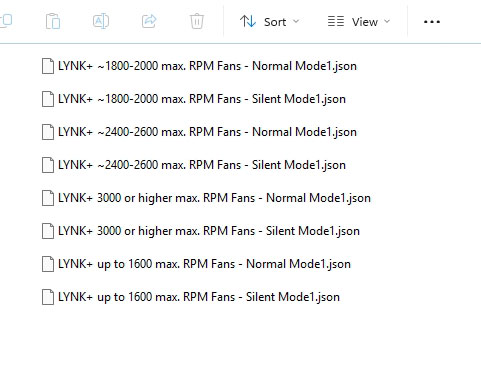
This is the list of fan profiles available, note how they are grouped by the max RPM of the radiator fans used.
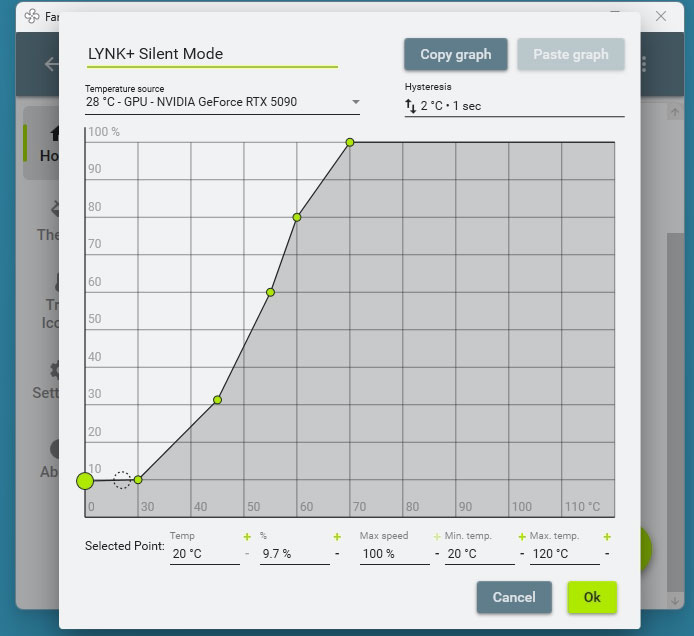
The fan curve can be customized easily.
Nov 14th, 2026 16:48 CST
change timezone
Latest GPU Drivers
New Forum Posts
- Ryzen 7 8700G OC (8)
- What can the FX 8320 do today? Here is the answer. (42)
- auto-closed by somethings by actions (2)
- [Community Benchmark] MrH OpenCL Benchmark 2.0e (Windows Only – CPU & GPU) (2)
- Show us your collections thread!! (368)
- Recent hardware you've donated? (30)
- WarpCoreBench scores! (32)
- X79 and/or rampage IV OC'ing thread for those of us still left.... (2450)
- Id thank you and just like a moment of your time, what do you think about having to recover the r36s maxes/pros is it just china 5 dollar junk card? (0)
- Ddr4 instead of ddr5 for 9060xt 8 gb over 5060 8 gb (8)
Popular Reviews
- AMD Zen 6 Technical Deep Dive
- ASUS ROG Strix B850-I Gaming Wi-Fi7 W Review
- Corsair HX1000i Shift Crystal Review
- NZXT C1200 Platinum Review
- Upcoming Hardware Launches 2027 (Updated Nov 2026)
- Montech King 95 3D PRO Review
- NZXT H7 RGB+ Review
- NZXT H5 Review
- Phantom Blade Zero Performance Benchmark Review - 35 GPUs Tested
- XPG NIMBUS PLUS Review - Mid-range Chair With Strong Competitors
TPU on YouTube
Controversial News Posts
- NVIDIA Co-Founder and CEO Jensen Huang Officially Resigns (405)
- OpenAI CEO Argues Home PCs Waste the World's Limited DRAM Supply (152)
- NVIDIA Launches Investigation Into Jensen Huang's Relationship With Suspected Chinese Spy (136)
- Intel "Raptor Lake Next" 16-Core and 20-Core CPUs Surface (130)
- Legendary Game Studio BioWare Shuts Down Following EA Layoffs (104)
- Dell CEO Says the Memory Shortage Will Get Worse in 2027 (95)
- NVIDIA GeForce RTX 50-Series Scheduled for up to $500 Price Hike This Week (89)
- Modder Fits RTX 5090 With Four 8-Pin Connectors, Halving Current per Wire (80)