 11
MSI MEG Maestro 900R Review
Thermal Stress Test »Assembly
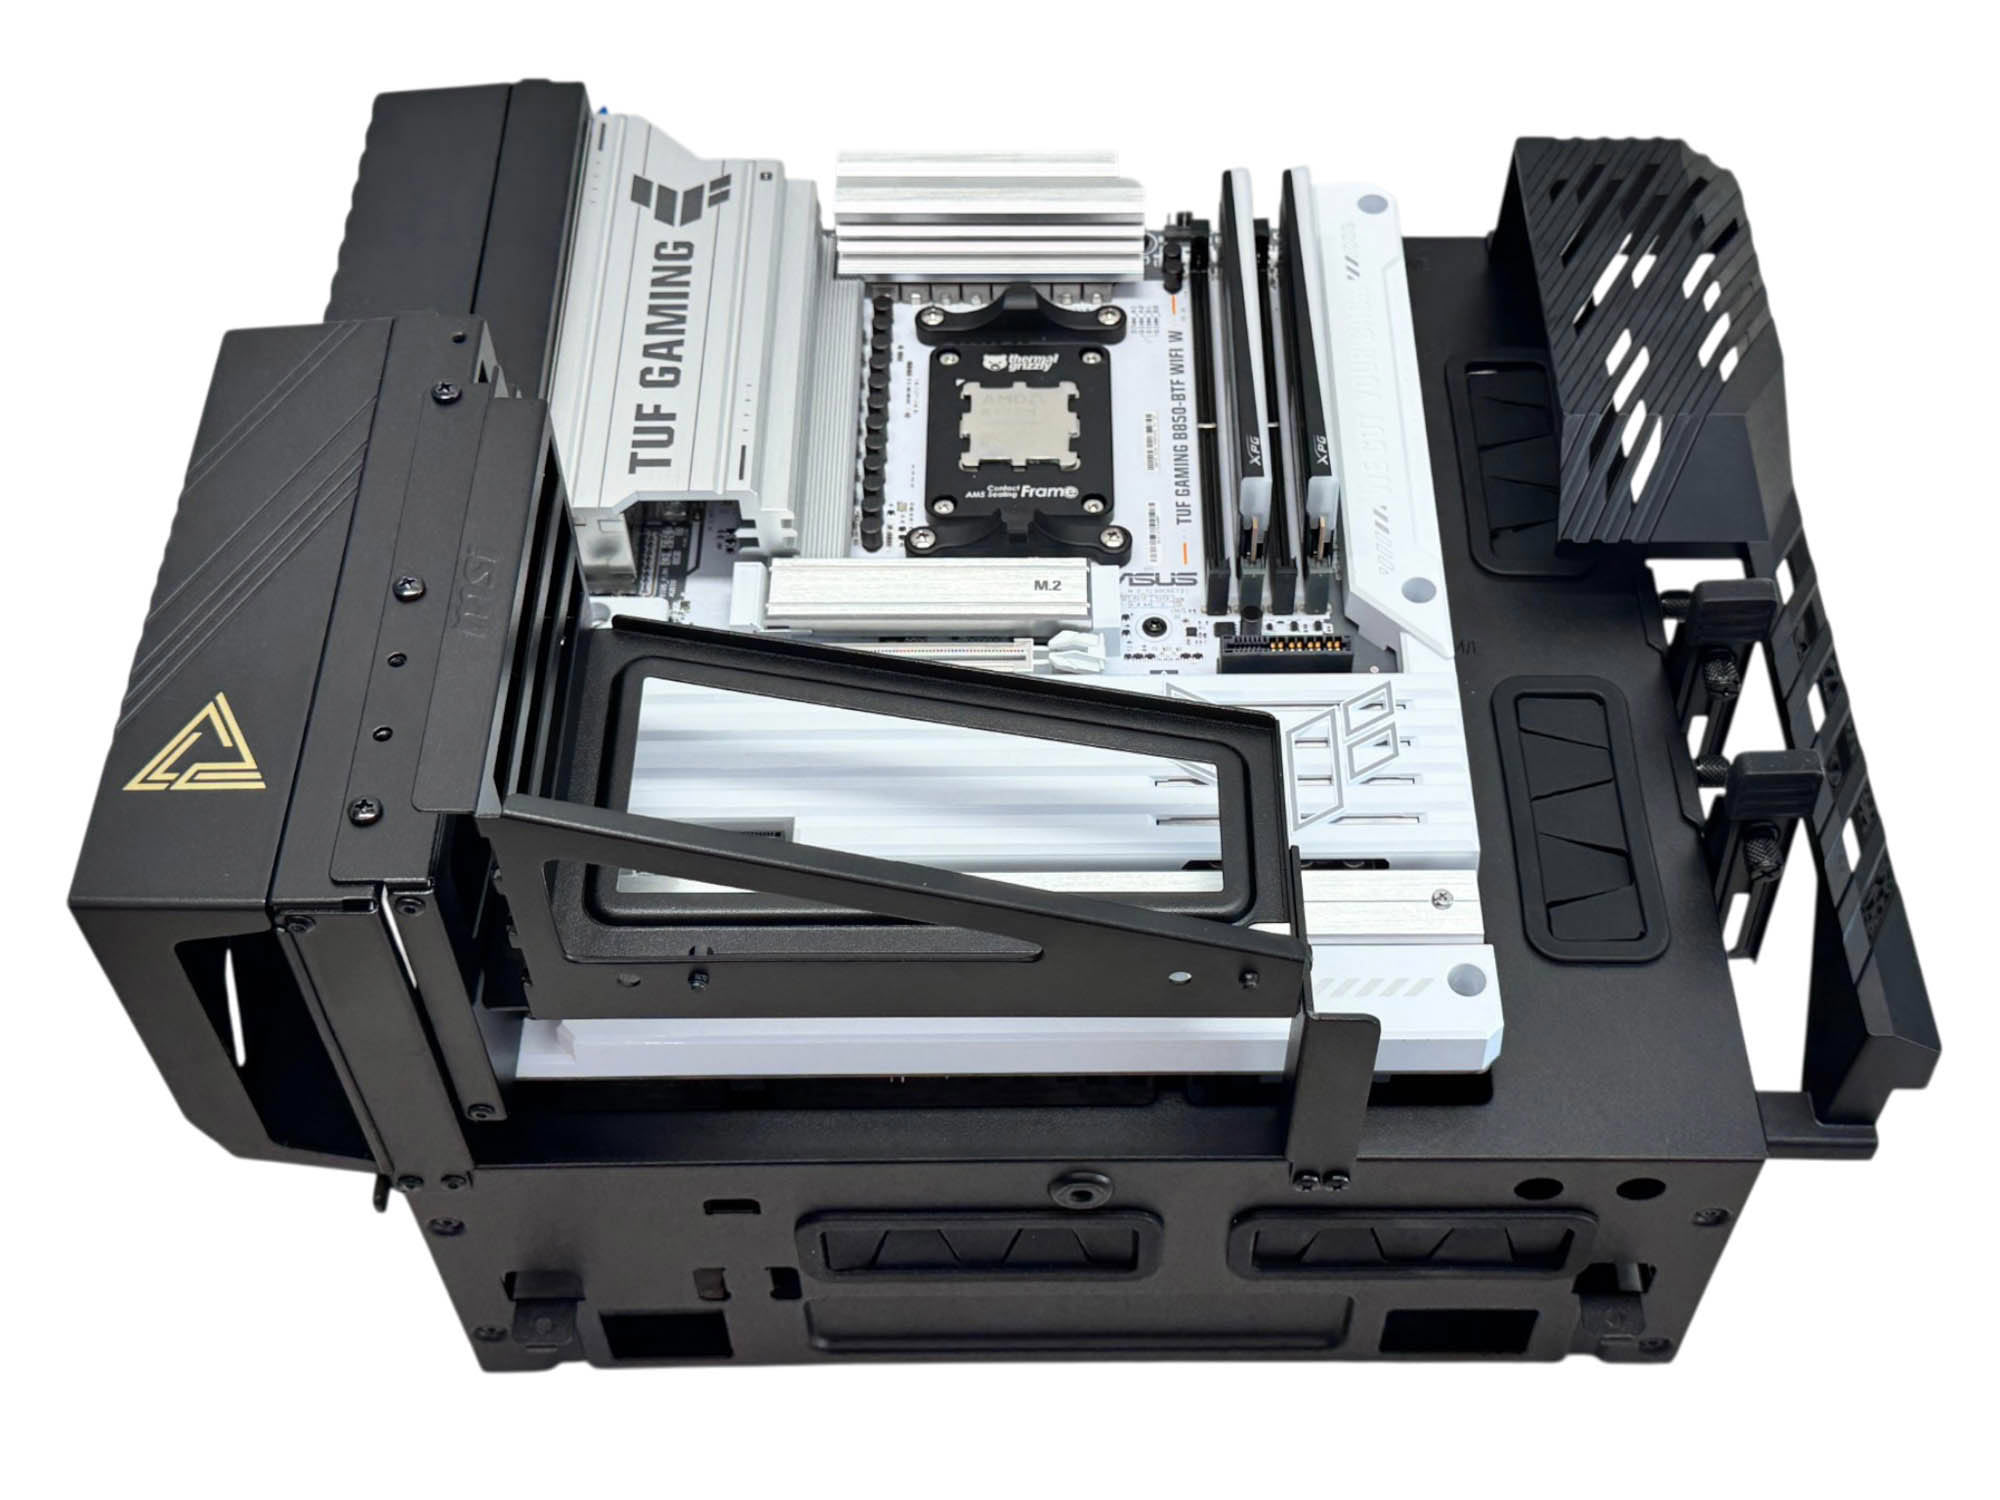
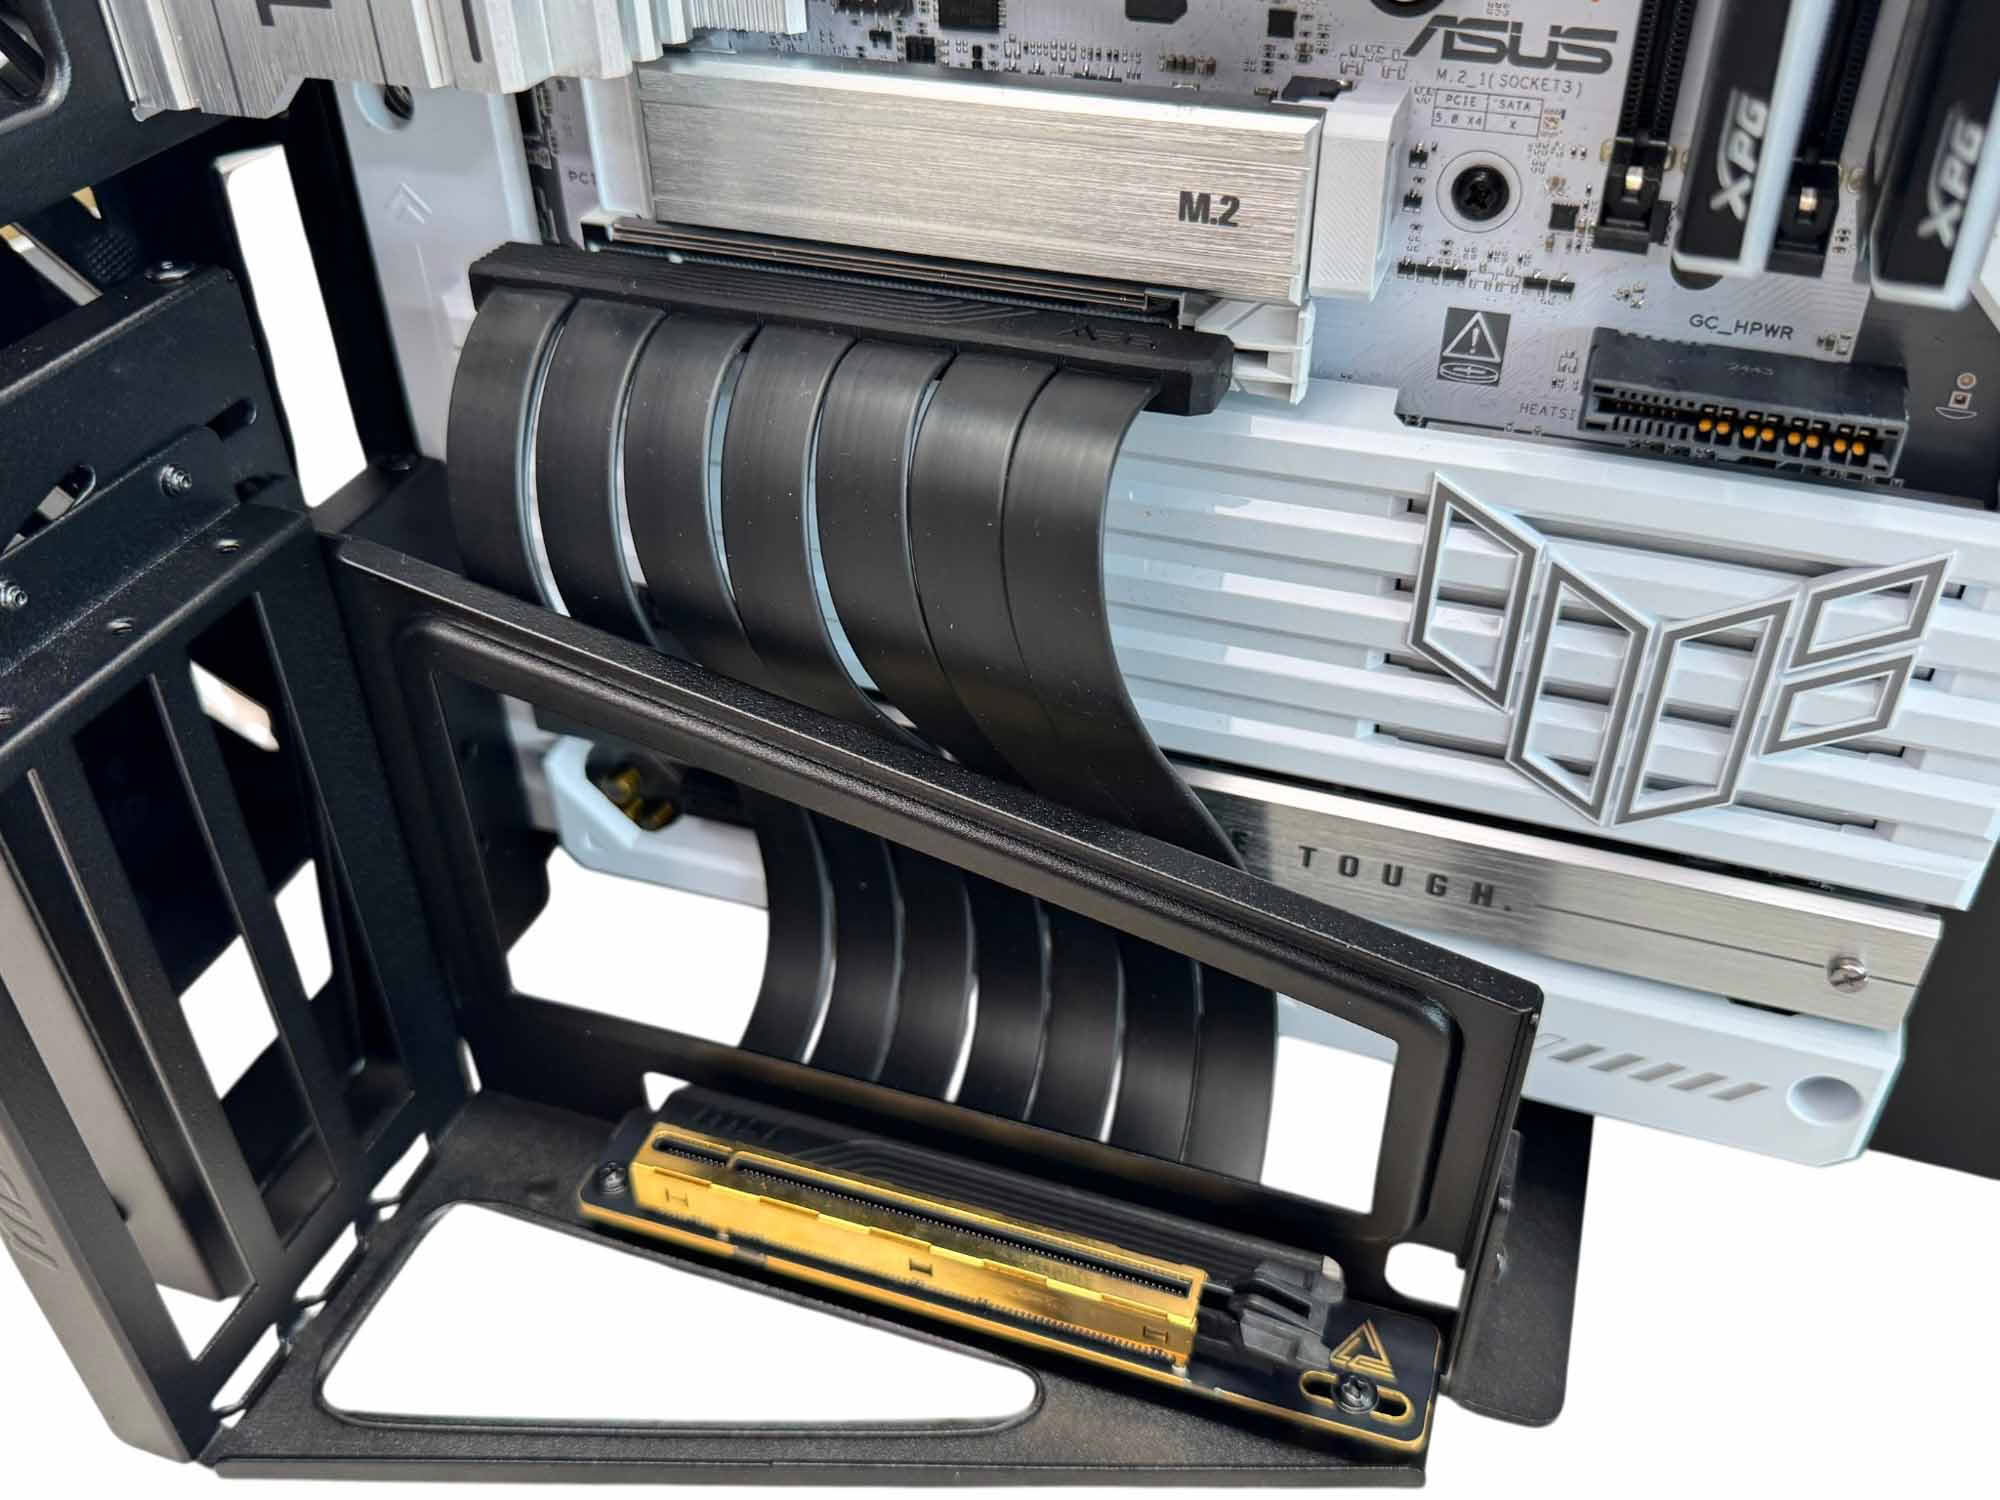
Installing a motherboard is simple thanks to the removable test bench/motherboard tray, with our system showcasing a rear connector motherboard. The PCIe riser cable was a little fiddly as it is a little too long in some positions. It secures to the vertical GPU bracket using included screws. Once everything is installed, it's obviously quite heavy so you may want to take advantage of the included carry handles if using it as a test bench.
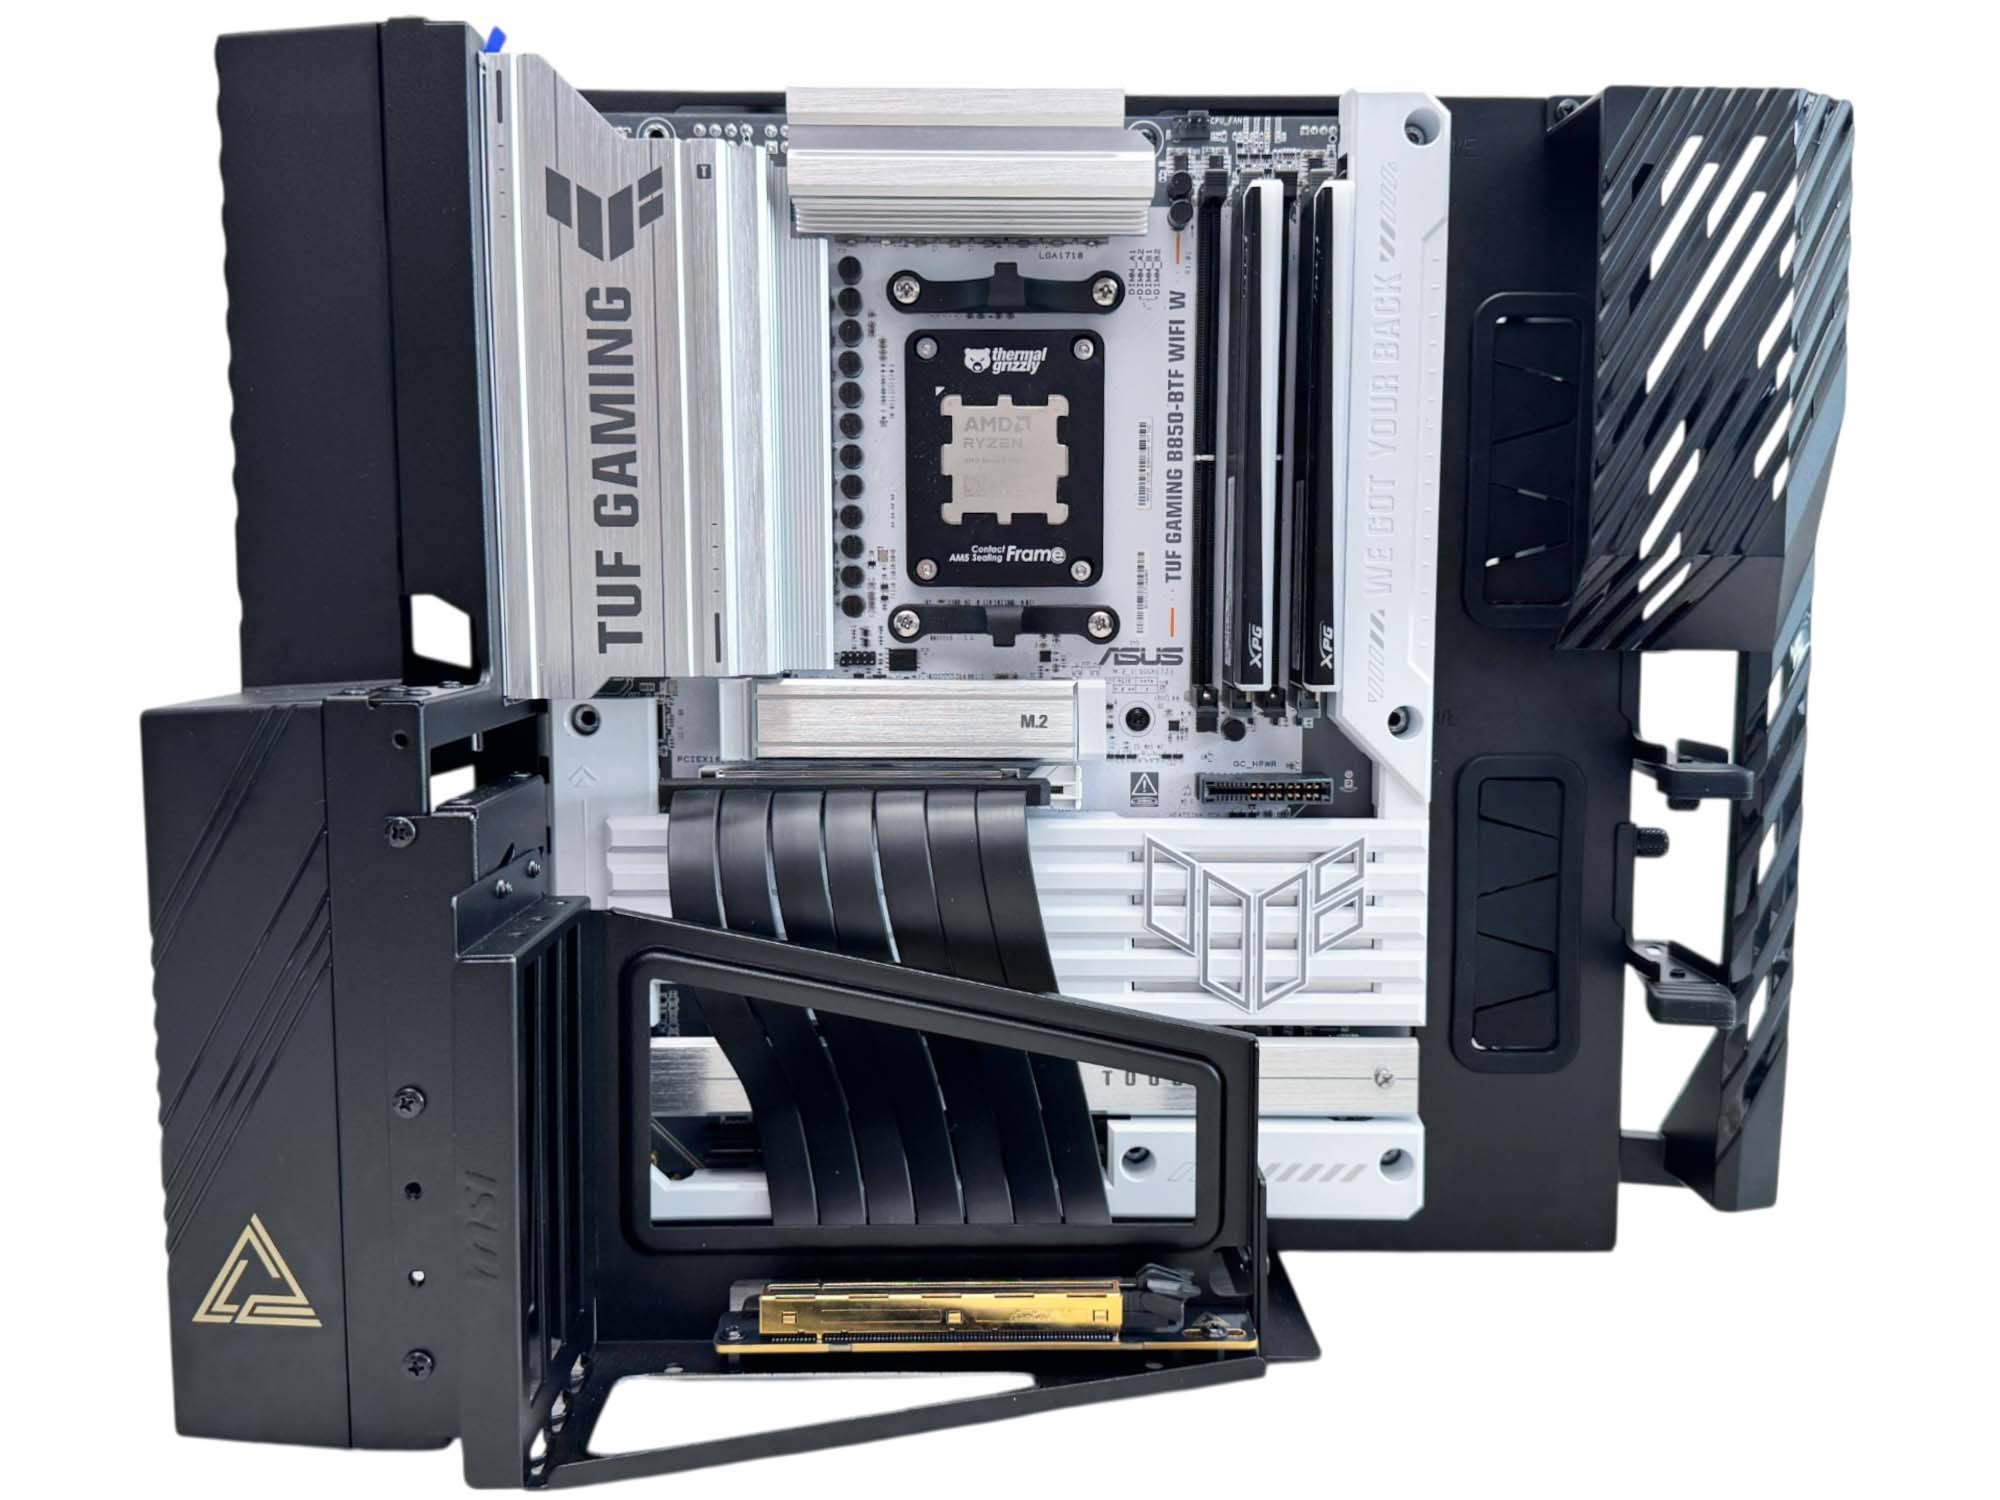
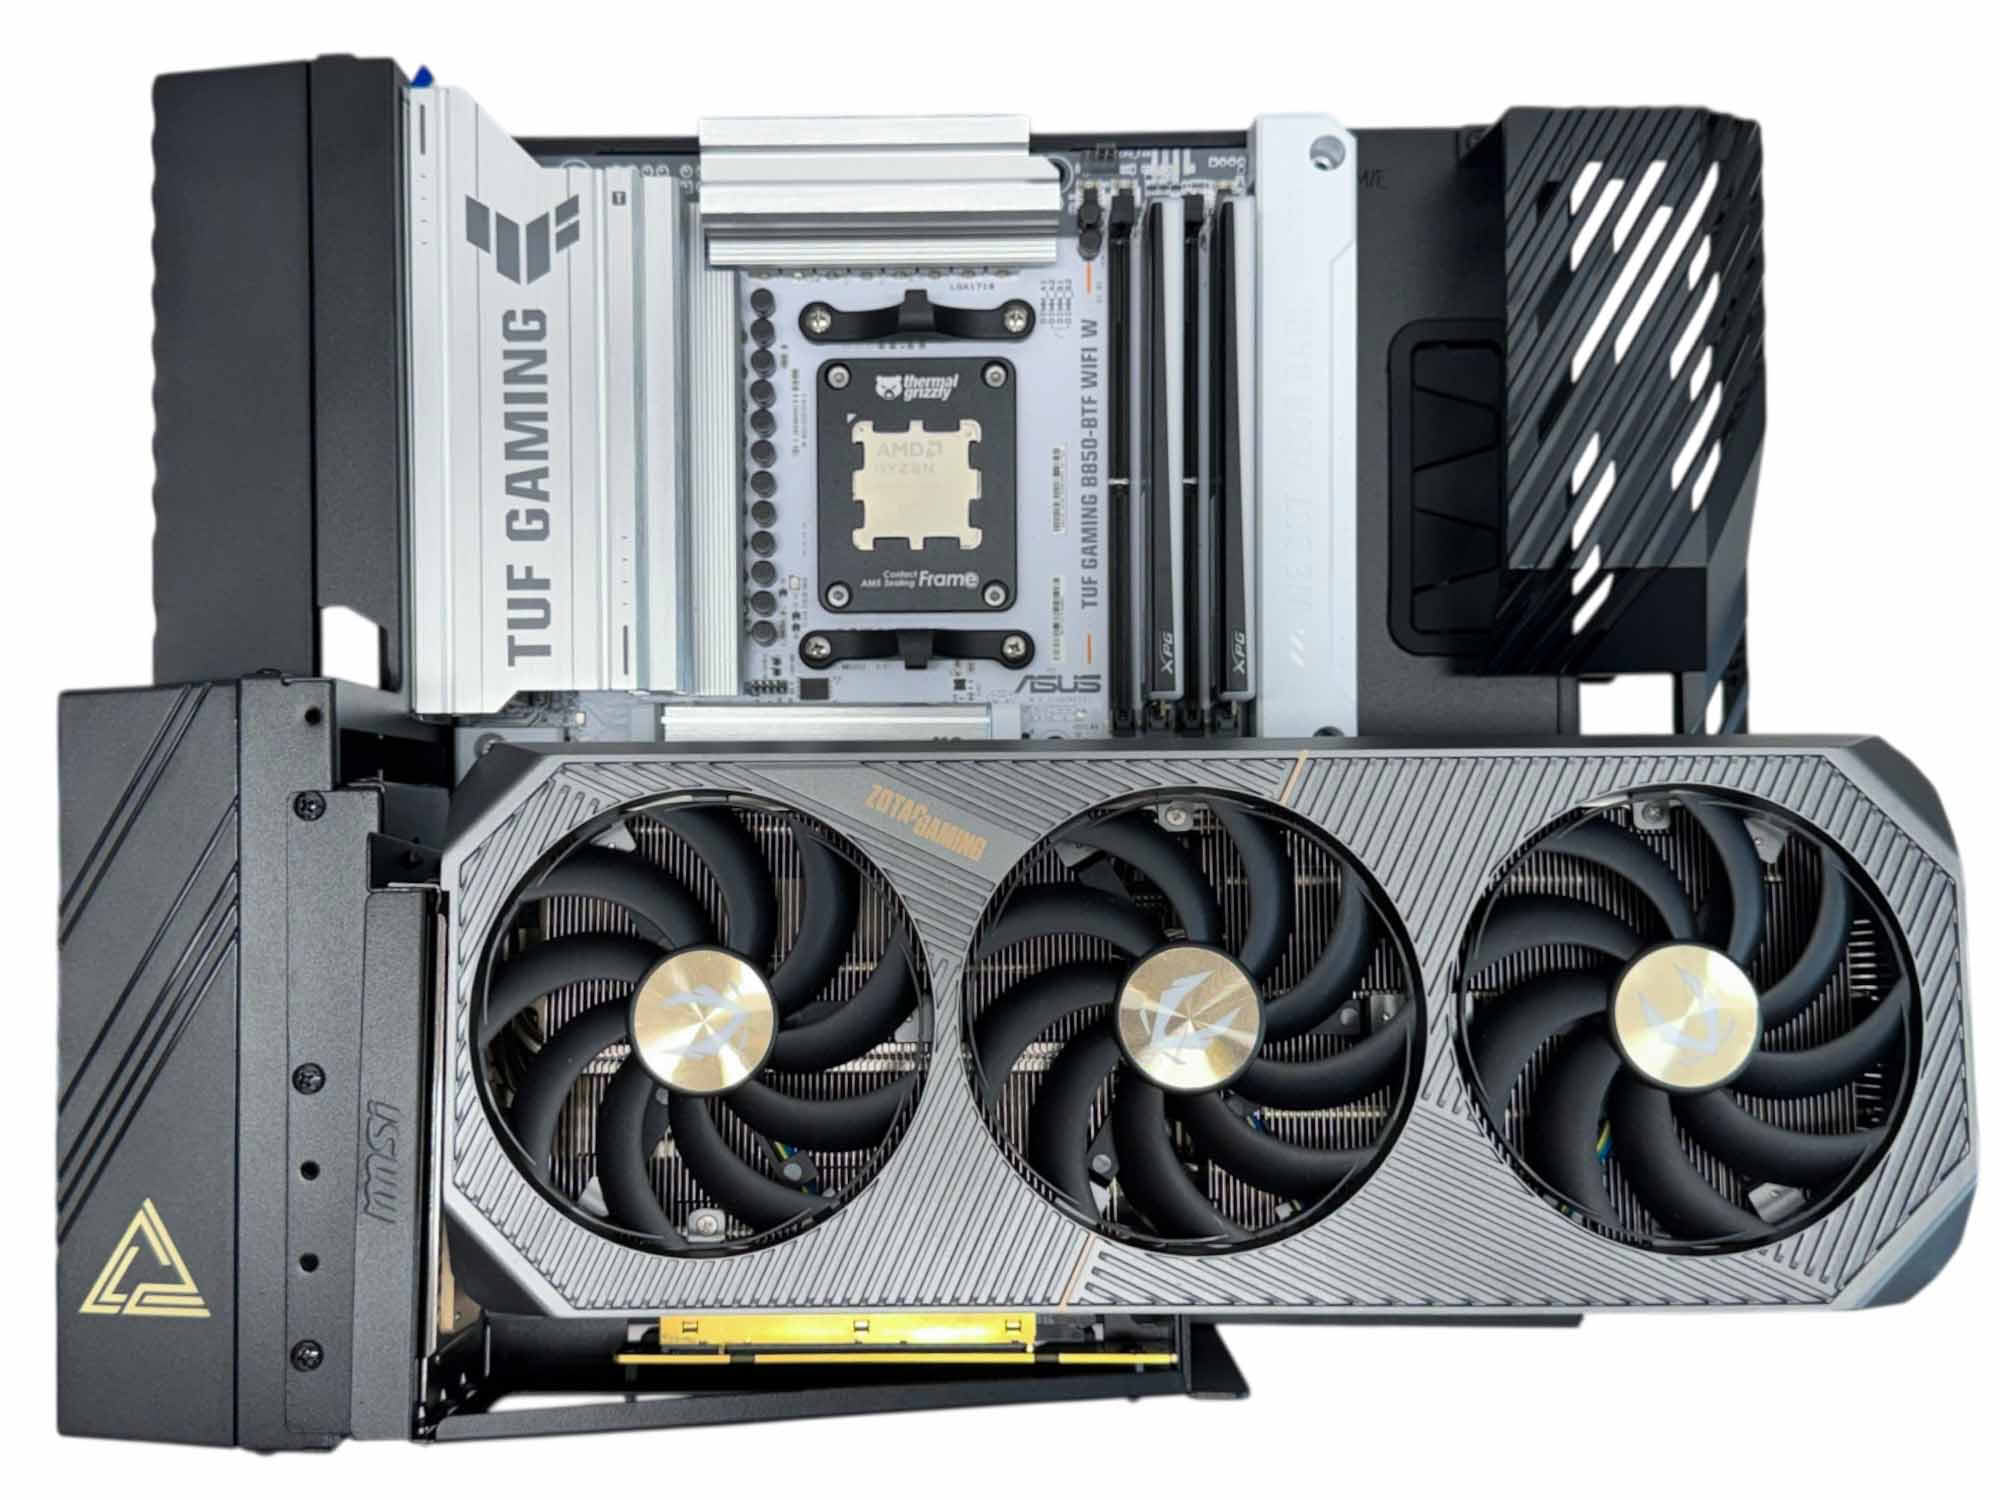
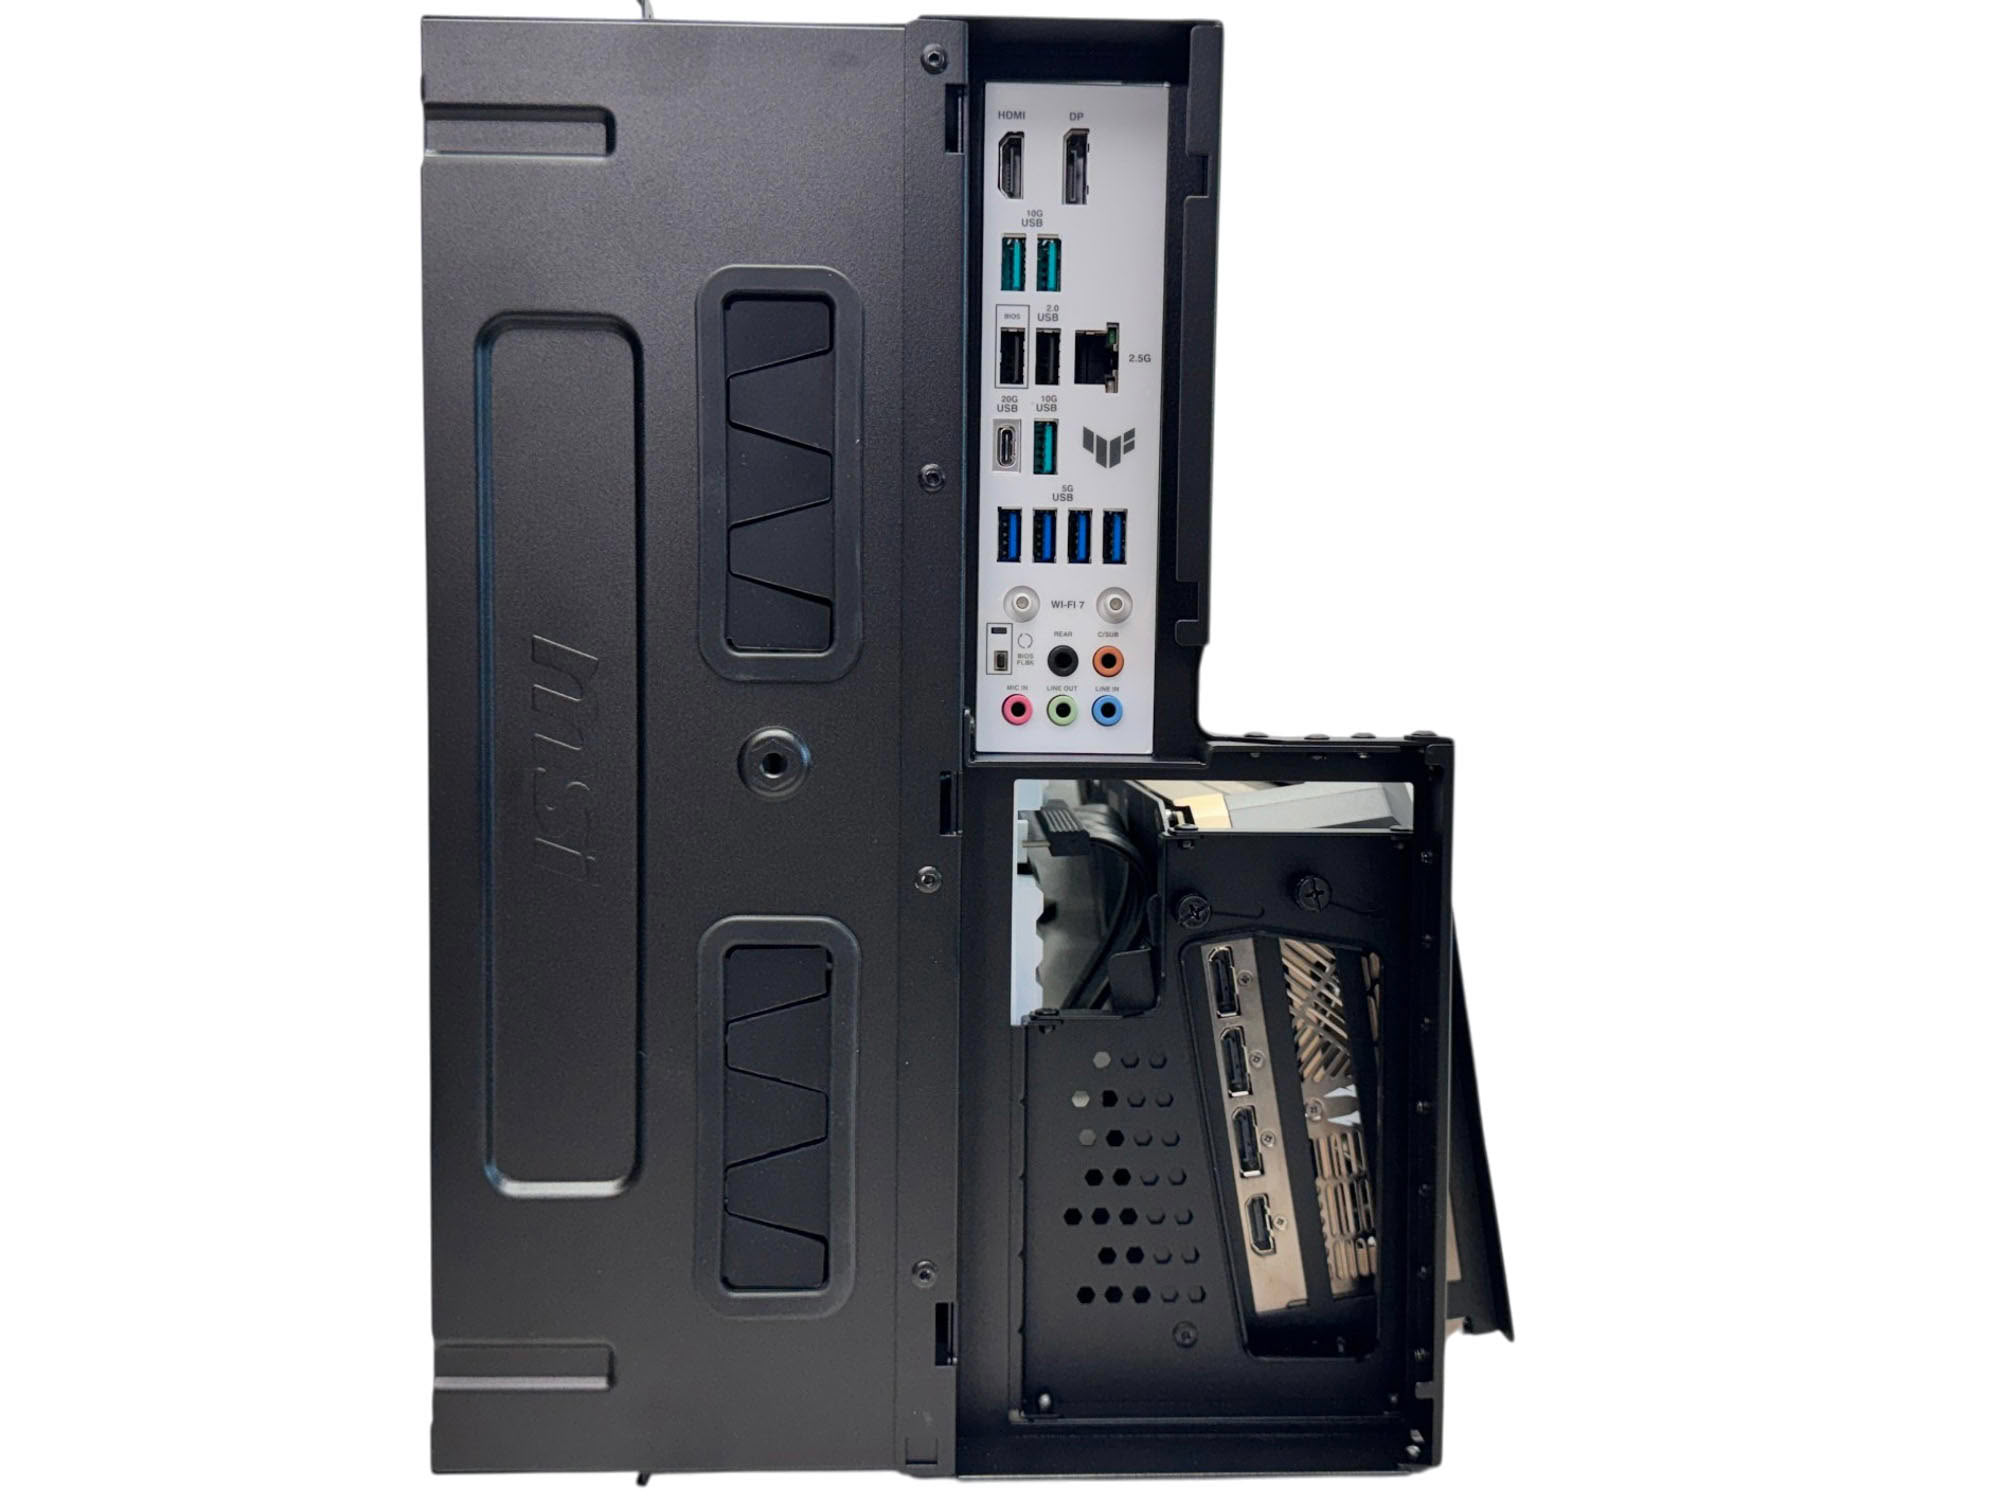
The vertical GPU mount still has many inches of clearance for a 3.5-slot GPU and the side panel, although it does seem a shame that something more elaborate wasn't possible, perhaps allowing more of a view of the motherboard. That said, you can angle the GPU using a rotating mount at the slot end, but there are plenty of examples out there that really go to town with this idea. Given you won't see much change from $700, we'd like to have seen a little more here.
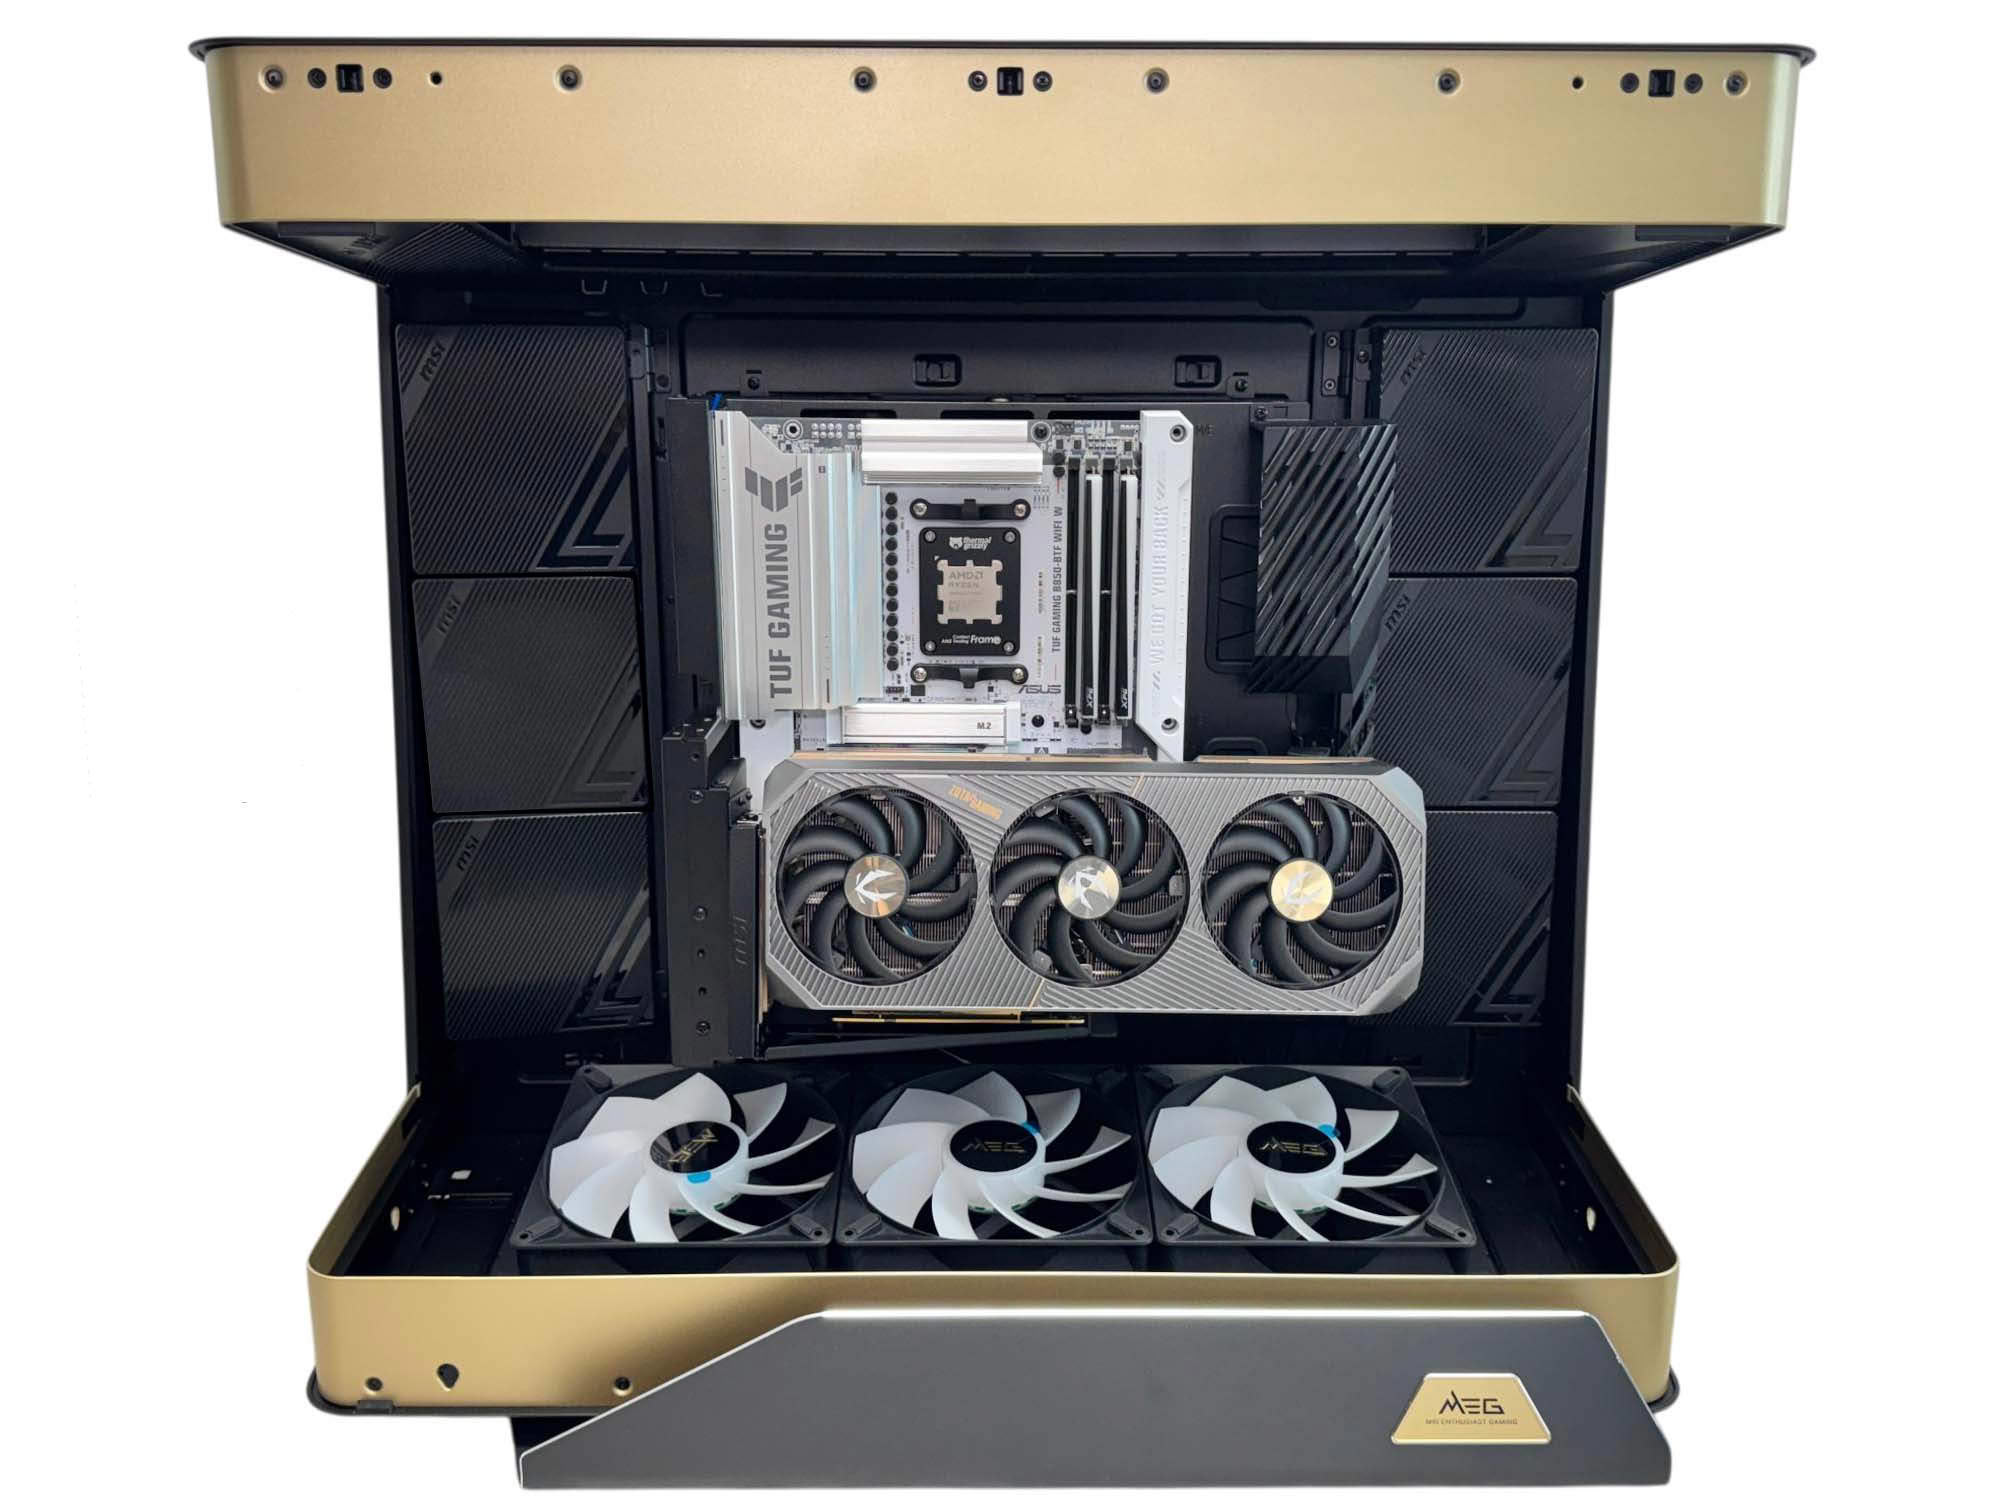
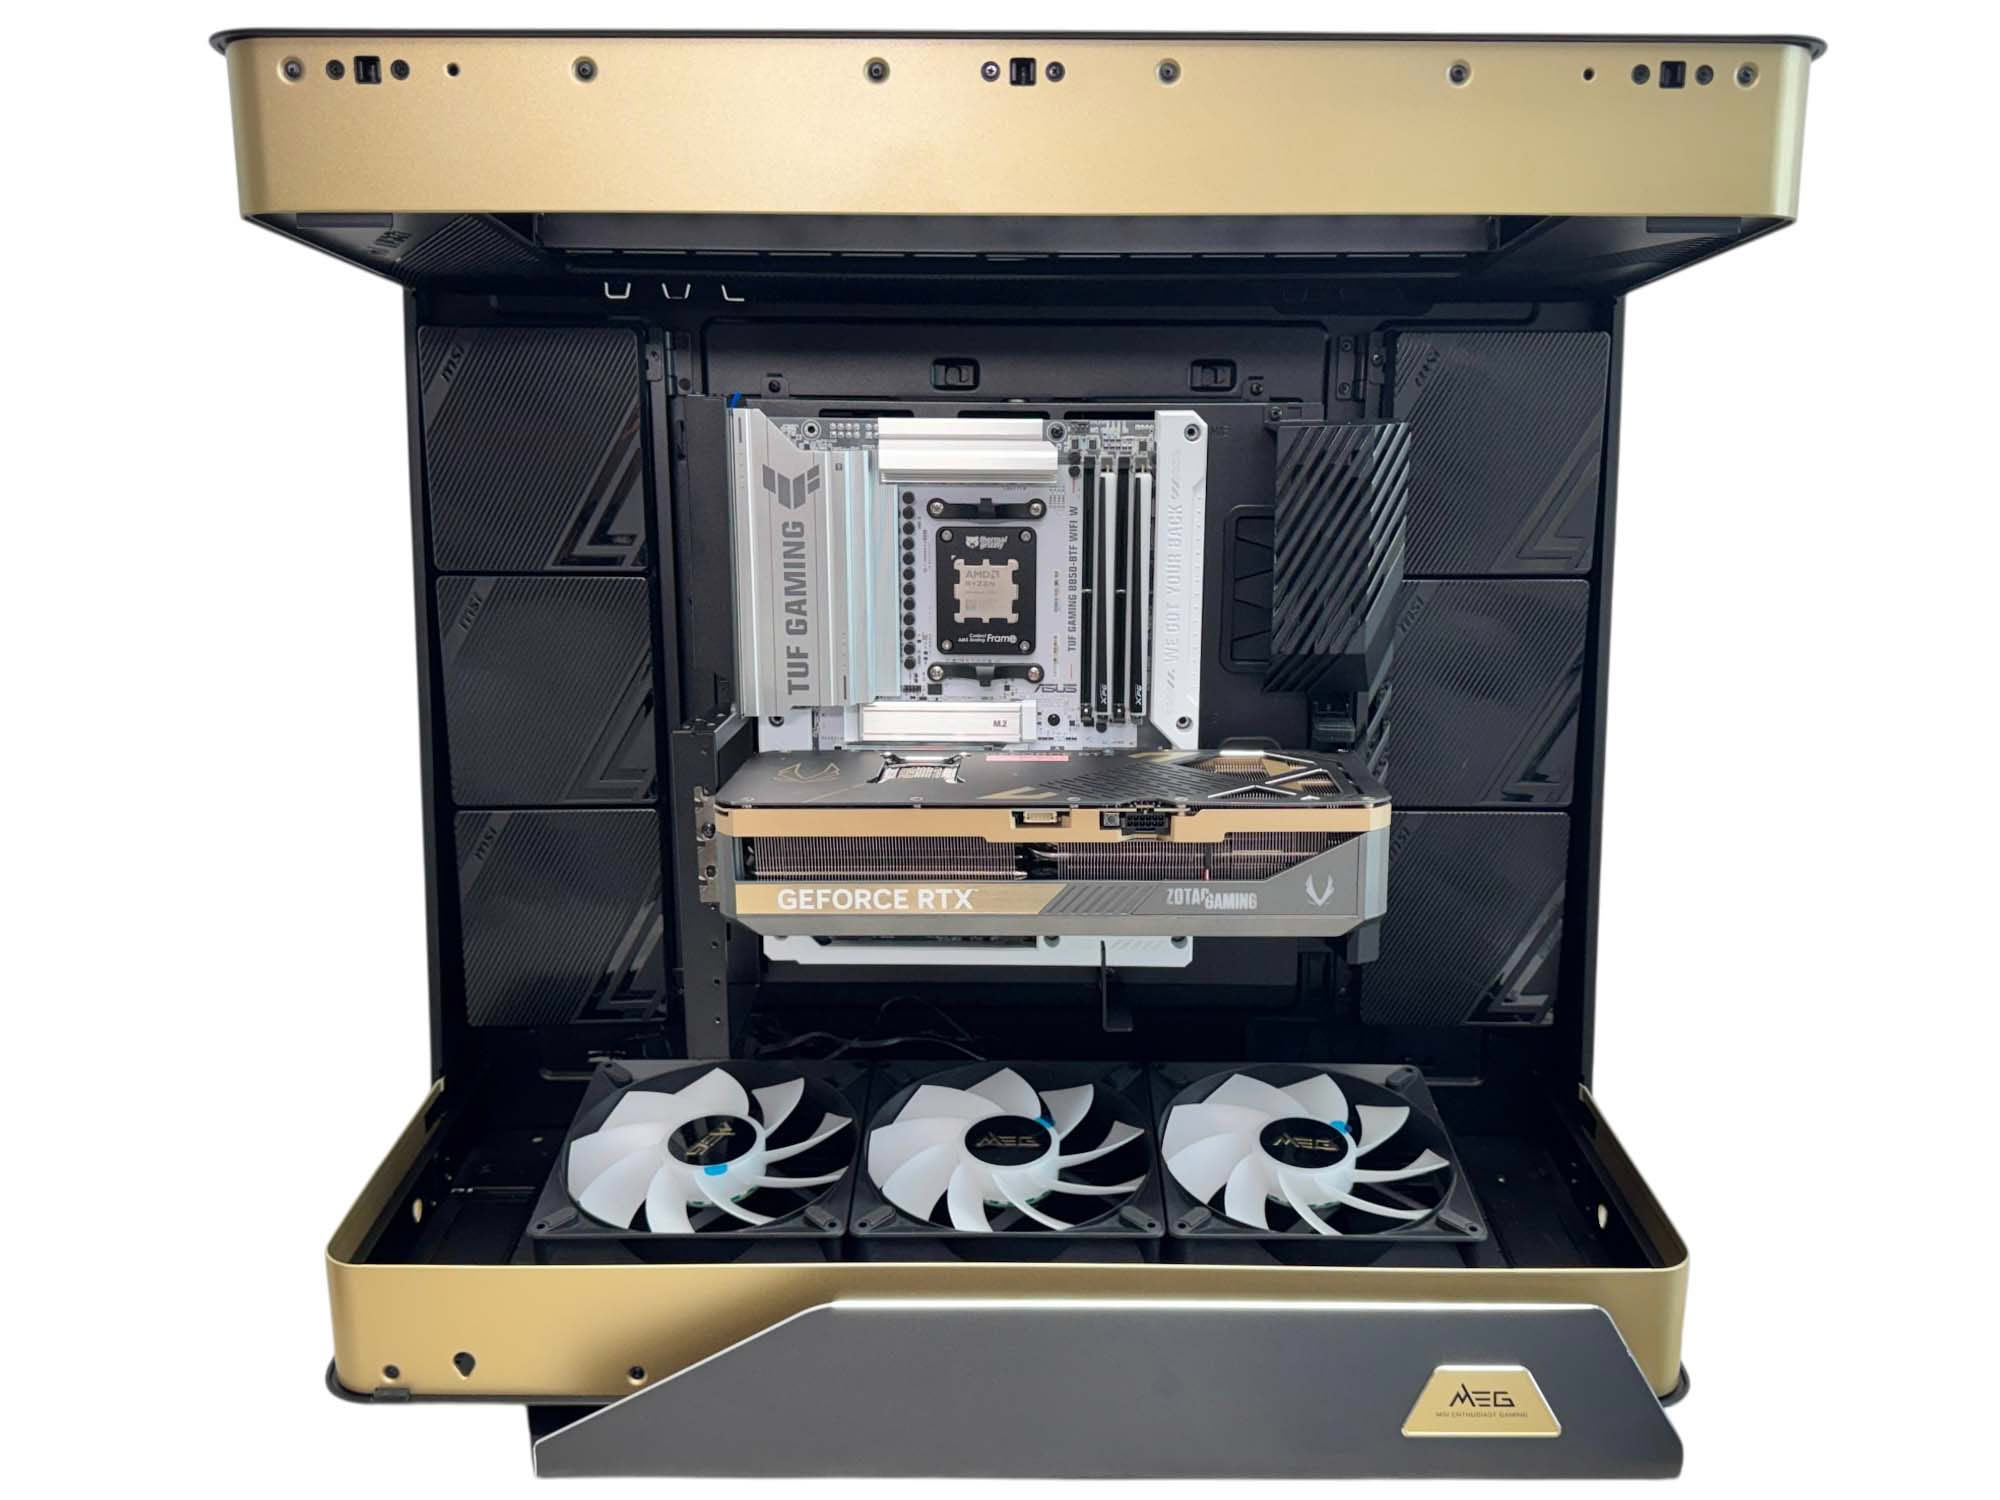
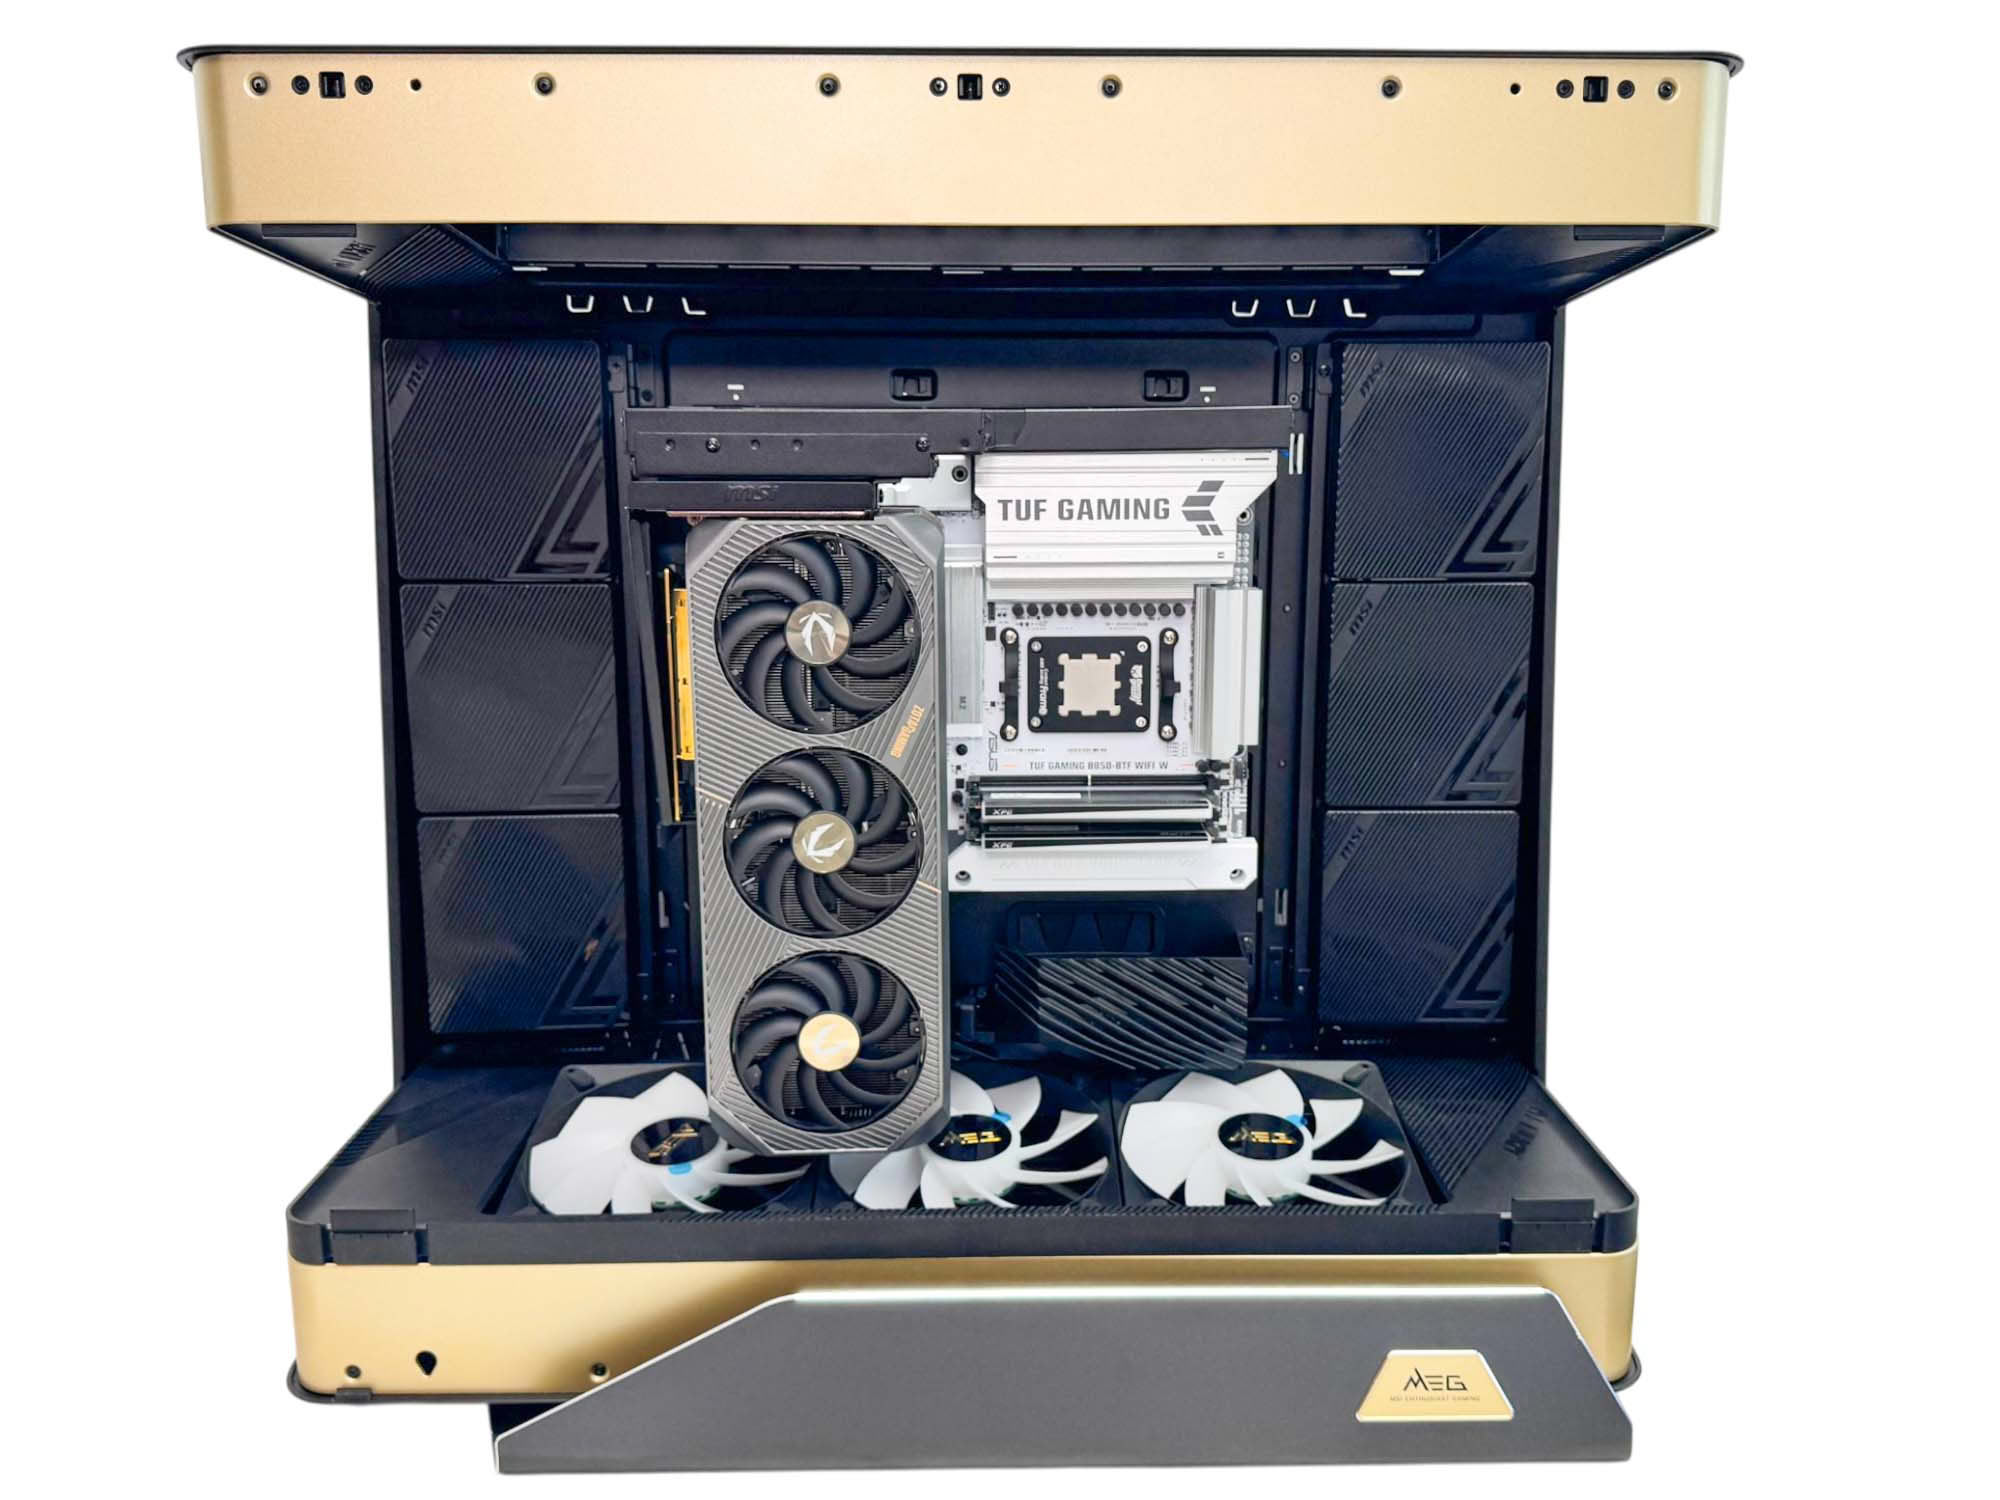
Whether it's vertical or horizontal mode, you can take your pick, and thanks to the rotating test bench-cum-motherboard tray, the GPU can even sit vertically end to end or on its side upside down. It takes seconds to do this too, which is a credit to the design.
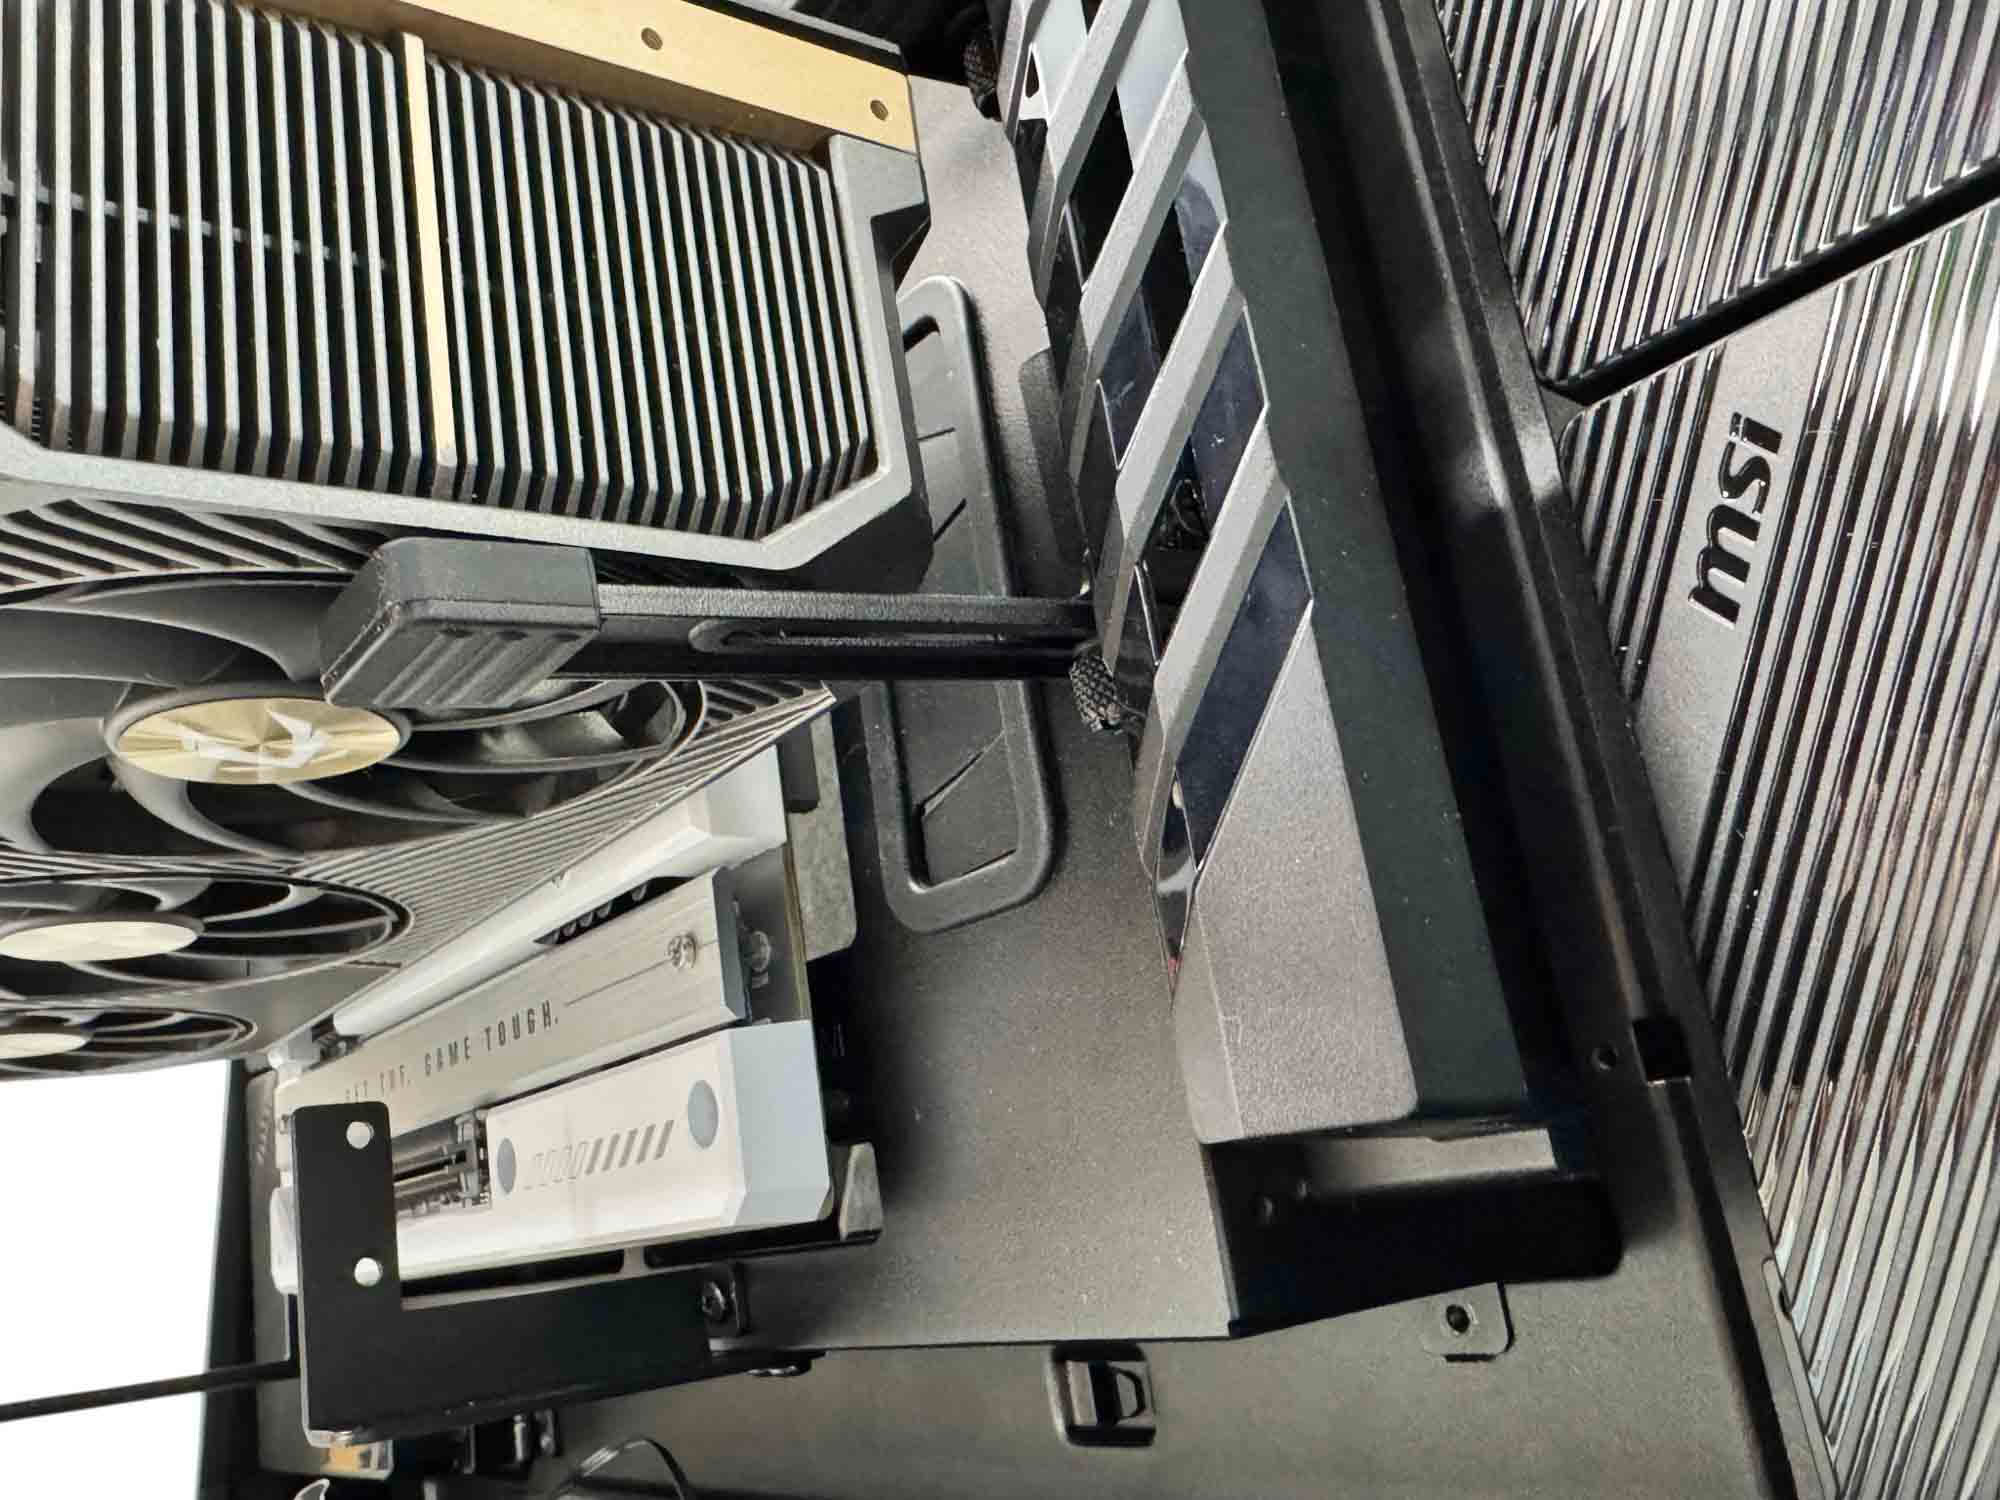
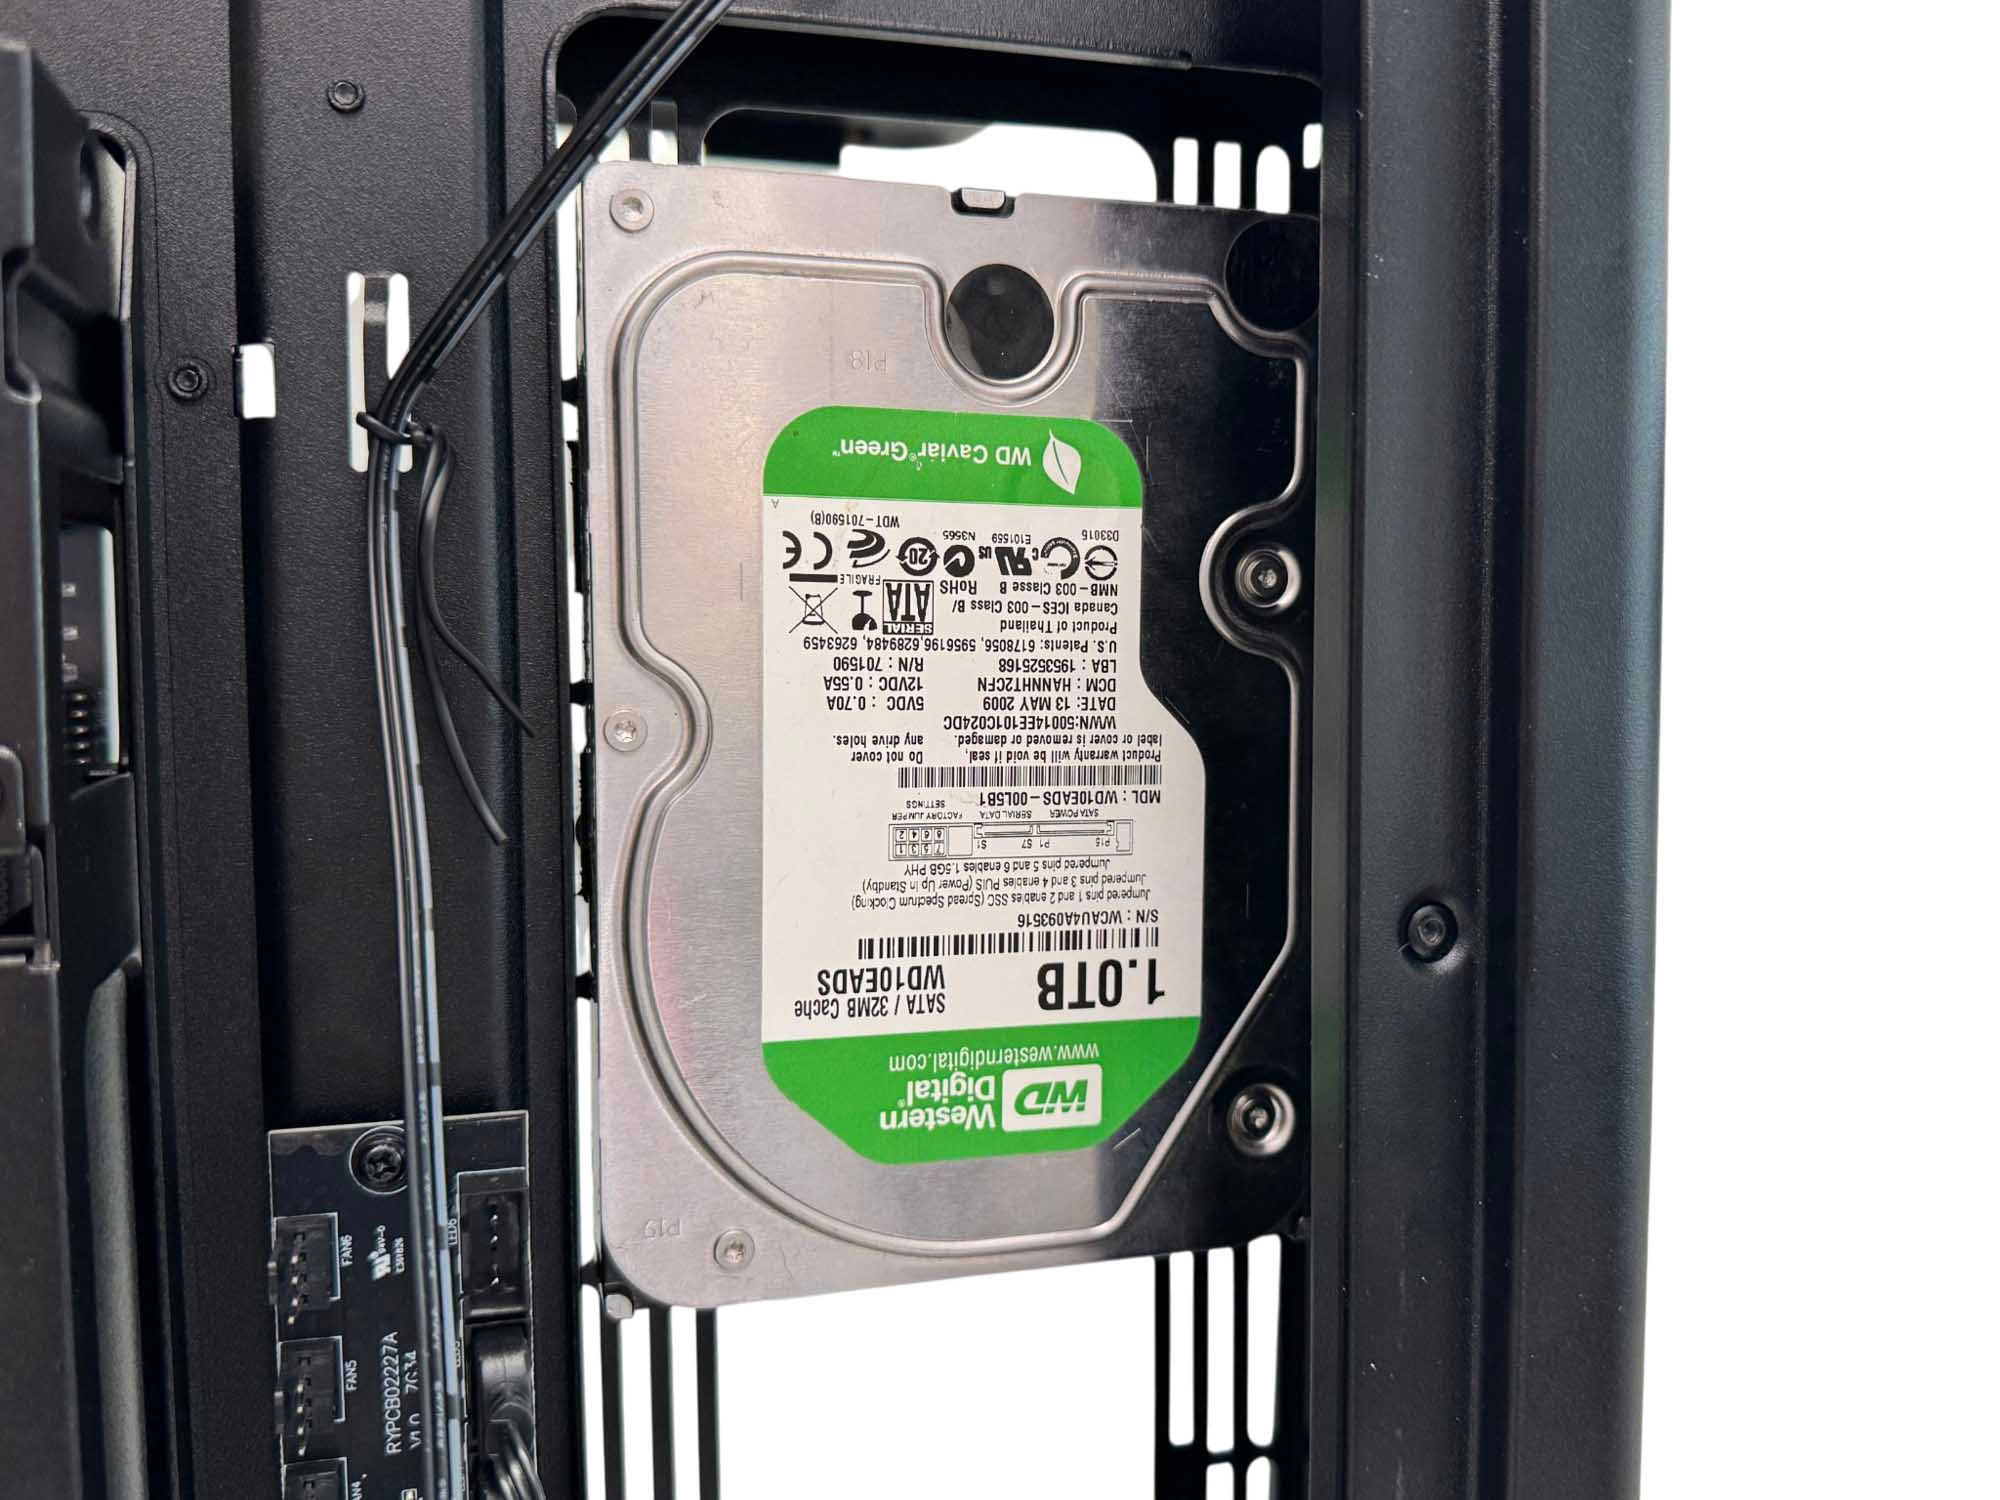
The adjustable GPU support is a little fiddly to use as the securing thumb screws for the supports are located in a narrow gap underneath a motherboard shroud. The lower support also flexed a lot when supporting a GPU some way out from the motherboard. Next to this, installing hard disks in the side fan mounts is simple enough, and you can place the plastic fascias back over them once screwed in, with all cables remaining in the rear chamber too.
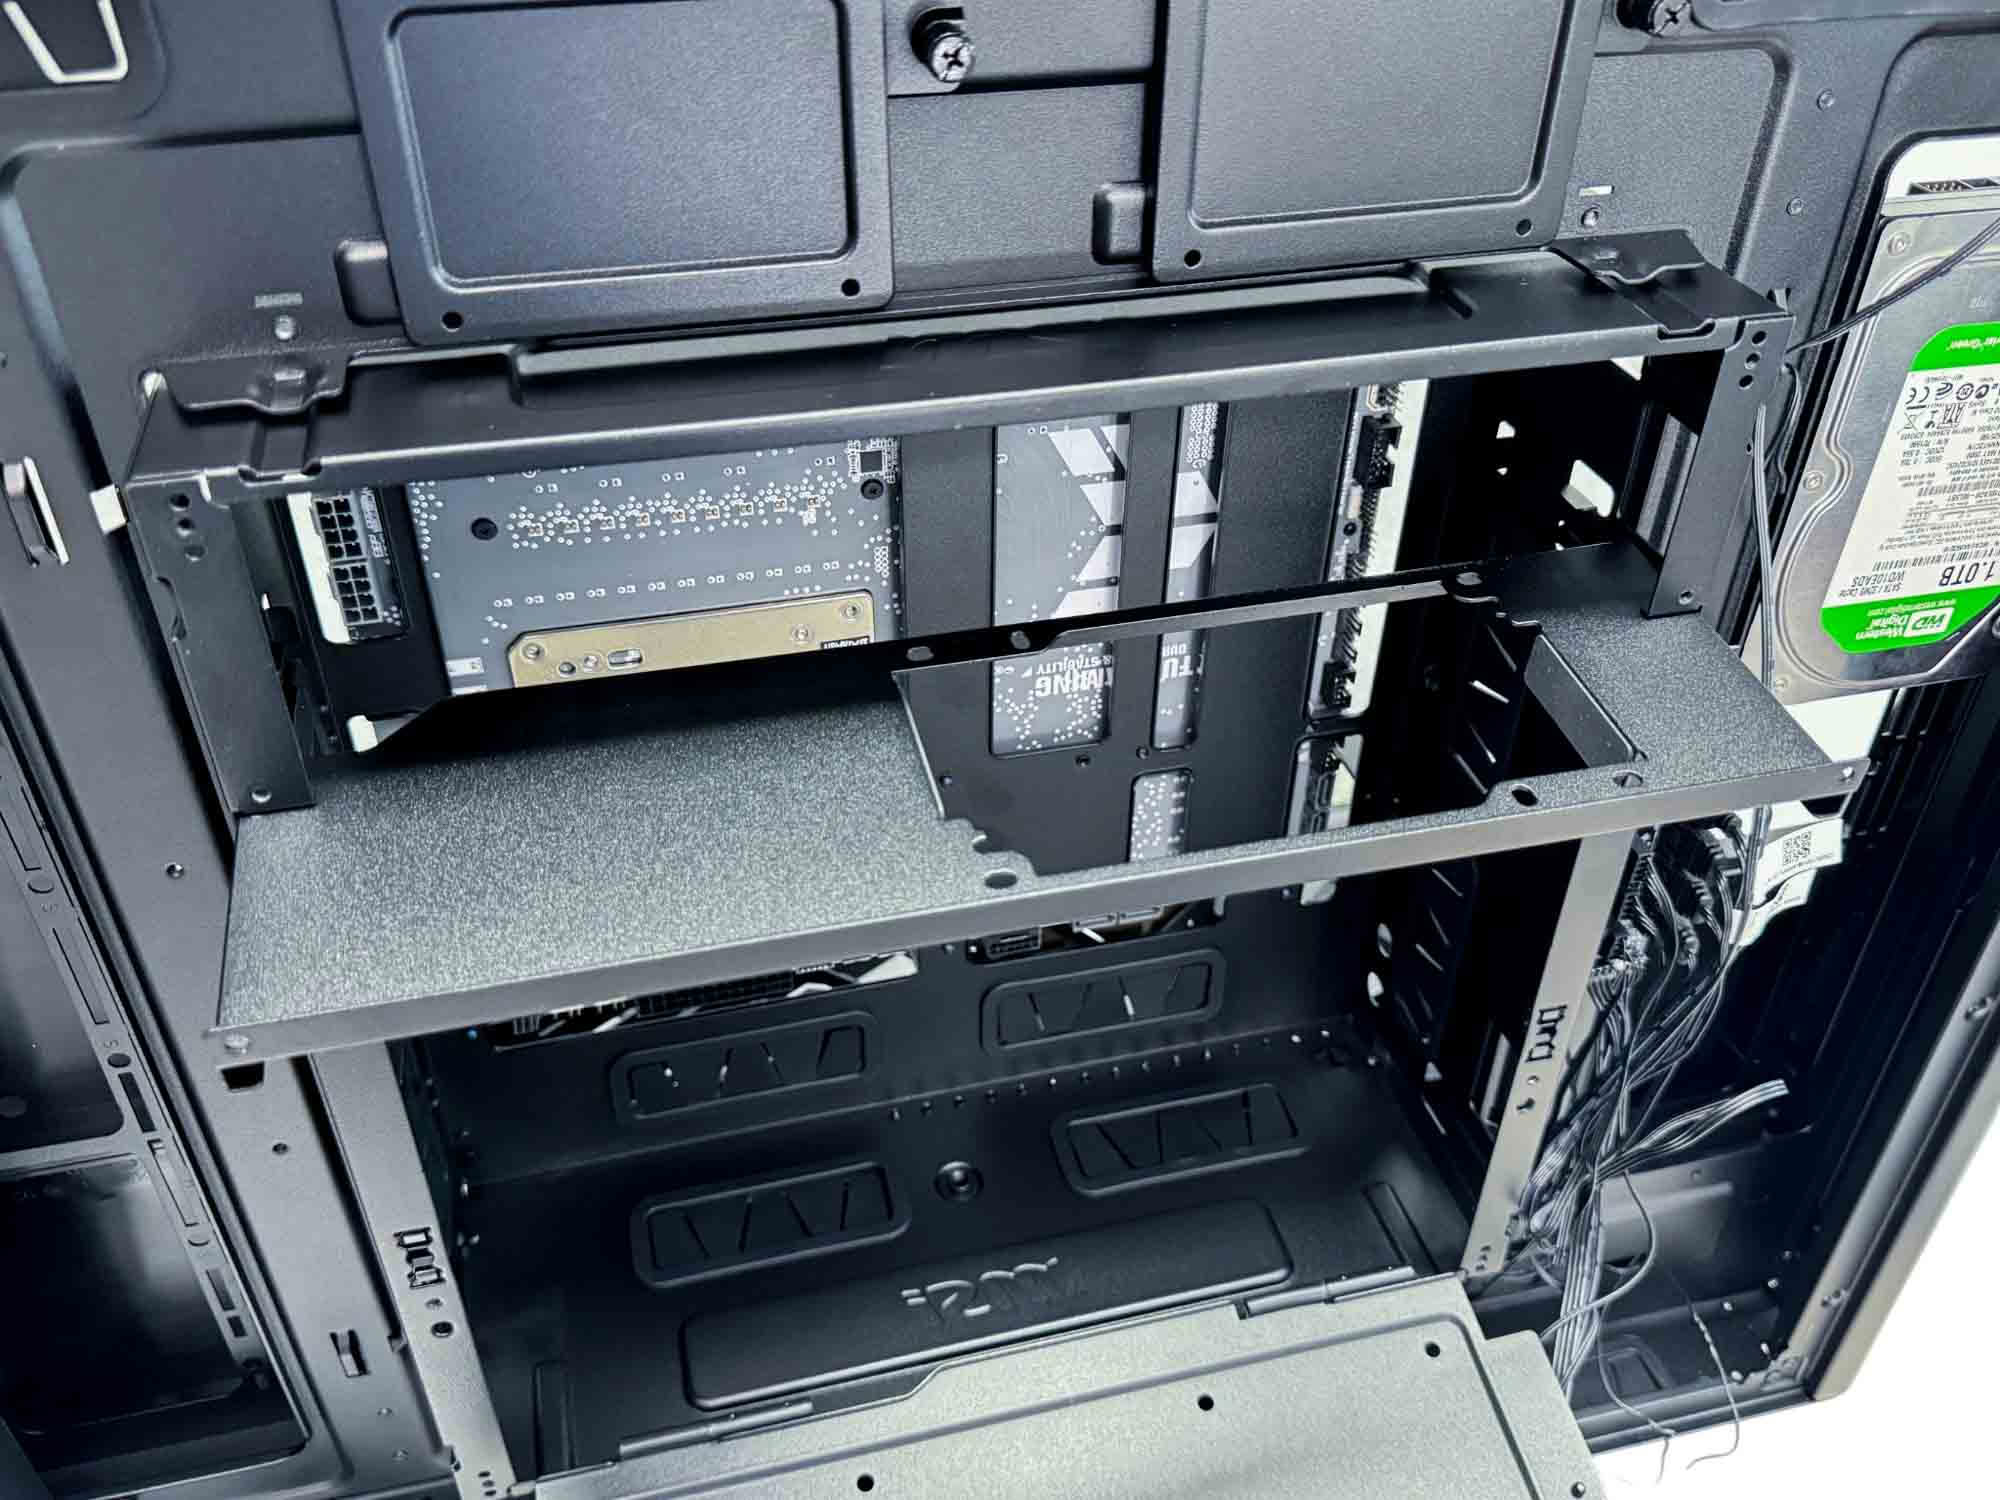
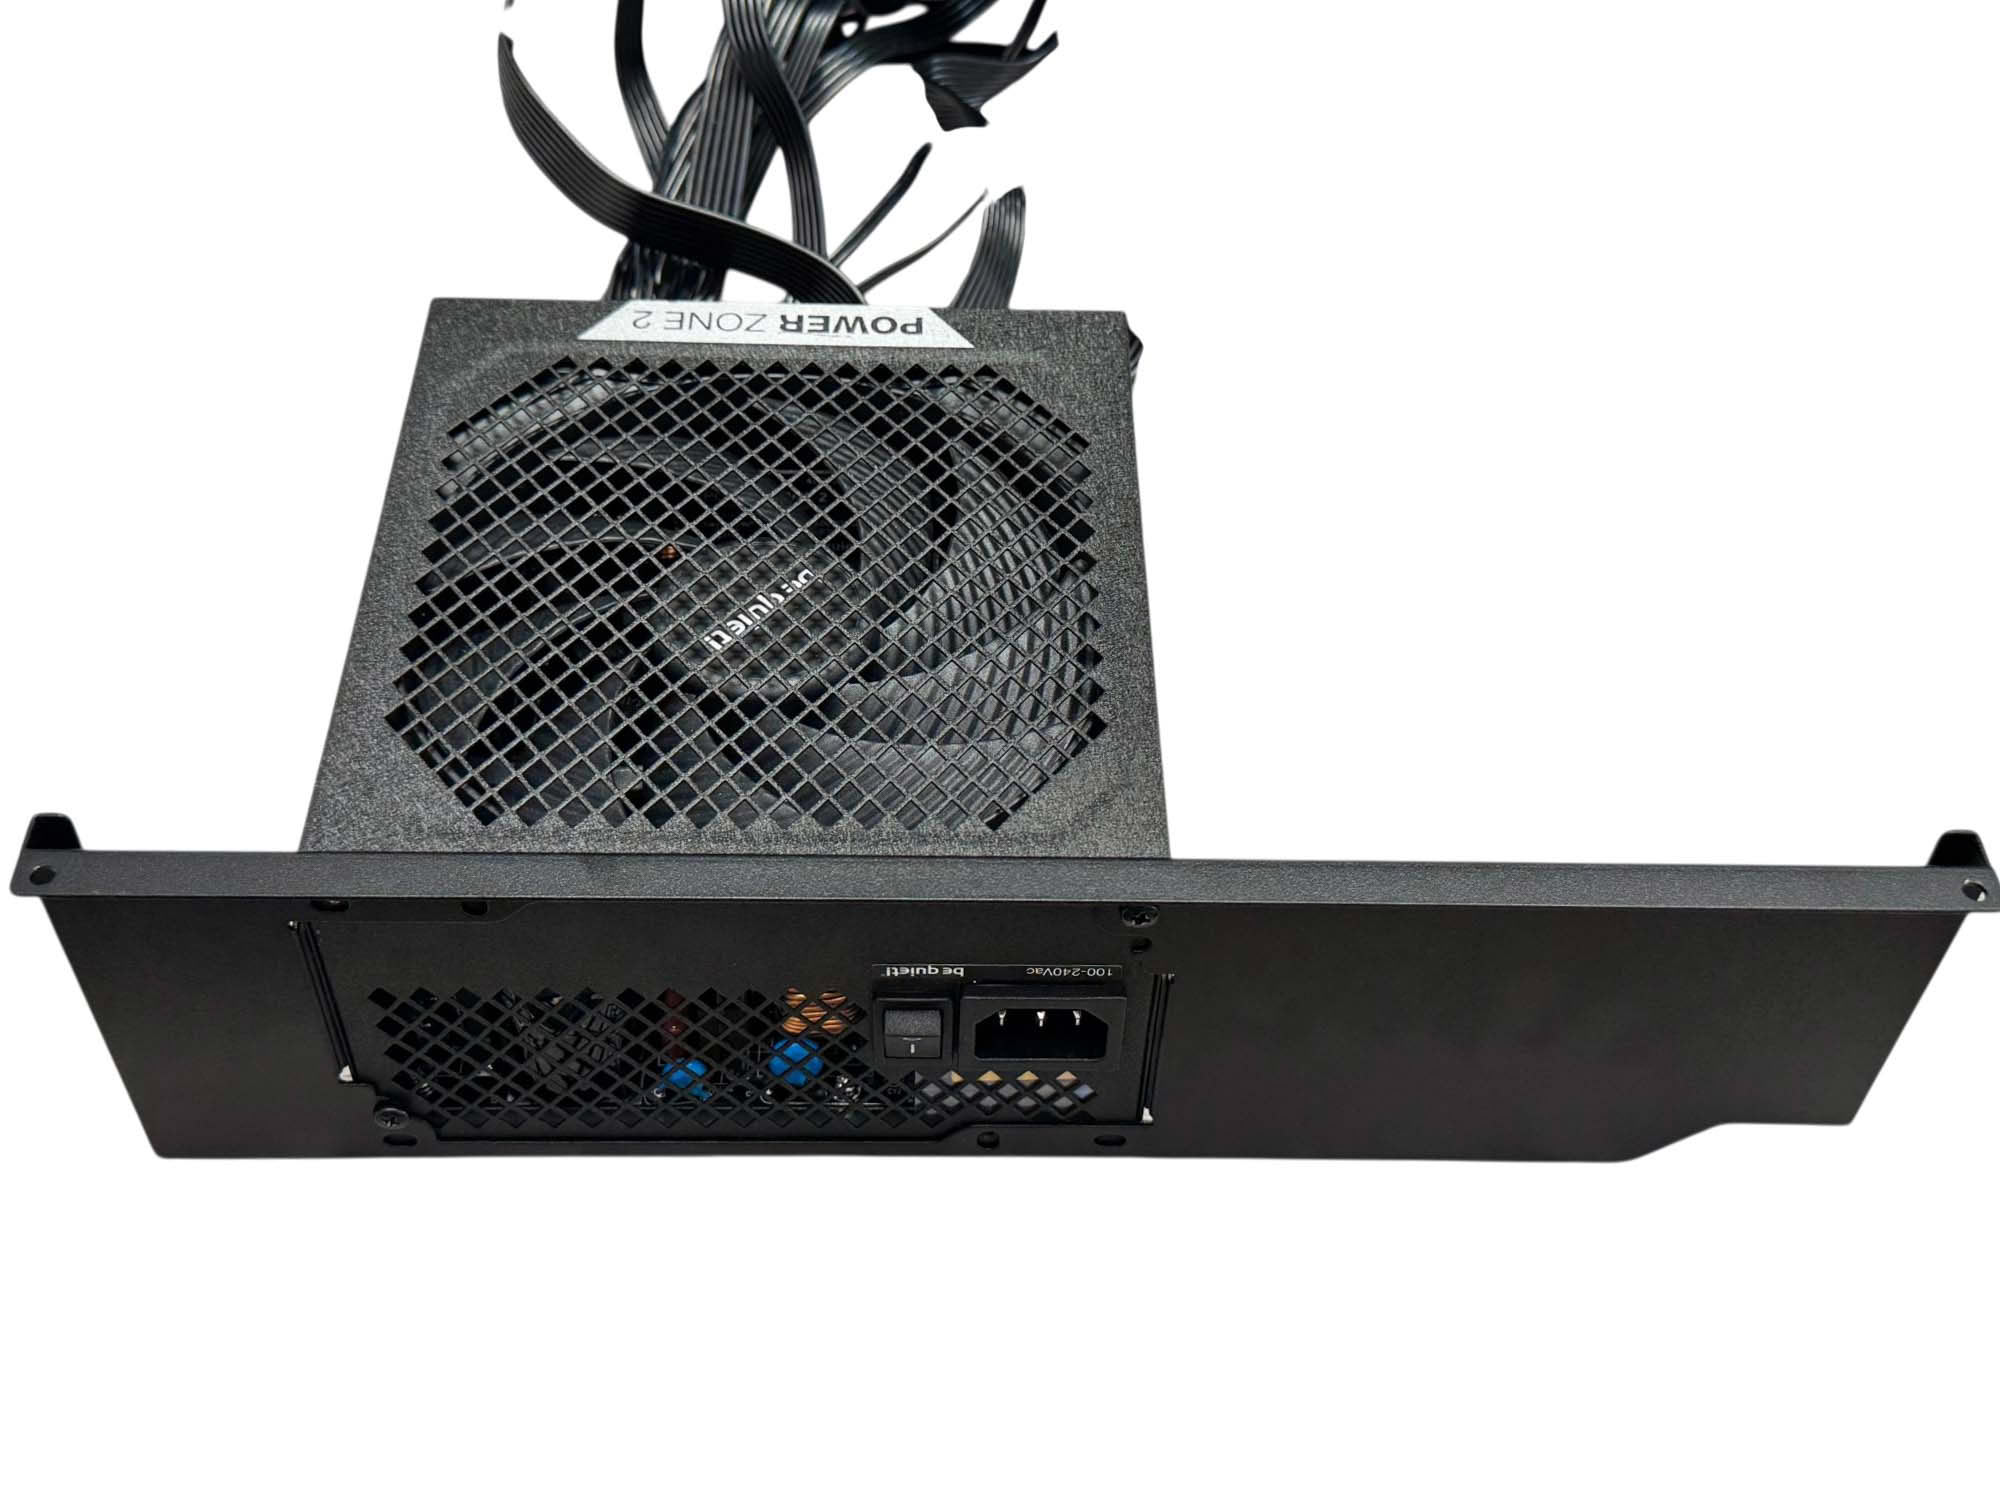
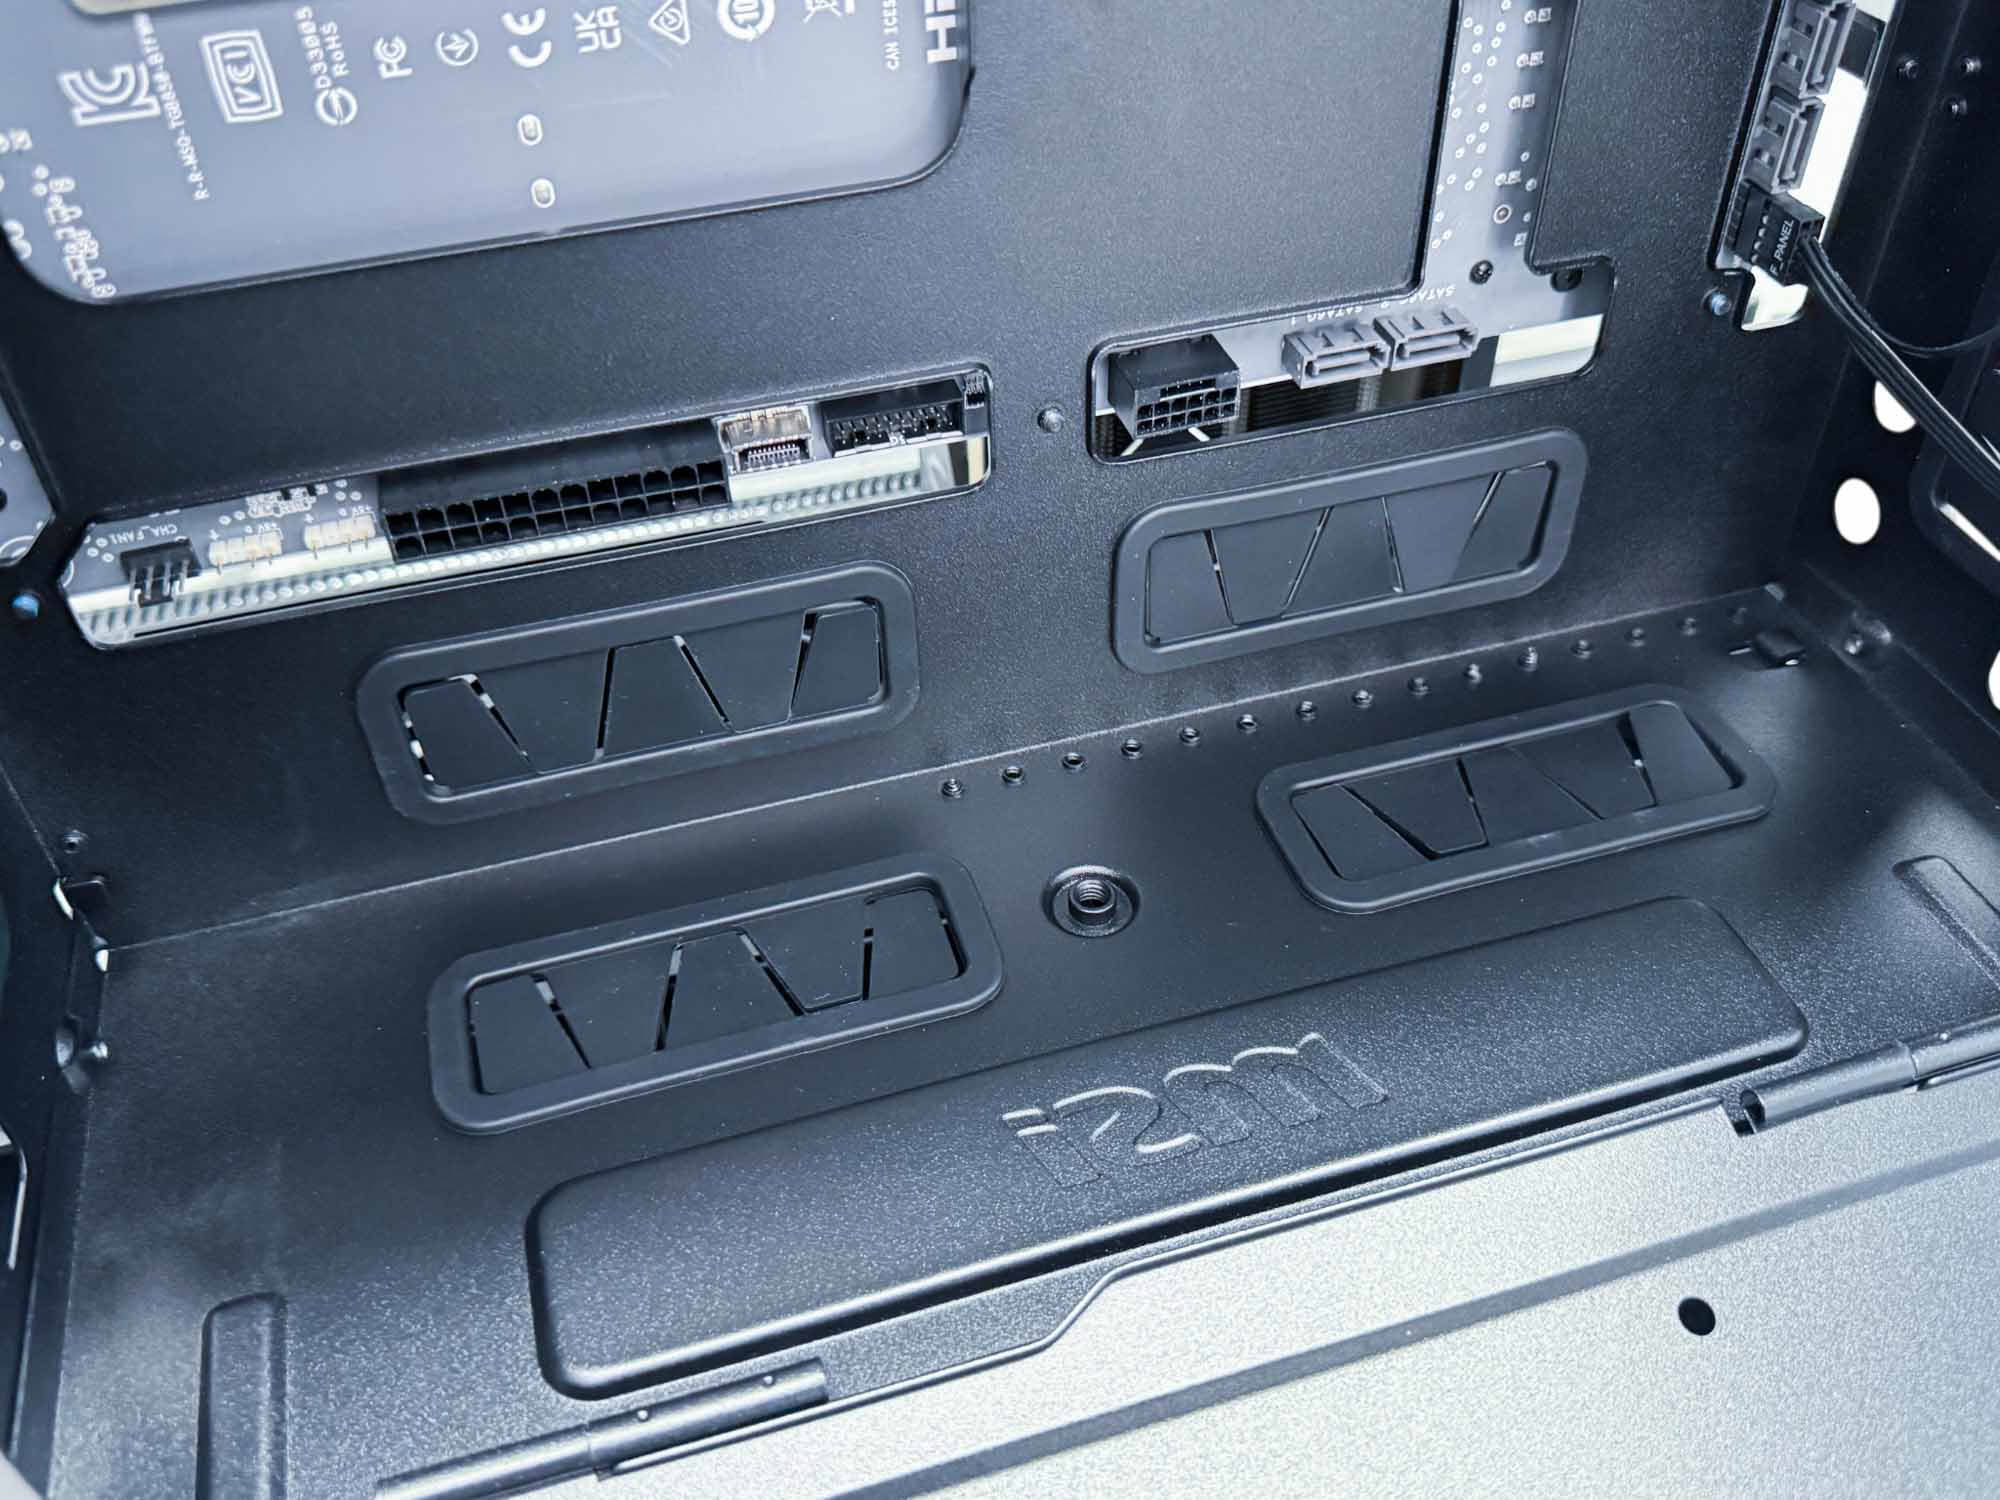
The PSU secures to a removable tray in the test bench section, but this can be removed while the test bench is left in place. This certainly makes installing PSUs a lot easier too. In the base of the PSU enclosure are the same routing holes we saw previously on the edges of the test bench, only here they serve to route cables to the main chamber and to the area below the PSU housing where they can also exit the case.
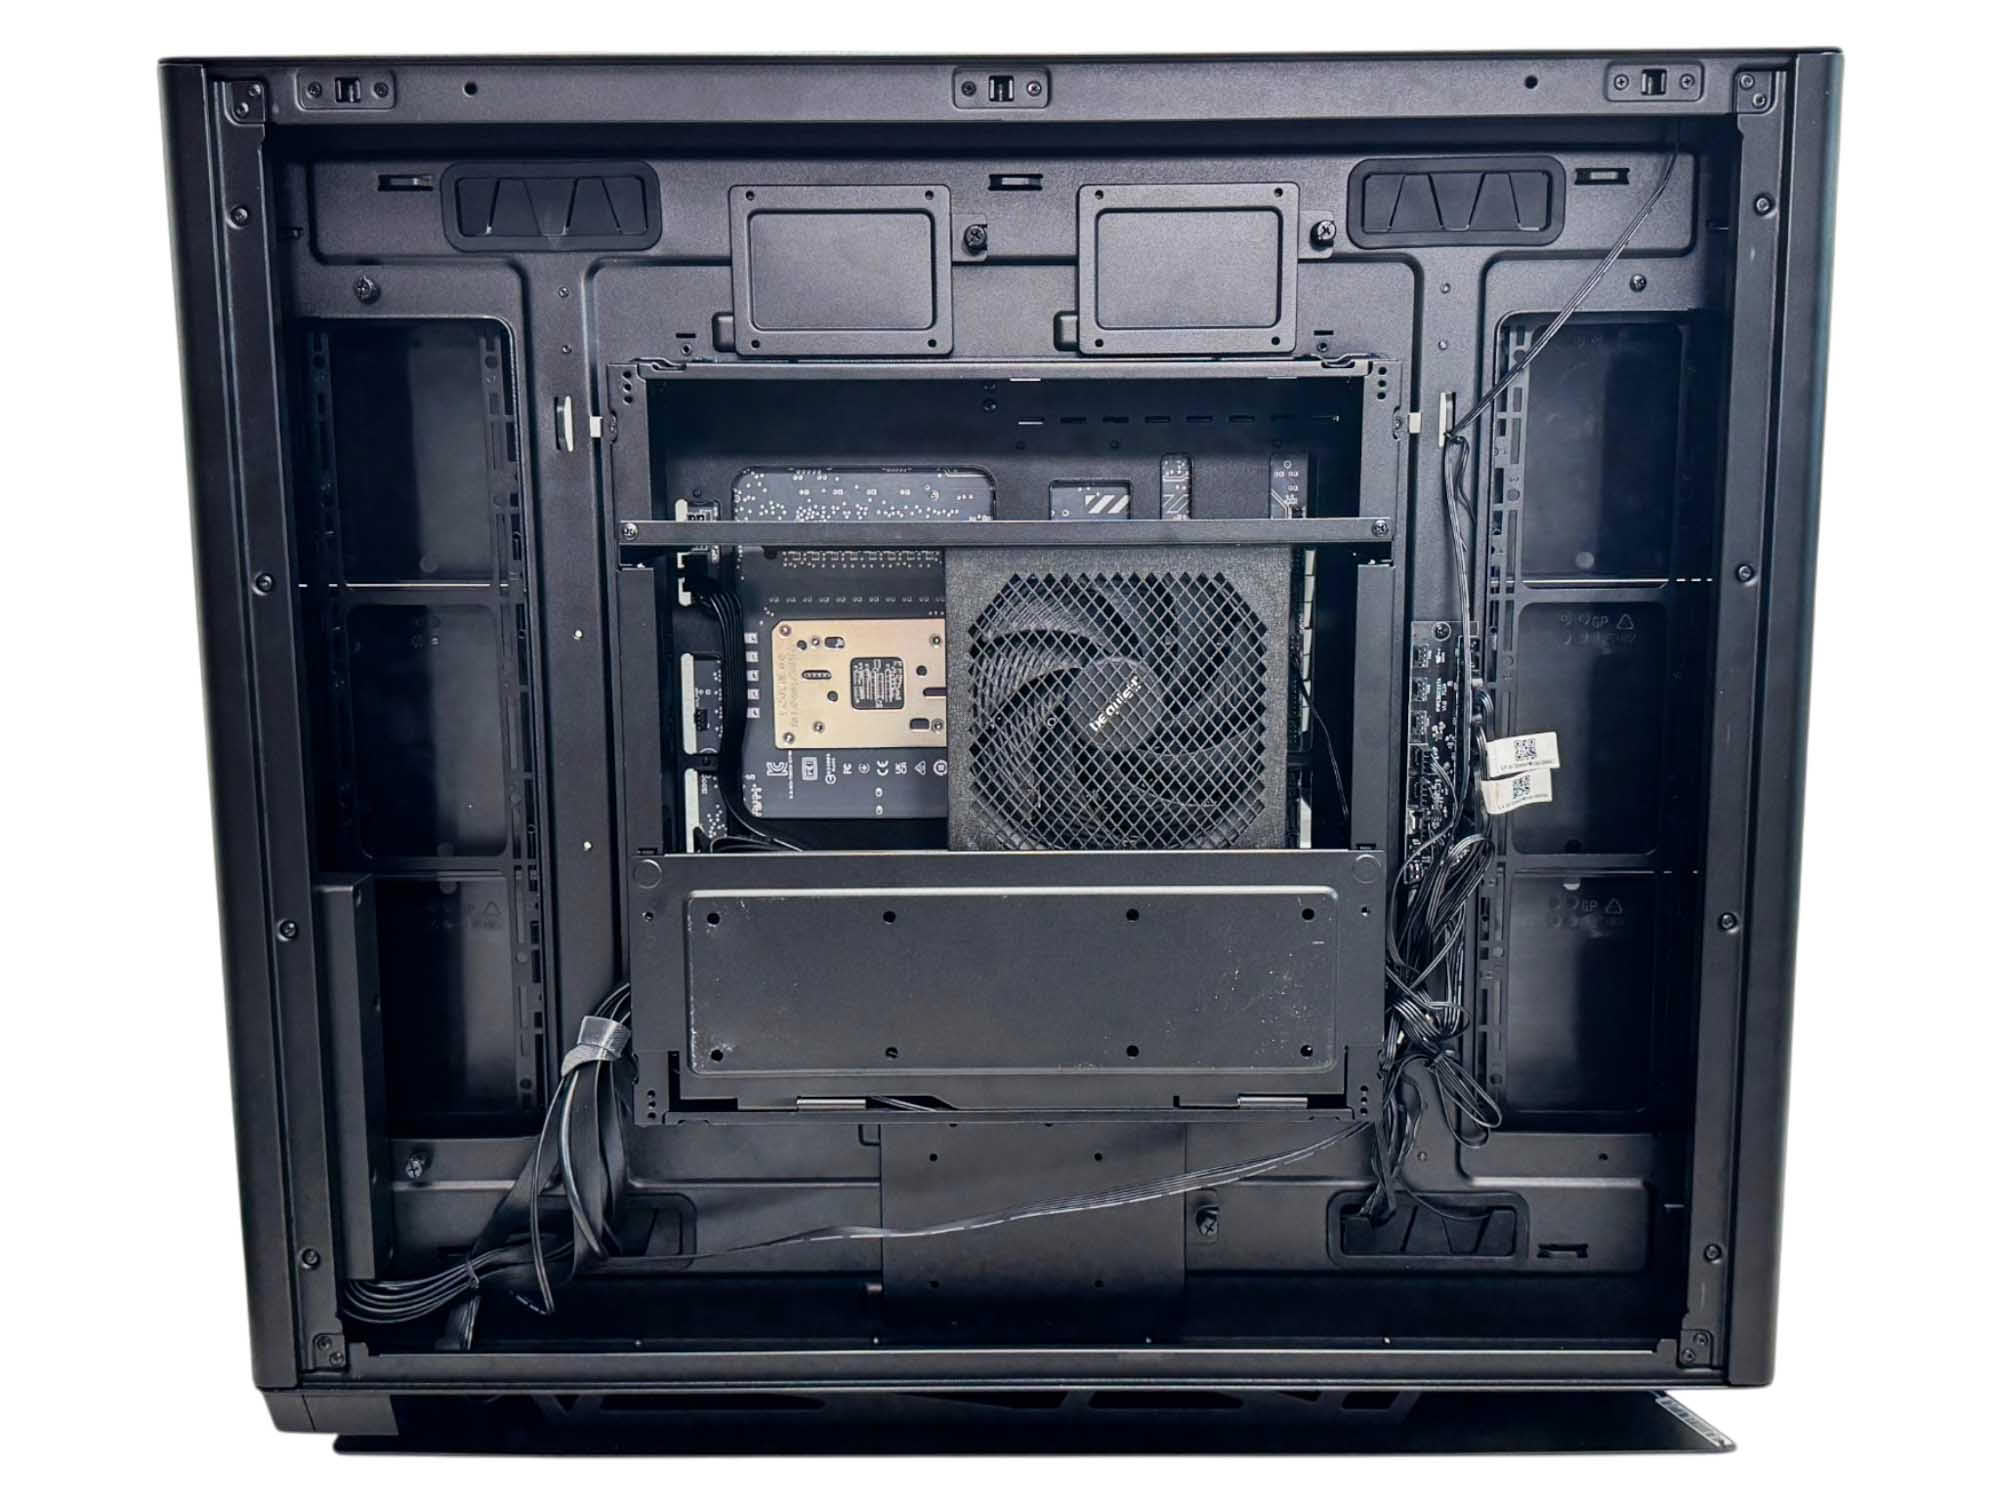
Despite a mass of cables to deal with, it's quick and simple to route things where you need them and the Velcro cable ties included also allow you to group any slack in the PSU enclosure without them interfering with its door or the side panel on the case.
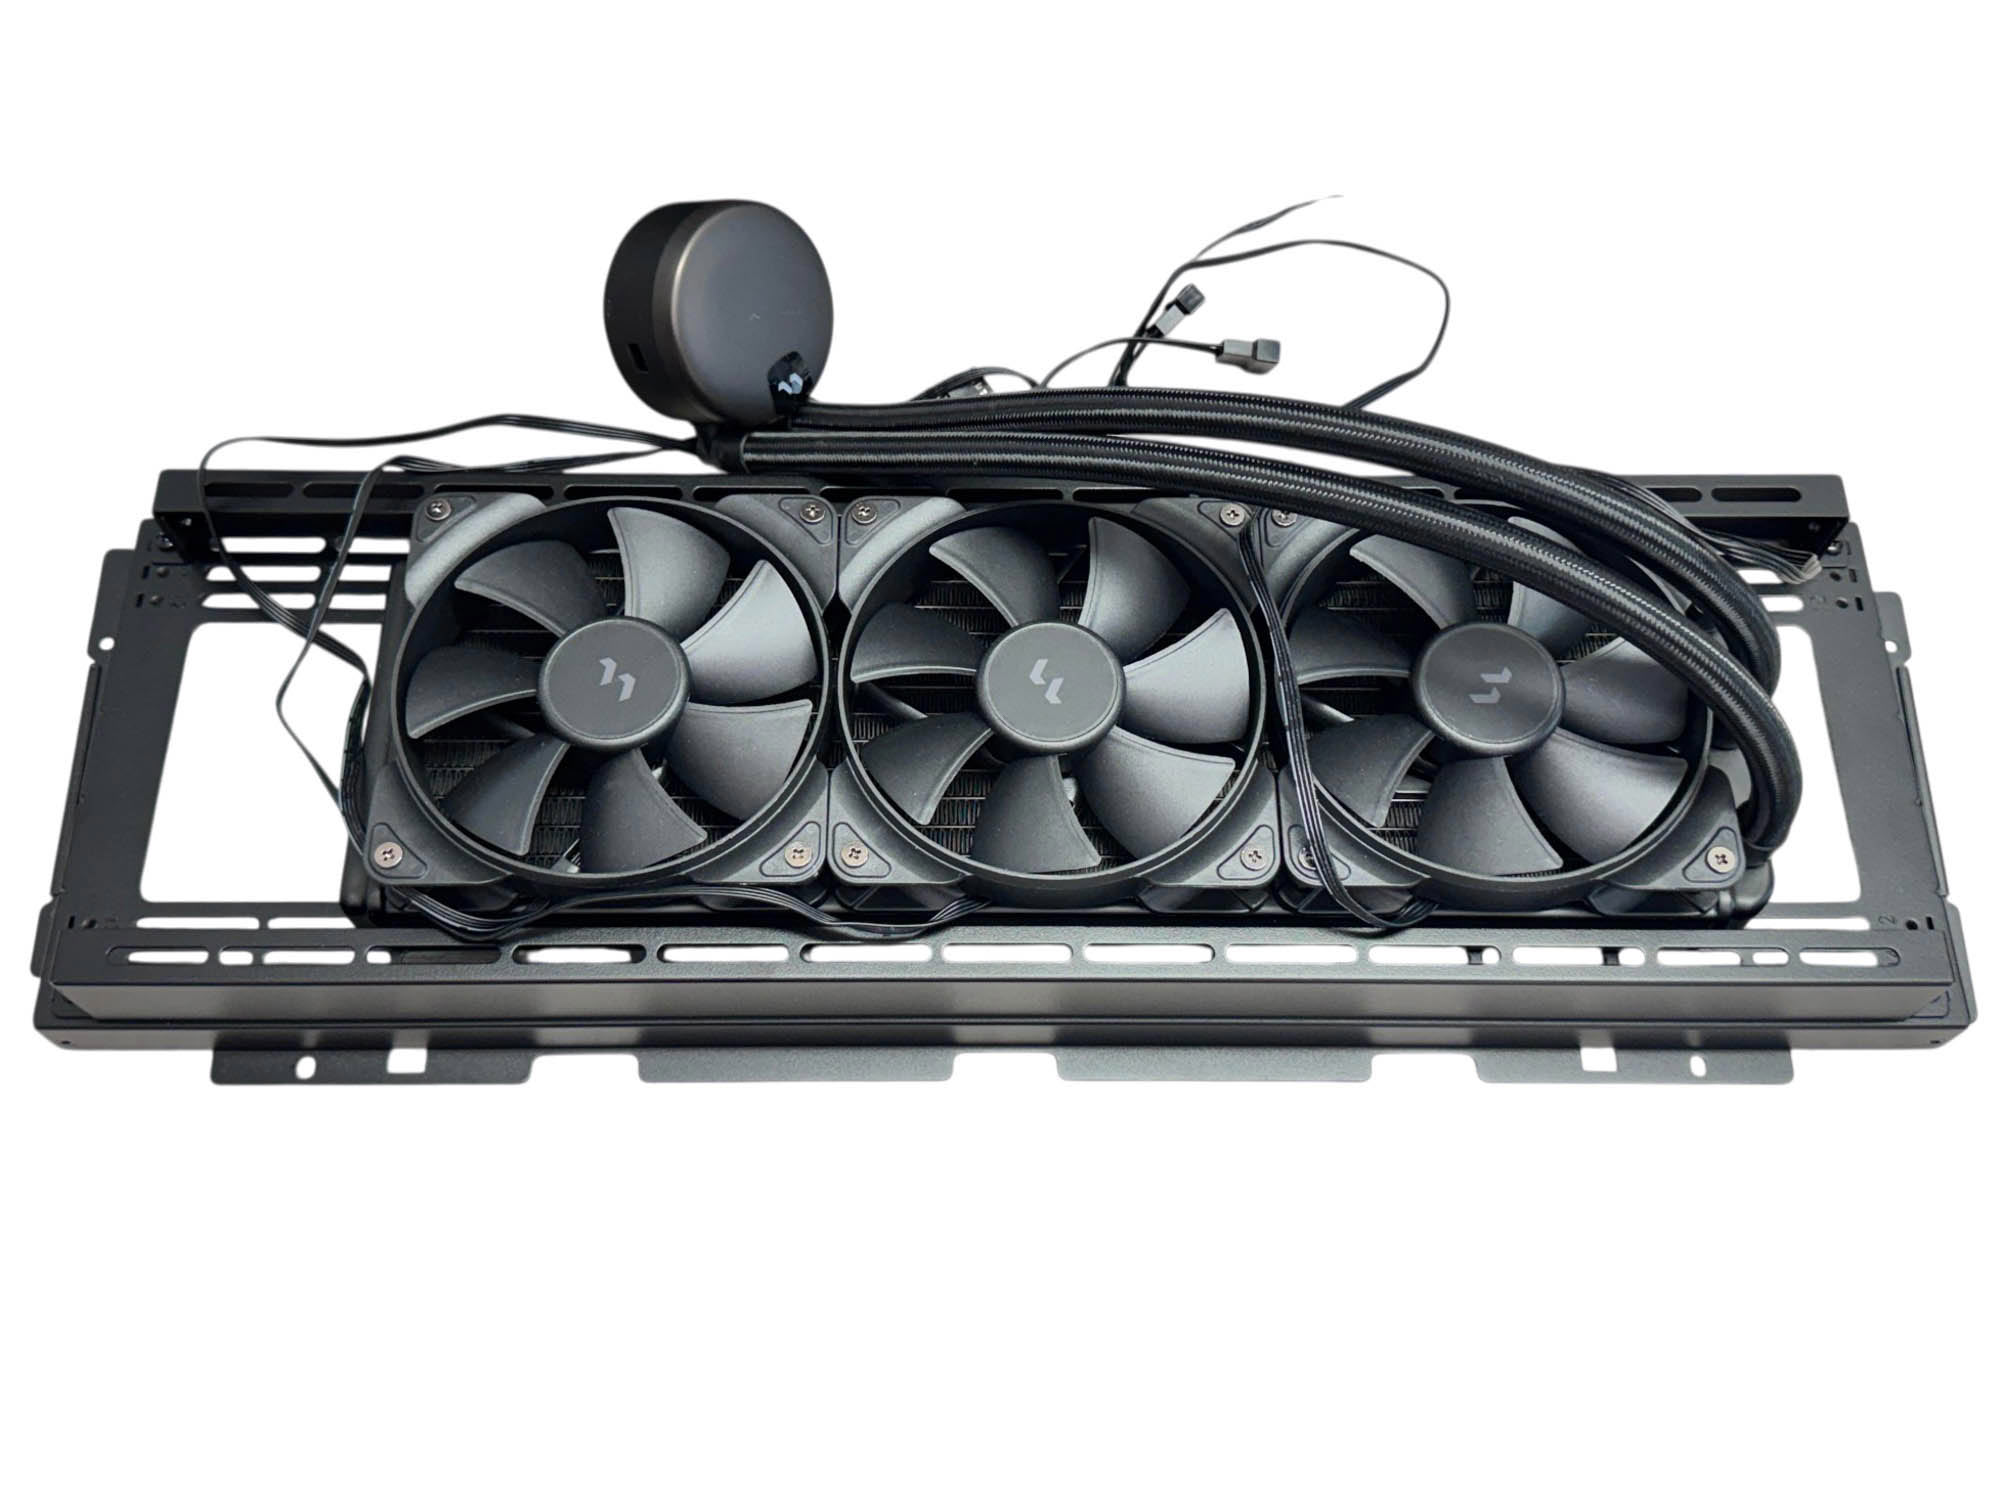
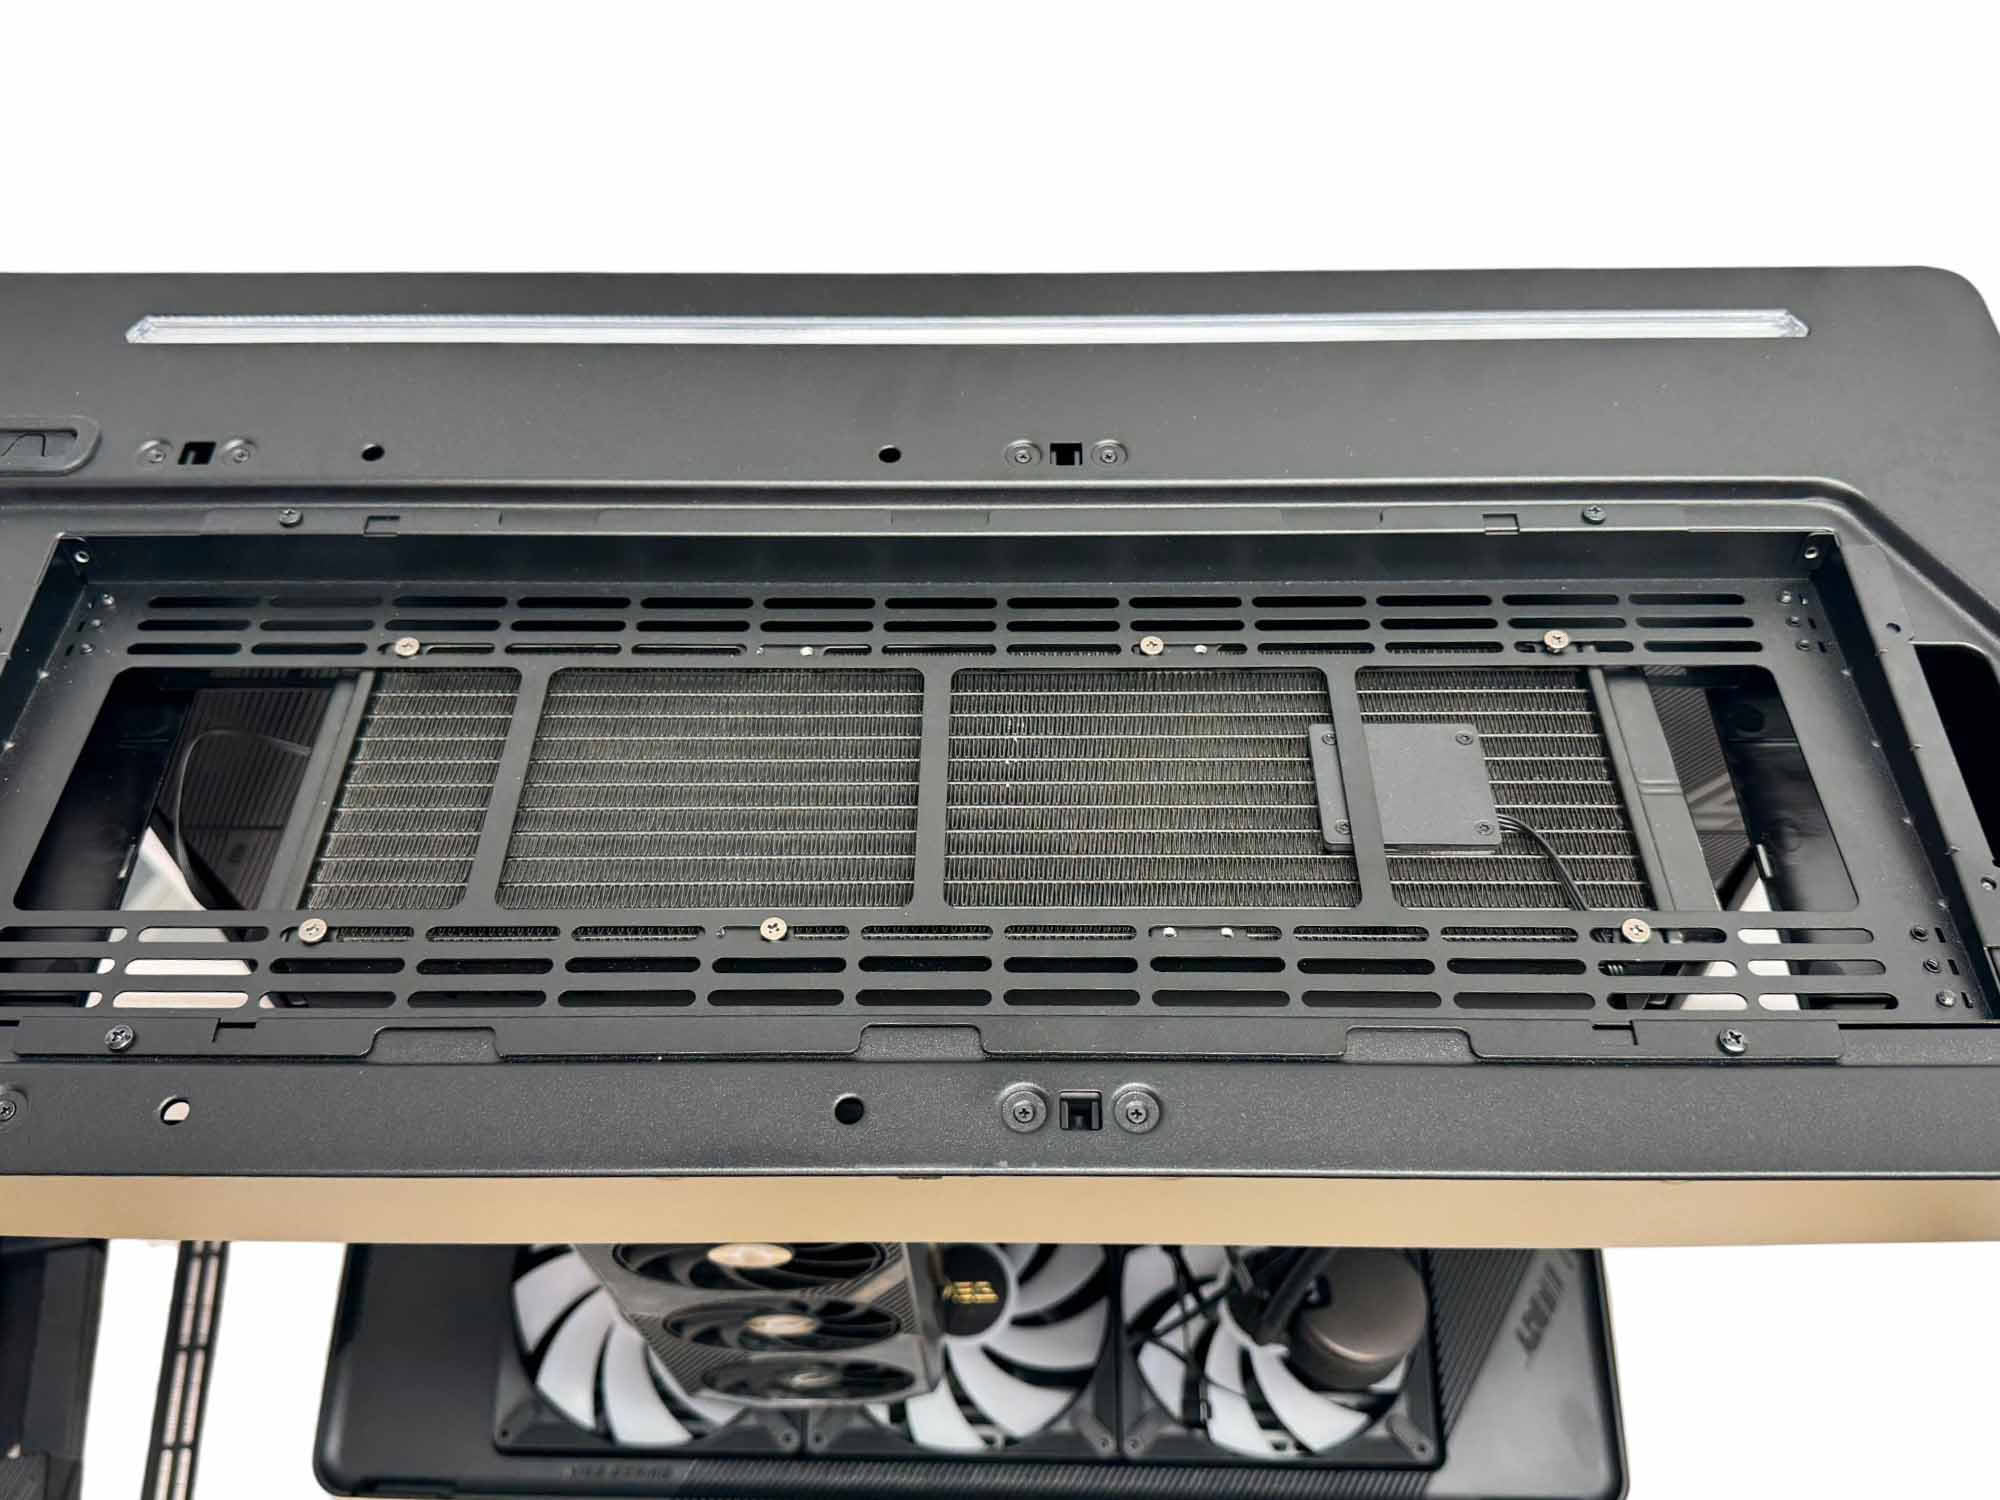
It's definitely easier to install the radiator of an AIO liquid cooler into the removed fan mount first as reaching inside the case to do this is difficult given its size and depth. Four screws secure it in place at either end. Tubing length for AIO liquid coolers will need to be more than 60 cm if the motherboard is inverted and radiators mounted into the roof of the case.
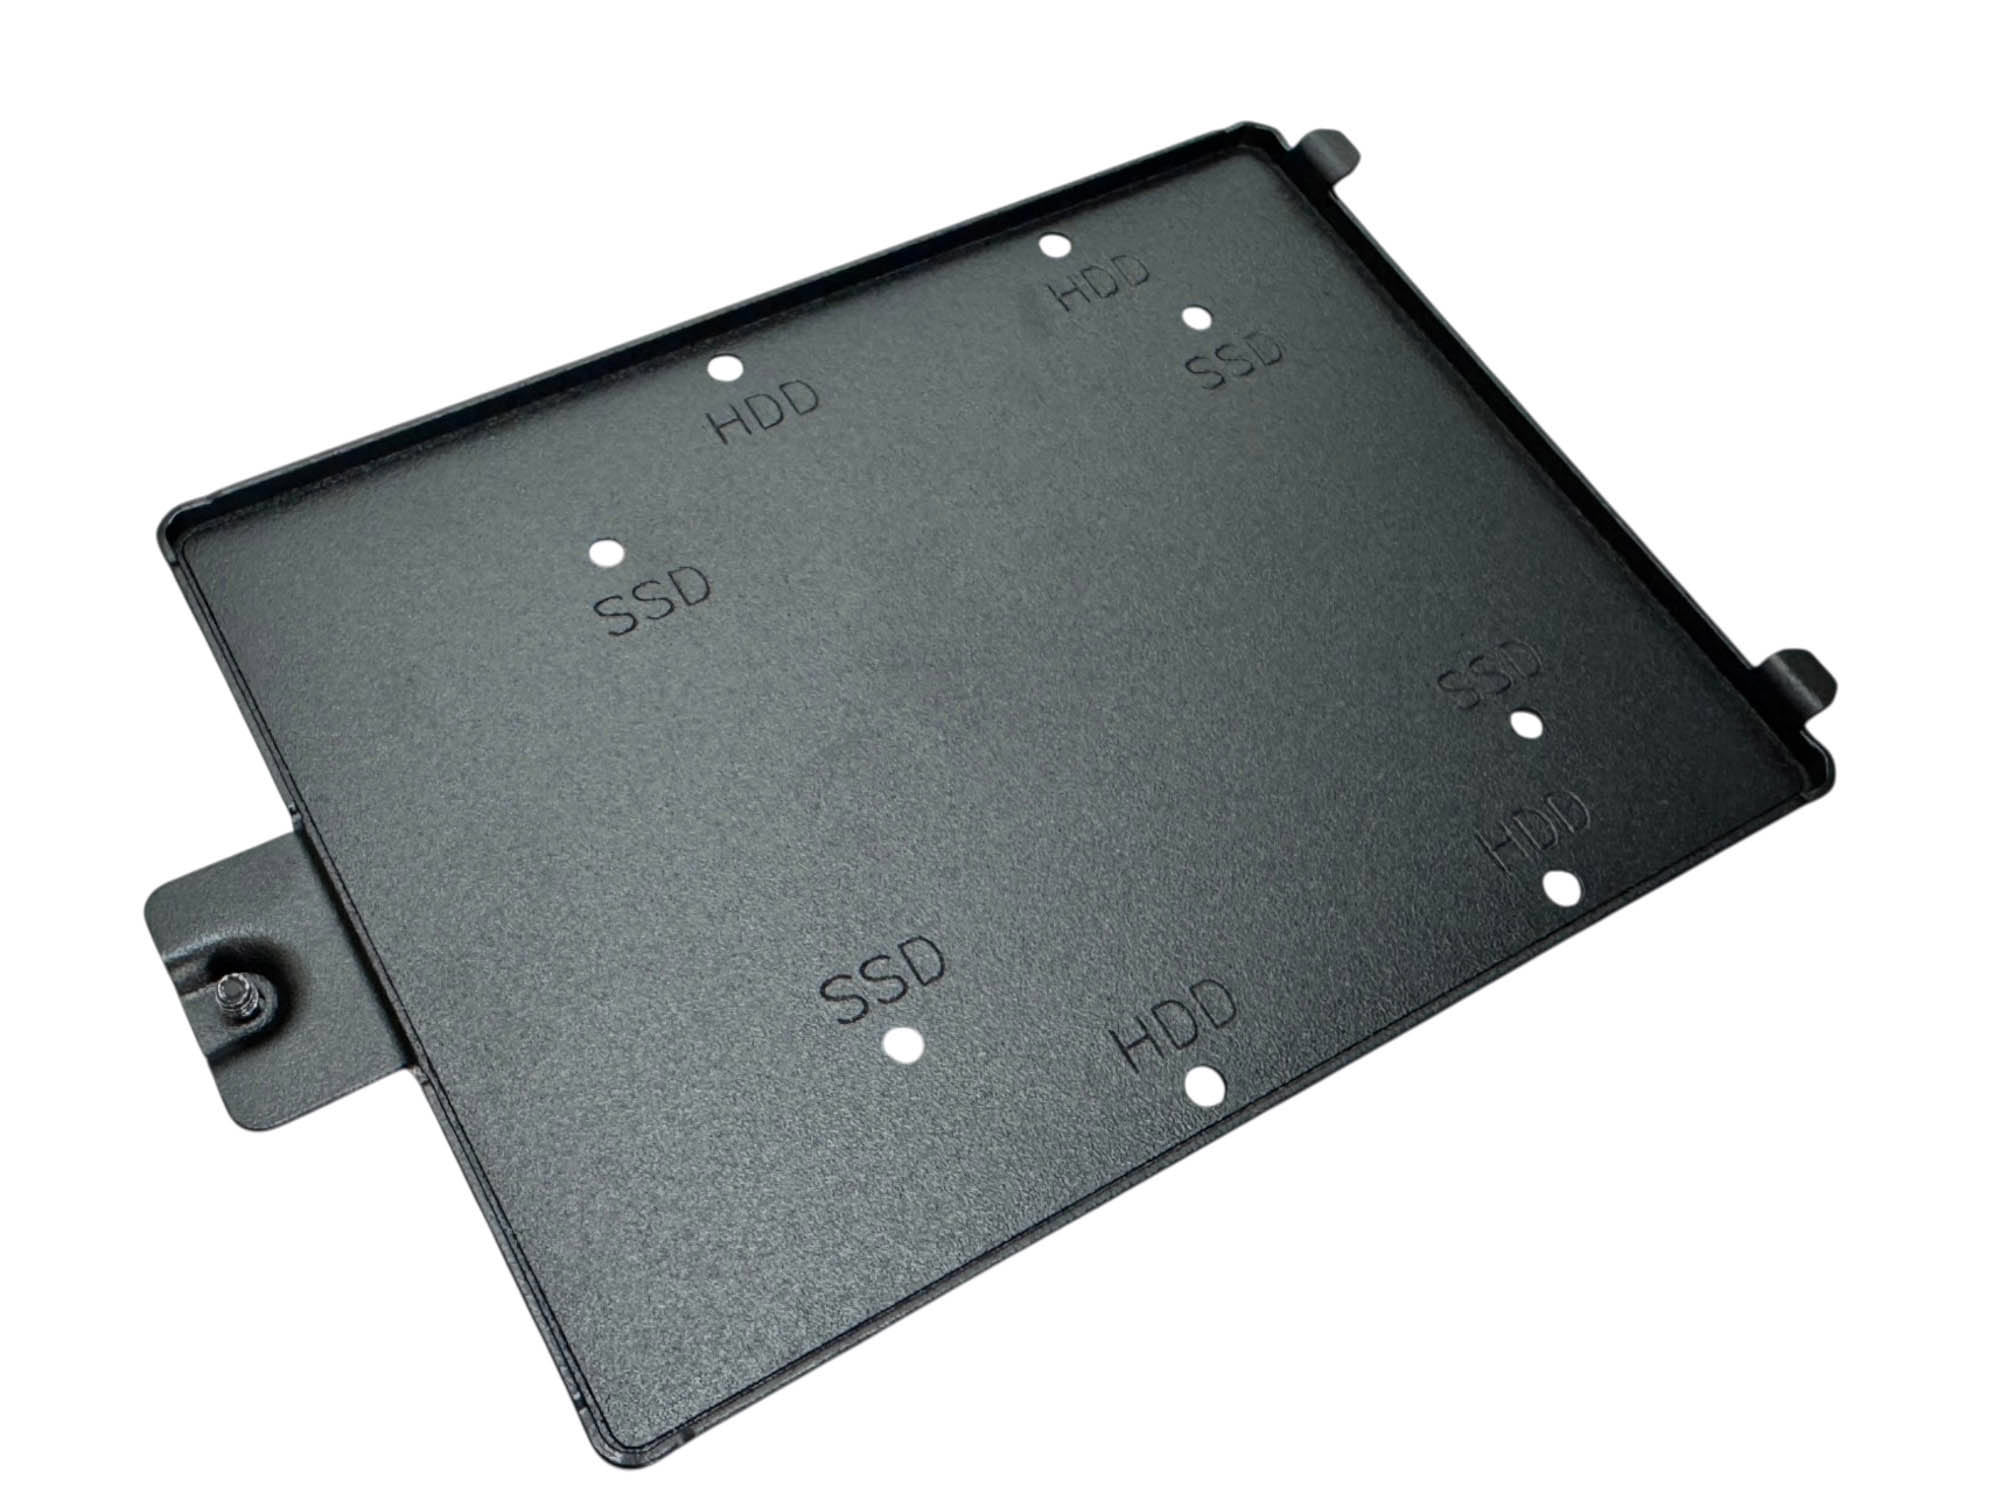
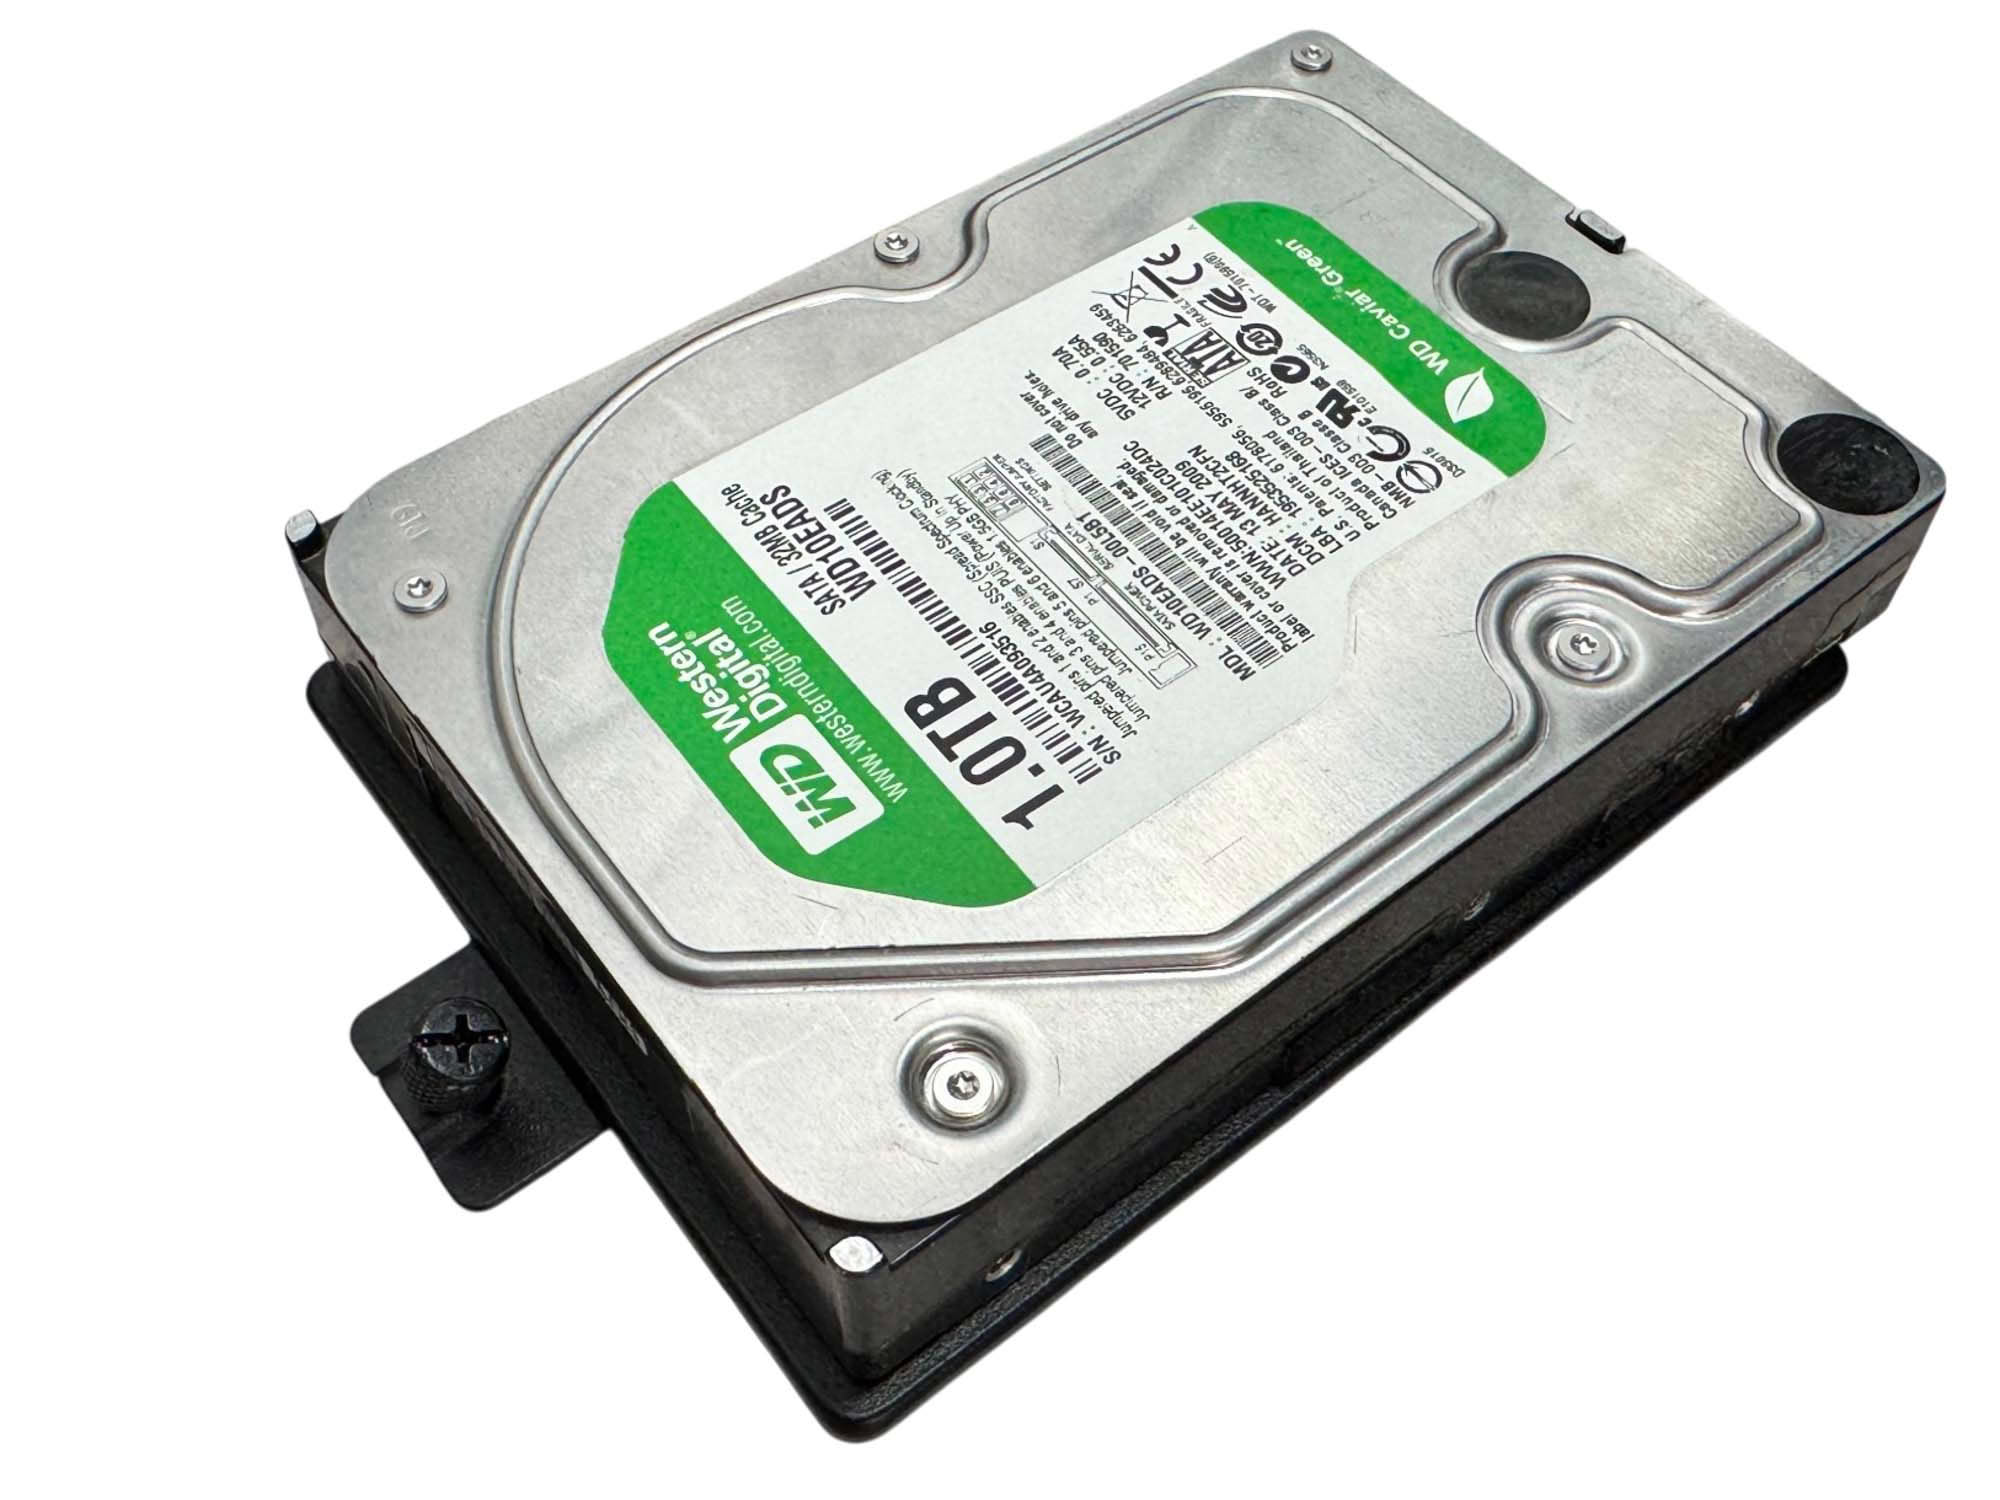
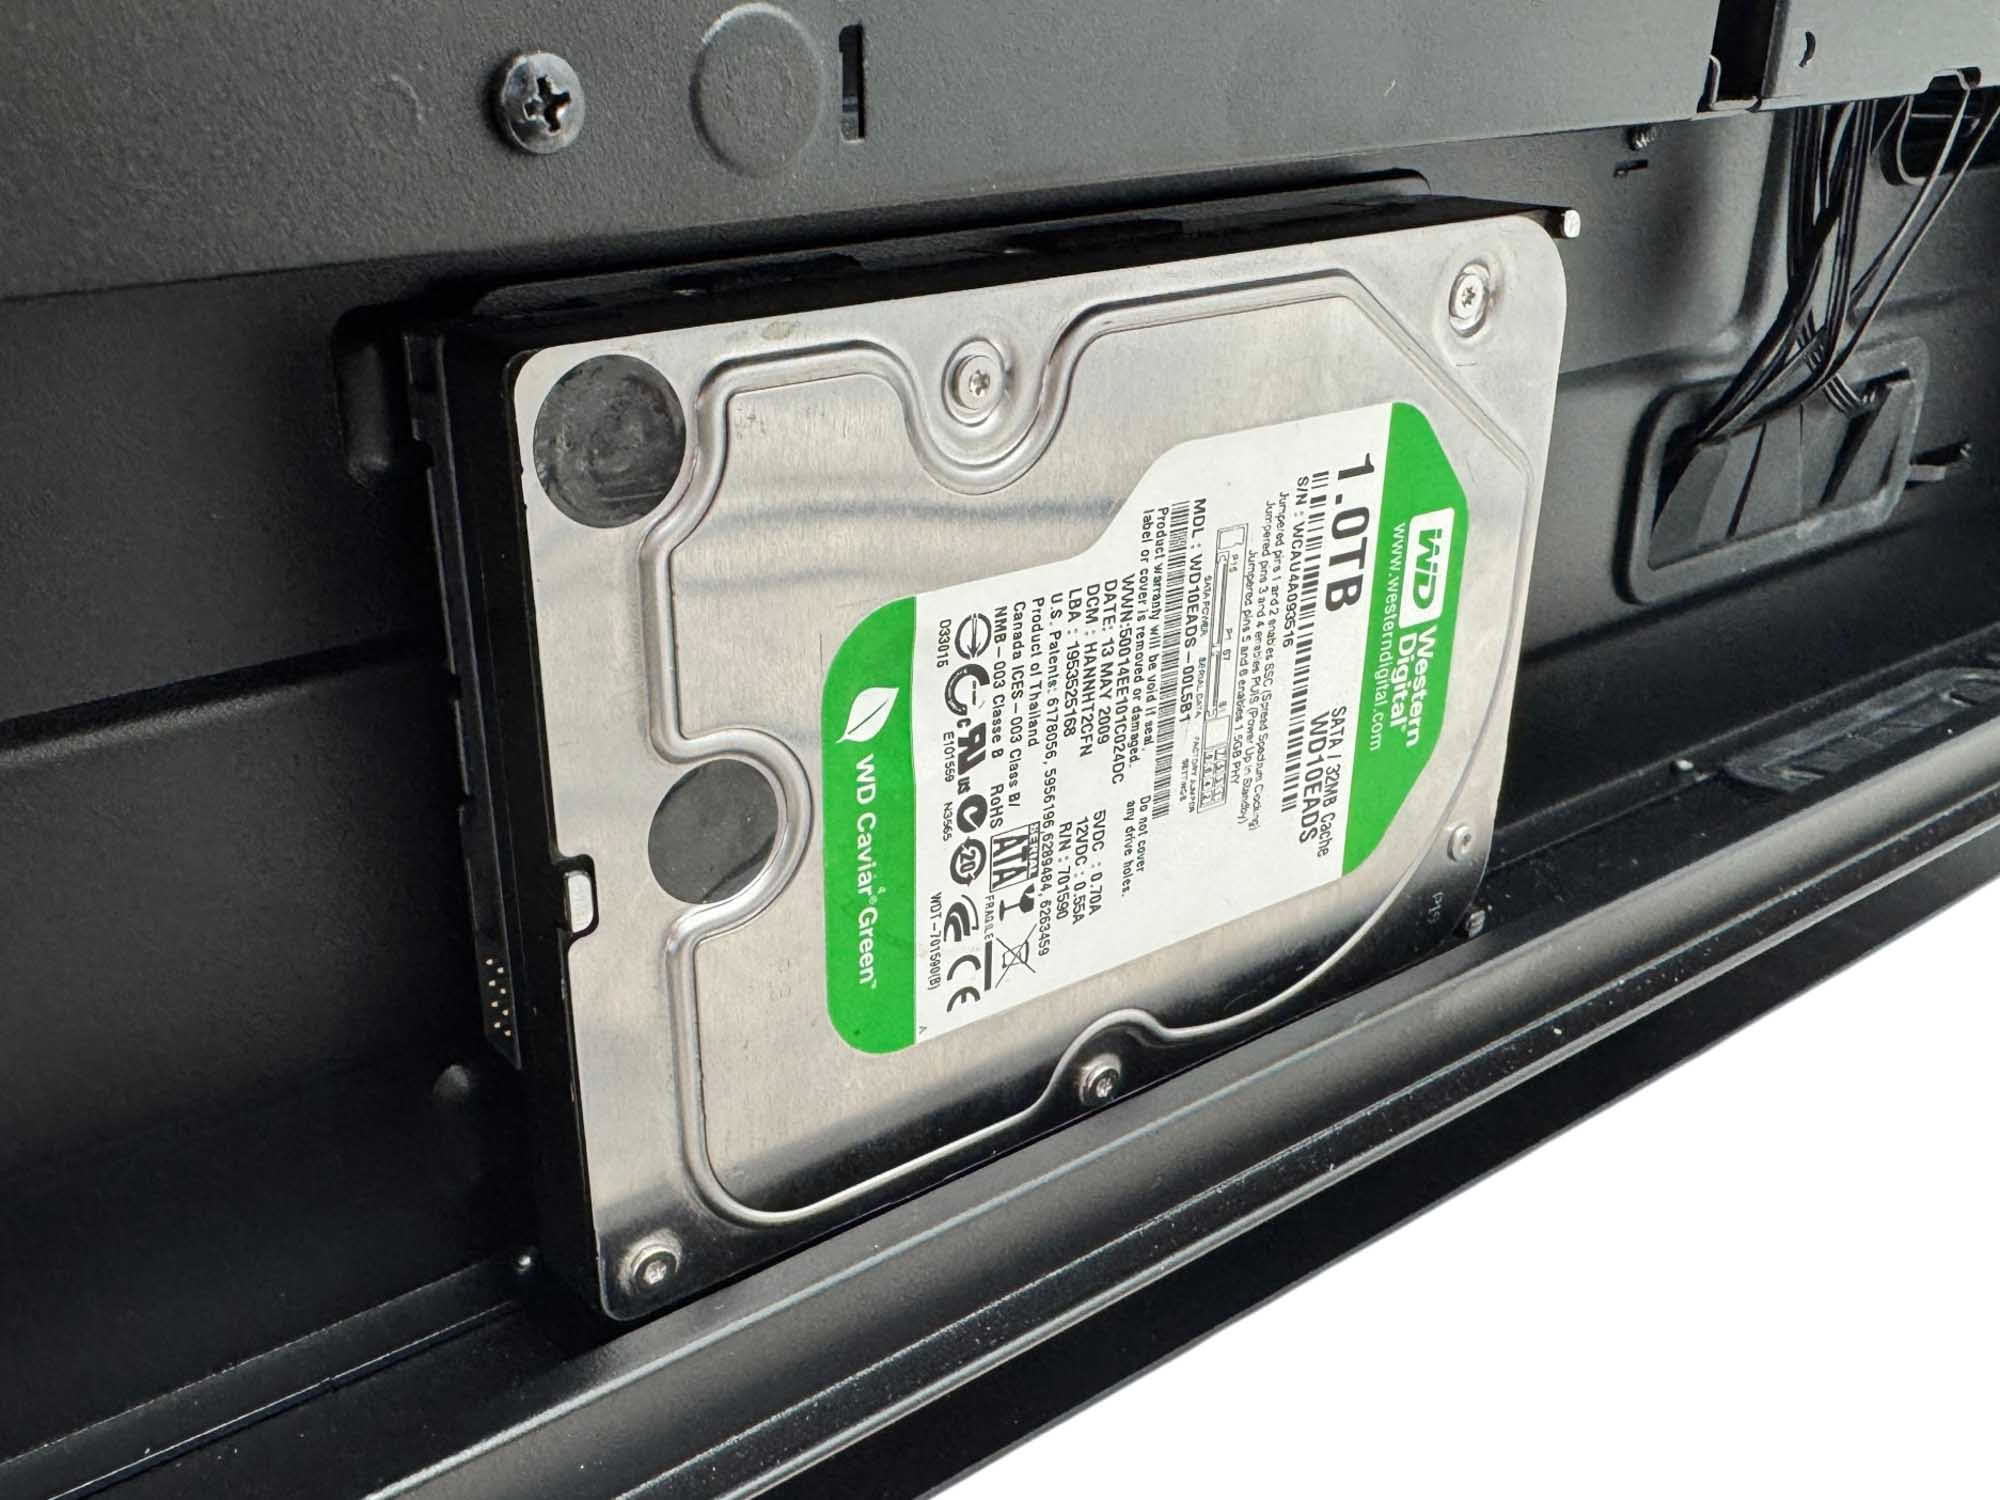
The removable storage tray in the base is the easiest way to install 3.5" hard disks, which benefit from anti-vibration mounts. The tray also supports 2.5" SSDs.
Finished Looks
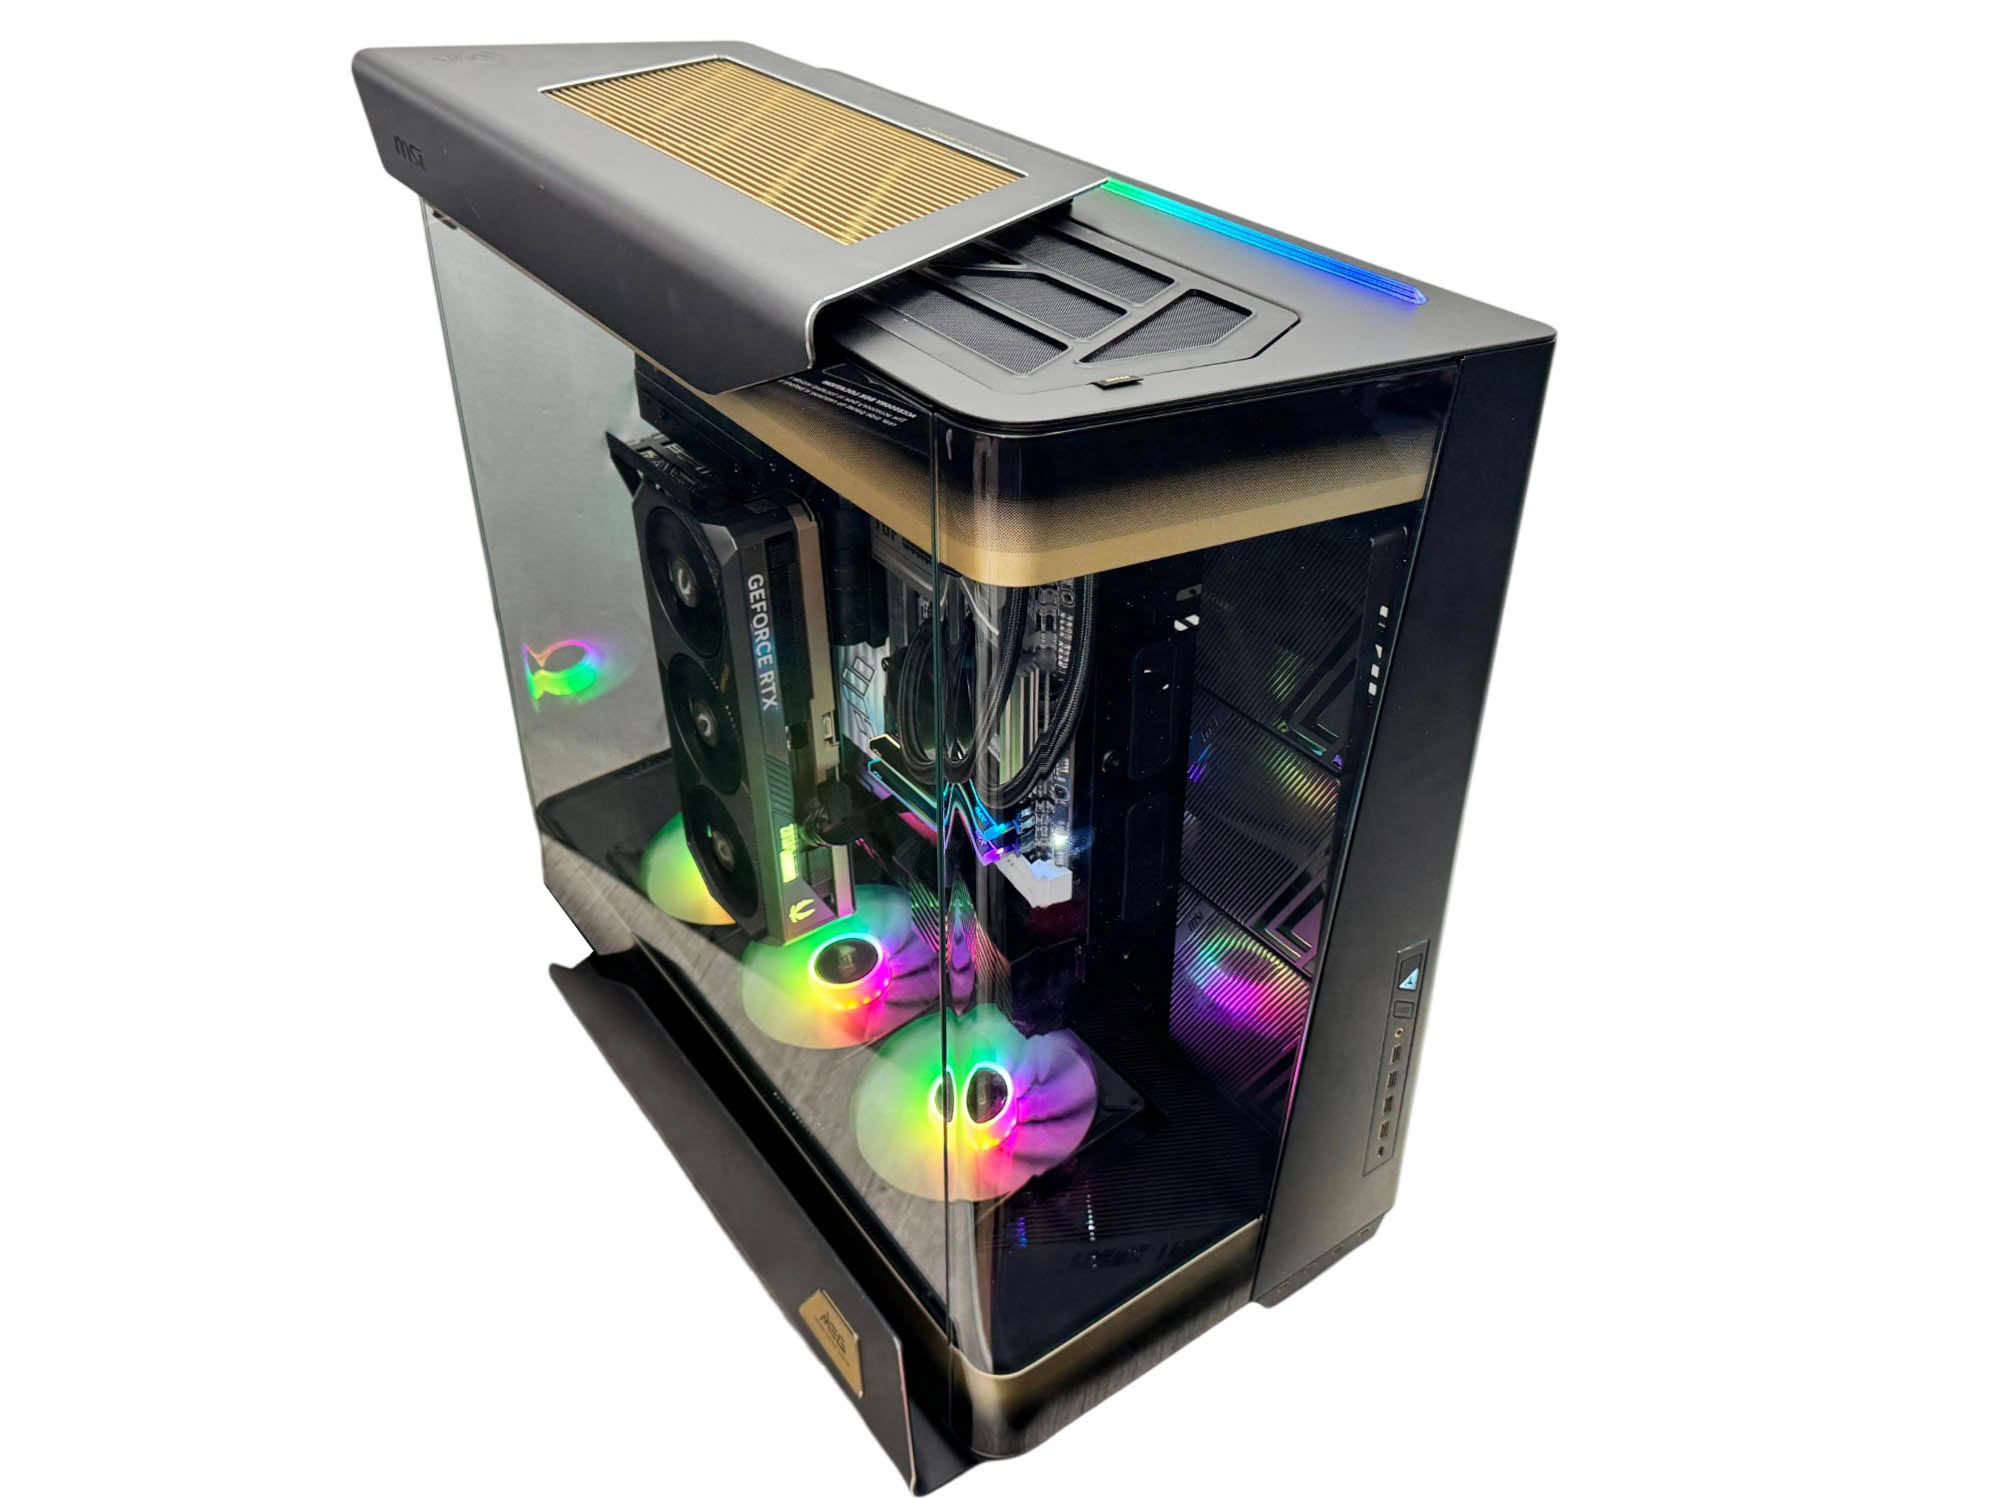
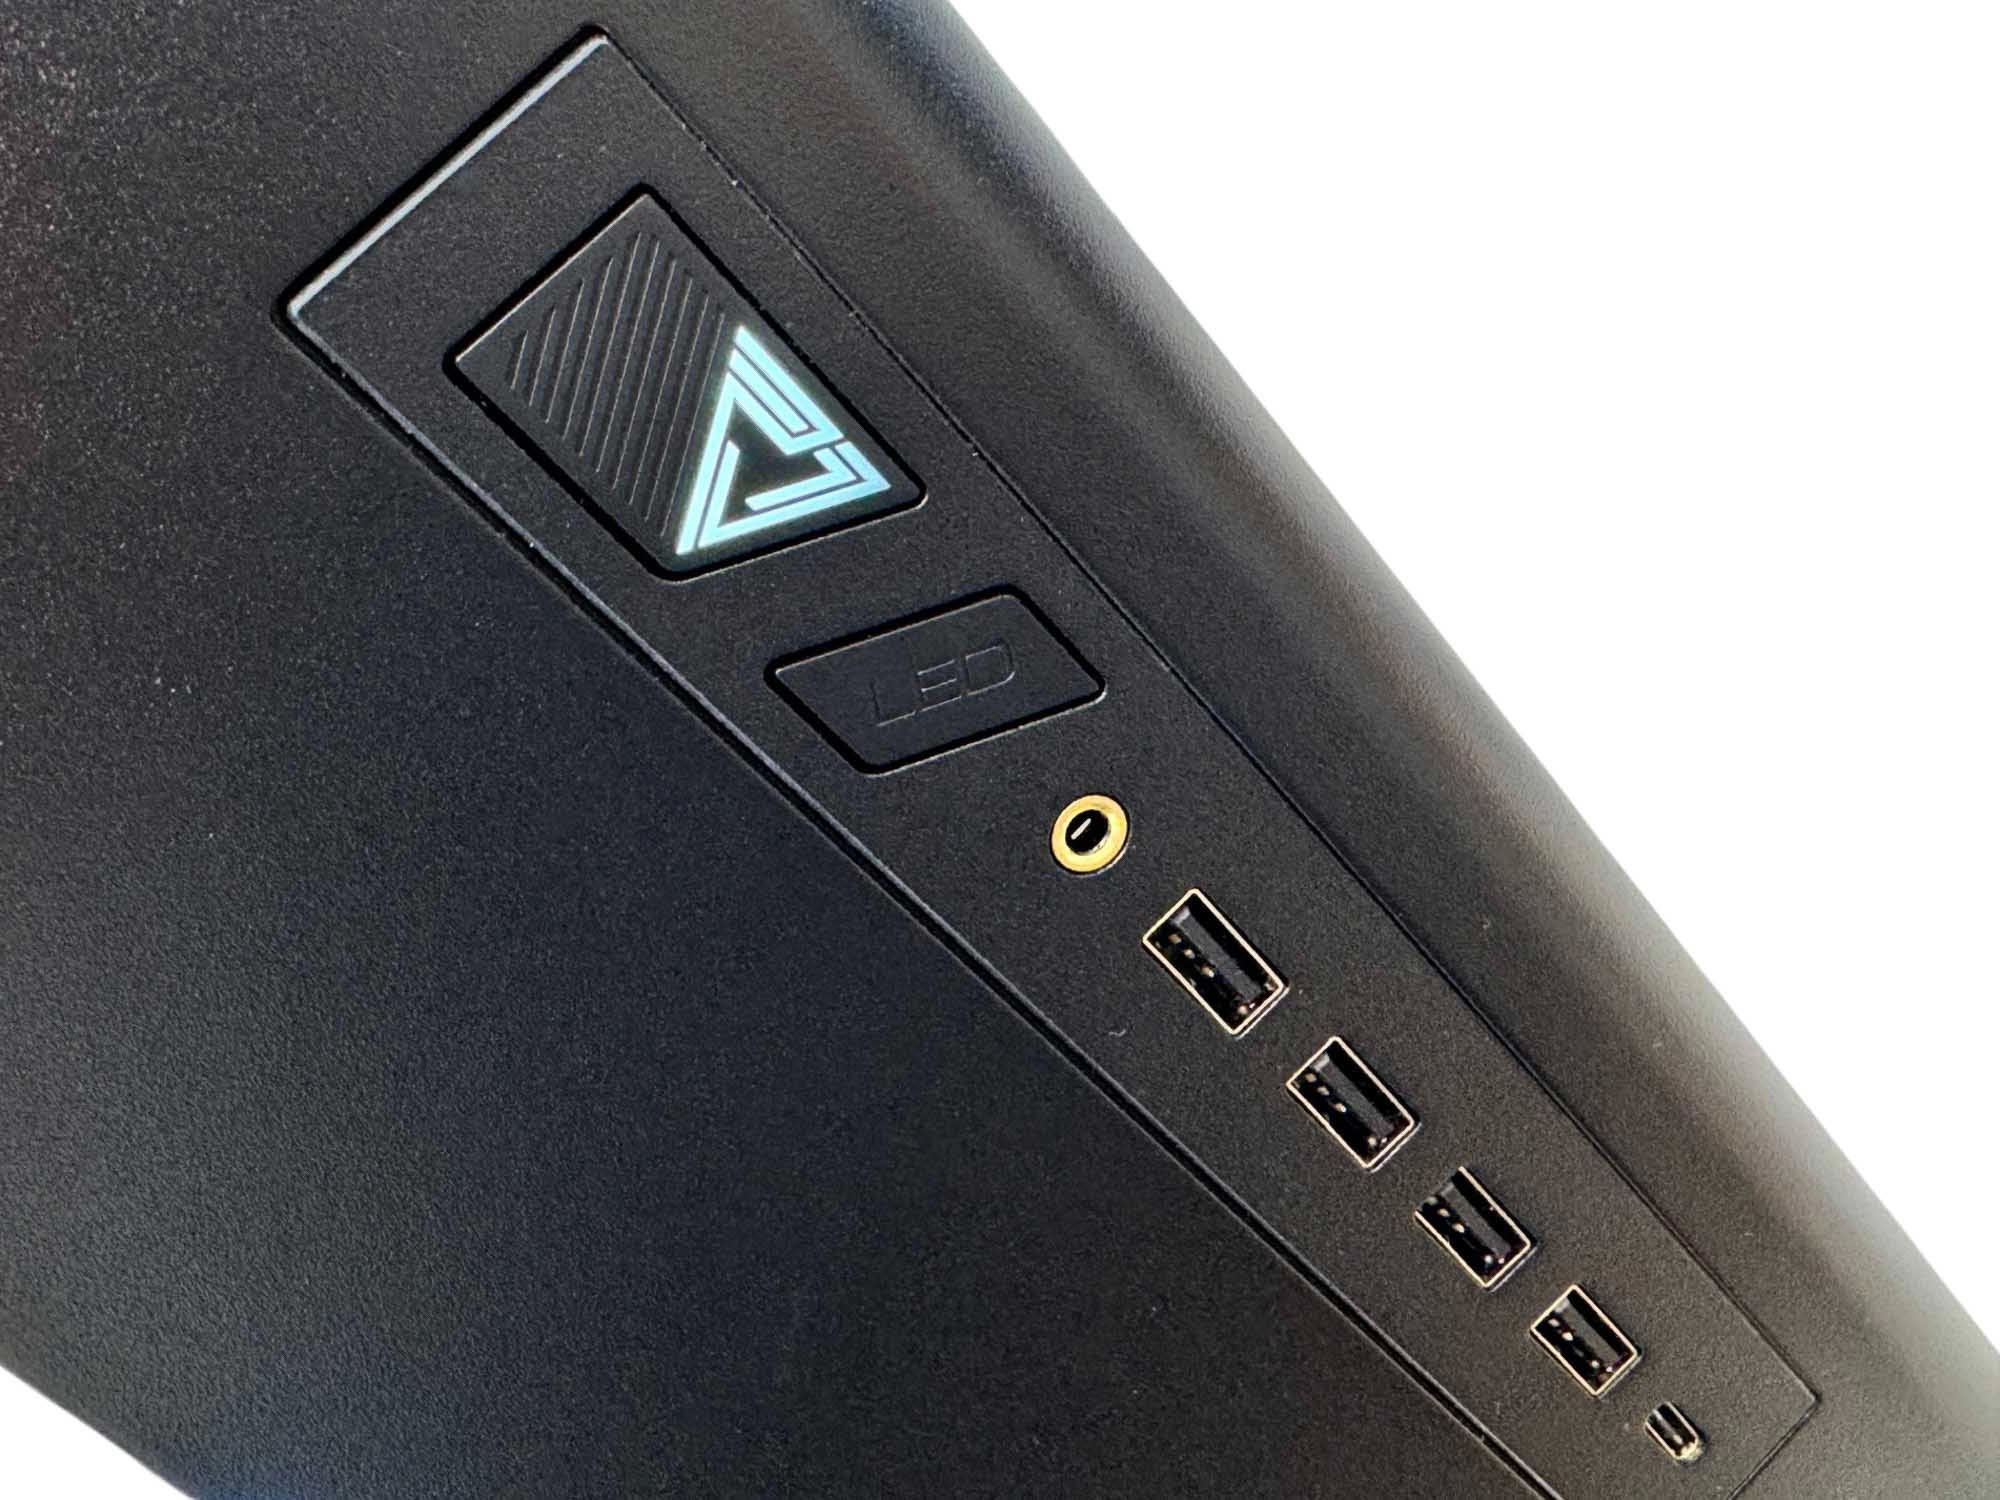
The case provides a fantastic view of your hardware and the illuminated logo on the power button is a nice touch. The internal reflections of the RGB fans may not be to everyone's taste though.
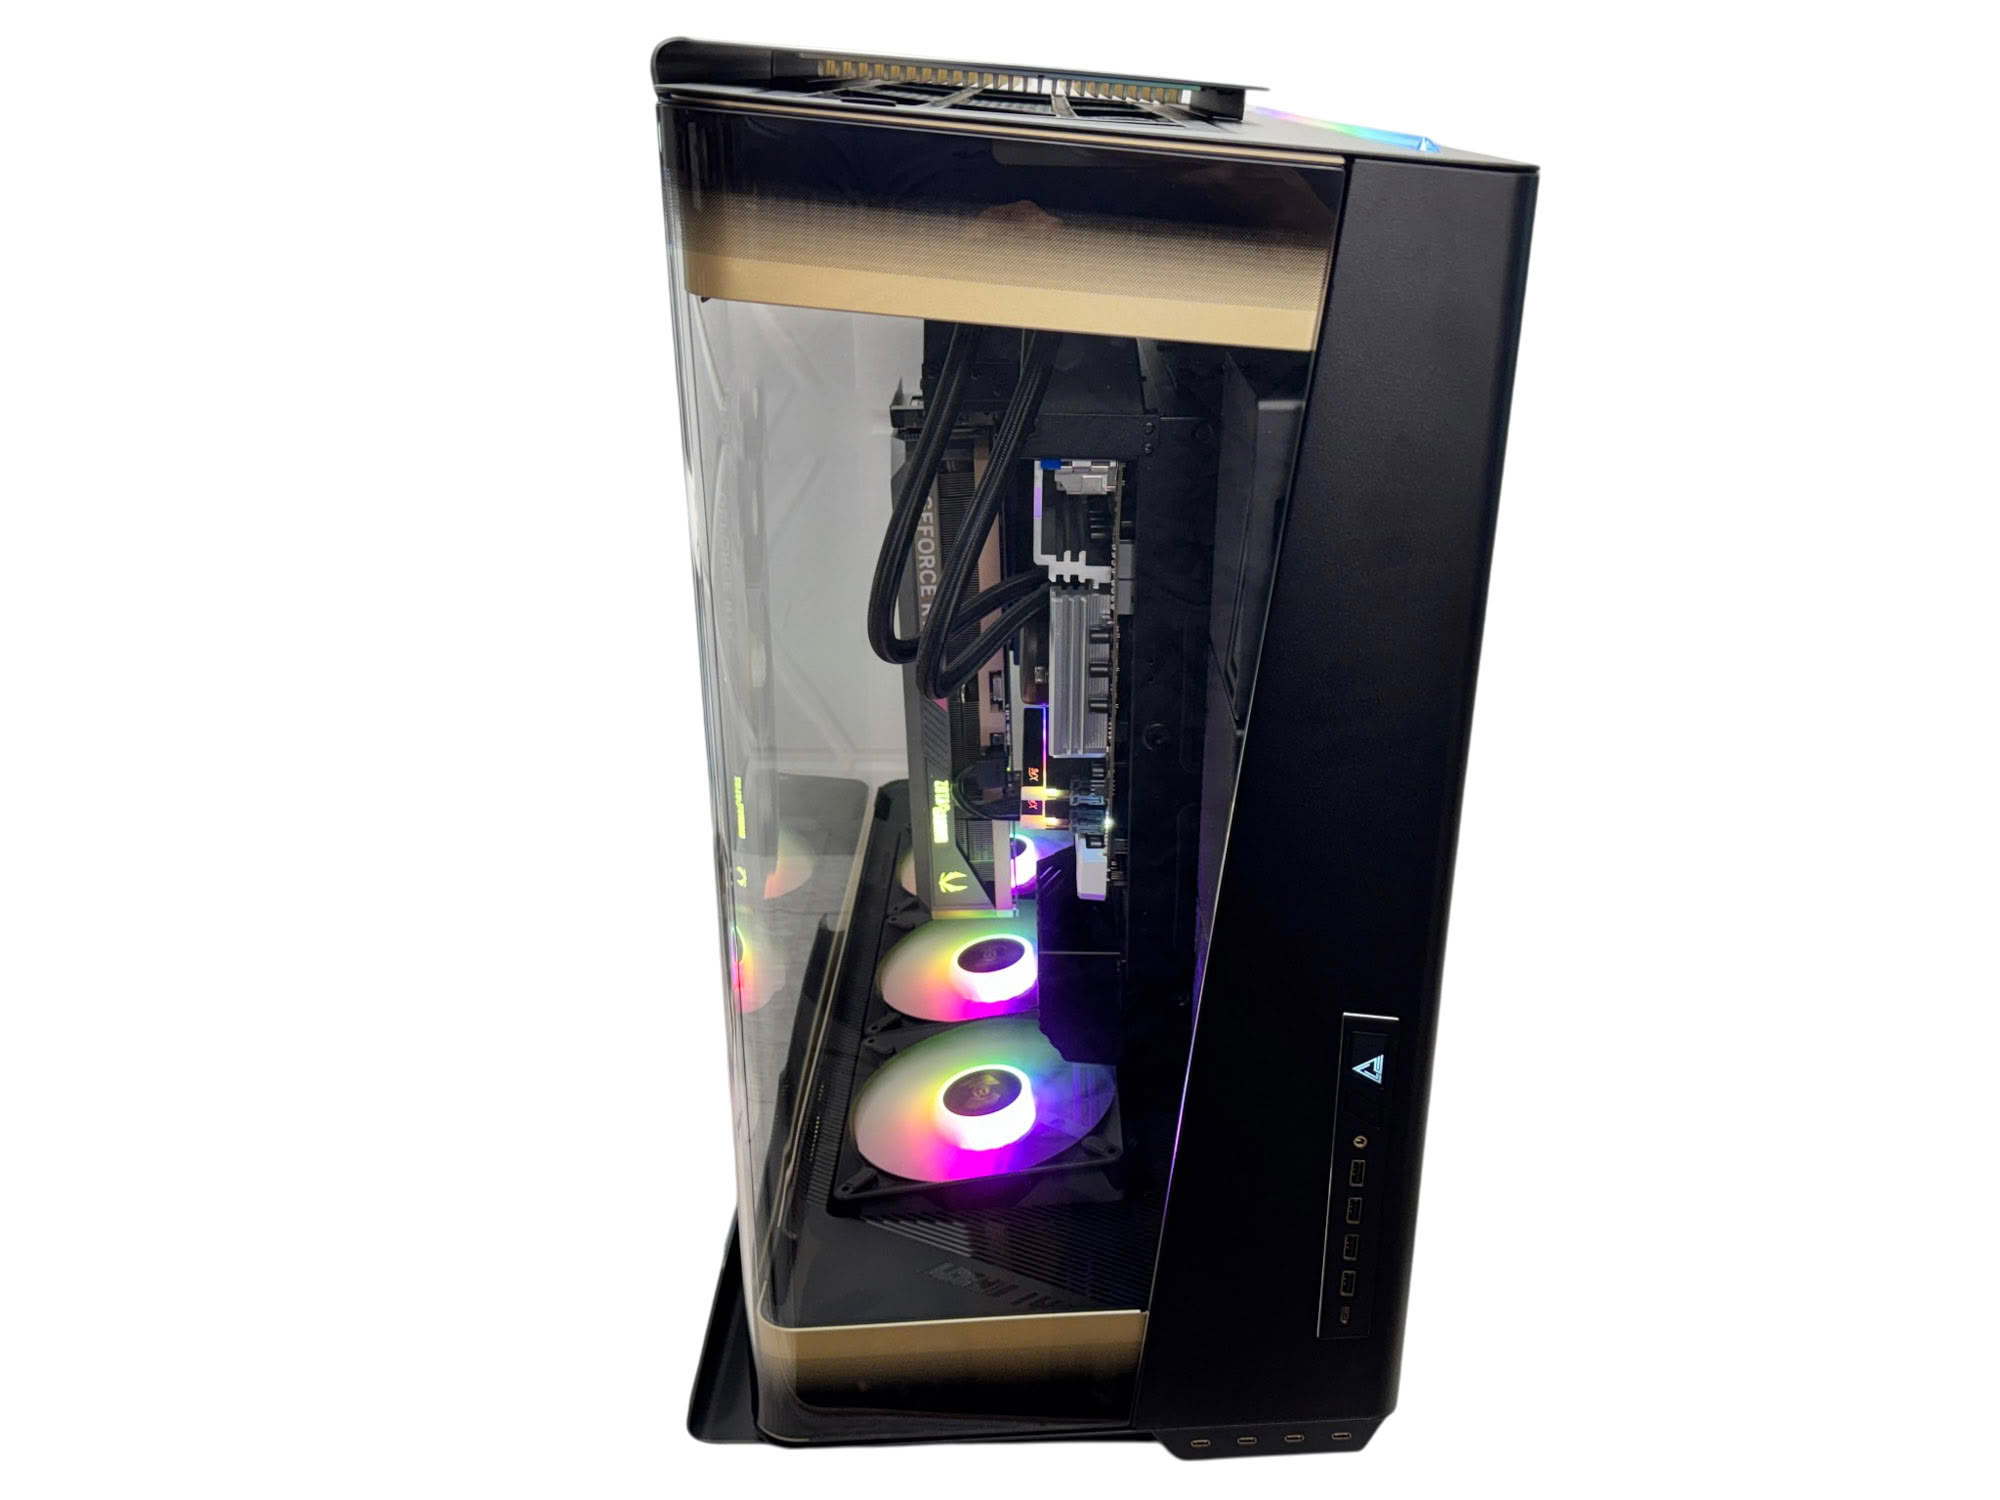
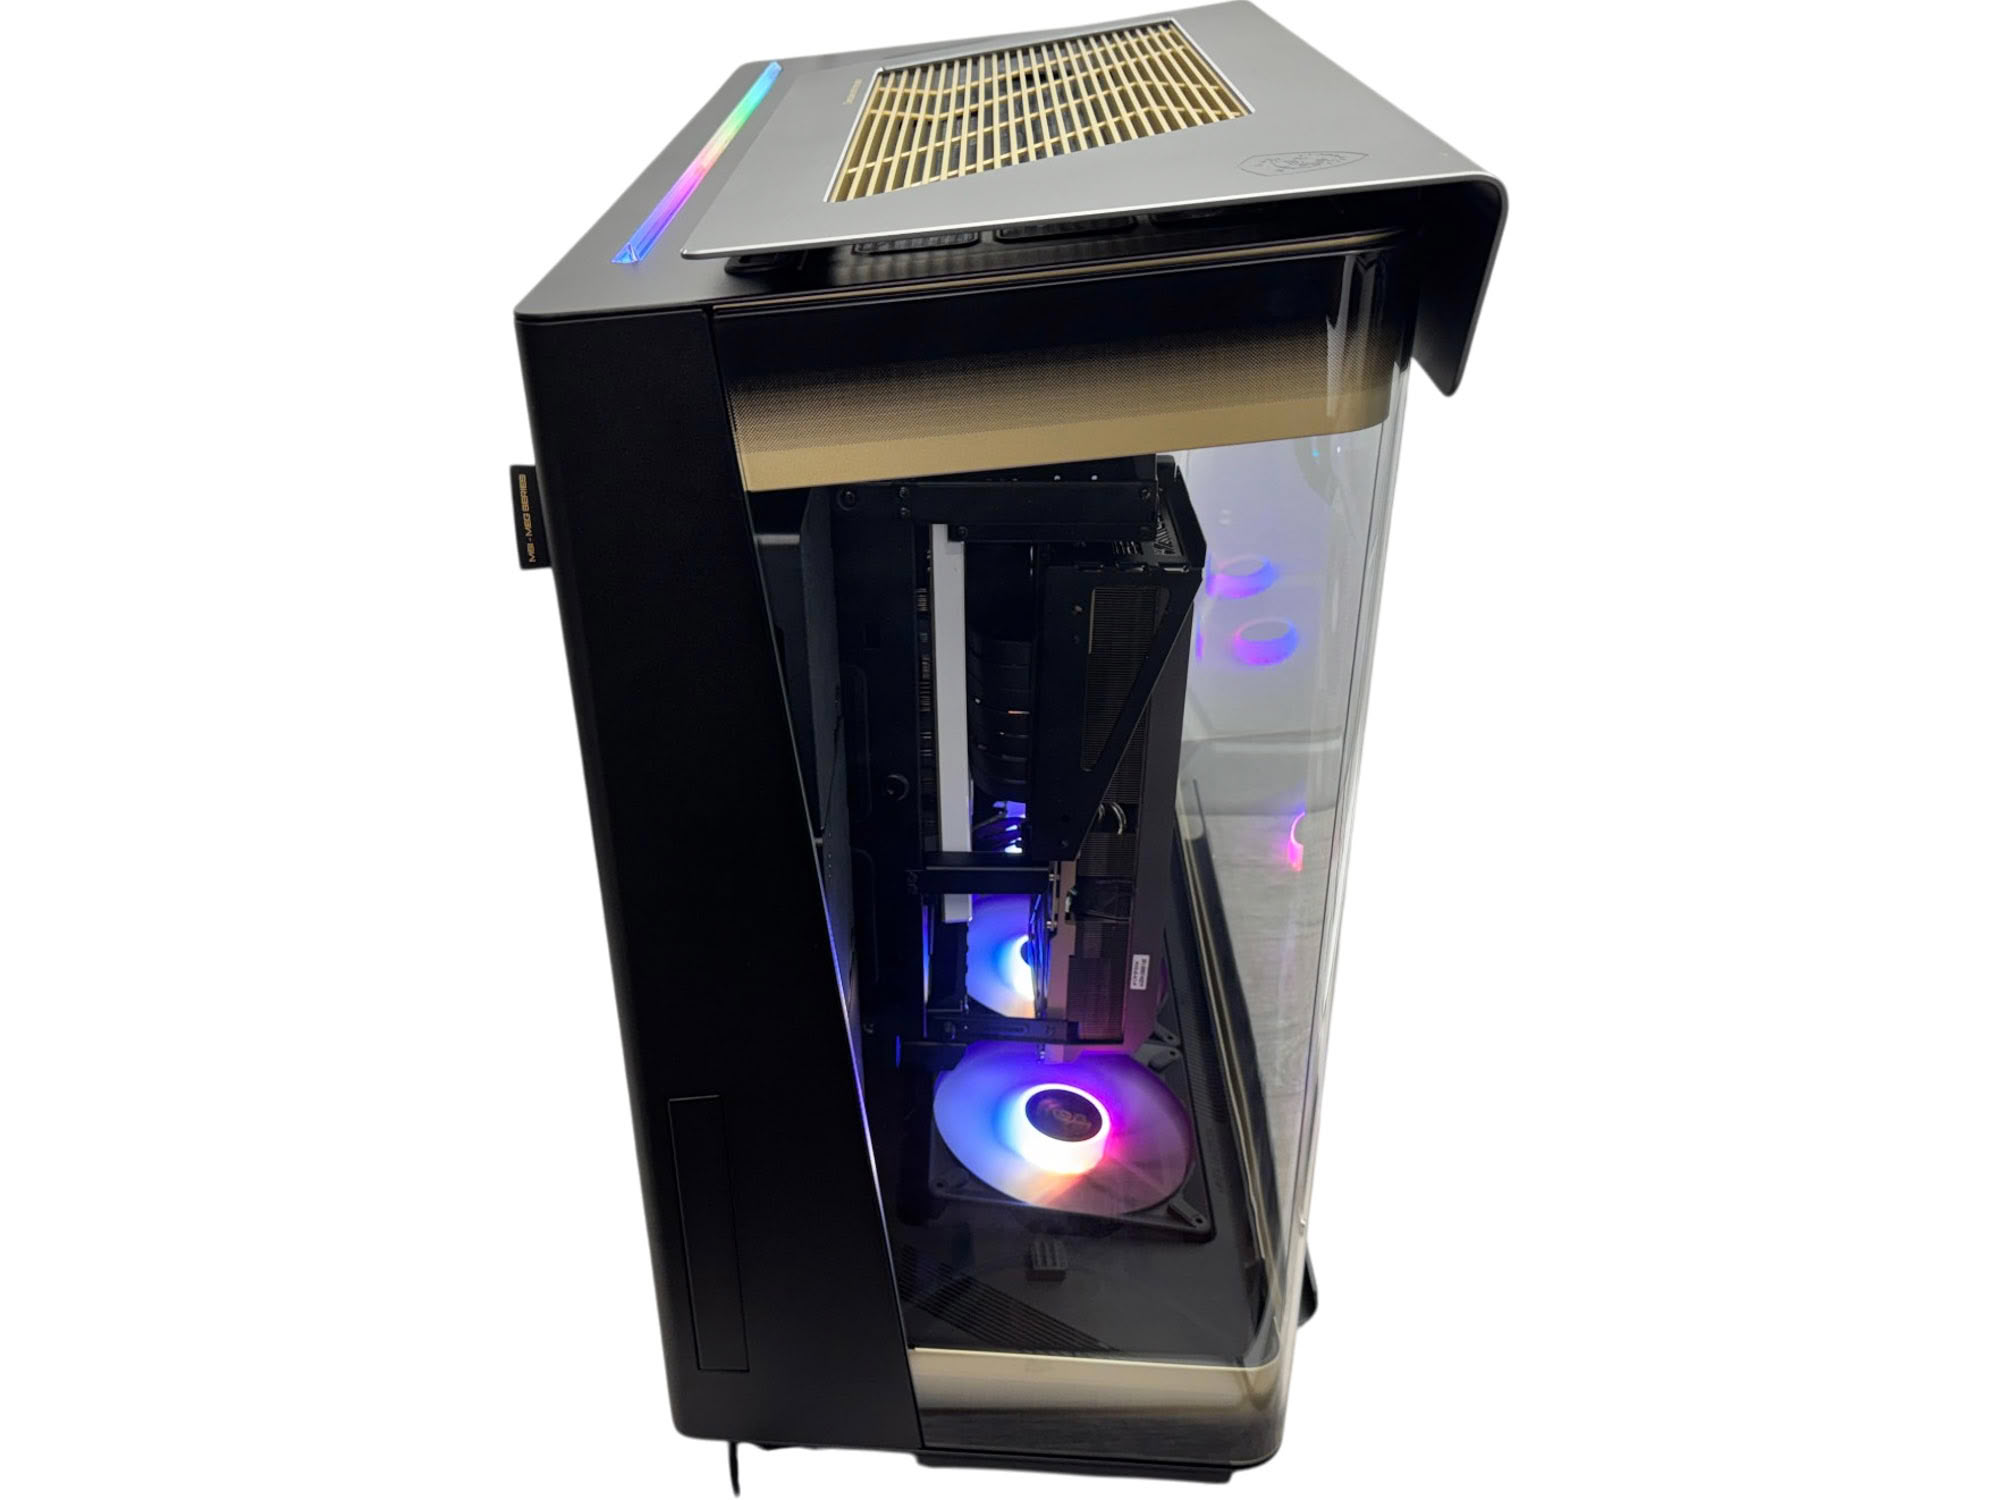
The unique rear of the MEG Maestro 900R provides just as good a view of your hardware as the front, but of course the two are interchangeable. The quick release glass panels are useful as you'll need to get inside to connect your cables to the rear I/O ports and GPU.
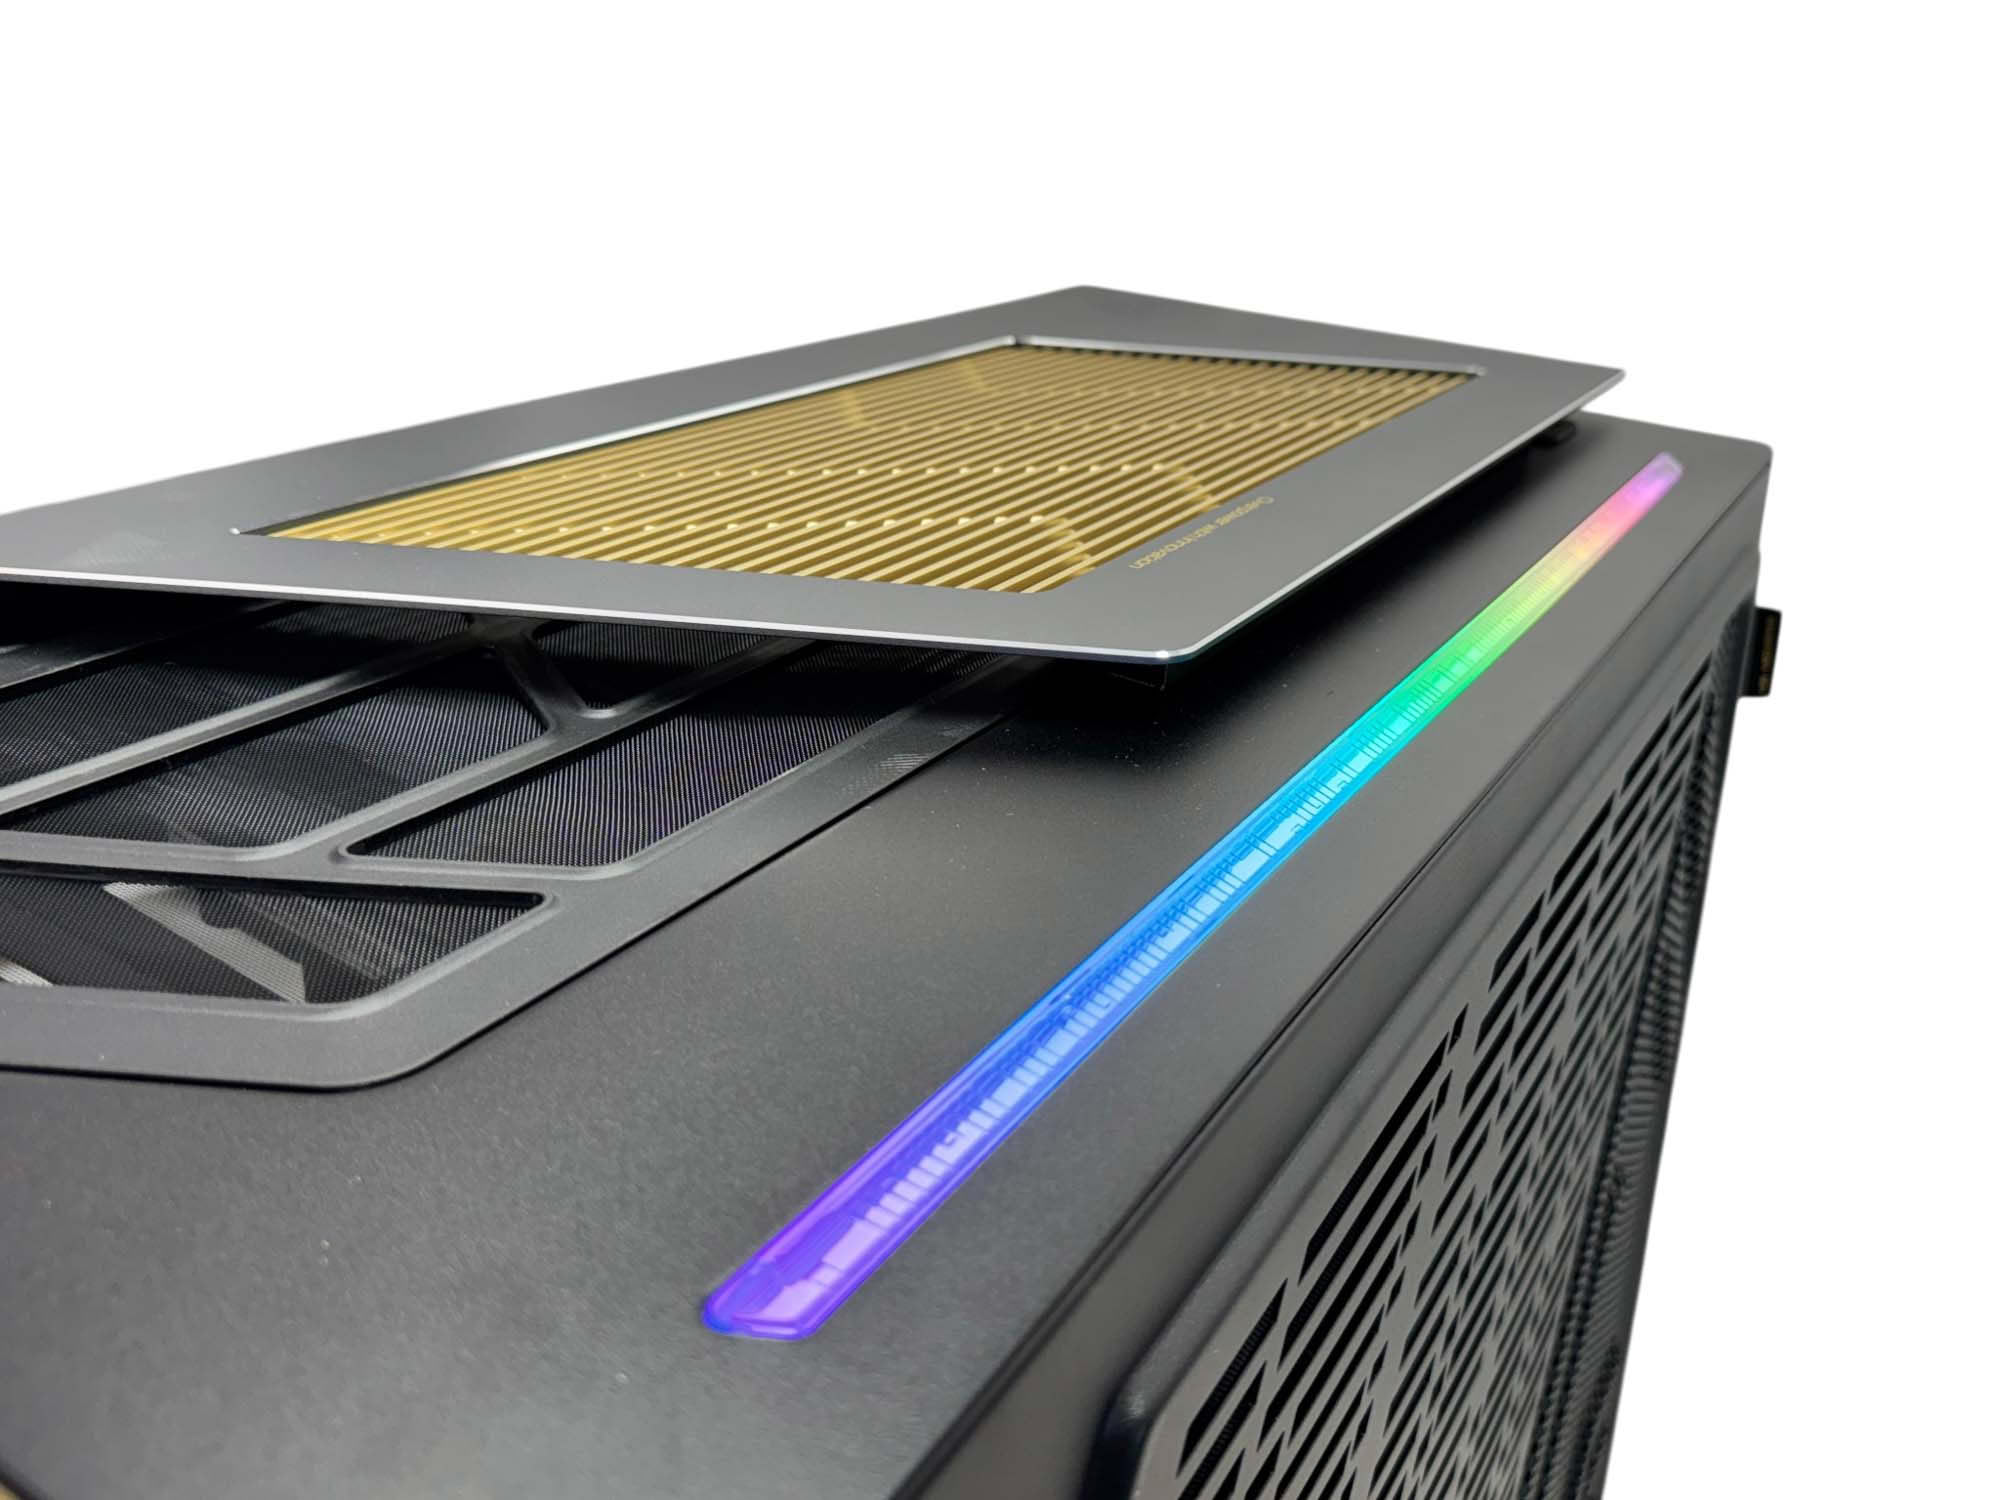
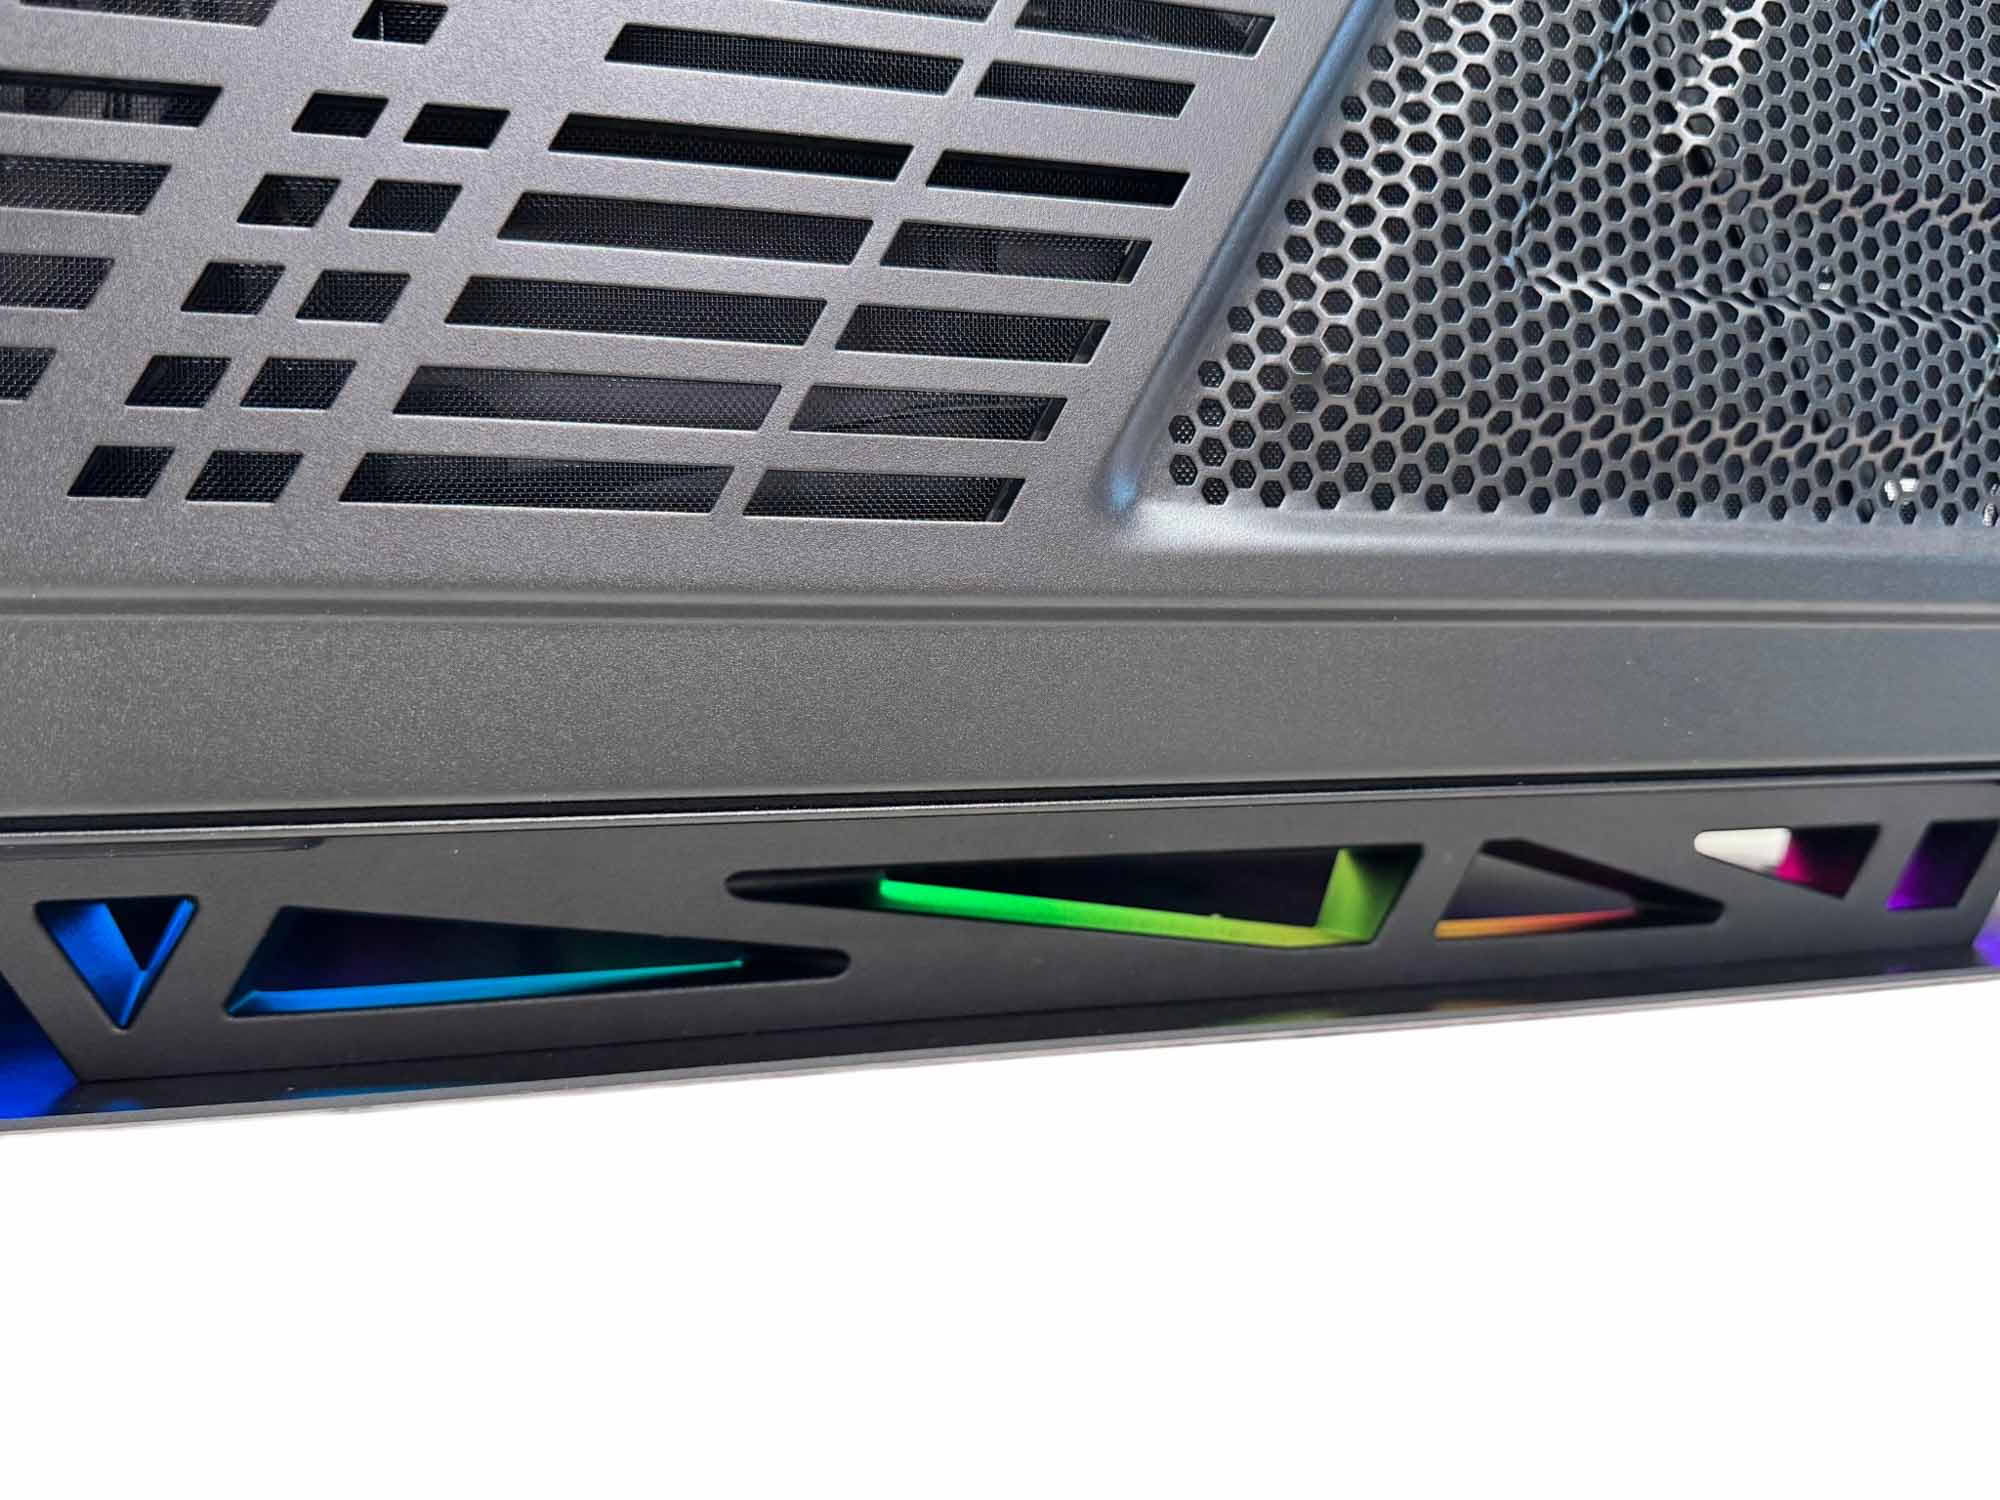
The RGB lighting isn't just limited to the fans as there are identical strips on the base and roof. MSI could maybe have done a little more with the upper strip, which looks a little out of place amongst the otherwise industrial-looking gun metal gray finishing. The lower strip, though, catches the cutouts in the baseplate and looks fantastic, even in a lightly-lit room.
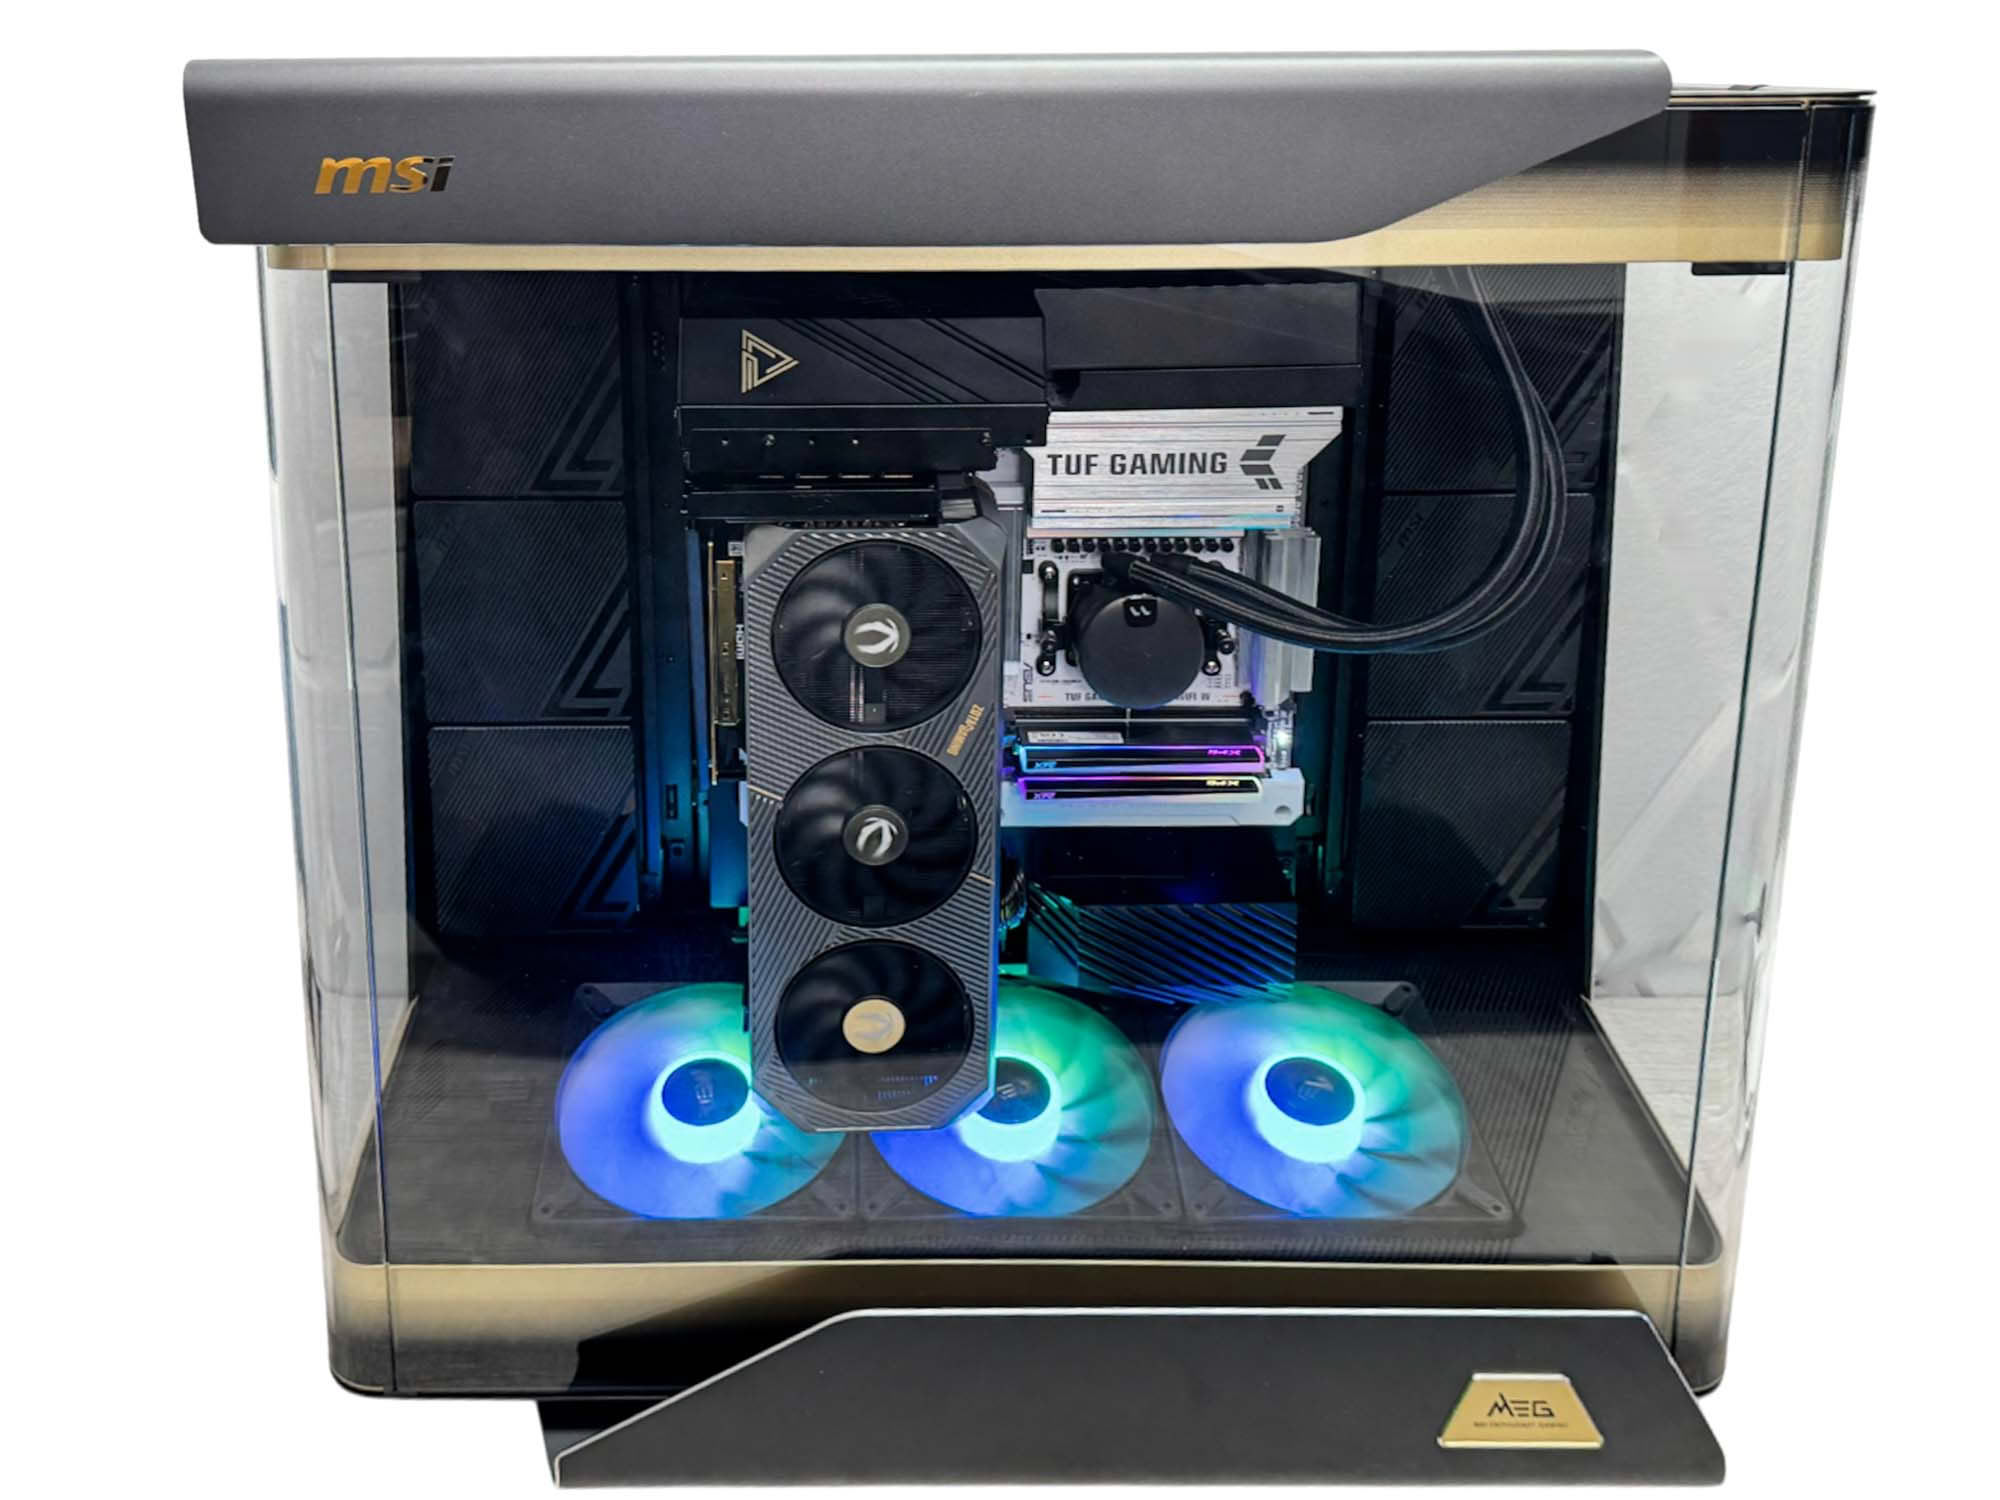
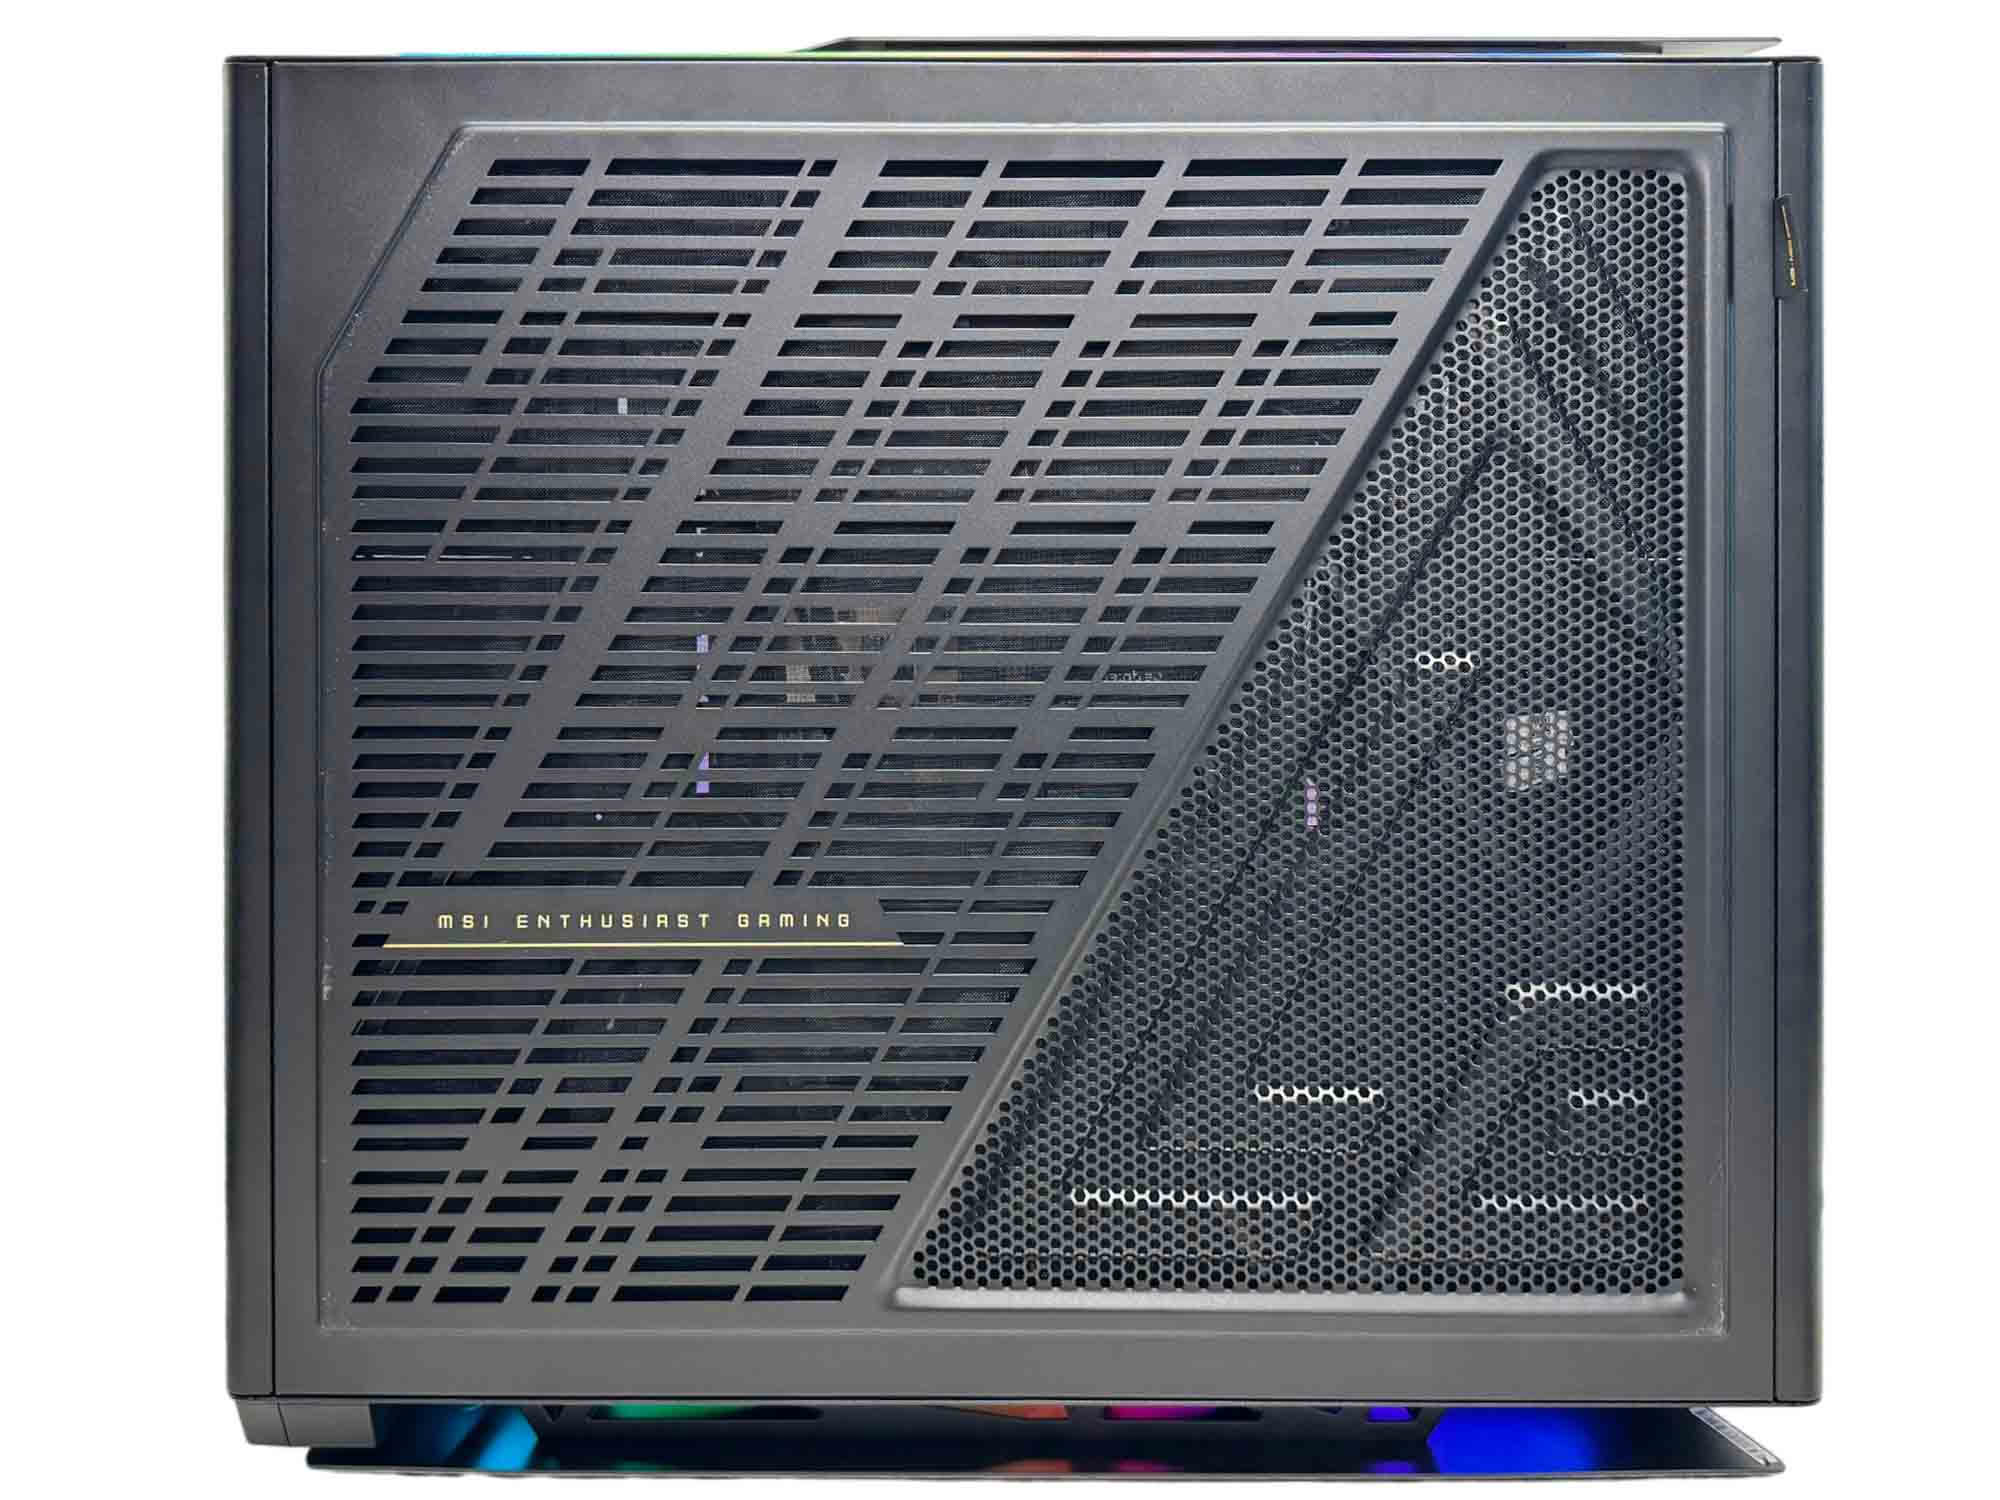
If anything, the case is screaming for more fans and radiators, and our typical test system doesn't do it justice. Clearly if you have $700 to drop on a PC case you'll likely have another $150 to kit out the side and roof fan mounts too whether it's with fans, radiators or reservoirs. The case still looks great from any angle though.
Nov 14th, 2026 20:05 CST
change timezone
Latest GPU Drivers
New Forum Posts
- Optical Disc Drive owners club (208)
- Planning for Prolonged High Prices and Maintaining What You Already Have (67)
- Game Soundtracks You Love (1287)
- WarpCoreBench scores! (35)
- Tell me about your favourite graphics card (80)
- 9070 GRE 3.9ghz validation reached. (11)
- Honestly, do you care about GTA VI? (20)
- AI generated images... (226)
- What is in your fleet, size and contents? (28)
- X79 and/or rampage IV OC'ing thread for those of us still left.... (2452)
Popular Reviews
- AMD Zen 6 Technical Deep Dive
- ASUS ROG Strix B850-I Gaming Wi-Fi7 W Review
- Corsair HX1000i Shift Crystal Review
- Upcoming Hardware Launches 2027 (Updated Nov 2026)
- Montech King 95 3D PRO Review
- NZXT C1200 Platinum Review
- NZXT H7 RGB+ Review
- NZXT H5 Review
- Phantom Blade Zero Performance Benchmark Review - 35 GPUs Tested
- AMD Ryzen 7 9800X3D Review - The Best Gaming Processor
TPU on YouTube
Controversial News Posts
- NVIDIA Co-Founder and CEO Jensen Huang Officially Resigns (406)
- OpenAI CEO Argues Home PCs Waste the World's Limited DRAM Supply (152)
- NVIDIA Launches Investigation Into Jensen Huang's Relationship With Suspected Chinese Spy (136)
- Intel "Raptor Lake Next" 16-Core and 20-Core CPUs Surface (130)
- Legendary Game Studio BioWare Shuts Down Following EA Layoffs (104)
- Dell CEO Says the Memory Shortage Will Get Worse in 2027 (95)
- NVIDIA GeForce RTX 50-Series Scheduled for up to $500 Price Hike This Week (89)
- Modder Fits RTX 5090 With Four 8-Pin Connectors, Halving Current per Wire (80)