 6
6
SilentiumPC Aquarius X90 Pure Black Review
Value & Conclusion »Assembly
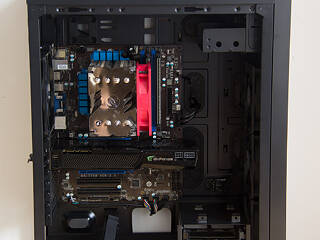
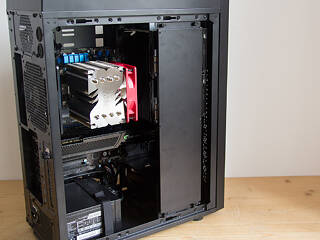
Installing the motherboard is done by traditional means, with the spacers and provided screws. As you can see, there is loads of space on top and along the board's front- and bottom edge, so you should have no problem whatsoever in connecting and routing everything nicely. Due to the layout, even the largest graphics cards will easily fit, only limited by the thickness of your radiators and the liquid-cooling gear you employ.
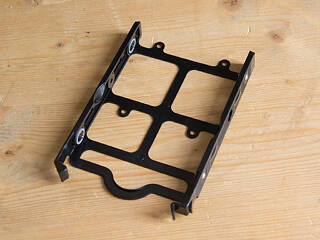
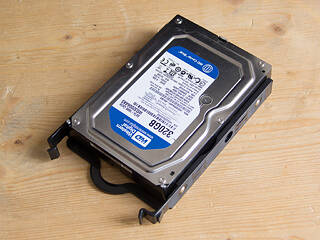
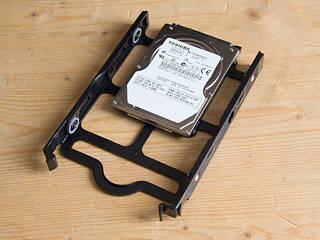
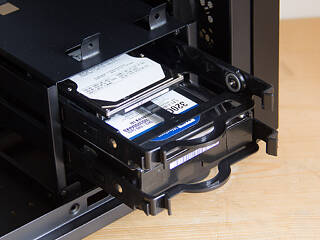
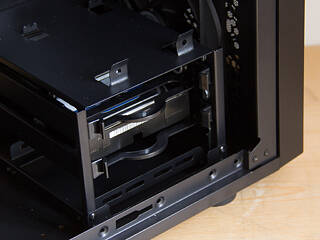
The Aquarius X90 comes with two removable hard-drive trays. These have the ability to hold both 2.5" or 3.5" drives. The larger variants do not take any tools as the trays use metal pins to pinch down on the drive, but you have to use the provided screws and a screwdriver with a 2.5" drive.
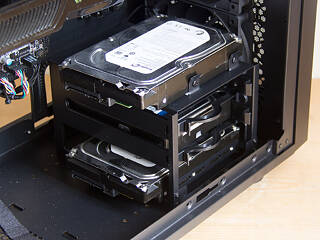
Once filled, simply side the tray into the chassis until it snaps down. Even so, there is a bit wiggle room in our sample and no additional possibility to sink a single screw into the side of the bay, which many system integrators look for and do. You may also install two additional drives for a total of four into the top and bottom of the cage by using traditional screws. You will have to do so with the tray outside the chassis, though, as the bottom drive's screw holes are inaccessible otherwise.
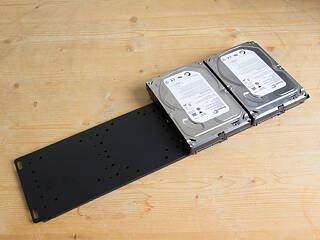
As we also have an HDD panel, let's use it. I installed the panel into the most forward location after mounting two drives onto it. You will not be able to use all four positions on this contraption if you have the front HDD cage installed, so this extra is most relevant to those who either want to place extra SSDs or need the space within for liquid cooling. Considering the Aquarius X90 is specifically geared toward the latter, the limitation is not a grave one, especially since the HDD bracket is very affordable.
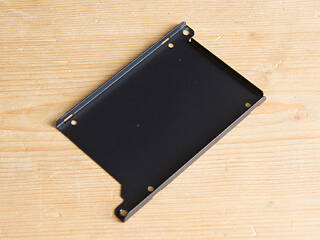
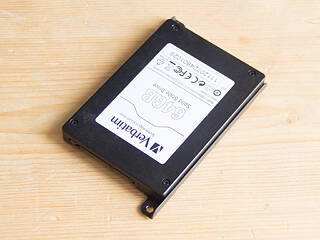
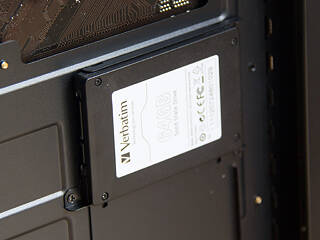
There are also the two SSD brackets on the motherboard's backside. Each is held in place by two screws you have to remove to detach the metal tray. These may then be filled with a drive which is in turn held in place by screws. Once done, simply put the bracket back onto the motherboard tray.
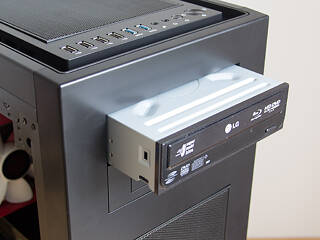
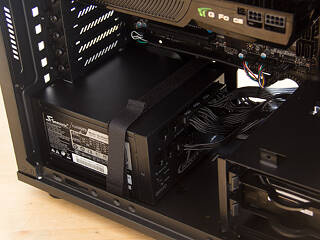
Installing an optical drive is done by first removing the cover of your choice and sliding the drive in afterward, securing it with the supplied screws. The same goes for the PSU, but I also used the Velcro strip, just for good measure. Long PSUs will easily fit, but there will probably be definite limitations if you pair such a PSU up with a thick 360 mm radiator in the front.
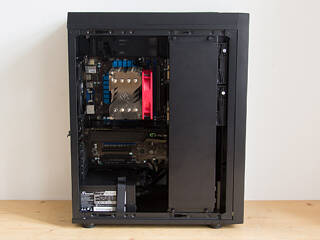
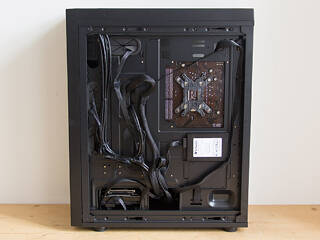
With everything in place, including the extra HDD bracket, the chassis makes a great impression. You have to watch the height of the CPU cooler if you wish to use a second HDD bracket, but we had no issue installing a 120 mm tower cooler there otherwise. Most of the cables were routed behind the motherboard tray. I had to get creative in securing them somehow as there are not as many hooks on the tray as I would like. Unfortunately, I forgot to connect the SSD SATA data cable—my apologies. But it should work just fine.
Finished Looks
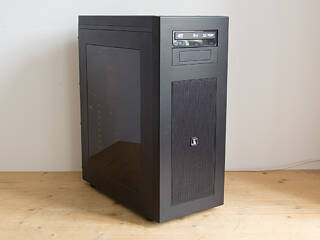
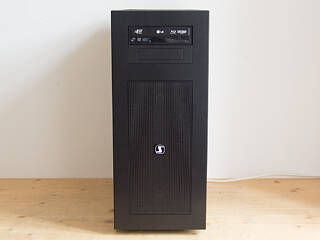
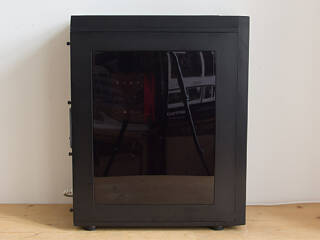
With everything back in place, the Aquarius X90 makes a great understated impression. I personally am a fan of clean cases, and the X90 is one of the cleanest ones on the market.
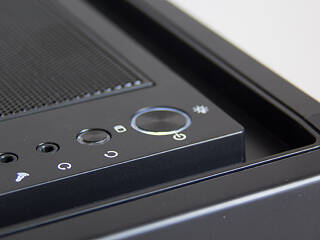
Everything in the front is completely flush, and the optical drive looks right at home within the chassis. A nice white LED lights up as soon as you turn the PC on—while only a color choice, white is always more unusual than blue.
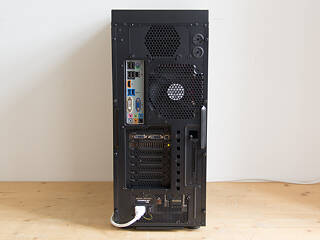
Everything in the rear is where you would expect it to be. The only thing worth mentioning is the fairly deeply recessed motherboard area, which will make finding the connecting plugs in the dark or just by touch slightly harder. Look at the chassis with the window panel facing you and you can see the red CPU cooler's fan and the hard-drive bracket. I can already see modders using the hard-drive bracket for logos or lighting elements—just like modded cars.
Aug 1st, 2025 21:40 CDT
change timezone
Latest GPU Drivers
New Forum Posts
- 9800x3d apart from gaming (22)
- Ubiquiti Networks users!!! (2)
- Free Games Thread (4836)
- memory used for store firmware in adapters wifi usb (2)
- Inside a wifi antenna (0)
- ASUS SBW-06D2X-U BR Drive not being detected in Linux (0)
- Technical Issues - TPU Main Site & Forum (2025) (295)
- The Official Thermal Interface Material thread (1814)
- What's your latest tech purchase? (24425)
- My UPS keep sending alarm when I game (37)
Popular Reviews
- ASUS ROG Crosshair X870E Apex Review
- MSI Claw 8 AI+ A2VM Review
- Montech X5 Review
- Orbital Pathfinder Review
- Herman Miller Logitech G Embody Review - No Pain, No Gain
- Lenovo Legion 5i (15IRX10) Review - Feature-Rich and Wallet Friendly
- Upcoming Hardware Launches 2025 (Updated May 2025)
- Lian Li HydroShift II LCD-C 360TL Review
- Noctua NF-A12x25 G2 PWM Fan Review
- Lian Li O11 Dynamic Mini V2 Review
TPU on YouTube
Controversial News Posts
- AMD's Upcoming UDNA / RDNA 5 GPU Could Feature 96 CUs and 384-bit Memory Bus (137)
- AMD Radeon RX 9070 XT Gains 9% Performance at 1440p with Latest Driver, Beats RTX 5070 Ti (131)
- Intel "Nova Lake-S" Core Ultra 3, Ultra 5, Ultra 7, and Ultra 9 Core Configurations Surface (110)
- DDR6 Memory Arrives in 2027 with 8,800-17,600 MT/s Speeds (102)
- NVIDIA to Debut GeForce RTX 50-series SUPER GPUs by Christmas (101)
- AMD Sampling Next-Gen Ryzen Desktop "Medusa Ridge," Sees Incremental IPC Upgrade, New cIOD (97)
- Intel CEO Confirms SMT To Return to Future CPUs (95)
- NVIDIA Becomes First Company Ever to Hit $4 Trillion Market-Cap (94)
