 12
TerraMaster F4-425 Pro Review
Test Setup & Methodology »Initial Setup
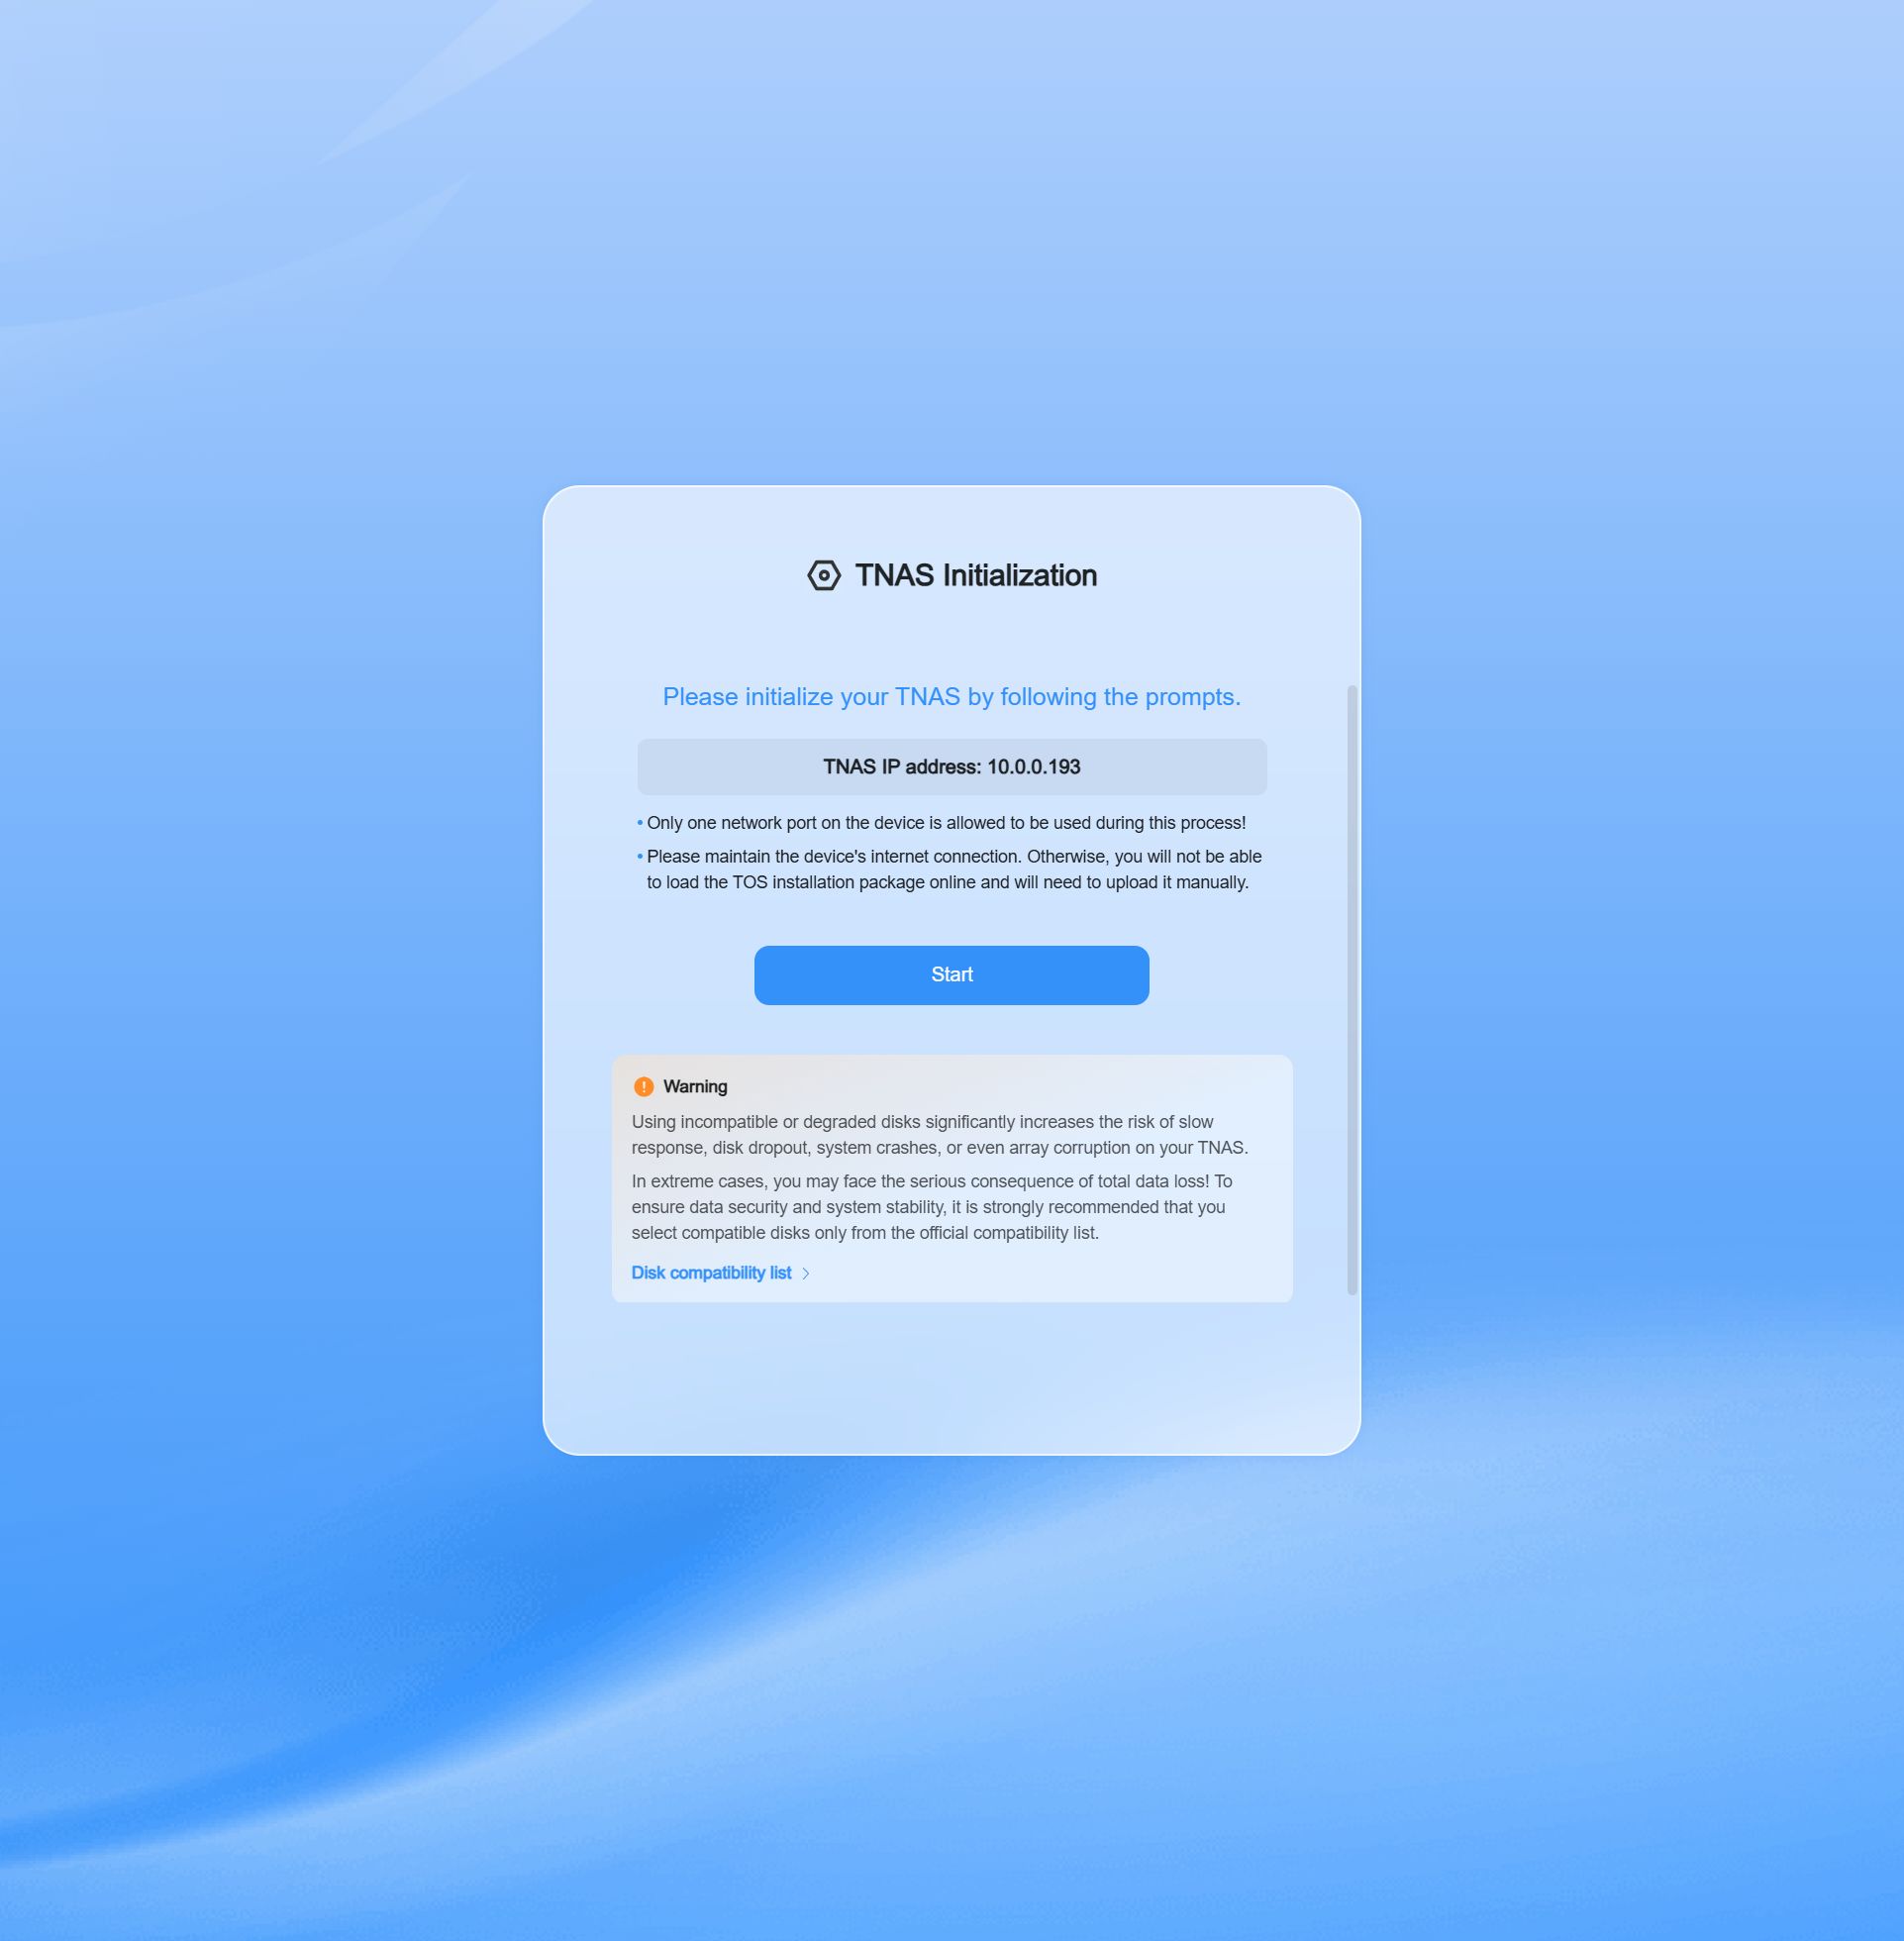
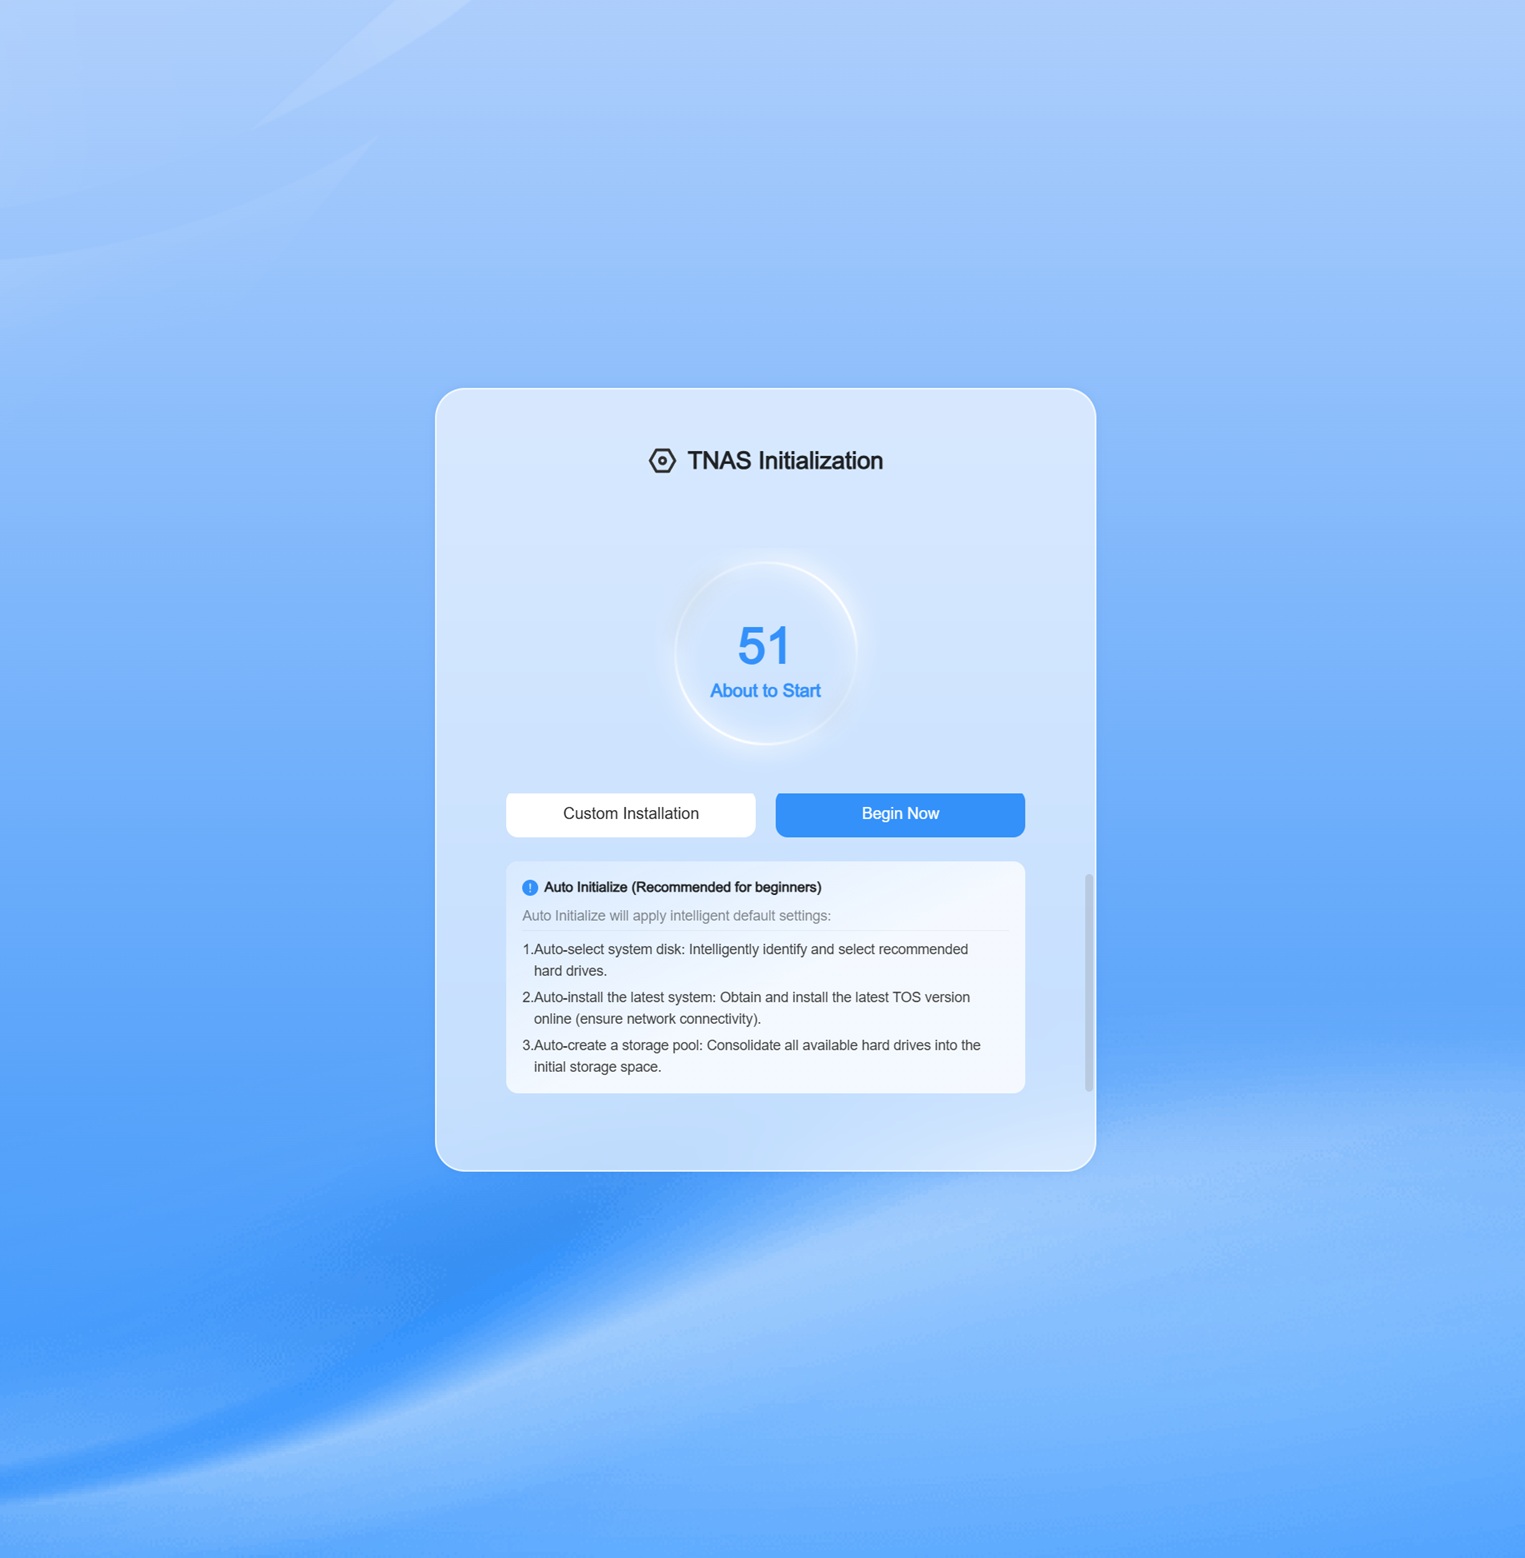
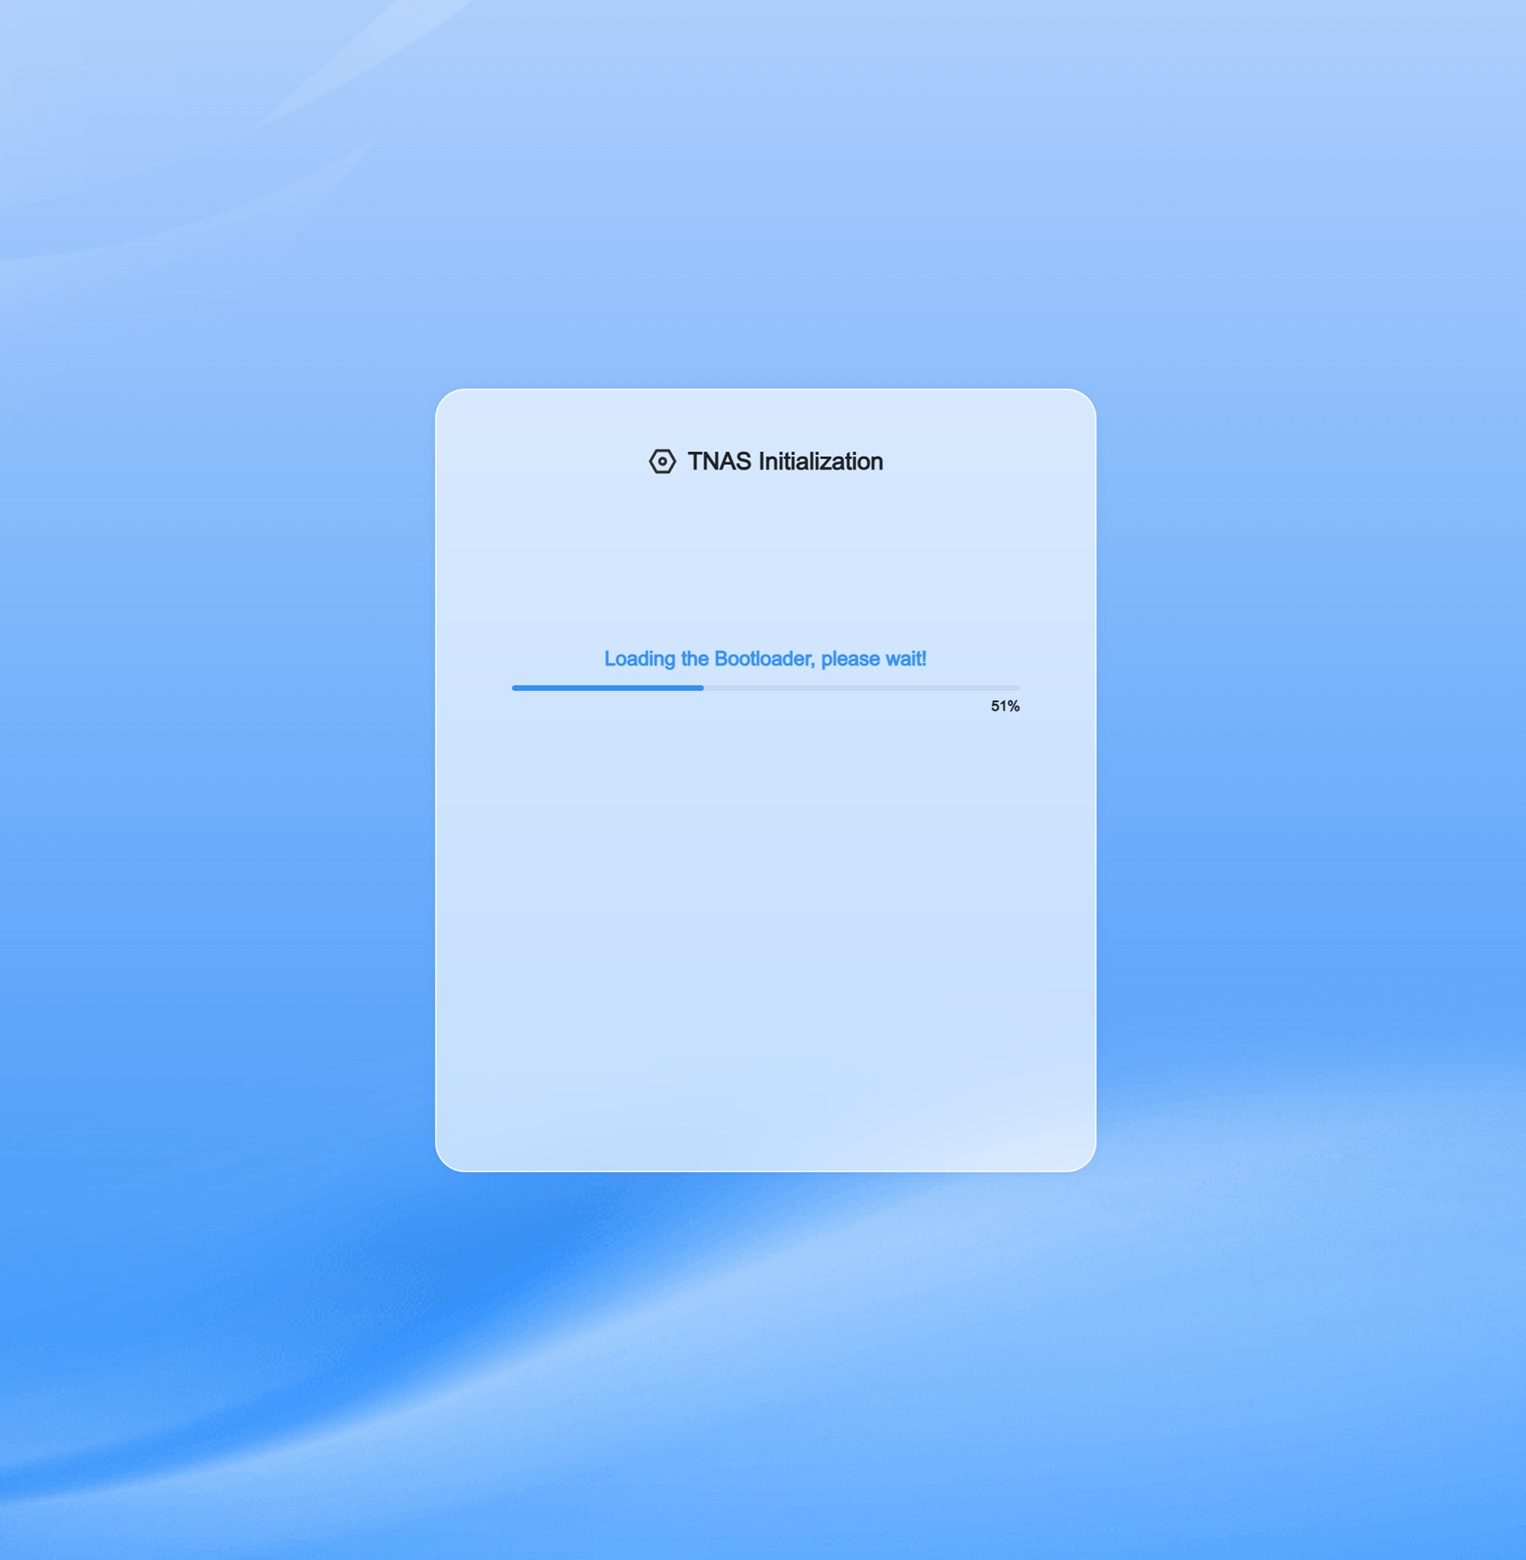
The setup process has changed somewhat in TOS 7 and a lot of things are "done for you" by the OS if you don't go down the manual route. However, we didn't have the best experience here, as TOS 7 didn't even want to install on our first attempt, and we had to roll back to TOS 6 and then upgrade from there. We should point out that TOS 7 is technically still in late stage beta and bugs are still being fixed. A new version was released shortly after we started testing, which is the one we've used for all the testing, but a new update was released a few days before this review went live. That update didn't seem to resolve any of the issues we'd had, as it mostly fixed minor bugs.
Compared to TOS 6, the setup UI has gotten more colorful and a lot more useful information about what's going on and what steps to take has been added.
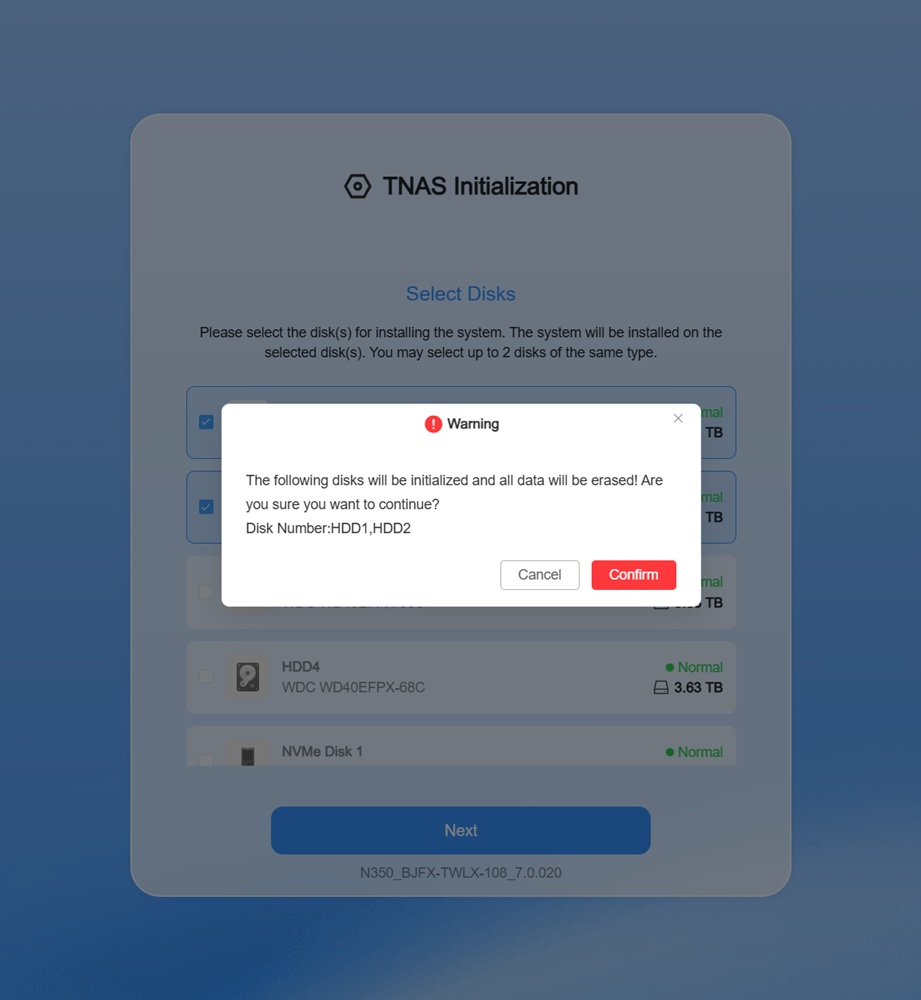
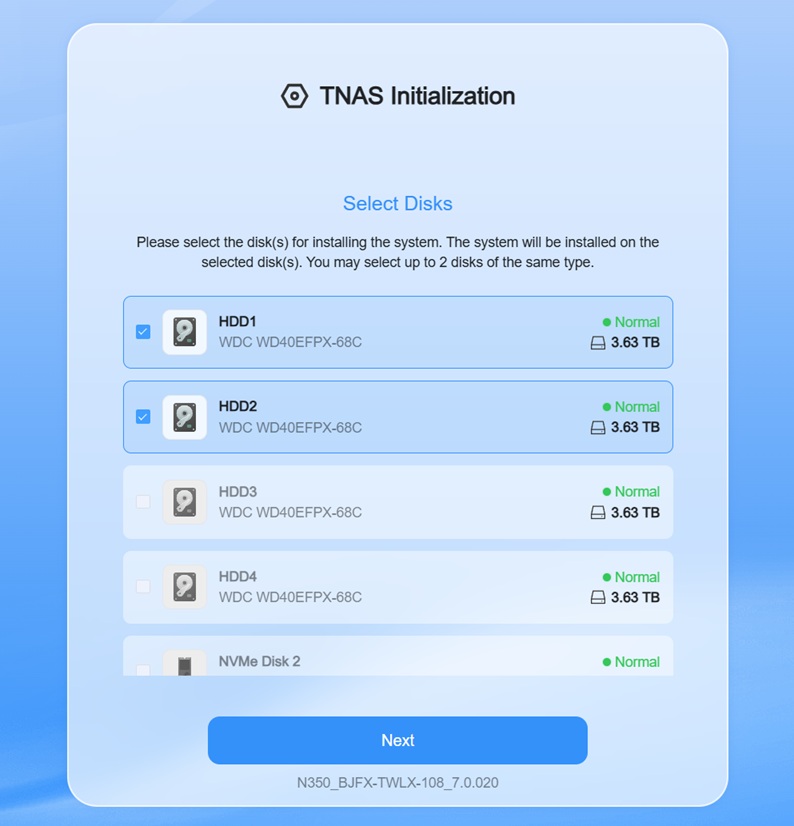
One of the first things you have to do is to select which drives to install TOS 7 onto and by default this is always done to a pair of drives. Note that the rest of the drive space can be used in whatever configuration you want and this is done later in the setup process.
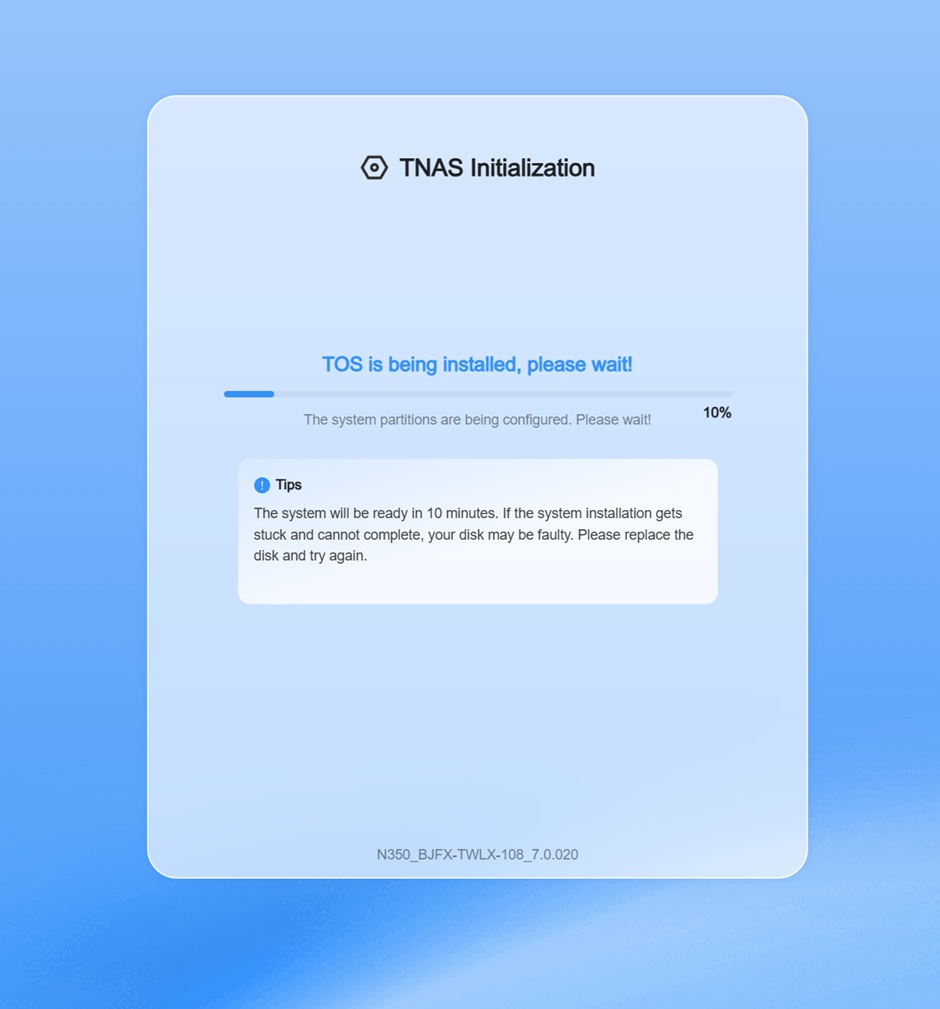
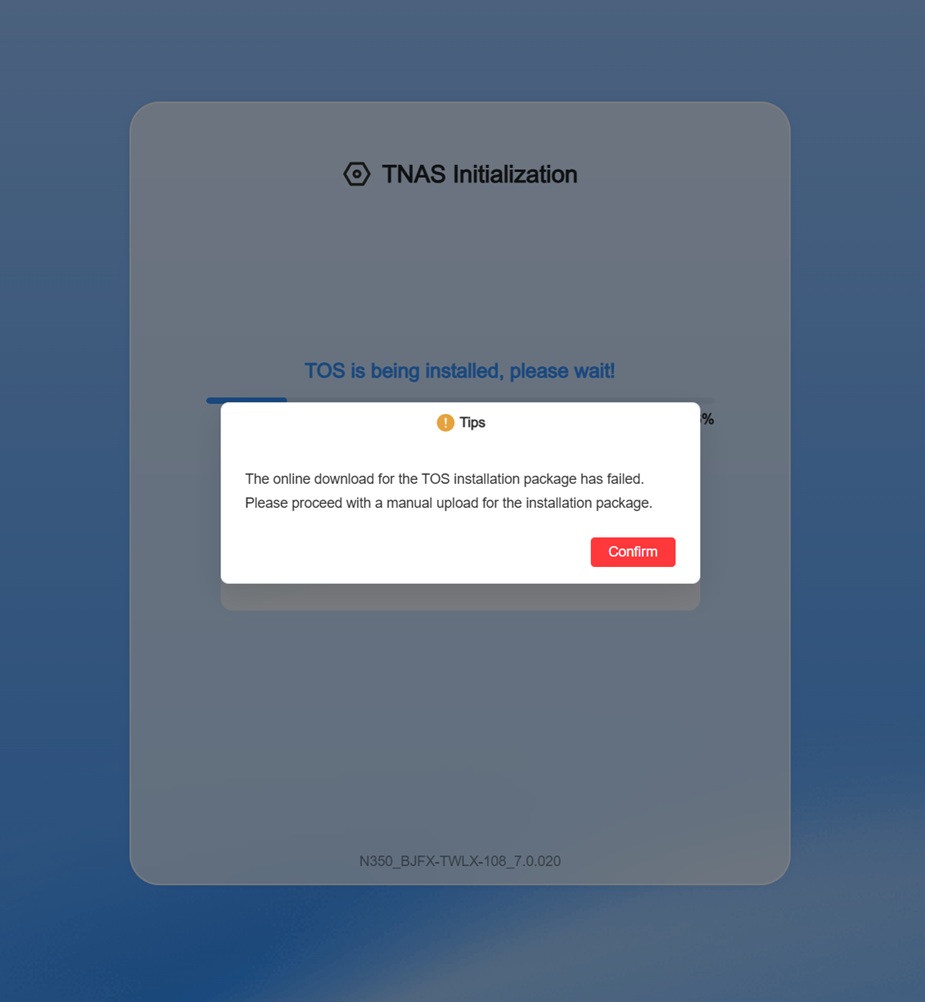
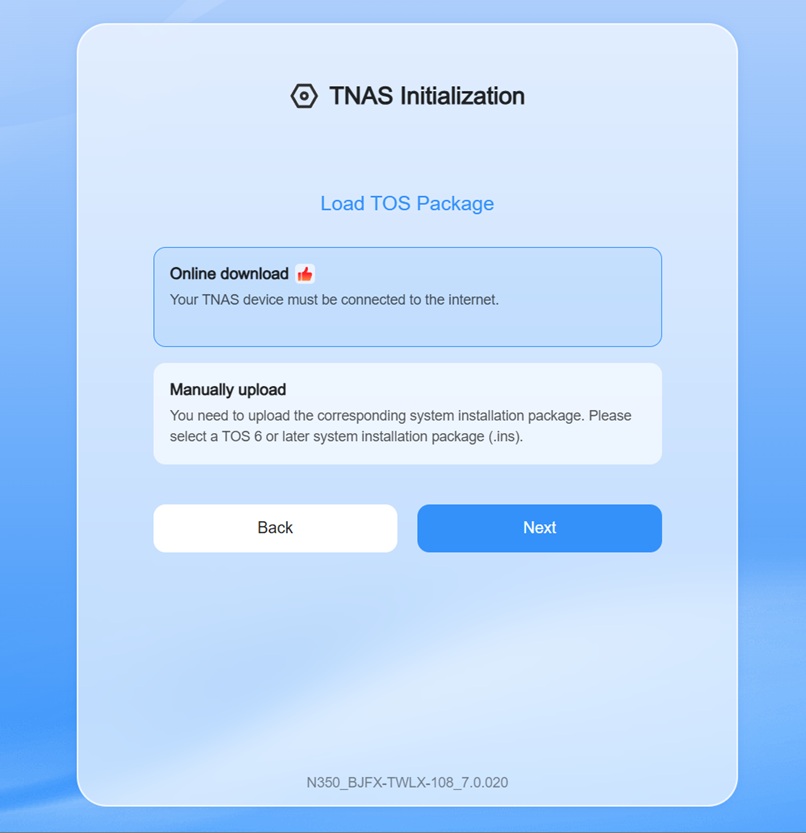
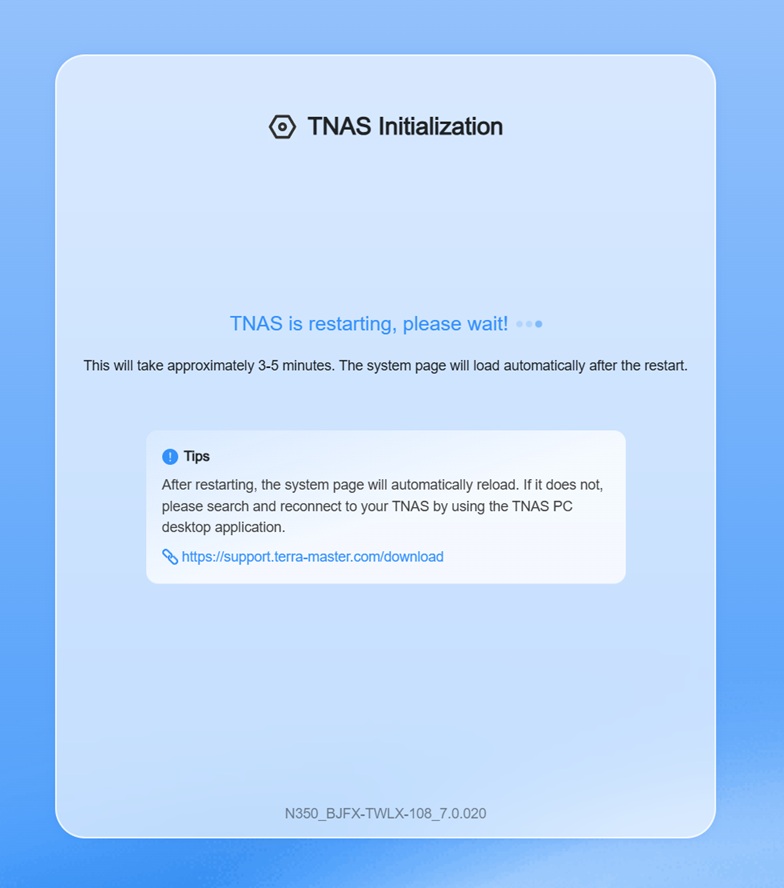
And this is where things went really wrong, although TerraMaster fixed something on their side, and it was possible to download TOS 7 from their servers when we tried it at a later point, as you can see. After a reboot, you're set to start using TOS 7. As with all these devices, you have to accept an EULA before you can create your user account.
TOS 7
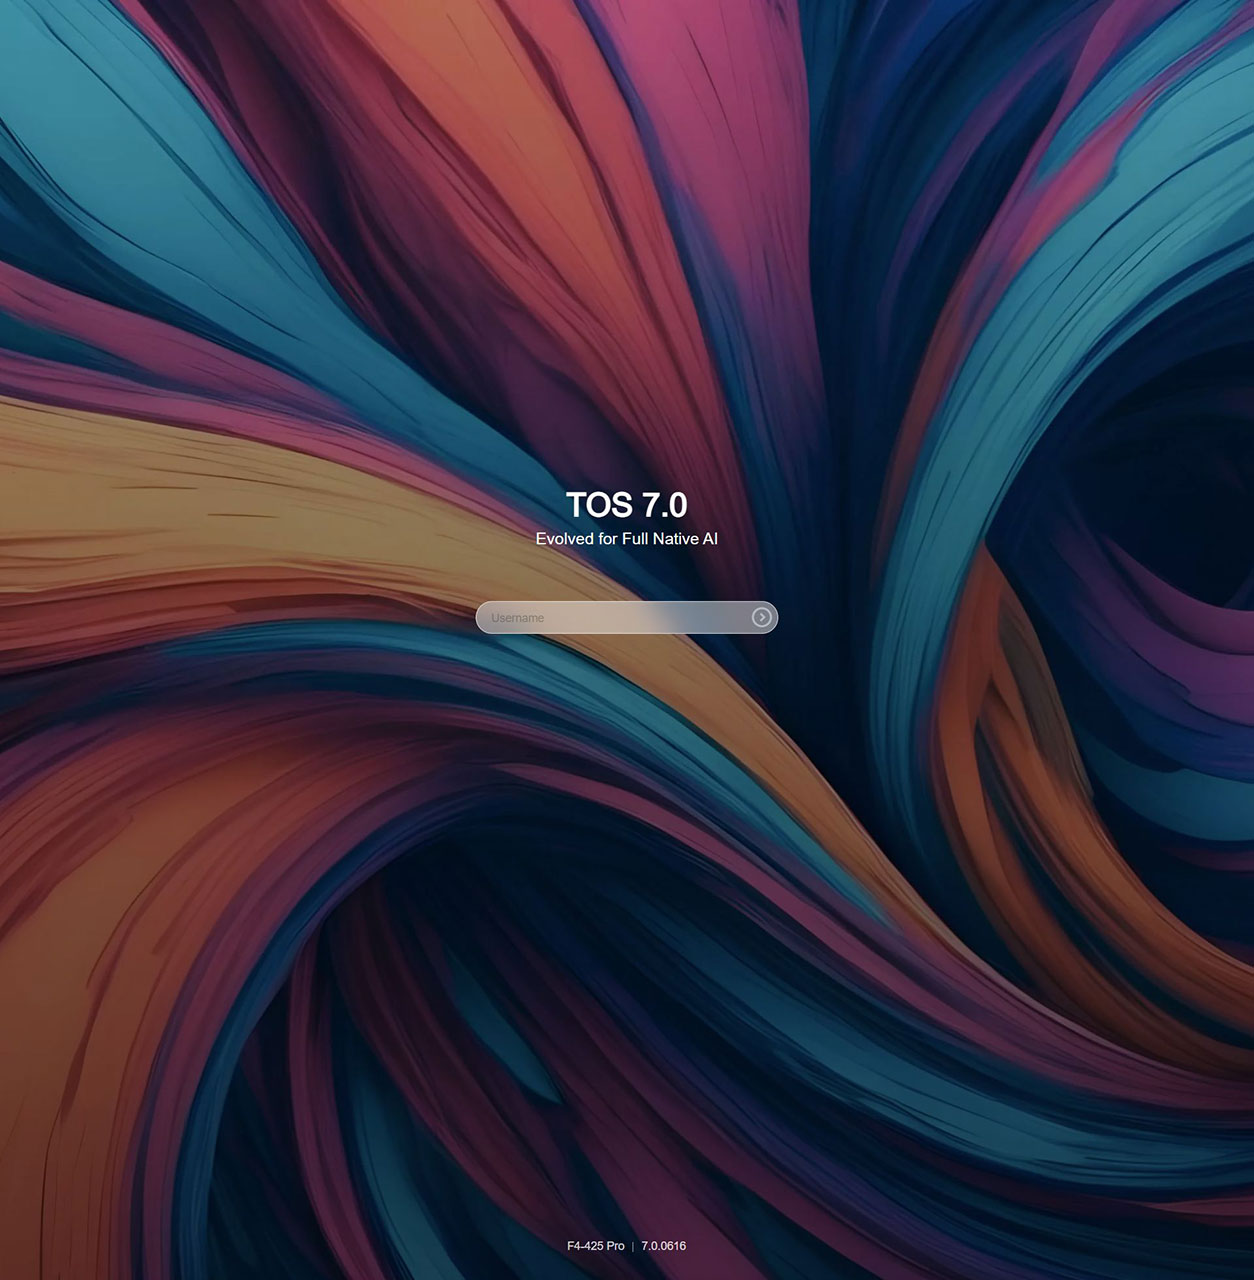
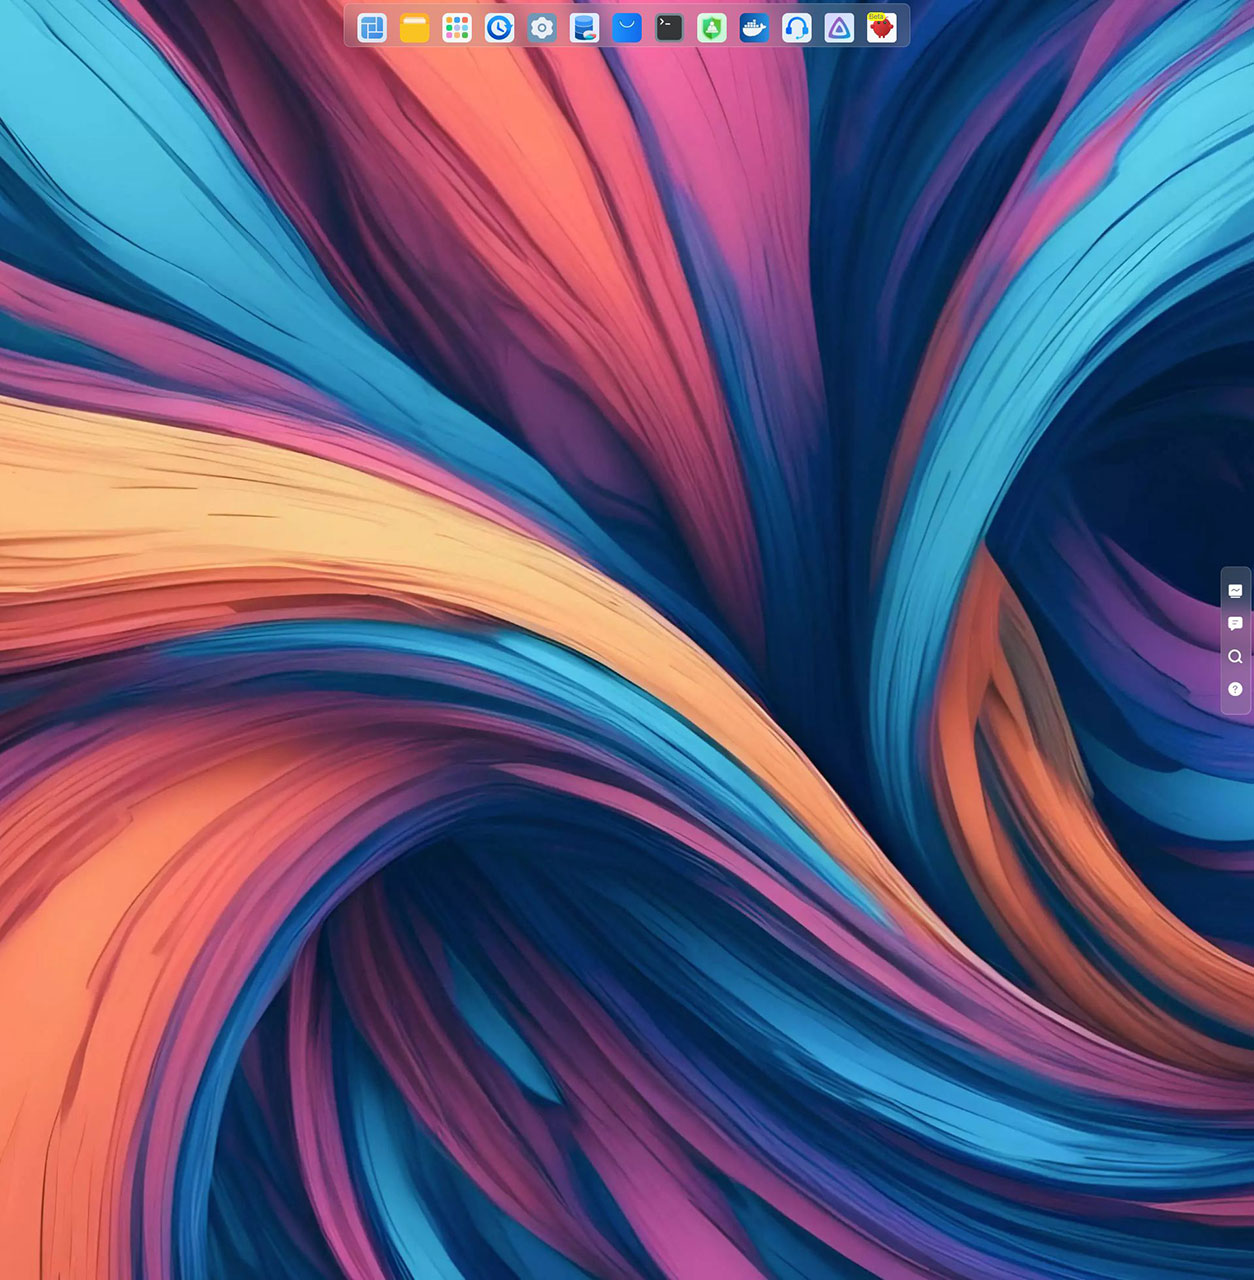
The new login screen and desktop are both part of the big overhaul and both look a lot slicker than in the past. Although it might just look like some fresh paint, a lot of changes have been done under the hood, and you can now move things around on the task bar at the top of the desktop, just like in any modern OS. This might be a really minor addition, but something that should've been there in the previous version. For those that prefer to have shortcuts on the desktop, that is also easily done now, but we'd like to see the option of doing this not just with the main programs, but also with the various options in the control panel, to save a couple of clicks for often used settings.
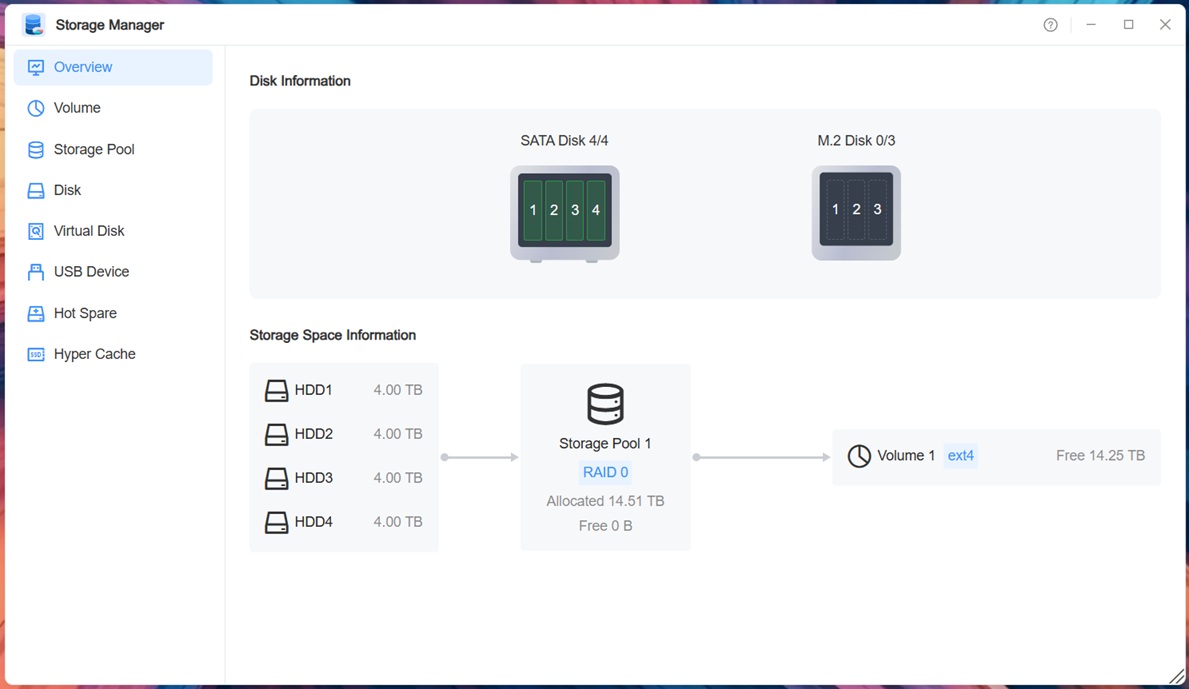
One of the features that have been given a massive update is the storage manager, and it's made it a lot easier to get an overview of your configuration. This is also where you create storage pools and volumes, as well as add SSD caching. The interface is a big improvement over TOS 6, especially as you no longer have to dig around in the control panel to find the storage manager.
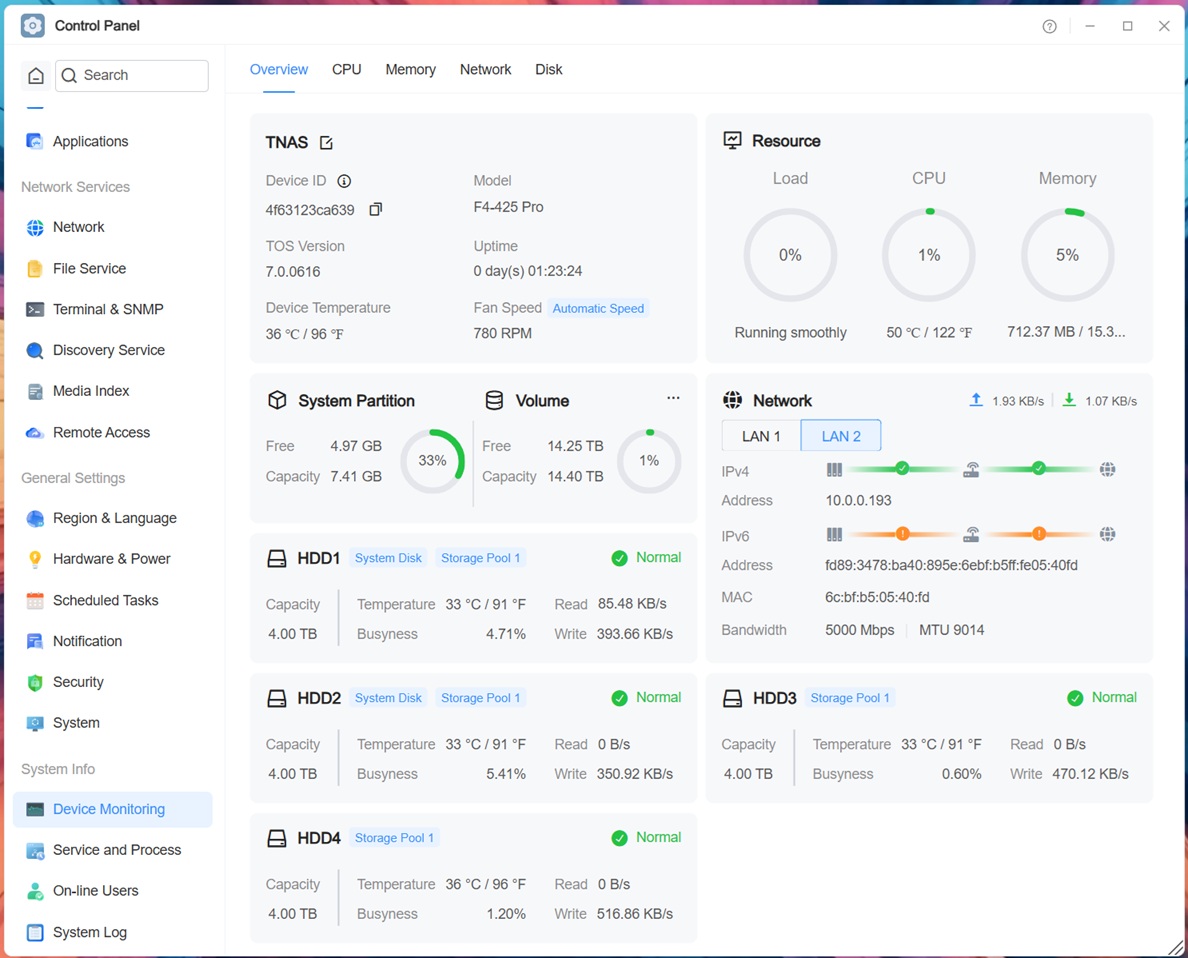
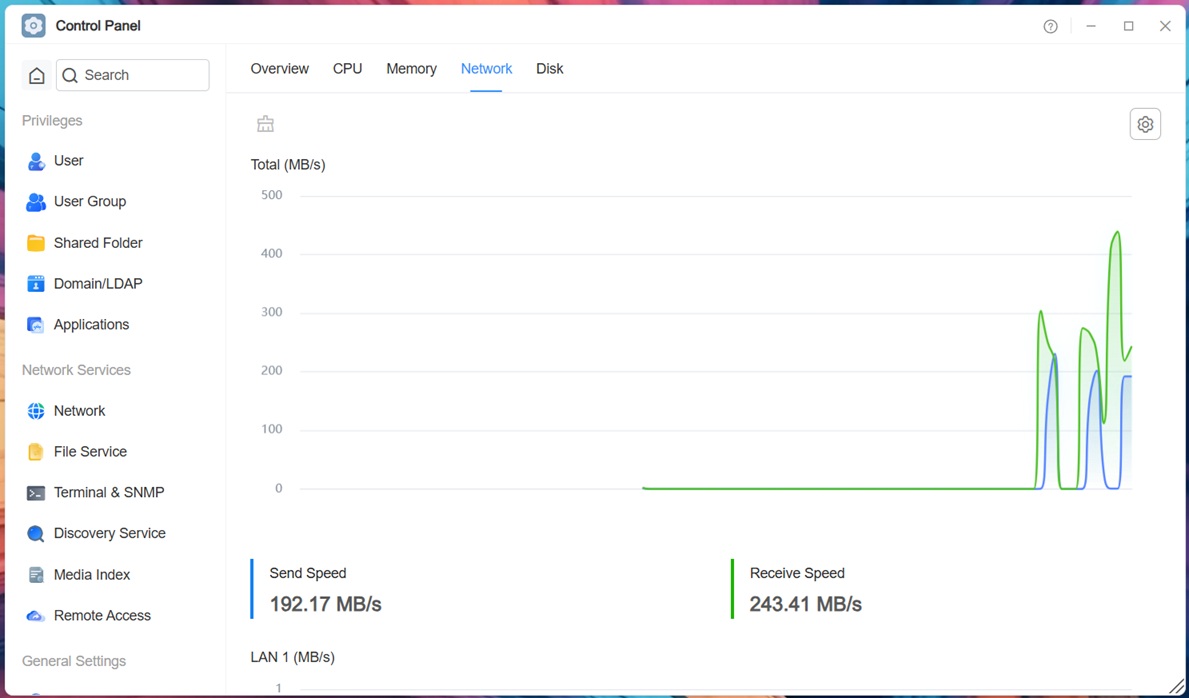
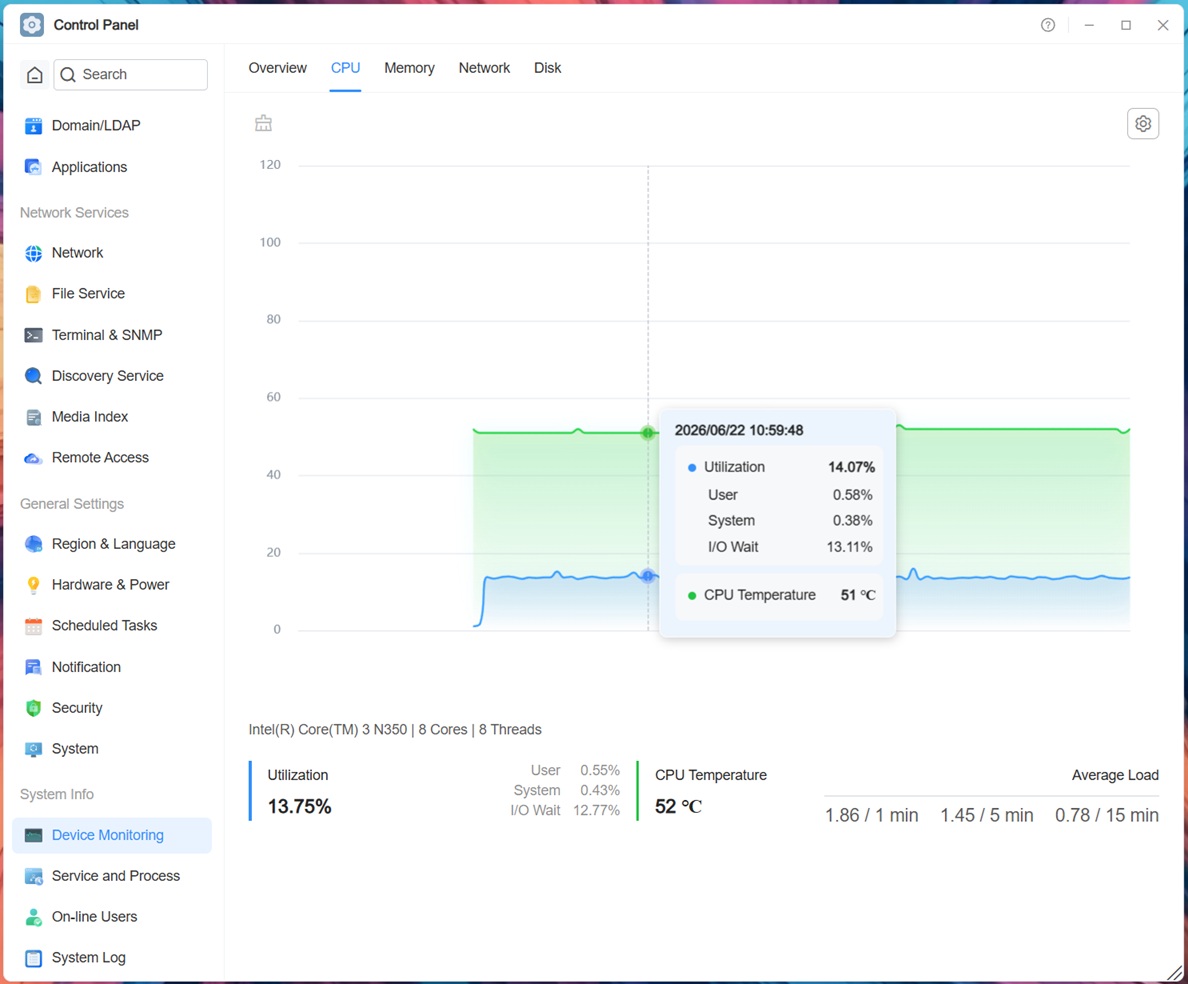
The device monitoring is another part that has seen a major overhaul and in general is now easier to see what is what, even if you now have to click through to another tab for things like network monitoring. On the plus side, this provides a bigger interface, which makes it easier to see what's going on versus the layout in TOS 6. What we're missing though is the overview of which apps are installed and running, as that list was different from just looking at the installed apps in the app center.
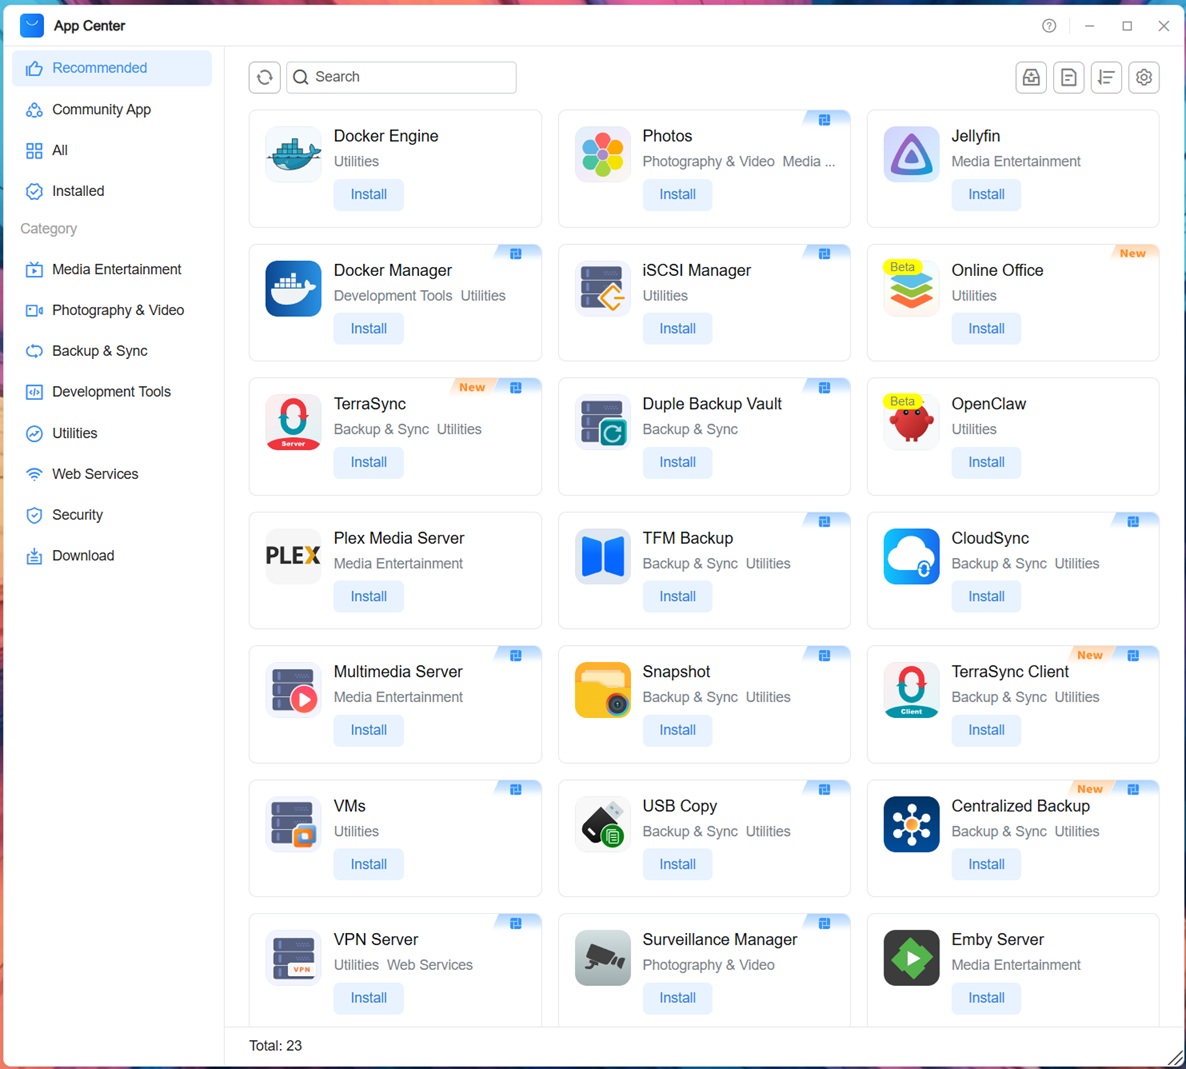
Speaking of the app center, it too has been given an overhaul, even though there might not be anything radically different here.
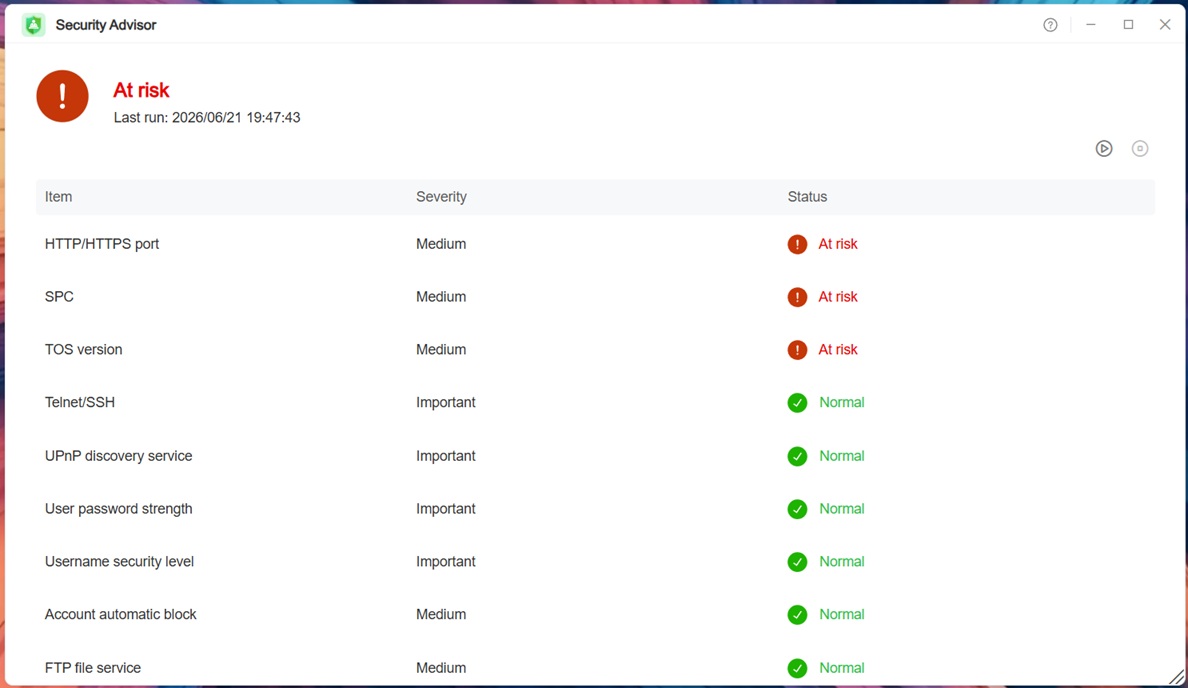
One thing we're not so keen on is the security advisor, as this is the first thing that runs after you log in to TOS 7 for the first time. There's nothing wrong with the program itself, but the fact that it pops up multiple risks as the first thing you see, is kind of unsettling. The fact that one of the warnings is due to an old version of the OS being detected is rather strange, since you'd think you'd downloaded the latest version of TOS during the installation process, but this is apparently not always the case. The SPC warning is similar to Windows UAC and will nag you whenever you start an executable, and it might be something most people aren't going to want to enable. Finally, there's a warning that HTTPS isn't enabled, but considering that TerraMaster doesn't seem to include an SSL certificate for HTTPS access—which currently seems to apply across the board of all NAS makers—there's no benefit of configuring HTTPS access, since the connection wouldn't be secure regardless. We should mention that an HTTPS certificate is included for remote access, if you use TerraMaster's TNAS.online service.
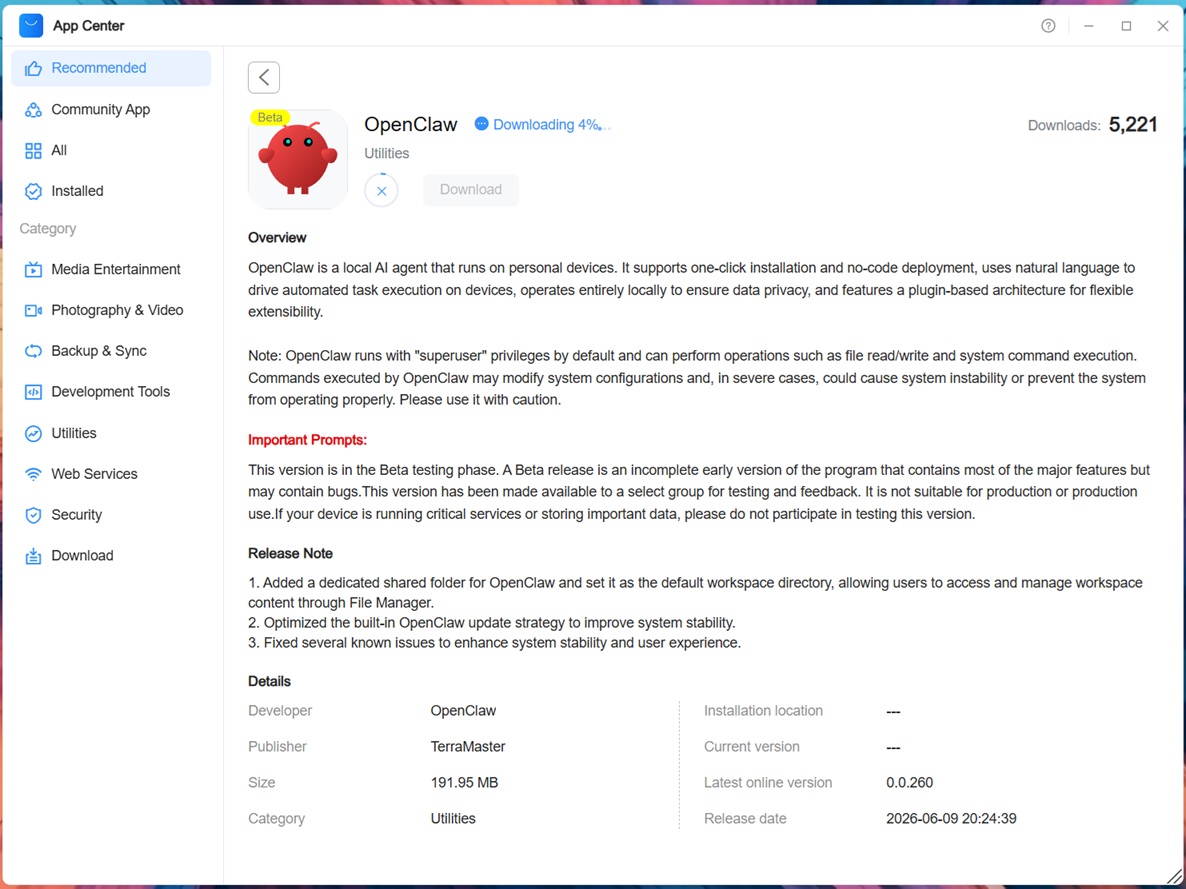
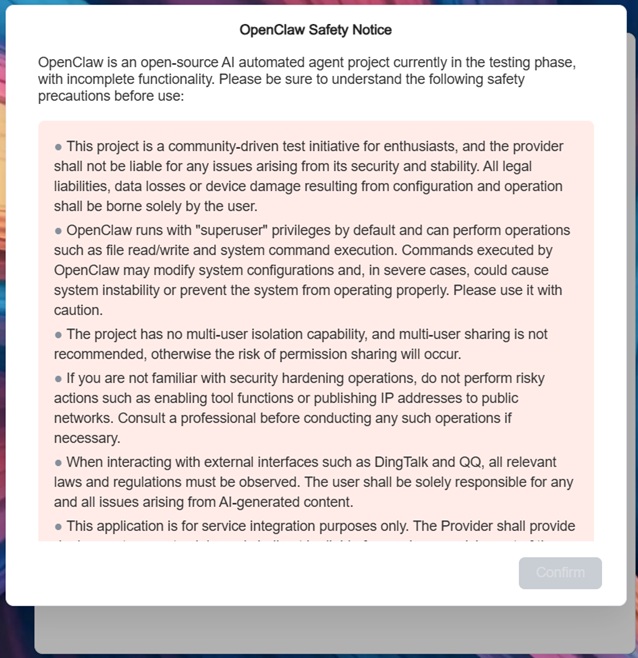
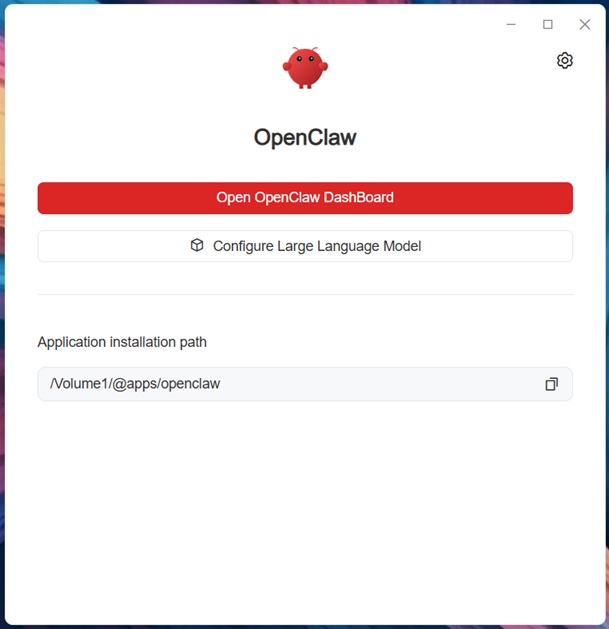
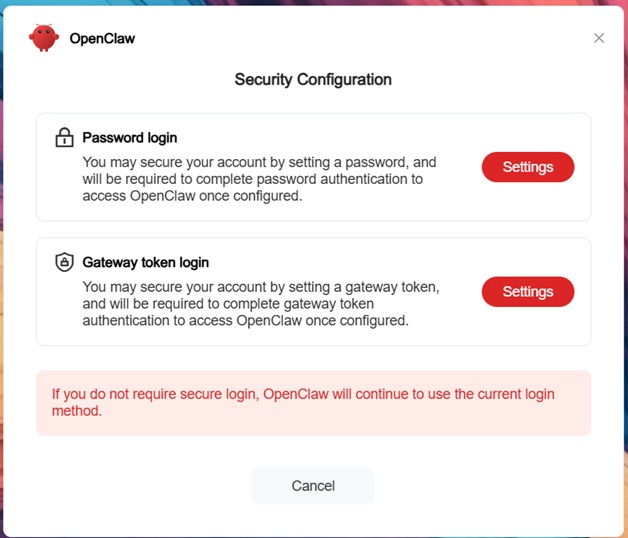
The big new addition is support for OpenClaw, which comes with a lot of warnings before you get anywhere near using it.
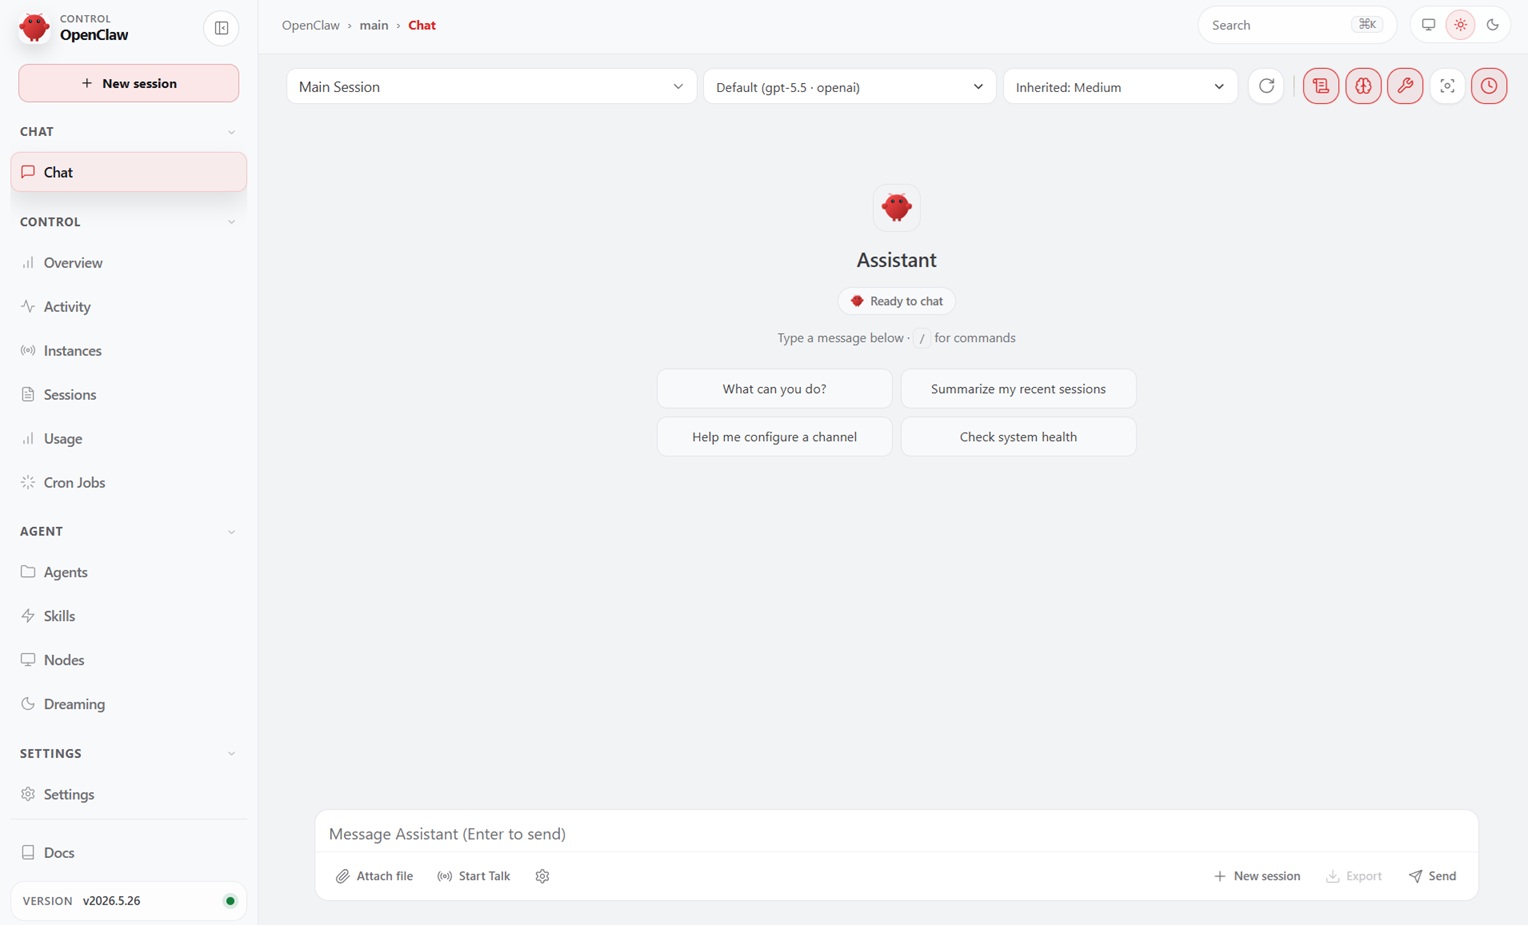
It requires some configuration before use, but the version that TerraMaster has picked is already about a month old and several releases behind the most recent build. At least it's there for those that want to take advantage of a local LLM, although due to it needing an API key, we weren't able to try it out of the box.
You can find some more details about TOS 7 here or check out the video below.
Overall TOS 7 is a big improvement on TOS 6, but it still has some bugs which we hope TerraMaster manages to work out before it launches the stable version. In our case, most of those bugs had to do with the installation, which was frustrating, but at least some of those seem to have already been addressed. As you'll see, there are also some performance discrepancies and things like SMB Multichannel doesn't appear to be all that well implemented, but it does at least seem to partially work in some test scenarios. This is something we hope TerraMaster can work out, as so far, Asustor is the only company to have a properly working implementation of SMB Multichannel.
Disk Configuration
Below is the output from the lsblk command on Linux, which shows the disk configuration.NAME MAJ:MIN RM SIZE RO TYPE MOUNTPOINTS
sda 8:0 0 3.6T 0 disk
├─sda1 8:1 0 285M 0 part
├─sda2 8:2 0 7.6G 0 part
├─sda3 8:3 0 1.9G 0 part
└─sda4 8:4 0 3.6T 0 part
└─md0 9:0 0 10.9T 0 raid5
└─vg0-lv0 253:0 0 10.9T 0 lvm /home
/Volume1
sdb 8:16 0 3.6T 0 disk
├─sdb1 8:17 0 285M 0 part
├─sdb2 8:18 0 7.6G 0 part
├─sdb3 8:19 0 1.9G 0 part
└─sdb4 8:20 0 3.6T 0 part
└─md0 9:0 0 10.9T 0 raid5
└─vg0-lv0 253:0 0 10.9T 0 lvm /home
/Volume1
sdc 8:32 0 3.6T 0 disk
├─sdc1 8:33 0 285M 0 part
├─sdc2 8:34 0 7.6G 0 part
├─sdc3 8:35 0 1.9G 0 part
└─sdc4 8:36 0 3.6T 0 part
└─md0 9:0 0 10.9T 0 raid5
└─vg0-lv0 253:0 0 10.9T 0 lvm /home
/Volume1
sdd 8:48 0 3.6T 0 disk
├─sdd1 8:49 0 285M 0 part
├─sdd2 8:50 0 7.6G 0 part
├─sdd3 8:51 0 1.9G 0 part
└─sdd4 8:52 0 3.6T 0 part
└─md0 9:0 0 10.9T 0 raid5
└─vg0-lv0 253:0 0 10.9T 0 lvm /home
/Volume1
sdza 259:0 0 1.9T 0 disk
├─sdza1 259:1 0 285M 0 part
├─sdza2 259:2 0 7.6G 0 part
│ └─md9 9:9 0 7.6G 0 raid1 /
├─sdza3 259:3 0 1.9G 0 part
│ └─md8 9:8 0 1.9G 0 raid1 [SWAP]
└─sdza4 259:4 0 1.9T 0 part
Nov 22nd, 2026 02:45 PST
change timezone
Latest GPU Drivers
New Forum Posts
- TPU's Nostalgic Hardware Club (22192)
- Ryzen or Intel system (16)
- Local LLM General Discussion (695)
- Honestly, do you care about GTA VI? (241)
- RX 580 2048SP 8GB - SK Hynix - Ardiyes - BIOS Needed (3)
- How to prevent OLED burn damage due to PC freezes or power outtages? (53)
- Your PC ATM (36447)
- SATA drive 1.4 GBps with Intel X25-E on Windows 98! (41)
- AI generated images... (231)
- RX 9000 series GPU Owners Club (2252)
Popular Reviews
- Microsoft Surface Laptop Ultra Review - The Next-gen Arm Laptop
- Corsair RM1200e (Second Generation) Review
- Pulsar Office Tour & First Look at P1 Dual-Sensor Mouse
- Upcoming Hardware Launches 2027 (Updated Nov 2026)
- Ugreen NASync DXP4800 GT Review
- AMD Ryzen 7 9800X3D Review - The Best Gaming Processor
- Biwin Black Opal NV7400 2 TB Review
- AMD Zen 6 Technical Deep Dive
- Phantom Blade Zero Performance Benchmark Review - 35 GPUs Tested
- AMD Ryzen 7 5800X3D 10th Anniversary Review
TPU on YouTube
Controversial News Posts
- NVIDIA Co-Founder and CEO Jensen Huang Officially Resigns (492)
- Report: Jensen Huang Eyes NVIDIA Comeback (262)
- Open Letter Asking NVIDIA to Reinstate Jensen Huang Passes 115,000 Signatures (184)
- OpenAI CEO Argues Home PCs Waste the World's Limited DRAM Supply (152)
- NVIDIA Launches Investigation Into Jensen Huang's Relationship With Suspected Chinese Spy (136)
- Intel "Raptor Lake Next" 16-Core and 20-Core CPUs Surface (130)
- NVIDIA GeForce RTX 50-Series Scheduled for up to $500 Price Hike This Week (89)
- Intel Razor Lake Gets a 12 P-Core bLLC Chip With No E-Cores, Per Leak (86)