 0
TOPPING ArpegEar Hane In-Ear Monitors Review
Fit, Comfort & Audio Performance »Closer Examination
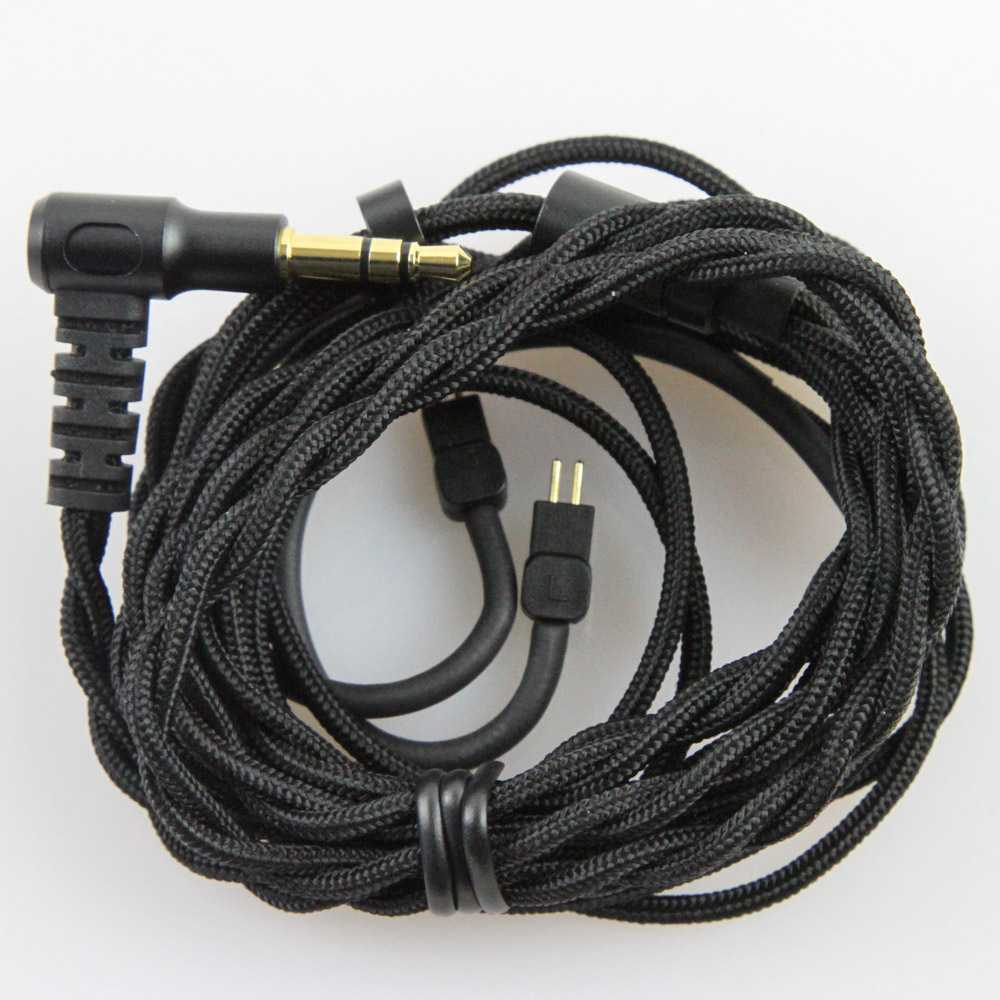
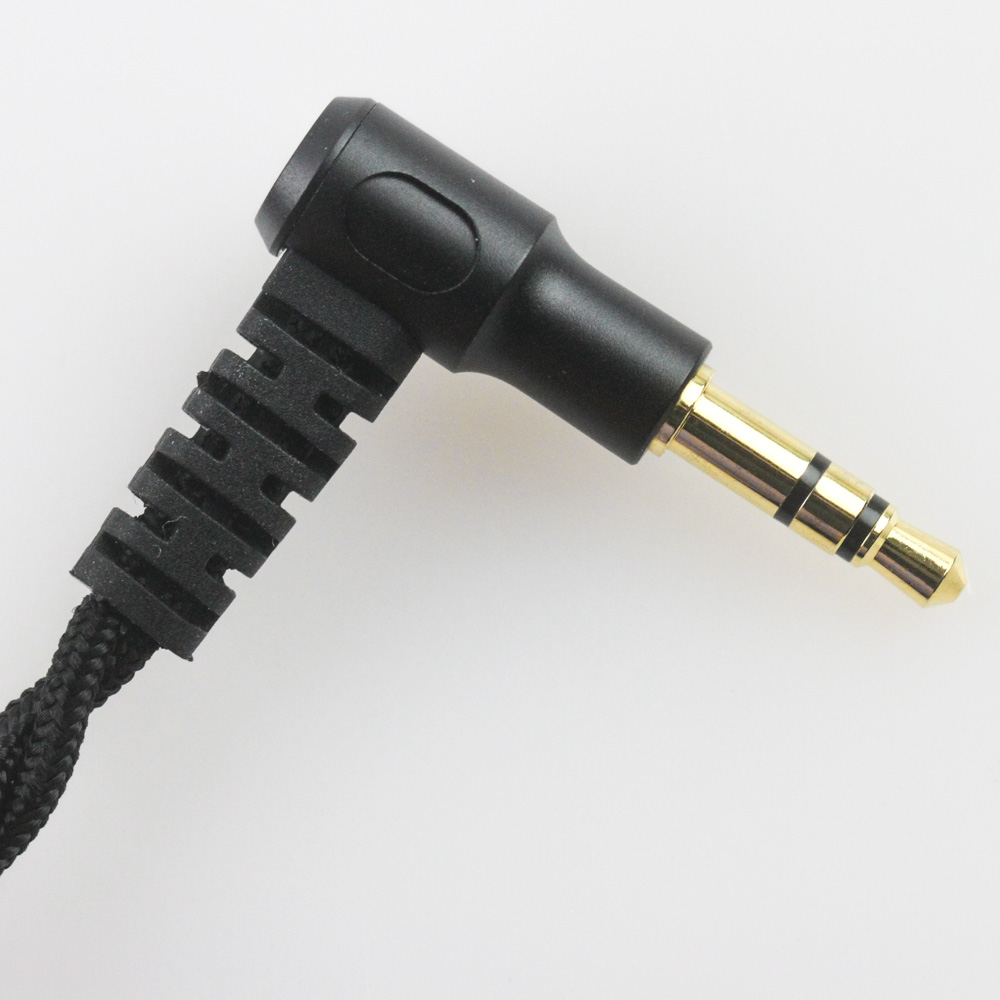
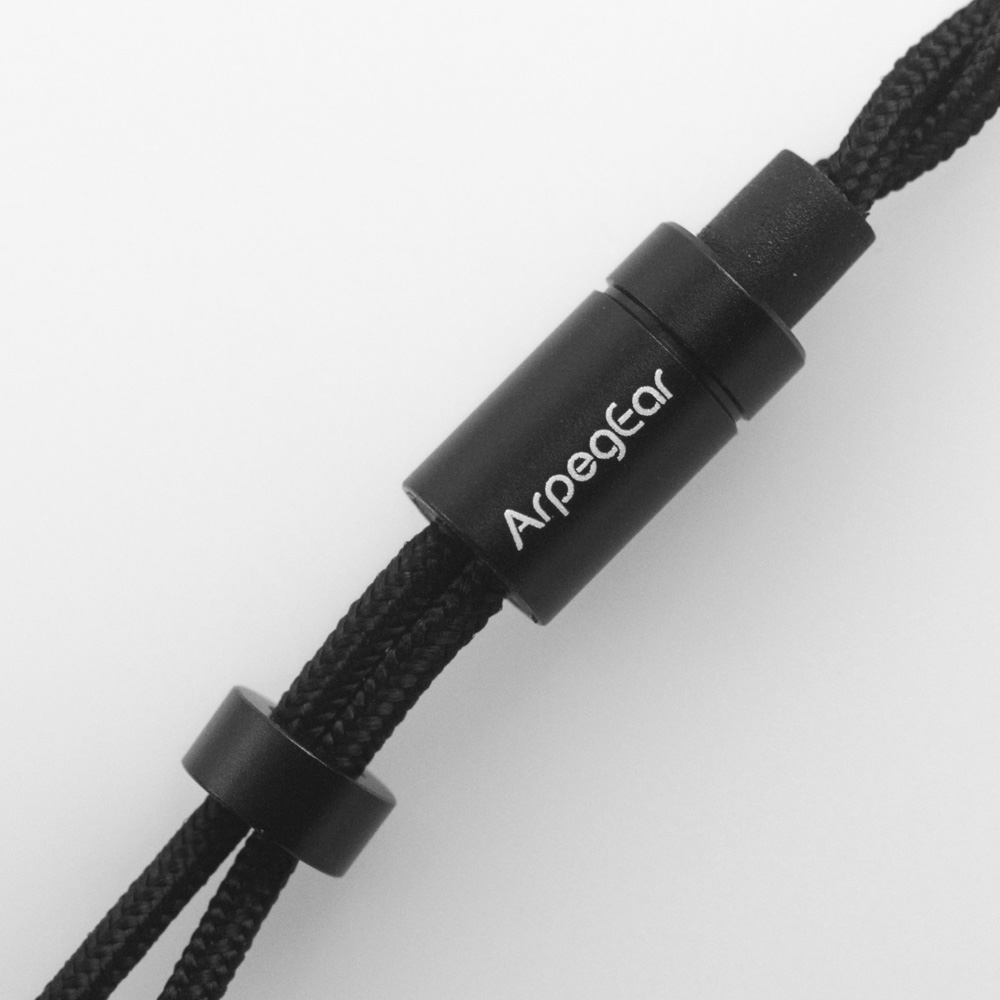
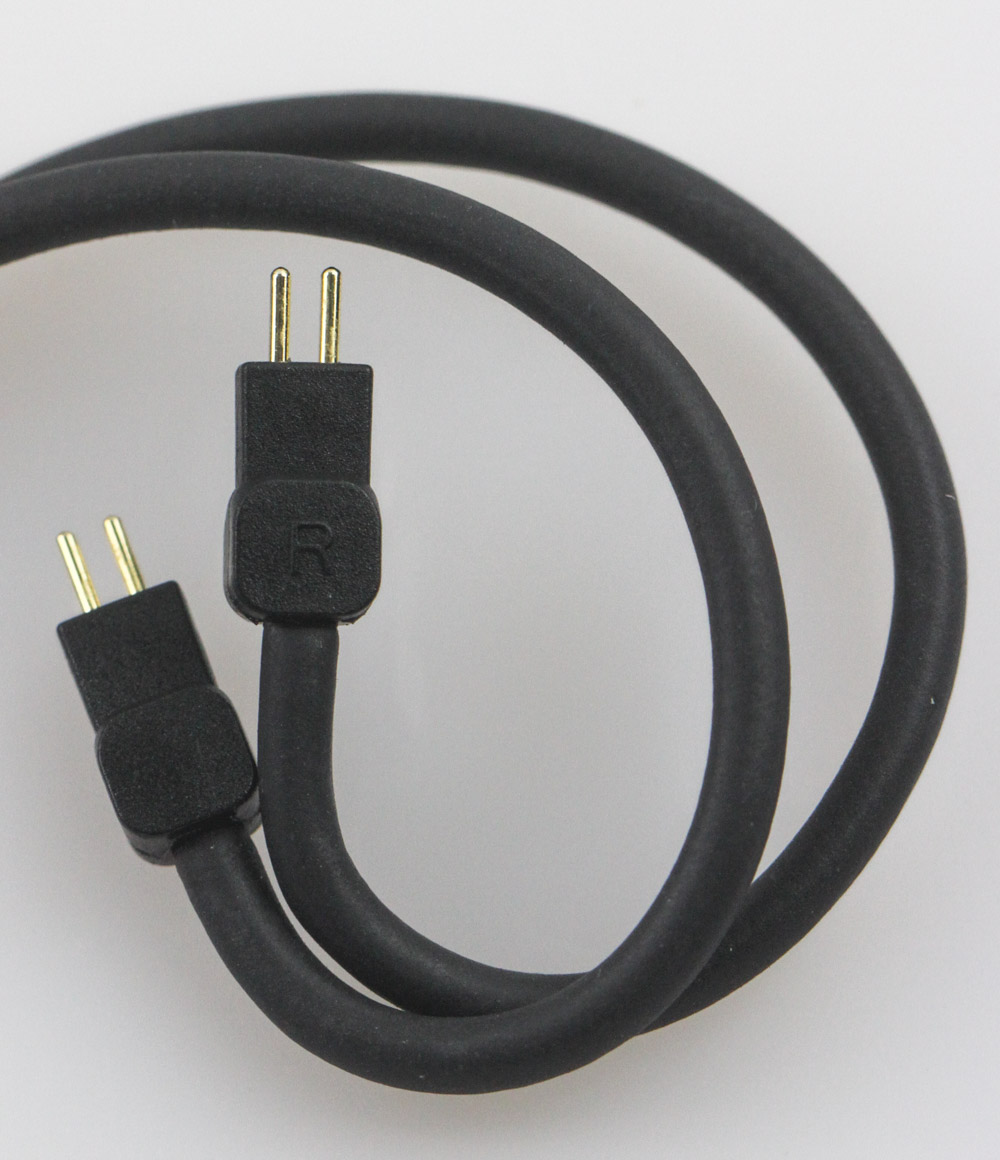
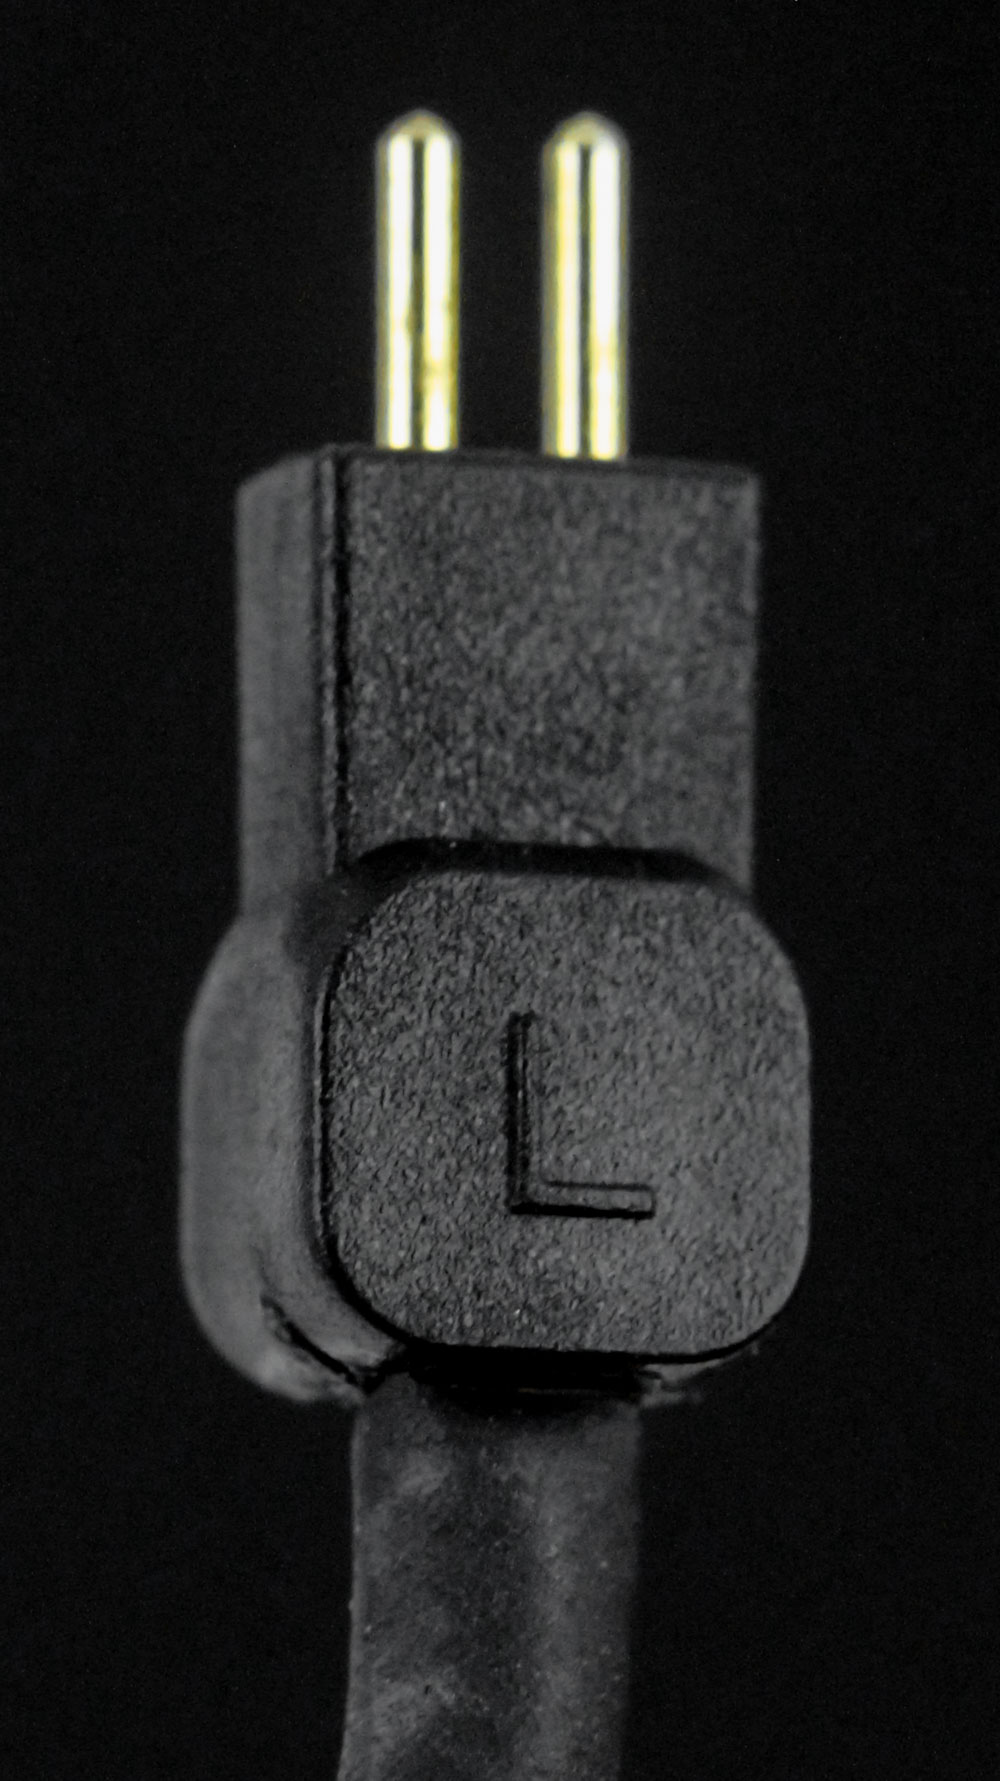
The ArpegEar Hane ships with a two-strand cable that comes with a 3.5 mm TRS single-ended termination—no modular terminations here—and this is fixed on a right-angled plastic housing which feels bulky and cheap at the same time, unfortunately. In fact, the best thing I can say about the cable is that it is utilitarian. It reminds me of the cable that comes with a few less expensive IEMs, and could be a cost-cutting measure to hit a specific price point. The fabric sheath is microphonic and snags onto things in its vicinity, although thankfully it isn't stiff or prone to kinking. The cable is longer than average at 1.5 m and uses high purity copper conductor inside. The splitter, also made of plastic, comes branded and has a chin cinch which works as intended in helping position the two sections headed to the IEMs in place when installed around your ears. The fabric gives way to pre-formed ear hooks closer to the IEM side where we see standard 0.78 mm 2-pin connectors. L/R markings on the connector housing helps identify the left/right channel, respectively, and the metal plugs come gold-plated for oxidation resistance.


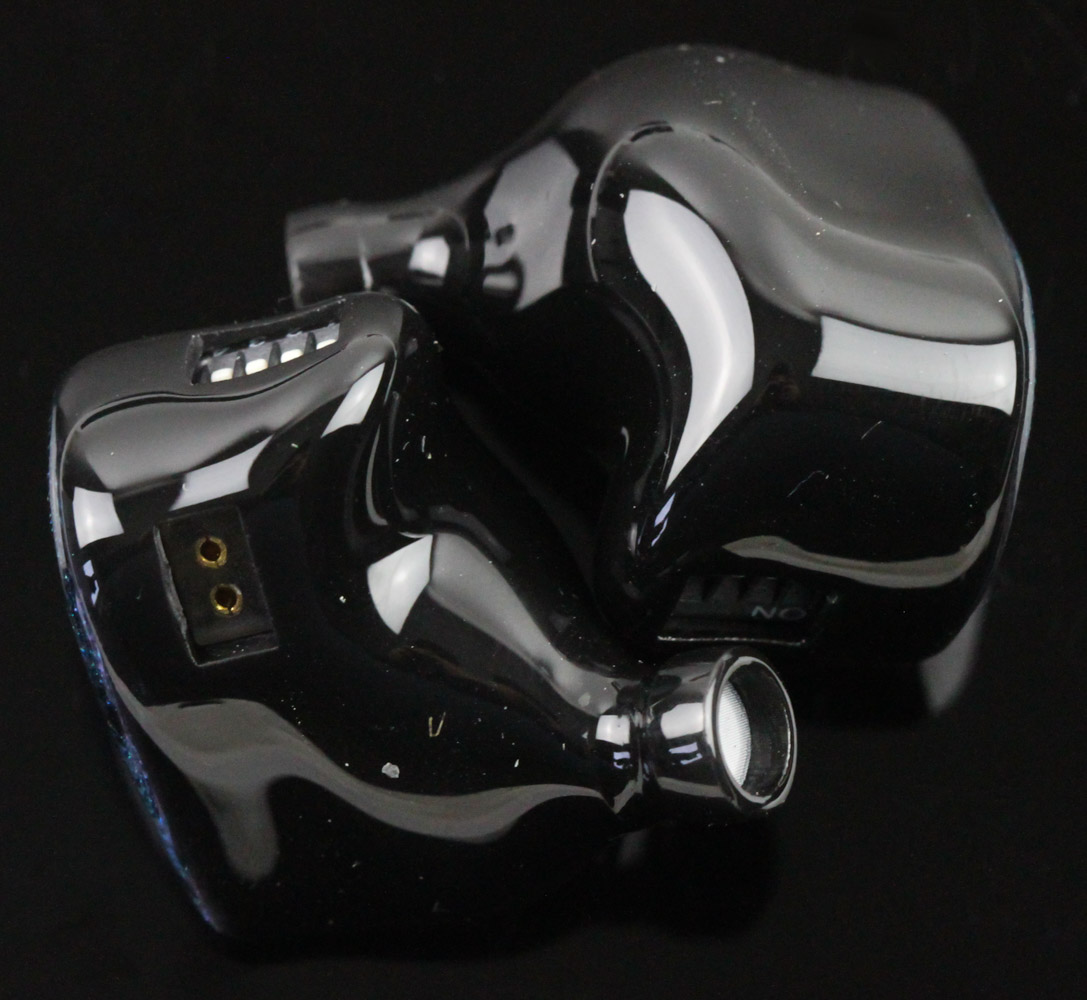
Resin shell IEMs with decorative faceplates are a fairly safe choice, so much so that the vast majority of IEMs in the market go this route. These tend to be easier to produce thanks to the advent of 3D printing, with some having their own resin 3D printers in house and others contracting it to manufacturers such as HeyGears, and I suspect this is the case here. The Hane uses DLP (digital light processing) printed black resin shells that come well polished and also form the cavity for the driver assembly inside. The faceplates are glue-dropped onto for capping before getting further polishing and varnished for the glossy finish you see above.
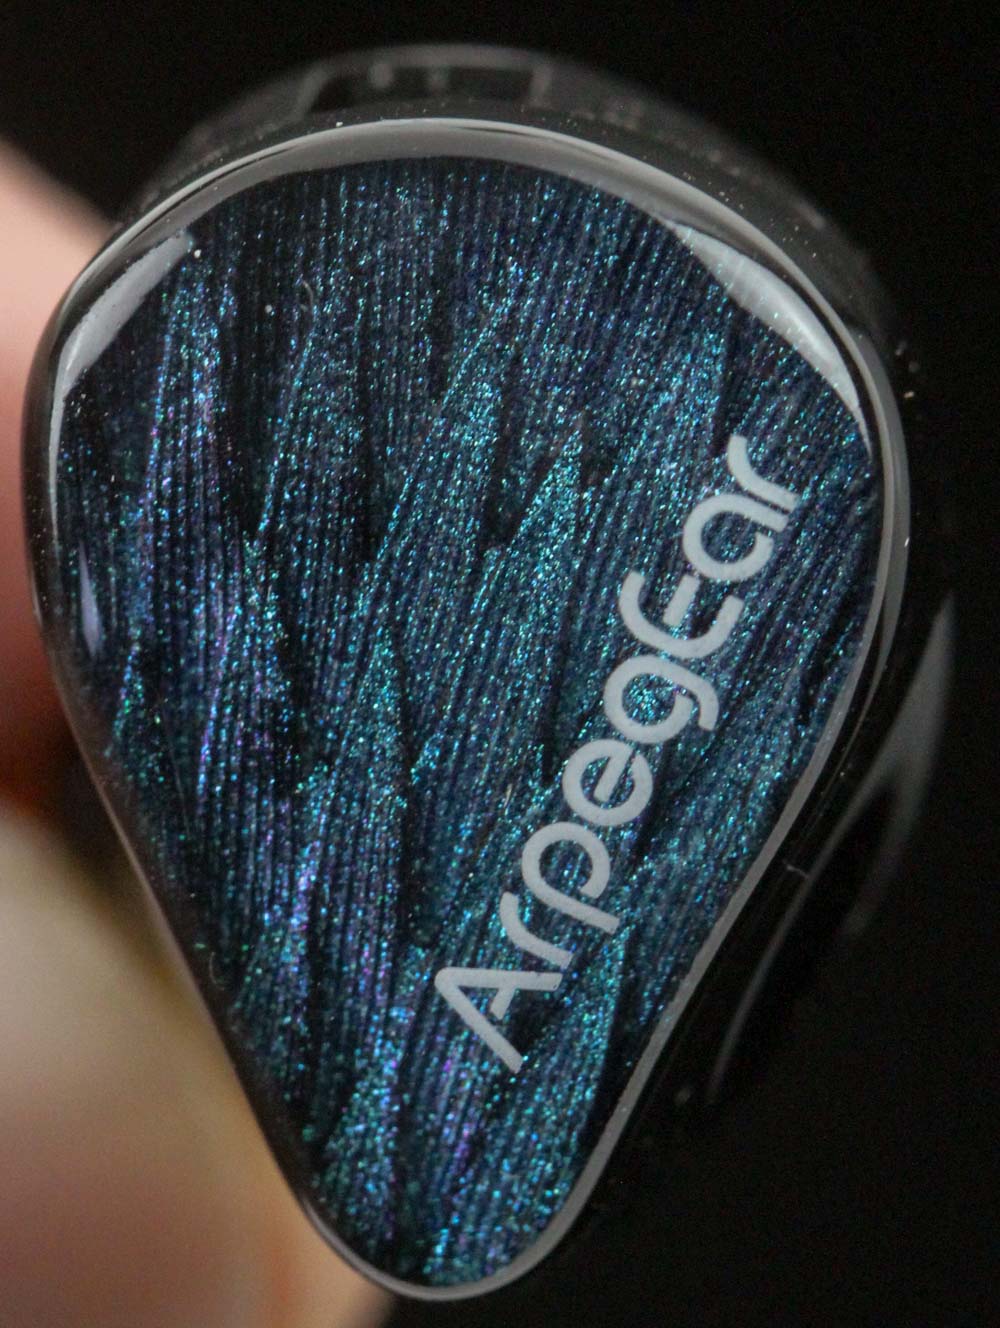

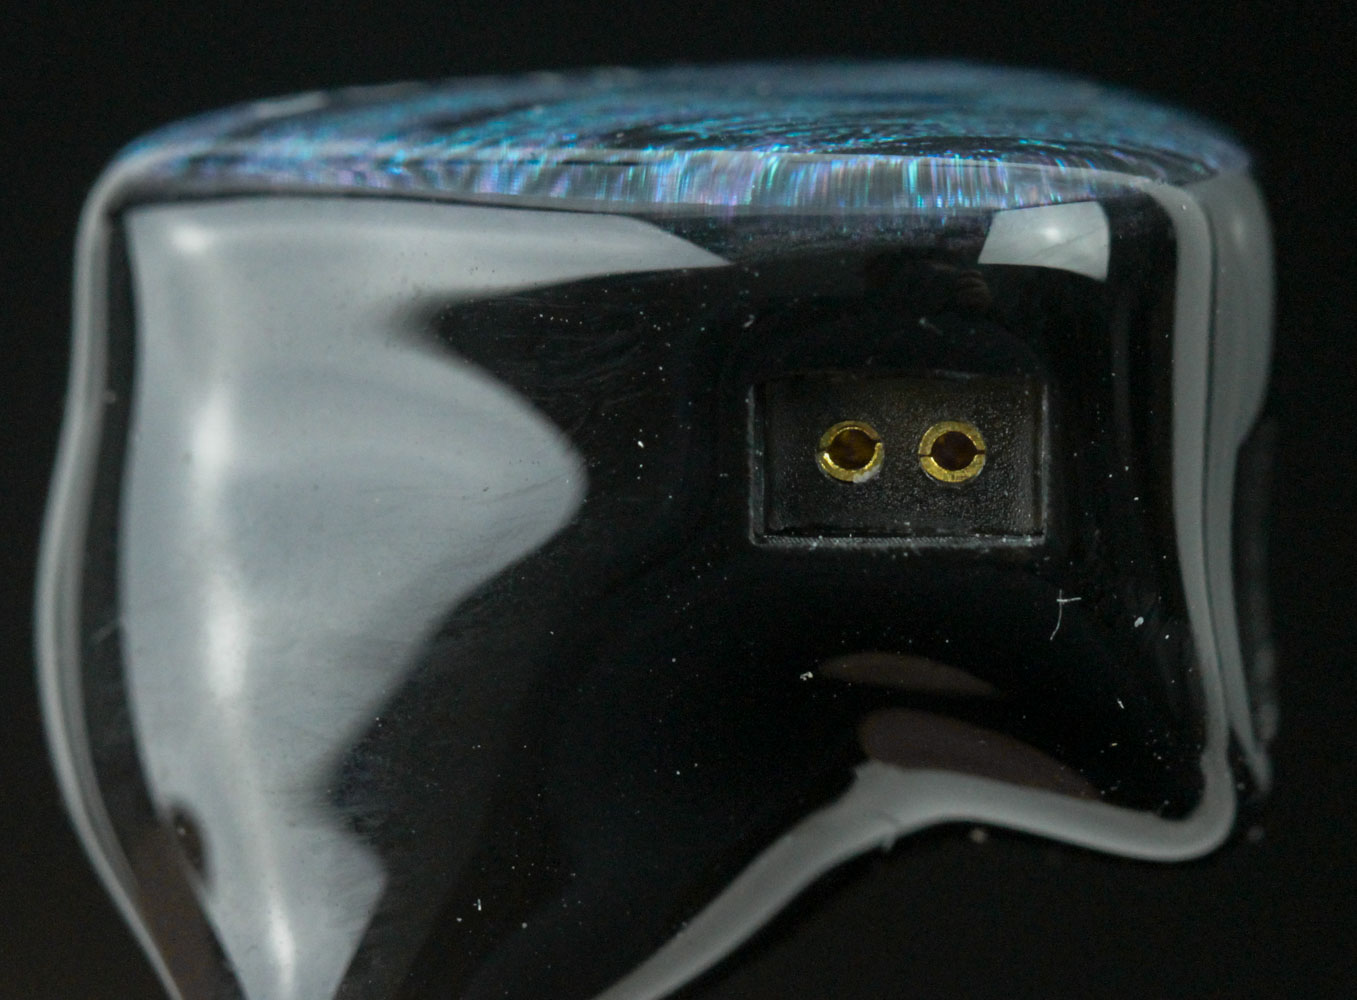
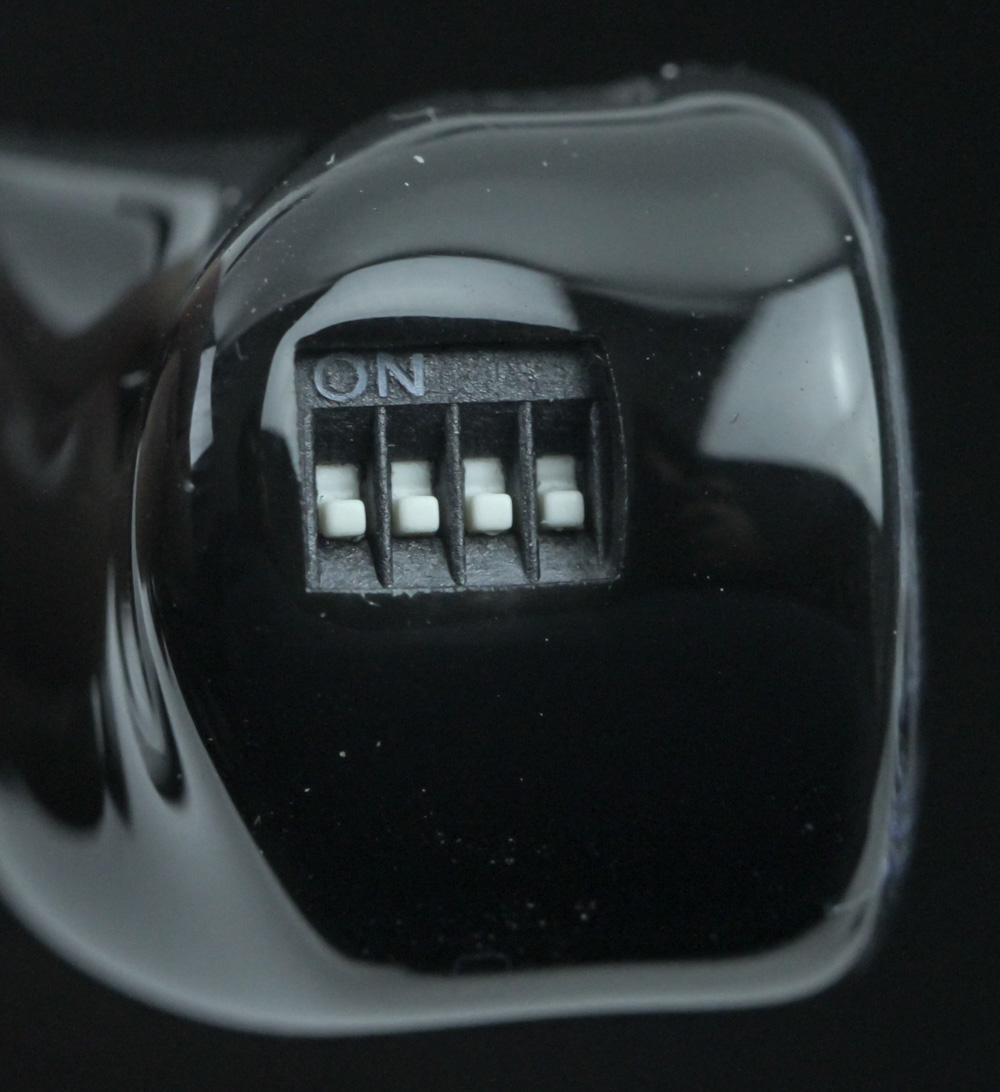
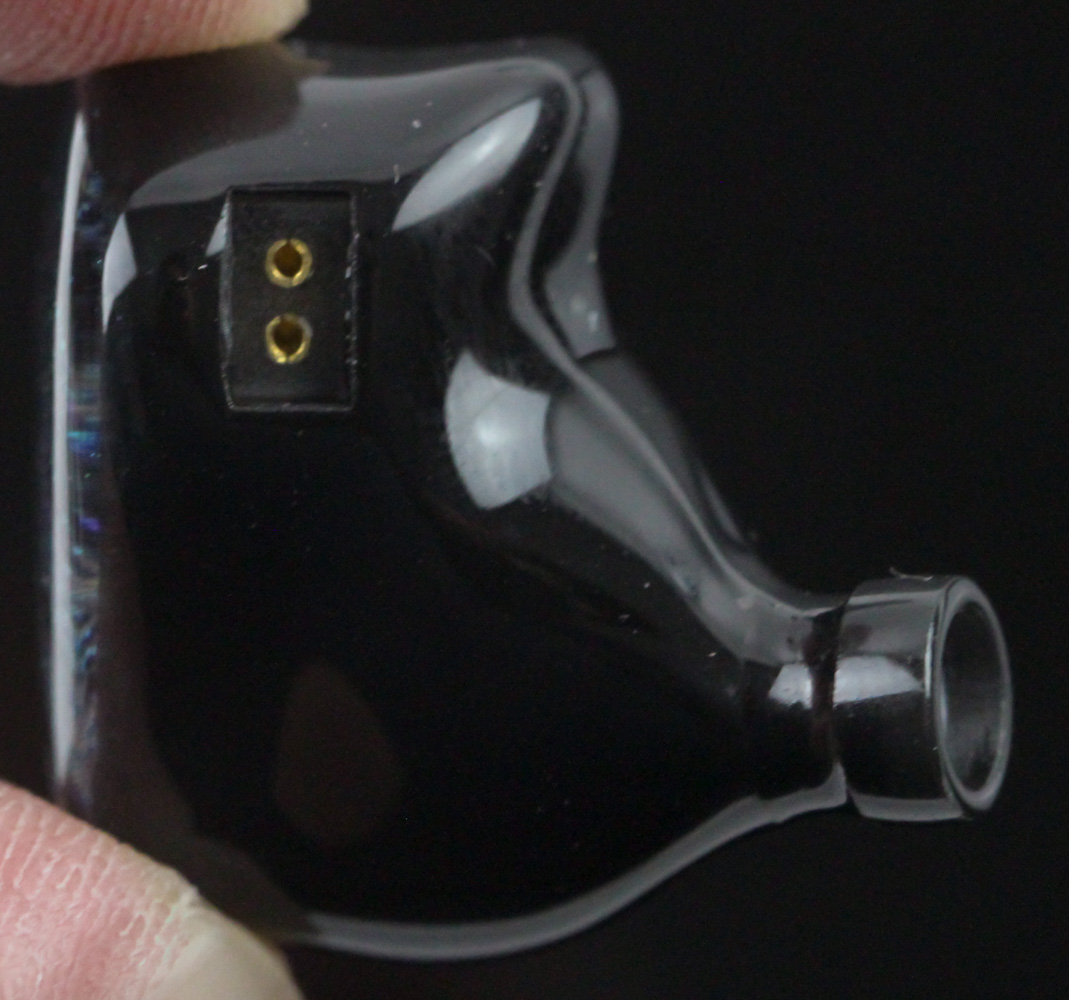
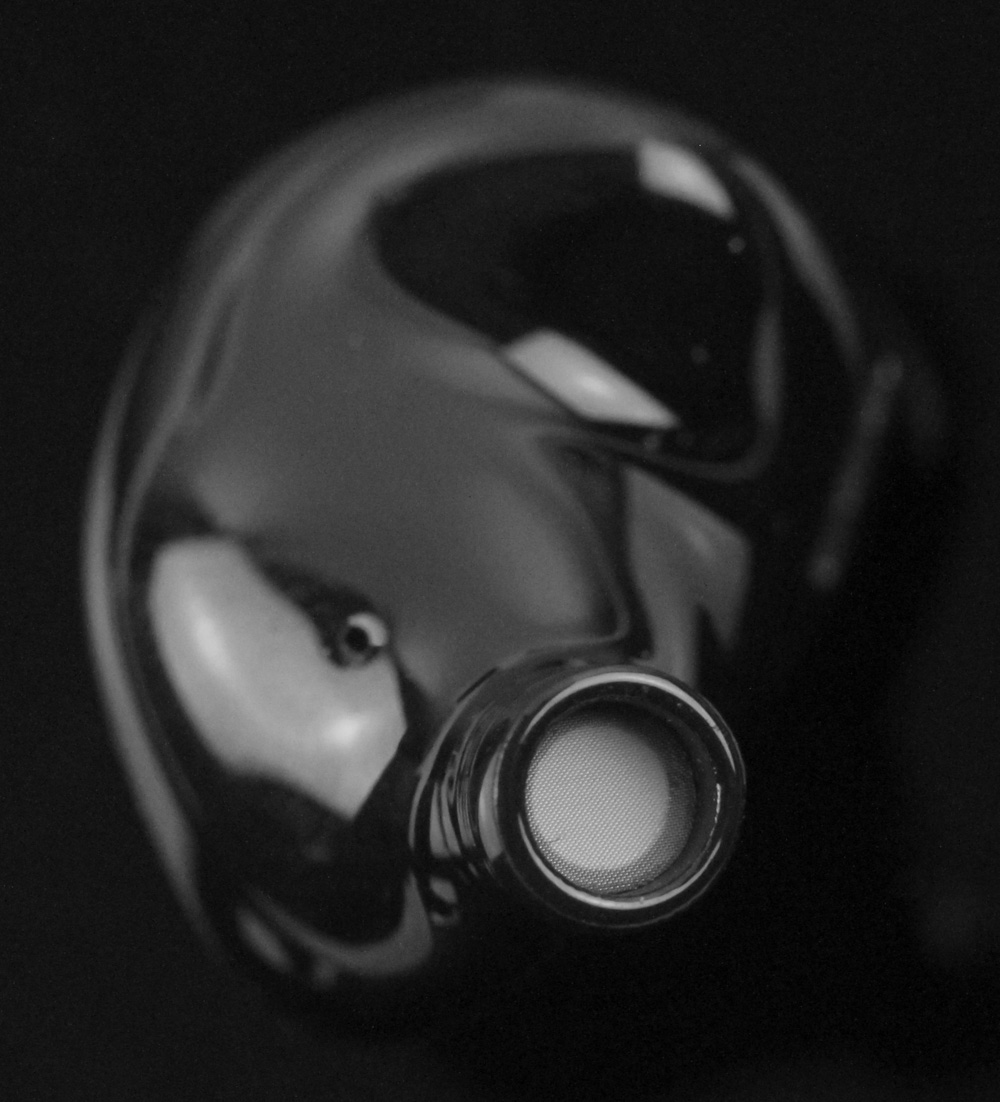
The black shells present a clean and blank canvas that the faceplates take advantage of. ArpegEar has gone with teal colored decorative faceplates that shift slightly towards purple depending on the incident light. There are feather-like patterns to help break up any monotony, with ArpegEar and Hane branding on the two sides as seen above. The shells are relatively small and semi-ergonomic in shape, which bodes well from a fit and comfort aspect. We also see the faceplate going around the edge and no visible gaps where they connect with the resin shells. On the side is the expected 0.78 mm 2-pin female connector placed in a slightly recessed housing. The tuning dip switches are on the top, where we see each side has a set of four tiny switches and "On" printed on one side to indicate whether they are active or not. There are thus 16 tuning combinations in total here, and the manual goes over what the individual switches do. The shells are thicker than you might be expecting though, and the shape on the back makes it more obvious too. The nozzle tapers nearly straight out from a generously sloped back side, and is 5.9 mm wide at the end. ArpegEar has fit a mesh filter in the nozzle to help prevent contaminants from going inside, and this is far enough in to not get dirty from ear wax easily—replacing the filter does not seem trivial though.
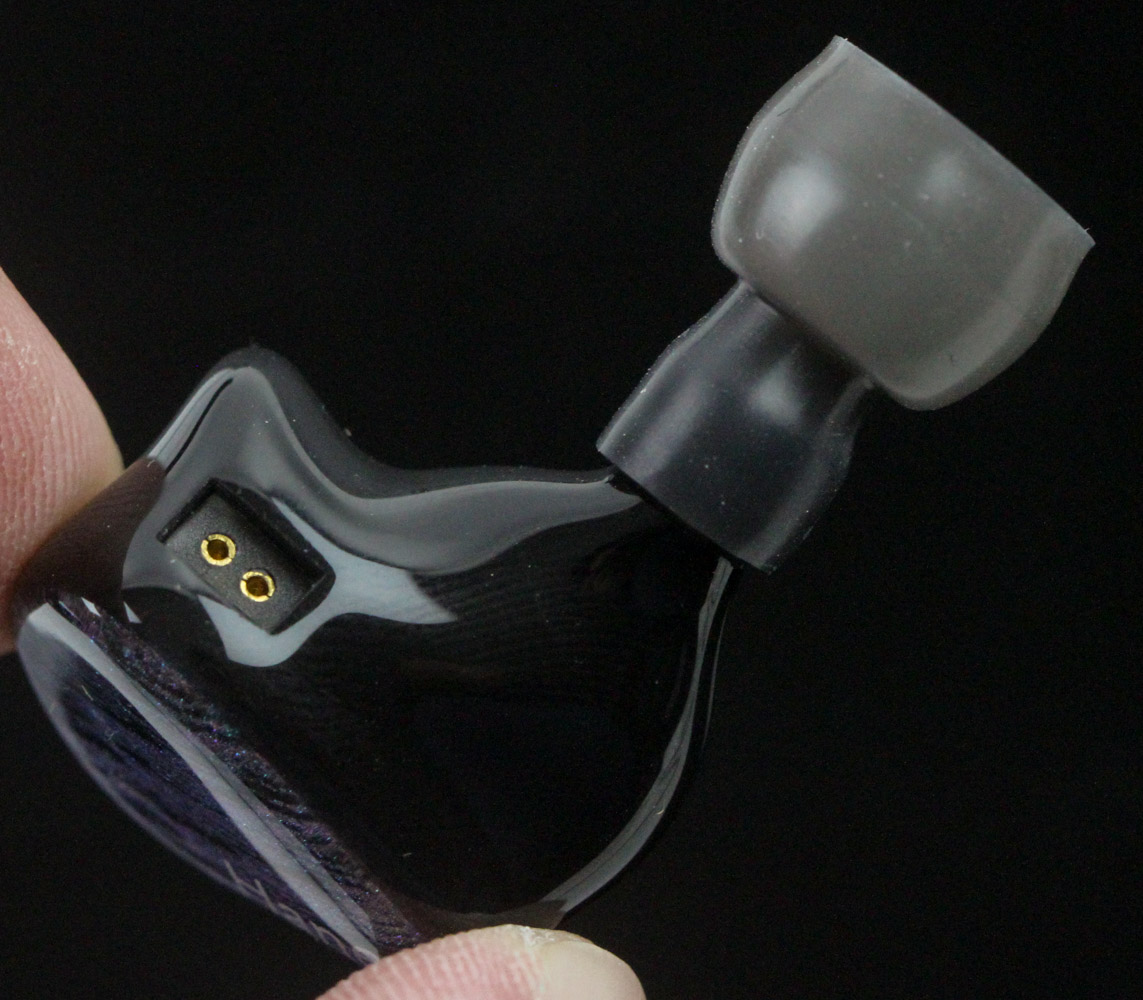
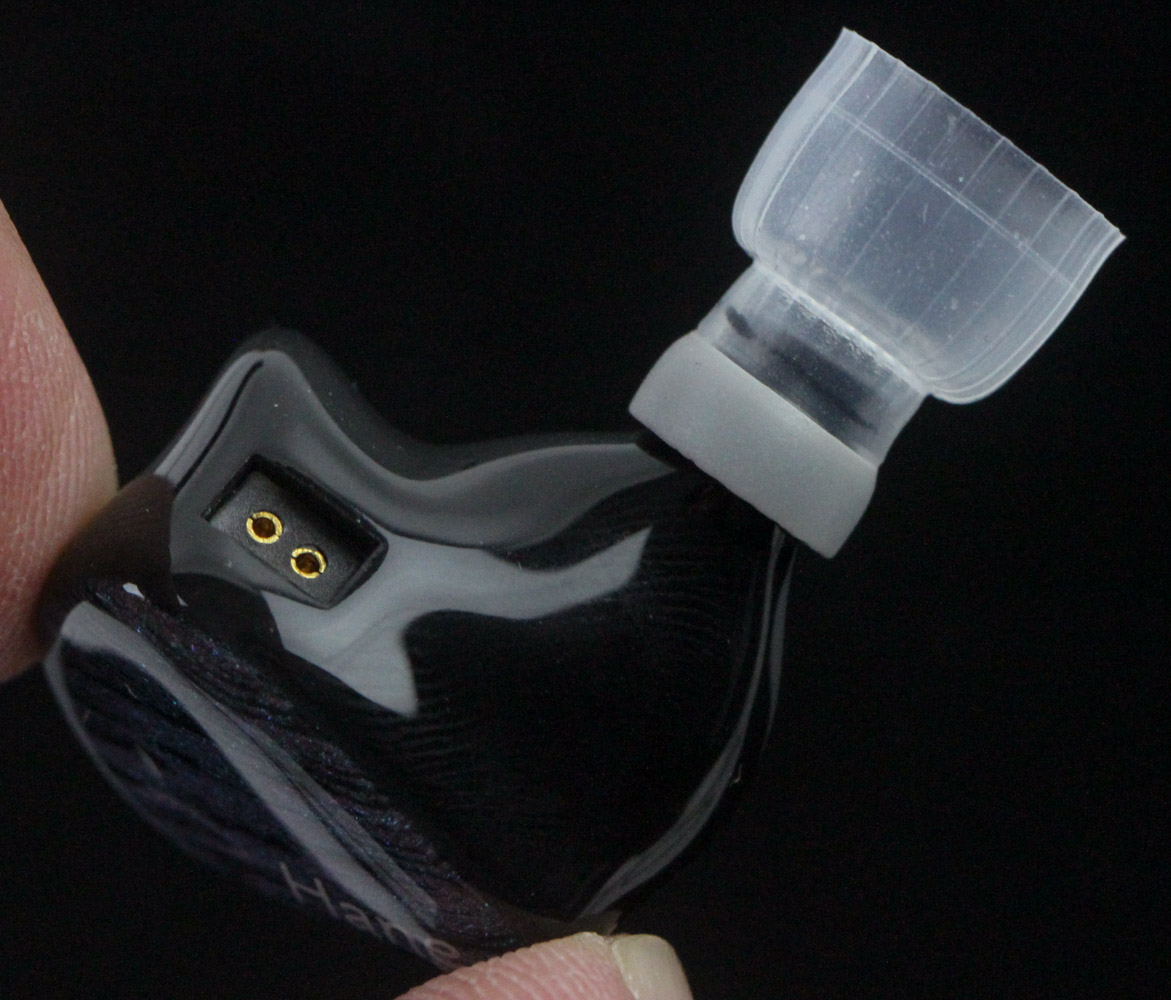


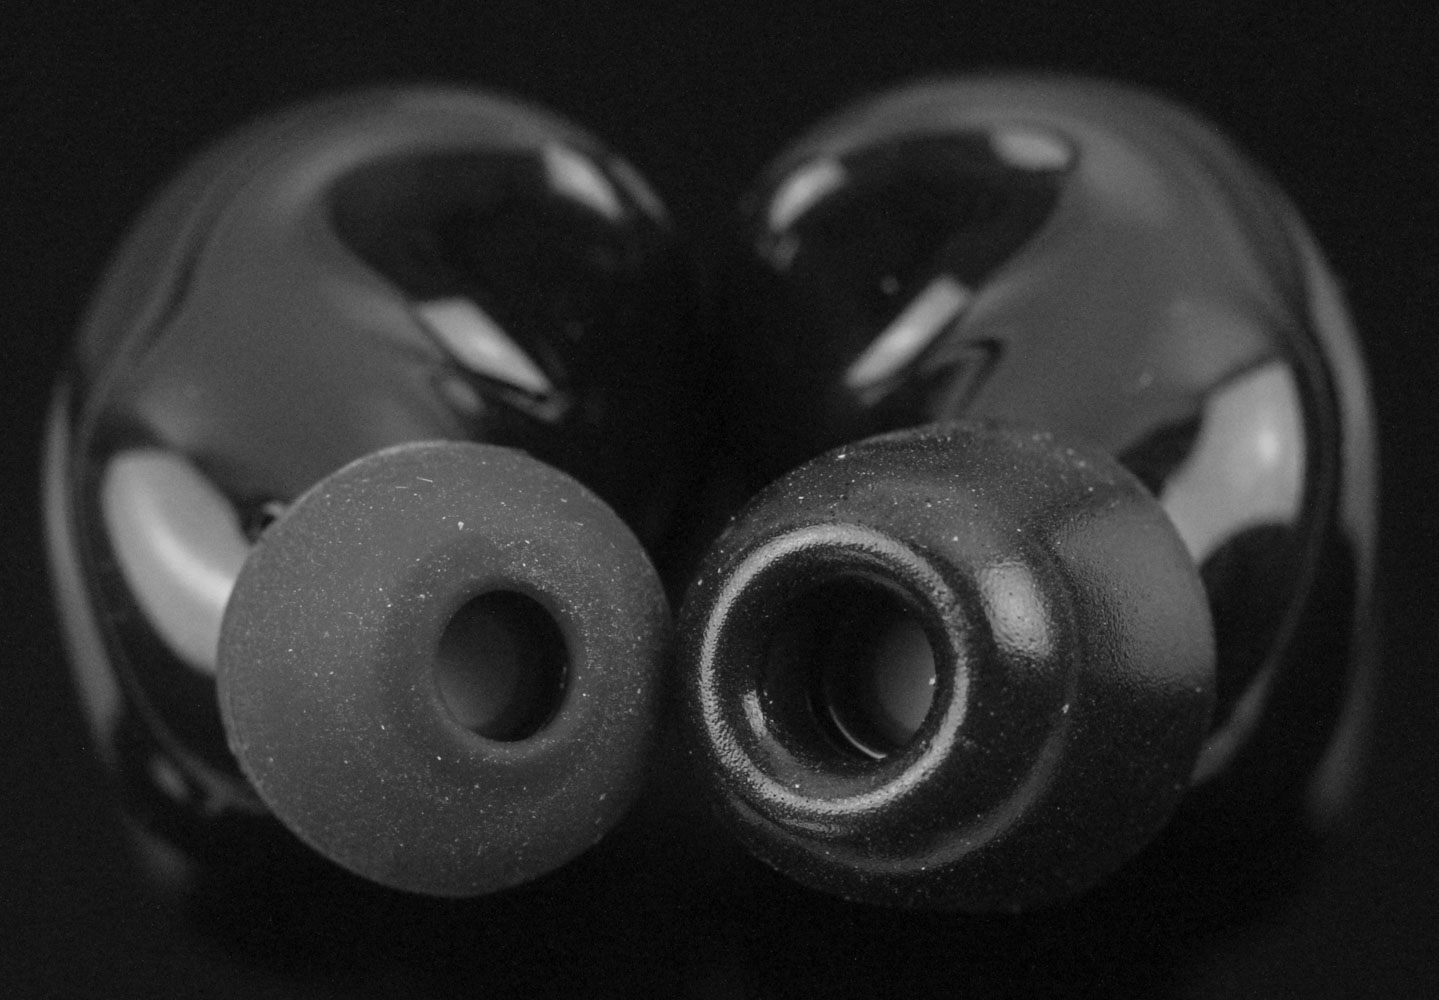
Fitting the different ear tips will require you to slightly stretch the inner bore to fit over the nozzle before pushing them in and going around to ensure they are not at an angle. The nozzle has a defined end point thanks to the thicker section at the end, which also helps keep the ear tips in place when installed. Seen above are the included size M silicone and foam ear tips installed on the ArpegEar Hane, and do try out the various tips and sizes, keeping in mind that both ear canals won't necessarily have the best seal with the same size or set, either.
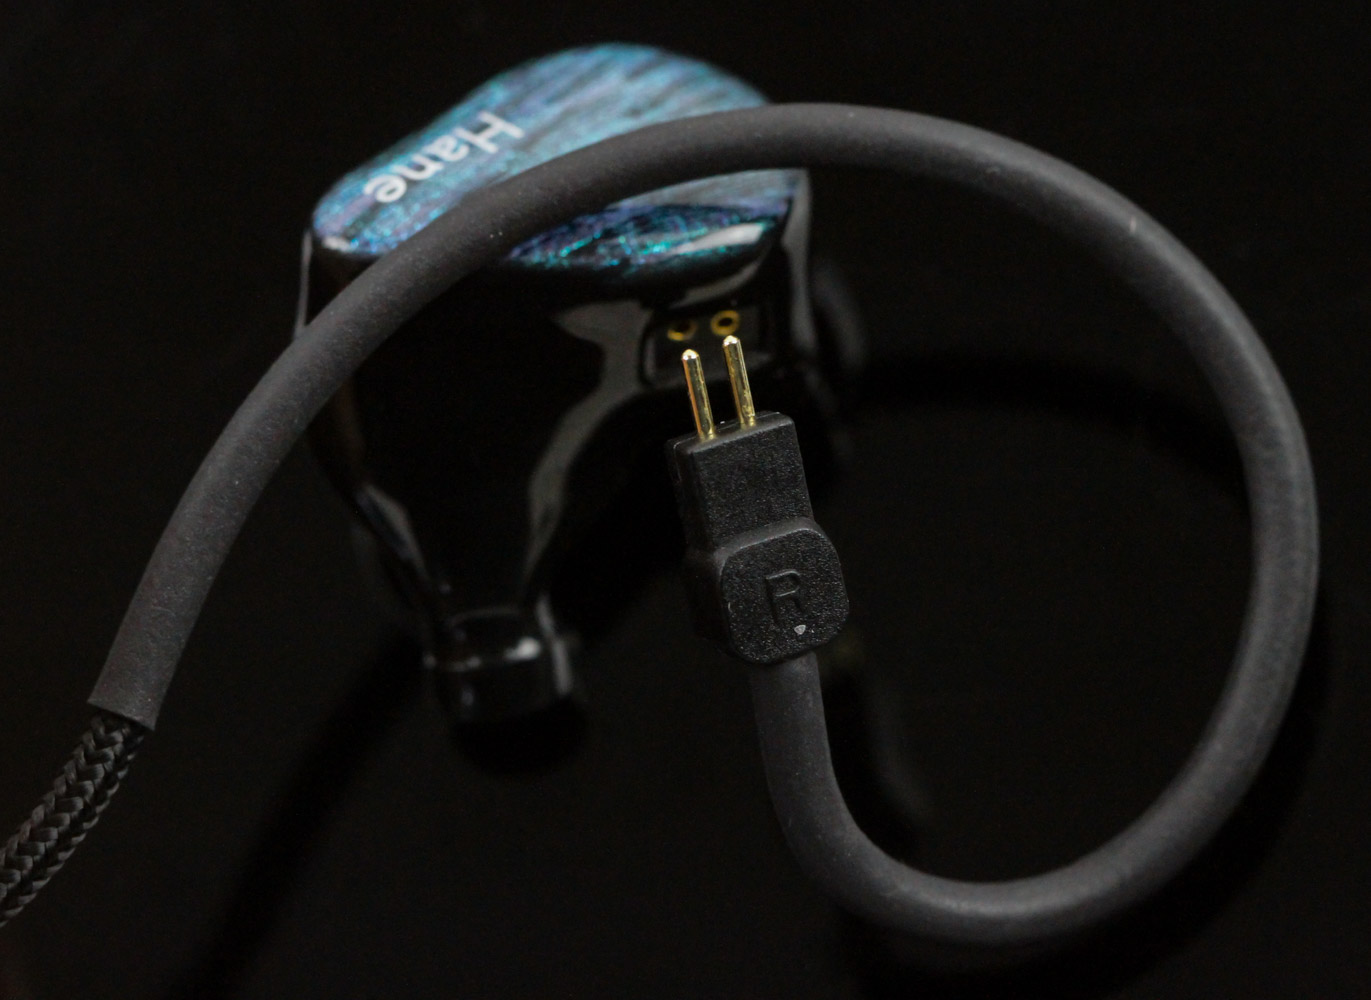
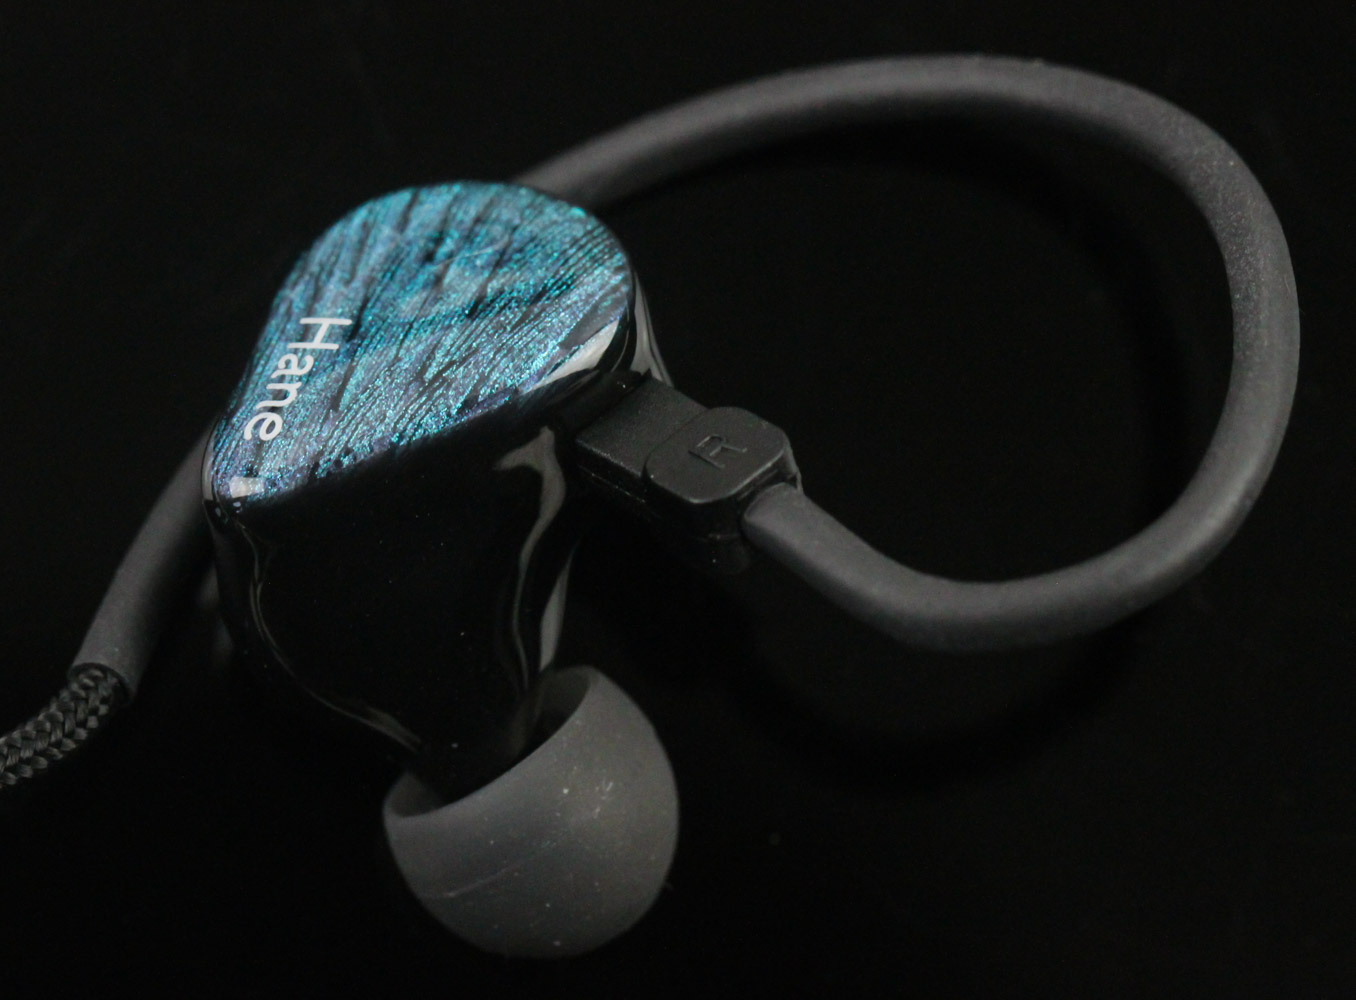
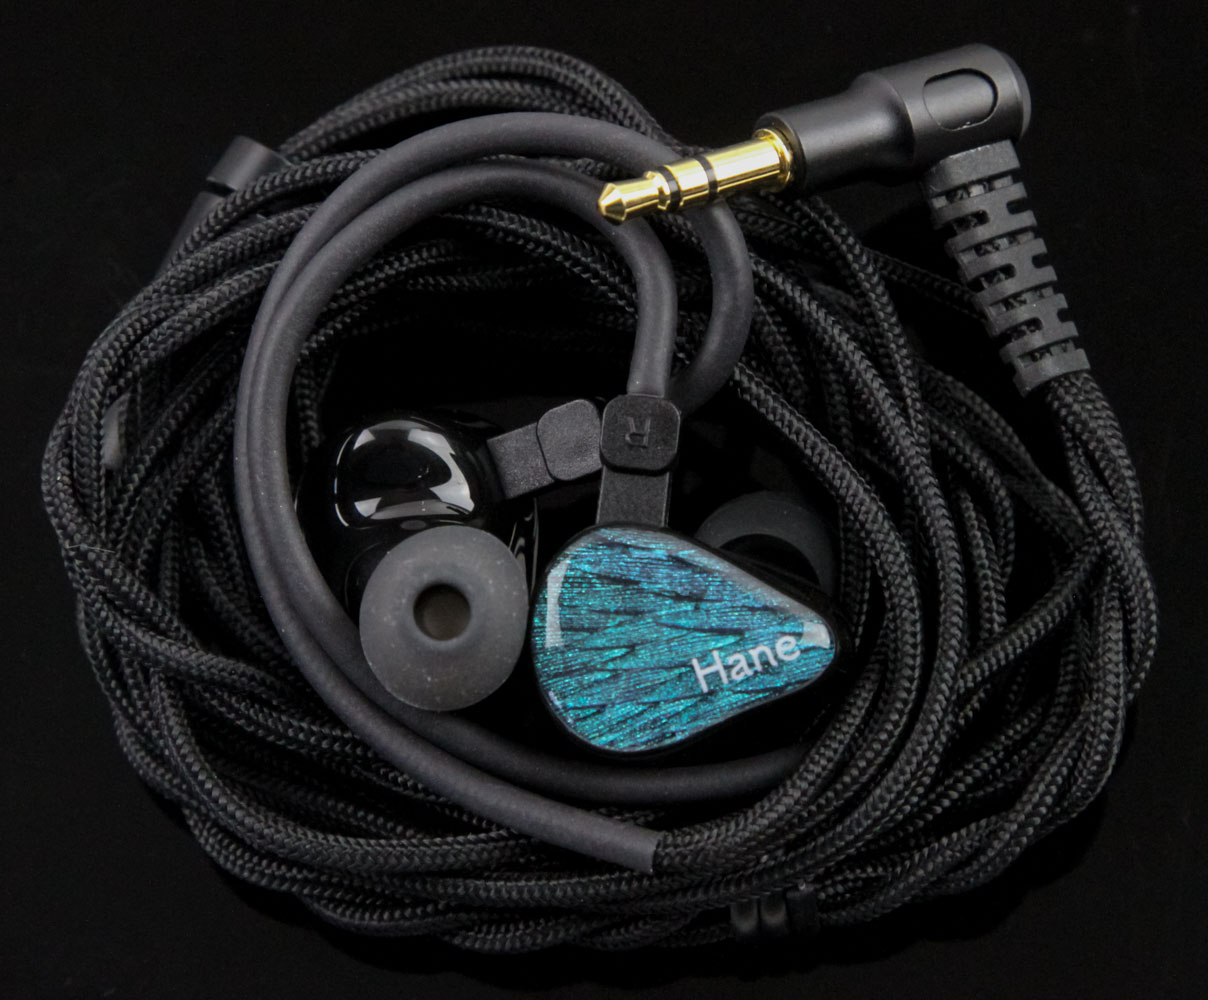
Regardless of which tips you pick, the next step is to connect the cable by carefully identifying the matching channels and orienting the ear hooks around your ear when connecting the IEMs. Doing so is simple as you simply push the 2-pin connectors in place and they remain there via a friction fit. The recessed connectors in the shells help match the recessed-style connectors on the cable too, but there is still an extra length of housing hanging past the shells.
Nov 16th, 2026 13:35 CST
change timezone
Latest GPU Drivers
New Forum Posts
- Without Jensen, PC gaming will be (13)
- Honestly, do you care about GTA VI? (72)
- CMP170HX turned to A100 using voltage glitching and fuse reprogramming (0)
- What phone you use as your daily driver? And, a discussion of them. (2447)
- Current Sales, Bundles, Giveaways (10447)
- How much does an RTX 5090 cost in your area? (65)
- I don’t know been building “by hand” for years and we at the point where “Server Quality” is mentioned, is this the future of it or will it continue? (42)
- What are you playing? (26226)
- Meeting point of those who broke their GPUs. Please share what GPUs you've burned, shattered, ionized or melted accidentally. (41)
- HP Office Jet 7740 Pro - Supply system problem with replacement cartridge (6)
Popular Reviews
- ASUS ROG Strix B850-I Gaming Wi-Fi7 W Review
- Corsair HX1000i Shift Crystal Review
- AMD Zen 6 Technical Deep Dive
- Acemagic Retro X3 Review
- Upcoming Hardware Launches 2027 (Updated Nov 2026)
- Montech King 95 3D PRO Review
- NZXT C1200 Platinum Review
- Phantom Blade Zero Performance Benchmark Review - 35 GPUs Tested
- AMD Ryzen 7 9800X3D Review - The Best Gaming Processor
- NZXT H7 RGB+ Review
TPU on YouTube
Controversial News Posts
- NVIDIA Co-Founder and CEO Jensen Huang Officially Resigns (431)
- Open Letter Asking NVIDIA to Reinstate Jensen Huang Passes 115,000 Signatures (184)
- OpenAI CEO Argues Home PCs Waste the World's Limited DRAM Supply (152)
- NVIDIA Launches Investigation Into Jensen Huang's Relationship With Suspected Chinese Spy (136)
- Intel "Raptor Lake Next" 16-Core and 20-Core CPUs Surface (130)
- Legendary Game Studio BioWare Shuts Down Following EA Layoffs (104)
- Report: Jensen Huang Eyes NVIDIA Comeback (100)
- Dell CEO Says the Memory Shortage Will Get Worse in 2027 (95)